Part 32: Solomon Islands: June 21, 1943

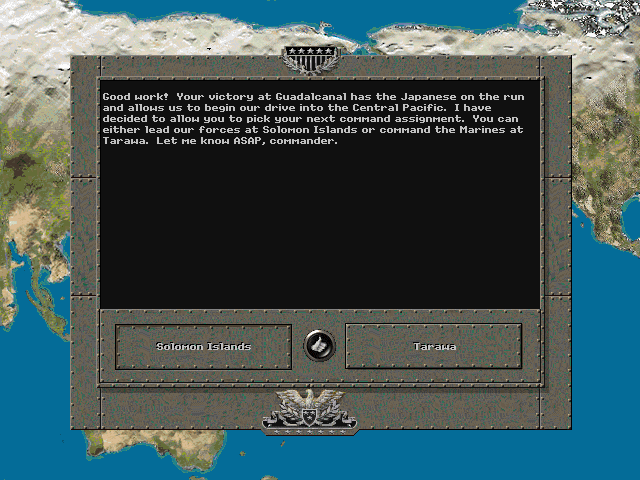
After taking Guadalcanal, we had the option of conducting more operations with the Marines, or to continue operations here with naval support. We choose to take the Solomon Islands.
Since the Japanese route I chose follows the land forces, I'm choosing this one for the Americans since it seems to show off more of the naval units.
With one island secure, we can retake more bases and put pressure on Rabaul. Taking them in force and quickly will ensure that the Japanese will be unable to respond with reinforcements.
Solomon Islands : June 21, 1943

Objectives: Lanbeti[50], Zanana[50], Munda Point[50], Buin[50], Kieta[50], Numa Numa[50]
Starting VP: 0 - 995
Scenario Gripe #1: The Axis are spotted almost a 1000 points. There are only 300 VP possible via objectives...
... and you need to be something like +250 just to get a 'Marginal' victory. I'm pretty sure this means that the Japanese AI can win by disbanding every single unit on Turn 1.
OOB
pre:
Unit Name                      Unit Type [Transport]         Exp

Land Units

1.1st Seabees                  Seabees                         -
2.12th USMC Marines 1941       USMC Marines 1941              **
3.Stay Frosty                  USMC Marines 1941               *
4.14th USMC Marines 1941       USMC Marines 1941               -
5.15th USMC Marines 1941       USMC Marines 1941               -
6.16th USMC Marines 1941       USMC Marines 1941               *
7.17th USMC Paramarines 1941   USMC Paramarines 1941           -
8.21st M3 Stuart               M3 Stuart                       -
9.Boondoggle                   M3A1 Lee                        *
10.14th M4A1 Sherman           M4A1 Sherman                    -
11.18th M15A1                  M15A1                           -
12.19th 75mm Pack Howitzer     75mm Pack Howitzer              -
13.20th 75mm Pack Howitzer     75mm Pack Howitzer              -

Aux (by qty) - 'CW' disambiguates Commonwealth units
1                              Infantry 1936[GMC]              -
3                              Infantry 1936 CW                -
2                              HW 1936[GMC]                    -
1                              HW 1936  CW                     -
1                              Engineers CW                    -
1                              Rangers 1943                    -
2                              USMC Raiders[GMC]               -
1                              Fiji Guerillas                  -
1                              Fiji Guerillas                  *
2                              USMC Raiders & Dogs[GMC]        -
2                              Valentine Mk III                -
1                              M3A1 Lee                        -
1                              USMC Sherman POA                -
1                              M5A1 with E7-7                  -
1                              6 Pdr ATG                       -
1                              37mm ATG                        -
1                              37mm ATG                        *
2                              25 Pdr Gun                      -
1                              75mm Pack Howitzer[GMC]         -

Air Units

14.7th F4F Wildcat             F4F Wildcat                     -
15.8th F4F Wildcat             F4F Wildcat                     *
16.9th F4F Wildcat             F4F Wildcat                     -
17.10th SBD Dauntless          SBD Dauntless                   *
18.11th TBD Devastator         TBD Devastator                  -


Aux (by qty)
1                              USMC F4F Wildcat                -
4                              USMC F4F Wildcat                *
3                              SBD Dauntless                   *
1                              SBD Dauntless                 ***
2                              TBD Devastator                  *


Naval units

19.New Orleans                 New Orleans                    **
20.Northampton                 New Orleans                    **
21.Yorktown                    Yorktown                        -
22.Atlanta                     Atlanta                         -
23.Gato                        Gato                            *
24.23rd Somers                 Somers                          -
25.24th Cleveland 43           Cleveland 43                    -

Aux

DESRON 10                     DD S   CW                        -
DESRON 2,6                    DD Porter                        -
DESRON 5,7,8,10,11            DD Somers                        -
Leander, Achilles             CL Leander                       -
Columbia                      CL Cleveland                     -
Brooklyn                      CL Brooklyn                      -
Wichita                       CL Wichita                       -
Pennsylvania                  BB Pennsylvania                  -
Lexington                     CV Lexington                     -
Hornet, Enterprise            CV Yorktown                     *(Hornet)
Staring Prestige: 871
We add a few small ships to the core, a destroyer for hunting subs, and another quality light cruiser of the latest model. On land, we get one of the newer tanks, and an Anti-Air unit, which will be effective where the fighters can't reach, but also to deal with some of the weaker ground units.
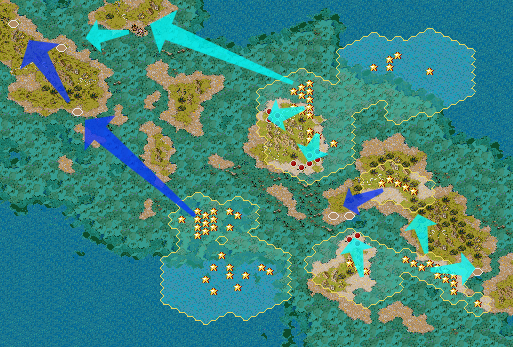
Some of our forces have already landed on New Georgia, Rendova, and Kolombangara. Australian units are about to make a second landing on New Georgia, so we're well-covered there. Our other major landing will be at Bougainville. Most of the core is loaded into transport ships and ready to sail. However, we are expecting a potential enemy naval force blocking this move, and we'll need to be cautious not to blunder into an ambush.
There are additional troops on the northern side of the island group. They won't be landing at Kolombangara, as it's not a primary target. Neither will they be heading directly to Bougainville. Going that route, they would be unlikely to run into naval ships, but would be in range of enemy aircraft ranging from Vella Lavella in between. Instead they'll swing out to see and take the island of Choiseul before pushing onward to back up the forces on Bougainville.
Scenario Gripe #2: Although Kolombangara does have a port on it, you can't actually go from it to anywhere else, as it's blocked in by impassable reef hexes. So if you do land any units there, they are stuck. While you technically can transport them off by air, they can only go (one per turn) to another friendly airfield, which means you most likely can't use them in combat again.
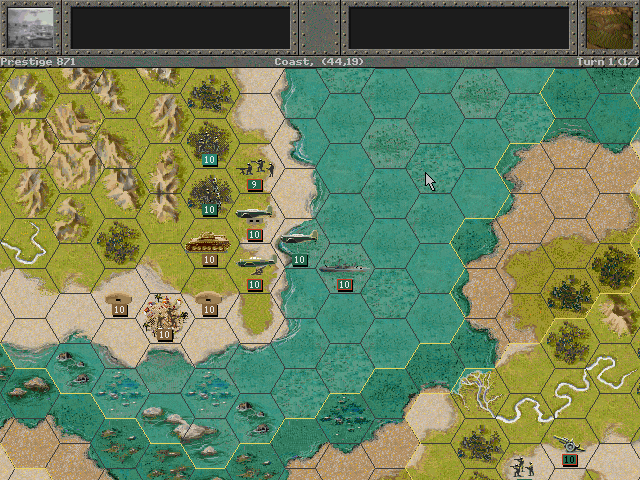
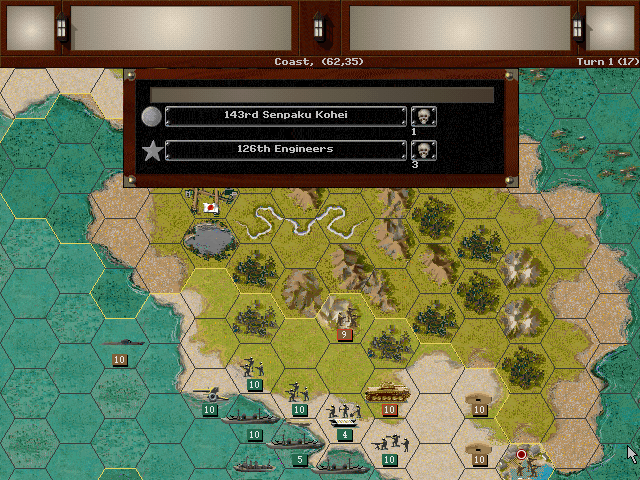
On the northern end of New Georgia, we have a decent array of forces ready to go.
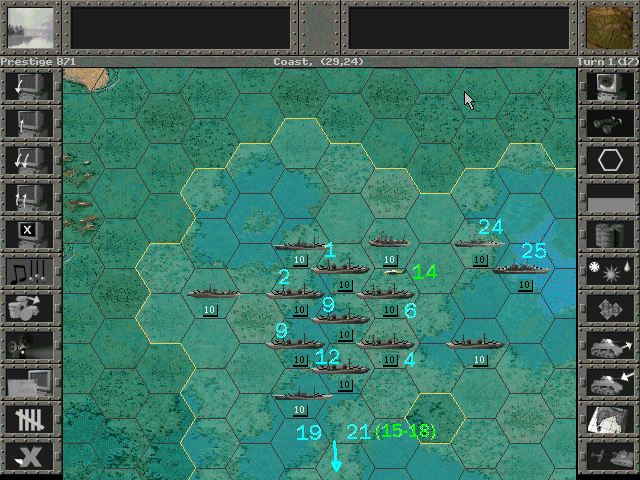
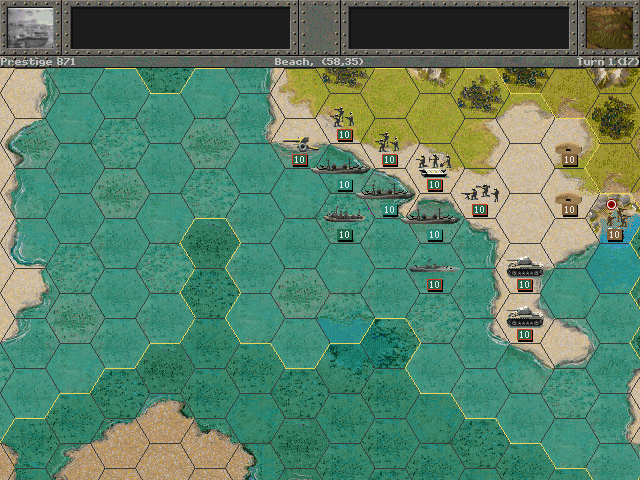
The invasion force for Bougainville is still in the water. Destroyer escorts will keep them safe from subs.
Some of the other cruisers set up to guard the carriers on the north side of the island group.
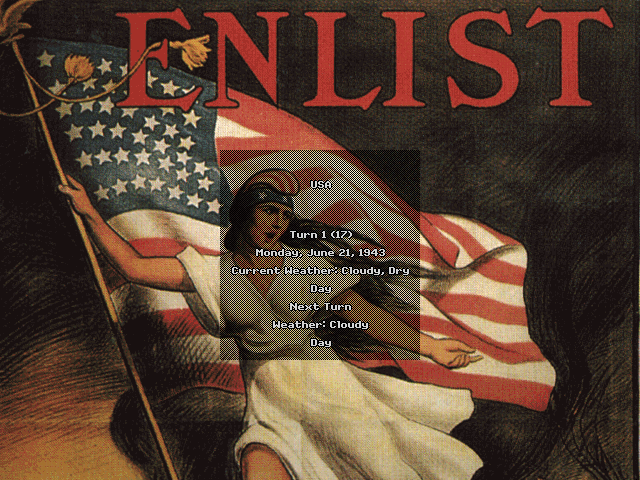
Allied Turn 1 (USA): June 21, 1943
Fair, Dry
Bombers are sent to soften up Zanana and Munda Point.
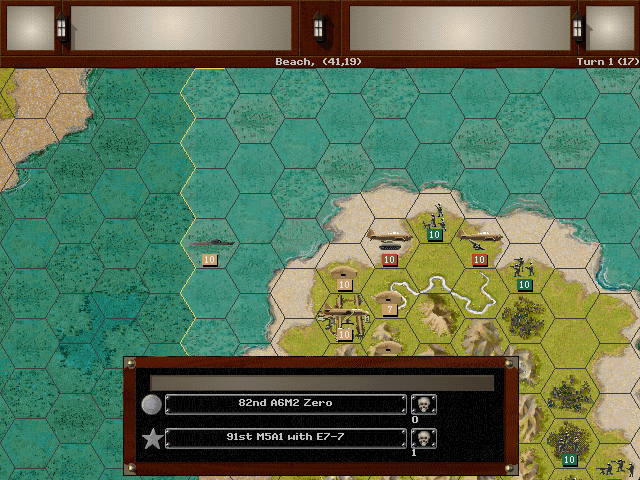
The Australian landings are unopposed initially, but the defenders of Lanbeti are in clear view.
We march toward the cities of Kolombangara and also Zanana on New Georgia (at the lower right edge of this shot).
Axis Turn 1 (Japan): June 21, 1943
Fair, Dry
Forces at the north end of Kolombangara come under heavy air attack.
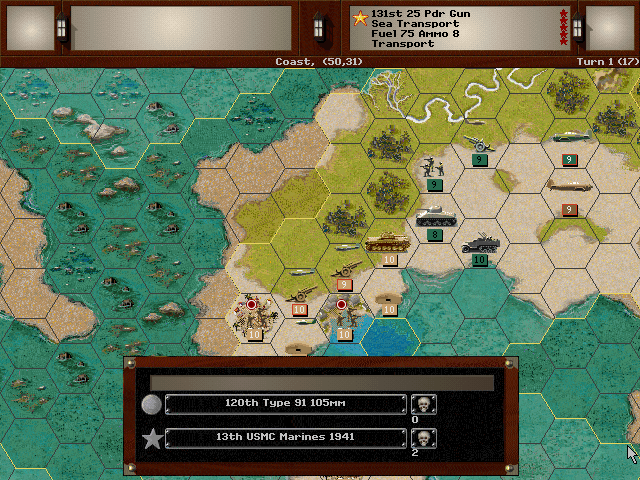
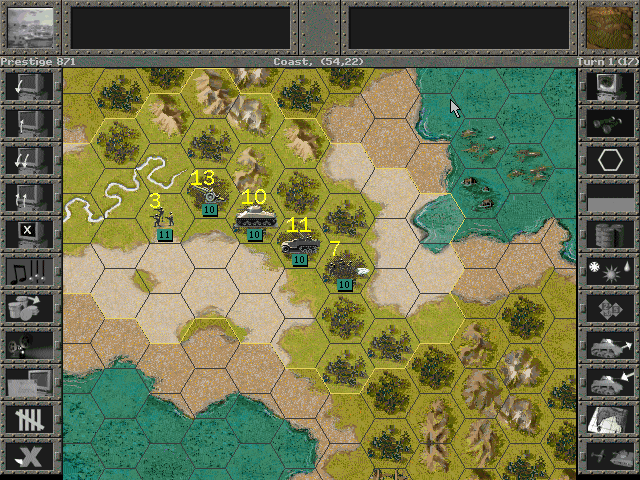
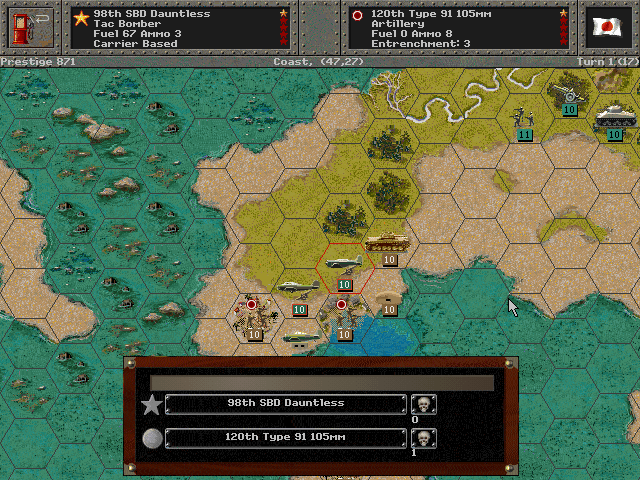
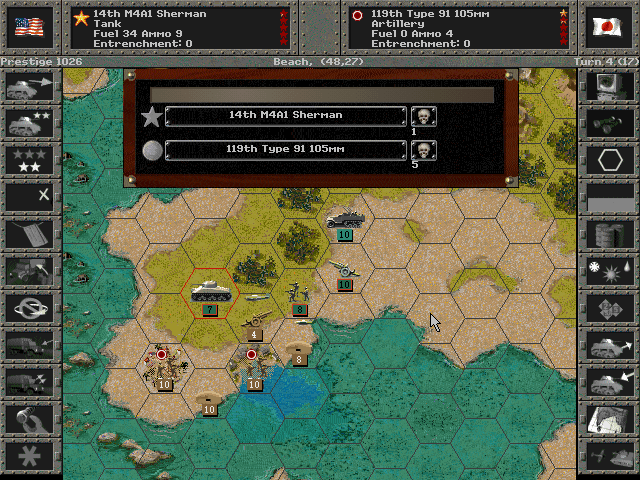
Our core units come under artillery fire on New Georgia.
The Commonwealth troops get attacked just as they start to clear the beaches.
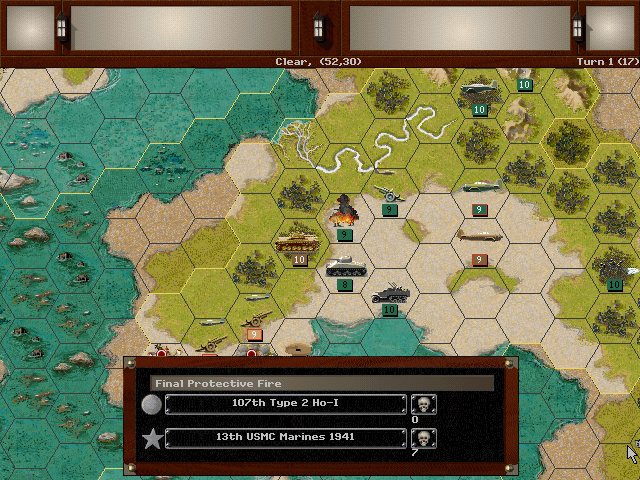
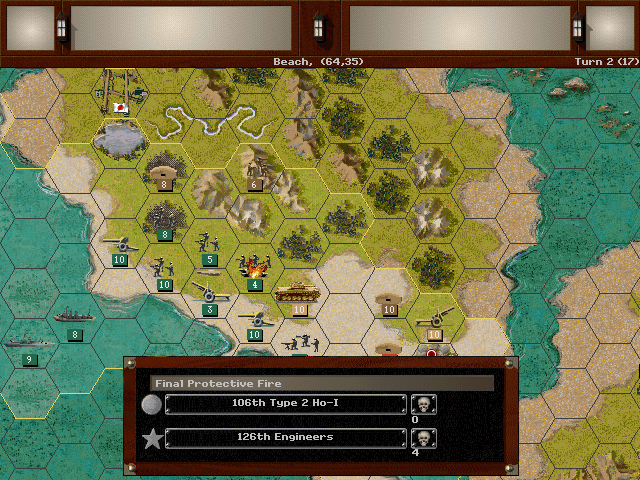
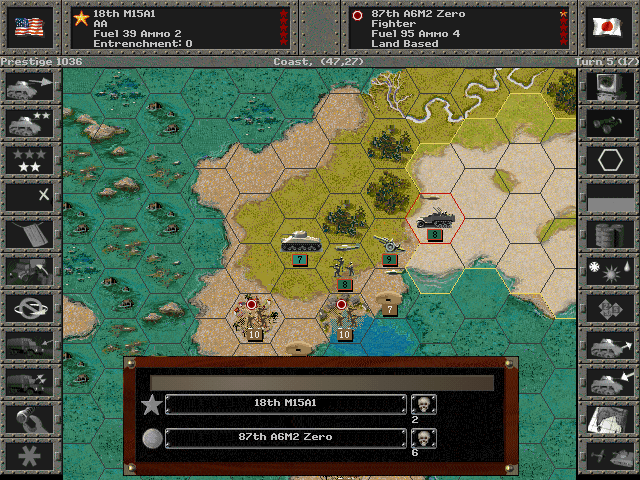
We also discover that there are some surprises on this island -- a new heavy tank from the Japanese.
Allied Turn 2 (USA): June 21, 1943
Cloudy, Dry
We want to secure an airfield on one of these islands, and the one on New Georgia is given priority.
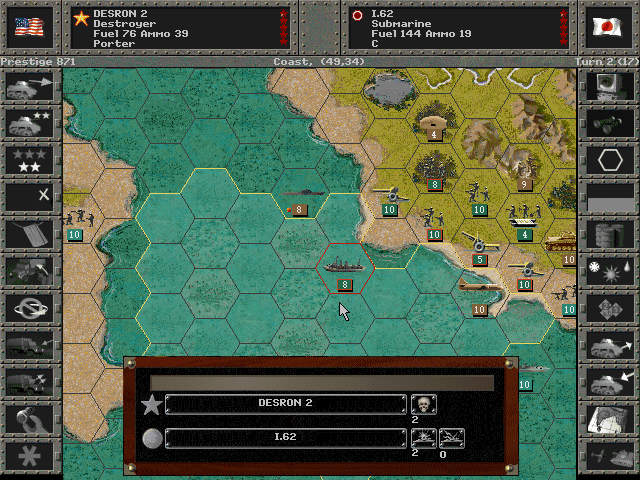
Subs are detected in the channel. Fortunately our transports are all being unloaded.
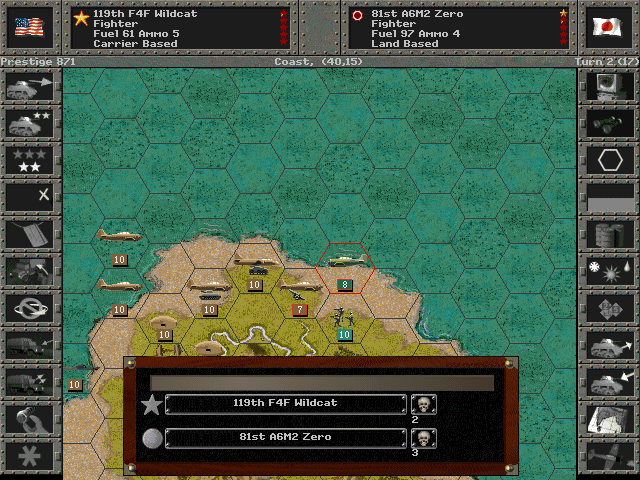
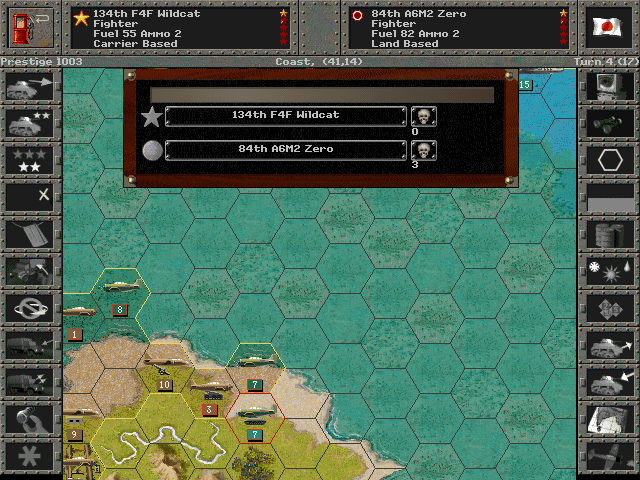
The Wildcats do what they can to reduce the numbers of Japanese planes attacking the troops.
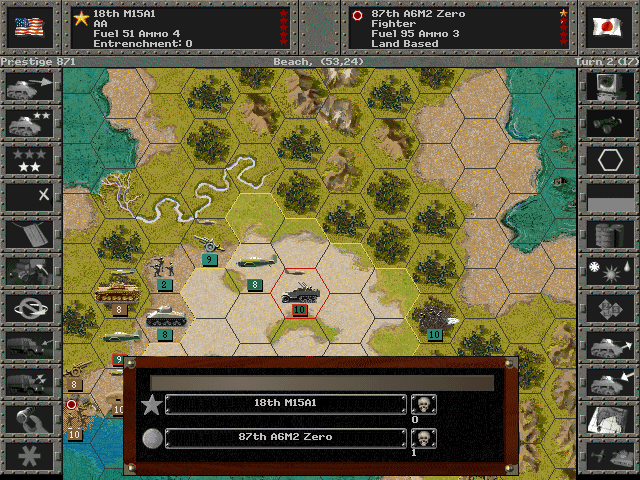
The AA unit gets its first chance at combat, although it lacks experience and doesn't inflict much damage.
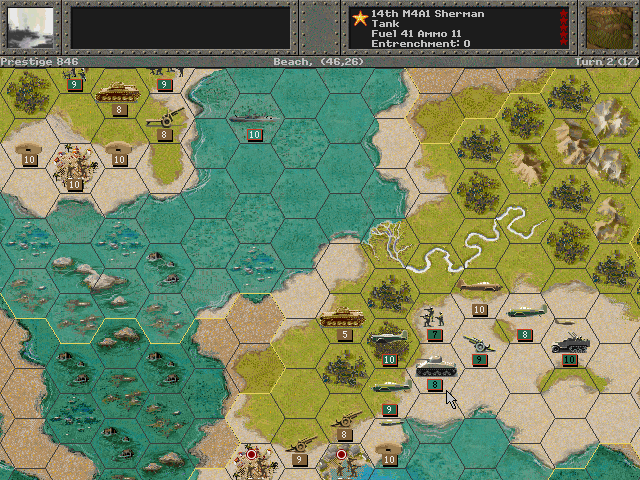
A combination of air strikes and tank attacks drives back the heavy Japanese tanks.
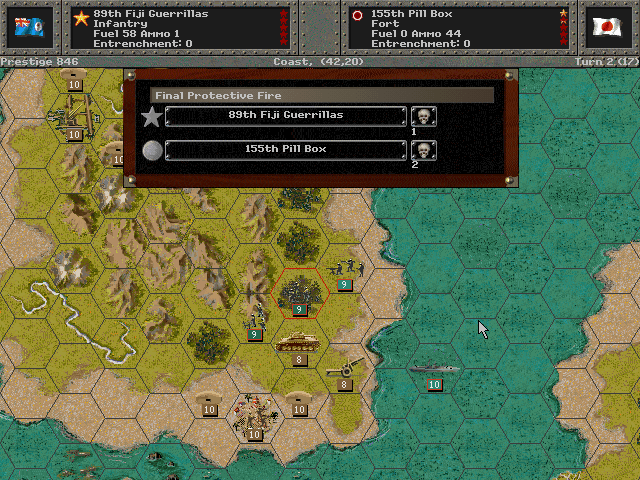
One of the defensive structures is taken out by our Fijian friends.
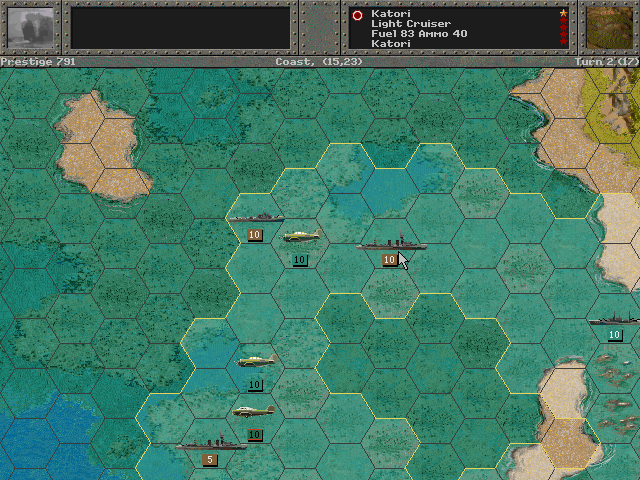
Search planes detect enemy cruisers in the path of our Bouganinville landing group, and the torpedo bombers even score a hit.
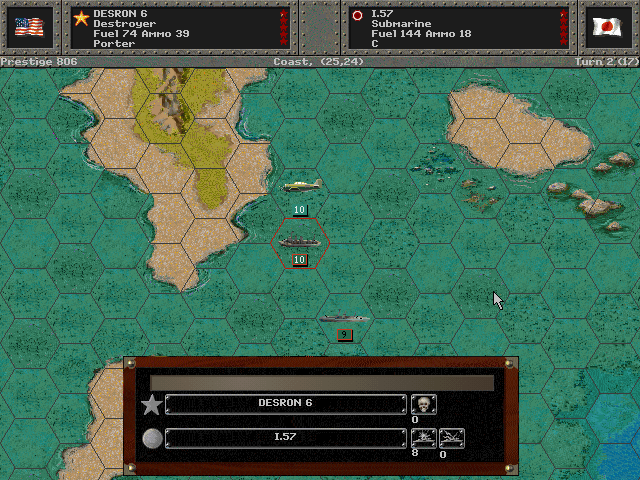
Additionally, a sub is found and sunk by our destroyers.
Axis Turn 2 (Japan): June 21, 1943
Cloudy, Dry

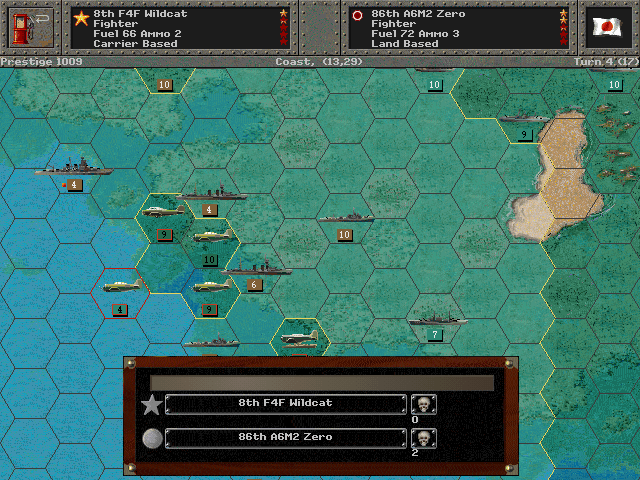
The sheer number of Zeros proves to be more than the Wildcats can take.
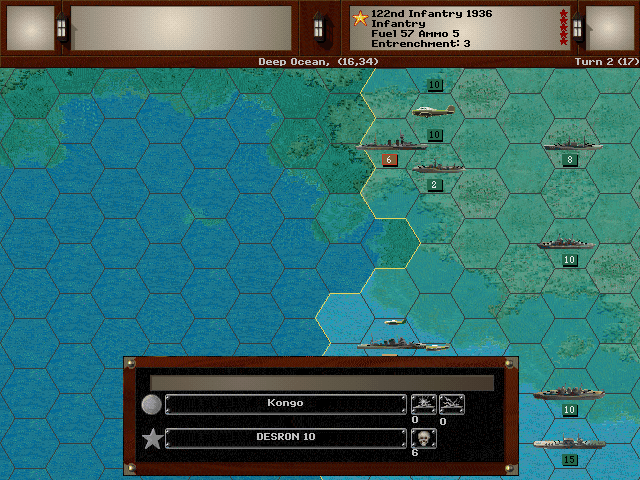
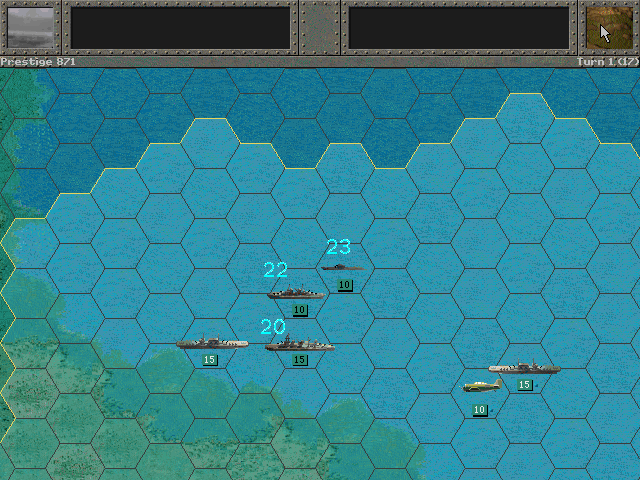
Bigger explosions suddenly rock one of the destroyers. She's not taking fire from those cruisers -- a battleship is in the region!
The captain reports the presence of additional cruisers before the ship is hit again and lost.
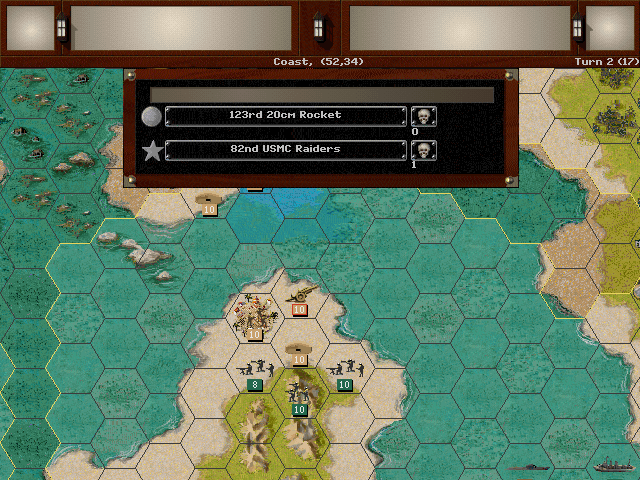
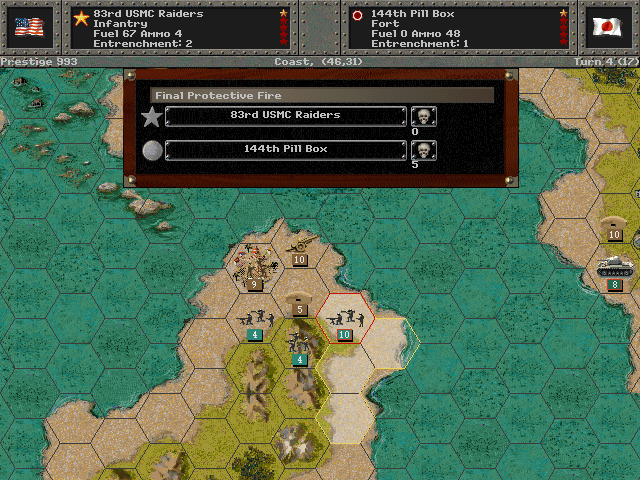
Rocket attacks scare off the initial probes on Rendova, but casualties turn out to be rather light.
At the south end of New Georgia, the Aussies are taking a beating.
So are the Marines on Kolombangara.
Allied Turn 3 (USA): June 21, 1943
Fair (Dry)
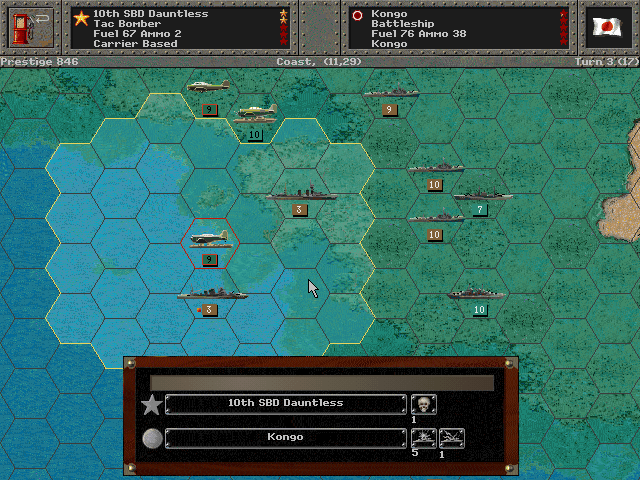
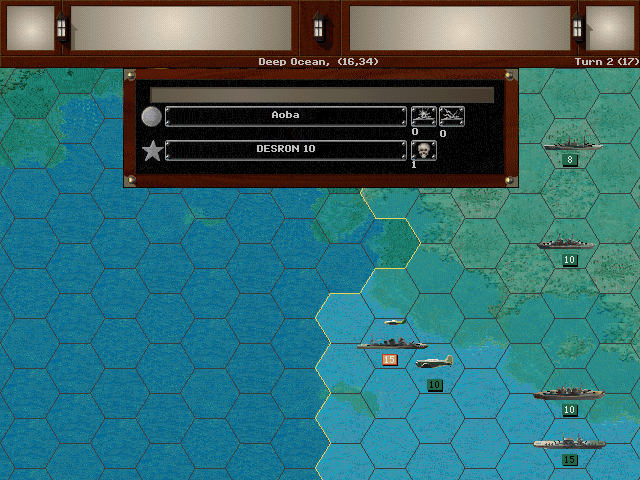
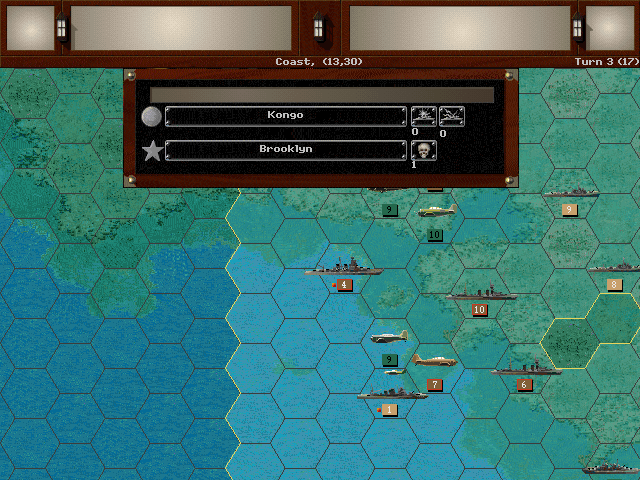
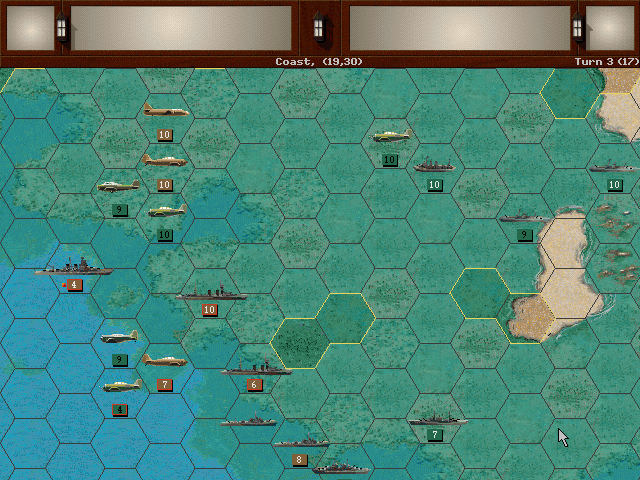
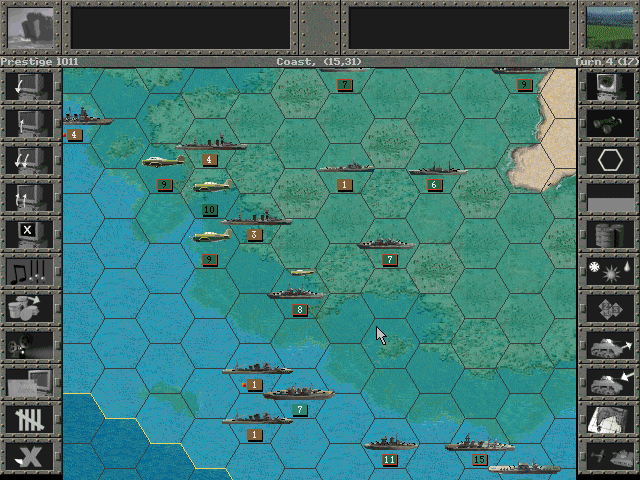
We have quite the naval battle on our hands, but air power should give us the edge. So far we are unopposed in the air when attacking the ships. The Kongo takes a hit to her engine room.
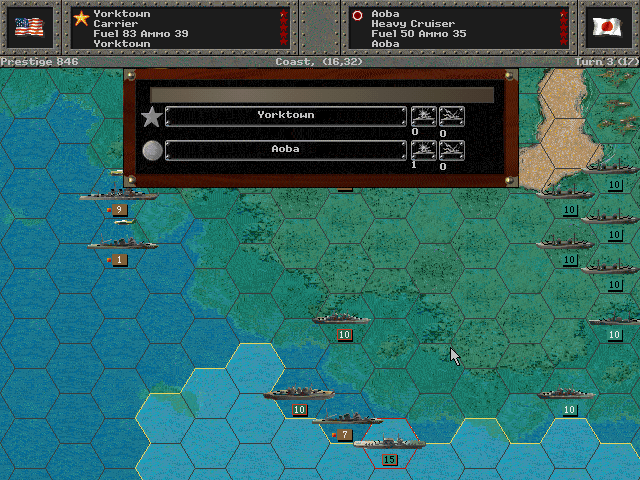
The Aoba has come dangerously close to our forces, and even the Yorktown is forced to man its surface guns.

More subs are prowling around the inner passages. It seems the Japanese have been expecting us to head that way.
On land, the Commonwealth forces are making progress toward the New Georgia airfield.
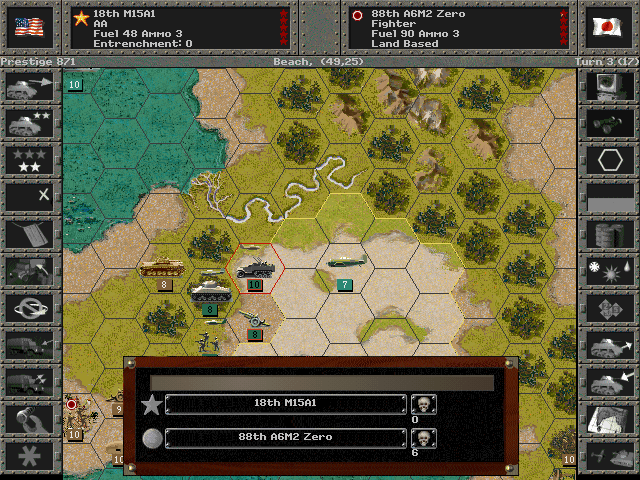
The soldiers in the M15A1 get a better handle on their equipment, and shoot down some Zeros.
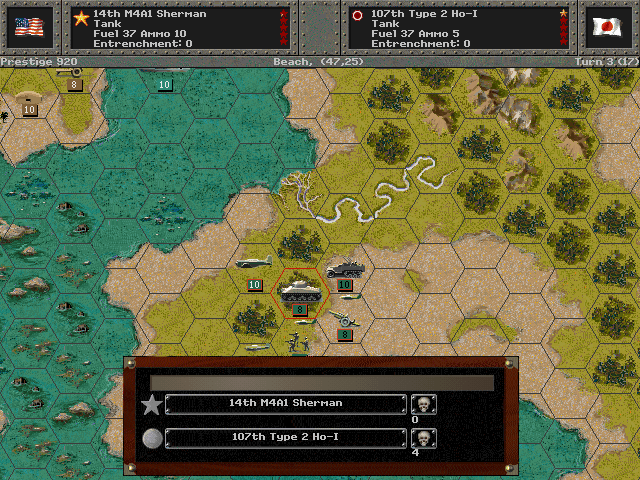
The Japanese tanks prove to be no match for the M4.
Axis Turn 3 (Japan): June 21, 1943
Fair (Dry)
The crippled Kongo is barely even able to damage a cruiser.
The Japanese air units show up late to the party out over the water.
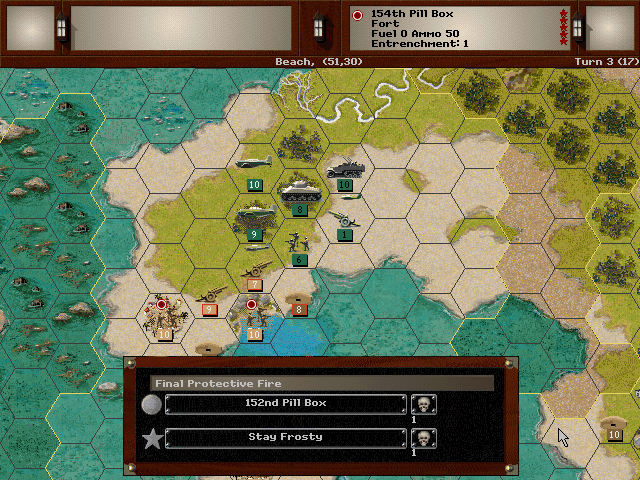
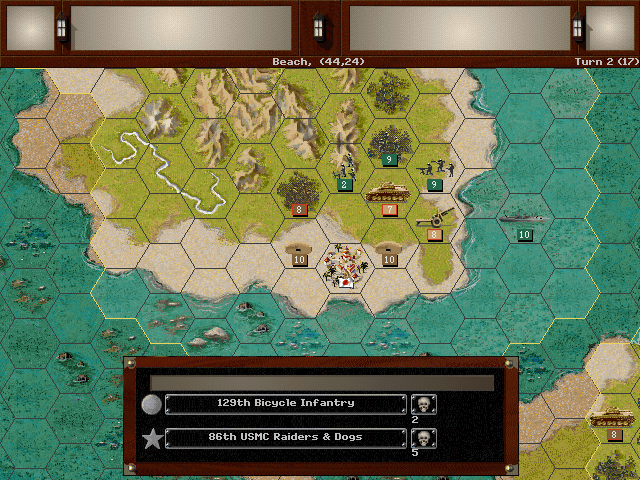
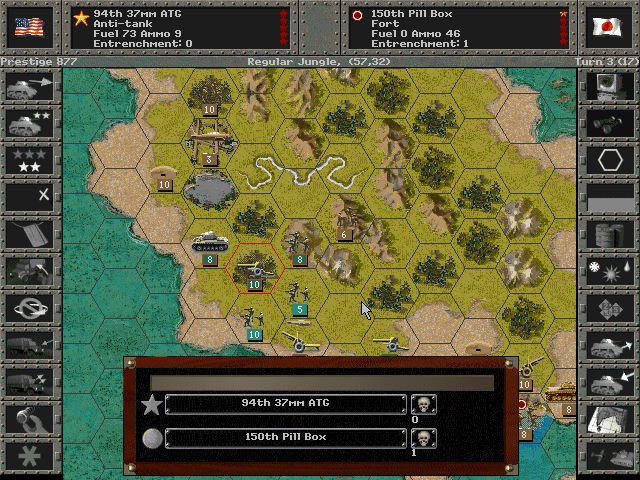
As we draw close to Zanana, the troops come under heavy fire.

The troops on Kolombangara take heavy losses and are forced to retreat.

Combat on Rendova also results in a large number of casualties.
Allied Turn 4 (USA): June 21, 1943
Fair, Dry
Our tanks are providing us a winning advantage around Munda Point.
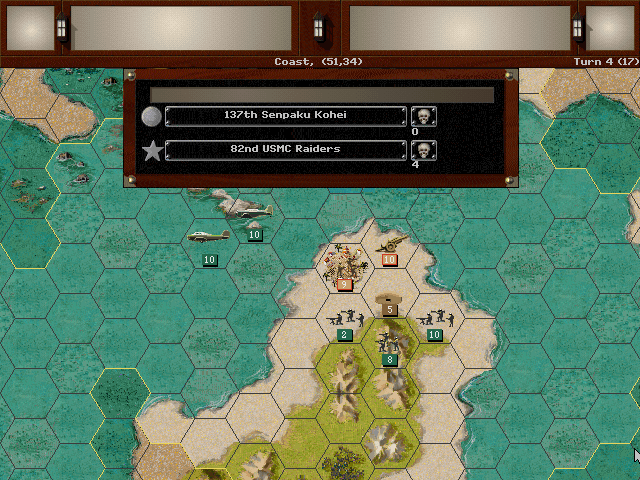
We start to hit back on Rendova, as the Japanese rocket attacks have slowed considerably.
Out in the naval battle, the fighters handle the interceptors, and our torpedo bombers are able to complete their runs.
With our own surface ships engaging them as well, the Japanese naval forces are nearly finished.
We're starting to reduce the fighter presence on Kolombangara as well.
Axis Turn 4 (Japan): June 21, 1943
Fair, Dry
Commonwealth troops are holding at Lanbeti, although casualties there are rather high.
Rendova continues to be a bitter struggle to the death.
Allied Turn 5 (USA): June 21, 1943
Fair, Dry
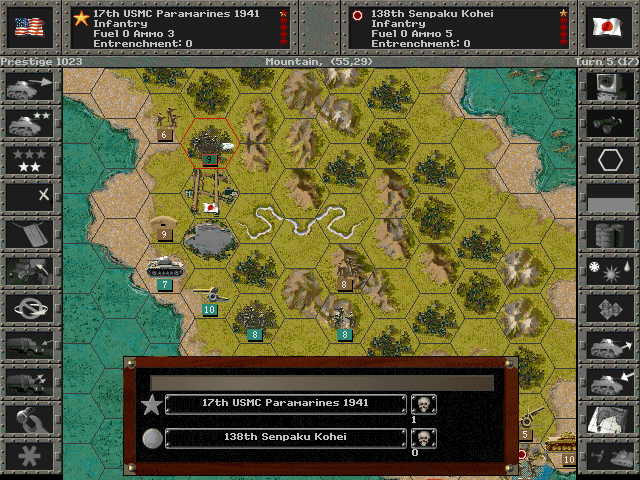
Just as the Japanese are moving to defend an attack from the south, the Paramarines show up on the other side and push them away from the airfield.
Artillery at Munda Point is eliminated.
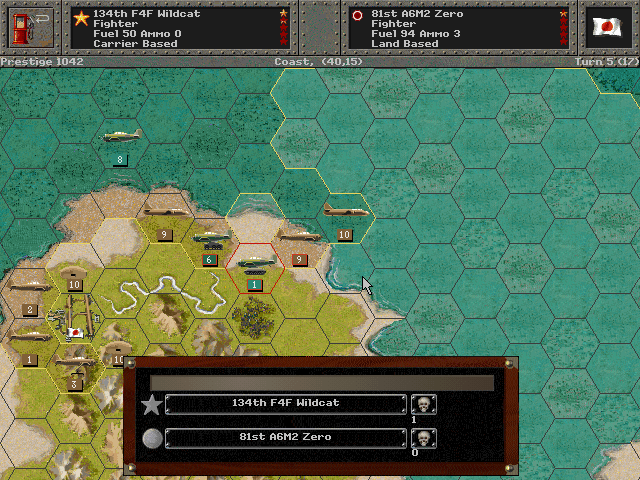
We're not winning the air battle over Kolombangara right now.

The troops on the ground are standing their ground. Once some of the other islands are taken, we'll be able to commit more air resources here.
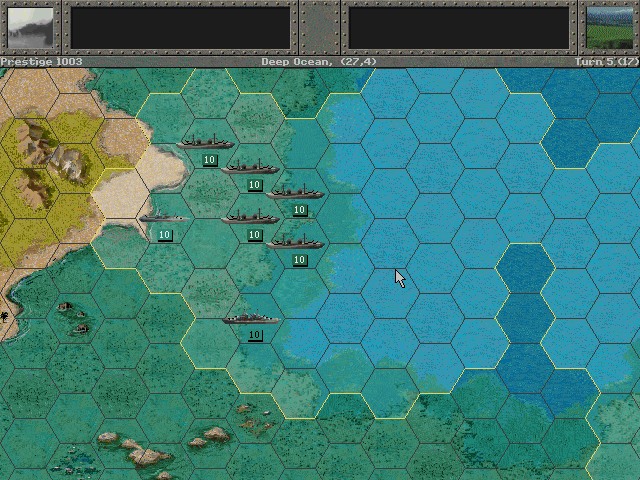
On the positive side, the transports have nearly reached Choiseul, and it seems as if they have thus far gone undetected.
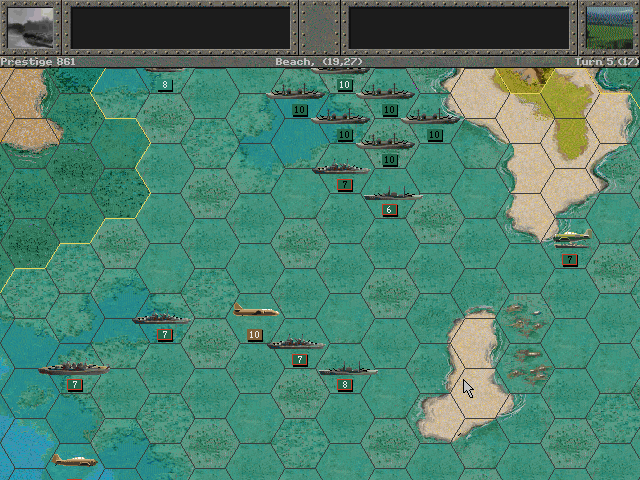
As we pick off the remains of the Japanese fleet, the Bougainville transports are able to make speed toward their landing zone.
Axis Turn 5 (Japan):June 21, 1943
Fair, Dry
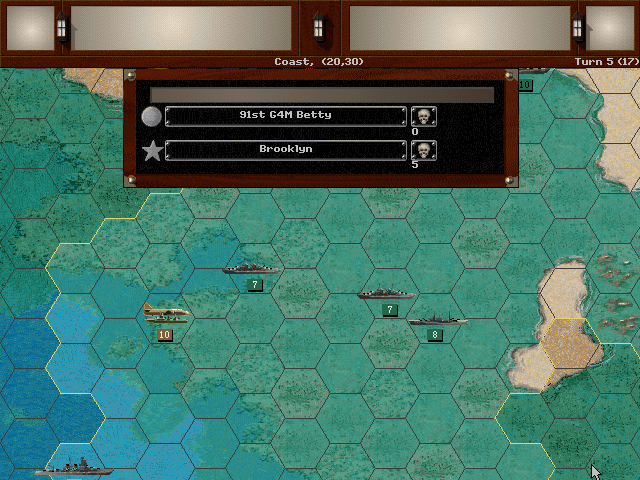
Land-based bombers hit one of our cruisers. Thankfully they failed to locate the landing ships.
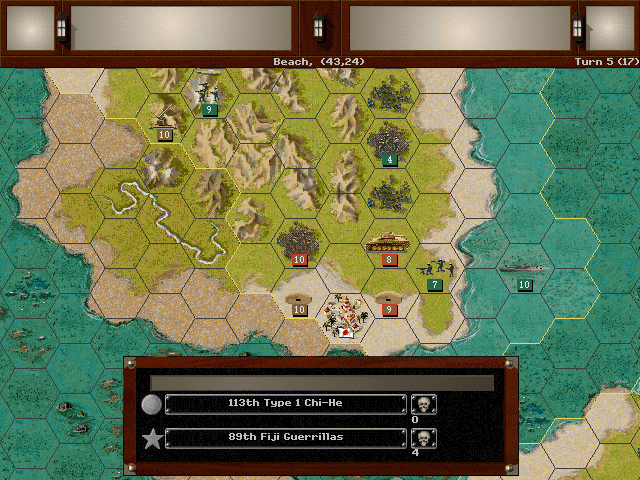
Tanks on Kolombangara press the counterattack.
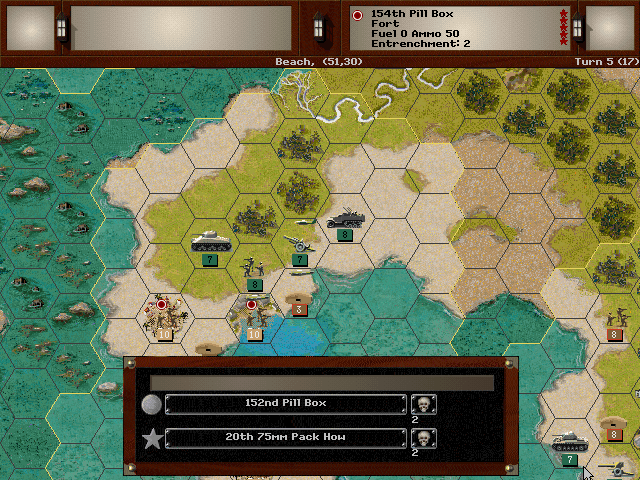
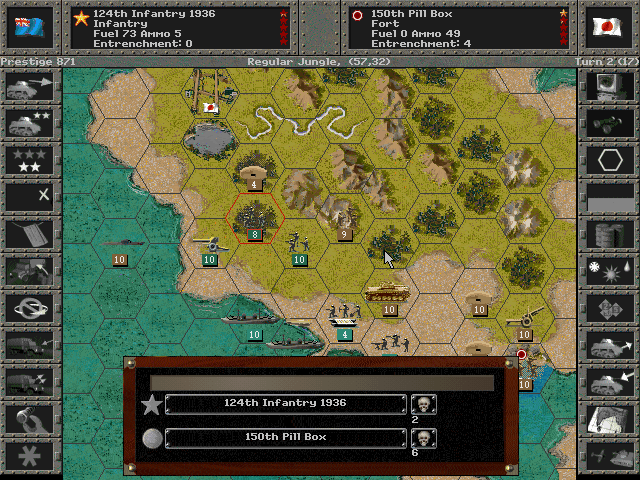
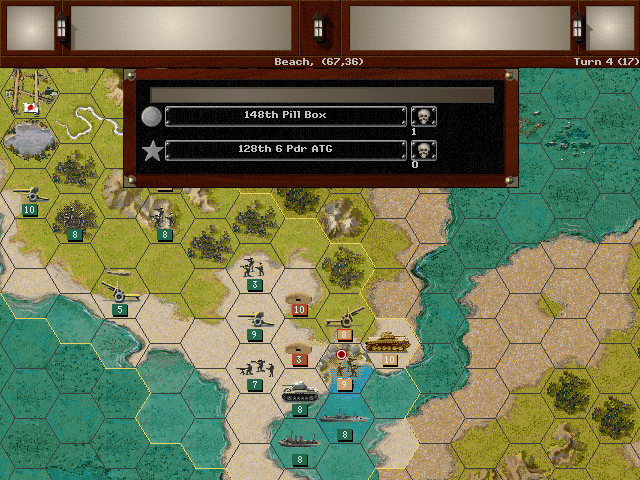
Zanana's defenders still have plenty of fight in them. We can't afford to get too close to those pill boxes, however weakened they might seem.
Unit Spotlight
M5A1 variant with E7-7 Flamethrower (link is for pic only)
PG Name: M5A1 with E7-7 Type: Tank
Effective Date: 1/43
Value:26 Cost:180 Spot:2 Move:8 MM:Track Trans:Naval Fuel: 41
Init:4 SA:15 HA:3 AA:[1] NA:1 GD:6 AD:1 CD:2 TT:Hard Ammo:3
Special: Bunker Killer, Guard
The flamethrower proved to be an effective weapon in circumstances where the enemy position often proved difficult to even detect, which was often the case in the tropical forests of the Pacific islands. The flame tanks were intended to provide the same or better firepower as the man-portable model, and additionally provided the operators with some measure of safety. They did not enter combat until 1945, and even then only very few of this model were used. The M5 made for something of an easy target; any of them sporting a flamethrower would likely become a high-priority target for enemy AT assets, and might end up being lost before it could get close enough to be effective.
In-game analysis: This is a highly situational unit, but until the enemy infantry gets its last upgrade in AT ability, these can be very effective. Ammo consumption is a bit of a concern, so these are probably best deployed only when needed for an attack instead of like a typical tank in the fighting line. I don't generally like to have such specialized units in a core, even if it is a decent value.
Grumman F4F Wildcat
PG Name: F4F Wildcat / USMC F4F Wildcat Type:Fighter
Effective Date: 4/42 / 6/42
Value:29 Cost:348 Spot:3 Move:10 MM:Air TT:Naval/Naval Fuel: 76/114
Init:6 SA:2 HA:1 AA:16 NA:1 GD:7 AD:10 Ammo:6
Grumman iterated on the FF-1 design several times, but when their model eventually lost a competition to the Brewster Buffalo, they came back with a powerful monoplane design that brought renewed interest from the Navy. The new design proved to be successful, and the F4F replaced the Buffalo; it was the primary carrier-based fighter at the time of the war's start. With good power, protection and diving ability, the plane was able to go up against a Zero and win if the pilot knew the right tactics. The Wildcat also featured wings that folded up very compactly for improved carrier storage.
In-game Analysis: Almost identical to the Zero, and in fact very slightly better, the Wildcat is a solid fighter and a good value. Although since it shows up more than a year after the first Zero model, something better would be hoped for. It is the best interceptor on the American side once it appears, however.
Nevada & Pennsylvania-class Battleship (2 built of each type)
PG Name: Pennsylvania/Nevada Type:Battleship
Effective Date: 1/36
Value:12 Cost:216 Spot:3 Move:4 MM:Deep Naval Fuel: 72/61
Init:5 Range:6 SA:7 HA:10 AA:[3] NA:20 DA:0 GD:20 AD:8/7 TD:8 TT:N/A Ammo:40
The Nevada and Pennsylvania were fairly similar designs introduced in 1916, with the Pennsylvania's main distinction being triple turrets for all the main gun positions. The Nevada introduced the concept of 'all or nothing' defense, in which heavy armor was used to protect the most critical sections, and effectively no armor was used elsewhere. All four of these battleships were present at Pearl Harbor, with only the Pennsylvania escaping serious damage due to being in dry dock at the time. While the Arizona and Oklahoma were lost, the Nevada was salvaged during the war and survived to become a test target for nuclear weapons in 1946.
In-game Analysis: I've grouped these because they are so similar. It's plain that the Nevada is slightly worse than the Pennsylvania for the same price, so there's no reason to ever purchase it. As for the Pennsylvania, it's not quite as good as the Maryland, and lacks any special features like the California. So while it's not all that bad on the whole, it's simply not as good as something that's available at the same time.