Part 33: Solomon Islands: June 22, 1943

We're making progress in the Solomons, but we have yet to land on Bougainville. Fighting is intense in nearly all sectors.
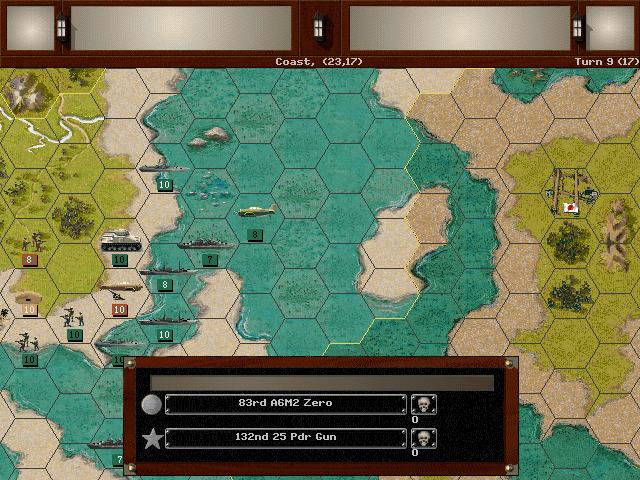
Allied Turn 6 (USA): June 22, 1943
Fair, Dry
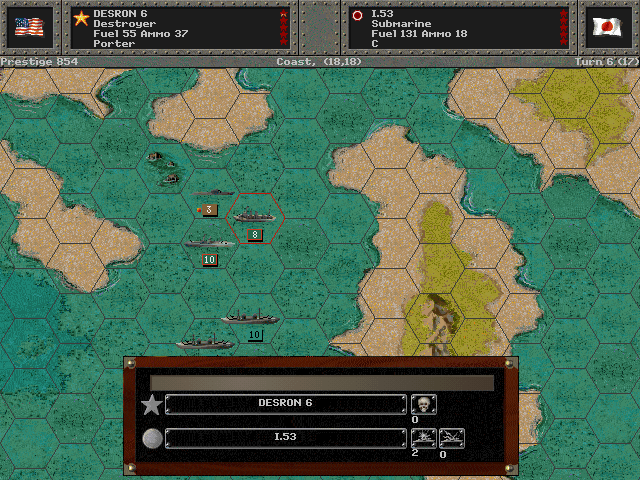
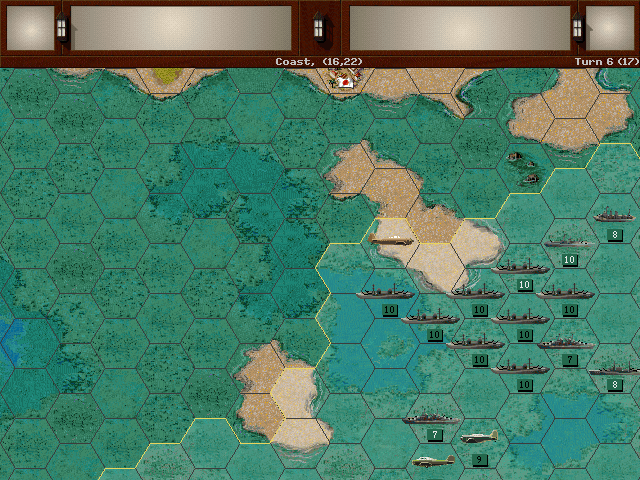
Another sub is spotted dangerously close to our invasion transports. The escorts make short work of it.
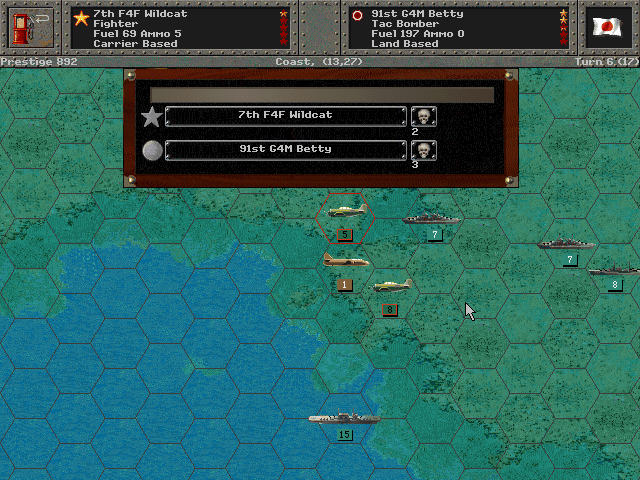
The fighters work on preventing the enemy bombers from getting back to base.
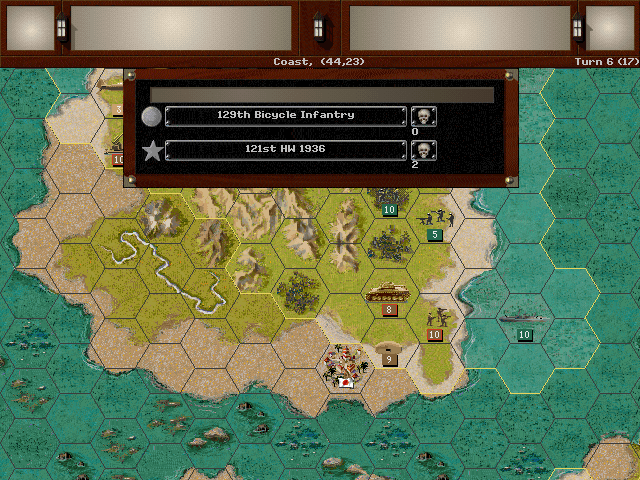
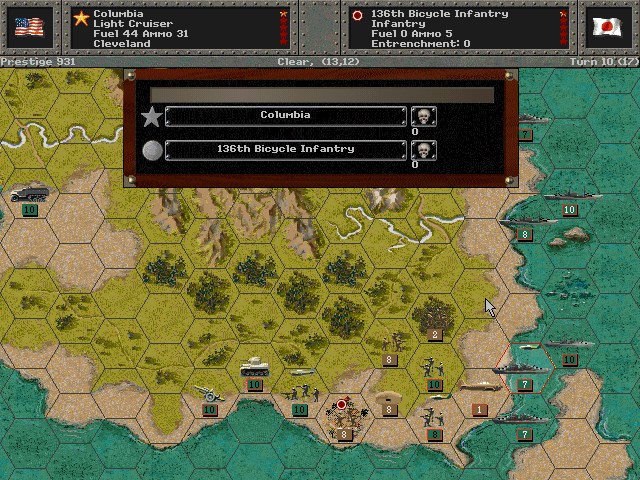
A hole is blasted in the Japanese lines on New Georgia, and the Commonwealth forces stream through.
We break down more of the defenses on the other end of the island, and the Marines on Rendova also start to close in on the port.
Axis Turn 6 (Japan): June 22, 1943
Fair, Dry
The Japanese continue to push back on Kolombangara.
Enemy fighters spot our approaching invasion force.
Japanese amphibious tanks attempt the crossing to reinforce Lanbeti.
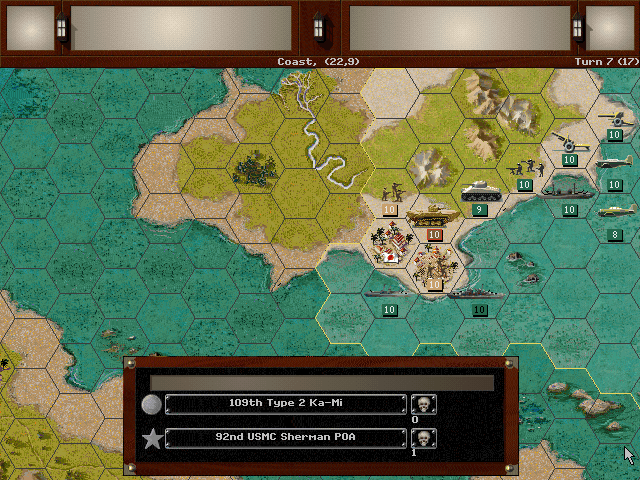
Allied Turn 7 (USA): June 22, 1943
Fair, Dry
One of the objectives on New Georgia is cleared out.
The airfield is also in our hands, and the surrounding enemy forces are nearly gone.
Marine Raiders manage to sneak their way to capturing the Kolombangara airfield, forcing the enemy planes to rebase.
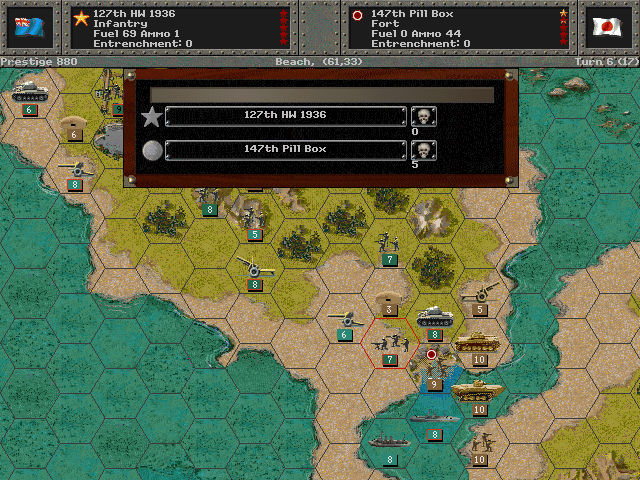
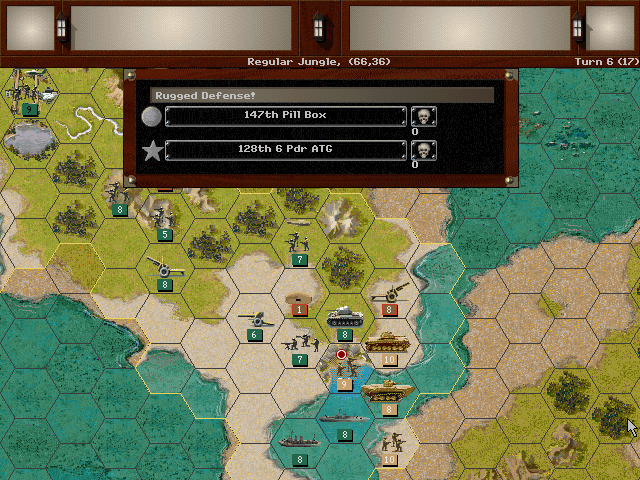
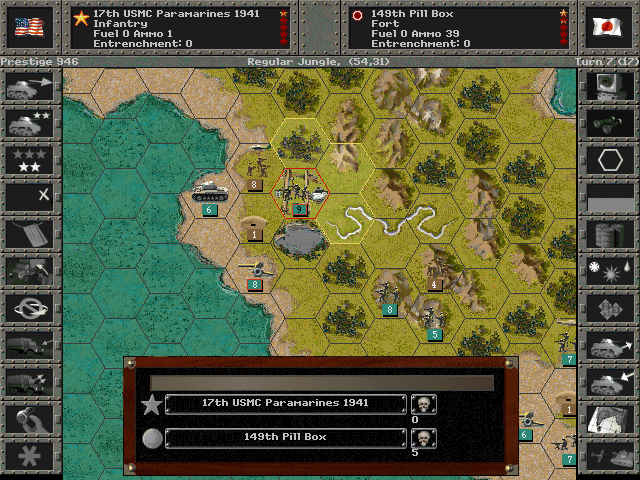
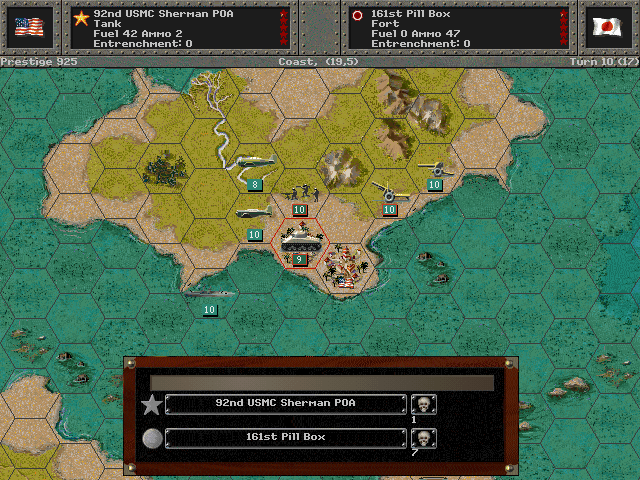
Some forces are ashore at Choiseul, and with artillery support from the escort ships, they knock out a pill box.

Initial raids begin to soften up the forces on Bougainville as the troops get ready to land.
Axis Turn 7 (Japan): June 22, 1943
Fair, Dry
Air Defense guns open up at us from near Buin.
Choiseul responds and sends their own tanks up against the flame tanks.
Allied Turn 8 (USA): June 22, 1943
Fair, Dry
After an intense battle, the Aussies are victorious at Lanbeti.
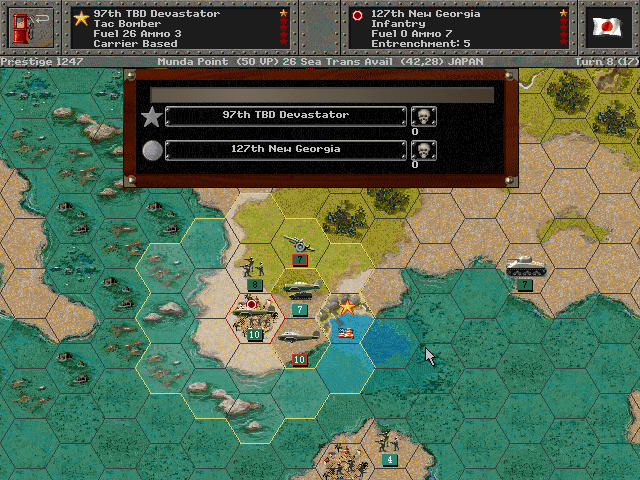
Munda Point comes under fire and is likely to surrender soon.
Free from the suppression of the planes, the flamethrower tanks are able to operate very effectively against the enemy defenses.
The Shermans on Choiseul fare badly against the troops in the hills, though they do force a retreat. The Rangers come in behind them and also drive back the enemy tanks.
The beaches are not quite clear on Bougainville; we spend more time hitting the defenders, so that we won't lose any troops when we land.
Axis Turn 8 (Japan): June 22, 1943
Fair, Dry
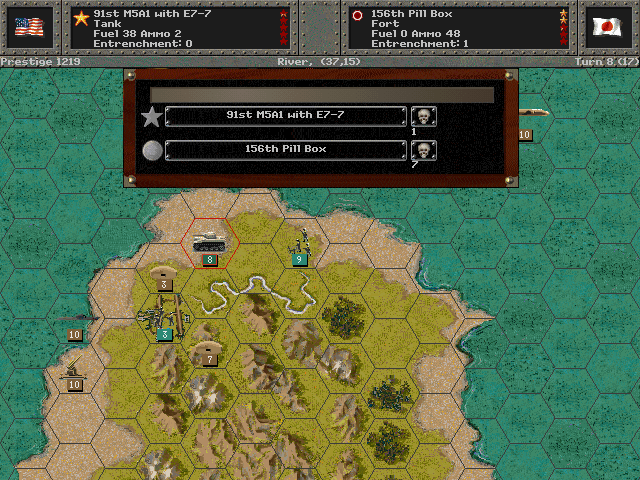
Pillboxes on Kolombangara pound the troops holding the airfield.
The Japanese tanks are still running around on New Georgia.
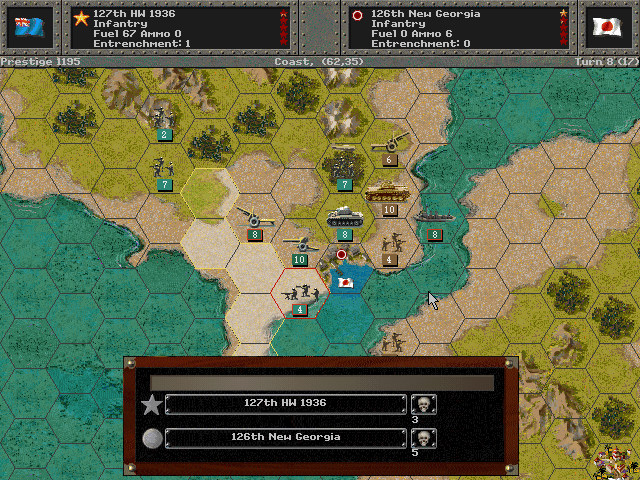
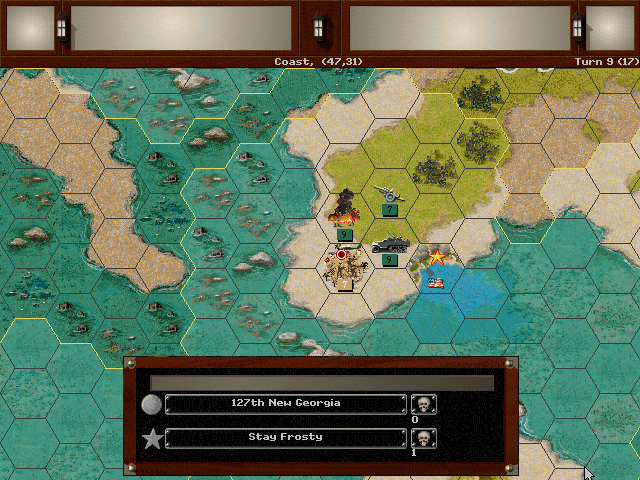
Allied Turn 9 (USA): June 22, 1943
Fair, Dry
The the New Georgia airfield has a few units holding on near it.
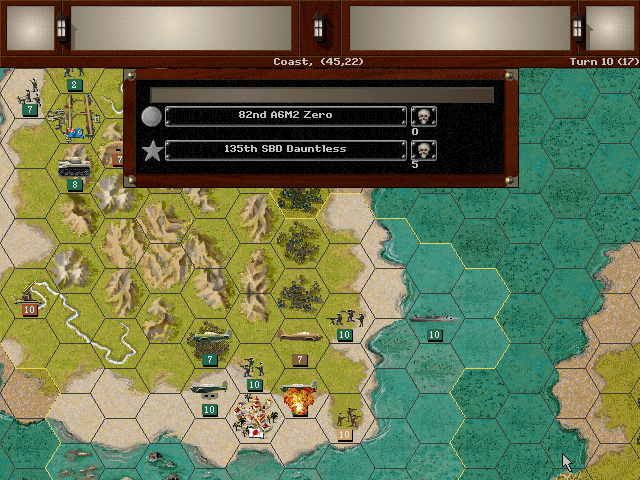
The landing gets underway on Bougainville as the naval guns wear down the enemy positions.
Choiseul is nearly under our control. The units here will be able to depart for Bougainville fairly soon.
The forces on Kolombangara are starting to engage in combat again.
Axis Turn 9 (Japan): June 22, 1943
Fair, Dry
Enemy fighters strike at the units as they get ashore.

Then troops on the ground come at them, and the auxiliary artillery is lost.
The Marines near Munda Point take casualties as the defenders fight back.
Allied Turn 10 (USA): June 22, 1943
Fair, Dry
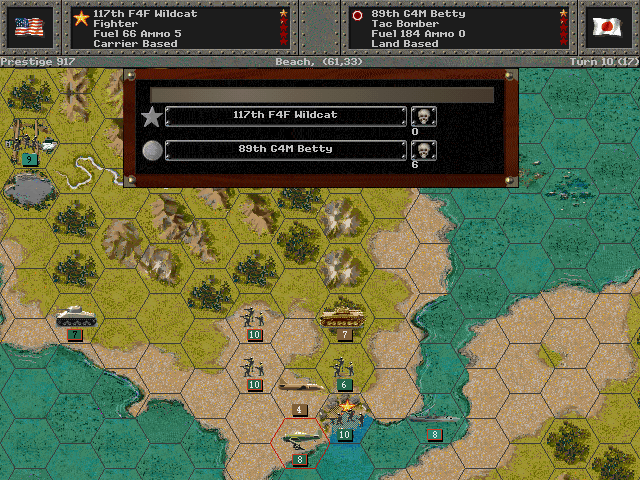
Now that we have some land airbases, we're finding it easier to support the forces from the air.
Air support is turning the tide on Kolombangara as well.
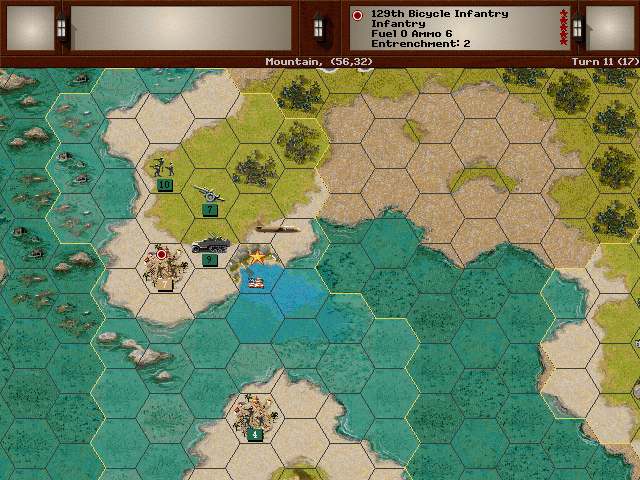
All resistance is cleared off on Choiseul.
With offshore bombardment able to hit Buin, we're able to send some of the troops on ahead up the island.
Axis Turn 10 (Japan): June 22, 1943
Fair, Dry
Although they've had to shift their base, the enemy fighters have not all been shot down.
Those heavy tanks keep striking from the jungle.
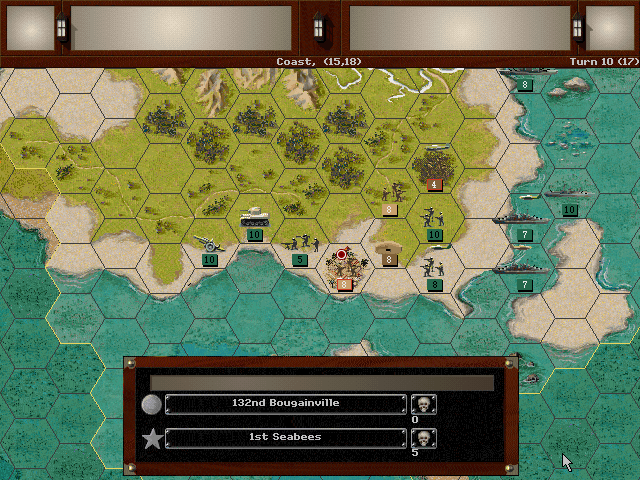
High casualties are taken by the Seabees in their first amphibious assault.
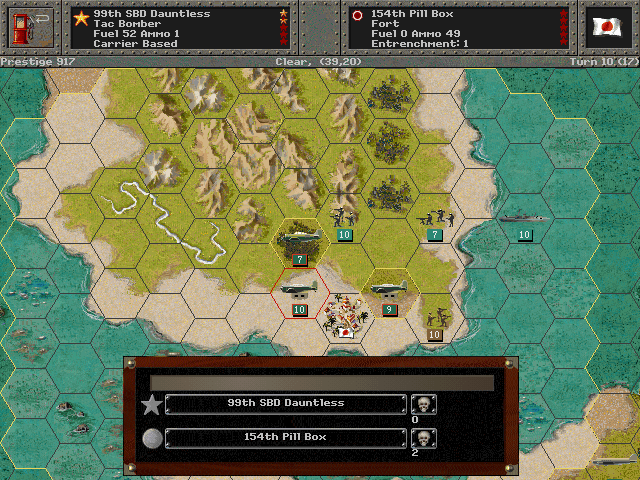
Allied Turn 11 (USA): June 22, 1943
Fair, Dry
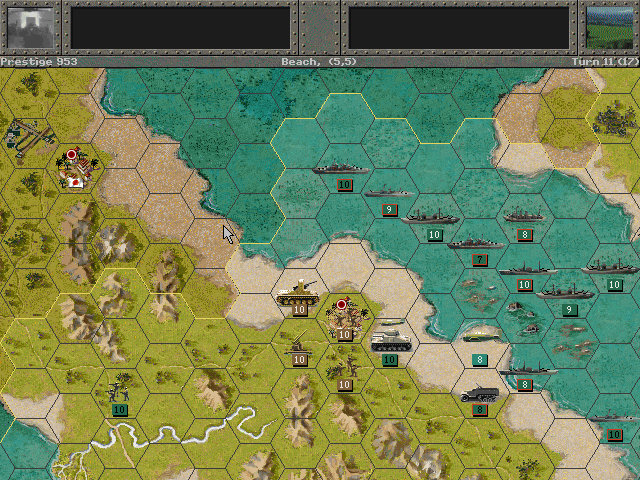
With New Georgia fairly well secured, the Australians send probes the short distance to Vangunu to see if they can take it too.

Air power can handle the remnants of the units on New Georgia.
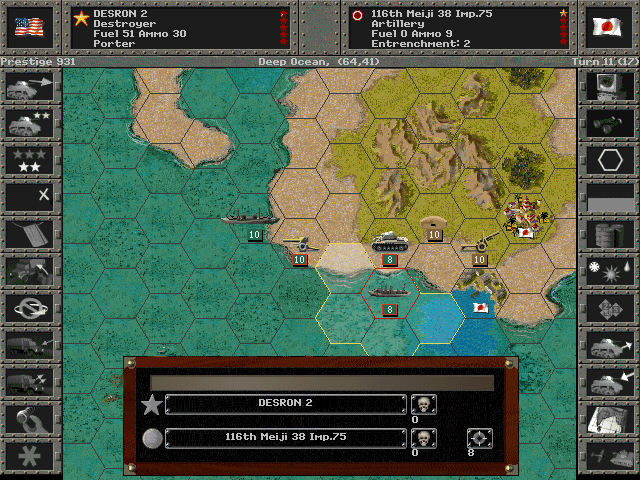
Many ships are suppressing the enemy guns at Kieta. That allows our tanks to approach the town.
Axis Turn 11 (Japan): June 22, 1943
Fair, Dry
Other than some bombers spotted on a flight over New Georgia, the Japanese side is quiet.

Unit Spotlights
Philippine Scouts
PG Name: Phi Scout Type: Infantry
Effective Date: 6/41
Value:6 Cost:72 Spot:3 Move:3 MM:Leg Trans:Air Fuel: -
Init:1 SA:6 HA:4 AA:0 NA:1 GD:8 AD:9 CD:0 TT:Soft Ammo:5
The Philippine Scouts were American army units that largely consisted of Filipino soldiers, with most of them in service prior to World War II. They were some of the first ground units to enter combat for the US, and likely the best-trained units in the early going. They defended the Philippines from 1941 and into 1942 until the Japanese conquered the islands, at which point many formed guerilla units. Many were also taken prisoner, and formed the majority of those involved in the infamous Bataan Death March. When MacArthur returned, the Scout units were re-established to secure the islands and also to continue the fight, with some forces even being prepped for the invasion of Japan. Additionally, there was a unit formed from Filipinos who lived in the mainland US when war broke out; they were sent to Australia and then later to the Philippines.
In-game analysis: These occupy something of an odd space -- they aren't cheap militia, but they aren't quite front-line quality either. The main things going for them are an interestingly high Hard Attack, and the extra spotting range. They could be useful against weaker tanks (and there are no lack of those on the Japanese side), and they won't crumple too quickly in the face of attacks. Still, they can't really go toe-to-toe with other infantry, and while I'm happy to use them if available, I would not purchase them on their own.
Curtiss SBC Helldiver & Martin T4M-1
PG Name: SBC Helldiver/T4M Type: Tac Bomber
Effective Date: 1/36
Value:13/11 Cost:156/132 Spot:3 Move:8 MM:Air Fuel: 51
Init:2 SA:4 HA:2 AA:[3] NA:14/10 GD:8 AD:5 TT:Naval Ammo:4
These are separate units, but quite similar, so I've grouped them together.
Not to be confused with the SB2C Helldiver, the SBC was a two-seater biplane that was seriously obsolete by the time of the war. Its design was fairly staid for the late 1930s. Pilots seemed to like it, but it wasn't anything spectacular. Once war became a reality, it was never expected that these would be effective in a real fight. The carrier Hornet actually still had some on board in December of 1941, but they were replaced before the ship went into combat.
The T4M was another biplane design, this one dating to the 1920s. It was a torpedo bomber, but would not have been very effective against any enemy warship by the time of the war, since it was far too slow and weak to survive a run at them. The plane was withdrawn from service in 1938, and thus would appear to only be present in the game for the purpose of speculative scenarios.
In-game Analysis: It's nice to see a carrier-based bomber that's this decent against ships early on. These won't survive long without an escort, and with a low amount of fuel and ammo they can't spend too much time on the target, but they at least hit hard for how relatively cheap they are. Given that the T4M can stand off to fire torpedoes, and is actually cheaper, it may be the wiser choice, especially if you want it to last longer.
Porter-class Destroyer (8 built)
PG Name: Porter Type:Destroyer
Effective Date: 1/36
Value:4 Cost:48 Spot:1 Move:7 MM:Coastal Fuel: 84
Init:3 Range:1 SA:3 HA:6 AA:[3] NA:10 DA:8 GD:14 AD:6 TD:16 TT:N/A Ammo:40
There were plans to enlarge the US destroyer fleet as early as 1916, but it was not until the 1930s that authorization was given to construct the 8 ships of this class. Designated as 'Destroyer Leaders', they were slightly bigger than their contemporaries, and their intended role was to lead the assault of a flotilla against enemy shipping.
The ships were given various upgrades throughout the war, mostly to improve their anti-aircraft ability.
In-game Analysis: Nice and cheap, but still reasonably effective. While better ships are available at the same time, this model represents a great value for what may well be a disposable ship.