Part 35: Marshall Islands: February 1, 1944
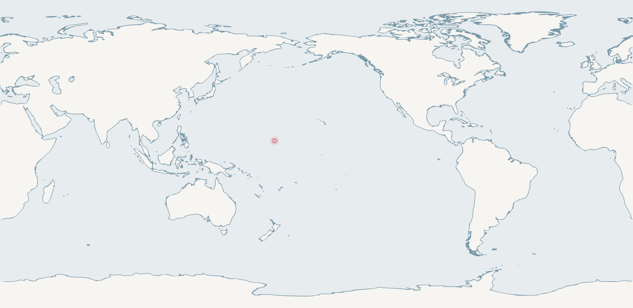
It's several years into the war now. Progress toward containing Japan is slow but steady.
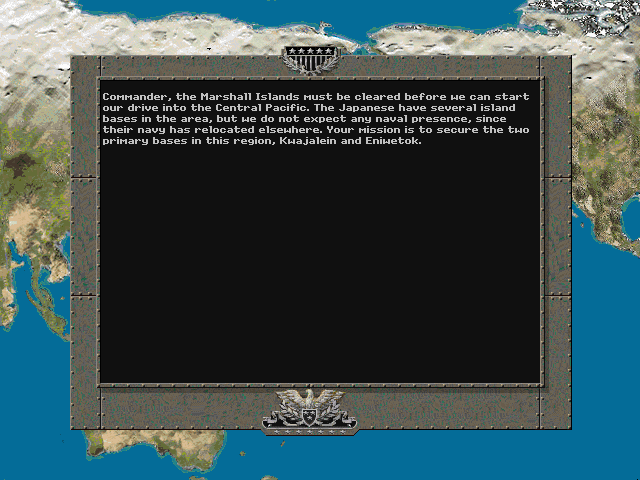
With Japan's expansion halted, we need to keep taking new bases for aircraft and supply, and denying them to the enemy. These two little rocks may not seem like much, but they will be vital to the war effort.
Marshall Islands : February 1, 1944
Objectives: Eniwetok - Paved Airfield [100] (13, 12), Paved Road [100] (32, 17); Kwajalein - Center Pier [100], Paved Airfield [100] (46, 41), Dirt Road [100] (54, 34), Paved Road [100] (54,43)
The objectives here don't seem to be all that meaningful aside from the airfields. We must gain control of an airfield relatively quickly or else our land-based planes won't survive. The remaining spots we've determined via aerial reconnaissance to be key positions or headquarters for the Japanese. They have few places to hide on these islands, so we should be able to keep our forces together and not be surprised by anything.
VP at Start: 0 - 1229
OOB
pre:
Unit Name                      Unit Type [Transport]        Exp

Land Units

1.1st Seabees                  Seabees                         -
2.12th USMC Marines 1941       USMC Marines 1941 [M2]         **
3.Stay Frosty                  USMC Marines 1941 [M2]          *
4.15th USMC Marines 1941       USMC Marines 1941 [M2]          -
5.16th USMC Marines 1941       USMC Marines 1941 [M2]          *
6.17th USMC Paramarines 1941   USMC Paramarines 1941           -
7.26th M8 Greyhound            M8 Greyhound                     -
8.21st M3 Stuart               M3 Stuart                       *
9.29th M5 Stuart               M5 Stuart                        -
10.Boondoggle                    M3A1 Lee                       *
11.14th M4A1 Sherman           M4A1 Sherman                    -
12.18th M15A1                  M15A1                           -
13.19th 75mm Pack Howitzer     75mm Pack Howitzer              -
14.20th 75mm Pack Howitzer     75mm Pack Howitzer              -
15.25th M7                     M7                               -

Aux (by qty)
3                              Marines 1943 [GMC]              -
1                              Marines 1943 [GMC]            ***
2                              Engineers 1943 [GMC]            -
3                              M4A1 Sherman                    -
2                              USMC Sherman POA                -
1                              LVT(A)-1                        -
2                              75mm Pack Howitzer              -
1                              105mm Howitzer                  -

Air Units

16.7th F4F Wildcat             F4F Wildcat                     *
17.8th F4F Wildcat             F4F Wildcat                    **
18.9th F4F Wildcat             F4F Wildcat                     *
19.Pretty Pixel Pilots         P-38 Lightning                     -
20.10th SBD Dauntless          SBD Dauntless                  **
21.11th TBD Devastator         TBD Devastator                  *


Aux (by qty)
2                              USMC F6F Hellcat                -
3                              USMC F6F Hellcat                *
1                              USMC F6F Hellcat              ***
5                              SB2C Helldiver                  *
1                              SB2C Helldiver                ***

Naval units

22.New Orleans                 New Orleans                    **
23.Northampton                 Northampton                    **
24.Yorktown                    Yorktown                        -
25.Atlanta                     Atlanta                         -
26.Gato                        Gato                            *
27.23rd Somers                 Somers
28.24th Cleveland 43           Cleveland 43                    -
29.Independence                Independence                        -

Aux

DESRON 2,3,4,5, 6               DD Sims                        -
Mobile                          CL Cleveland                   *
Indianapolis, Louisville        CA Northampton                 -
Pennsylvania                    BB Pennsylvania                -
Intrepid                        CV Essex                       -
Belleau Wood, Cabot             CV Independence                *
Manila Bay                      CV Cabot                       -
Suwanee                         CV Bogue                       -
Core land-air:naval/aux slots: 1:2/0
Staring Prestige: 1019
For this battle, we've added a few new vehicles: An M8 scout car and a light tank will give us a bit of mobility in this more open battlefield. The M7 is also a great mobile artillery unit, as it's strong, fast, and also decently armored. In the air, the Pretty Pixel Pilots bypass the P-40 and get straight into the P-38 Lightning. At sea, we add a new carrier to the fleet - not something really big, but the light Independence, which we may need since we're attacking two islands now.
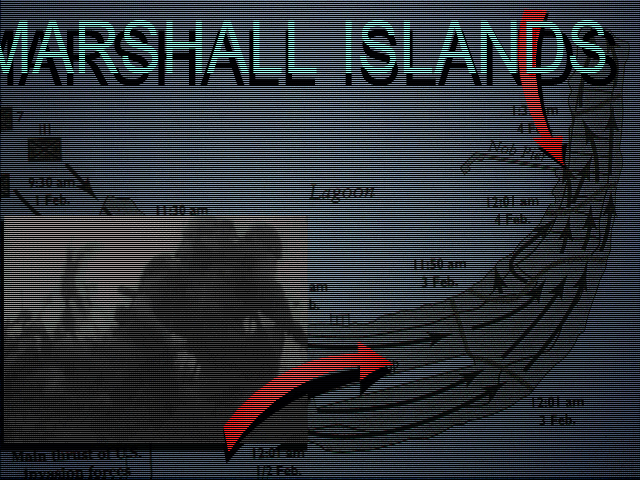
I'd intended to get the P-40 or P-38 earlier, but did not realize that in general, you can't purchase new air units during a battle, since the 'HQ' points are rather limited. In the map below, Eniwetok is shown at the top of the map, and Kwajalein on the bottom. While this is unrealistically close to each other, it doesn't have much effect on the battle, but it does make for an interesting choice in deployment. For what it's worth, I had to make three attempts at this battle in order to win, but that may have been because I decided to stick with my initial deployment instead of shifting units for each try.

The plan for the Marshalls is to
Eniwetok's airfield is likely to be easier to capture but may also have more units on it, and so we're placing the stronger force on that side. Some assistance will be provided by naval guns, but they'll mostly be on their own once ashore. Kwajalein can only expect scant help from offshore units. Air power will be allocated as needed, but Eniwetok remains their primary area of concern at this time.

On Eniwetok, our goal is to get our force on shore first, and then organize and head north. The southwest tip of the island is lightly defended, and with air cover, we should take it easily. From there, the airfield will be the first target, and then the remainder of the island. A smaller auxiliary group will be tasked with securing the narrow middle portion of the island and probing the enemy defenses on the western side.
Kwajalein may have stronger shoreline defenses, and to clear them out quickly, we'll be landing on both the north and south sides of the island. It's expected that the forces can join up in the center relatively early on. From there, a westward push will take on whatever objectives are deemed feasible. The Pier and Airfield are a necessity, but given the time frame and the size of our force, we can't be sure of getting much more than one more beyond that. We will need to keep the units focused and make a choice.
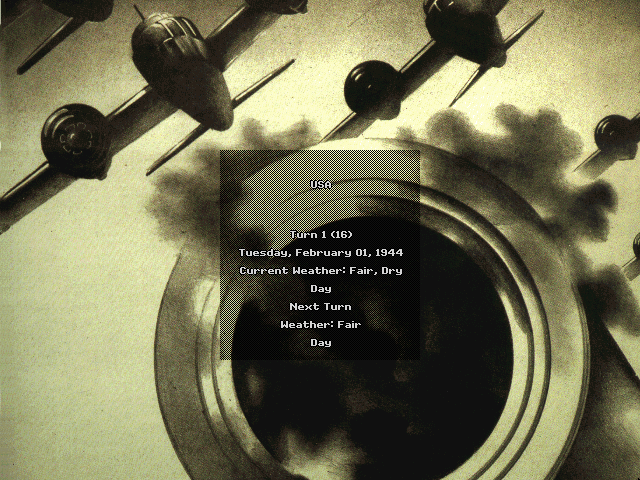
Allied Turn 1 (USA): February 1, 1944
Fair, Dry
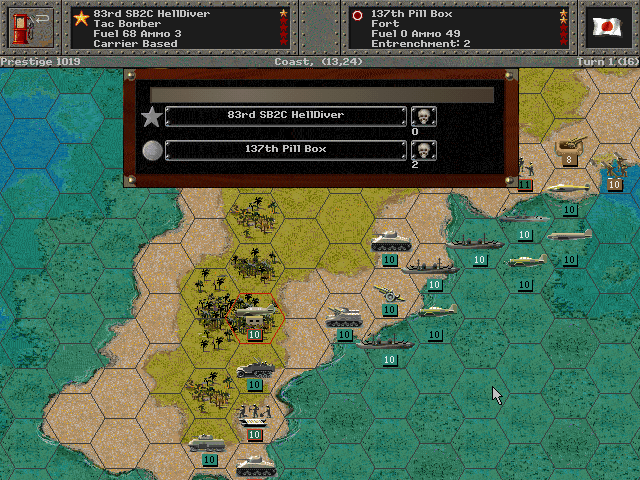
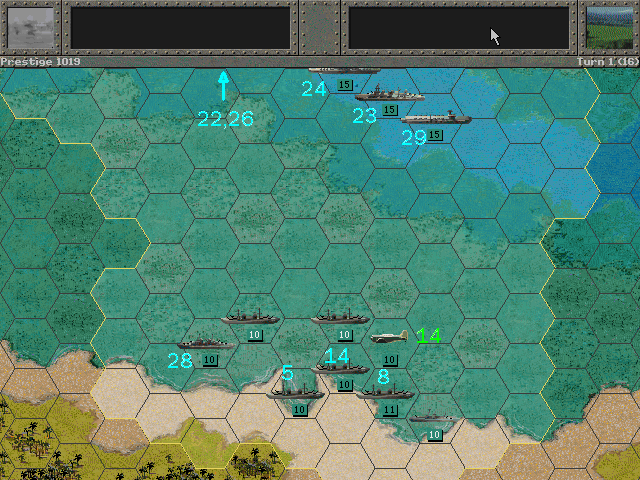
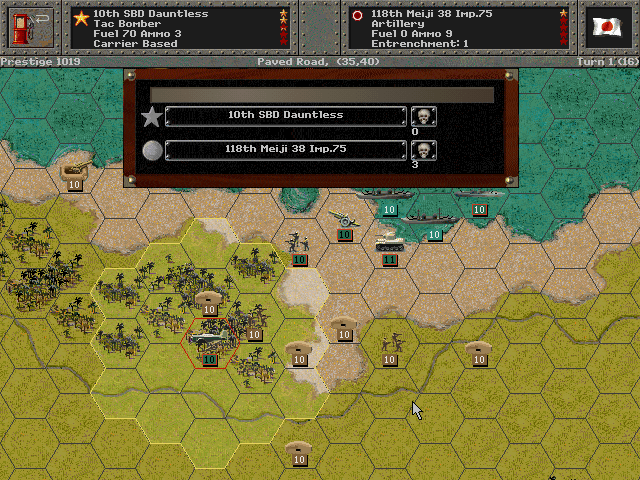
We get underway on Eniwetok with air raids on the pillboxes while our troops get out onto the beach.
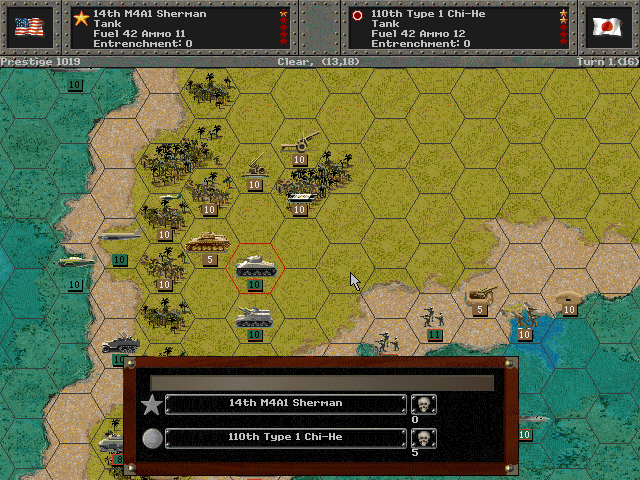
The tanks roll forward and pound the Japanese armor.
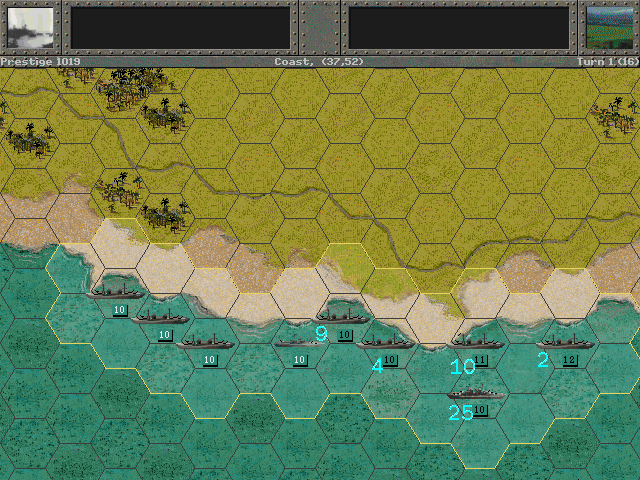
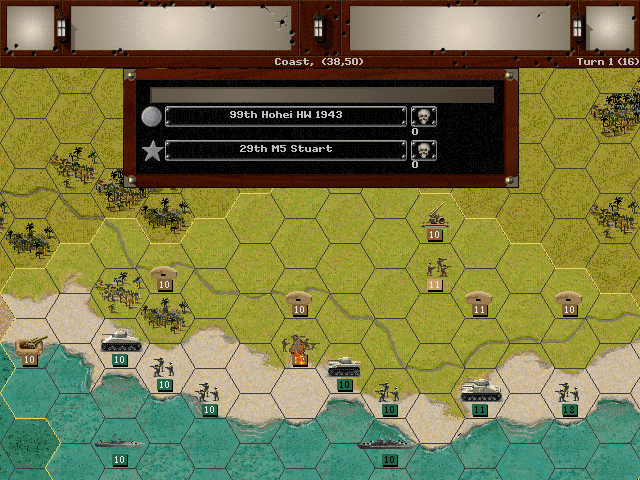
The north side of the Kwajalein landing zone is a dense collection of defensive emplacements.
Axis Turn 1 (Japan): February 1, 1944
Fair, Dry

The Japanese are flying somewhat better planes now that it's 1944.
While the pillbox failed to repel the M8 recon unit, the M15A1 takes high casualties when the infantry attack them directly.
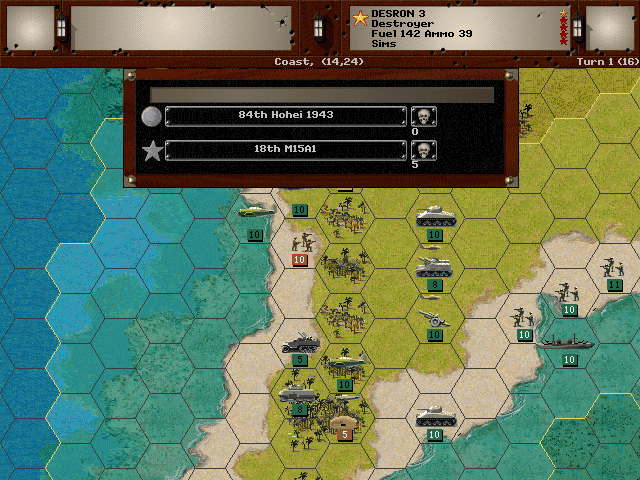
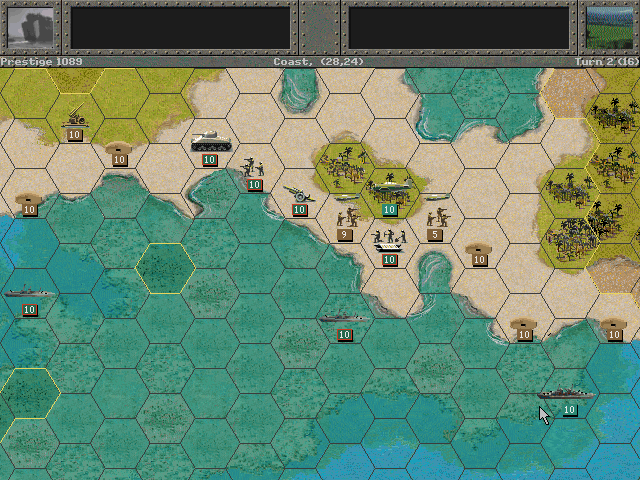
Sporadic fighting breaks out on the southern landing zone of Kwajalein.
Allied Turn 2 (USA): February 1, 1944
Fair, Dry
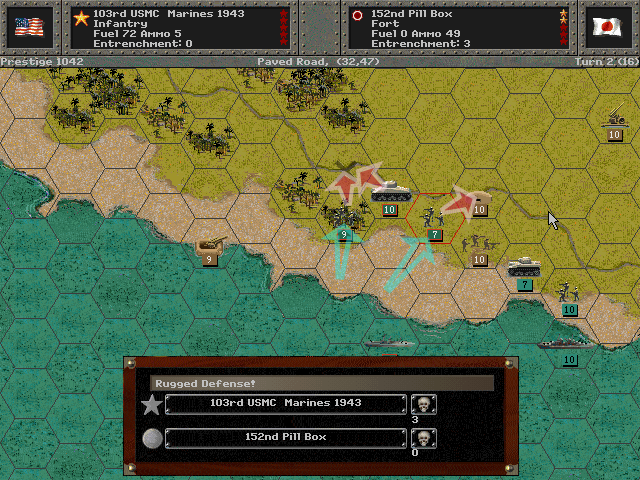
Flamethrower tanks help to clear out one pillbox. The Marines do not do as well in a second charge.
Although our core Marines have tasted combat well enough to know how to handle these pillboxes.
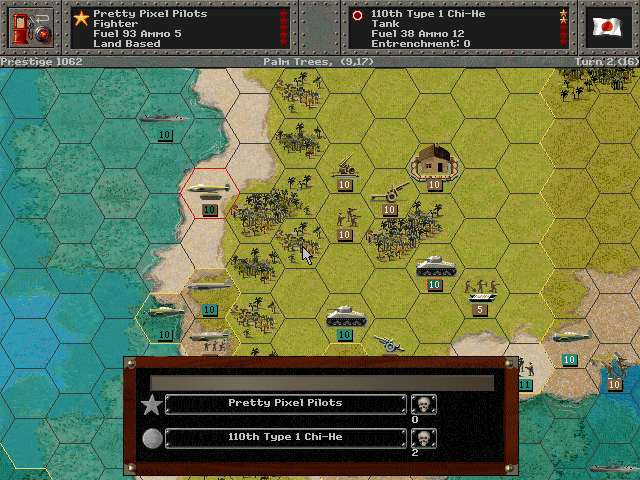
The Pretty Pixel Pilots get their first chance to hit some ground targets.
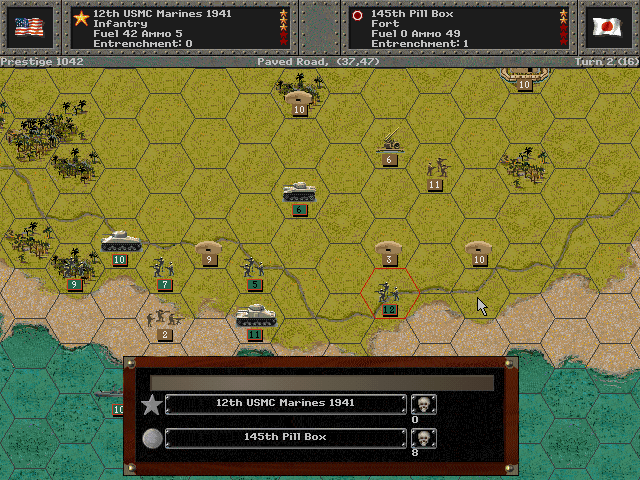
A landing on the narrow central part of Eniwetok encounters a fair amount of enemy soldiers on the shore.
Axis Turn 2 (Japan): February 1, 1944
Fair, Dry
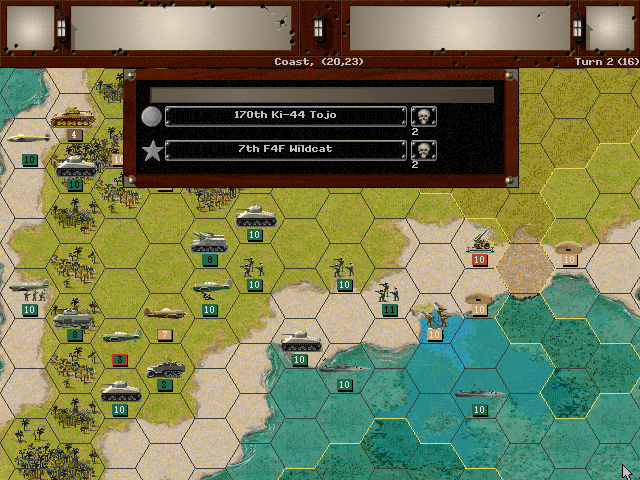
These planes can do a decent amount of damage to the F4F Wildcat.
More air strikes hit us on Kwajalein, where we lack air cover.
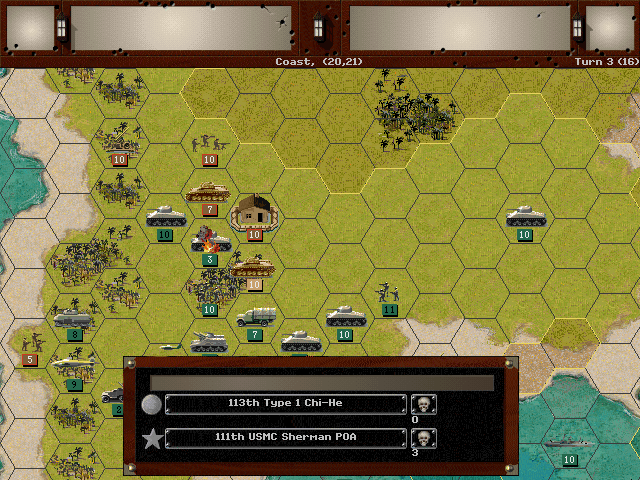
The Japanese tanks go after our flame tanks, seeing as how they aren't so great at armored combat.
Allied Turn 3 (USA): February 1, 1944
Fair (Dry)
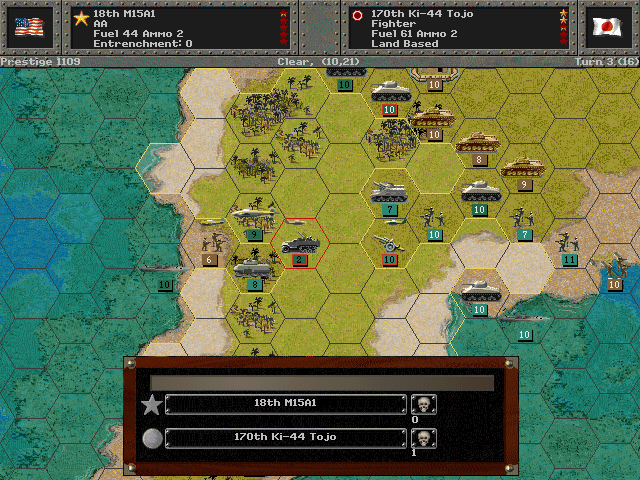
The M15 has taken a heavy hit, but manages to get some shots in the air against the enemy fighters.
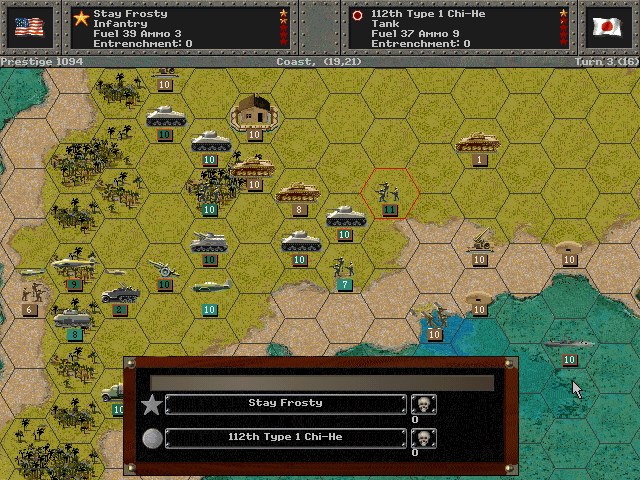
Our Marines drive off one unit of Japanese tanks.
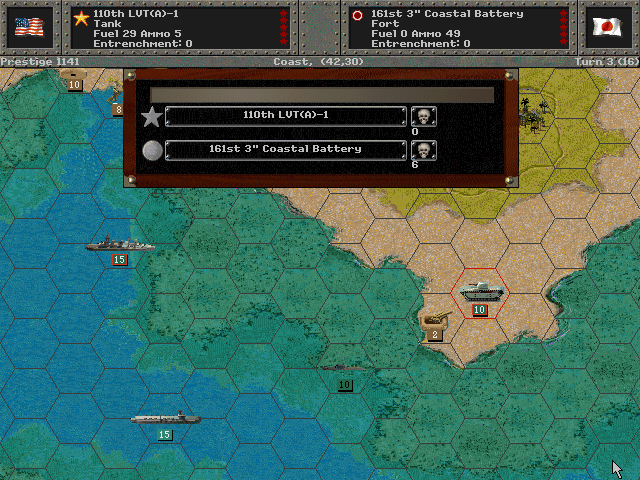
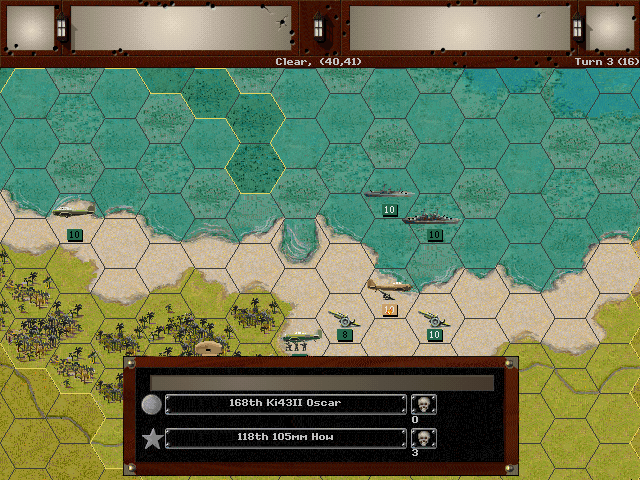
The LVT works to clear out some coastal guns on Eniwetok.
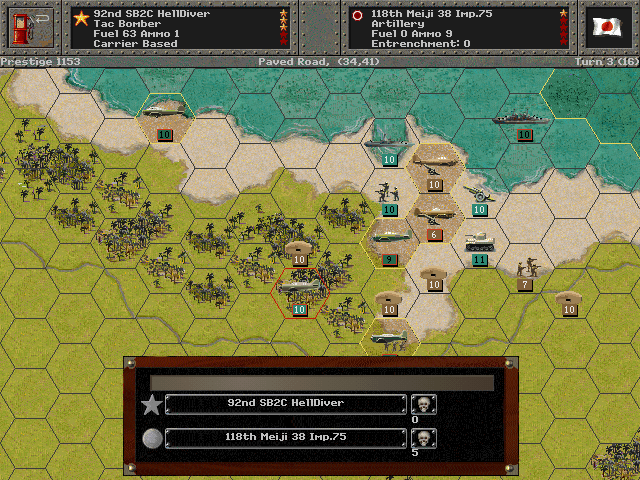
On Kwajalein, the dive bombers strike the enemy guns as the fighters hold the Japanese fighters at bay.
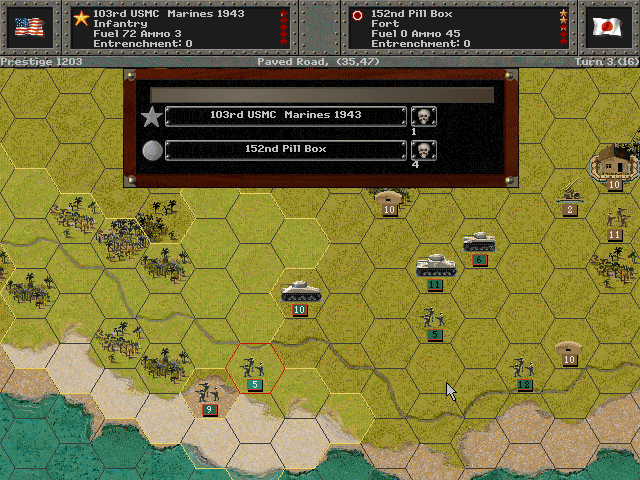
To the south, we make our way from pillbox to pillbox, clearing them all out as we go.
Axis Turn 3 (Japan): February 1, 1944
Fair (Dry)
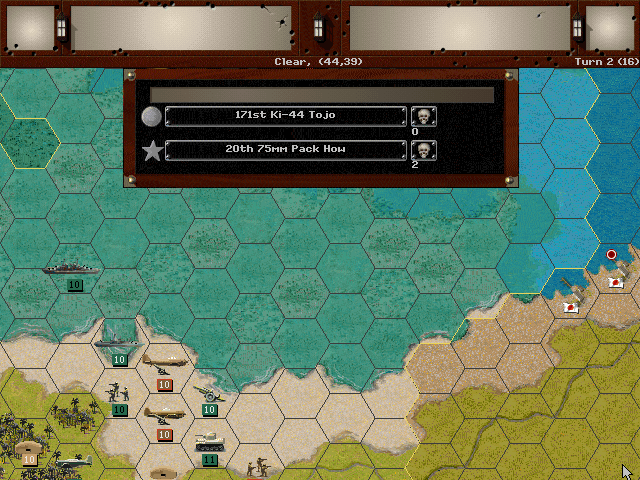
On Kwajalein, the air strikes do not let up as the artillery tries to get clear of their boats.
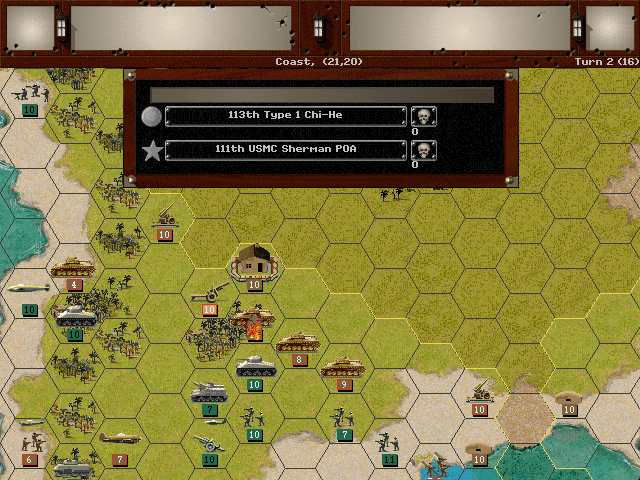
Those Japanese tanks concentrate on the flamethrower tanks, knocking out the whole unit.
Allied Turn 4 (USA): February 1, 1944
Fair, Dry Night
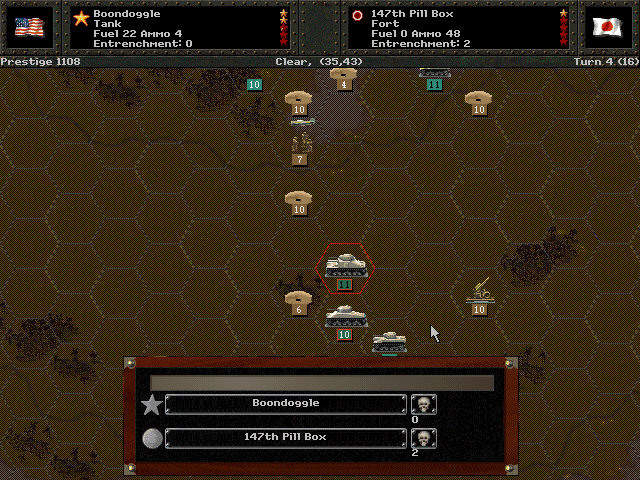
On our first night on the island, sporadic fighting softens up the many pillboxes.
Some of the better Japanese troops are attacked by the M3, trying to catch them before they can regroup.
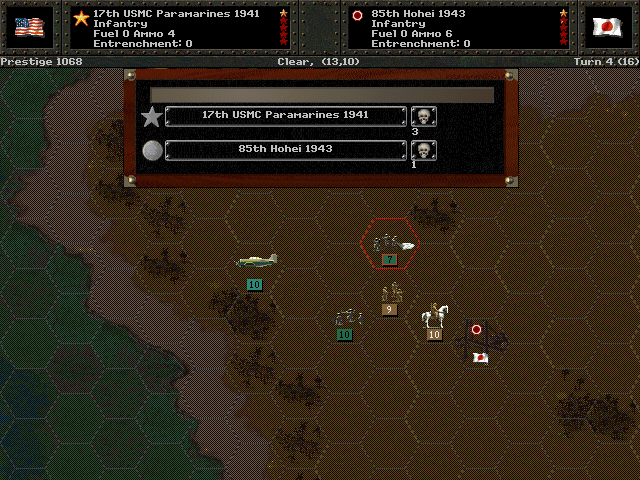
As the Seabees creep in from the shore, the Paramarines make their drop and come into contact with the enemy.
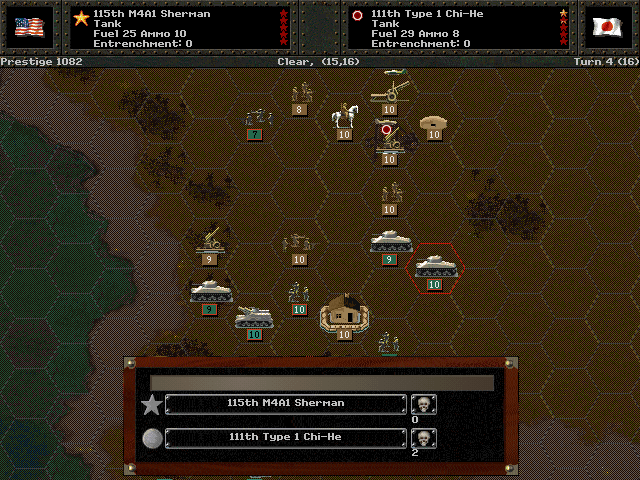
A nighttime tank battle goes well for us as another of the Japanese tank units is destroyed.
Axis Turn 4 (Japan): February 1, 1944
Fair, Dry Night

The narrow strip connecting Eniwetok's halves is held by a determined force, and they strike back at the Engineers.
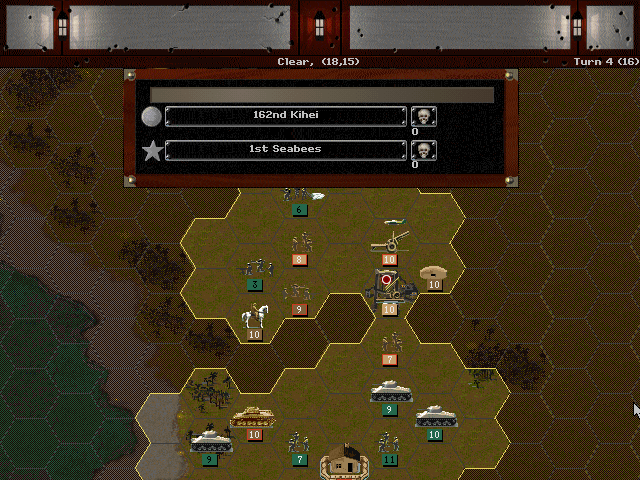
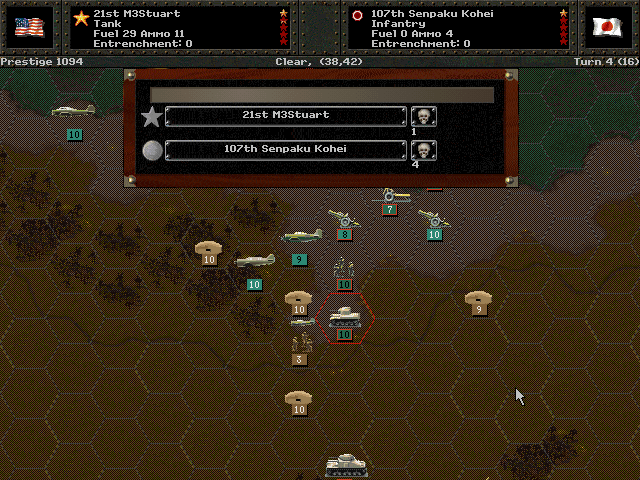
There is a rapid response to our raid from the northwest; several Japanese infantry position themselves to block the Seabees and the airborne forces.
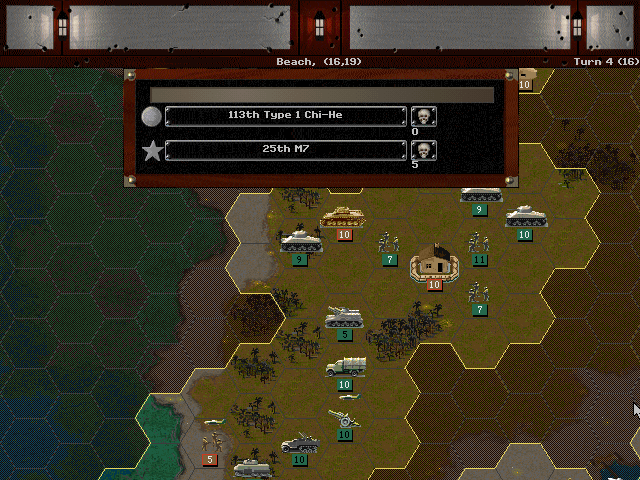
The M7 is exposed after the tanks went hunting in the night, and it takes heavy losses.
Unit Spotlight
M15A1 CGMC / T28E1 MGMC
PG Name: M15A1 Type: Anti-Air
Effective Date: 6/42
Value:13 Cost:156 Spot:2 Move:8 MM:Half-Track Trans:Naval Fuel: 57
Init:6 SA:3 HA:7 AA:12 NA:0 GD:6 AD:6 CD:1 TT:Hard Ammo:5
The Half-Track M3, a personnel carrier for the Americans, had its chassis re-purposed in many ways. Several anti-aircraft vehicles were produced from it. The T28E1 was the first to combine a heavy 37mm gun with two .50-cal machine guns in the rear space (where soldiers would normally be transported). The M15 followed shortly after it with minor improvements to the gun set-up. Thanks to the mobility of the vehicle it was based on, these units were quite versatile on the battlefield.
In-game analysis: The Americans have the most well-balanced anti-air units; they can move fast, deal a decent amount of damage to ground and air targets, and don't cost all that much either. This one is very dangerous to aircraft but also quite capable of taking out ground units that are down to their last few strength points. As long as it avoids enemy tanks or anti-armor infantry, it'll do pretty well.
Curtiss P-40 Warhawk
PG Name: P-40 Warhawk Type:Fighter
Effective Date: 7/39
Value:24 Cost:288 Spot:3 Move:10 MM:Air TT:No Fuel: 78
Init:5 SA:2 HA:1 AA:11 NA:1 GD:7 AD:11 Ammo:7
The Warhawk was the best fighter the US had at the start of the war, and in fact the first flown into combat when a couple of them managed to get aloft during the attack on Pearl Harbor. Compared to its common adversary, the Zero, the P-40 had more protection and a fairly sturdy airframe. It could not match the Japanese fighter in maneuverability, and it was also not a very good climber. The P-40 served adequately for most of the early war, but when newer designs arrived they were definitely a welcome improvement. Possibly the most famous P-40's were those used in China by an American volunteer group, commonly known as the "Flying Tigers".
In-game Analysis: Not that bad a fighter, but not that great either. This makes for a decent escort. It has good defense for the price, and carries enough fuel to stay with the bombers for several turns. A good pilot can turn this into a strong interceptor, and it can easily dispatch anything that pre-dates it.
Independence-class Light Carrier (9 built)
PG Name: Independence Type:Carrier
Effective Date: 1/43
Value:15 Cost:270 Spot:3 Move:6 MM:Deep Naval Fuel: 102 Capacity:2
Init:3 SA:0 HA:0 AA:[11] NA:0 DA:0 GD:15 AD:3 TD:10 TT:N/A Ammo:40
Special: Radar
When it seemed as if the Essex would not be available until 1944, Roosevelt ordered the conversion of some Cleveland-class light cruisers into light carriers. The result was something slightly stronger than an escort carrier, but not really capable of carrying any more aircraft than something like the Bogue. As it happened, the Essex class arrived sooner than expected, and these carriers tended to be used more often to transport aircraft than to launch them into combat.
In-game Analysis: This is the only American light/escort carrier that's not terrible. Given that it has more than the minimum capacity, moves as fast as any other carrier, and isn't going to sink at the first shell that touches it, a fleet composed of several small carriers can be a viable option. Three of these are cheaper and possibly better than one Essex. That assumes there is space in the core for them, but there usually is. Their one bad point is a particular susceptibility to aircraft.