Part 45: Hawaii '44: October 13, 1944

We're on the island and the first stage of our plan has worked well so far. We're now in position to start our strike on Honolulu -- from the east.
Axis Turn 7: October 13, 1944
Cloudy (Dry)
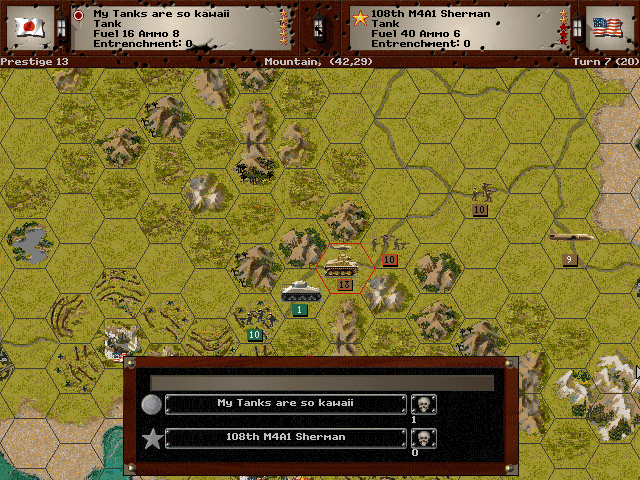
We run into some trouble as we can't quite clear the narrow roadway leading to Honolulu.
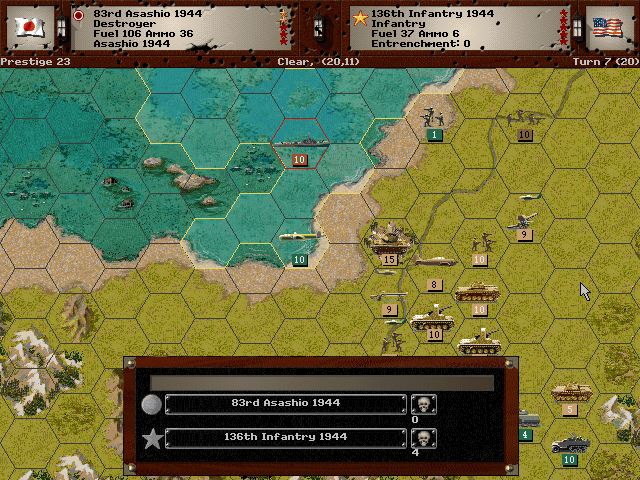
A small remnant of an American infantry unit is spotted on the shoreline. The cruisers dispatch it with no trouble.
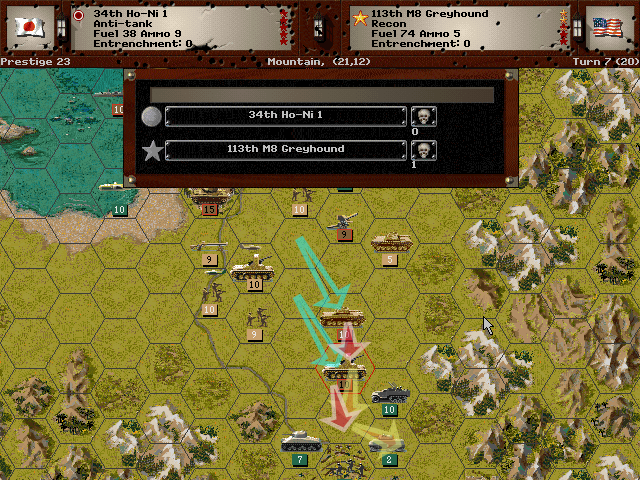
We push forward in the hopes of eliminating a recon unit, but it is no use - they speed away before we can finish them off.
Allied Turn 7: October 13, 1944
Cloudy (Dry)

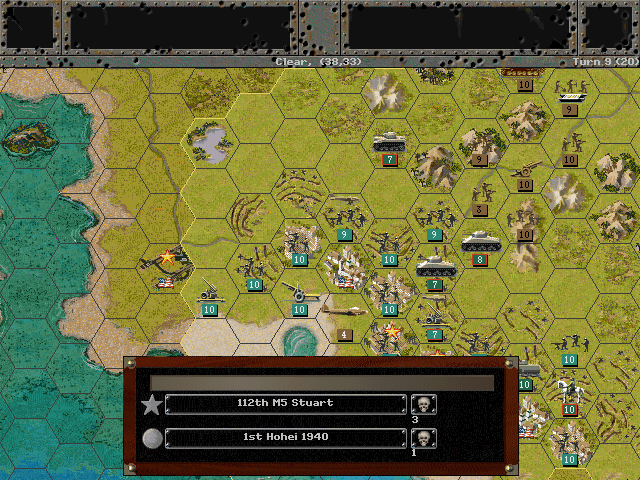
American army forces fight off our tanks at Bellows Field.
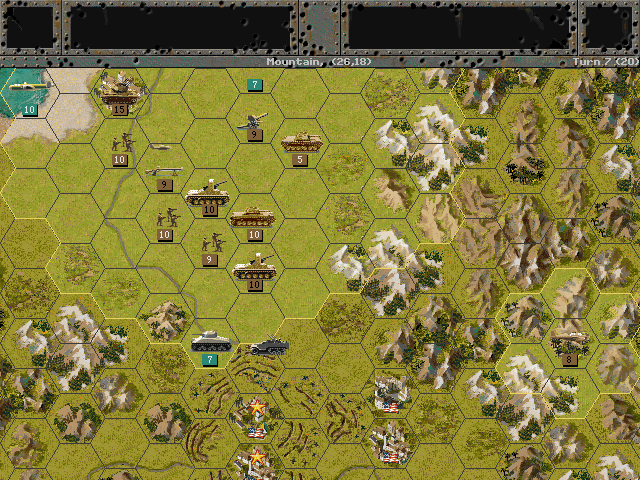
The forces appear to pull back toward the center. Perhaps our ruse is now fully understood.
Axis Turn 8: October 13, 1944
Cloudy (Dry)

More of our troops show up and force a retreat at Bellows Field.
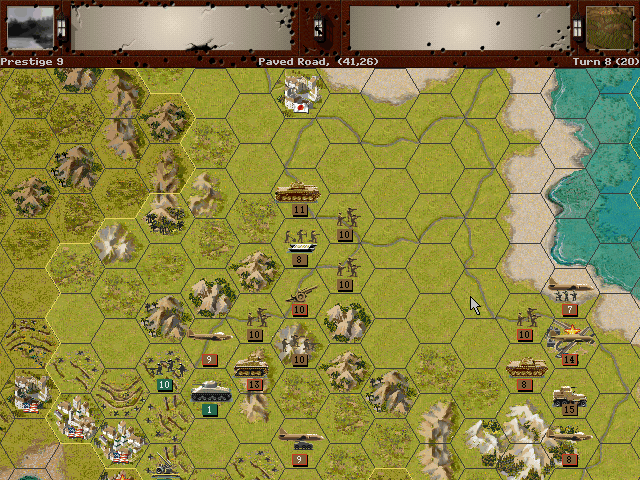
We don't eliminate the tanks, but we are getting closer to Honolulu. Amazingly, from what we can see, the city still appears nearly undefended.
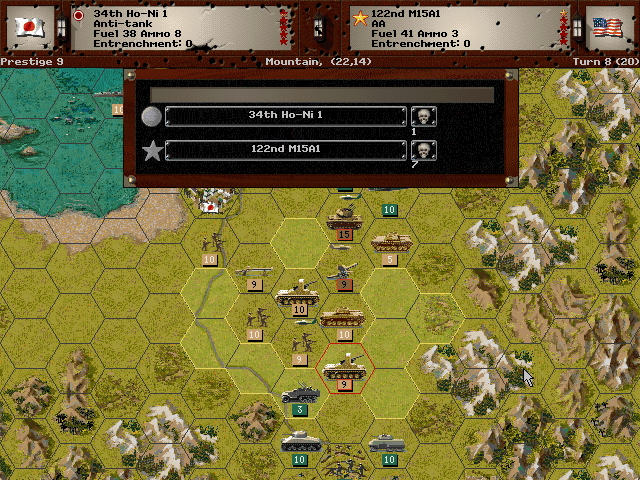
One AA unit is knocked out, and it's clear that the Americans have not retreated yet, fortunately for us.
Allied Turn 8: October 13, 1944
Cloudy (Dry)

The bombers still are causing us headaches. The fighters, however prefer not to attack our interceptors, and neither do they escort their own bombers.
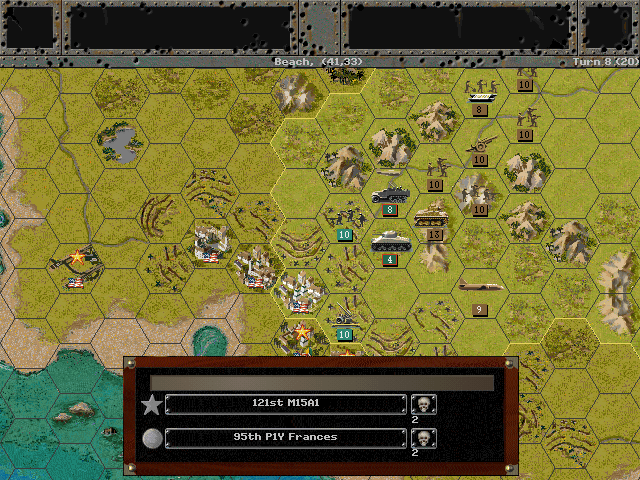
Honululu reveals that it has an AA unit too, but they've now put it right on the front line.
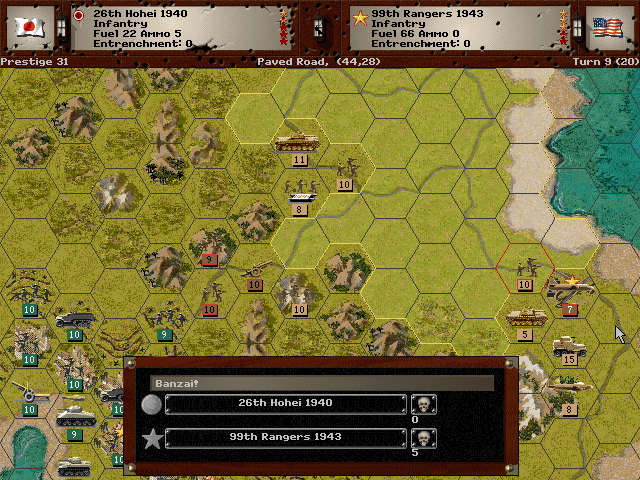
Axis Turn 9: October 13, 1944
Fair (Dry)
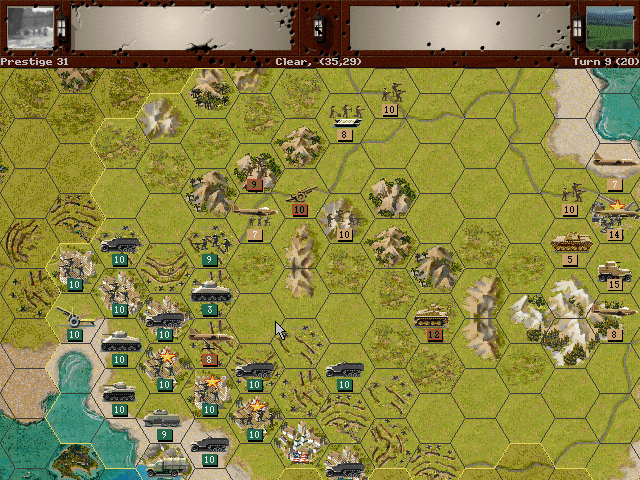
Our scouts must have been mistaken, although it also appears that the panicked Americans have shifted these forces to face us very quickly, as they're quite disorganized.
The battle for Bellow Field is won. We now have an airfield in easy range of Honolulu, and a backup one to repair the rest of our squadrons.
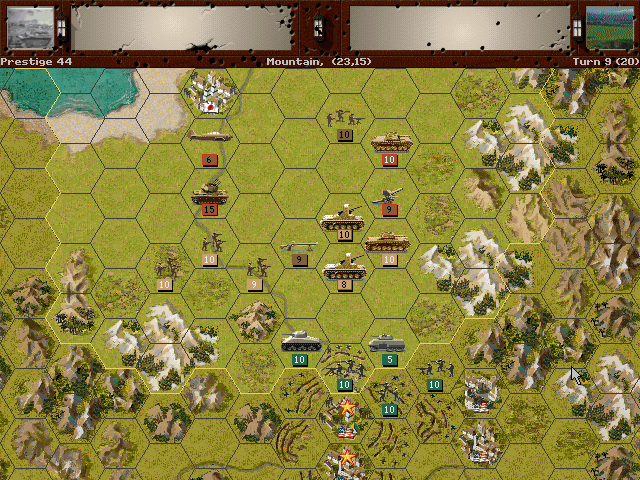
It's plain the Americans know our plan at this point, but we do want to maintain a presence in the center lest they make our main task even more difficult.
Allied Turn 9: October 13, 1944
Fair (Dry)
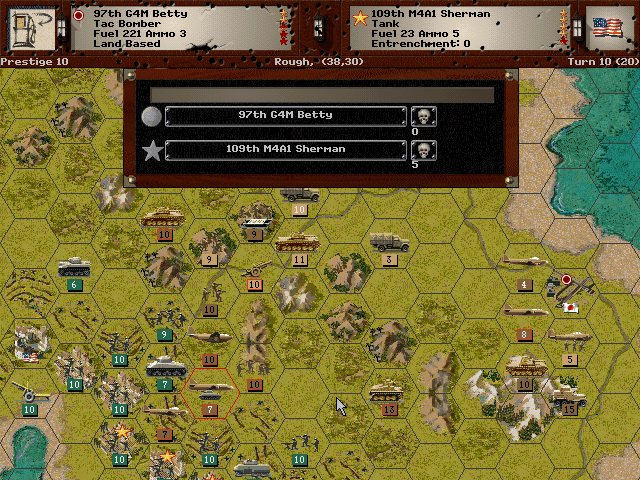
Anti-aircraft guns start to fire from Honolulu, but it seems as though they weren't among the units that rushed to man the fortifications.
More tanks show up on the northern line. Every unit we see here is a good sign for troops at Honolulu.
Some of our best forces take a serious blow. We're seeing a fair number of veteran American units here.
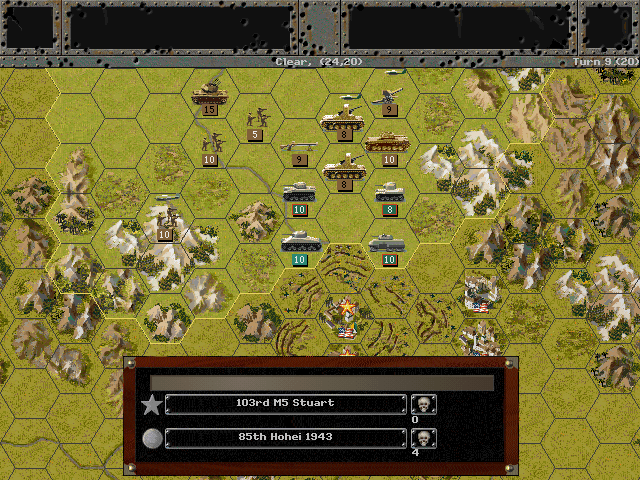
Axis Turn 10: October 13, 1944
Fair (Dry)

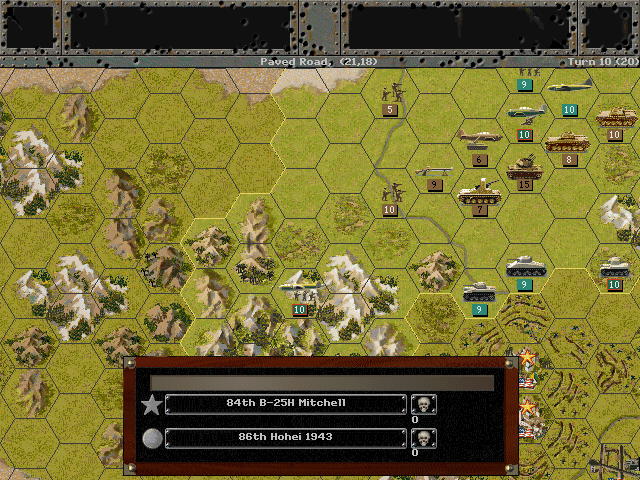
Those light tanks, at least, are pretty easy pickings for our own tanks.
Air power is the key to our attack. The flak guns are gone, and we can soften up the American lines before we make a push.
Allied Turn 10: October 13, 1944
Fair (Dry)
We'd sent some scouts off toward the mountains; all they find is bombs from the B-25's above them.
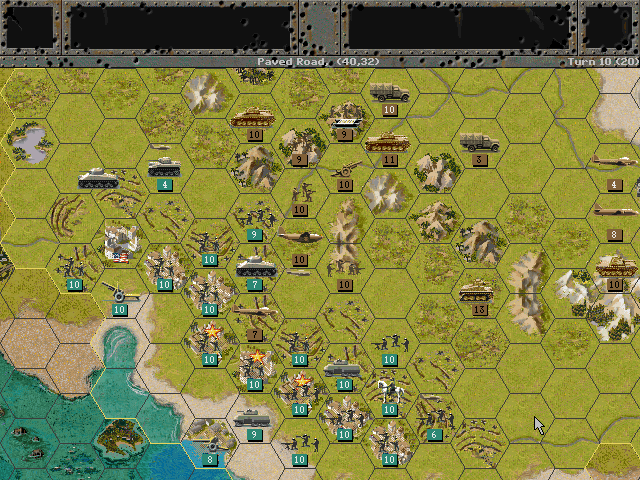
The Americans are bringing in more tanks from the north toward Honolulu. Our hopes of capturing the city swiftly have been dashed.
Axis Turn 11: October 14, 1944
Fair (Dry)
We begin to probe at Honolulu with some of the troops that swung in via the coastal road. There are a lot of infantry, but almost no artillery, luckily.
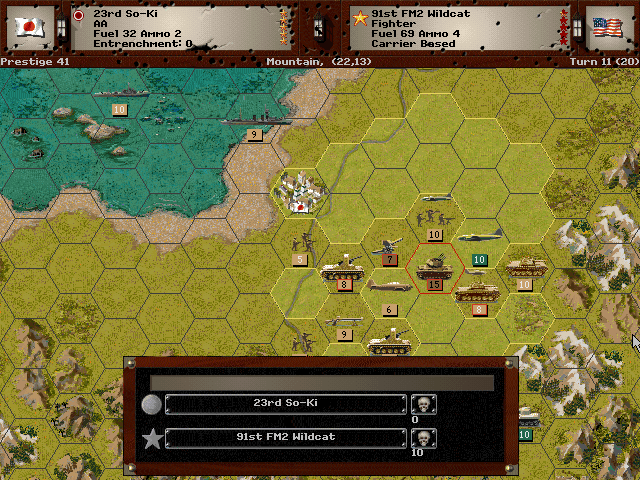
The So-Ki single-handedly eliminates the fighter threat. Now we can get to the work of taking out the bombers.
Side Note: I learned during this battle that Anti-Air units can't engage Level Bombers. This does make sense, and I suppose justifies their distinction from Air Defense a little more.
Allied Turn 11: October 14, 1944
Fair (Dry)
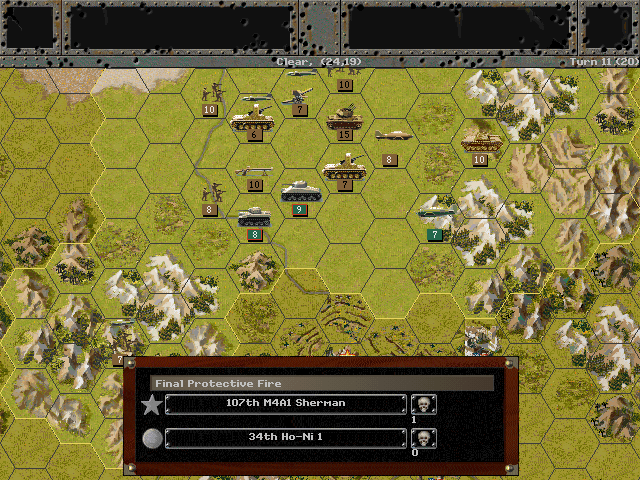
A slight retreat of our line in the north draws the tanks forward. However, they are also a bit dangerous as even our AT guns struggle to hold them off.
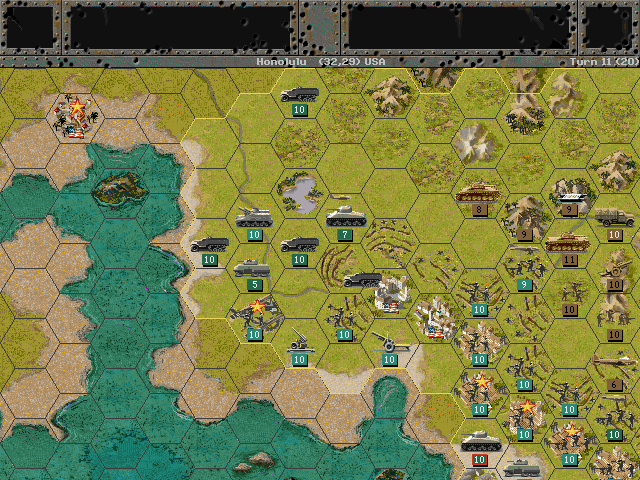
American forces in Honolulu keep shifting around, as if they remain unsure of how serious our attack from the east side is.
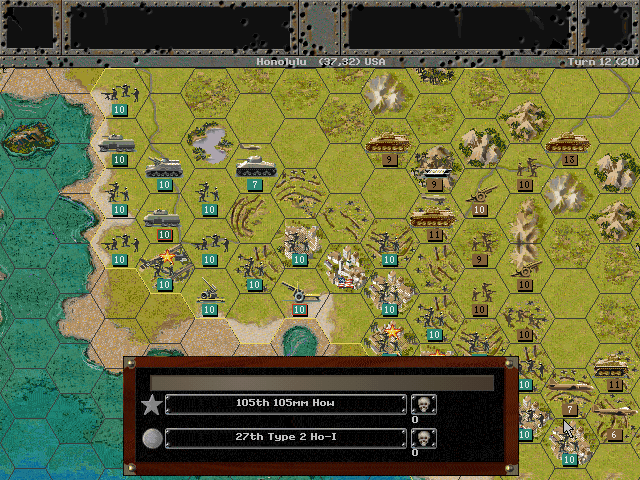
Axis Turn 12: October 14, 1944
Fair (Dry)
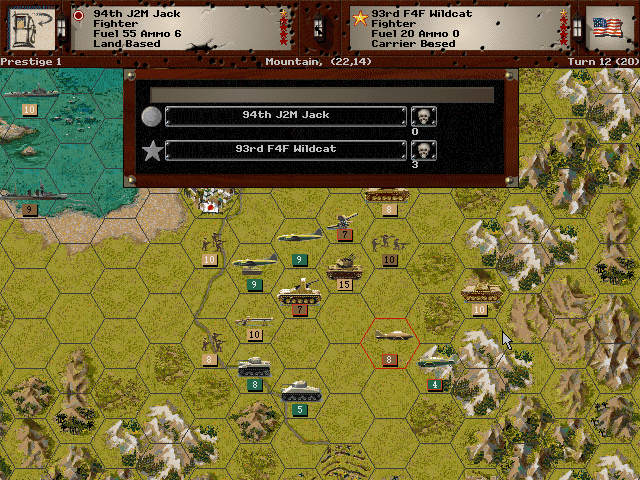
There apparently are still a few American fighters in the skies, but our latest model is able to deal with them handily.

After the Fuso bombards the American tanks, we find it easy enough to drive them back from our line.
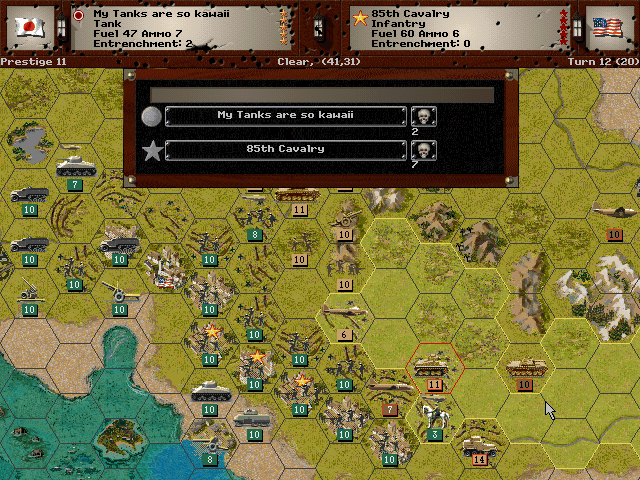
A few weak units on the southern end of the American line are dealt with.
Our line advances down from the hills toward the city. This will not be an easy fight, but we have the advantage of air power and artillery on our side.
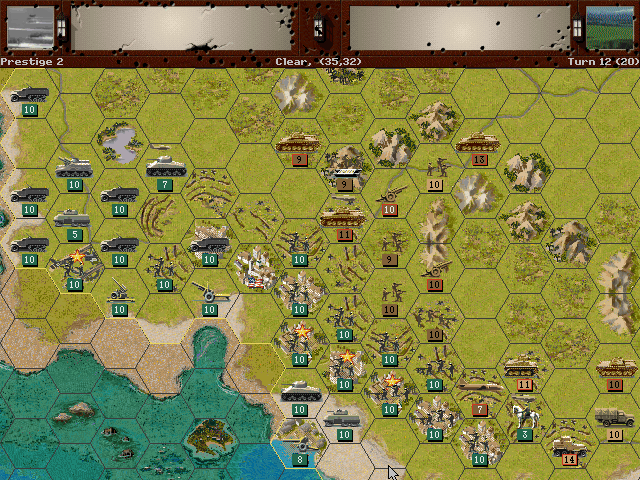
Allied Turn 12: October 14, 1944
Fair (Dry)
This battle in the north remains a pretty minor skirmish, as it seems the Americans are fully aware they need to focus on defending the city.
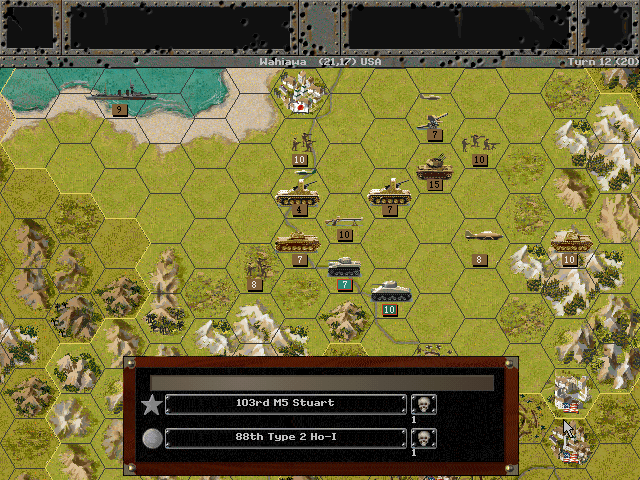
The few guns in range of us at Honolulu fail to penetrate the armor of our tanks.

Unit Spotlights
20cm Rocket & Type 4 Rocket Launcher / 44.7cm Rocket [40cm Rocket?]
PG Name: 20cm Rocket / 45cm Rocket Type: Artillery
Effective Date: 7/42 / 7/43
Value:20/10 Cost:72/120 Spot:1 Move:1 MM:Gun Trans:Naval Fuel: -
Init:0 Range:2 SA:8/13 HA:9 AA:0 NA:0 GD:2 AD:6 CD:0 TT:Soft Ammo:4
Special: Guard
The Japanese rocket program was hampered not only by production difficulties, but by competition between the Army and the Navy, both of which produced rockets in this size. The Army one was provided with a special launcher, and the Navy one could use more makeshift tubes — even just a dirt trough in the ground to guide it. These weapons saw action late in the war, particularly at Luzon (the game's dates seem too early, for whatever reason).
The 44.7 cm rocket, dubbed '45-cm' by the US, was the largest rocket used by Japan. It sported a massive warhead (1500 lbs), and was quite inaccurate. Like most of the rockets used during the war, its effect was likely more psychological than anything else.
The in-game description, however, suggests that the bigger unit should actually be the 40-cm rocket (since it describes the payload as 400 lbs). The 40-cm was more similar to the 20-cm version, but owing to its weight required a special crane and launcher. It did see use late in the war alongside the smaller rocket; unlike the 45-cm which likely never saw combat.
In-game analysis: I continue to be unimpressed with rockets in these games, but the Guard special ability does at least bump up their effectiveness. The 20cm are also the best anti-armor artillery available when they show up ... not that that makes them particularly good at killing tanks. Given that they are the same price, I suppose it is preferable to have one of these over an outdated 75mm cannon if you need to hold off a bunch of armor. The larger rockets are a slightly better deal, but the low ammo count still makes them not very useful.
Zuiho-class Carrier (2 built)
PG Name: Zuiho Type:Carrier
Effective Date: 7/41
Value:15 Cost:306 Spot:2 Move:6 MM:Deep Naval Fuel: 70 Capacity: 2
Init:3 Range:0 SA:3 HA:6 AA:[9] NA:8 DA:0 GD:15 AD:3 TD:10 Ammo:40
The Zuiho-class was yet another conversion, this time of a submarine tender. This made for a light escort carrier with a low aircraft capacity, little to no protection, but decent speed. They would not have been expected to operate on their own, but did an okay job as part of the fleet.
The reason for the large number of conversions can be traced to the naval treaties that prevented too many ships of a certain class from being built. The conversion plans were made as a contingency in the event of a war/abandonment of the treaty/need for more carriers. As all of those things came to pass, the conversion plans frequently were dusted off and applied.
In-game analysis: As much as I admire the sleek design of the real-life ship, the Zuiho is a terrible deal in-game. It's inexplicably more expensive than the Ryujo, despite being inferior in many ways. It only beats the Ryujo in Air Defense, and then only by one point, making it still pitiful (and worse against aircraft since its AA return fire is lower). This seems to be one of those units that either needed to be rebalanced or has some mistakes in its stats.
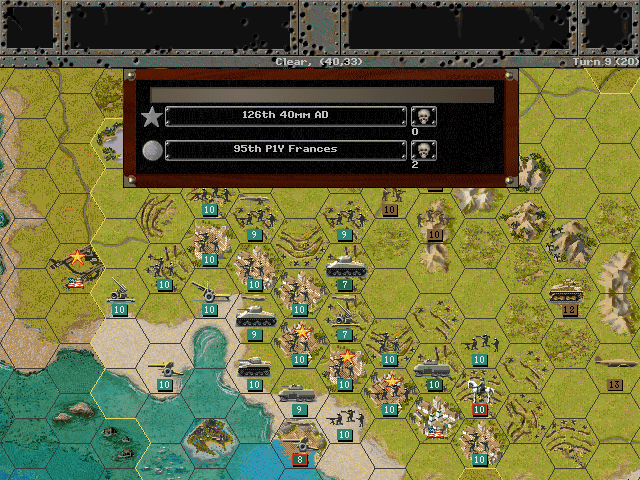
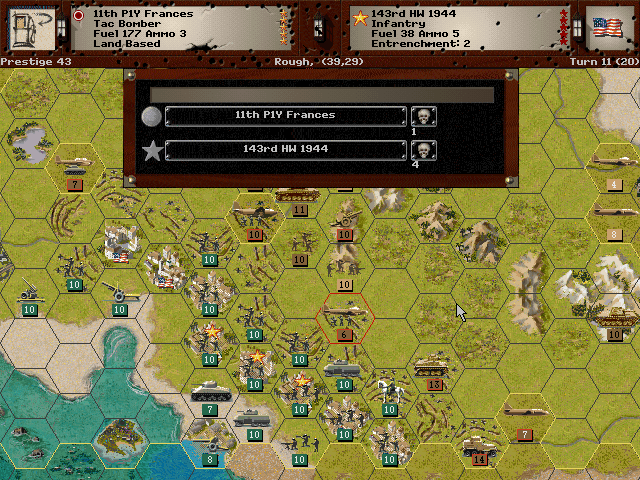
Yokosuka P1Y1 "Ginga" (Frances)
PG Name: P1Y Frances Type:Tac Bomber
Effective Date: 5/44
Value:31 Cost:372 Spot:3 Move:11 MM:Air Trans:No Fuel: 204
Init:4 SA:13 HA:12 AA:[6] NA:9 GD:9 AD:17 Ammo:7
This was a medium bomber designed to keep pace with the powerful Allied bombers, and it was one of the most advanced designs the Japanese had. The design may have been too complex, however, as it was difficult to reliably maintain them, and skilled pilots to fly them were lacking by the time they began to be produced.
In-game analysis: This is one of the best ground attack planes available; in fact it sports the highest Hard Attack of any bomber around. It's not terribly expensive either, and the amazing defense and high speed means it can strike quick and fly away even without an escort. Weakness to flak is about the only concern – everything else about it is good enough that it's a must-buy.