Part 49: San Francisco: September 12-13, 1944
Our assault on San Francisco has made it off the beaches, and we're now racing as fast as we can northward. We're expecting to see much stiffer opposition at this point, though.
Axis Turn 5: September 12, 1944
Cloudy (Dry)

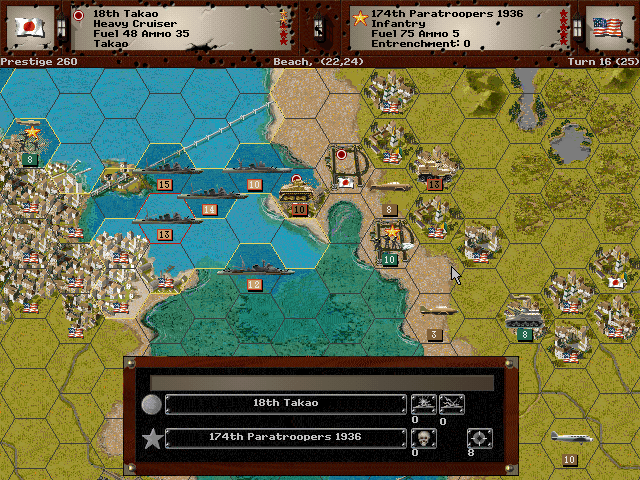
We push up both roads and take control of the hill towns of Los Gatos and Saratoga.
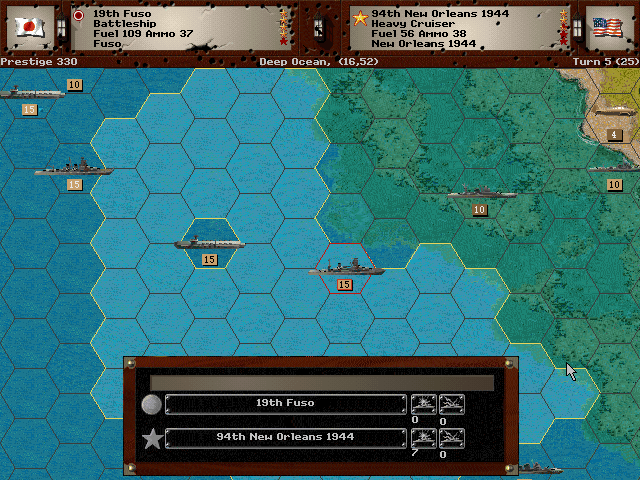
Our bigger ships savage the enemy cruisers.
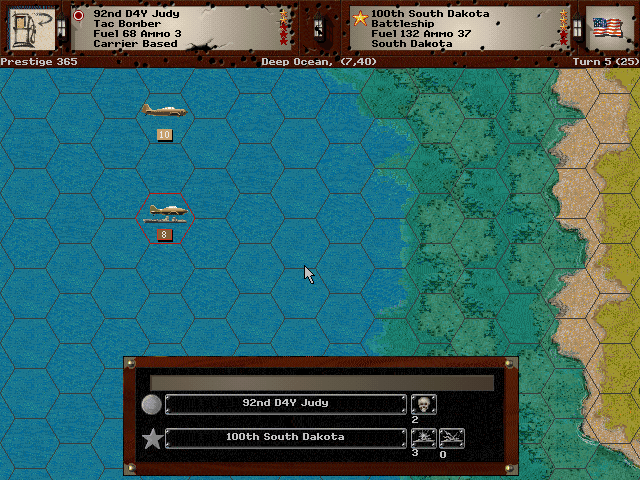
Later on, the Zeros spot the South Dakota and we launch strike aircraft at it.
Allied Turn 5: September 12, 1944
Cloudy (Dry)
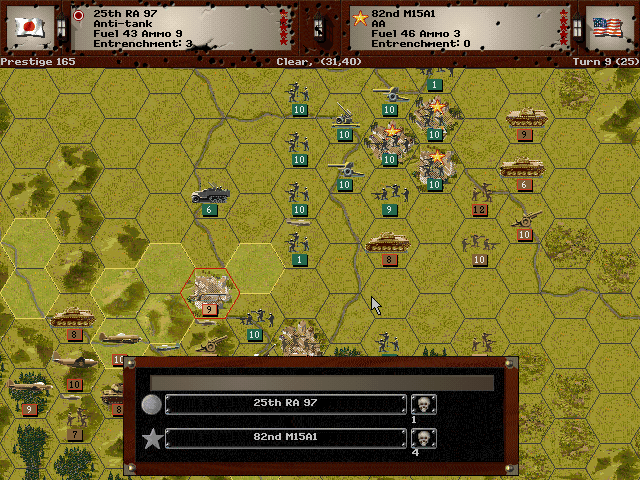
The column moving up the valley is hit by an anti-aircraft unit.
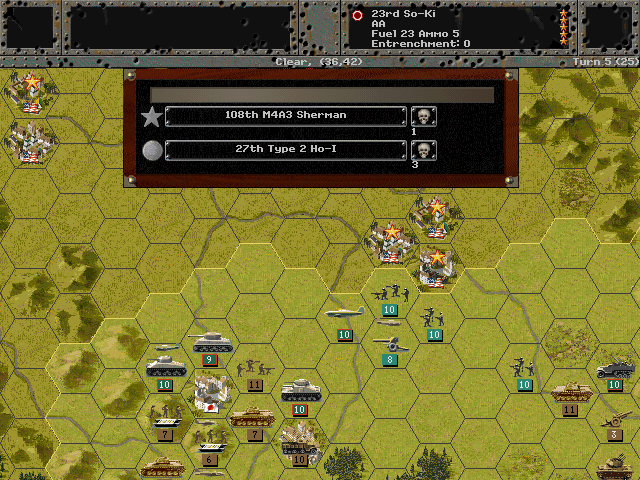
The Americans have mobilized. We're facing a lot of tanks on the western side now.
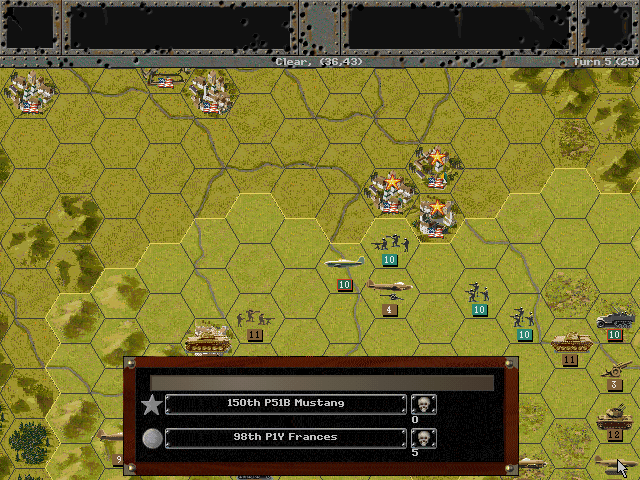
P-51 fighters shoot down a fair number of our bombers.
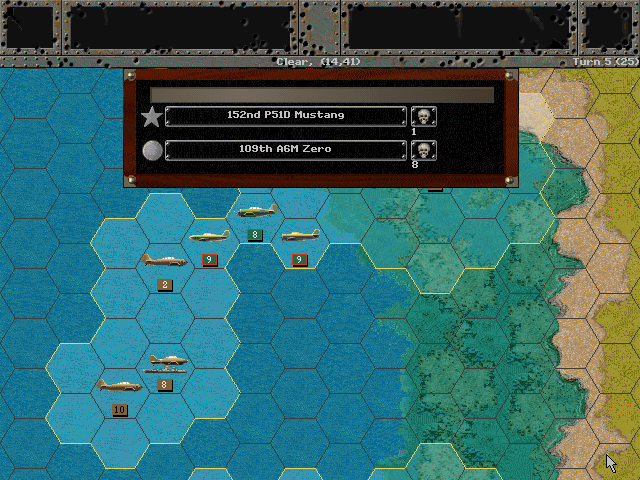
More of them head out from the shore and make short work of our Zeros.
Axis Turn 6: September 13, 1944
Rain (Mud)
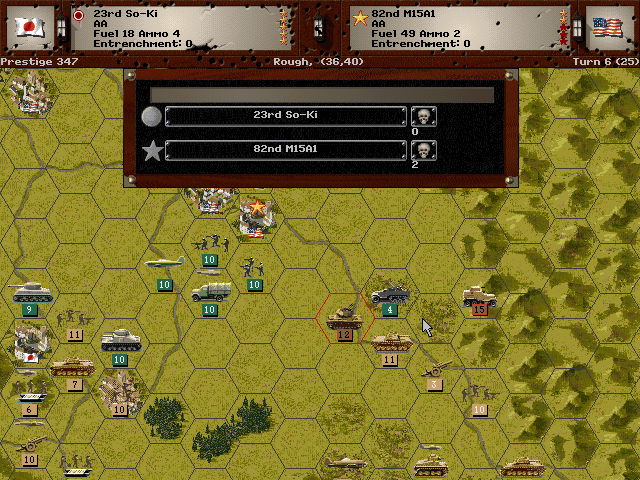
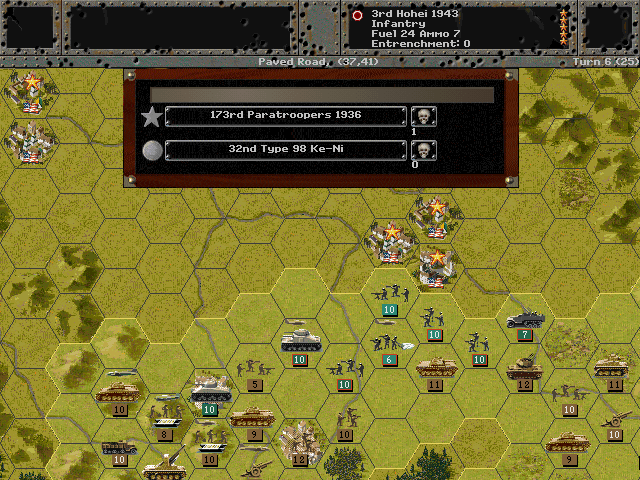
In the battle of the AA vehicles, our So-Ki comes out ahead.
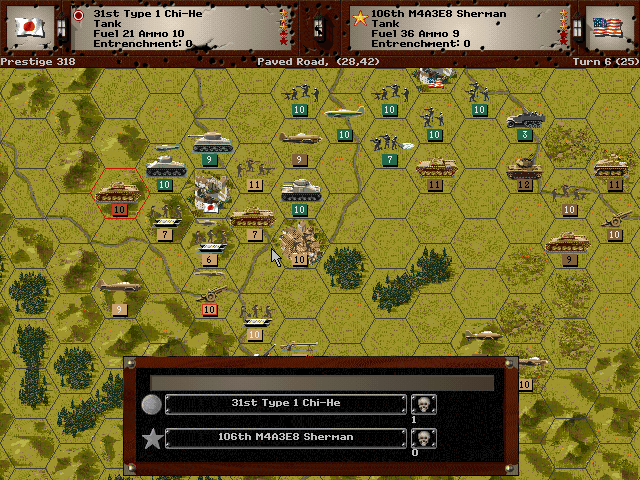
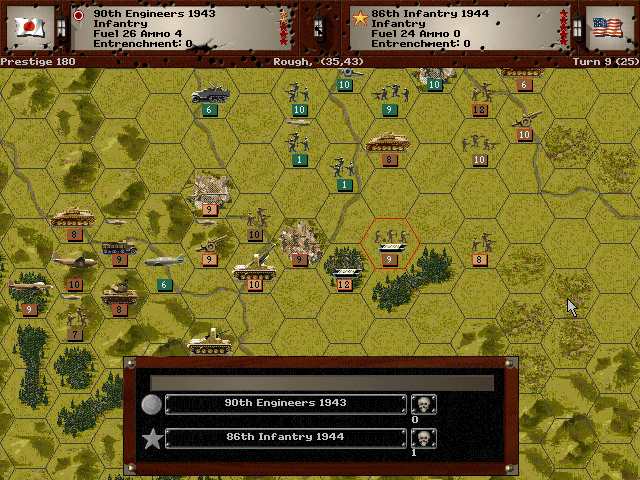
Our tanks are nowhere near being able to match up with even the medium American models.
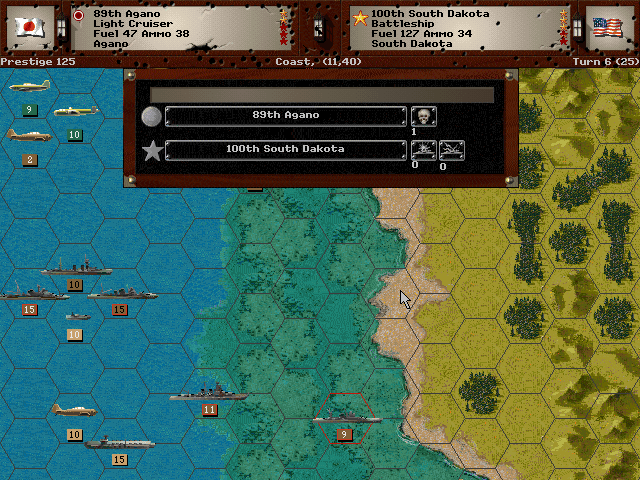
Even after after our planes hit it, we're still having trouble knocking out the South Dakota.
Allied Turn 6: September 13, 1944
Rain (Mud)
The Maryland sinks the Asashio in one barrage.
Those American tanks have a slightly harder time making progress over the muddy ground.
Their infantry isn't able to do much against us either.
Axis Turn 7: September 13, 1944
Cloudy (Mud)
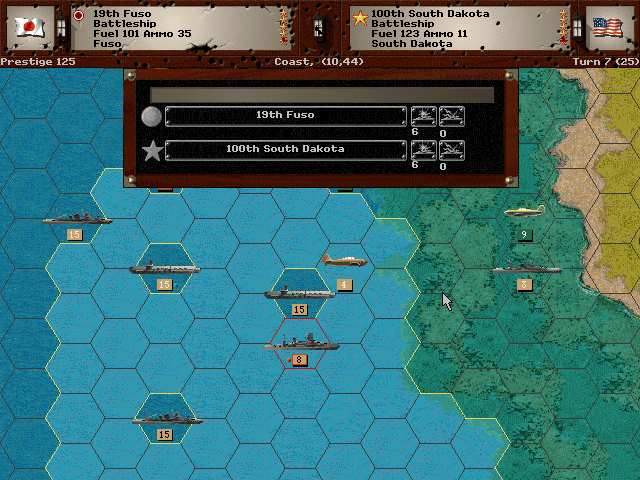
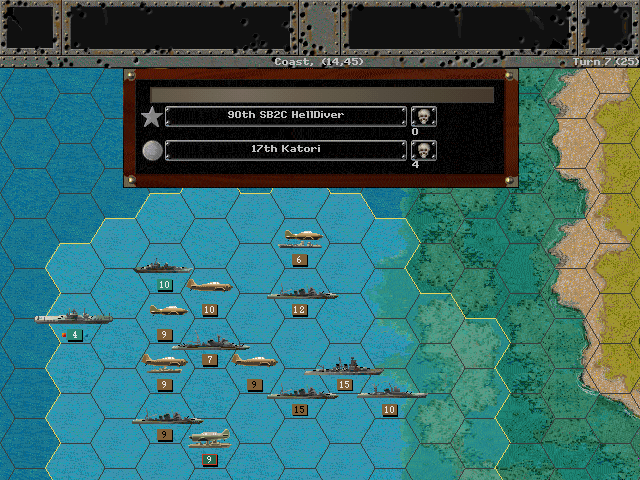
Two battleships trade fire, leaving both significantly damaged.
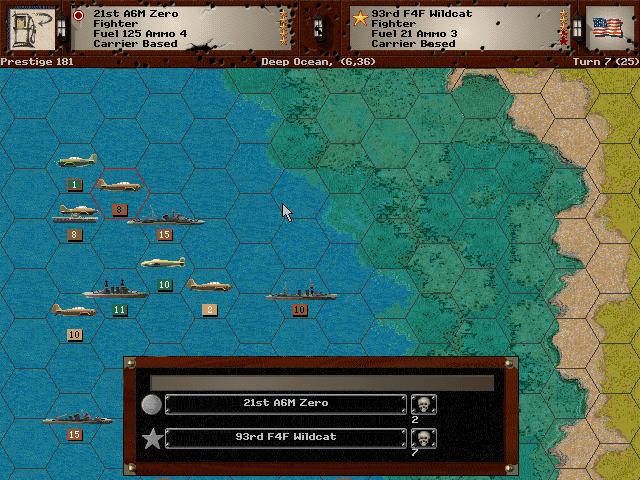
Our fighters locate the American carrier Essex.
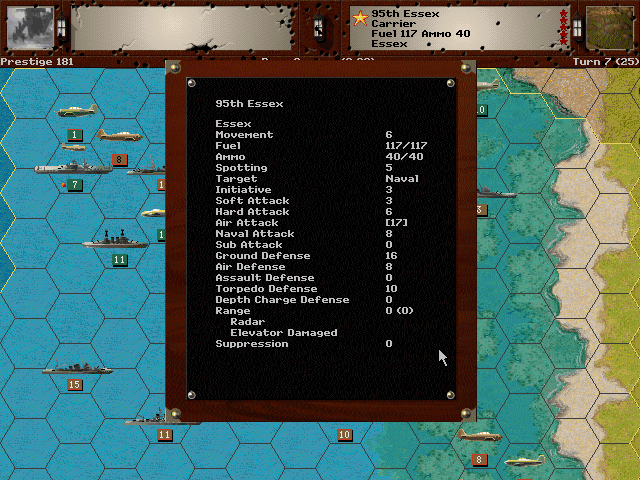
One of our cruisers finds the range and hits the Essex right through the plane elevator.
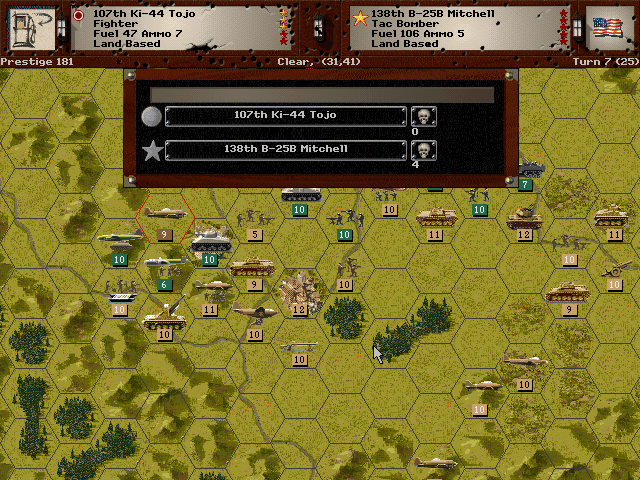
The Americans have brought out their bombers, now that we're in range of their airbases.
It takes quite a bit of effort, but we manage to drive the Americans out of Saratoga.
We're making better progress toward San Jose from the other side, since they don't have any tanks over there.
Allied Turn 7: September 13, 1944
Cloudy (Mud)
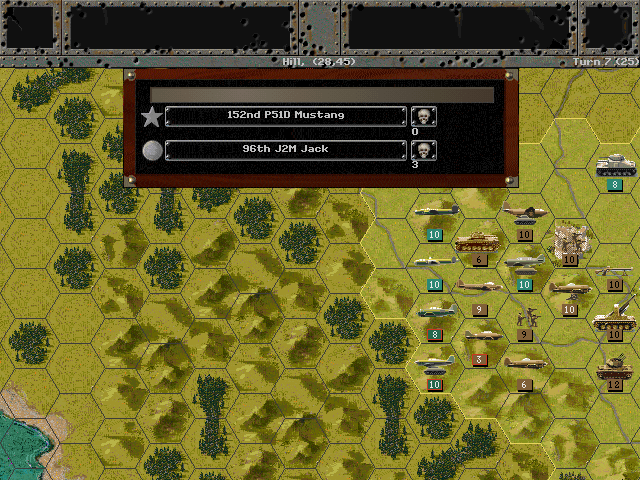
American fighter planes get the jump on some of our newer models. Outnumbered like this, we may be forced to pull back our planes.
The carrier-launched planes ignore our larger vessels and go after the scouting light cruisers. Perhaps they still aren't sure of the location of our capital ships.
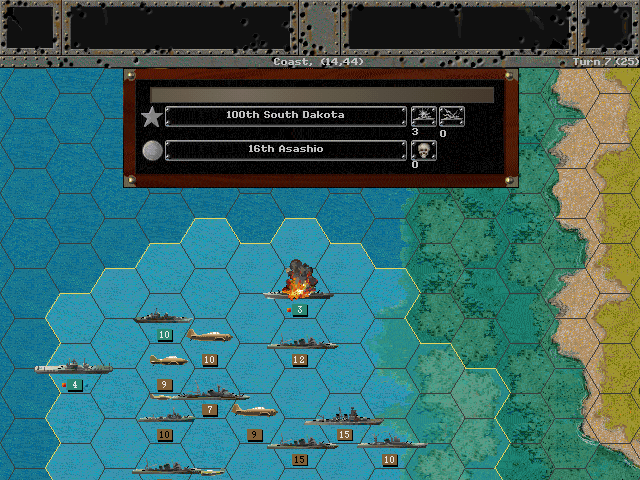
When the South Dakota makes a final attempt at knocking out at least something on our side, it goes spectacularly bad for them as an explosion rocks the ship almost as soon as their guns fire.

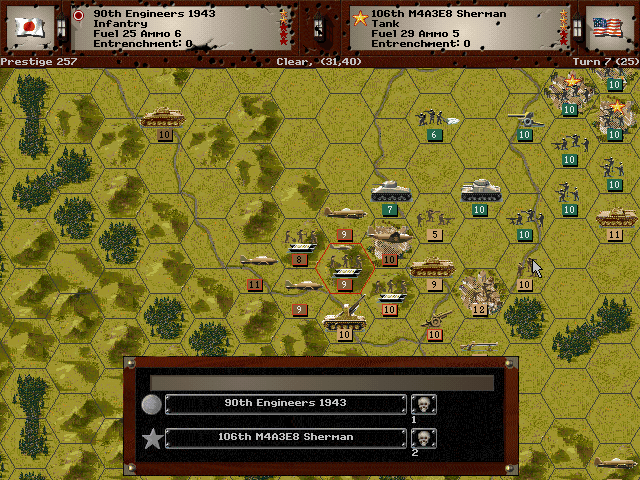
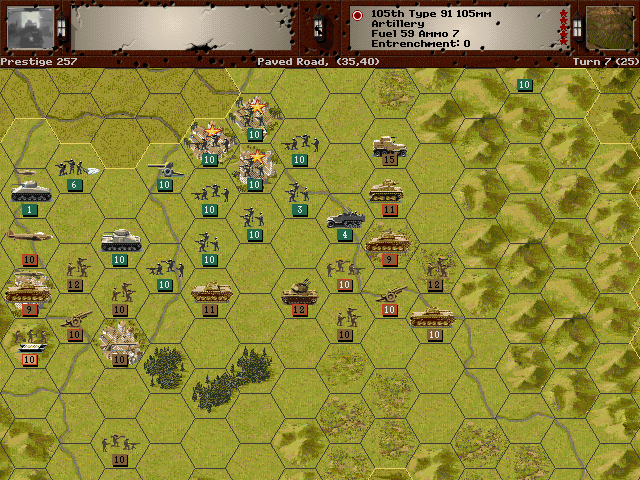
Over in San Jose, some of the American tanks shift back to knock back our Ke-Ni's.
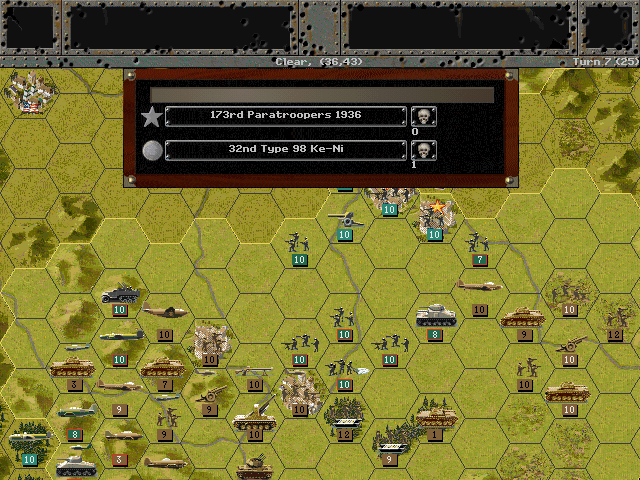
It's only thanks to their high speed that our lightly-armored units are able to survive the constant assaults.
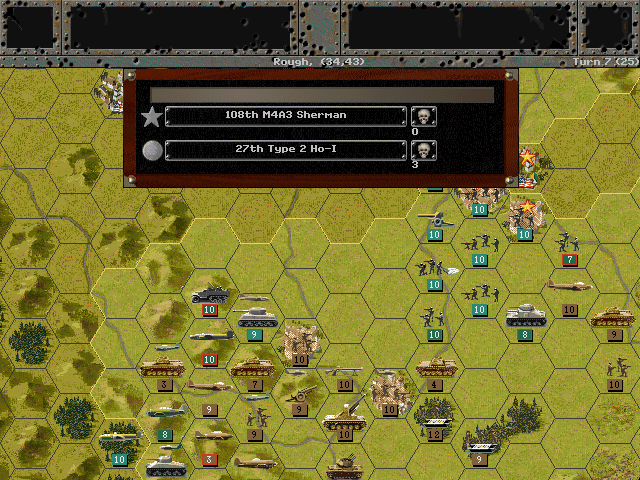
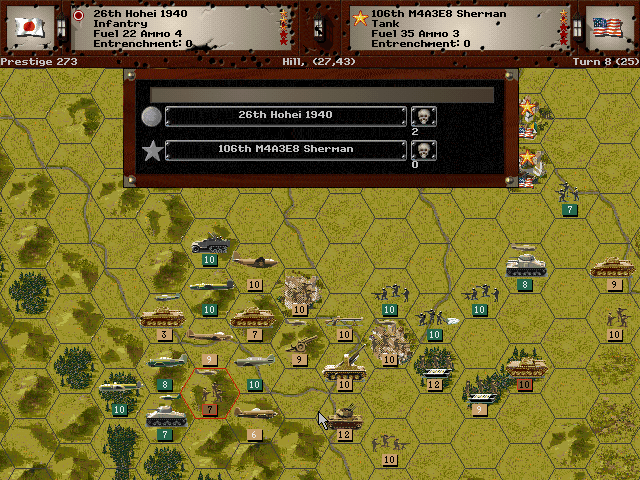
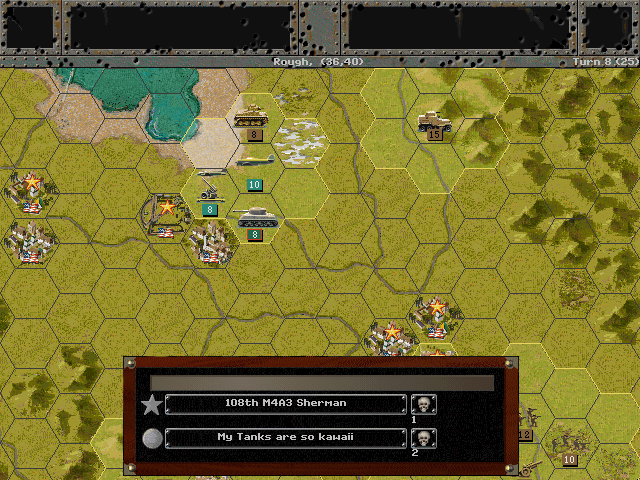
The tank battle near Saratoga is a bit more even, but the Sherman still easily beats us due to suppression from air strikes.
Axis Turn 8: September 13, 1944
Rain (Mud)
The rain comes back again, making the citizens sure that the world is probably ending.
Attacks are ordered against those American tanks, but they achieve no success at all.
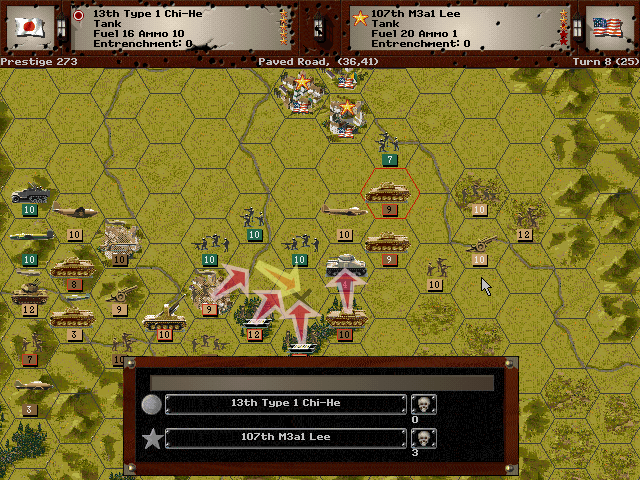
We punish the Americans for their aggressive pursuit of the Ke-Ni.
It turned out the east side of San Jose was undefended; we slipped some units past it and they are able to hit Moffett unexpectedly.
Allied Turn 8: September 13, 1944
Rain (Mud)
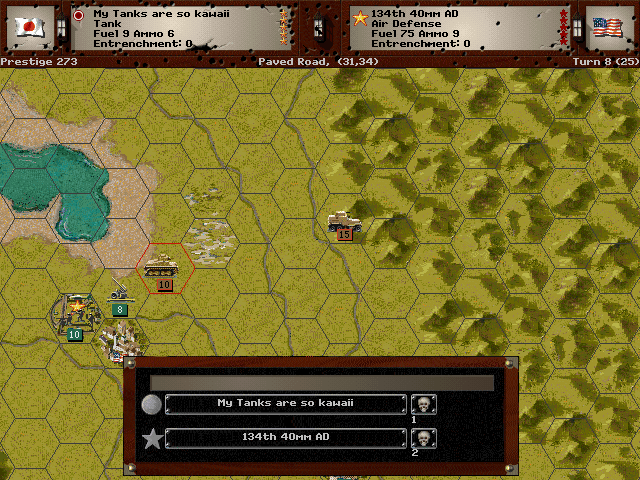
A unit of tanks in the hills wreaks havoc on our Anti-air unit.
More tanks shift to deal with the threat at Sunnyvale.
Axis Turn 9: September 13, 1944
Fair (Dry)
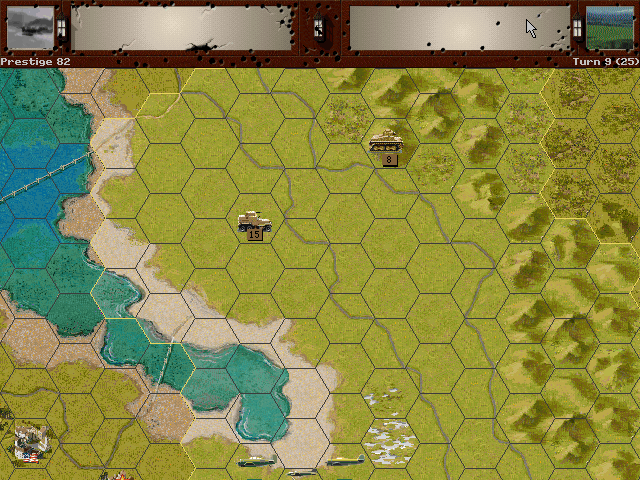
We pull away from the sneak attack on Moffett and instead probe northward along the east side of the bay. We find a barren area, likely unfit for human habitation.*
*[In another timeline, your humble author may hail from such a place.]
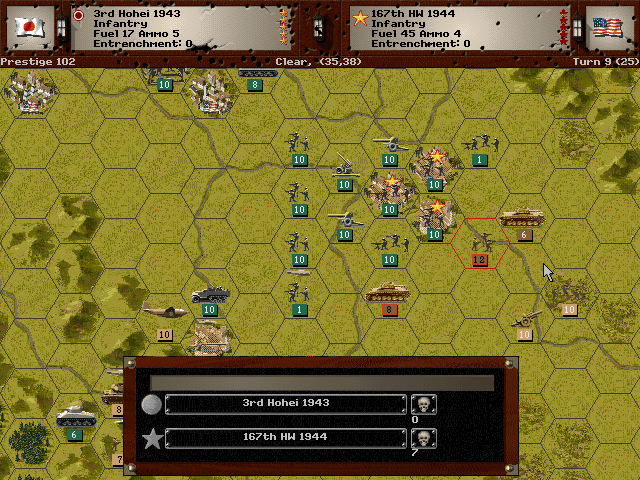
Meanwhile, we make a push on the southeast side to keep the forces at San Jose occupied.
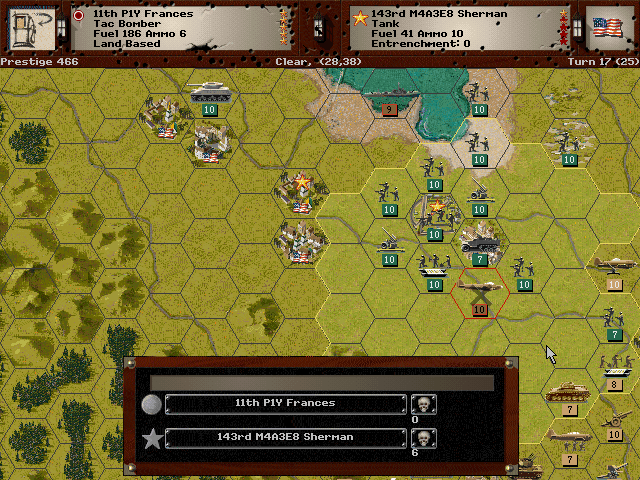
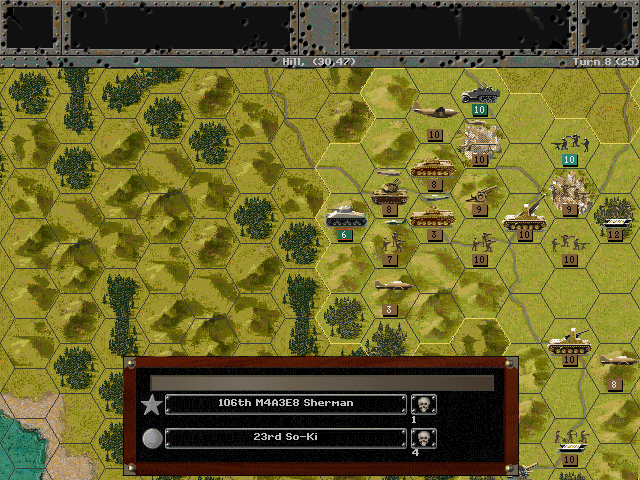
Our bombers take out the isolated tank unit in the hills.
The AT gun is finally able to get some good hits in.
We also repel several other units all along the line.
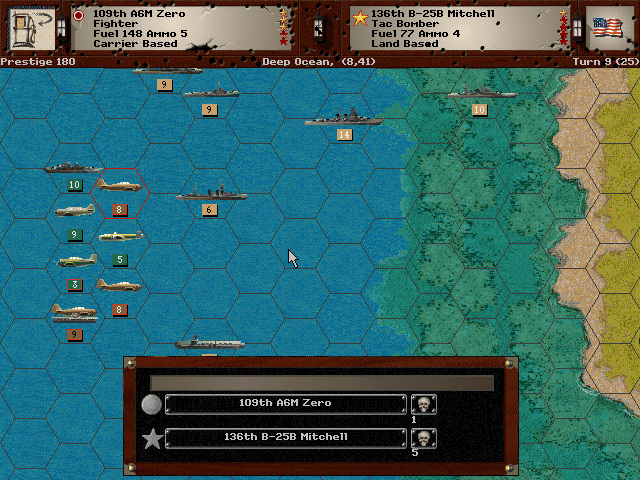
Out on the ocean, our fighters take out some land-based bombers.
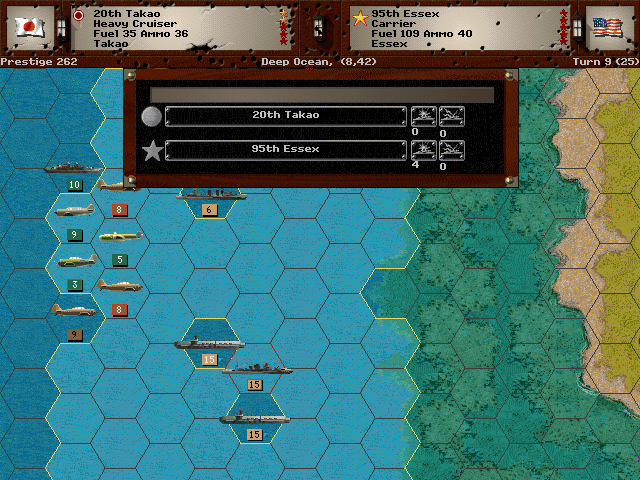
The battleships are more or less eliminated, and only one carrier is left; easy pickings for our cruisers.
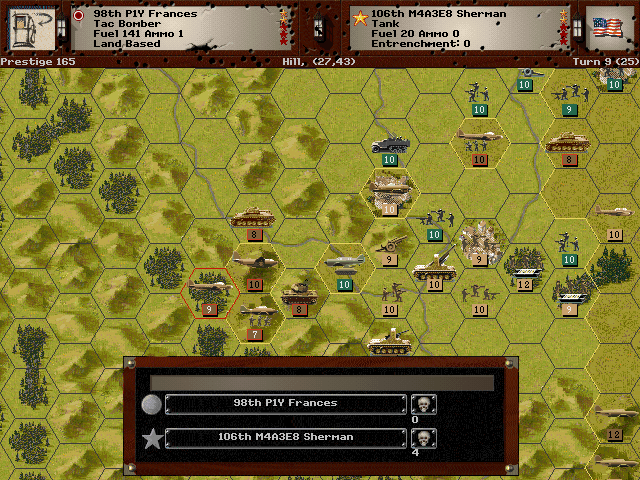
Allied Turn 9: September 13, 1944
Fair (Dry)
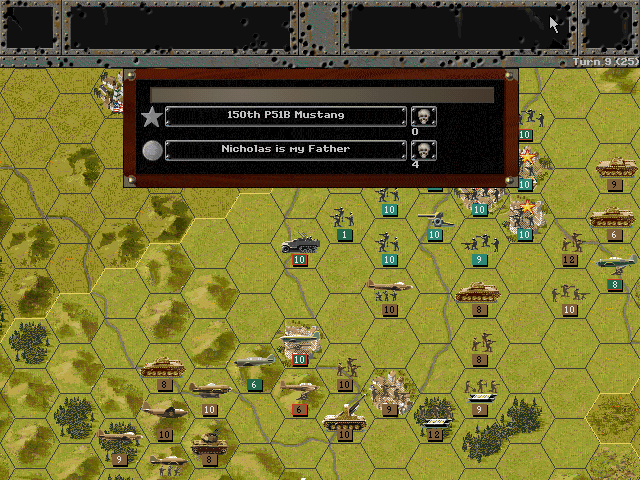
The P-51 is simply a tough plane to deal with. Some of our best pilots are lost.
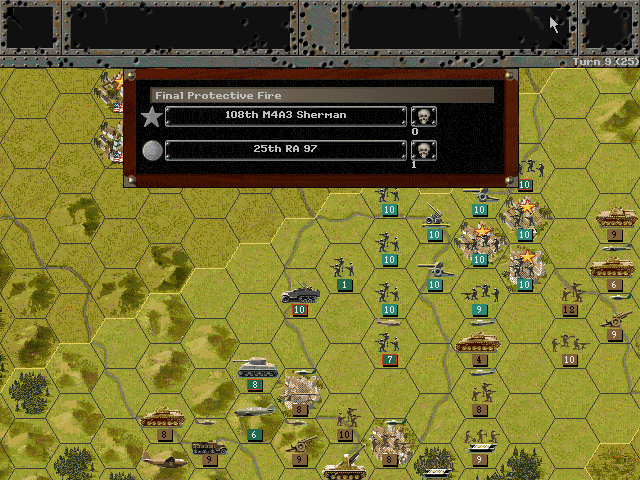
Our little-used AT gun is seeing some real action now.
Unit Spotlight
88mm AT Gun (link is to Type 99 AA gun)
PG Name: 88mm Type: Anti-Tank
Effective Date: 3/45
Value:19 Cost:228 Spot:1 Move:1 MM:Gun Trans:Naval Fuel: -
Init:11 SA:13 HA:18 AA:[10] NA:0 GD:4 AD:6 CD:0 TT:Soft Ammo:10
This is the infamous German 88mm flak gun, which excelled in direct-fire use as an anti-tank weapon. The in-game description states that this design was brought to Japan from Germany aboard submarines late in the war, although I haven't found any evidence that it was actually put into production.
The Japanese already had essentially the same gun in use for air defense. After capturing a few of the German 88mm guns (naval version) in China, the design was copied and manufactured as the Type 99. The Type 99 gun does not appear to ever have been put into use in an anti-tank role, as the majority were kept in the home islands for air defense.
In-game analysis: Yes, this is an excellent AT gun. Especially against the American tanks, as it can kill almost all of them with ease. In truth, an Air Defense configuration would be a better option, since you usually don't want to be going on the offensive with towed AT guns.
Agano-class Light Cruiser (3 built)
PG Name: Agano Type:Light Cruiser
Effective Date: 1/44
Value:14 Cost:168 Spot:2 Move:7 MM:Coastal Fuel: 88
Init:4 Range:4 SA:4 HA:7 AA:[10] NA:16 DA:8 GD:16 AD:4 TD:13 Ammo:40
Special: Radar
This was a design of the 1940s, and was thus one of the most modern for a light cruiser. It was light and fast in the water, and did not have much armor. The main guns were weak, but they also had torpedo tubes and depth charge rails. One of them, the Yahagi, was sunk along with the Yamato, but it took 12 bombs and 7 torpedoes to do it.
In-game analysis: This is the best Japanese Light Cruiser to have; possibly the best on any side. It has the same high speed as their other ships and decent anti-air numbers, but adds a much longer firing range, and has anti-sub capability to boot. It can serve a variety of roles without difficulty, and with enough crew experience, this ship can be deadly.
Kawashiki N1K2-J "Shiden Kai" (George)
PG Name: N1K2 George Type:Fighter
Effective Date: 10/44
Value:41 Cost:492 Spot:3 Move:10 MM:Air Trans:No Fuel: 76
Init:6 SA:5 HA:4 AA:22 NA:0 GD:7 AD:10 Ammo:8
The N1K1 (predecessor to the N1K2) was a seaplane, but production was cancelled after only a few were made. The redesigned model was made into a land-based fighter, which was eventually used by the Navy. Intended mostly as an interceptor, it actually wasn't very good at climbing to reach the high-altitude American bombers. It was otherwise quite deadly in the air, and could handle just about any plane on the Allied side. Its main problems seem to have been that it required a highly-skilled pilot (something severely lacking in Japan by this stage of the war) and that it was a bit difficult to manufacture properly. Some were apparently outfitted for ground attack use.
In-game analysis: The George can dish it out but can't take it. It's risky to use one of these if there's any ground-based anti-air, and if your pilots aren't experienced these can go down quickly. Still, it's likely that one of these will be needed to get the first hit on the stronger American fighters. The ground attack power is somewhat superfluous, as it's only usable if there are no anti-air assets available to the other side (an unlikely case).