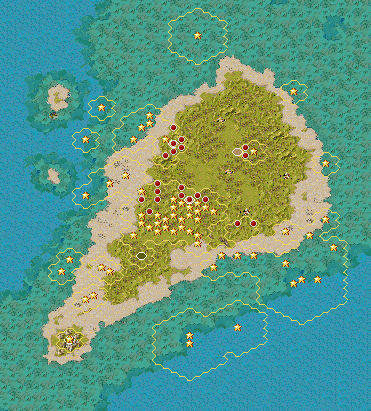
Part 59: Iwojima: February 24, 1945

It's been slow progress, but it has been progress nonetheless. If we can keep up the pace we might just take control of Iwojima.
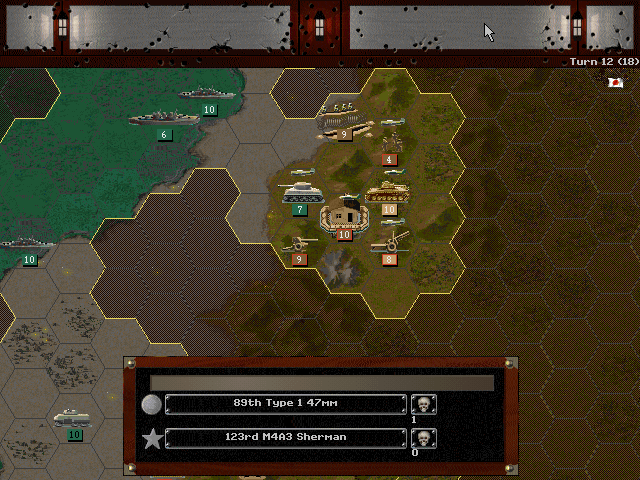
Allied Turn 12 (USA): February 24, 1945
Fair, Dry - NIGHT
Our night maneuvering lets us push away the enemy artillery. That should make the day battle much easier.
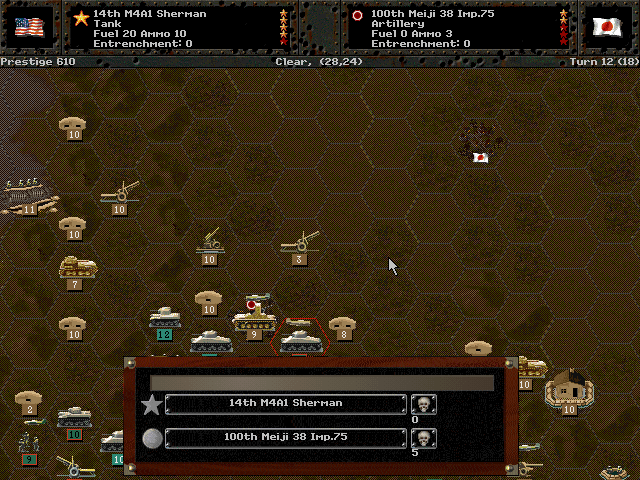
We're also continuing to pound the western pillboxes.
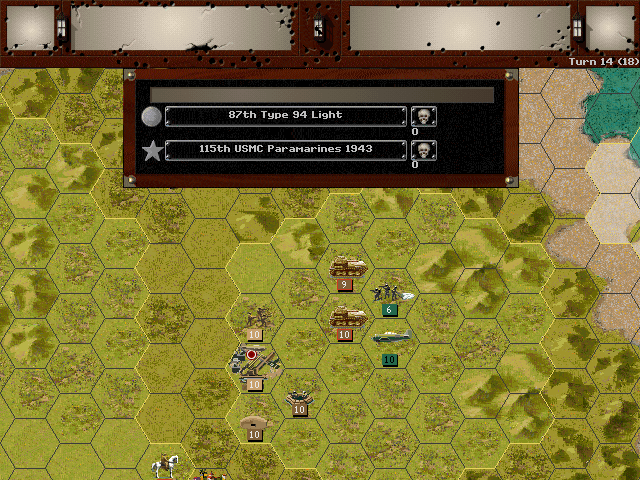
The Paramarines nearly have taken out this strongpoint, but they're starting to attract more ground troops to the area.
Axis Turn 12 (Japan): February 24, 1945
Fair, Dry - NIGHT
The flame tanks are low on ammo, and the Japanese take advantage of this weakness.
The regular tanks hold their ground outside Nishi.
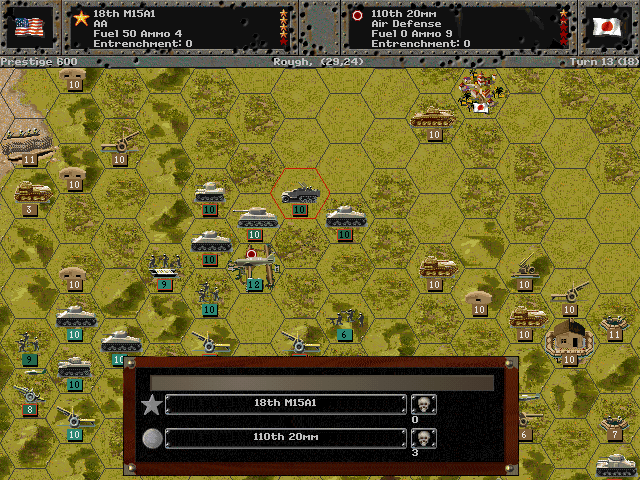
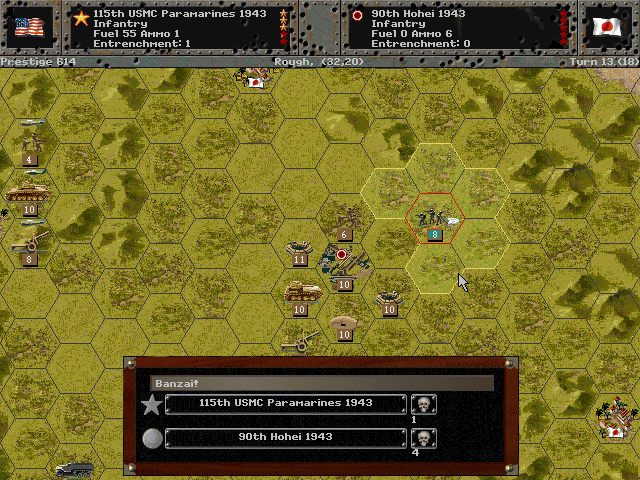
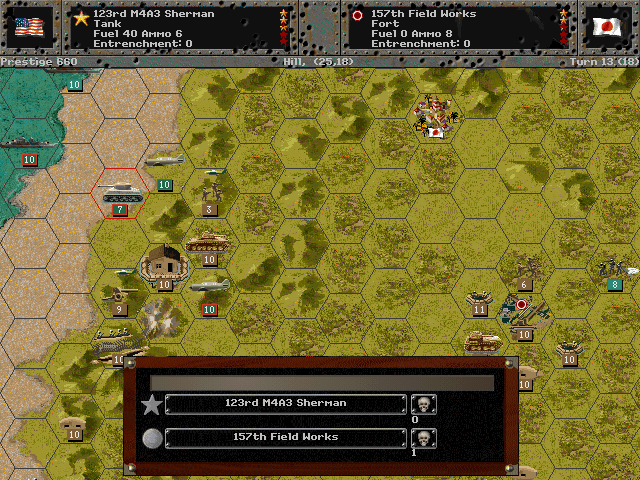
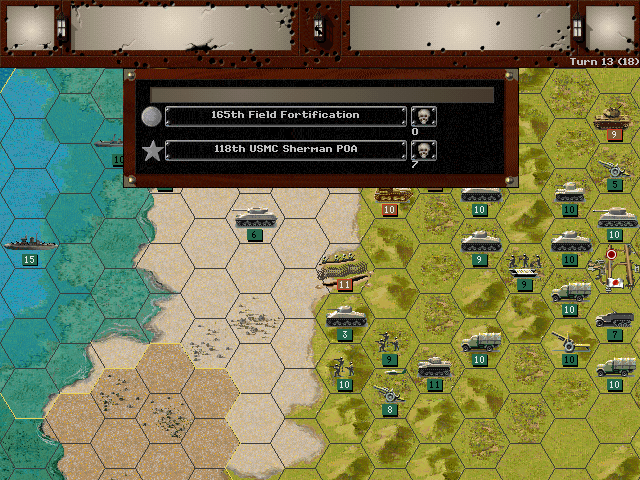
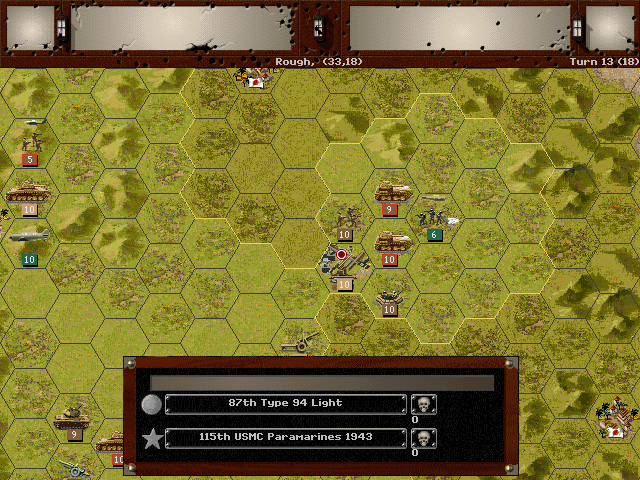
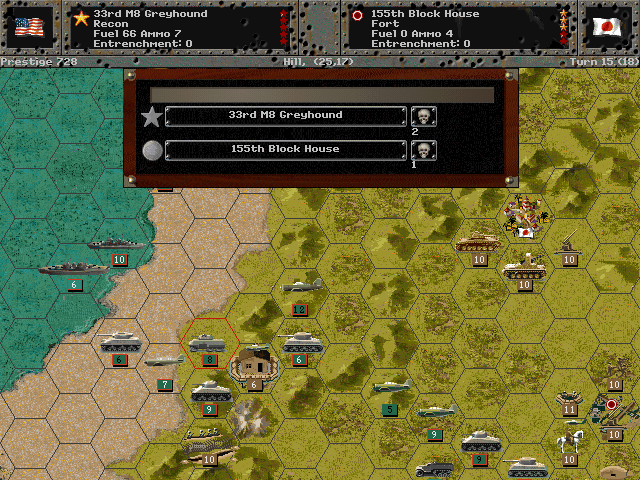
Allied Turn 13 (USA): February 25, 1945
Fair, Dry
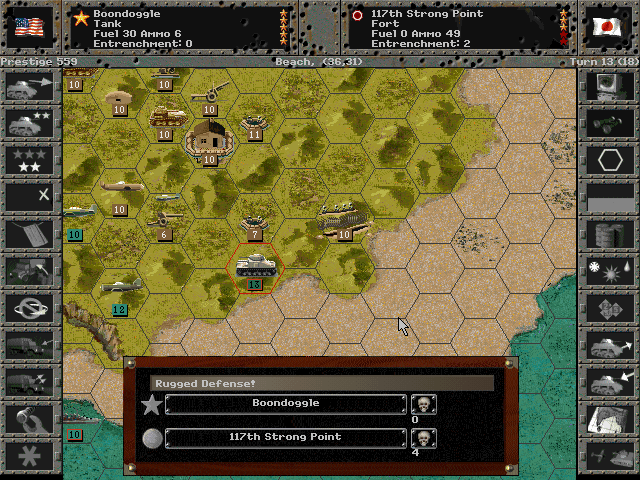
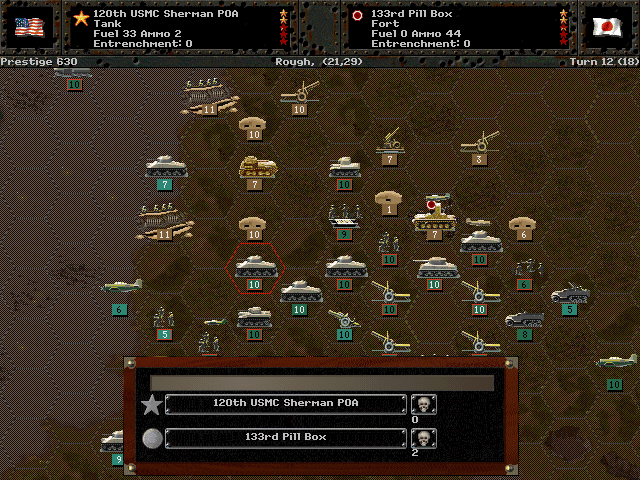
There's probably too many enemy units here for Boondoggle to have an effect, but we keep up the attacks regardless.
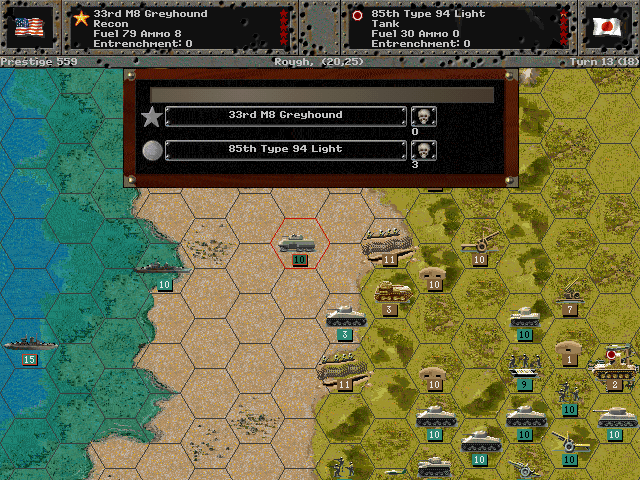
American light recon is stronger than the Japanese light tanks.
The second airfield is passed.
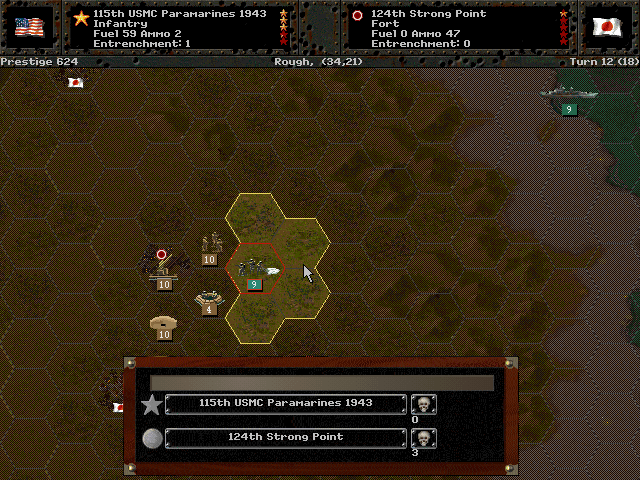
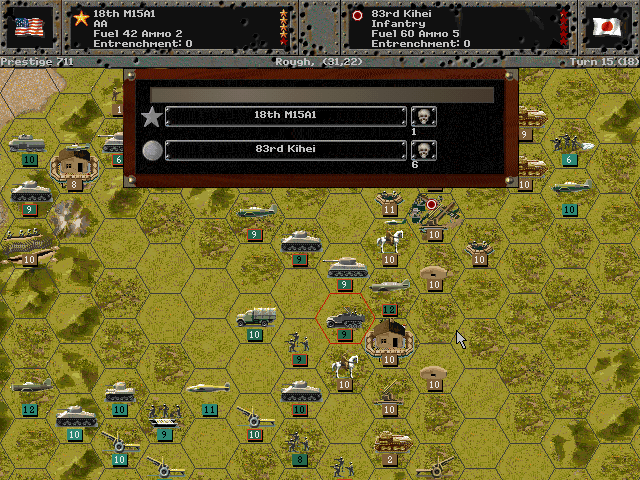
The paratroopers repel the infantry that came at them, but they are now nearly out of ammo.
We decide to go at Nishi from the north, and start by working on the surrounding defenses.
Axis Turn 13 (Japan): February 25, 1945
Fair, Dry
Lack of supplies is making it harder for us to keep fighting with the entrenched Japanese defenders.
Some Japanese tanks arrive to knock around the paratroops; for now they stand firm.
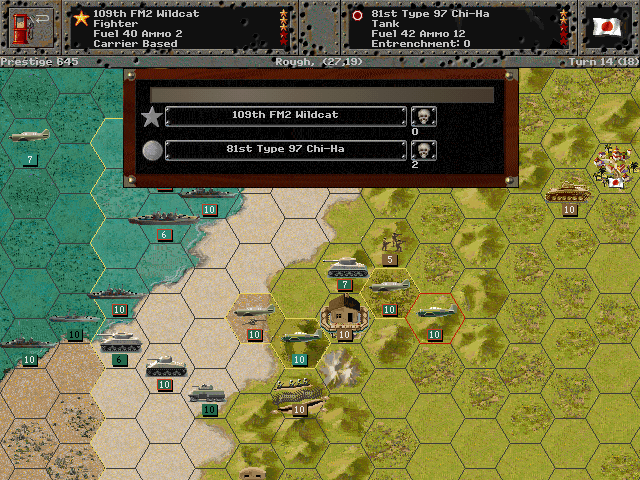
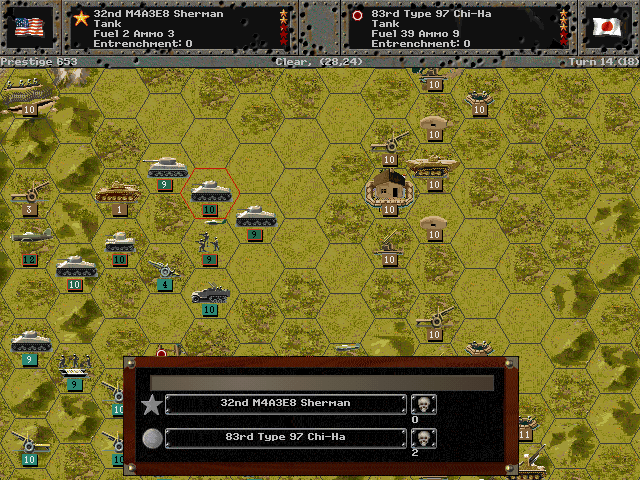
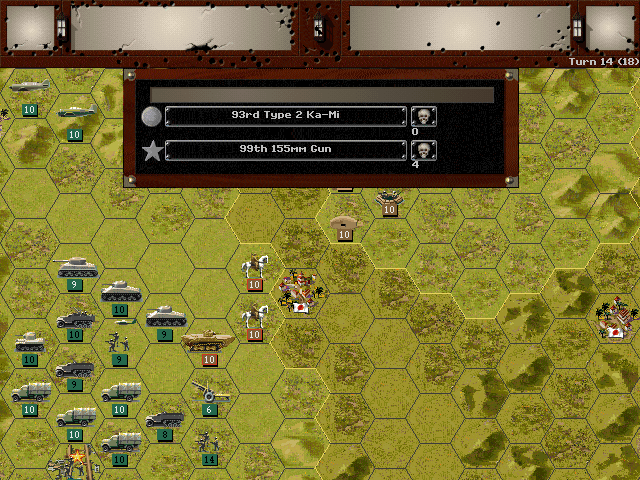
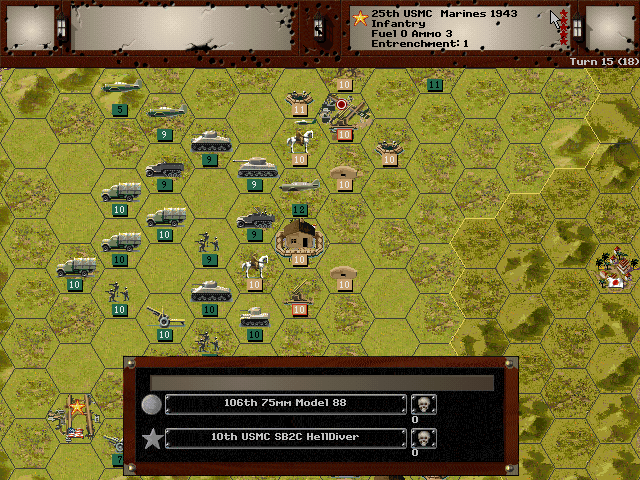
Allied Turn 14 (USA): February 25, 1945
Fair, Dry
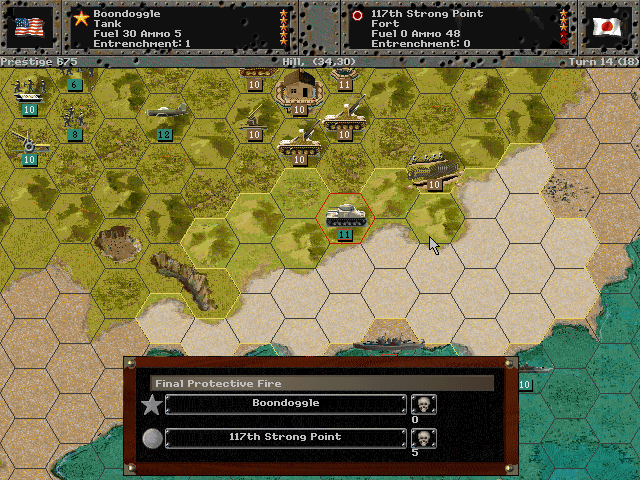
Boondoggle continues to plug away on the eastern side.
At Nishi, we're nearly ready to make a direct attack.
We knock out more forces to the north of us, allowing for more space in our final attack on the remaining airfield.
Axis Turn 14 (Japan): February 25, 1945
Fair, Dry
After our sweep northward, the guns on the south end of our line end up out of position and vulnerable to the enemy tanks.
The paramarines are out of supplies, but they somehow are managing to stay alive by running into the caves.
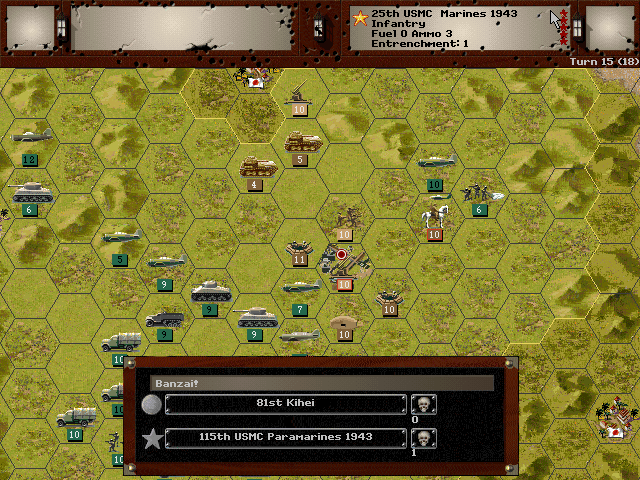
Allied Turn 15 (USA): February 26, 1945
Fair, Dry
The Navy bombards Nishi for hours, and we make our first probe at it. It still is holding strong, but should crack before long.
There is still a sizable Japanese force on the island. We just need to focus on taking the airfield.
Axis Turn 15 (Japan): February 26, 1945
Fair, Dry
The island's air defenses seem to be less effective than we had feared.
The paratroops were ready to hold off tanks; horses prove almost harder for them to handle.
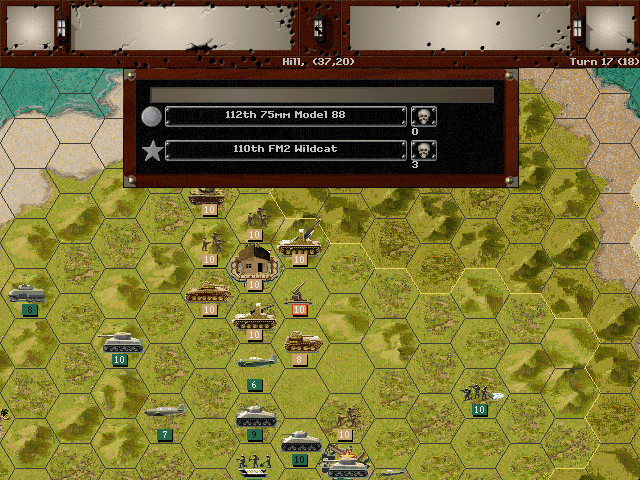
Allied Turn 16 (USA): February 26, 1945
Fair, Dry - NIGHT
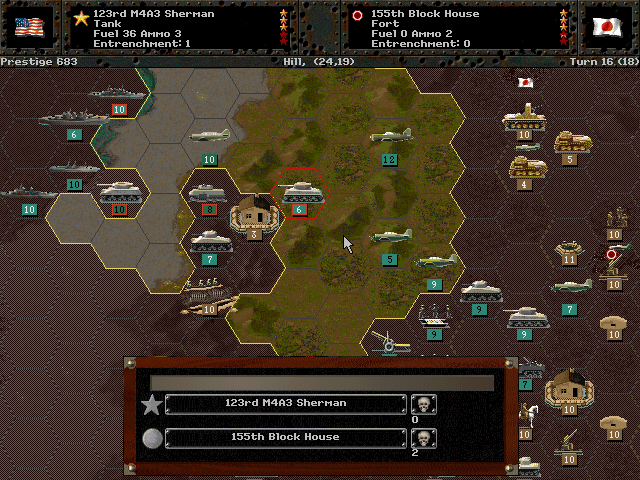
We prevent the defenders at Nishi from taking any time to recover.
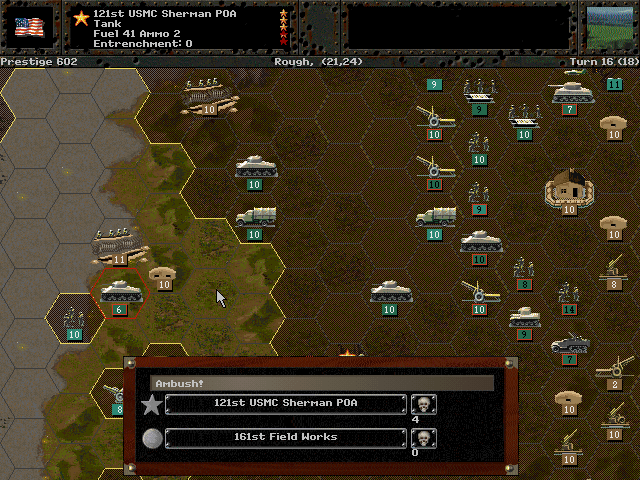
In the middle of the night, our tanks stumble into a prepared Japanese ambush.
Combat at the airfield forces the Japanese to abandon it during the night; we expect they'll be back by morning, however.
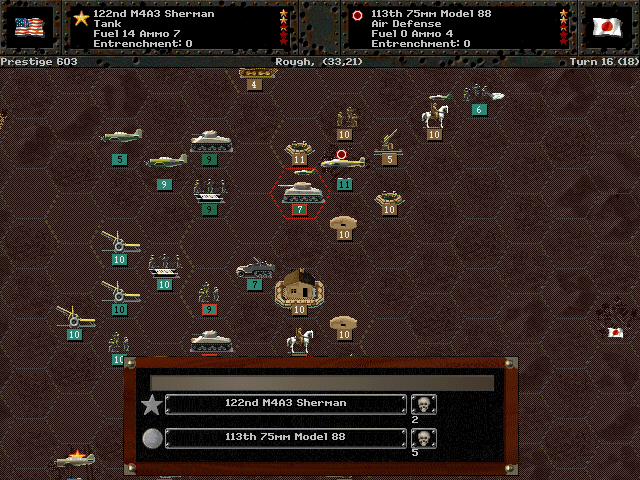
Axis Turn 16 (Japan): February 26, 1945
Fair, Dry - NIGHT
The ambush on the western side exacts a heavy toll on our troops.
Allied Turn 17 (USA): February 23, 1945
Fair, Dry
Nishi surrenders.
If we're going to secure the final airfield, we must eliminate the strong point defending it.
Our engineers expend the last of their ammo on an assault, and it succeeds.
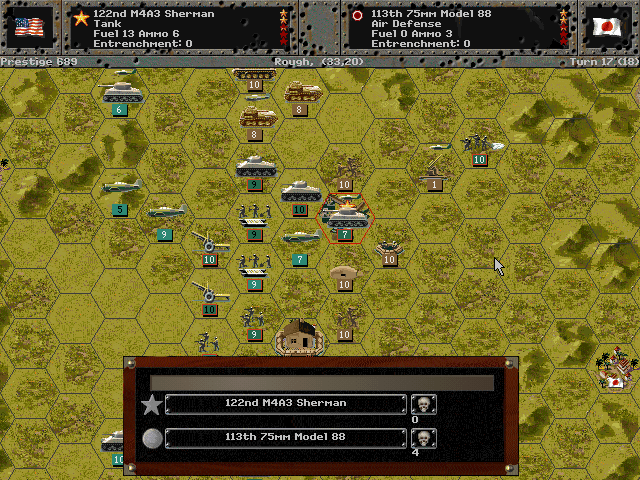
The airfield is captured shortly thereafter.
We can now spread out to clear out the rest of the island.
Axis Turn 17 (Japan): February 23, 1945
Fair, Dry
Some of the anti-air guns have better crews manning them; we shouldn't become careless with our air units.
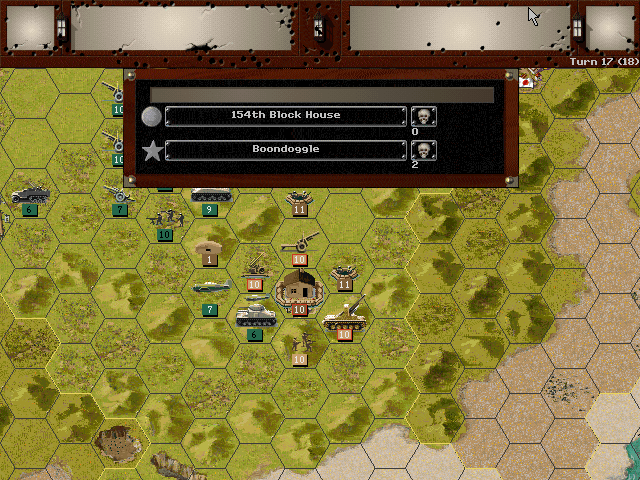
Boondoggle has finally been tired out, but their job is done and we can pull them out now.
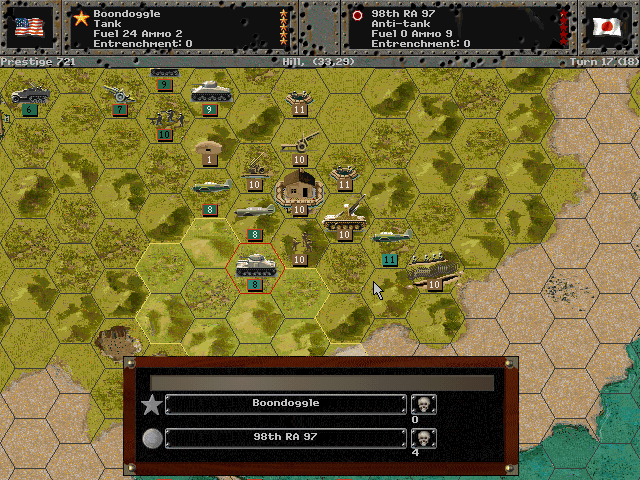
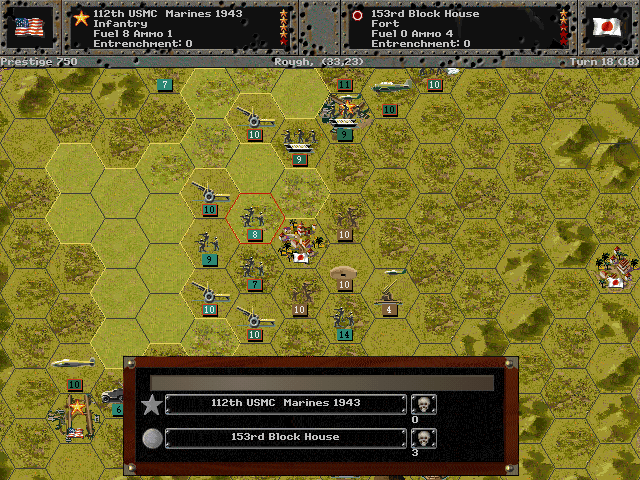
Allied Turn 18 (USA): February 27, 1945
Fair, Dry
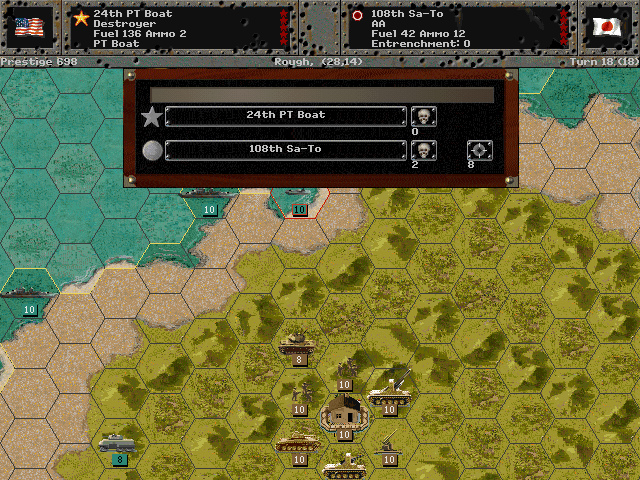
Our PT Boats actually get a chance to fire on the ground units.
We ensure that we'll maintain control of the island's center by knocking out Moto Yama.
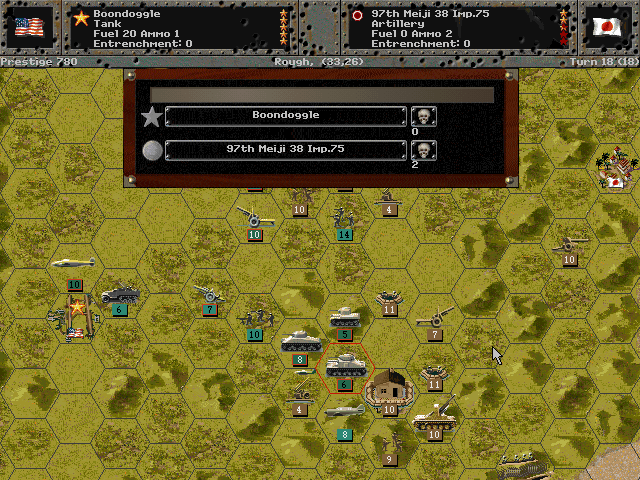
Boondoggle links up with the rest of the core.
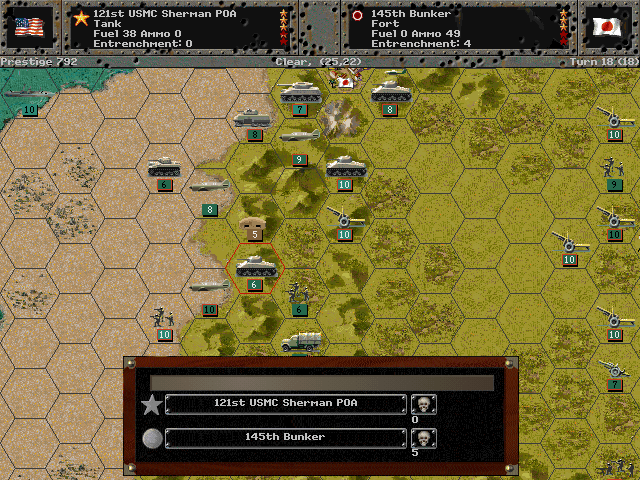
The western side's fortifications haven't entirely been eliminated either, but we're nearly there. The island's defenders can't hold out for much longer.
This battle was by no means easy, but it didn't present any particular difficulty, either. A straightforward push the entire time managed to capture the objectives in time for a full victory.
Result: Decisive Victory (1624-859)
Ending Prestige: 2122
Unit Spotlight
M16 MGMC
PG Name: M16 Type: Anti-Air
Effective Date: 12/44
Value:12 Cost:144 Spot:2 Move:8 MM:Half-Track Trans:Naval Fuel: 57
Init:4 SA:7 HA:1 AA:8 NA:0 GD:6 AD:4 CD:1 TT:Hard Ammo:6
The M16 was, like the M15 CGMC, based on the M3 Half-Track chassis. Thus it was lightly-armored and fast. With a quad arrangement of machine guns capable of spewing large amounts of lead at a target, it was not to be underestimated. Low-flying ground attack planes as well as softer ground targets could be rapidly chewed up if they got too close to these.
In-game analysis: Cheaper than the M15A1, but noticeably worse. This unit's only upside is that it is a fairly strong against infantry. By this point, an M15A1 with a little experience is sufficient to handle most soft targets, and if you really want something for fighting infantry, an M10 (or even an M18) is preferable.
Casablanca-class Escort Carrier (50 built)
PG Name: Casablanca Type:Carrier
Effective Date: 7/43
Value:12 Cost:216 Spot:3 Move:3 MM:Deep Naval Fuel: 127 Capacity:1
Init:3 SA:0 HA:0 AA:[7] NA:0 DA:0 GD:12 AD:2 TD:6 TT:N/A Ammo:40
As the escort carrier concept was proving its viability, and American assembly capacity was increasing as well, a new design of a dedicated escort carrier was created. Unlike the Bogues, which were converted on existing hulls, these were mostly built complete (though based on a merchant hull). The production was finished in a stunningly short amount of time, with most of them constructed in a matter of months. The majority of them served in the Pacific, and only four were actually lost in combat.
In-game Analysis: This is not the worst low-end carrier for the Americans only by virtue of not being as expensive as the rest. It's not worth a purchase at any price, however.
Douglas A-26 Invader
PG Name: A-26 Invader Type: Tac Bomber
Effective Date: 12/44
Value:41 Cost:492 Spot:3 Move:9 MM:Air Fuel: 132
Init:5 SA:16 HA:11 AA:[18] NA:5 GD:11 AD:17 TT:No Ammo:9
As it was developed during the war, the A-26 was the latest in design techniques. It could carry a sizable bomb load and packed an incredible number of guns (one variant had over 20). It was also one of the fastest bombers in the war, speedy enough to beat many early-war fighters. Not many served in the Pacific, but the design proved to be such a success that it was used all the way until the Vietnam War.
In-game Analysis: The numbers on this model almost seem insane -- it's as deadly in the air as some of the best fighters, and yet it really can be purchased for less than 500. While it is unsuited for naval action, it's unrivaled for hitting ground units.