Part 60: Okinawa: April 5, 1945
It's been a long battle up through the Pacific, but we now control the waves and the skies. The war's not over yet, though.
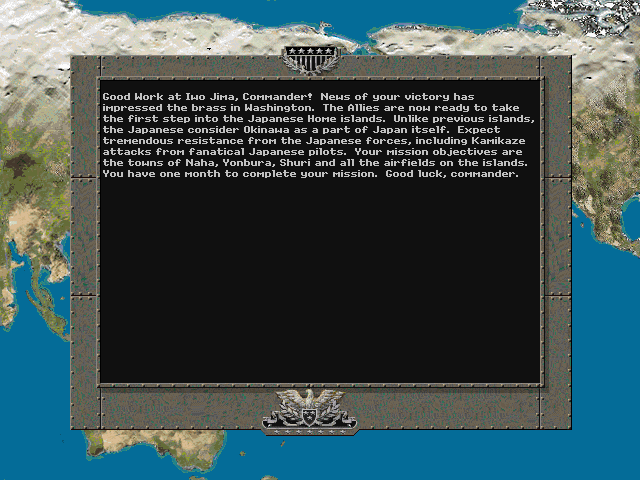
We're taking the fight to Japan now. Control of the island of Okinawa will put us in position to target an invasion that will finally force the Japanese to surrender.
Okinawa : April 5. 1945
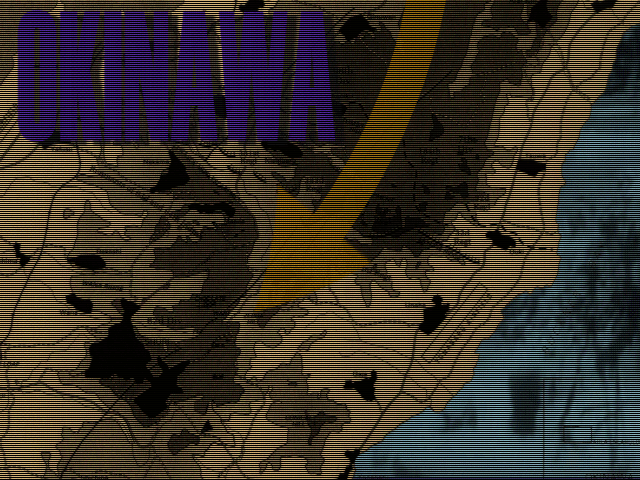
Objectives: (Mashiki [200x2]), (Ginowan [200x2]), (Tsuwa [200]), Yonabaru Airfield [150x2], Yonabaru[100], Shuri [50x5], Machinato [150x3], Naha [100x3]
Victory Start: 1000 - 1875
OOB
pre:
Unit Name                      Unit Type [Transport]        Exp

Land Units

1.12th USMC Engineers 1943     USMC Engineers 1943 [M2]    *****
2.Stay Frosty                  USMC Marines 1943 [M2]       ****
3.15th USMC Paramarines 1943   USMC Paramarines 1943        ****
4.25th USMC Marines 1943       USMC Marines 1943               -
5.26th Seabees                 Seabees                         *
6.31st USMC Marines 1943       USMC Marines 1943              **
7.34th USMC Marines 1943       USMC Marines 1943               -
8.31st M8 Greyhound            M8 Greyhound                    -
9.21st M3 Stuart               M3 Stuart                   *****
10.29th M5 Stuart              M5 Stuart                      **
11.Boondoggle                  M3A1 Lee                    *****
12.14th M4A1 Sherman           M4A1 Sherman                 ****
13.32nd M4A3E8                 M4A3E8                         **
14.30th M10 Wolverine          M10 Wolverine                 ***
15.18th M15A1                  M15A1                        ****
16.19th 75mm Pack Howitzer     75mm Pack Howitzer [M2]         *
17.20th 75mm Pack Howitzer     75mm Pack Howitzer [M2]         *
18.11th 105mm Howitzer         105mm Howitzer [GMC]            -
19.17th M7                     M7                              -

Aux (by qty)
1                              Rangers 1943                    -
1                              USMC Engineers 1943 [GMC]       -
1                              M5A1 E7-7                       -
1                              M12 GMC                         -
2                              3" AD                           -
1                              8" Gun                          -

Air Units

20.7th F6F Hellcat             F6F Hellcat                     *
21.8th F4U Corsair             F4U Corsair                 *****
22.9th F4F Wildcat             F4F Wildcat                   ***
23.Pretty Pixel Pilots         P-38 Lightning                ***
24.10th SB2C Helldiver         SB2C Helldiver              *****
25.1st TBM Avenger             TBM Avenger                   ***

Aux (by qty)
1                              P51B Mustang                    -
2                              B25H Mitchell                   -

Naval units

The capital ships are unavailable in this battle.

26.3rd PT Boat                 DD PT Boat                      -
27.24th PT Boat                DD PT Boat                      -
28.23rd Somers                 DD Somers                       *
Northampton                    CA Northampton              *****
Yorktown                       CV Yorktown                     -
Independence                   CV Independence                 -
16th Iowa                      BB Iowa                        **
29.Atlanta                     CL Atlanta 44                   *
30.Gato                        SS Gato                         *
Starting Prestige: 499 after purchases
Our core is rounded out with more infantry, and another mobile artillery unit. Hopefully this one will have a better fate than previous models. Most of our forces have a decent amount of experience, and the Japanese haven't come up with anything too tough to deal with lately.
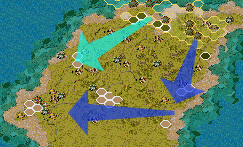
We had an easy time getting on the island, but now we need to push southward and solidify control by taking key airfields and the main city of Naha. There are too many entrenched in front of us for the direct approach to be likely to succeed. What we really need is to get control of airfields to give us a base to bomb farther ahead. Therefore our plan will be to head to Yonabaru airfield first. From there, we'll swing west to seize Shuri and finally Naha. Our other forces will put pressure on the opposite flank and advance along the coast.
We expect we'll need more mobile forces on the primary push, so we deploy with more tanks on the eastern side.
Allied Turn 1 (USA): April 5, 1945
Fair, Dry
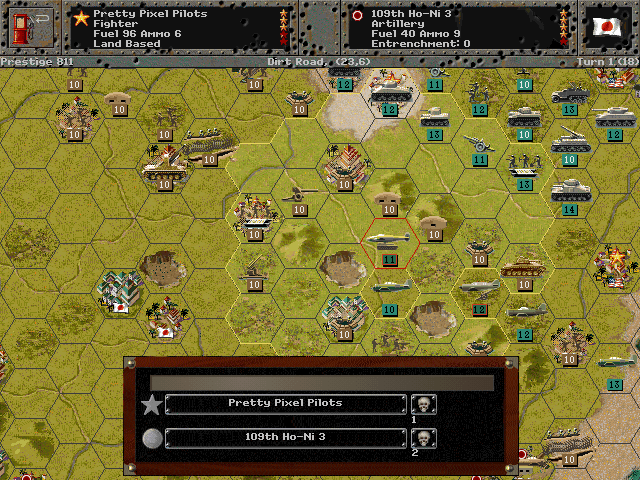
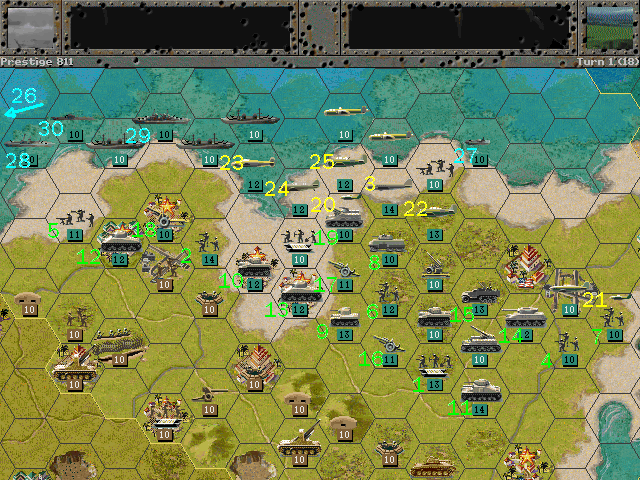
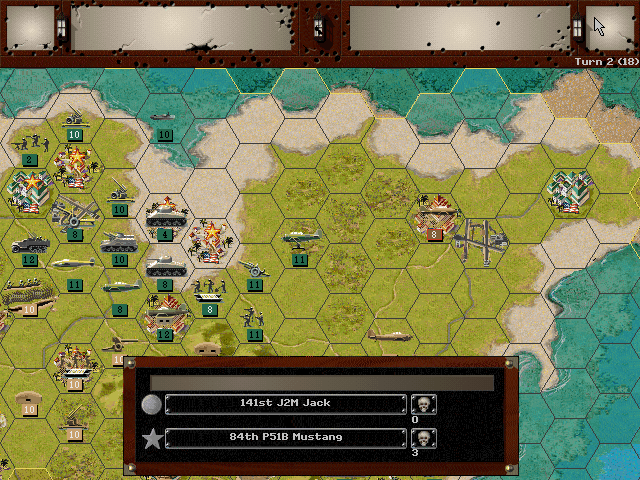
We open the battle with air strikes on the toughest Japanese positions.
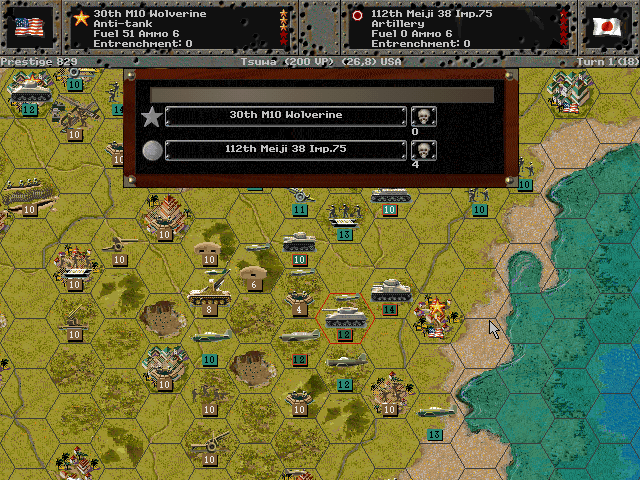
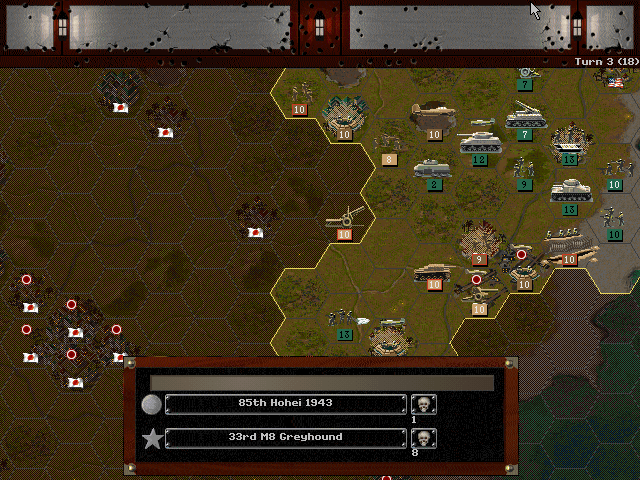
Our first push is at Tsuwa, where we knock out some tanks and artillery.
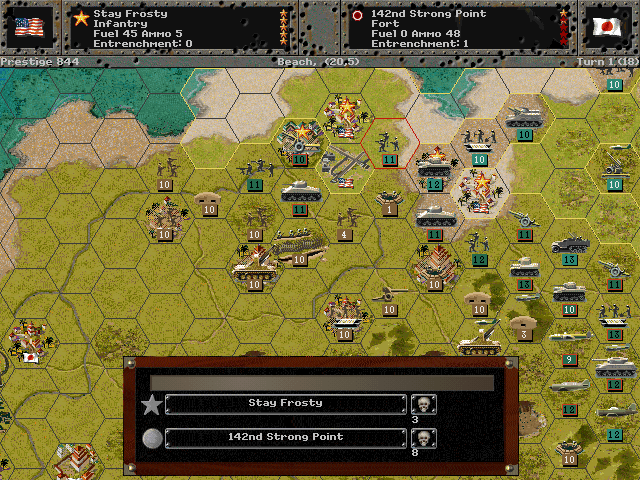
Near Mashiki, we clear a little more space by knocking out the strongpoints close to us.
Axis Turn 1 (Japan): April 5, 1945
Fair, Dry
The Japanese have a strong air presence on the island, and some higher-quality planes now.

The Kikka in particular is dangerous to our inexperienced pilots.

The enemy tries to soften our flank at Mashiki.
Allied Turn 2 (USA): April 8, 1945
Fair, Dry

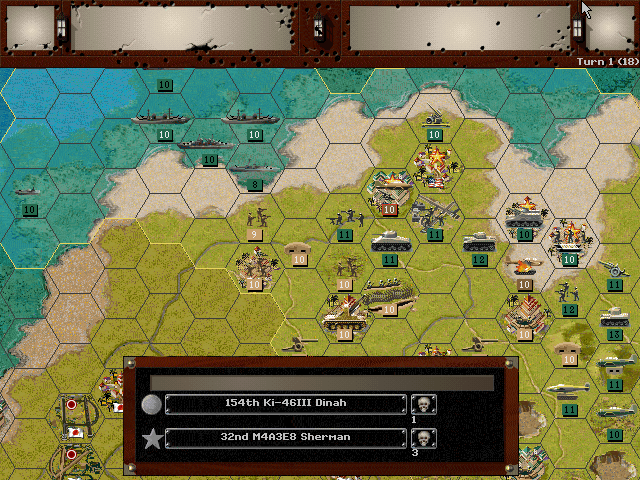
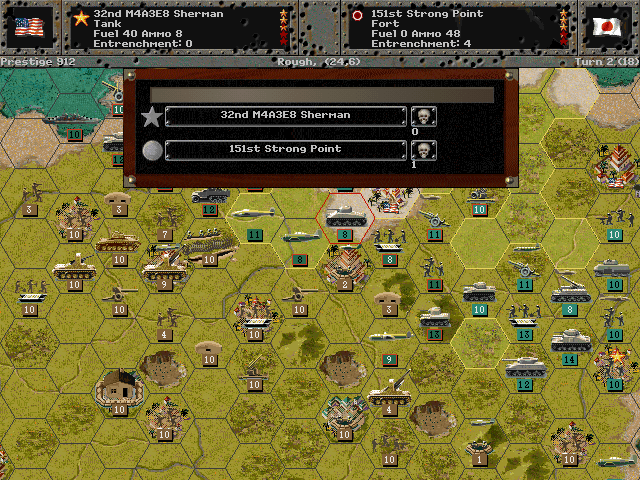
We pull back to recover the weakened units, and shift better units into their place.

The PT boats scout along the coastline.

Our fighters strike back in the air at the enemy bombers.
The bunkers are hard to clear out.
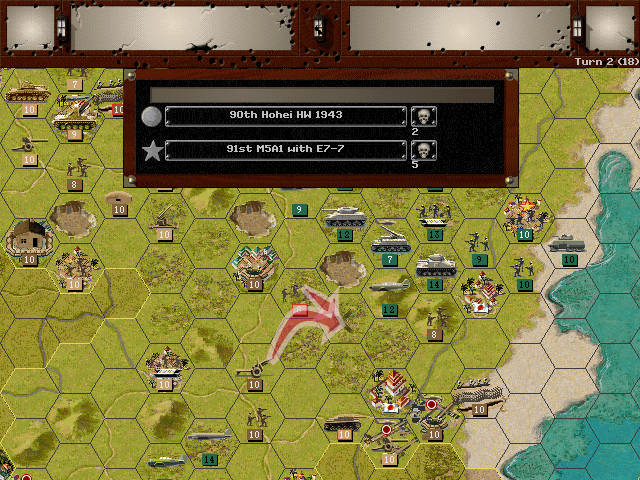
We do make a little progress toward Yonabaru.
Axis Turn 2 (Japan): April 8, 1945
Fair, Dry
The enemy fighters chase down the Mustangs before they can make it safely back to base.
One of the flame tanks at the head of our advance is lost.

It's a bad day for them as more are lost at the other end of the front line.
Allied Turn 3 (USA): April 11, 1945
Fair, Dry - NIGHT
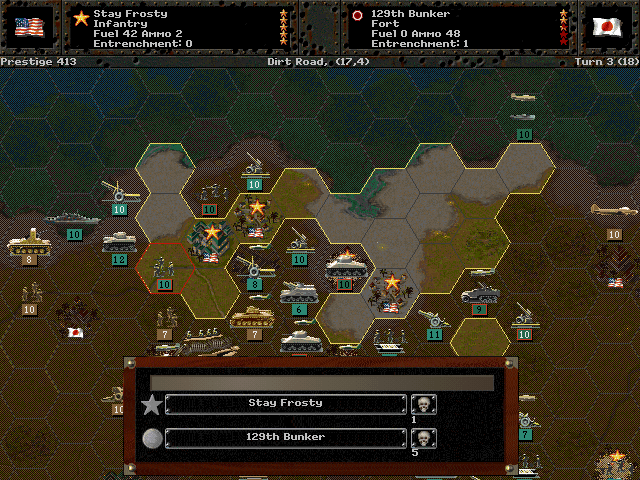
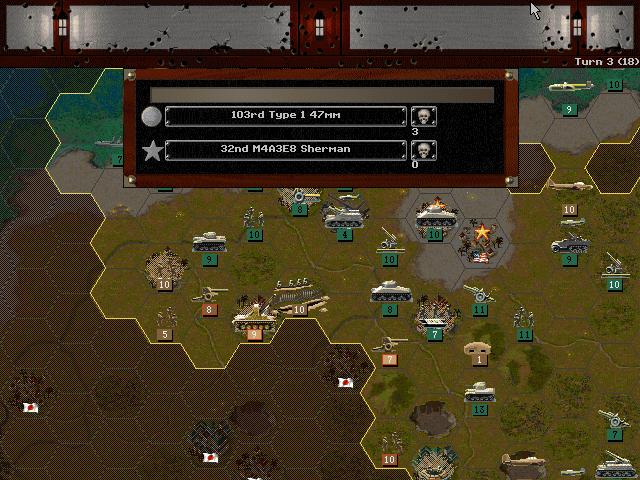
The Marines make a sneak attack using the cover of darkness to knock out another bunker.
We get even closer to the Yonabaru airfield.
Axis Turn 3 (Japan): April 11, 1945
Fair, Dry - NIGHT
The scout cars fail to get out of the way of an artillery strike, and the unit is later lost as the infantry come after them.
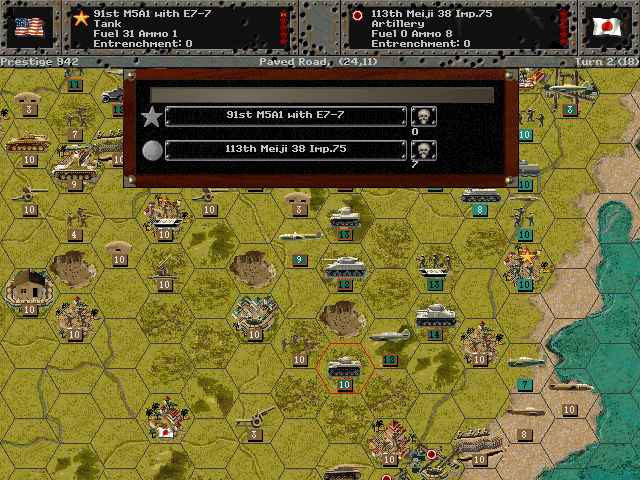
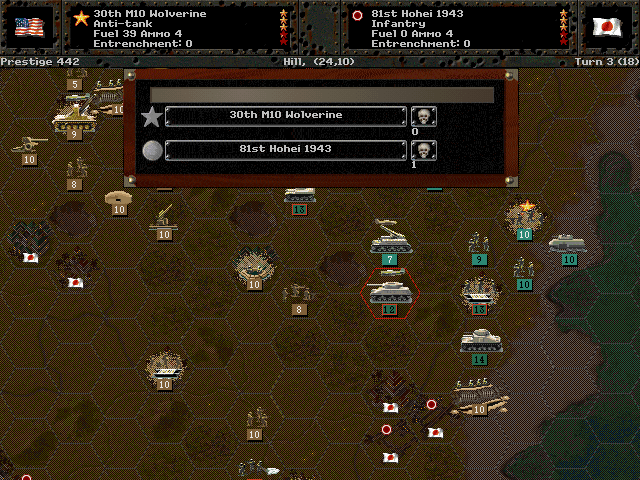
Their AT guns try to knock out some of our tanks, but they completely fail to score a hit.
Unit Spotlight
M1 [later M114] 155mm Howitzer [or M1/M2/M59 'Long Tom' Heavy Gun]
PG Name: 155mm Gun Type: Artillery
Effective Date: 1/44
Value:14 Cost:216 Spot:1 Move:1 MM:Gun Trans:Naval Fuel: 0
Init:1 Range:3 SA:20 HA:14 AA:0 NA:3 GD:2 AD:6 CD:0 TT:Soft Ammo:7
The US had adopted the French artillery pieces of World War I, and they remained in service throughout the 1920s. The M1 was developed when it was decided that rather than just update the carriage for the 1918 model, they would design a more modern gun for it. The M1 began production in 1941 and served admirably as a 'medium' artillery piece during the war and for decades after. It is probably still in the arsenal of some countries.
Another possible 155mm gun for this unit is the 'Long Tom', also based on a French gun. The American design mostly kept the barrel as it was and added British innovations to the breech. Far more of the other M1 (i.e. M114) guns were produced, so it seems likely that the in-game model represents that one. The late introduction date is probably for campaign balance.
In-game analysis: This one is a very nice heavy gun, probably the best of its caliber in the game. It not only hits a bit harder than the others, it carries a good supply of ammo too. All at a moderate price.
Gearing-class Destroyer (over 50 built)
PG Name: Sumner Type:Destroyer
Effective Date: 3/45
Value:15 Cost:180 Spot:2 Move:7 MM:Coastal Fuel: 99
Init:3 Range:1 SA:3 HA:6 AA:9 NA:10 DA:8 GD:16 AD:6 TD:14 TT:N/A Ammo:40
Special: Sonar, Radar
The Gearing class was an iteration of the Sumner class, and likely would have replaced the Fletcher, had they arrived sooner or the war continued any longer. As it was, only six ever made it to service during the war; however, they were a fairly advanced design, and ended up being used (often by countries other than the US) up until the 1990s.
In-game Analysis: Simply the best destroyer unit in the game. In terms of combat power it's not any stronger than the others, but how it can use that power is what differentiates it. The ability to provide air support to any nearby ship makes it far more effective, and it can track down subs and enemy ships better than most escort vessels too. The need for it is somewhat mitigated because it comes at a stage of the war when air power is really the dominant force on the seas, but that doesn't make it any less good at what it does.
Boeing B-29 Superfortress
PG Name: B-29 Super Fortress Type:Level Bomber
Effective Date: 12/44
Value:65 Cost:780 Spot:2 Move:8 MM:Air Fuel: 240
Init:6 SA:1 HA:4 Size:60 AA:[20] NA:11 GD:21 AD:16 TT:No Ammo:10
Boeing had been working on a replacement for the B-17 once that plane went into production, and when the Army requested a very long-range heavy bomber, they produced the B-29. While very expensive, it was also one of the most advanced planes of its time, featuring electronically-controlled guns and the ability to safely fly at high altitude thanks to pressurized crew compartments. Most of them were deployed in the Pacific, in order to take advantage of their extremely long range. They formed the backbone of the strategic bombing campaign against Japan and, most famously, dropped the two atom bombs at the war's end.
In-game Analysis: This unit defines extravagance. From the absurdly oppressive bomb load to the array of guns that can shoot down many fighters with hardly any effort to the ability to laugh in the face of flak, this is built to be the best. The owner of this had best hope it doesn't get taken out, too, as one squadron costs as much as a whole aircraft carrier (and not just any old aircraft carrier, either).