Part 69: Coronet: November 5, 1945
Operation Downfall has begun. It's time for the final battle for Japan, which will bring this war to an end.
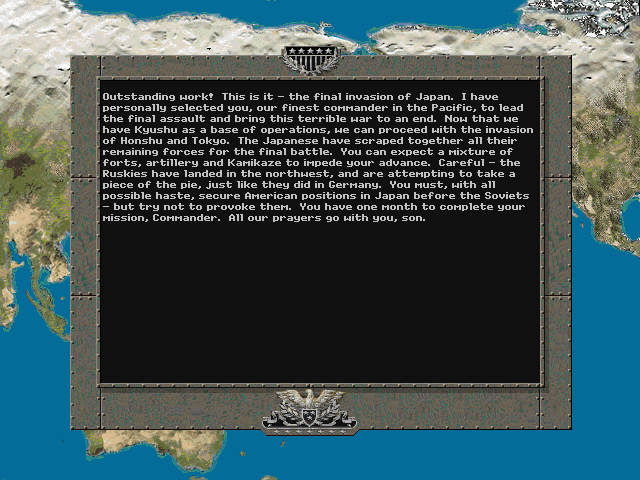
We were prepared to wait out the winter. There was hope that our occupation of several of Japan's Home Islands and a sustained strategic bombing campaign would bring surrender before long, but that hasn't occurred yet. We didn't want to invade Honshu until next spring at the earliest, but everything changed in August. The Soviets declared war on Japan and within two months, they had raced through Manchuria and pushed Japan out of the Asian mainland entirely. Since we'd already removed Japan as a threat on the seas, the Soviets were able to assemble and land an invasion force with little difficulty. Now we've had to jump up our schedule, and there's every possiblity that we will have to deal with two enemies.
Coronet: November 8, 1945

Objectives: Koriyama [120], Hitachi [40], Matsumoto [110x2], Utsonomiya [100], Akasaki [120], Tokyo [200, 100x2], Yokohama [100x2], Yokosuka [100], Yoshida [50], Okazaki [110x2]
Victory Start: 0 - 2771
OOB
pre:
Unit Name                      Unit Type [Transport]        Exp

Land Units

1.12th USMC Engineers 1943     USMC Engineers 1943 [M2]    *****
2.Stay Frosty                  USMC Marines 1943 [M2]      *****
3.15th USMC Paramarines 1943   USMC Paramarines 1943       *****
4.25th USMC Marines 1943       USMC Marines 1943              **
5.26th Seabees                 Seabees                        **
6.31st USMC Marines 1943       USMC Marines 1943[M2]          **
7,34th USMC Marines 1943       USMC Marines 1943               -
8.21st M3 Stuart               M3 Stuart                   *****
9.29th M5 Stuart               M5 Stuart                    ****
10.Boondoggle                  M26 Pershing                *****
11.14th M4A1 Sherman           M4A1 Sherman                *****
12.32nd M4A3E8                 M4A3E8                        ***
13.30th M10 Wolverine          M10 Wolverine                 ***
14.18th M15A1                  M15A1                       *****
15.19th 75mm Pack Howitzer     75mm Pack Howitzer [M2]         *
16.20th 75mm Pack Howitzer     75mm Pack Howitzer [M2]        **
17.11th 105mm Howitzer         105mm Howitzer [GMC]            *
18.17th M7                     M7                              -
19.24th M4A3(105)              M4A3(105)                       -
20.35th 90mm AD                90mm AD                         -

Aux (by qty)
1                              Assault Inf [M2]              ***
1                              Assault Inf [M2]             ****
1                              M26 Pershing                   **
1                              M18 Hellcat                   ***
1                              T92 HMC                        **
1                              57mm Recoilless               ***
1                              75mm Recoilless                **
UK
2                              Paratroopers 44                 -
1                              Commandos [Bren]                -
3                              Infantry 1944 [3T Lorry]        -
1                              HW Inf 1944 [Bren]              -
1                              Comet                         ***
1                              Sh Firefly                    ***
1                              Crom VII                       **
1                              Achilles                        *
Canada
3                              Infantry 1944 [GMC]             -
1                              HW Inf 1944 [Ram Kg]            -
1                              Commandos [Ram Kg]              -
1                              Engineers [Ram Kg]              -
1                              Valentine Mk II                 -
1                              Church III                      -
1                              Sherman Badger                ***
1                              Sexton                          -
Australia
1                              Infantry 1944 [2.5T]            *
1                              Infantry 1944 [2.5T]           **
1                              AC III Sentinel               ***
1                              20mm SPAA                       -
New Zealand
2                              Infantry 1944 [GMC]             -
1                              HW Inf 1944 [GMC]               -

Air Units

21.8th F4U Corsair              F4U Corsair                *****
22.9th F7F Tigercat             F7F Tigercat                ****
23.Pretty Pixel Pilots          P-38 Lightning              ****
24.10th SB2C Helldiver          SB2C Helldiver             *****
25.1st TBM Avenger              TBM Avenger                 ****


Aux (by qty)
2                              Helicopter                      -
2                              A-26 Invader                    -
1                              B-29 Super Fortress             -
1                              F82 Twin Mustang                -
1                              P-59A Airacomet                 -
UK
1                              Wildcat                         -
1                              Martlet                         -
Australia
1                              Boomerang                       -
1                              CA-15                           -
New Zealand
1                              Corsair                         -


Naval units


26.3rd PT Boat                  DD PT Boat                     -
27.24th PT Boat                 DD PT Boat                     -
28.23rd Somers                  DD Somers                     **
29.Northampton                  CA Northampton             *****
30.Yorktown                     CV Yorktown                    -
31.Independence                 CV Independence                -
32.16th Iowa                    BB Iowa                      ***
33.Atlanta                      CL Atlanta 44                  *
34.Gato                         SS Gato                        *

Desron 1,2                      DD Gearing                  ****
Desron 3,5,7                    DD Gearing                   ***
Desron 4,6                      DD Gearing                    **
Desron 8                        DD Gearing                     *
Alaska                          BB Alaska                      -
UK
Desron 12                       DD Battle                    ***
Desron 14                       DD Battle                     **
Richelieu                       BB Richilieu                   *
Canada
Desron 11                       DD A-I                        **
Desron 13                       DD Ca                         **
Desron 15                       DD Q                          **
Quebec                          CL Fiji                       **
Australia
Hobart                          CL Birmingham                 **
New Zealand
Gambia                          CL Fiji                       **
Starting Prestige: 566 after purchases and upgrades
Instead of adding a lot of new units, we merely get one more good artillery gun, and add a few upgrades. I didn't replace the recon unit because we have something even better now -- helicopters! Although actually more fragile than a scout car, they can speed across the landscape with remarkable agility. We've also spent a lot of prestige to boost the strength of our main core. Some prestige is kept in reserve, just in case we need to add a unit or two to along the way.
We may end having to face multiple enemies, but we definitely have multiple allies. This invasion is a truly multinational affair, with the Commonwealth providing as many troops as they could muster on short notice in the theater. Canada has really come through, though their men are largely untested. The Aussies have committed some veteran soldiers, and while not a large number of British forces are at hand, they did bring some of their latest and greatest tanks.
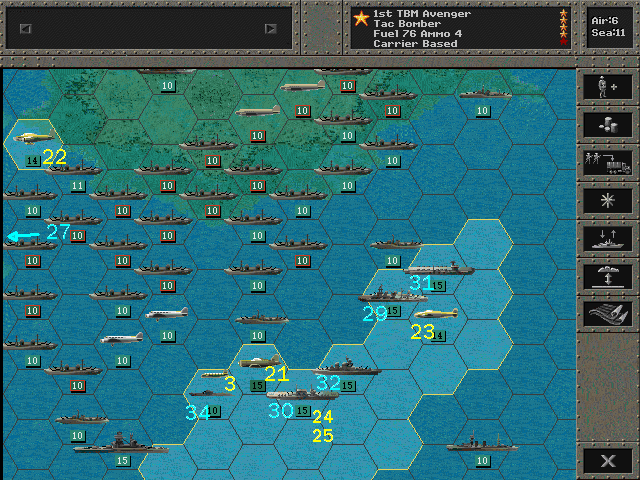
Our naval forces a strong mix, though at this point they're going to be fully committed to supporting the forces on the ground, as we don't think the Japanese have any significant naval forces remaining.
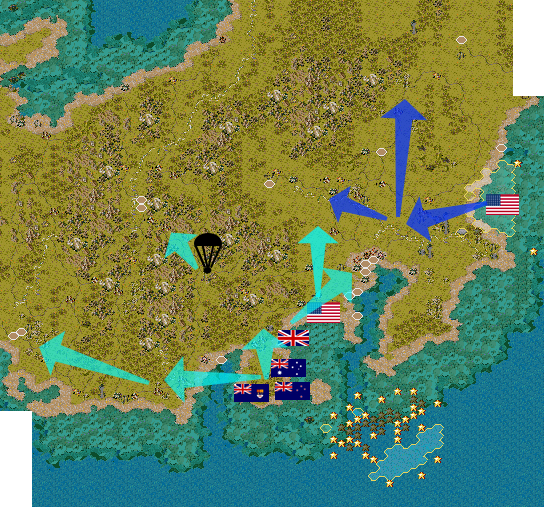
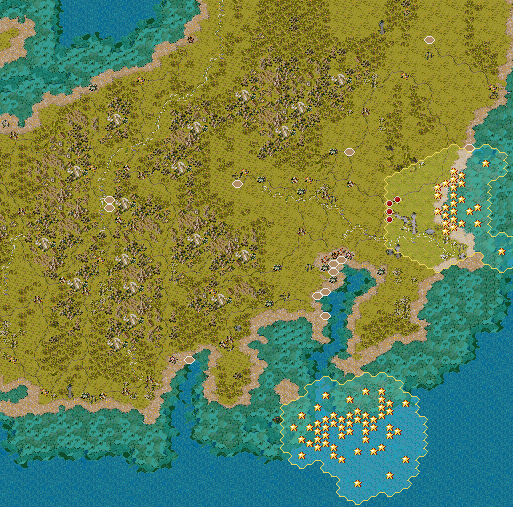
Our own designated landing area is north of Tokyo, in Ibaraki. This region is entirely the concern of our core. Our initial target will not be Tokyo, but the whole region to the north, up to Koriyama. We'll generally head inland first, and then turn northward to Utsonomiya; this will allow us to engage the enemy more directly than if we proceeded by sticking to the coastline.
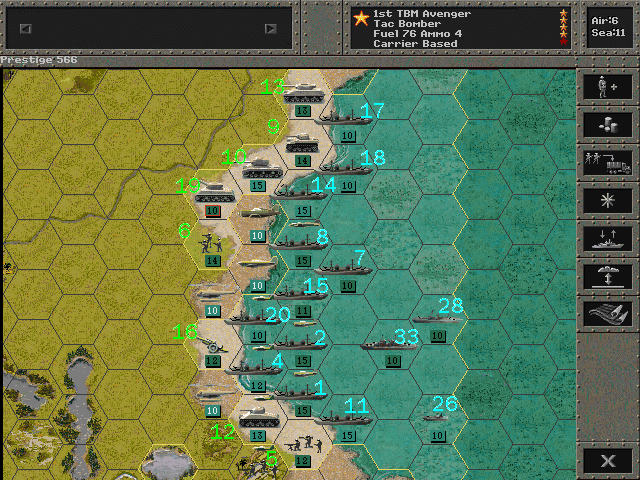
The main strike on Tokyo will instead come from the south. We cannot simply sail right into Tokyo Bay, as it's protected by a network of coastal guns - a veritable fortress that would cut through our landing craft like paper boats. The good news is that those guns aren't going anywhere, so we can pick any other spot for a landing site.
Most of our allied invasion force will land on the Izu peninsula. This has some benefits in that resistance there is likely to be minimal. The downside is that it will take longer for the units to make their way through the rugged terrain to any real objectives, given the Japanese land forces time to mobilize. Still, this is preferable to allowing our troops to be sunk in their landing craft before even making it to shore.
The auxiliary American units will land in a slightly more dangerous location, between Izu and Tokyo. They'll clear the road through Hatano, and then form a perimeter along the western side of Tokyo to deal with any escaping units or reinforcements from the rest of the island.
The British will be responsible for the main thrust. Their tanks will be the spearhead, and their infantry will start the battle for the Japanese capital. When it becomes feasible, we'll be committing some of our core units to assist, and if the guns in Tokyo Bay can be silenced, there will be a lot of naval and air support for them.
The Australians will support the British; they'll be charged with securing the cities and cleaning up after the British shock attacks. New Zealand's forces will be deployed in a similar role.
Meanwhile, the Canadian force is primarily responsible for heading to the southwest of Honshu. With luck, they'll make it all the way to Okazaki before the Soviets arrive.
Finally, we're making a sizable air drop right near Mount Fuji. Capturing this famous landmark will no doubt be of symbolic significance, but it has strategic usefulness as well. Taking the roads nearby will ensure that we can be prepared for the Russians if they advance quickly or move to attack us.
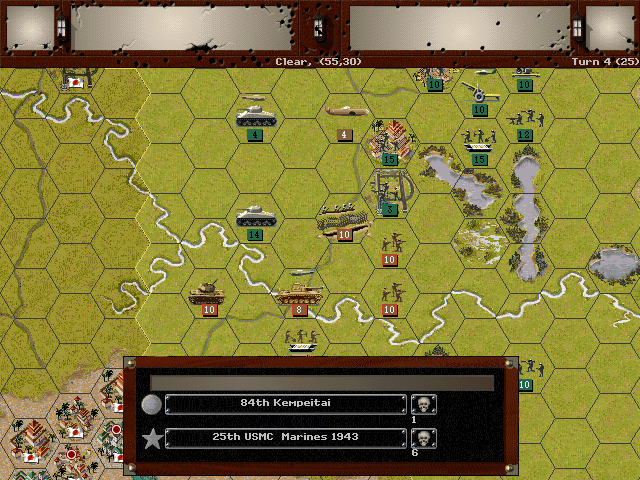
Allied Turn 1 (USA): November 8, 1945
Fair, Dry
Commandos take control of an airfield while the helicopters recon the area.
Using the strength of our bombers, we make a strong attack on Hitachi and drive out the defenders.
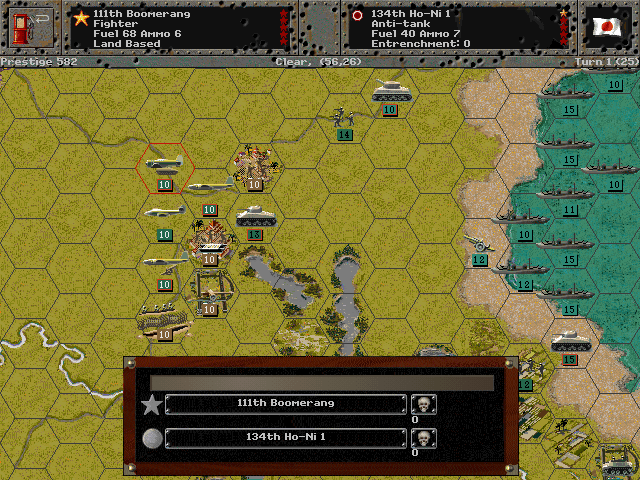
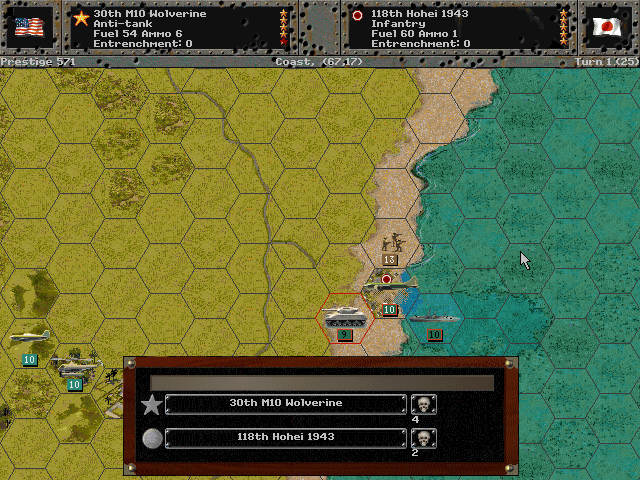
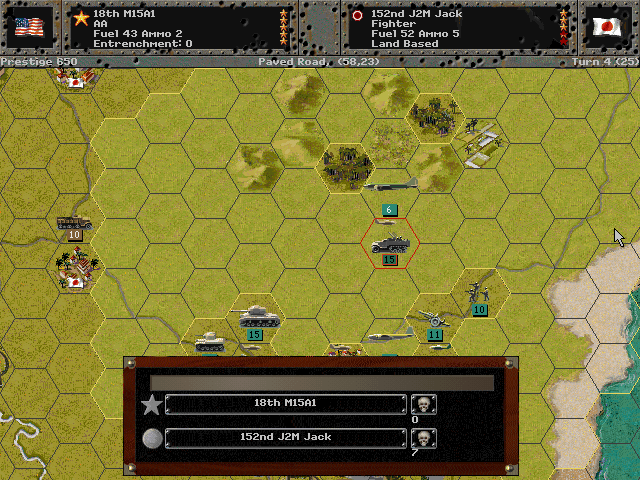
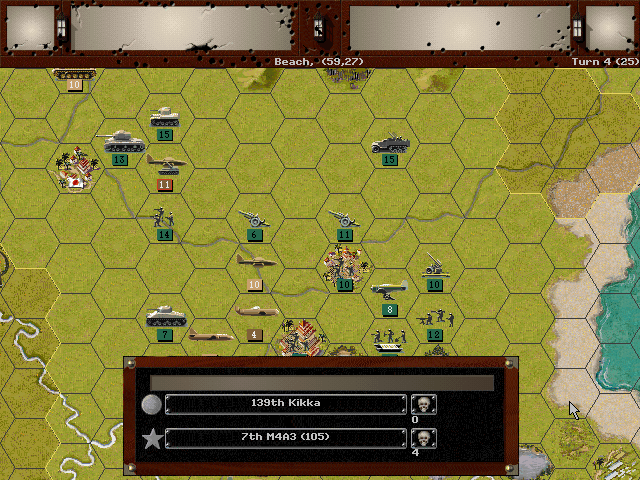
The tanks start the battle for Ishioka early.
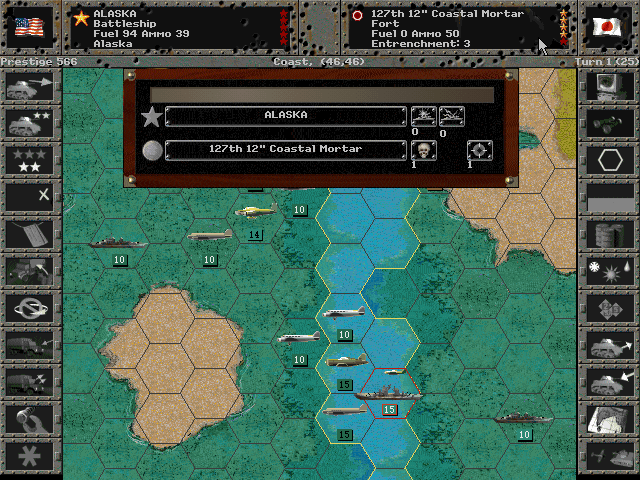
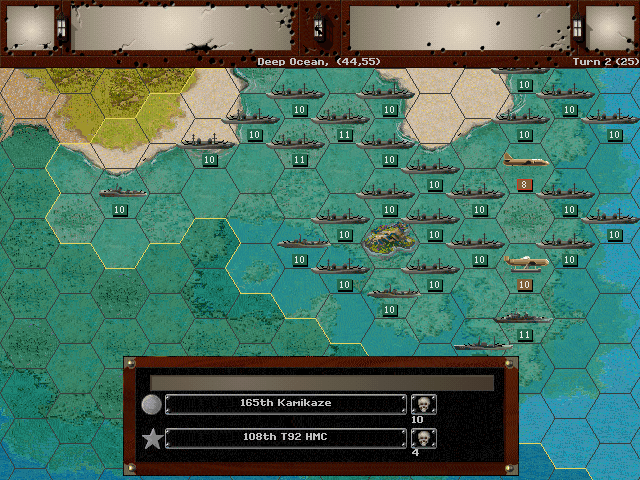
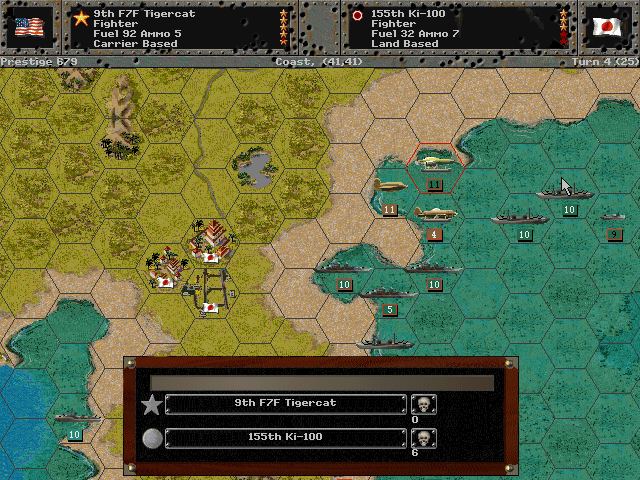
Naval attacks begin to bombard the guns around Tokyo Bay.
Axis Turn 1 (Japan): November 8, 1945
Fair, Dry
The Japanese have been holding their best planes in reserve, and bring them out now. The weaker Commonwealth fighters take heavy losses.

Meanwhile the main landing force gets attacked by bombers.
On the ground, the Japanese pull back their reduced units and attempt to keep our tanks at bay.
Allied Turn 2 (USA): November 9, 1945
Fair, Dry
There are far too many jet fighters for us to deal with, but we do our best with what we have.
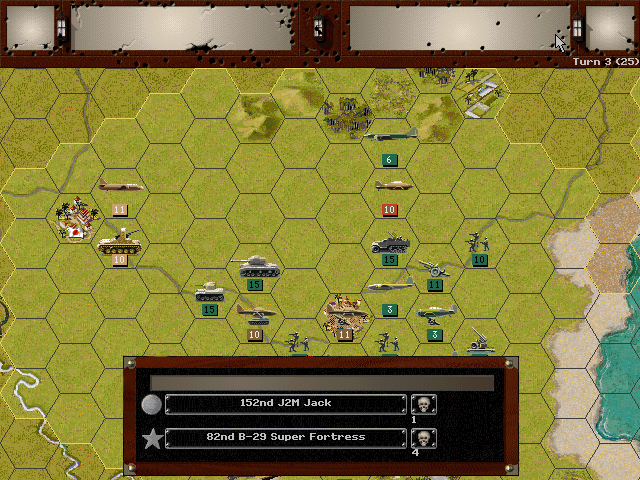
We scout to the north along the coast. We may be able to take this area fairly easily.
As the paratroop planes are escorted to their drop zone, they spot Japanese forces moving out on the ground below.
Axis Turn 2 (Japan): November 9, 1945
Fair, Dry
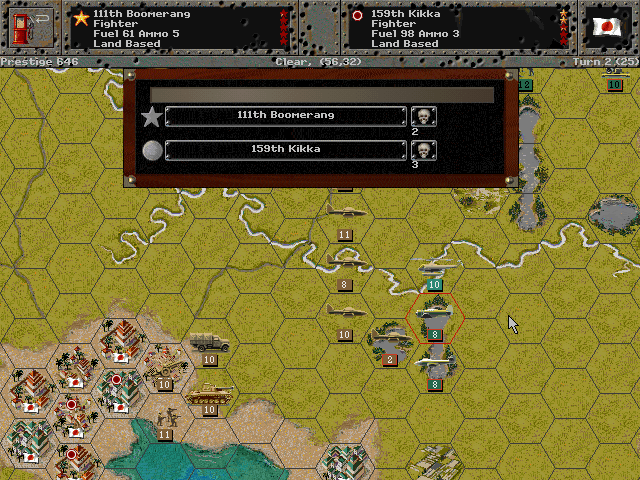
The Japanese Kikka fighters knock out another squadron.
Kamikaze planes scream down at the landing force, and one of our better artillery guns is lost.
Allied Turn 3 (USA): November 10, 1945
Fair, Dry
It's a good thing we deployed some air defense guns, as they provide cover against the Japanese jets.
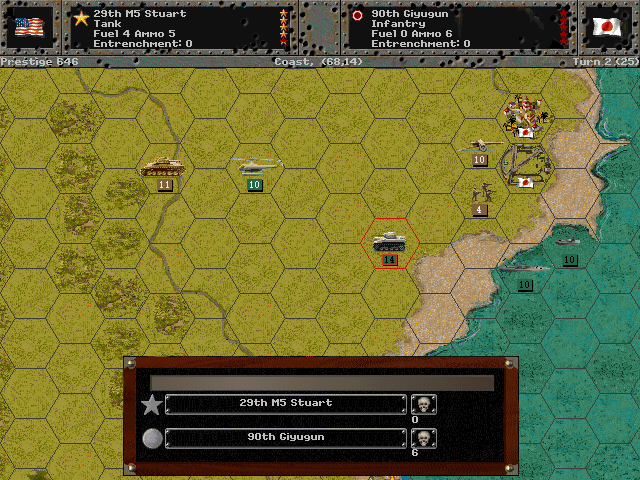
The northern towns do not seem to have properly-trained troops holding them; we continue to make progress.
I'm treating 'Giyugun' units as militia, since that seems to be how the battle set-up is using them.
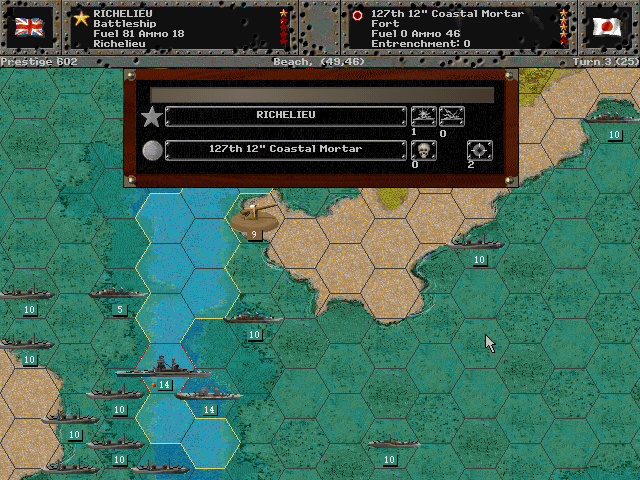
The French battleship Richelieu gets a bit too close when engaging the coastal guns, and takes a worrying hit to her magazine.
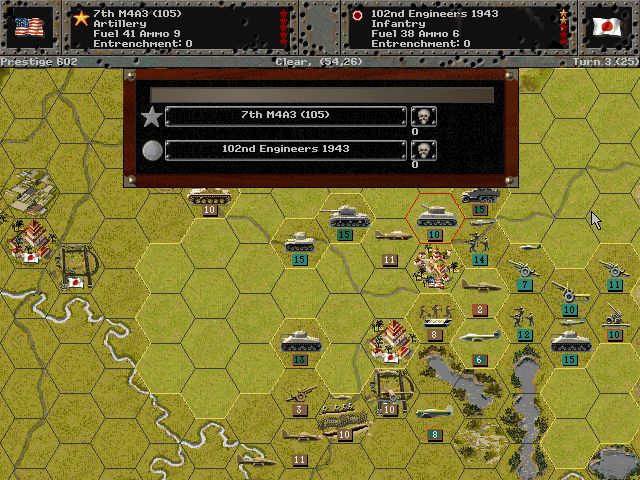
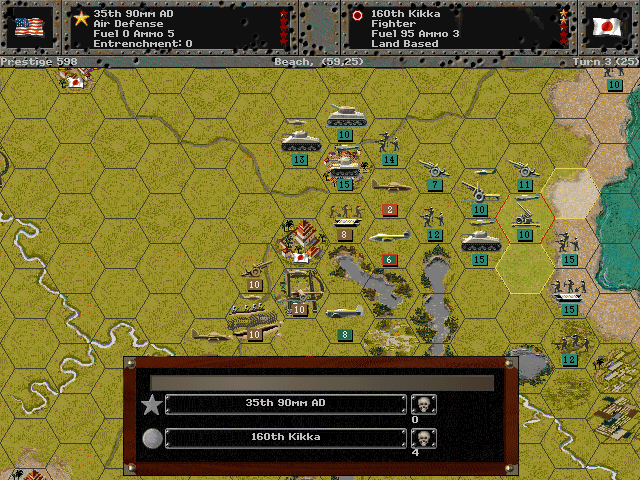
Some of our forces push westward while more forces come in behind to keep up the battle at Ishioka.
Axis Turn 3 (Japan): November 10, 1945
Fair, Dry
The air attacks continue, and even our strong bombers take losses.
It's hard for us to keep away the bombers with so many fighters occupying our interceptors.
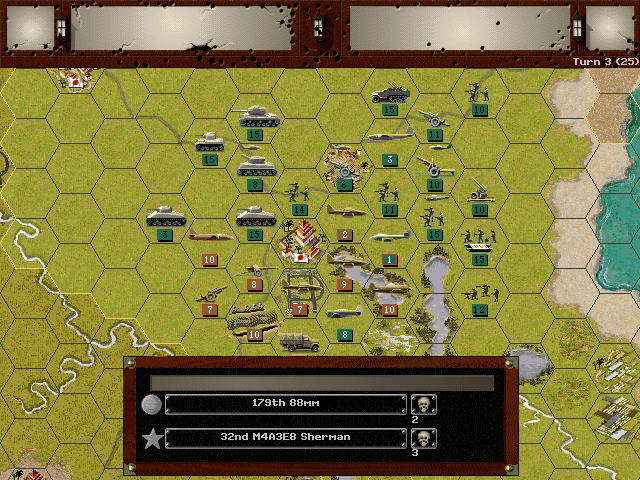
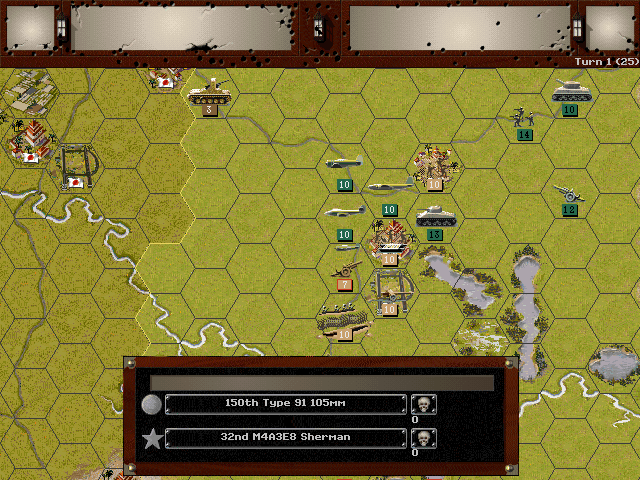
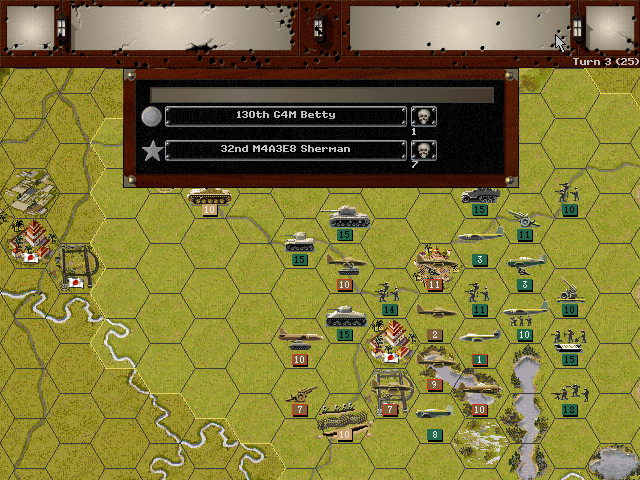
Now that we're on Honshu, we're seeing some stronger anti-tank guns.
Allied Turn 4 (USA): November 11, 1945
Fair, Dry
Our anti-air ground units are proving quite useful against the Japanese fighters.
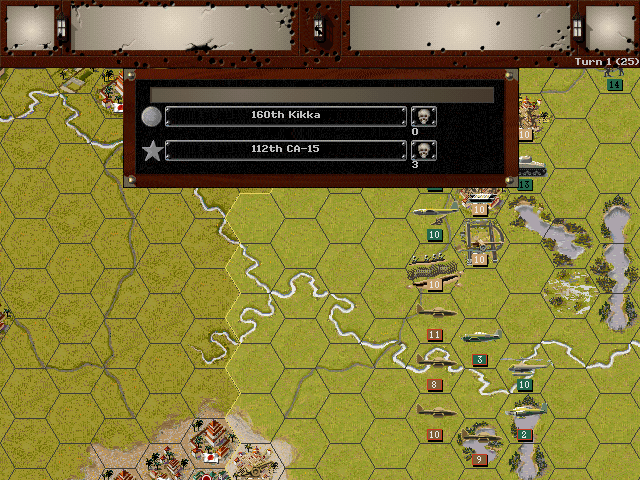
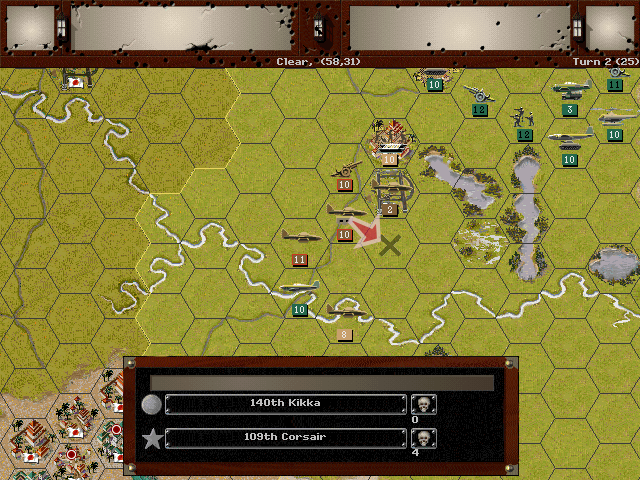
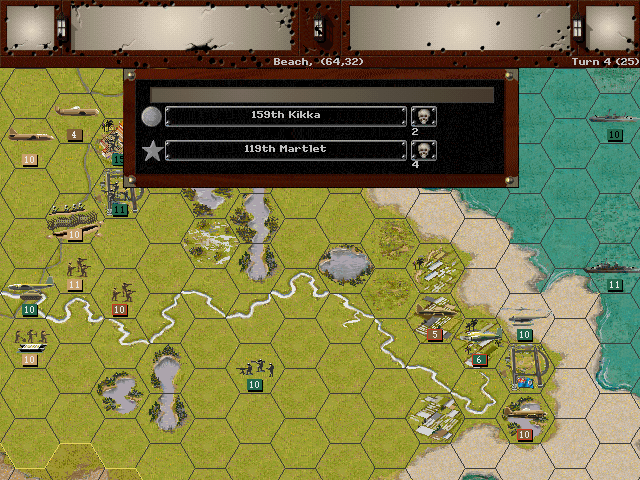
We take over the airfield at Ishioka. This is more useful to deny the enemy than it is needed for our own planes.
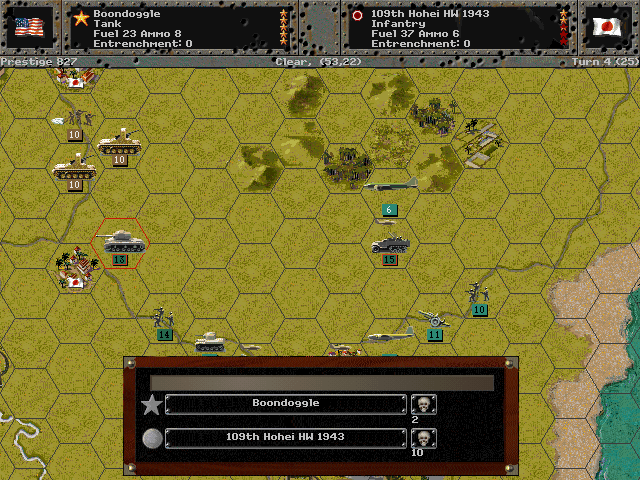
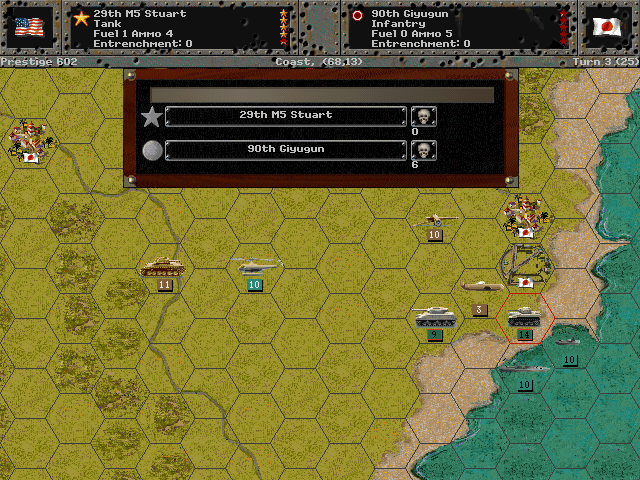
Boondoggle single-handedly clears out Tsuchiura.
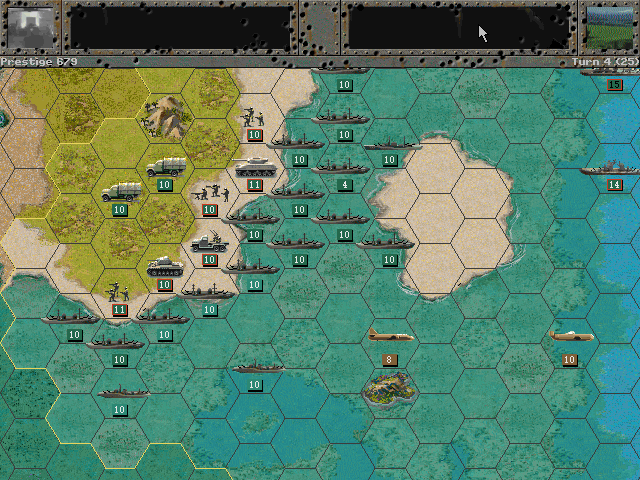
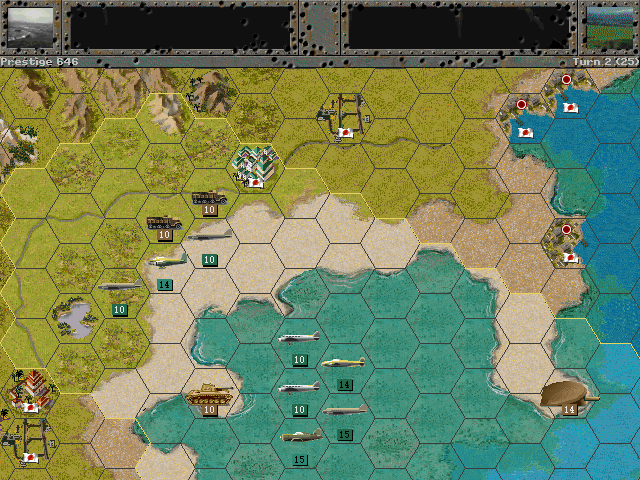
There are finally units getting ashore in Izu. As expected, there is no enemy resistance (except in the air).
We are forced to bring back the paratrooper escorts to deal with the enemy air power.
Axis Turn 4 (Japan): November 11, 1945
Fair, Dry
The Japanese jets are remarkably dangerous to our ground units.
They still have enough other planes to chase our own planes down to our base, though.
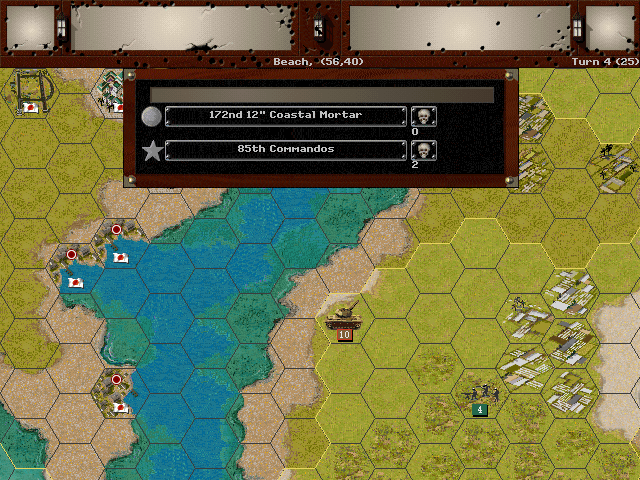
Some commandos on the eastern side of Tokyo are discovered by the coastal guns.
The airfield at Ishioka is nearly lost as some of the elite Japanese forces join the battle.
Unit Spotlight
M26 Tank 'Pershing'
PG Name: M26 Pershing Type: Tank
Effective Date: 12/44
Value:38 Cost:456 Spot:2 Move:5 MM:Track Trans:Naval Fuel: 41
Init:10 SA:13 HA:19 AA:[2] NA:1 GD:18 AD:3 CD:4 TT:Hard Ammo:10
The US was primarily focused on light and medium tanks throughout the war, but the strength of some of the German models (and those of the Soviets...) created a demand for something comparable. Heavy tanks had been prototyped for some time, but were not deemed important enough to develop until late in the war. The Pershing thus arrived a bit late, by which time the Americans had devised alternative tank-fighting tactics. The Pershings did, however, show themselves to be just as effective as expected. Some were deployed to Okinawa, but did not arrive until the battle was nearly over.
In-game analysis: While this tank is merely managing to achieve a sort of parity with the German Panthers in Europe, it's a lumbering juggernaut in the PTO. Having the one unit that can't be knocked out always increases its value tremendously. While I typically value speed over other considerations, at least one of these should be thrown into the mix as soon as they become available.
Tambor/Gar-class Submarine (12 built)
PG Name: Tambor Type:Submarine
Effective Date: 6/42
Value:10 Cost:120 Spot:3 Move:4 MM:Coastal/Sub Fuel: 162
Init:3 Range:1 SA:0 HA:0 AA:[1] NA:15 DA:0 GD:6 AD:4 TD:8 DD:8 TT:N/A Ammo:24
Special: Radar
Although this shows up in the game later (representing an alteration to the class to change the conning tower and deck armament), the Tambor had been in service from 1941. The original design followed after the Sargo class and was not much altered from it; the primary change was an increase to 10 torpedo tubes (6 at the bow). These suffered the highest proportional losses of any class in the fleet, with only 5 surviving the war.
In-game Analysis: Almost as good as a Gato, but still not a Gato. Even if it's cheaper, I don't see the point in buying this because the Gato's advantages are more than worth it.
Bell P-59A Airacomet
PG Name: P-59A Airacomet Type:Fighter
Effective Date: 7/45
Value:45 Cost:540 Spot:3 Move:10 MM:Air Fuel: 90
Init:7 SA:3 HA:2 AA:25 NA:0 GD:9 AD:16 TT:No Ammo:4
In the early 1940s, the USA was lagging behind the other major powers in jet technology. Britain gave one of their engine designs to the US, and with General Electric making the engine, Bell was chosen to build the airplane for it. The prototype was in use from 1943, but was used primarily for testing purposes. Eventually, some were ordered into production, and a small number were made before the war ended. The plane itself was never really considered a star performer, but it did pave the way to the jet age in the American military.
In-game Analysis: It's something of a shame that this has the highest attack of any American plane, as I have to grudgingly admit it might be worth buying for that alone. It's also fairly cheap for the end of the war, but that's largely because it's kind of crummy outside of its impressive offensive power. For the most part, the Japanese planes can be dealt with fairly well by using cheaper models. Maybe this is the one to use if you need to buy a few extra fighters for the final battle and don't care how much you're spending, or how long they might last.