Part 72: Coronet: November 26, 1945
With Tokyo under our control, but the Soviets swarming through the eastern side of Honshu, we have to reassign our forces. The British will be responsible for securing Kanto and and areas to the north. We do not anticipate any insurgent militia forces here, but there is a risk that the Russians may attempt to cross through there.
The Canadians will continue their push westward while keeping an eye out for Soviet forces. The Australians remain mainly in the pacification role in support of the British, though any units that they can spare will be shifted to fill in behind the Canadian attack. Japanese resistance may be light at this point but we can't afford to make any mistakes. The last Commonwealth group, the forces from New Zealand, will be given the sole remaining objective on the western side of the island, at Akasaki.
As for the Americans? Our job is now to move to counter any Soviet forces coming down from the western part of the island. The fulcrum of our defense will be Matsumoto, where the battle for dominance of the island may be coming to a head.
Allied Turn 19 (USA): November 26, 1945
Snow (Snow)
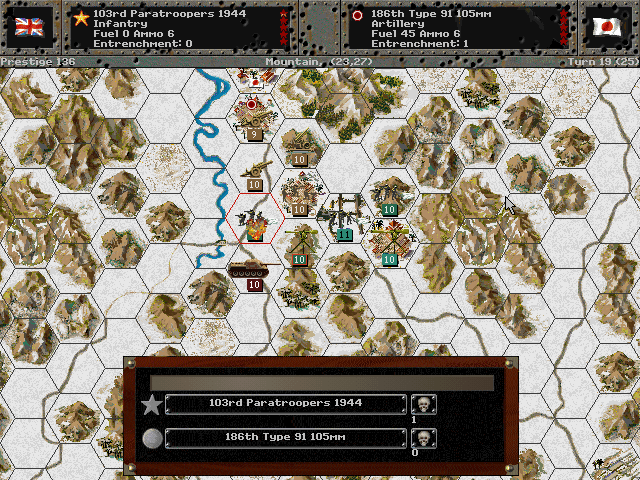
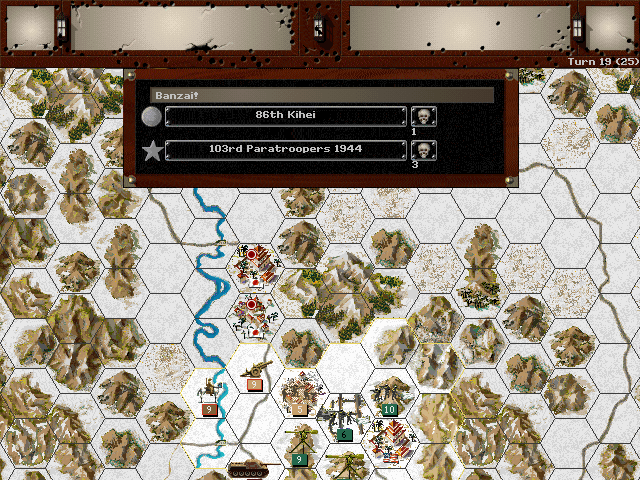
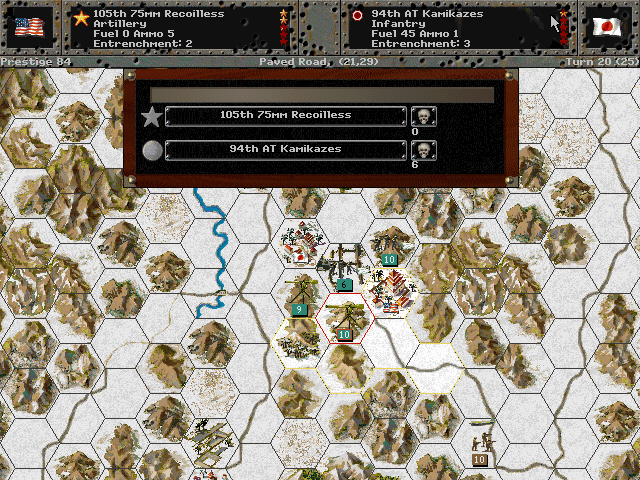
Just in time, the paratroops interpose themselves on the road to Matsumoto. Although the Soviet units are blocked, our troops are forced into an unfavorable assault in the face of Japanese artillery.

Meanwhile, the direct attack on the route to Matsumoto turns into a bloody brawl.
Recon planes brave the poor weather to get some views of Akasaki. The Kiwis have their work cut out for them.
Axis Turn 19 (Japan): November 26, 1945
Snow (Snow)
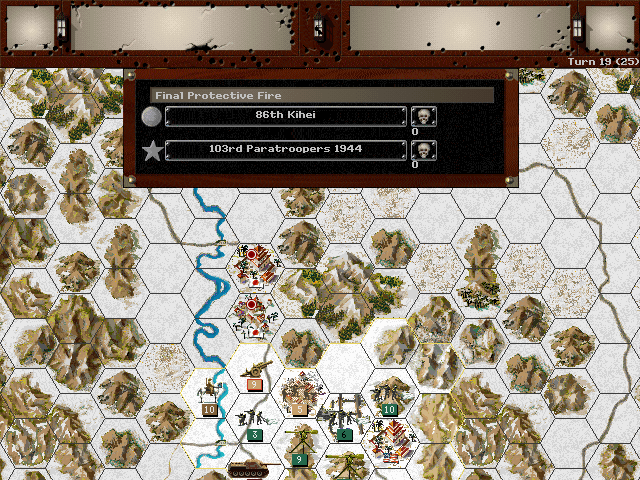
The brave British paratroops fend off multiple attacks.
Eventually, however, they succumb.
The Australians arrive just in time to prevent a tank that slipped past the Canadians from retaking Yoshida.
Russia Turn 19 : November 26, 1945
Snow (Snow)
Incredibly, the Soviets yield the road to Matsumoto and instead take revenge for us on the horse units that routed the British paratroops.
Allied Turn 20 (USA): November 27, 1945
Snow (Snow)
As we prepare to send our forces over to the other side of the island, we take some passing shots at the guns defending Akasaki.
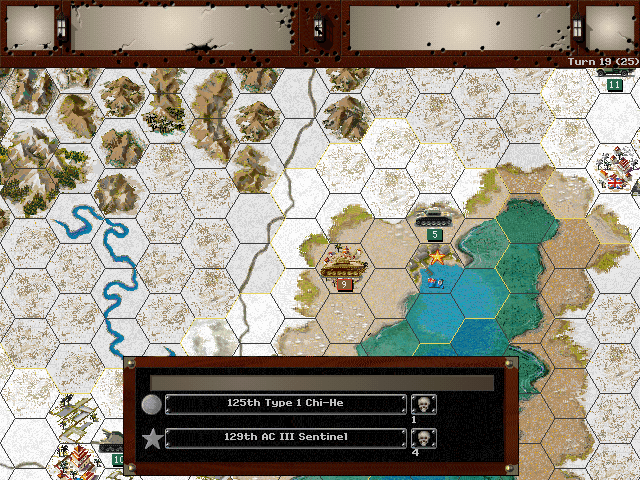
The light artillery blows open the way to Matsumoto.

Luckily for the Canadians, there has been effectively no resistance once they made it past Shizuoka.
Axis Turn 20 (Japan): November 27, 1945
Snow (Snow)
The first of the units to arrive at Akasaki comes under fire immediately.

Those few Japanese tanks near Yoshida have a lot of fight still in them.
Russia Turn 20 : November 27, 1945
Snow (Snow)

It appears that the Russians were just moving aside to let their foot soldiers make the assault up the road to Matsumoto.
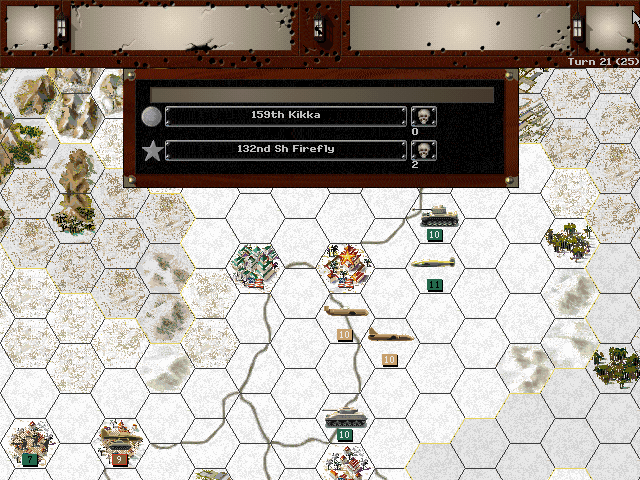
Allied Turn 21 (USA): November 28, 1945
Fair (Snow)
After a solid week of snow, the weather finally clears.

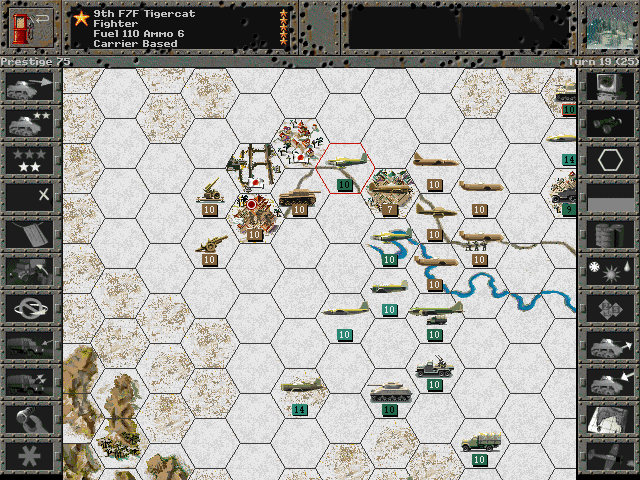
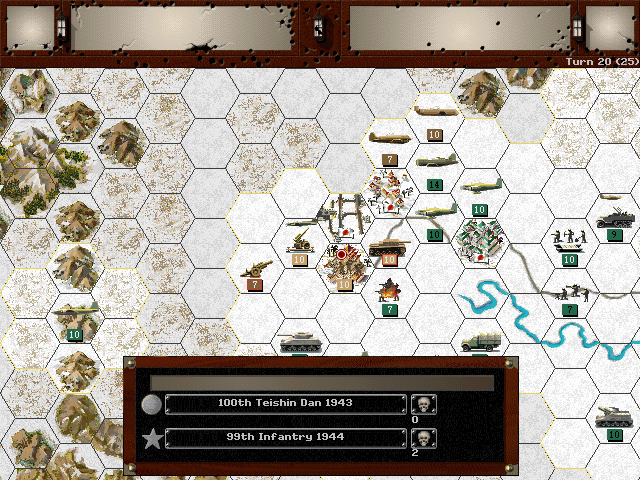
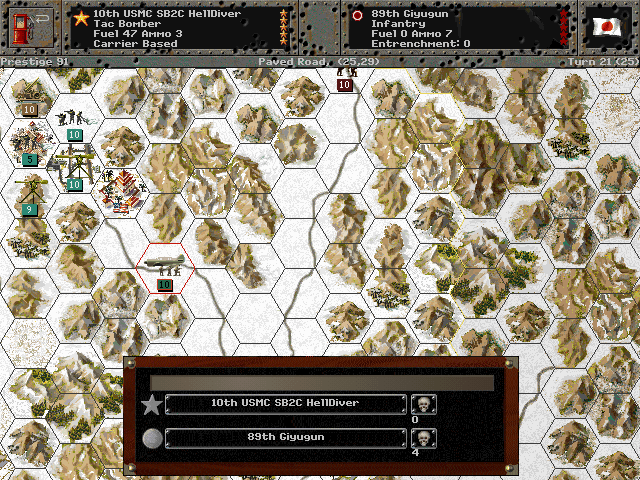
We commence to savage the Japanese aircraft. We can concentrate nearly all our fighters here, as it's about the only airfield remaining to the enemy.
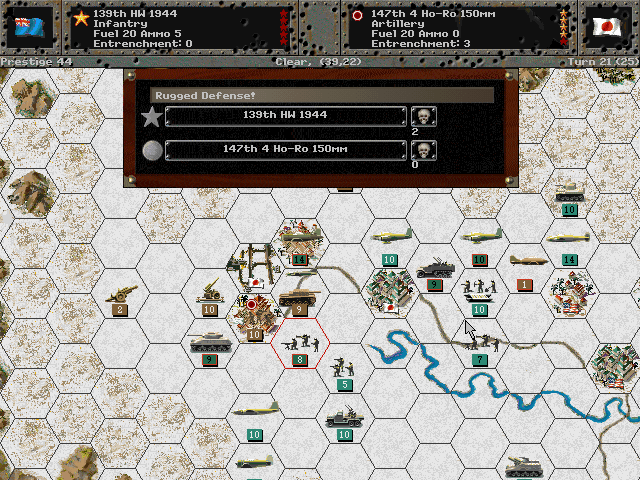
The Kiwis bring in their better-equipped infantry, but fail to dislodge the Japanese guns.
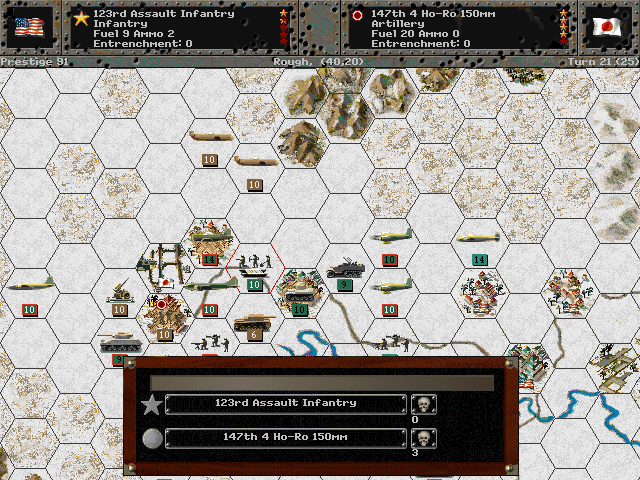
We give them a bit of assistance and put paid to the Ho-Ros.
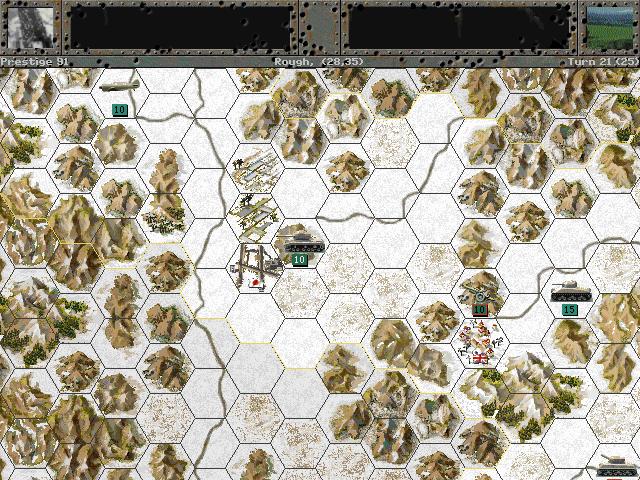
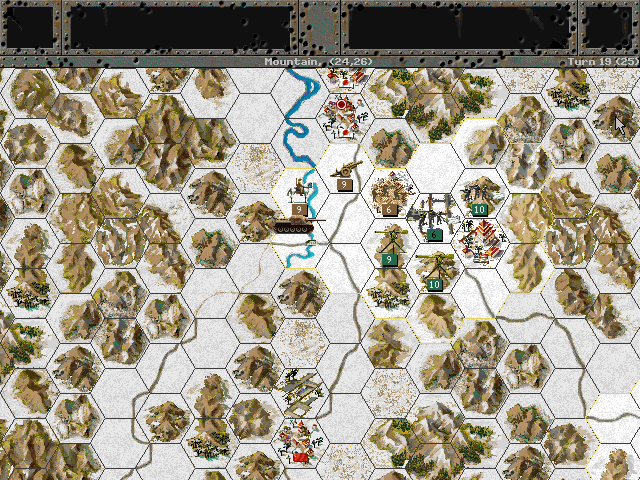
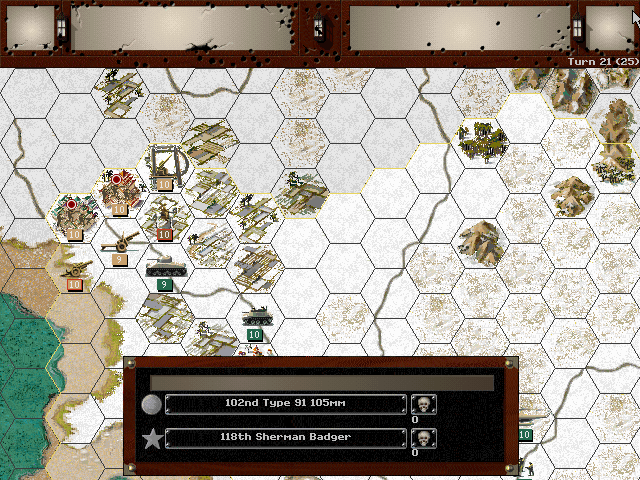
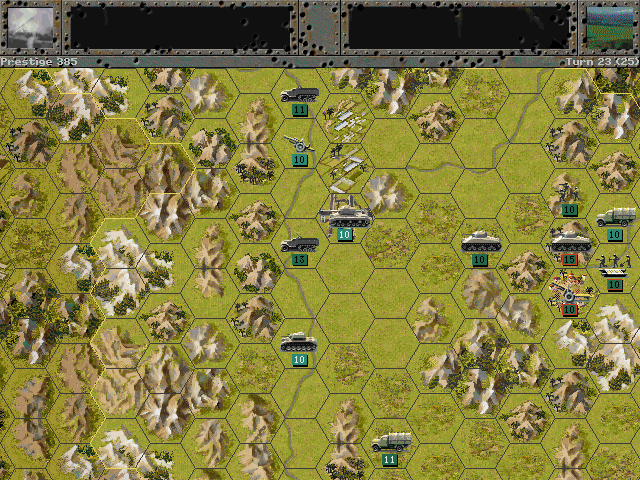
Some of our core forces headed south to take the highway route, while others went straight for the mountain pass. The first to go through the mountains manages to retake Fujisan.
Clearing weather lets us dispatch some insurgent forces with air power.
We make a bit of progress at Matsumoto, but also spot Soviet airborne forces along the riverside. They're seeking to capture our prize!
Canadians units encounter their first real resistance in a while, right at Okazaki. It looks like they'll need to get more of their forces to the front line pronto.
Axis Turn 21 (Japan): November 28, 1945
Fair (Snow)
The Japanese fighters are almost gone. They choose not to engage our planes, but to go after the British who are holding down the north.
Okazaki fails to push away the Canadian tanks.
We do spot that the Japanese had some success against the Soviets trying to cross the river.
Russia Turn 21 : November 28, 1945
Fair (Snow)
The Russians press the attack on Matsumoto. We are in danger of having our victory snatched from us right when it's in our grasp.
Allied Turn 22 (USA): November 29, 1945
Fair (Dry)

The air battle may be in our favor, but the jets are not easy to bag.
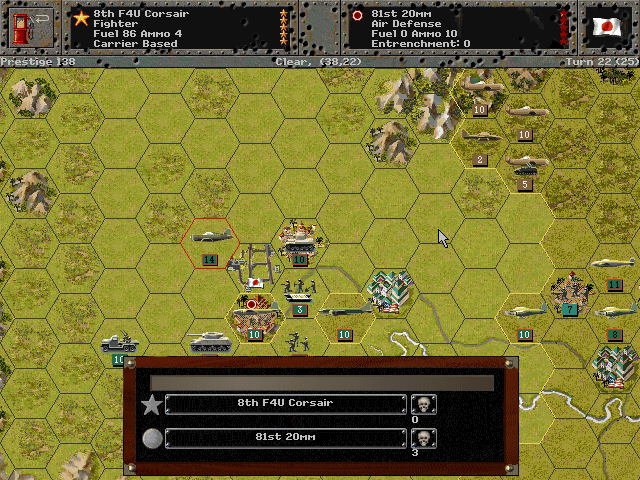
Air raids support the New Zealand forces.
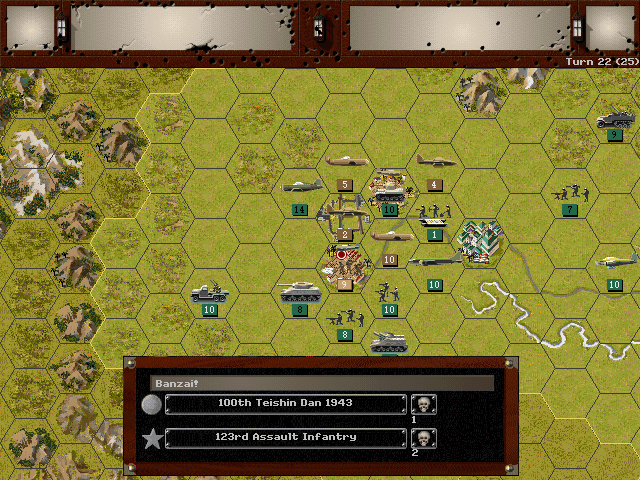
In a very close battle, our paratroops just barely manage to seize part of Matsumoto.
The first attack at Okazaki is ineffective.
Axis Turn 22 (Japan): November 29, 1945
Fair (Dry)
Relentless shelling takes quite a toll on the Canadian tanks.
The American forces supporting the fight at Akasaki are forced to retreat.
Russia Turn 22 : November 29, 1945
Fair (Dry)
Initially it appears as though the Russians won't be able to approach Matsumoto easily.
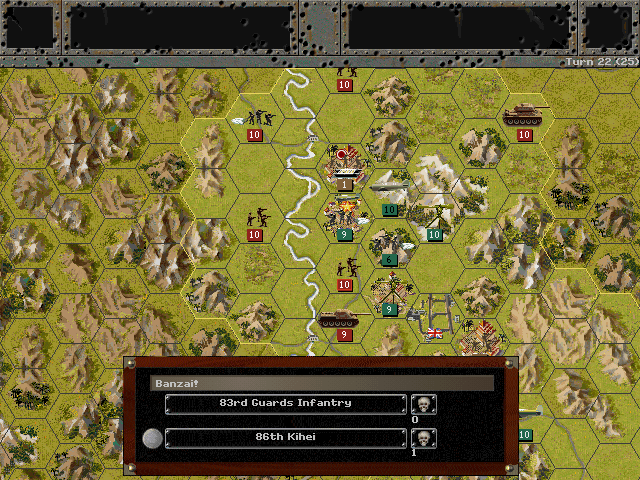
But a daring bridge assault forces a surrender, and they capture the northern half of the city.
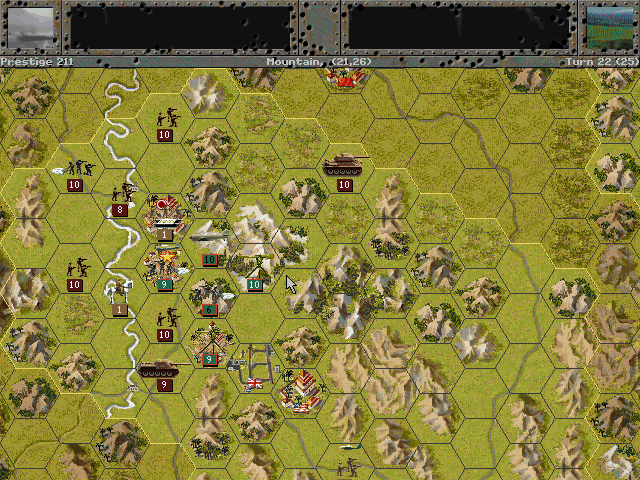
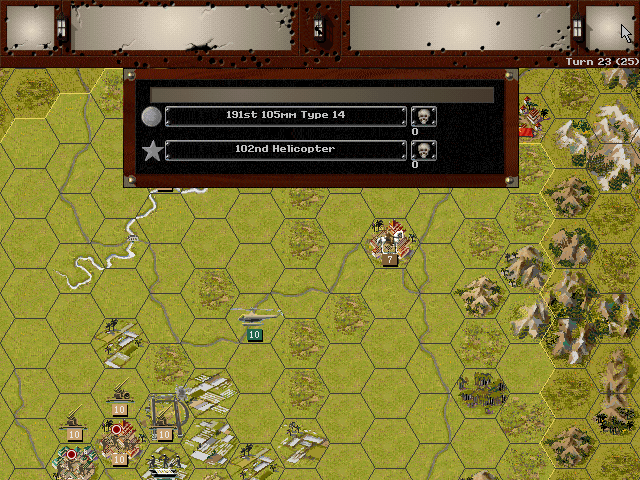
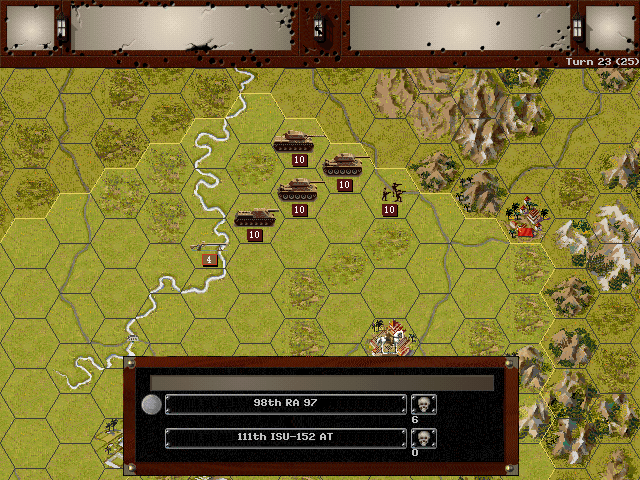
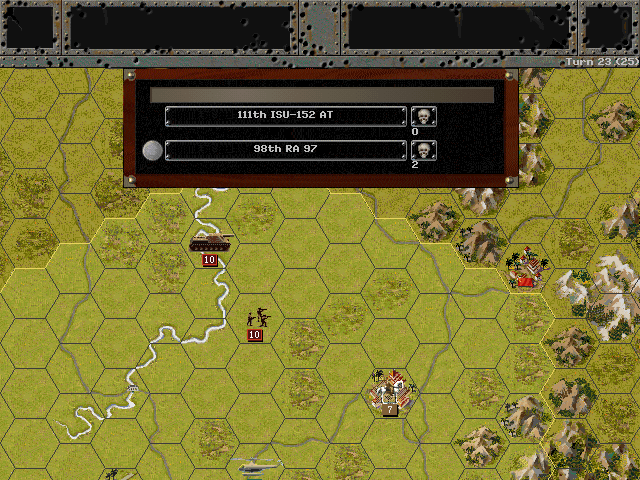
Allied Turn 23 (USA): November 30, 1945
Fair (Dry)
With Matsumoto split, and the Canadians seemingly in over their heads at Okazaki, it's up to the Kiwis to secure our victory. They come through (thanks in large part to heavy air support).
This is in fact what put us just over the top in the VP count.
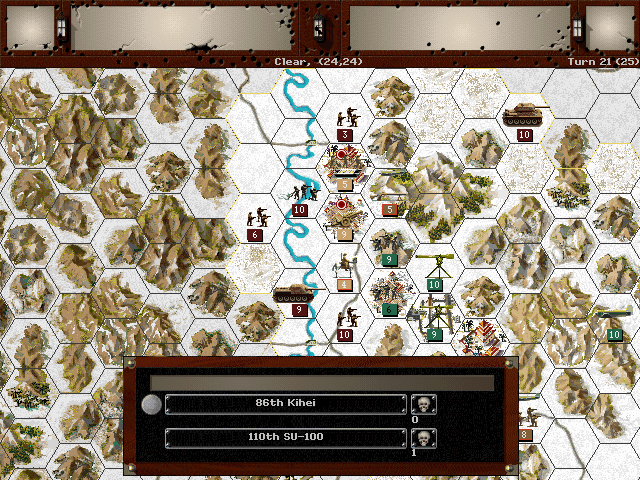
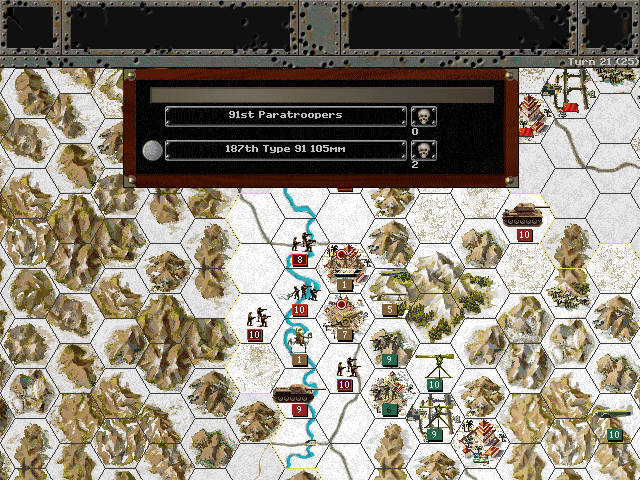
Our core units are clogging the roads through the mountainous center of the island.
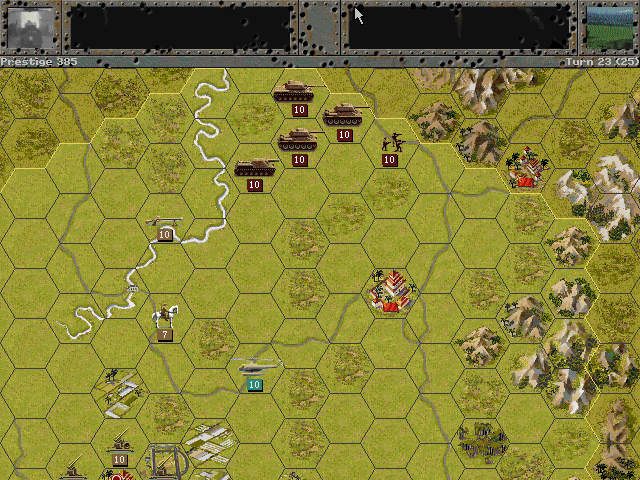
It's hard to tell if our support is coming just in time or too late, as the Soviets have pulled in some rather mean-looking armor to hem us in.
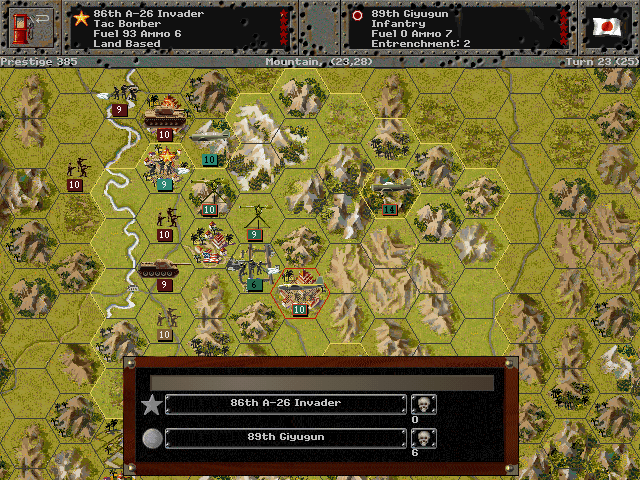
Helicopter scouts report that the Japanese are all but finished outside of Okazaki. More worryingly the Russians are just starting to arrive in force.
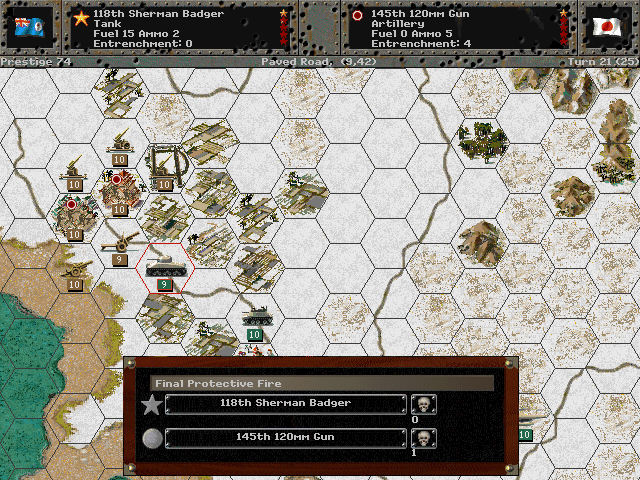
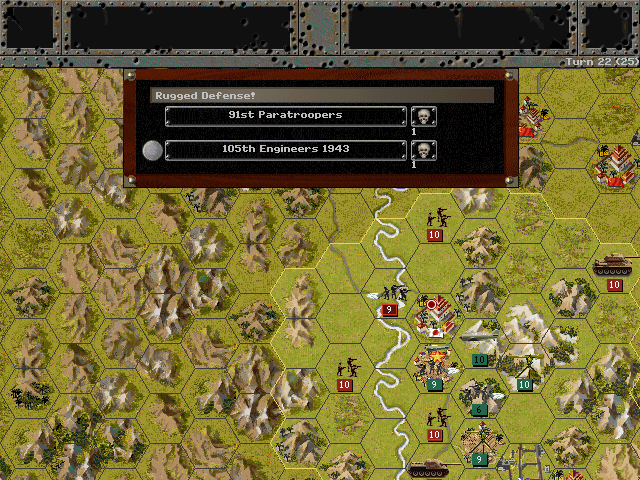
Even though the Japanese seemed crazy for putting their guns in the front line, it hasn't hurt them much, as they're very entrenched.
Axis Turn 23 (Japan): November 30, 1945
Fair (Dry)
The delicate helicopters are forced to dodge flak fire.
It seems as though the Japanese are trying to bring death on themselves; they attack into the teeth of the Soviet advance.
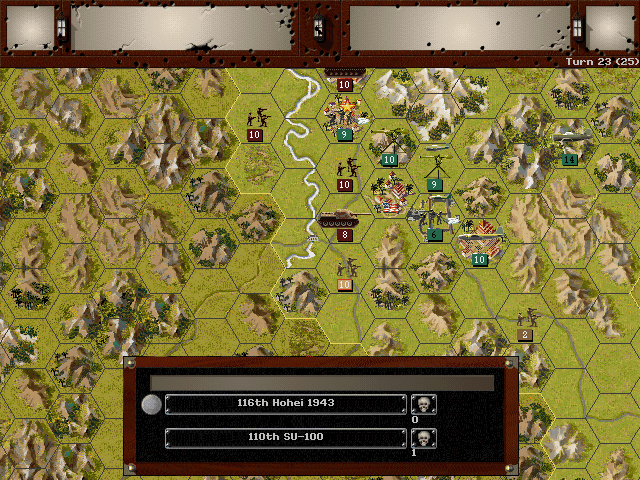
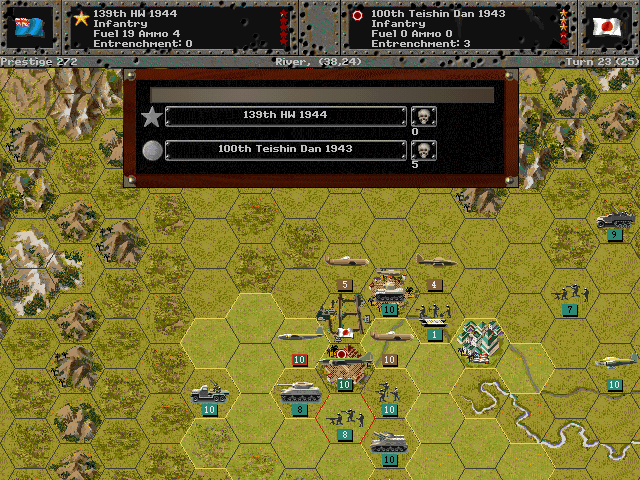
Surprisingly, we find that those units coming up to Matsumoto from the south were not part of any larger Russian force.
Russia Turn 23 : November 28, 1945
Fair (Dry)
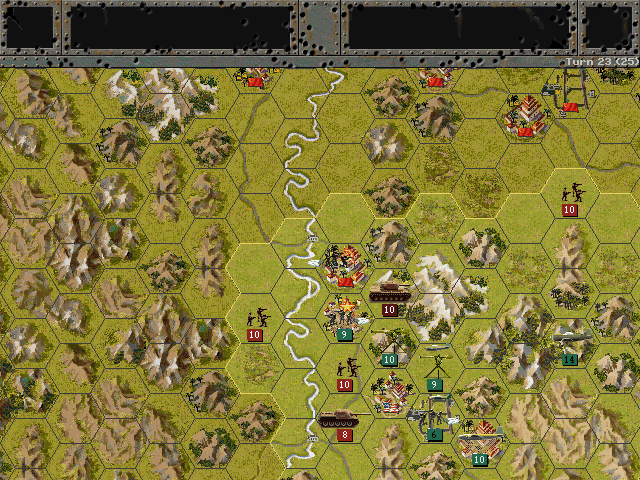
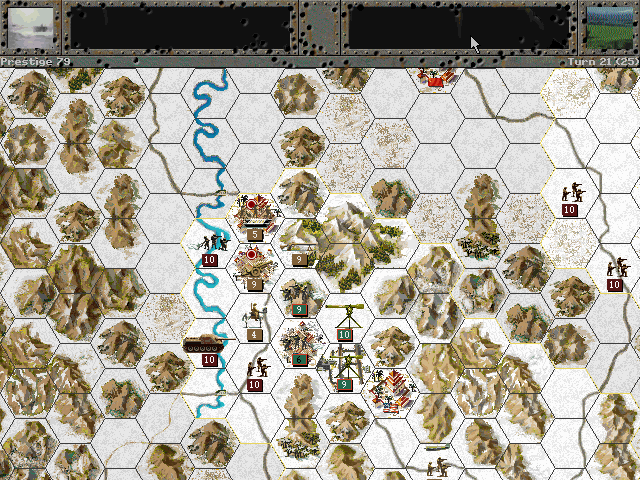
The situation at Matsumoto grows tense. Soviet tanks are entering the mountains outside the town. It's an aggressive move, but at the same time the terrain puts them at a distinct disadvantage should we choose to attack.
Elsewhere, the Soviets advance against the meager Japanese military forces.
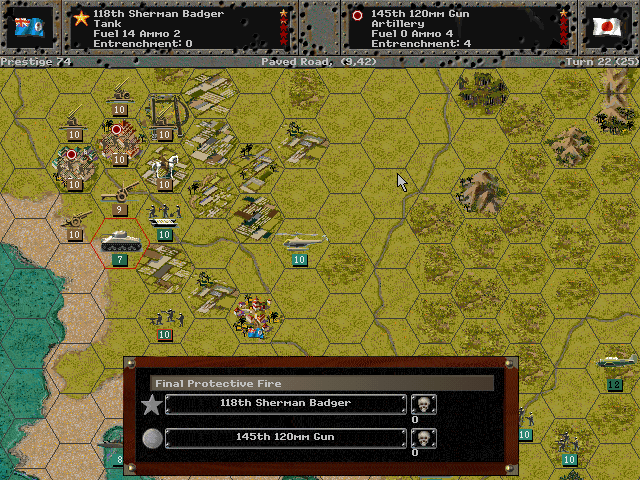
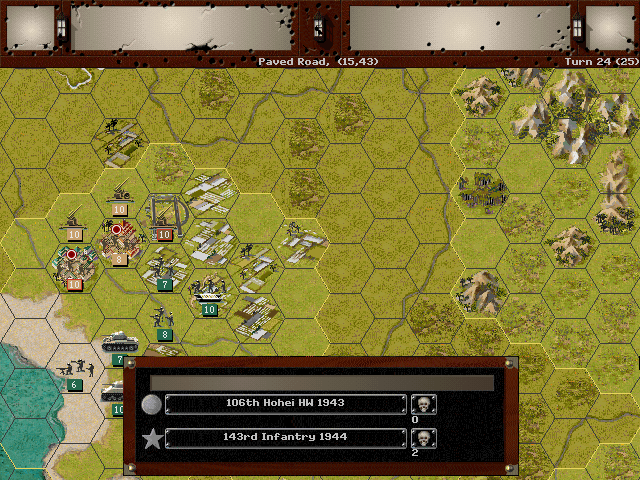
Allied Turn 24 (USA): December 1, 1945
Fair (Dry)
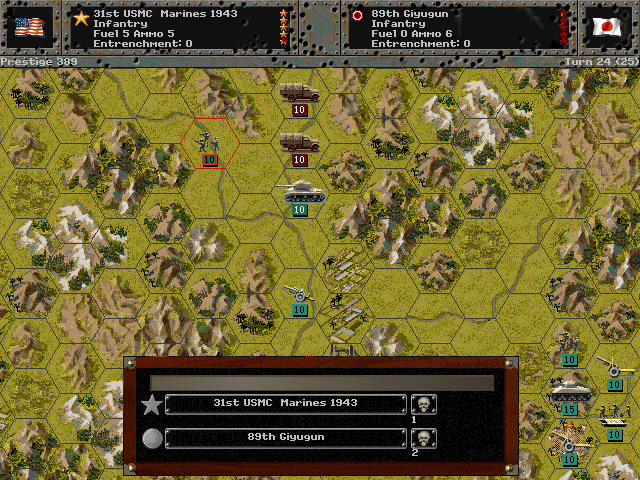
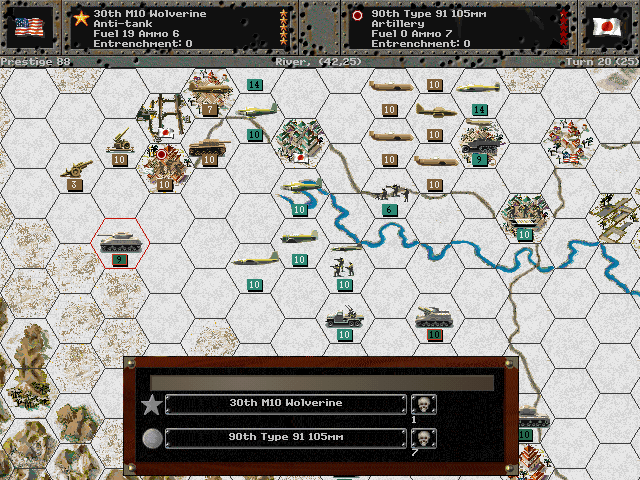
Our tanks blockade the road connecting to Ueda. The Marines arrive to eliminate some more insurgent civilians.
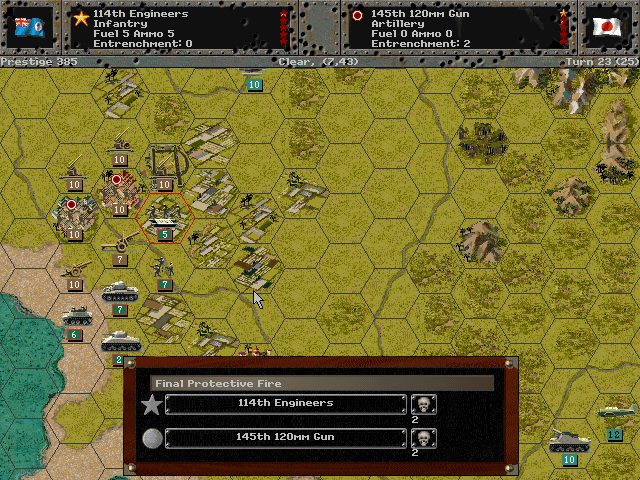
The Canadians finally knock out the guns, but it may be too late now for them to take control of Okazaki before the Russians arrive.
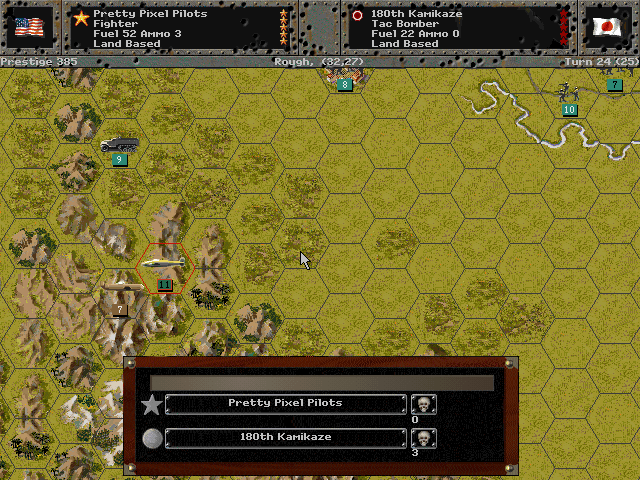
A handful of Japanese planes may still be seeking to crash themselves into our ground forces. Our fighters continue to shoot them out of the sky.
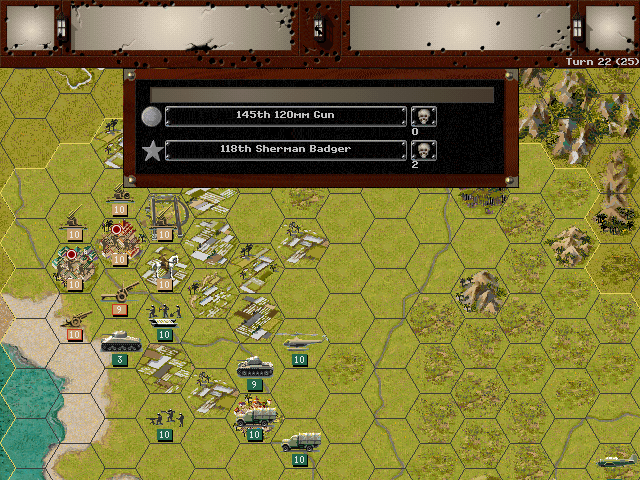
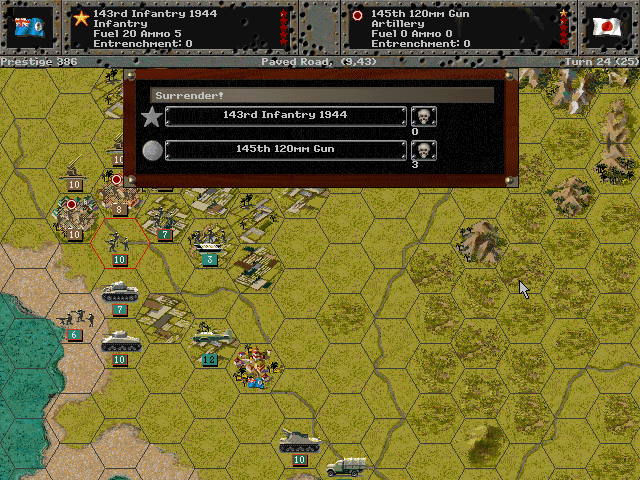
Axis Turn 24 (Japan): December 1, 1945
Fair (Dry)
Okazaki is unwilling to surrender.
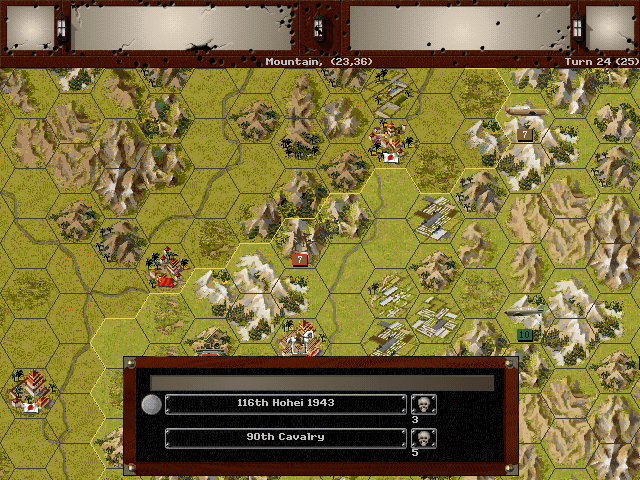
Our planes witness a land battle where the Japanese beat back a Russian cavalry assault.
Russia Turn 24 : December 1, 1945
Fair (Dry)

Some of the Soviet forces pull away from Matsumoto, but the ones within range of us hold their position.
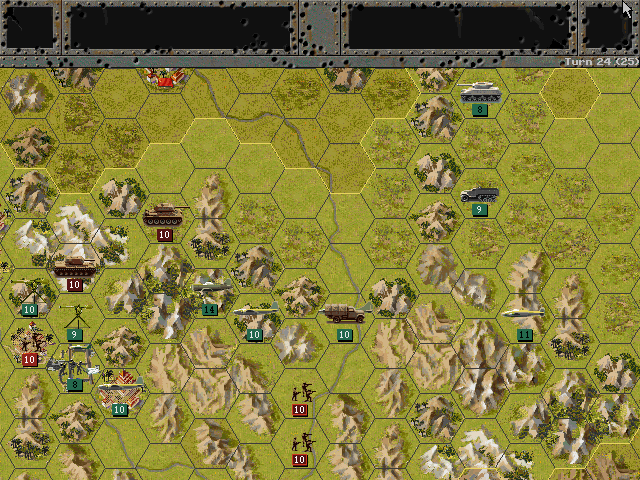
A buildup continues along the eastern ridge of the mountains.
Allied Turn 25 (USA): December 2, 1945
Fair (Dry)
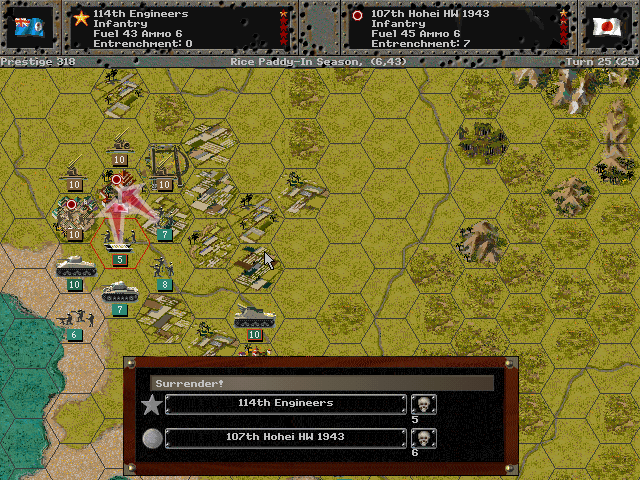
The Canadians are desperate to prove their mettle at Okazaki. In an all-out assault, they force part of the city to surrender.
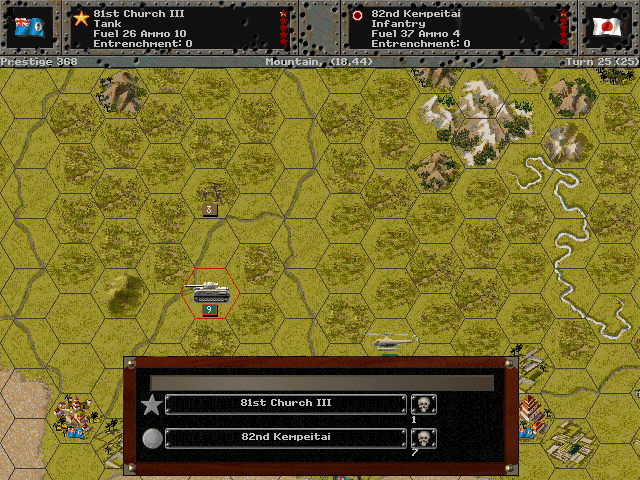
They also fight back a few Japanese units that were fleeing from the Soviet advance.
Axis Turn 25 (Japan): December 2, 1945
Fair (Dry)
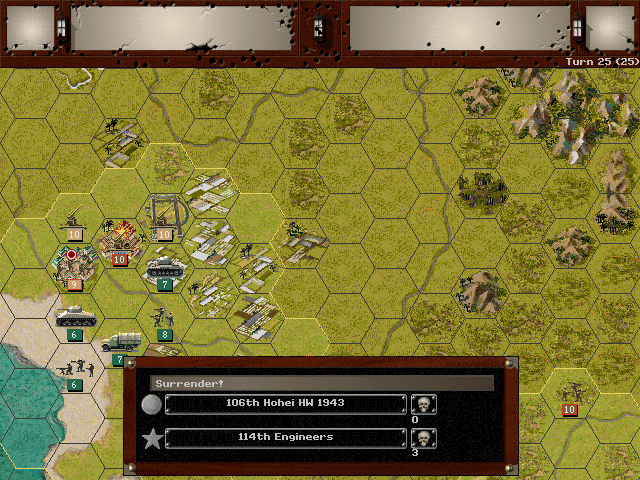
The Canadians pay a heavy price for their attack as the rest of the assault force is wiped out.
Russia Turn 25 : December 2, 1945
Fair (Dry)
Improved reconnaissance reveals that the Russians do not seem to be making a push eastward into our side of the island. They do not withdraw their forces, however.
After the last month of the year started with tensions high, a new development occurs that disrupts the standoff in Matsumoto. Japanese military leaders acting on behalf of Imperial Japan announce that they are willing to negotiate a surrender. With the emperor missing (and presumed dead by many) it appears that the country cannot but submit to the Allied terms. With the prospect of peace at hand, the Soviets decide that they would be better off standing down and participating in the negotiations rather than risk fighting an island campaign when we can project massive strength over the seas and air. Five years to the day after it started, the war with Japan is finally over.
Result: Decisive Victory (3119 - 1652)
Ending Prestige: 378
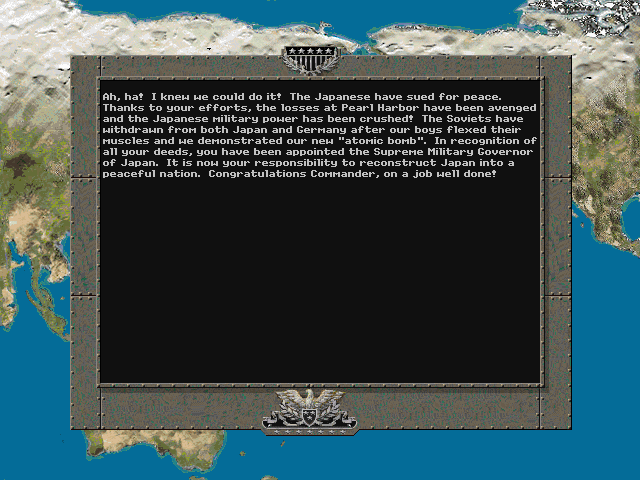
The 'victory' image isn't like the Japanese one, it's just a shot of Washington. Also, I replayed the last few turns to see what happens if you attack the Soviets, and it's basically nothing. They don't get too aggressive either -- they seem to be entirely focused on the objectives and so will mainly only fight you to get to them. The ending does not change, since the 'a-bomb' makes them back off no matter what just happened. One odd thing I found, however, is that this battle doesn't end if you manage to take all the locations.
Unit Spotlight
As with the Japanese side, this final spotlight will go over all the 'normal' infantry units that most sides in the game can field.
The American military was quite tiny at the time the war broke out. A large portion of the soldiers involved in the lengthy combat were conscripted and had the bare minimum amount of training. This led to units that had to rely more on their leaders for guidance on the battlefield. To a fair extent, the Americans managed to make do thanks to logistical, or at least industrial, superiority. Their equipment was decently good relative to Japan's, and rather reliable as well.
Trained officers were not terribly plentiful either, however, and could not be produced that much faster during the war. The American approach to tactics did not necessarily demand skilled leaders, as it emphasized sticking to a system. The situation would be analyzed and the best solution was chosen, without much latitude for the unit to vary from that system. That mitigated the need for intensive training, but it did not work as well if the leader was unable to determine the best approach, or as tactics changed during the war.
The American side in the game has a lot of infantry options, with both Army units and the Marine Corps available in varying specializations and years of availability. Both branches served in the Pacific, with the Marines typically handling smaller attacks or the initial assault phase in the island campaign. The Marine Corps had higher standards and more rigorous training, and this is reflected in the game with slightly higher stats, but also the 'Fearless' attribute which is very useful for amphibious landings, but not as useful outside of that when you're trying to keep your core alive. Anything not indicated as USMC is an Army unit below.
Infantry (1936/1944)
PG Name: Infantry 1936/1944 Type: Infantry
Effective Date: 1/36
Value:7 Cost:120 Spot:1/2 Move:3 MM:Leg Trans:Air Fuel: -
Init:2 SA:7/8 HA:2/4 AA:[1] NA:1 GD:9/10 AD:9 CD:0 TT:Soft Ammo:6
USMC Marines 1941/1943
PG Name: USMC Defense Forces Type: Infantry
Effective Date: 6/41
Value:9 Cost:108/120 Spot:2 Move:3 MM:Leg Trans:Air Fuel: -
Init:2 SA:7/8 HA:3/6 AA:[2] NA:1 GD:10 AD:9 CD:0 TT:Soft Ammo:6
Fearless
The American units have a surprisingly high defense value, making them both the best base infantry in the game, and also the most expensive. The one downside for the Americans is that you can't bring out new units quickly, and they need to be used more cautiously due to the expense. The Marines are clearly the better option here, as they're the cheaper or the same price for more.
Paratroopers (1936/1944)
PG Name: Infantry 1936/1944 Type: Infantry
Effective Date: 1/36
Value:12 Cost:144/132 Spot:2 Move:3 MM:Leg Trans:Airborne Fuel: -
Init:1 SA:8 HA:2/6 AA:[1] NA:1 GD:6 AD:9 CD:0 TT:Soft Ammo:5/7
USMC Paramarines 1941/1943
PG Name: USMC Defense Forces Type: Infantry
Effective Date: 6/41
Value:13 Cost:156/180 Spot:2 Move:3 MM:Leg Trans:Airborne Fuel: -
Init:1 SA:7/8 HA:2/4 AA:[1] NA:1 GD:9/10 AD:9 CD:0 TT:Soft Ammo:5
Fearless
The Army airborne units show a big drop in power from the basic soldiers, and once again the Paramarines win out. In real life, the Paramarines were trained for air drops but never actually used before the force was disbanded. The Army deployed paratroops in the Pacific, but rarely for actual airborne operations.
Engineers (1936/1944)
PG Name: Engineers / Engineers 1944 Type: Infantry
Effective Date: 1/36
Value:24 Cost:300/288 Spot:2 Move:2 MM:Leg Trans:Air Fuel: -
Init:2 SA:8/9 HA:3/6 AA:[1] NA:1 GD:8/9 AD:9 CD:0 TT:Soft Ammo:7
Bunker-Killer, Engineer
USMC Engineers 1941/1943
PG Name: USMC Engineers Type: Infantry
Effective Date: 6/41
Value:25 Cost:308/336 Spot:3 Move:2 MM:Leg Trans:Air Fuel: -
Init:3 SA:7/9 HA:4/7 AA:[1] NA:1 GD:10 AD:9 CD:0 TT:Soft Ammo:7
Engineer, Bunker-killer, Fearless
The Engineers are again quite expensive, but since you're paying mostly for the special ability, the extravagance is actually kind of nice. It means the unit is more likely to excel. These are pretty equal in terms of power per prestige point.
HW (1936/1944)
PG Name: HW 1936/ HW 1944 Type: Infantry
Effective Date: 1/36
Value:8 Cost:96/144 Spot:2 Move:2 MM:Leg Trans:Air Fuel: -
Init:2 SA:8/9 HA:3/6 AA:[2] NA:1 GD:9/8 AD:9 CD:0 TT:Soft Ammo:6
Given the already high quality of the American infantry, the HW unit represents a pretty poor value, as it trades mobility for a slight boost to anti-tank power. The American tanks can typically hold their own against the Japanese, so it's a particularly bad unit in the Pacific campaign.
Assault Infantry
PG Name: Assault Infantry Type: Infantry
Effective Date: 1/45
Value:30 Cost:360 Spot:2 Move:3 MM:Leg Trans:Air Fuel: -
Init:3 SA:3 HA:15 AA:0 NA:1 GD:12 AD:10 CD:0 TT:Hard Ammo:3
Bunker-killer, Guard
The Assault Infantry are unique to the Americans, and show up rather late (and I don't know if you can actually purchase them). They are incredibly dangerous anti-tank units, though they cost as much as a tank already and less likely to survive a fight than an armored unit. They are much better for taking out hardened fortifications, which would seem to be their intended role. It was kind of odd that the final Japan battle didn't actually have strong forts, or else we would have seen these used a lot more.