Part 59: Episode 58: Bad End Bonus
Bonus Update: The Bad Ending and Other JunkHey guys. So, we've finished the game, but there's still some stuff left to do. Actually, given the massive list of unlockables for this game, there's a lot of stuff left to do, but for the purposes of this LP, only a few more things. First, let's load a save.
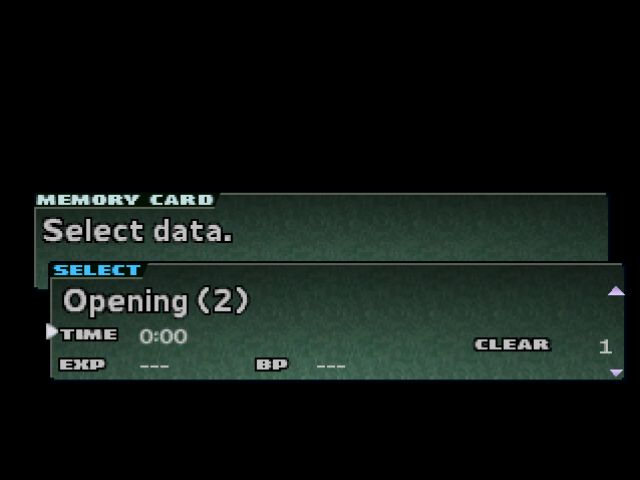
The game denotes New Game+ saves with a little Clear counter in the corner, telling you how many times over you've beaten the game.
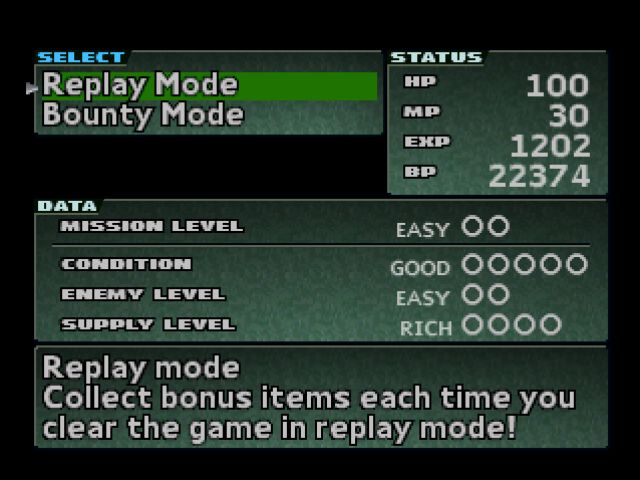
That gets us at this screen, which allows us to access the bonus difficulty modes we've unlocked. Only in Replay Mode are our unlocked goodies available in the BP store: everything else makes you work for your WMDs. So, let's talk about the other difficulty modes, shall we?
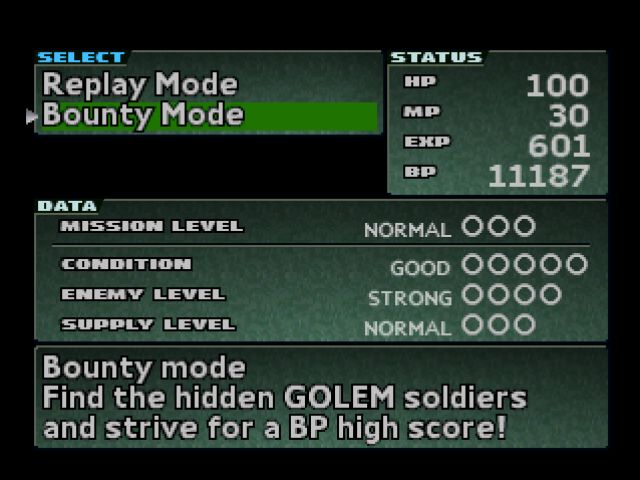
Bounty Mode is a pretty standard step up in difficulty. Enemies are tougher and stronger, and supplies are fewer in number. Oh, and also fucking GOLEMs start spawning from the very beginning, so have fun with that. There's also two higher difficulties not yet unlocked.
Beat Bounty Mode and you get Scavenger Mode. Scavenger Mode is exactly what you think it is: Next to no goodies and ammo lying around, and generally less resources to go around. You only start with 10 MP, for example. Interestingly, enemy strength is reset back to Normal levels, because c'mon, Scavenger Mode ain't a douche.
Nightmare Mode, on the other hand, is a total a-hole. Nightmare combines the low resources of Scavenger Mode with the tougher enemies of Bounty, GOLEMs and all. And then it goes ahead and makes everything stronger still, because it hates you. It hates you so much, you don't even know.
I, admittedly, don't have a ton of experience with the higher difficulty modes. Goons do, though, so hopefully you'll find these posts slightly more illuminating:
Seiren posted:
Every item you obtain is worth half of its store value at the score tally. The Medicine Wheel, as noted, costs 27800 BP (13900 end-game value). The game counts items in Aya's Inventory/Attachments and in all of the storage boxes. The game obviously does NOT count items that have been used. Even the free ammo is worth something, so a little trick you can do is load up on free ammo and stash a full load in every box for free points.
This here, is the major draw of New Game+. While shamelessly stolen from survival-horror games, it makes an excellent addition to this particular game. It keeps you coming back for more, and gives the player a new way to challenge themselves. Get the high score, reap even more badass rewards, use badass rewards to reap even more rewards. The game keeps track of how many times you've completed the game, and on which difficulty levels.
Higher difficulty levels are unlocked in two ways; clearing the game on the most difficult available level, or meeting certain exp + bp requirements upon completion of any mode.
When you start a new game, your last cycle's endgame BP and EXP scores are divided by an amount based on the difficulty level you choose. So using Crowe's stats as an example, starting a NG+ on Replay Mode (essentially normal but EXP costs are cheaper), he will not be starting with those scores. Instead, he'll start with something like 1202 exp and 22374 BP. In short, just move the decimal over as you go higher. Taking the unlocked difficulty, Bounty Mode, he'll start with around 120 exp and 2237 BP. On Scavenger mode, even less, yet still better than nothing. On Nightmare, you will start with zero. As a reminder, the extra supplies you unlock are only available on Replay Mode. The game's true "Normal Mode" is no longer accessible via the savegame.
But even with this perceived "penalty", the catch is that your endgame score is multiplied based on the difficulty you're playing on. In Bounty Mode, the multiplier is 3x. If Crowe completed the game with those figures, he'd end up with over 36000 exp and over 670000 BP, more than enough to achieve the game's highest end-game rank. Nightmare's multiplier is ridiculous, and you can very easily end with over 1,000,000+ BP. For both the ultimate challenge this game has to offer, as well as the highest score, you play on Nightmare mode while using the bare essentials.. This means no Protein Capsules, no buying anything, and extremely judicious usage of consumables. I can't even clear the game this way, I always have to buy something or use something at some point...
An interesting quirk of the ranking system is that it will skip over rank levels you've already attained. Clearing the game with the same BP and EXP (as unlikely as that is), means you'll get the appropriate ranking the first time, and then you'll receive the ranking above that for the second go. No matter how you decide to keep playing, you're always guaranteed to earn new supplies. Affording them, on the other hand....
Final Boss(es) notes:
Obviously, this is where you'd want to pull out all the stops and go all-out with your full inventory of Ringer's Solution and the best guns and ammo money can buy. As noted by Crowe, in Normal these last fights aren't horrifyingly deadly, but on anything above that, everything sets you up to die. Get nailed by paralyzing butt-slime? Whoops, there goes 65hp and now you're suffering paralysis. No big deal, cast Metaboli-- OH FUCK FIST. And then you're dead. Every single one of its attacks does more than twice the damage; it's heat-ray chest-blaster thing is instantly lethal on anything above normal (unless you're cheating and have 250 hp which means you can actually take the 220+ hp damage it deals on Bounty Mode even with Antibody 3 up. Anything higher and you're still dead.) The Neck Blast is also incredibly deadly; it's one of this thing's most powerful attacks and it's instant-death on Nightmare mode.
Inferno is the spell of choice for the battle. Three casts is enough eliminate the tails and arms while severely damaging every other portion of the body except the core. Lifedrain is helpful, but it's expensive and the extra drained HP is wasted. It also hurts quite a bit less than Inferno.
For the Core, you want one of three things; the M249, the MM1 loaded with standard Grenades, or the Mongoose loaded with Maeda SP. Energy Shot 3 should go without saying.
After dealing with that thing (and destroying all the parts of course!), Eve.
Eve on harder difficulty levels is extremely dangerous. Two hits from anything will kill you, except for her ultimate attack which just kills you. That said, some fun things happen here to skew the odds in your favor, and she's still easier than the Ultimate ANMC.
1. Lifedrain. Every time Eve spawns a clone, Lifedrain it. Instant kill and full heal for Aya.
2. Energy Ball. Every time one of the balls touches Eve, it deals a batshit-ridiculous amount of damage. Hitting all three of them puts her on the verge of death.
3. Maeda SP. Using these bullets is like using a flamethrower to kill an ant. As an added bonus to the hundreds of damage one of these can do to Eve, they'll also inflict Poison.
4. Eve is most deadly when you're in a position where you can't avoid her attacks. These positions are almost the whole room EXCEPT the places where the catwalk extends across the room. Stay near these to avoid almost everything she can do.
If you're going for a high score, you're likely suffering from limited supplies. You'll need to find a strategy that works for you and your MP to make it through. On any difficulty, you will want at least 105 MP. (105 is the magic number, it gives you 3 casts of a certain spell, and enough for some other stuff which may save your life!)
Omnicrom posted:
So here's an infodump about the games New Game + Items. Seiren and Crowetron explained the basic gist of it but depending on how much Experience you earn over the course of the game you get a different ending rank. This ending Rank enables you to buy certain items from any of the game's stores, though depending on the replay mode they may not be available. There are 13 ranks, with Rank S as the highest and Rank L as the lowest. I'm not sure Crowetron showed the letter grade but sadly he got an F-Rank judging by the items he got, though F Rank is actually slightly above the median and probably the most common rank.
The real winners for New Game+ are Ranks E and above and Rank L. In addition there are 3 items that you can't get on a regular playthrough in the New Game+ items available for Ranks S, A, and L.
Rank S lets you buy the Gunblade, it's absurdly overpowered. It can be loaded with shotgun shells and the damage goes through the roof if you fire as you swing it. Loaded with Rifle Slugs it can do as much as 2000 damage a shot. It's not perfect however, it's heavy and to get crazy damage you need to actually hit the enemy in melee so it's a pain to hit Eve with it and the Puppet Stinger is flat out immune to melee. In those cases its merely a heavy, slow firing shotgun with only 6 rounds a clip. Also like it was mentioned earlier if you get an L-Rank you can buy a Medicine Wheel and No 9 will drop it when you beat him in Dryfield.
Rank A lets you buy the Hypervelocity, a handheld version of the Giant Laser Gun that they used in the ending. It really slows you down and it takes a while to charge and also has some pretty heavy recoil but naturally it does very nice damage and runs on batteries. You can kill regular enemies in a single shot and even really big bosses with only a couple hits. Also it apparently does full damage to the Glutton no matter what so that's nice.
Rank L lets you by the Monk Robe, an armor. It provides +100 MP, boosts MP regeneration after battle like the Aya Special and restores MP in combat whenever you're hit. Basically if you like running around in a New Game and killing everything with Inferno and Life Drain and Apobiosis then buy it.
Other nice ranks are Rank E which nets you the AS12 and Rifle Slugs, Rank D gets you the .44 Magnum that's only available on the bad ending route and the Skull Crystal, Rank C gets the special ammo for the Magnum and the M249, and Rank B gets the MM1.
In addition to the Bonus stuff you can also spend BP to buy back your various PEs as the level they were in your previous run of the game. The cost is equal to how much Experience it would take to raise the PE to that level from the previous level, so Inferno 2 would cost you 4000 BP while Antibody 3 would cost 3000 BP. IIRC you can also buy PE that you couldn't normally get at this point, so you could get Lifedrain 3 without spending anything on the other Water PEs.
Okay so how do you get the high ranks? You need to replay the game because you can't get an S rank on your first playthrough. I've heard that the highest possible is B-Rank but I'm not sure about that but it makes sense as the jump from B-Rank to A-Rank is huge. You need to earn over 75000 Exp to reach B-rank, you need over 200000 for A-Rank, and 400000 for S-Rank. For comparison all the Ranks between B and J are seperate by 3000 Exp. So like Seiren said replay games on harder modes multiply your score which is the easiest way to reach the high ranks, another way is to brute force it with repitition.
If you get the Same Rank again and your file hasn't hit all 13 letter grades it will roll up, so if you get an F a second time you get a D and so on. In addition I believe the Exp you start with on a replay counts toward your grade so you can slowly build up your rank. Also if you get an S-Rank a second time it rolls down to an L-Rank so beating the game Twice on Bounty Mode with high Exp might Earn youthe Monk Robe.
Oh and one last thing: Rank L is far harder to get than it appears. To get it you need under 14510 Exp. Doesn't sound bad? Well for reference Eve is worth 5000 Experience and the Ultimate ANMC/Kraid is worth a bare minimum of about 2000 Experience. To get L-Rank you need to avoid fighting any random encounter you can possibly skip.
That's a lotta words! So, let's get this party started.
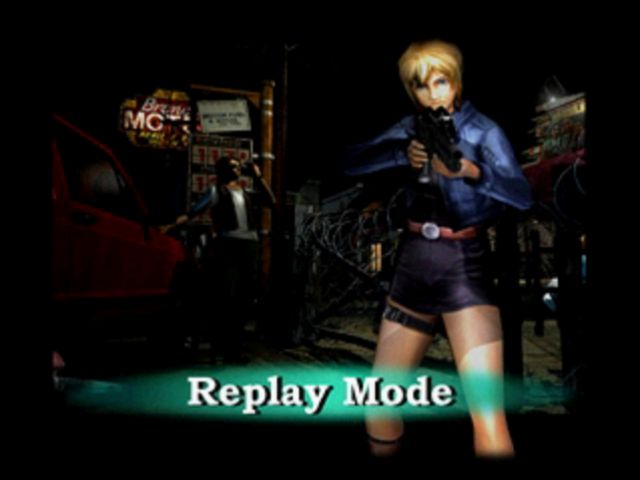
I'll be taking the easy road this time around and wrecking shit up in Replay Mode. You see, there are technically 3 endings to Parasite Eve 2 and 2 separate (but still basically identical) paths through the game. I've shown you the best ending, so now it's time for the Bad one. And hopefully showing off anything I've missed along the way.
There are two branching paths: The Pierce Route and the Kyle route. But nothing really changes between them for quite some time. Oh, and that third ending I mentioned? You get it by doing everything I showed you in the Good Ending route, but skip finding Pierce in the freezer. Everything wraps up pretty much the same, except Pierce dies so Maeda has to start Xavier School for Extraordinary Mitochondria by himself, I guess.
Anyway, let's grab our hard earned rewards. No, the game doesn't just give them to you, you have to buy them. But it's cool, because you get to keep a portion of the EXP/BP you earned last time around and buy shit up right at the start!

So, thanks to my ranking, I can grab the best armor in the game AND the Ofuda Charm right from the start!

Oh yeah, and you can also buy back any Spells you leveled up for much less than it would cost to actually level them up again. Which means max Plasma and Lifedrain before I ever even encounter a bad guy


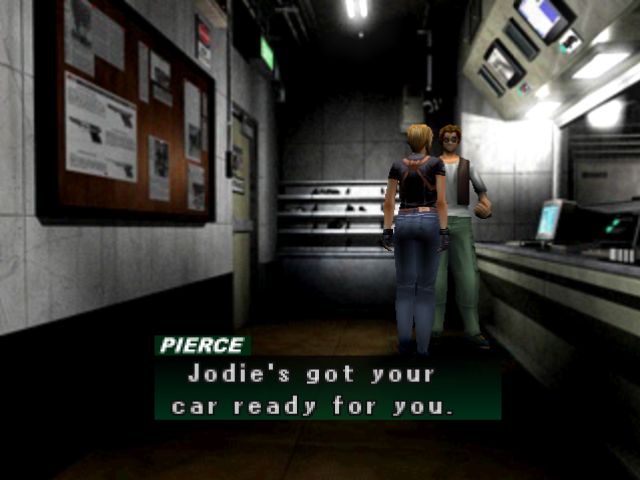
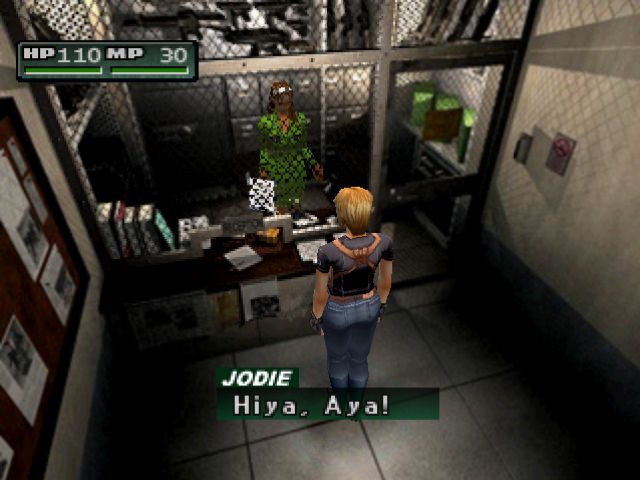
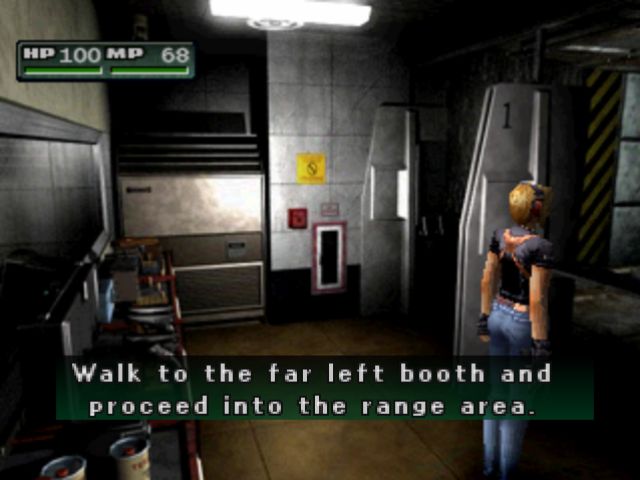
Before we leave, I should probably show off the shooting range, shouldn't I?
So, the shooting range is pretty dumb, but you can get free stuff from it, so it's worth a go. It's also a pretty serviceable tutorial for new players, despite being completely optional. Anyone else remember optional tutorials?
Anyone...?
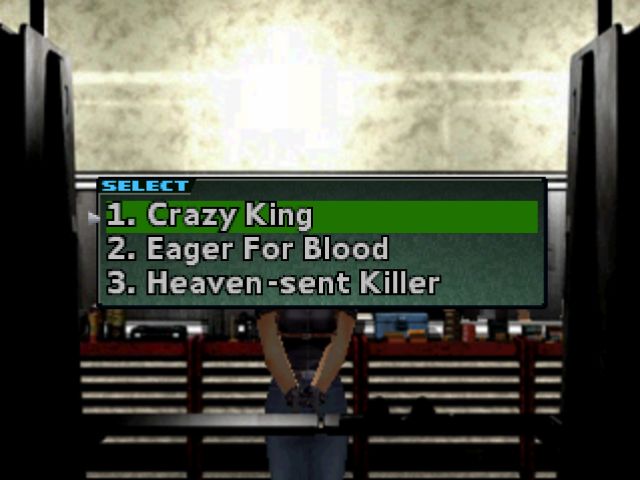
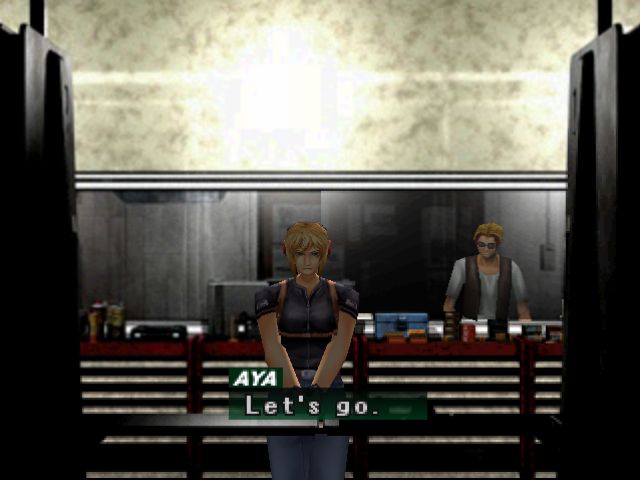
You can pick your own gun shootin' tunes, which is nice, but you can only pick from a list of three ingame tracks. Interestingly, the options change on each difficulty level. A nice detail, particularly for Scavenger Mode where free stuff is so rare it makes the shooting range actually worthwhile.
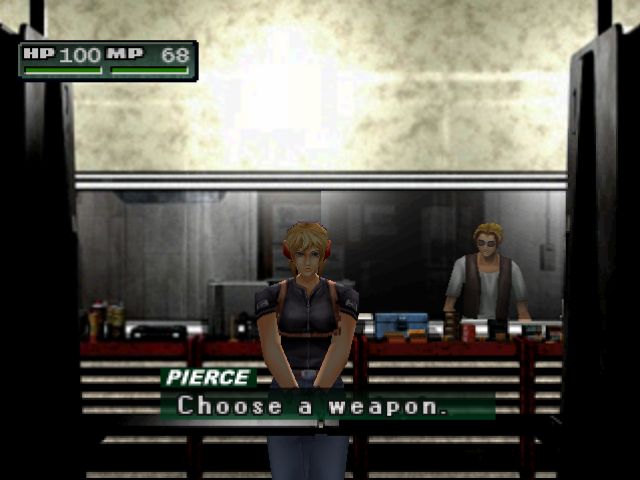
You can also pick what gun to use, but you're limited to what you have in your inventory. Since this is right at the start of the game, I only have the default M39R handy, so we'll just use that. Clubs are not allowed on the shooting range.
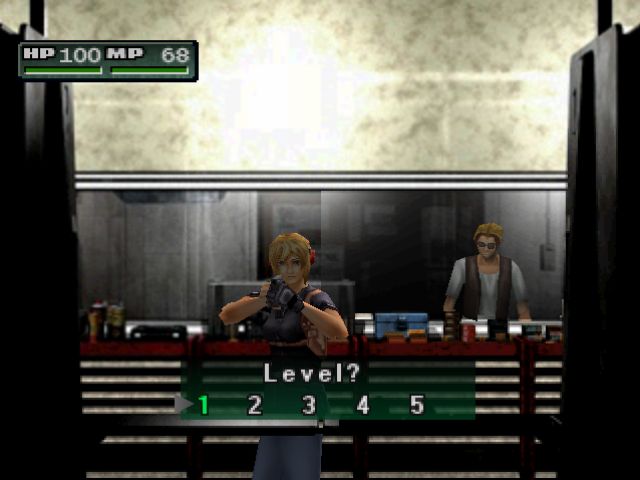
After that, you choose a level. Each level has different rewards for hitting a high enough score, but none of the rewards are awesome guns, so who gives a fuck?
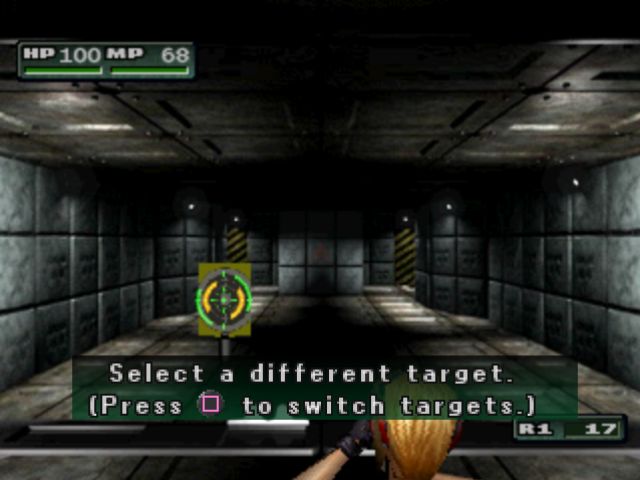
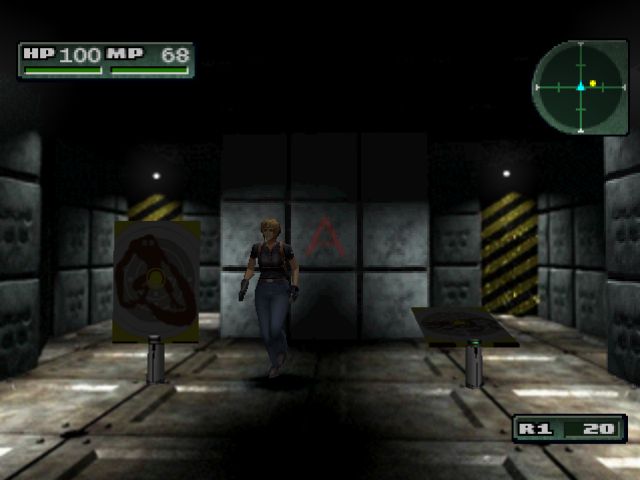
Level 1 has you learning to aim against static yellow targets. It's a super simple tutorial for the lock-on and that's about it. It's worth noting that different targets have different HP values, Yellow being the weakest, Orange being slightly tougher, and Red being the strongest.
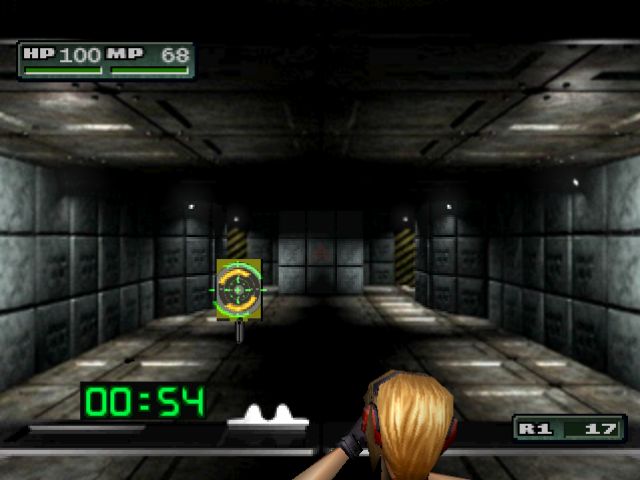
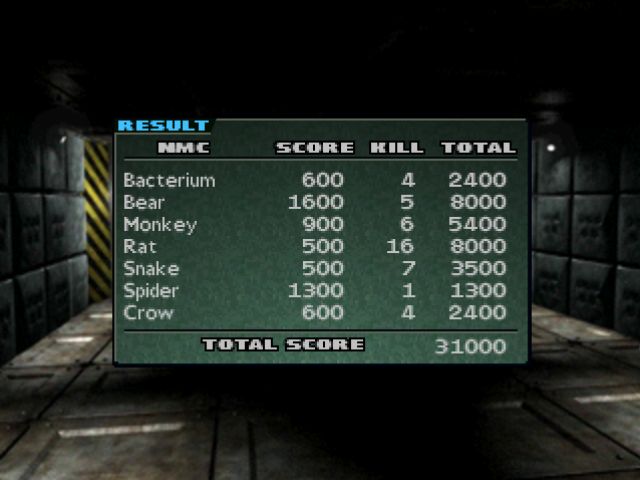
Nothing you do during the tutorial bit adds to your score, but once the tooltips stop and a timer appears in the corner, every shot counts. On Level 1, you need a score of 9800 points to win a box of Hydra 9mm bullets.
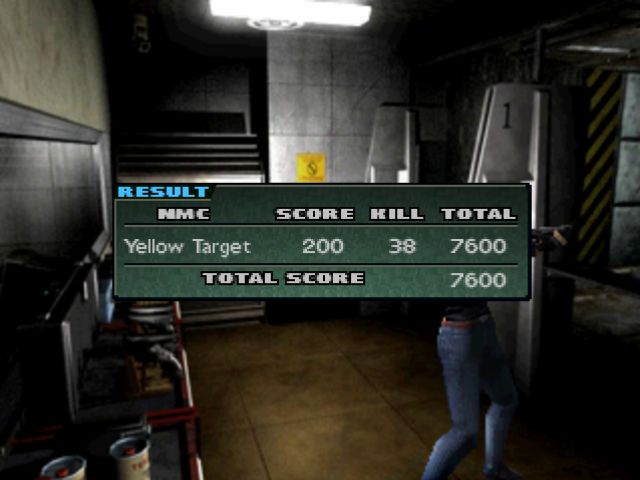
I fall short of the reward for every level, even the easiest, but I can shoot fireballs with my mind, so I think I'll manage.
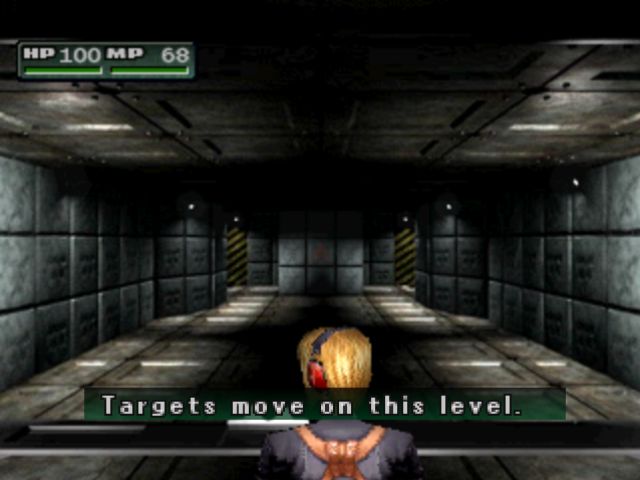
Level 2 introduces moving targets, and starts throwing the higher HP Targets at us. Stronger target = more points, so try not to let any of those get past you. A score of at least 16800 nabs you a Ringer's Solution.
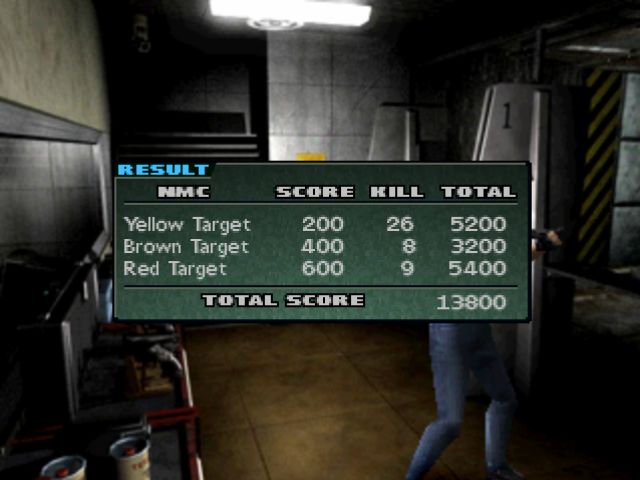
I'm so good at video games you guys
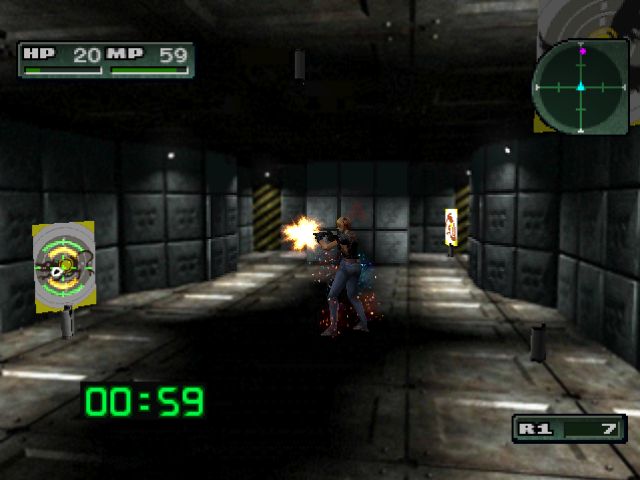
Level 3 mixes thins up a bit. Namely, it wants us to actually walk out into the range. Despite this being ludicrously unsafe, this is where the game starts to teach you about spacial awareness and moving in combat.
Targets will pop up all around you and move around, so now you actually have to put some effort into staying on target. It also introduces Blue Targets representing Civilians. Naturally, shoot old Mrs. Gilbert from down the block has repercussions, usually in the form of -3000 points. So try not to hit those.
You need 46000 points to earn Hunter Goggles, an attachment that prevent Blindness.
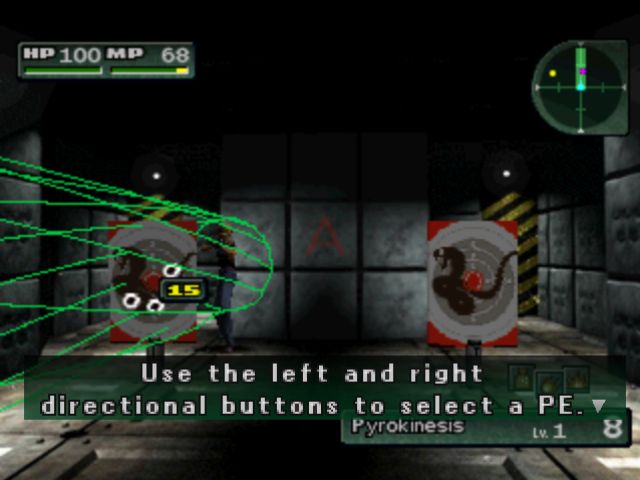
Level 4 is much of the same, but with Parasite Energy thrown into the mix. Nice of them to teach us how to use our Godlike powers of destruction, but throwing fireballs around makes it significantly easier to hit civilians.

See? Get an even 60000 points, and earn a tube of Lipstick to protect you against Silence.
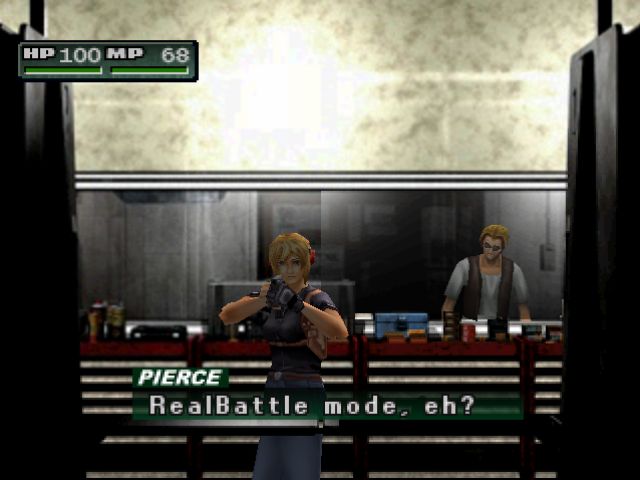
Level 5 is "RealBattle Mode", which means it's time for a tutorial on healing items! Basically, if you leave a target alone for too long, it will taze Aya for a bit of damage. Take too many hits, and you get booted out of the training.
Otherwise, it's more of the same. Get 55000 points, and you earn the Shoulder Holster, the armor Aya wears automatically in the firing range! Sure, it's useless and you can buy it later anyway, but hey! Free stuff!
That's enough fucking around, we should probably get to work. There's not much to say about Akropolis this time around, since the paths don't branch until halfway through Dryfield, but there are a few things I want to point out.
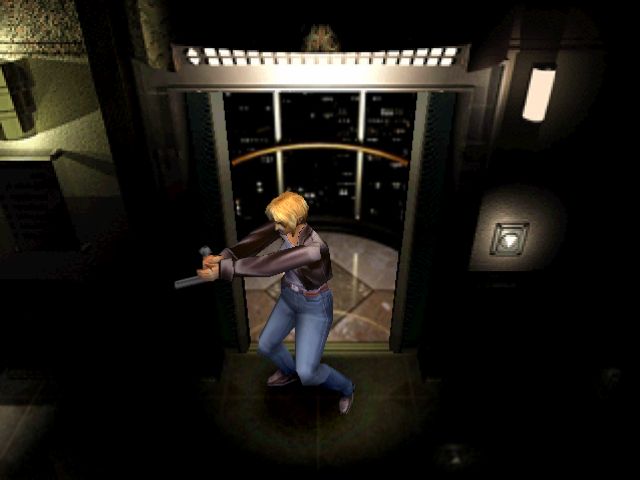
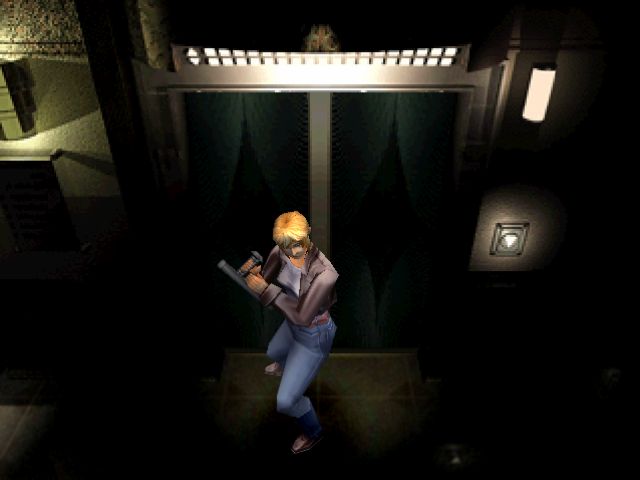
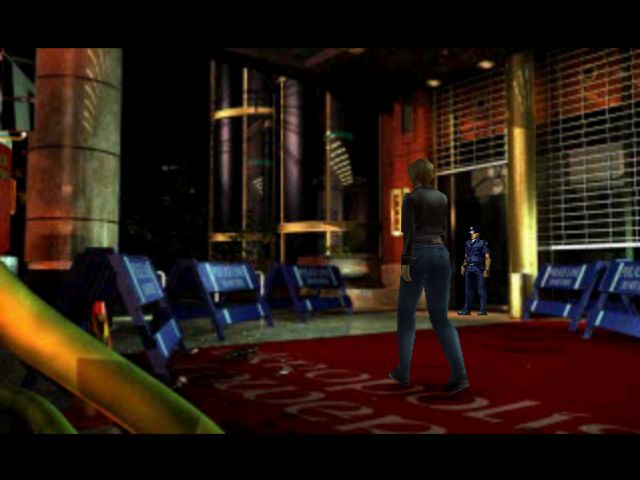
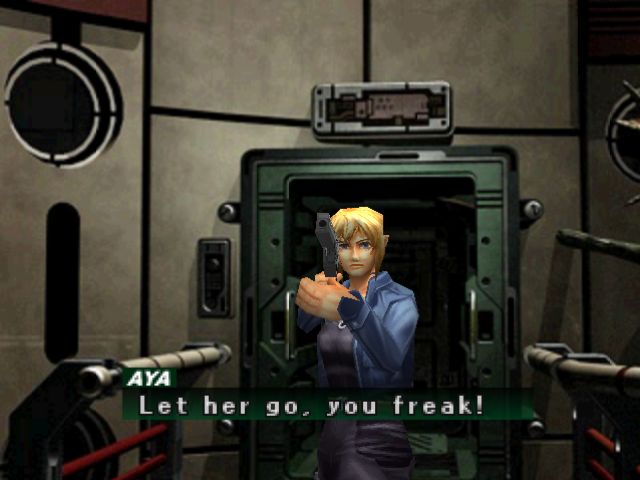
First off, this entrance is hilarious if you have anything other than a handgun equipped.
Secondly, this dude? The guy who later sets the bomb?
He's Madigan. Kyle's wearing the same gasmask at the end of the game, and this is how he knew about the ANMCs at Akropolis. Because he's a double agent. Admittedly, a fucking terrible double agent who almost let the bad guys succeed for no real reason, but a double agent nonetheless.
Anyway, long story short:
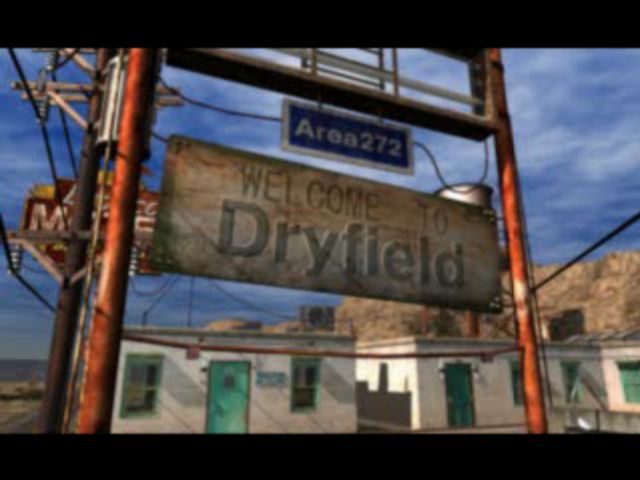
And then we go to Dryfield.
Along the way, we meet a cool dude...
a jerk...
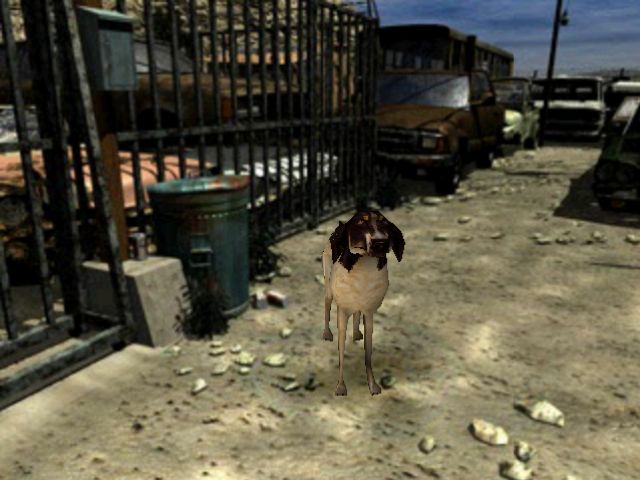
And an adorable puppy not long for this world

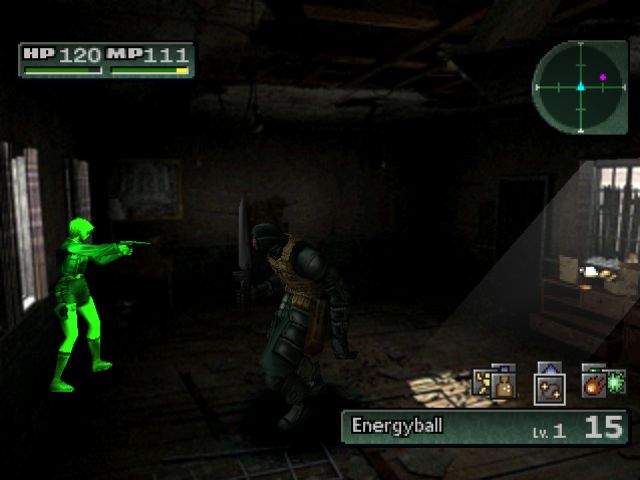
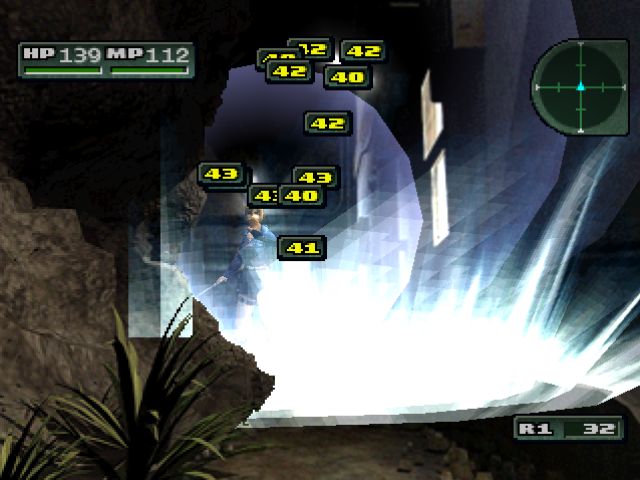
While we refight No.9, let's talk about Earth Spells. The Secret Third Earth Spell is Energyball.
It does pretty much what you'd expect: summons an energy ball to float around Aya lethargically. You get an extra orb every time you level it up, up to 3, and they explode on contact with an enemy.
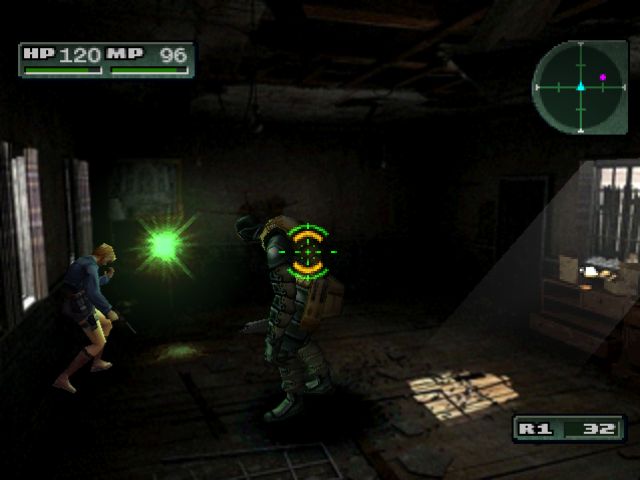
While it does do some very nice damage, it's still pretty shit. It's one of those super situational powers where it's really only useful in one specific situation, and only if you're feeling lazy. To effectively use it, you pretty much need to run into enemies, and why would you do that when you're toting around a dozen guns and can fill the screen with a hellish firestorm at the drop of a hat?
Plus, Plasma will never not be delightful.
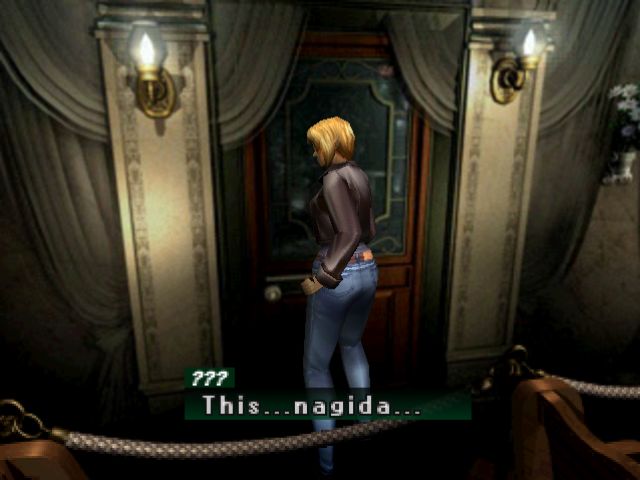
Anyway, time to take a shower and get read for our first big divergence in narrative.
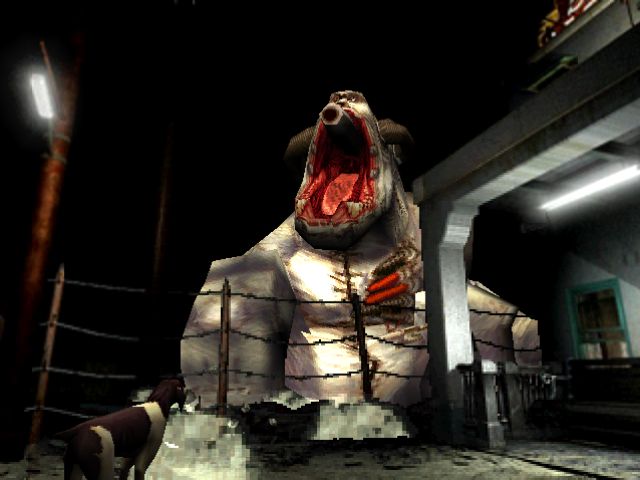
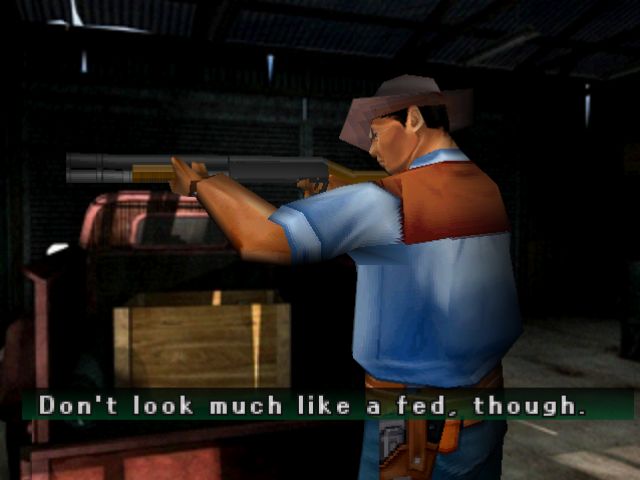
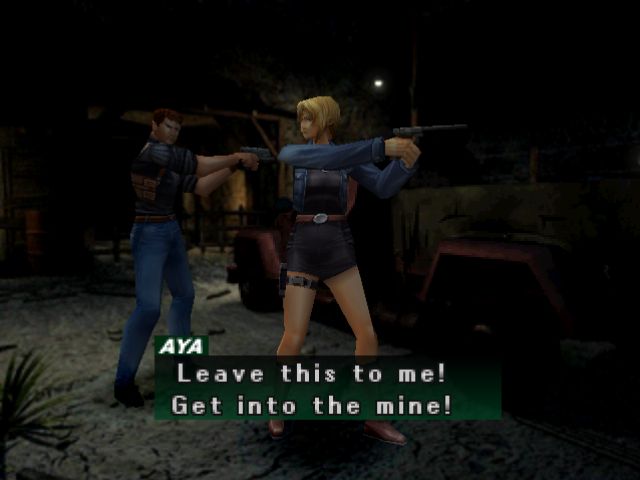
Remember this guy? Yeah, well, this time we don't want to actually kill him.
I mentioned way back when we first met him that this fight is on a generous ~10 minute timer. Take him out before that timer runs out, and the Burner dies without Dryfield taking any casualties.
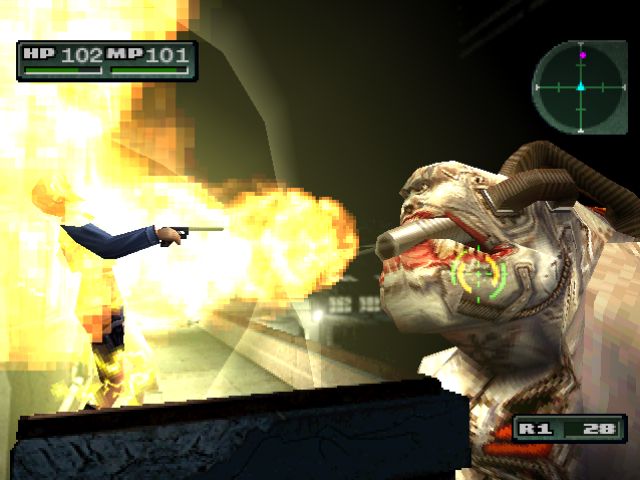
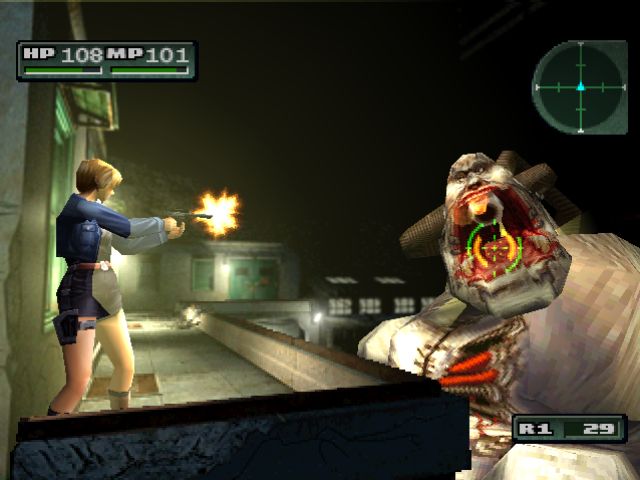
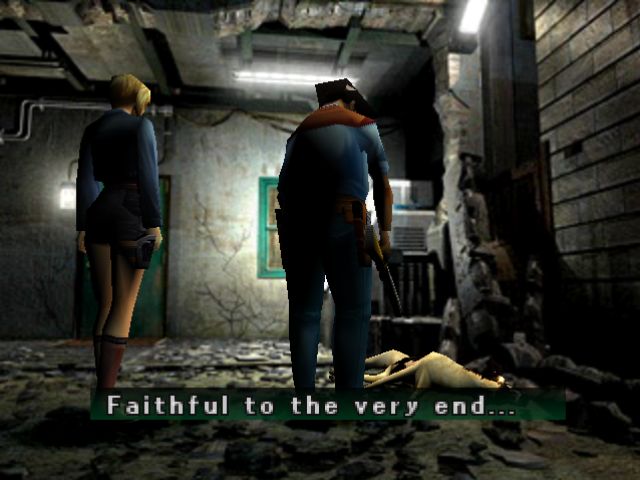
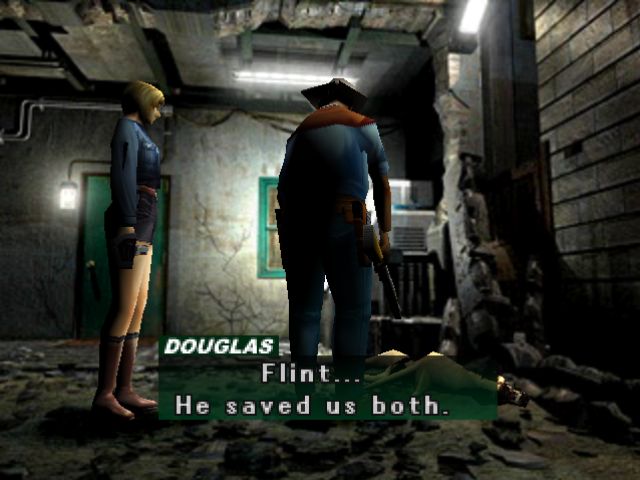
Fart around too long, and our canine friend Flint is trampled underfoot. This is the first step on the path to the Bad End, and gets you a different "reward" than actually winning.

To add insult to injury, you don't even get to kill the Burner. He just gets bored and wanders off

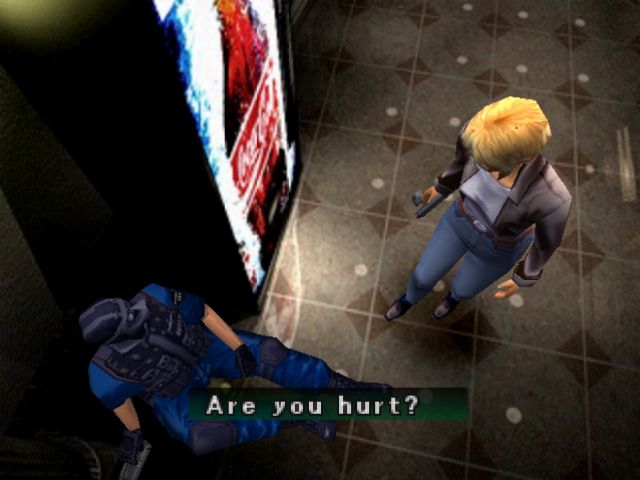
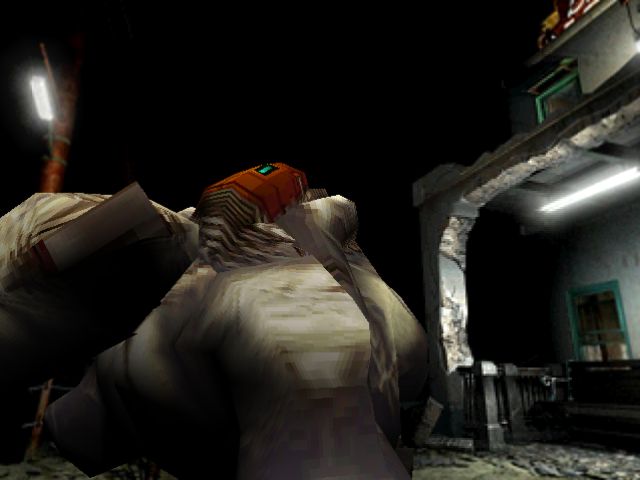
You have now officially fucked up, and the game makes no effort to hide it. You are bad at being an action hero, and now Douglas has lost his only friend.
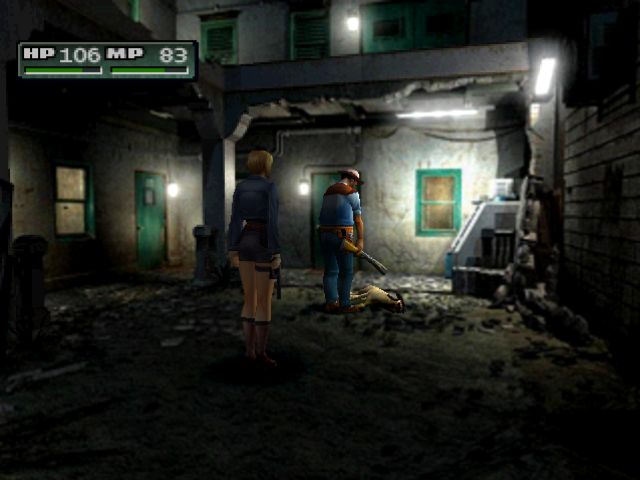
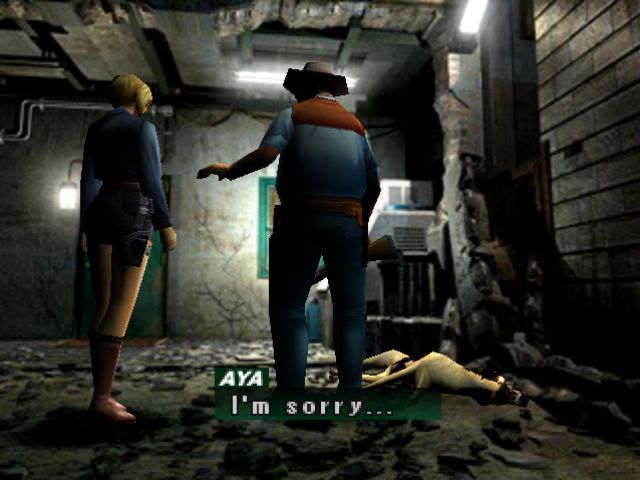
 : Mr. Douglas, are you hurt?
 : Nothin' serious... Truck's done.
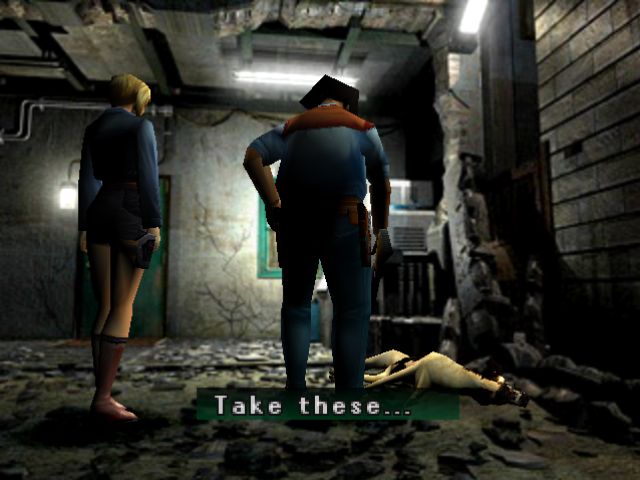
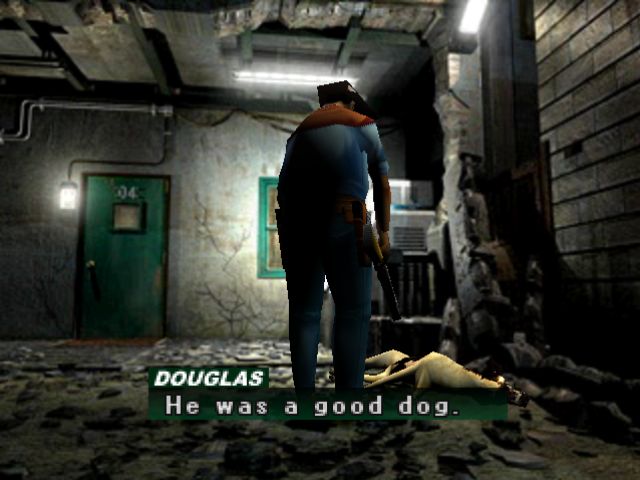
Doug still comes through with the truck for us, though. Because, dammit, that's what Flint would've wanted.
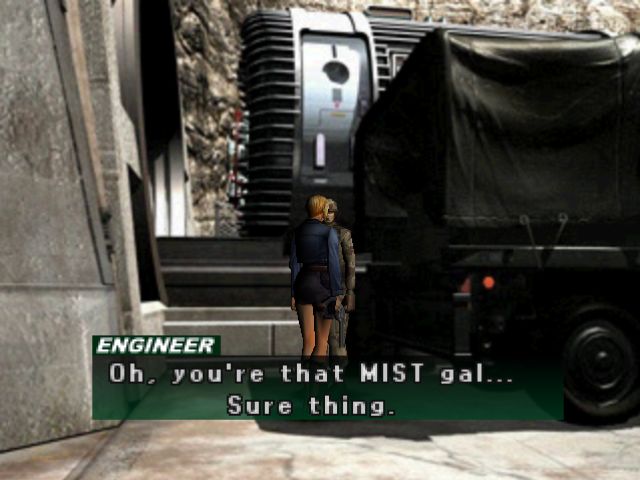
 : You know that green car in my yard? Check the trunk, eh? It's a hand-me-down, but'cha might have some use for it...
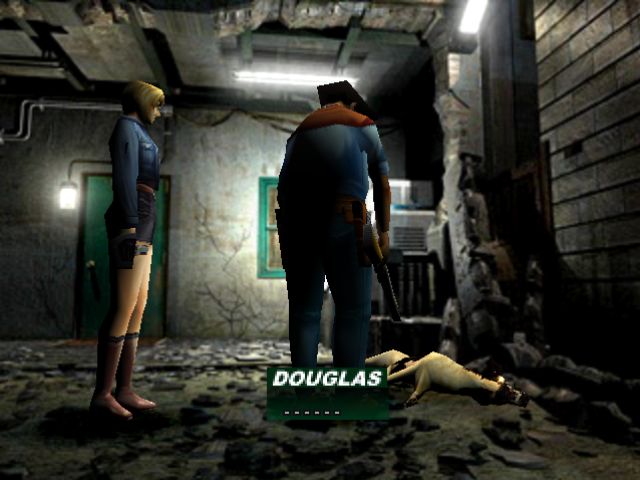

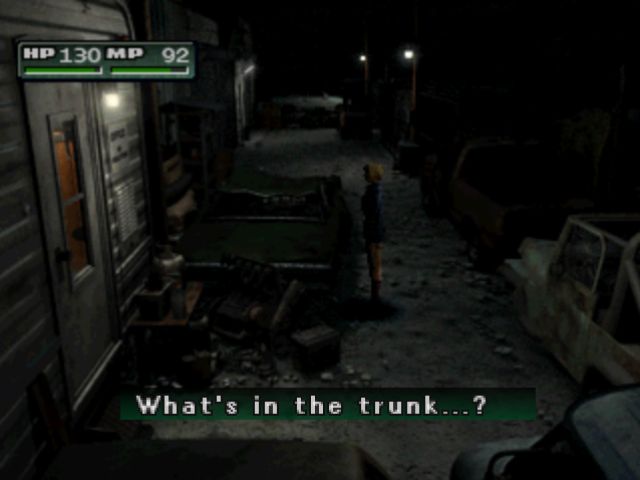
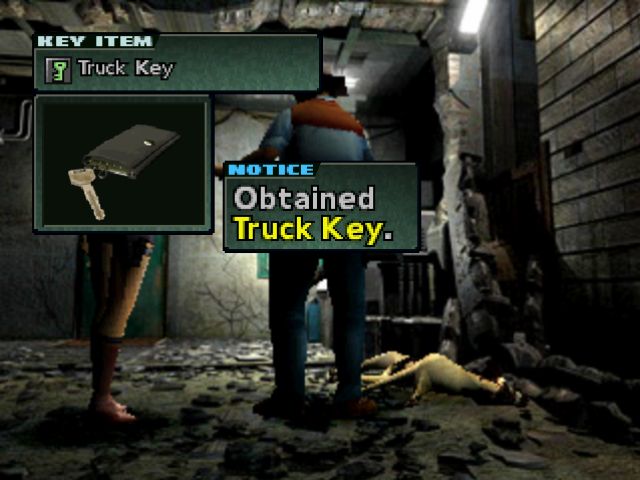
Let's grab our consolation prize and move on before I get all weepy.
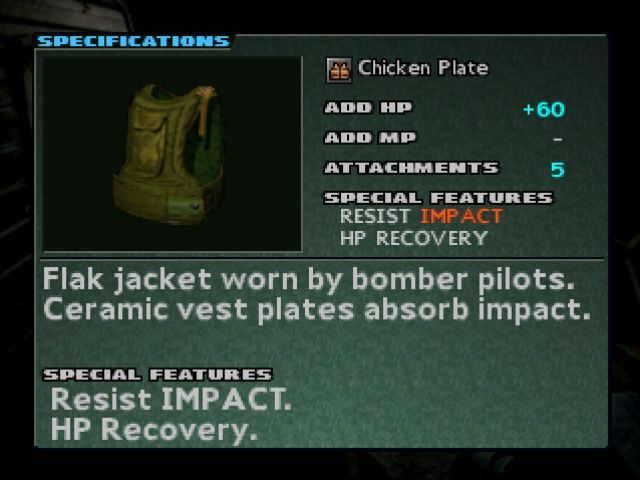
In all honestly, the Chicken Plate is not a bad armor for a first run-through. But is it worth it? No, no it's not. Now that Flint is gone, we also lose out on the Machinegun and the Grenade Revolver at the end of the game.
From here, things go pretty much the same for a while.
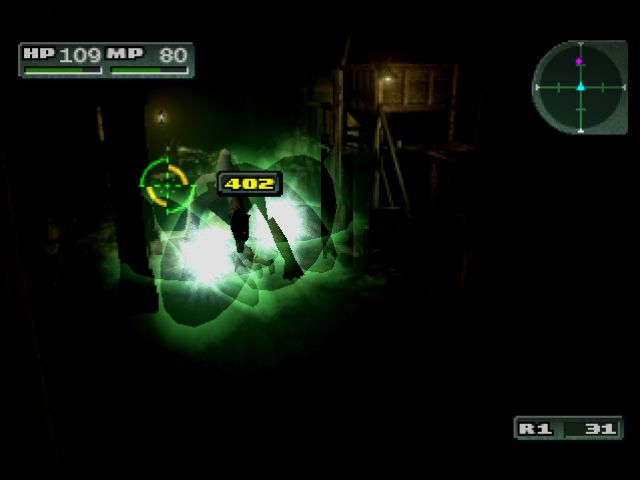
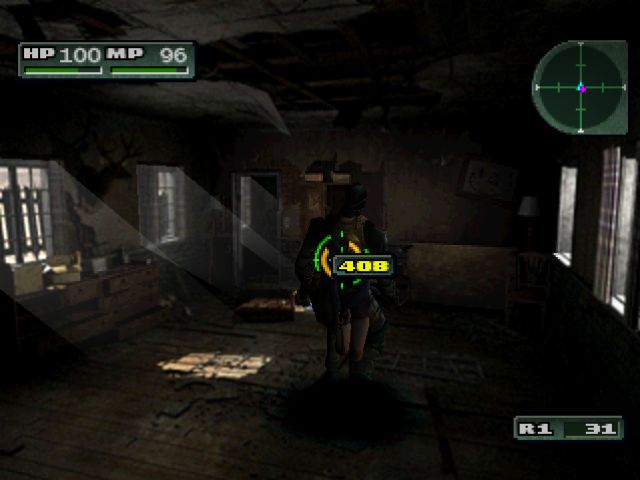
Energy Ball finally finds some use against the Blizzard Chaser: Just turn yourself into a walking bomb and let the fucker pounce you. With Antibody you can easily tank the hits on Normal/Replay. It's not the most efficient or stylish way to deal with the boss, but it is the laziest, which is equally amusing.
This guy's still a big ol' bag of dicks, but generally, Replay Mode is much easier than our previous adventure. Largely due to constant magic spam.
After battling Diabetes in the trash dump, Kyle shows up to taunt us with the Calico SMG we didn't get because Flint died. What a Jerk!
To stay on the Kyle path, skip the Full Moon Gate for the moment and head to the elevator. It turns out I was wrong about the Ice Bag quest with Pierce, and he can't actually die there. Just finding him is enough to save his life and put you back on track for the other ending. All bringing the Ice does is get you the Ofuda Charm, which we already have, so we'll just leave Pierce to die horribly.
Kyle's route gets us a few more scenes with Mr. Madigan that flesh out his character a bit more. Specifically, the fact that he's a total asshole.
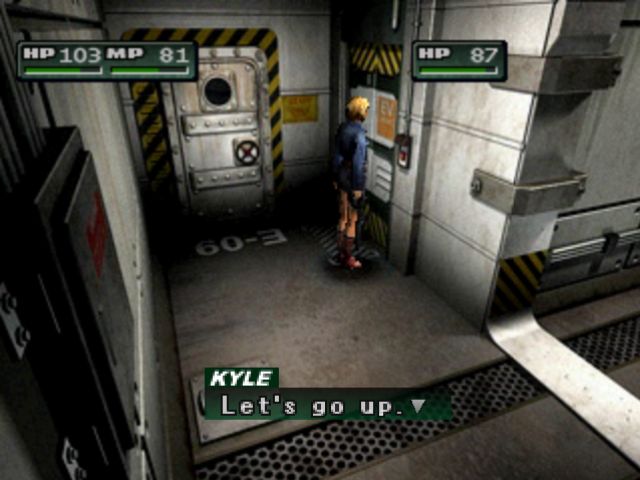
 : You get off here.: What?: I'm going up
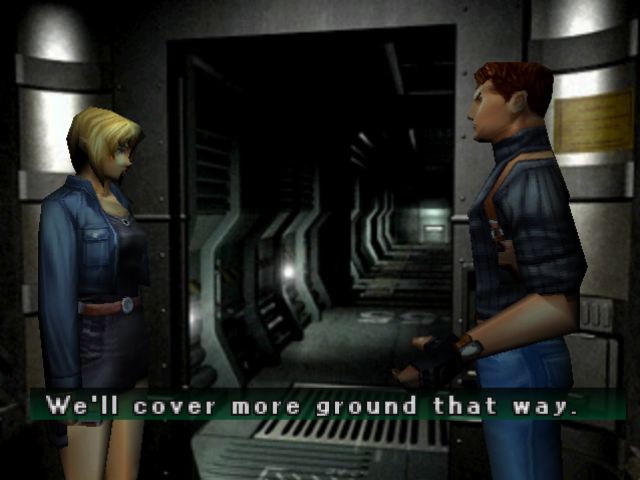
Sure, whatever, dude.
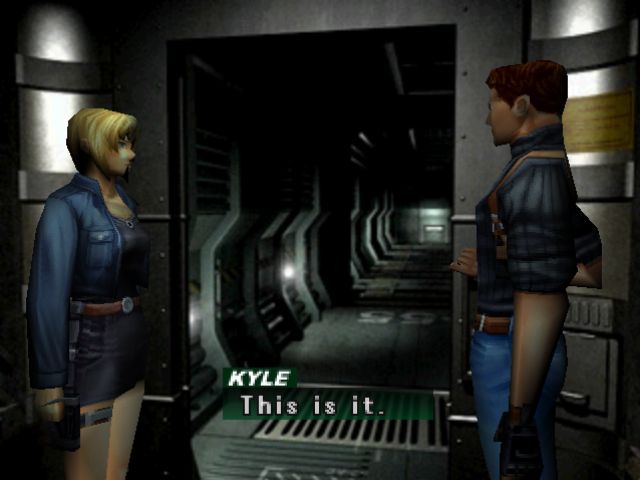
: Right.: Here, take this.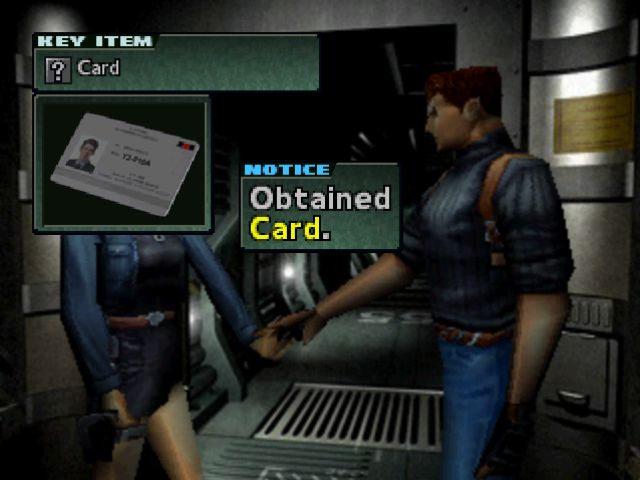
Kyle gives us Yoshida's Card, which means we don't technically have to go fight Bowman to get his ID card. I do anyway, because BPs.
: What's this?: An ID card. Belonged to one of the system programmers here. That should get you through security.: Oh yeah. I should tell you the password.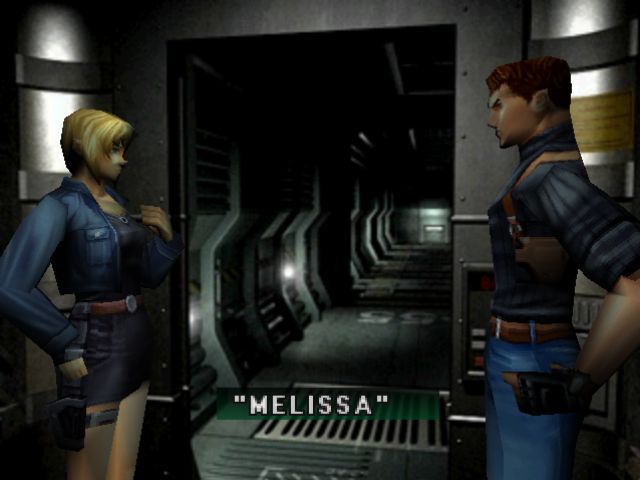

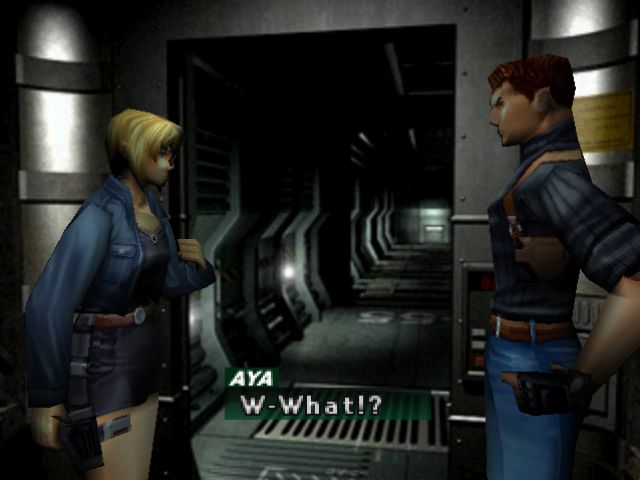
I kinda feel like this reveal is creepier when we just see the names on the computer screen, but I do like seeing Aya react to it for a change.

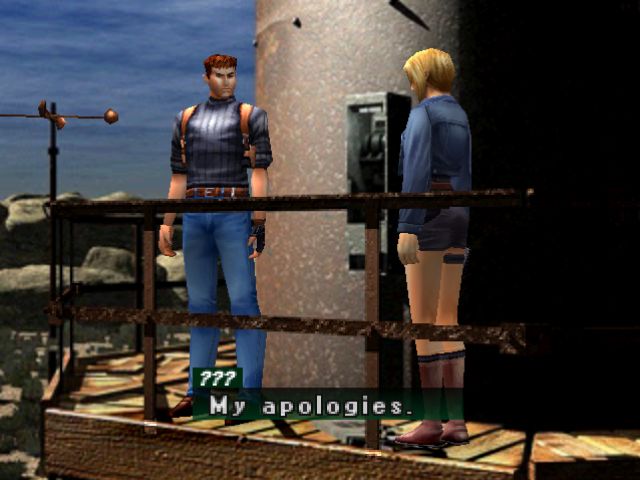
Kyle suddenly decides it's time to be standoffish again for no reason.
: The names of the first neo-mitochondria carriers.: .....: Hey, don't get me wrong. I am a P.I., you know. I did my homework.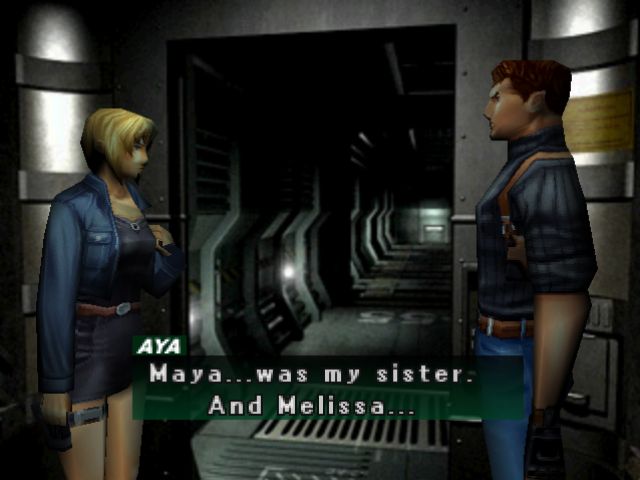 : Aya, you're your own person. Right?
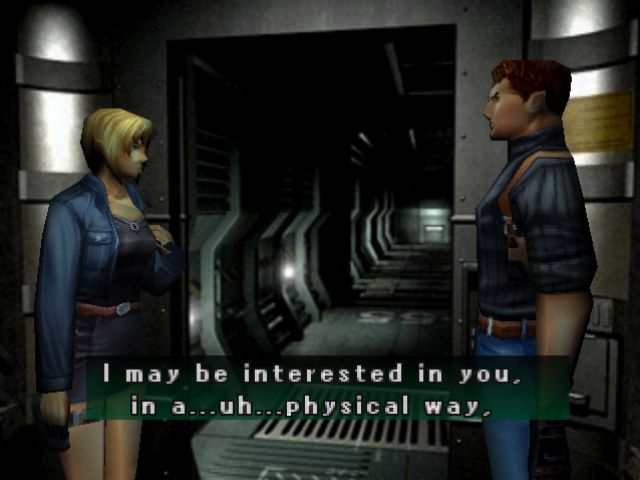
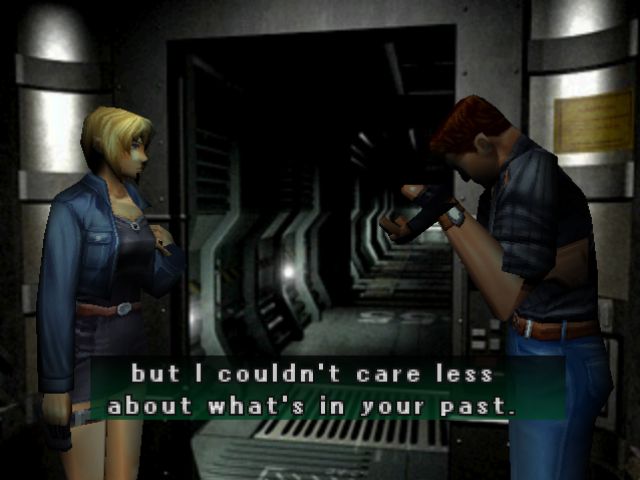
"Look, you're hot and all, but I really don't want to actually talk to you or anything." Kyle Madigan ~ A class act
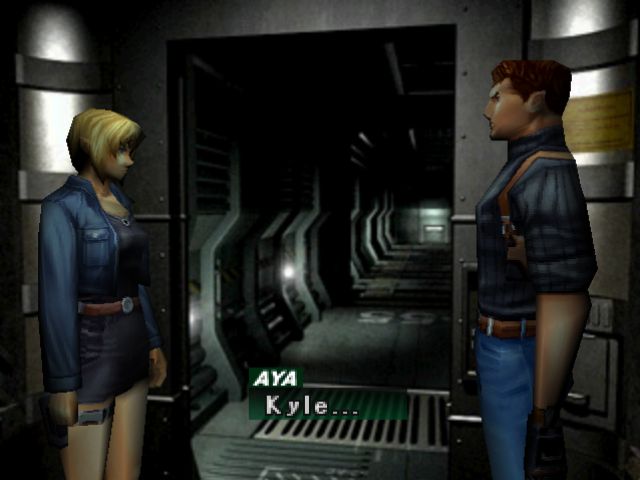 : I see why you're still single.
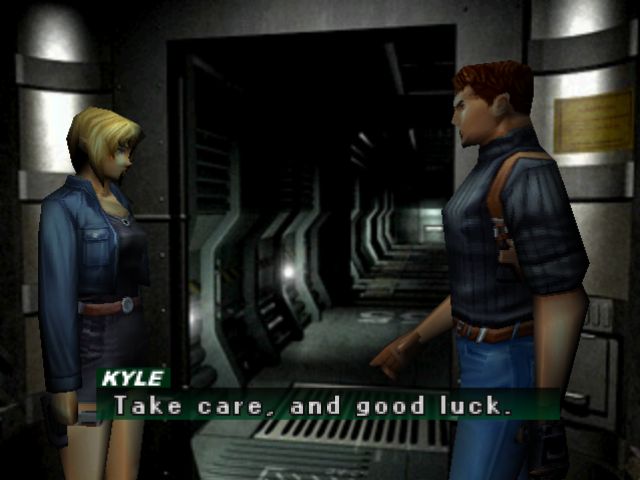

Anyway, after that scene, we can safely go back to Dryfield and grab my precious AS12 from Douglas.
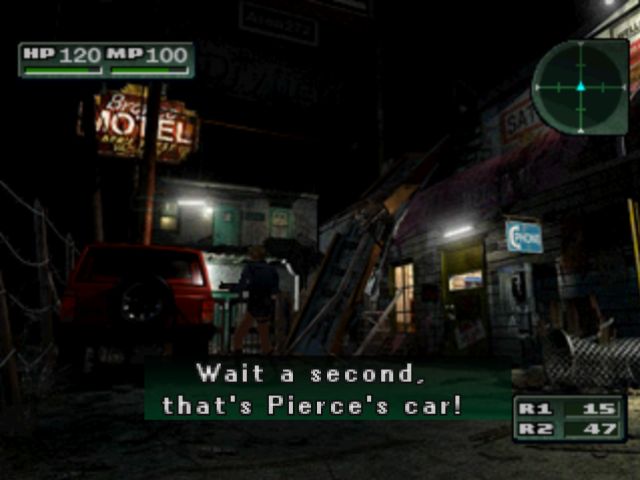
We can also find Pierce's car, but it's contents and owner are lost forever in the ether. RIP Pierce.
After digging through the Shelter's evilplans.pdf, we get a phone call like last time. Except much creepier.
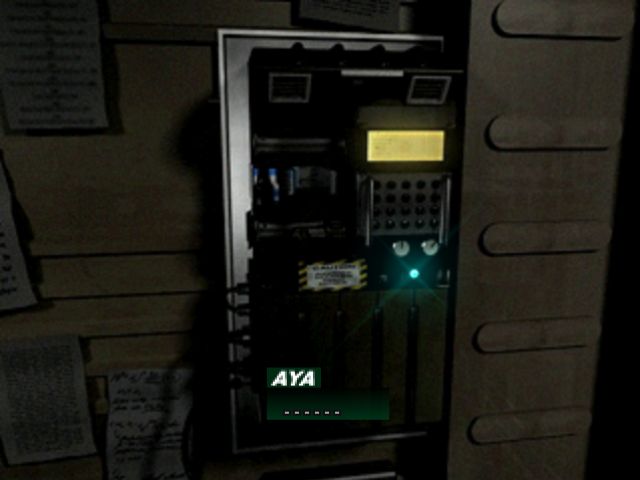
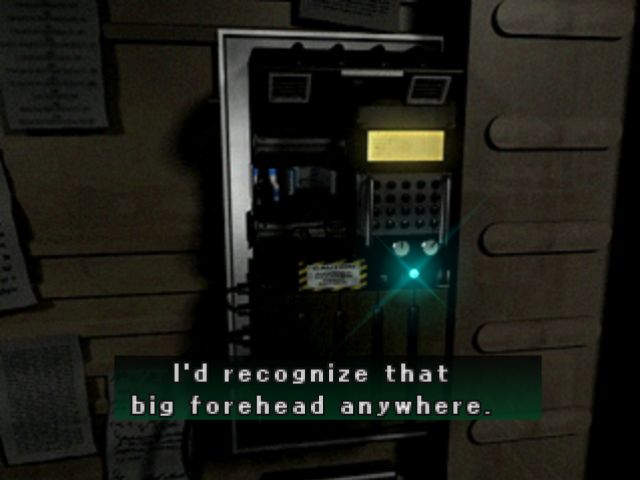
Hahaha, what the fuck, Kyle?
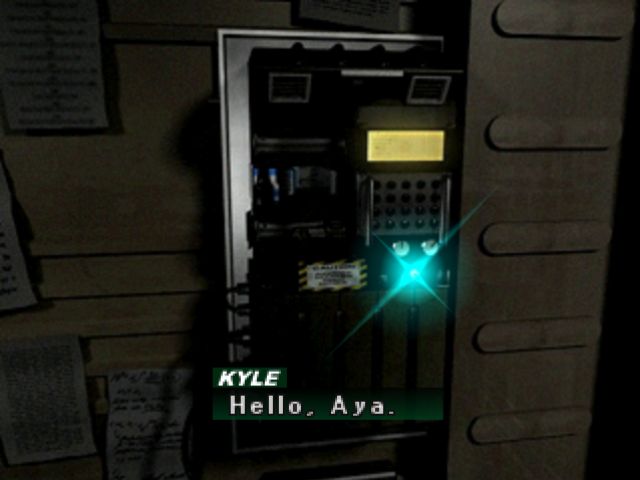
: ..... Kyle...You know about me.: Yeah. So what? It's not your fault, right?: Got somethin' else buggin' ya?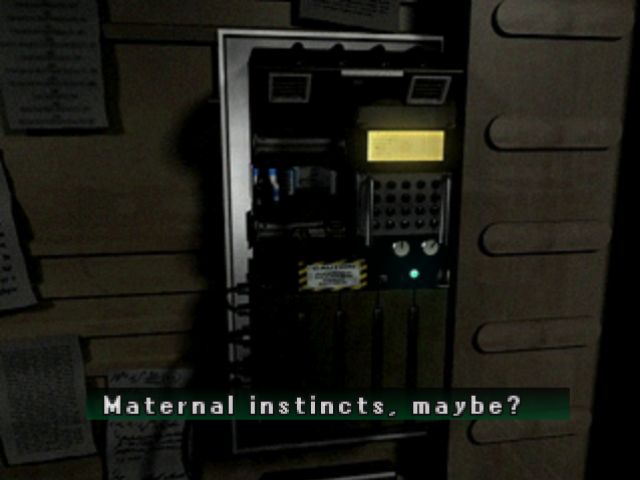
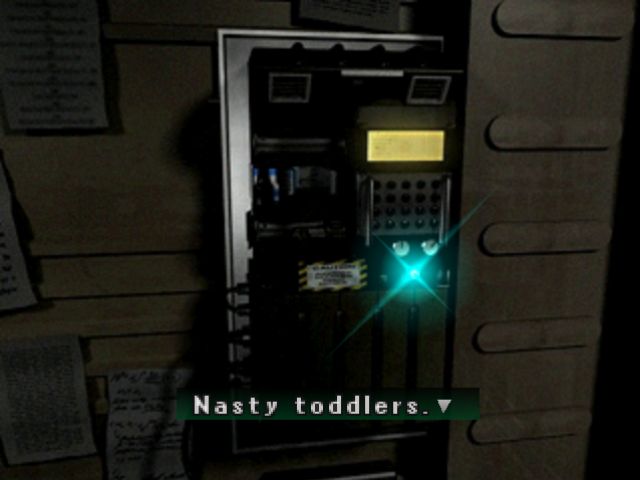
Seriously, Kyle, what the fuuuuuuck, man?
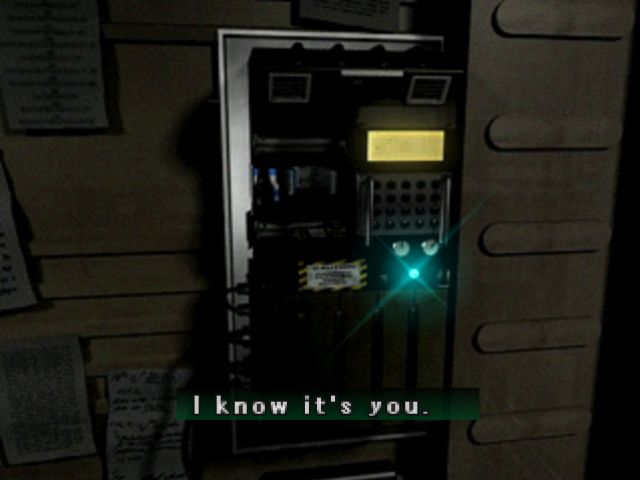
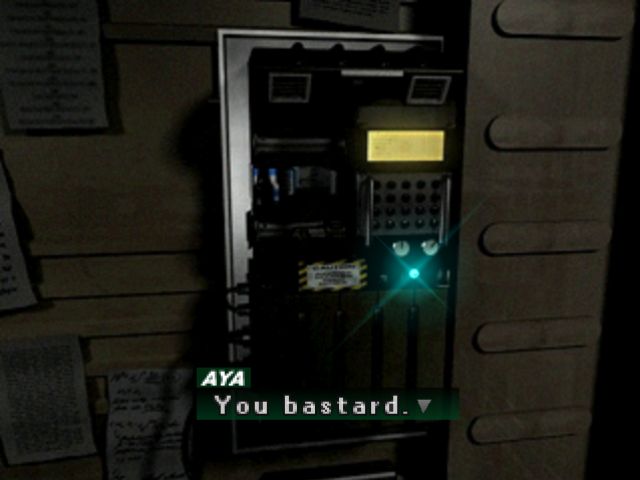
: If you feel responsible, clean things up! You ARE a Hunter, after all.: I... I guess so.: Aya, hold on. I want to show you something. Get here as quickly as you can. I've sent data to your GPS.: I understand. I'll be there right away.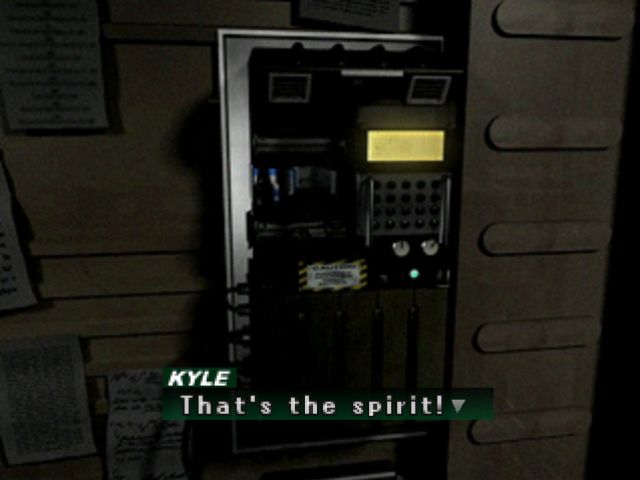
I have to say, Kyle is waaay more entertaining this time around.
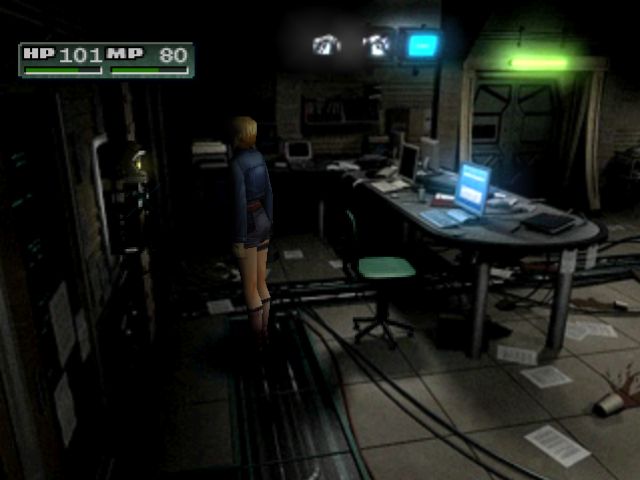
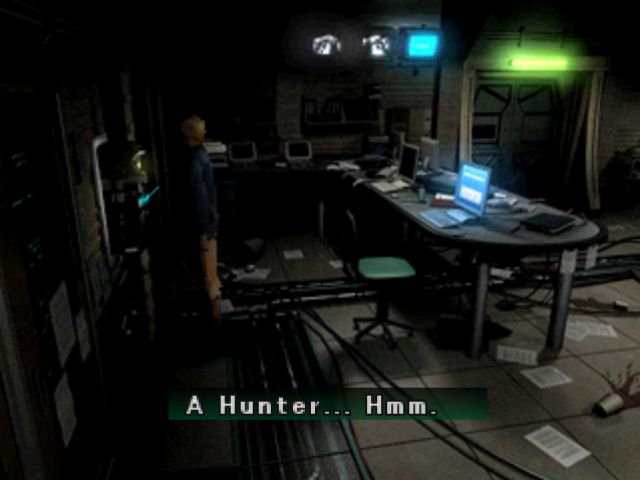
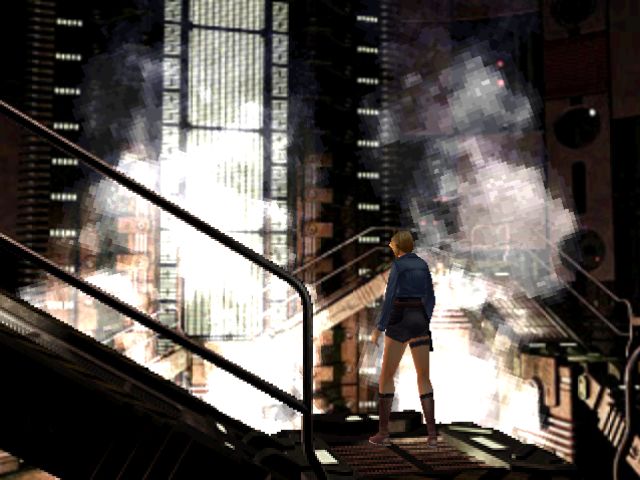
Anyway, time to head back to the cactus control room. Last time, Pierce gave us the low-down on the Neo Ark. Today, Kyle decides to give us some exposition on something else.
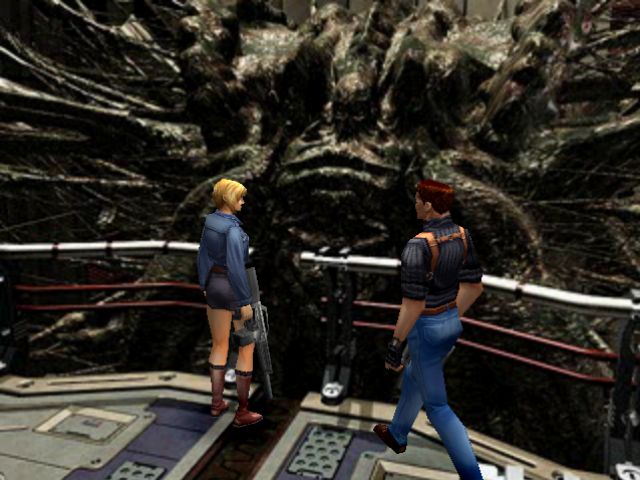 : Sup.: Sup.
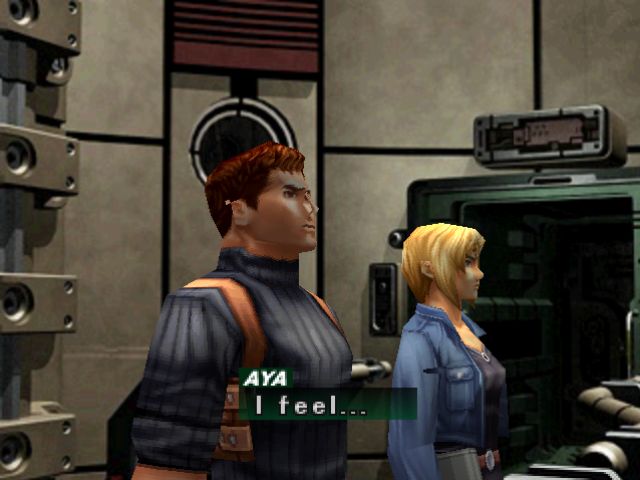 : Neo-mitochondria... Millions inside...: Yep.
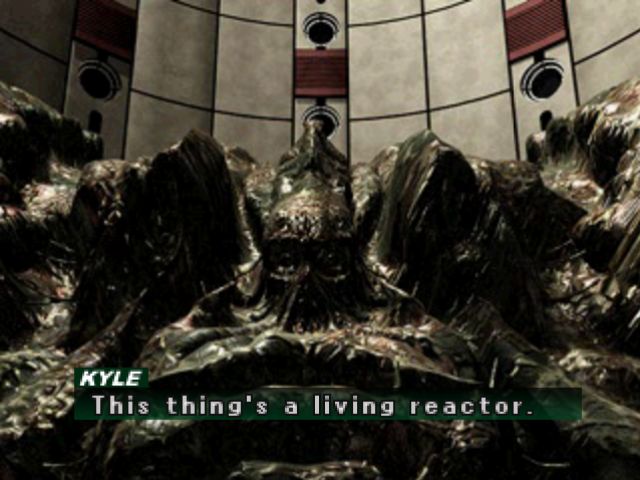
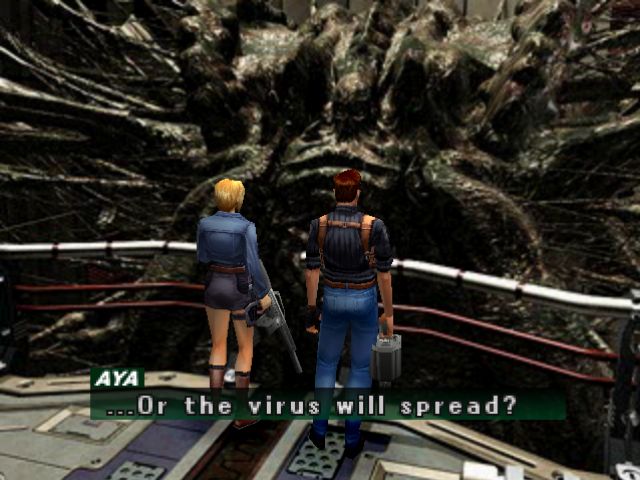
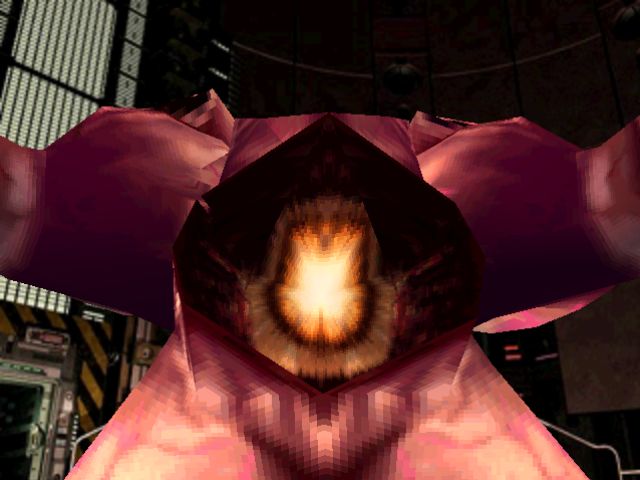
it's even got a face!
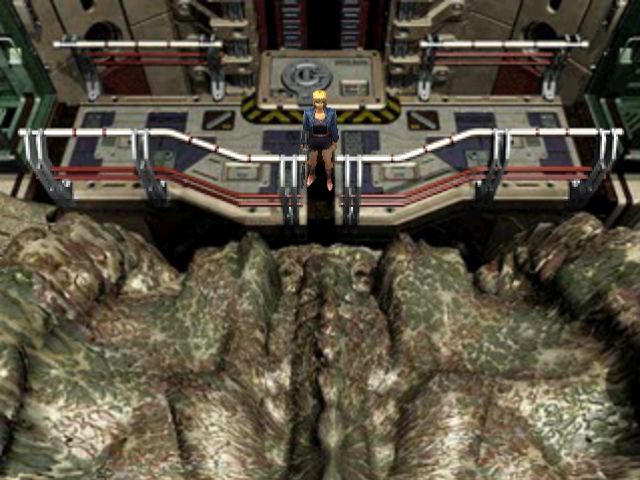
: A kind of neo-mitochondria gene factory. If this hatches, we'll have a flying bad-ass beastie spreading neo-mitochondria via vector viruses as it grows.: If it gets outside... Bye-bye western U.S. as we know it.: And it won't stop there. The virus invades host cells and sends mitochondria into the nucleus.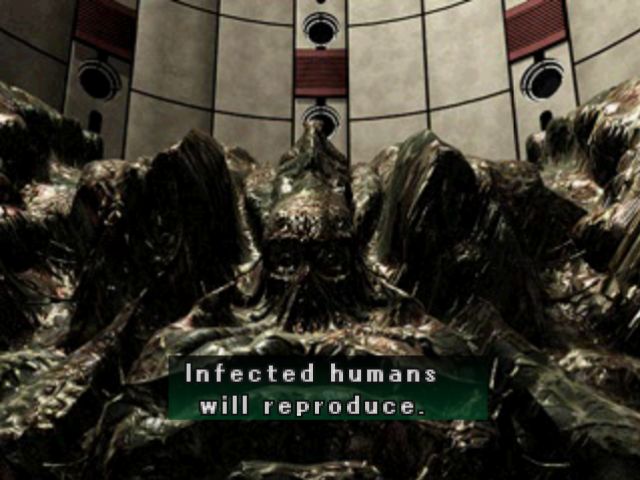
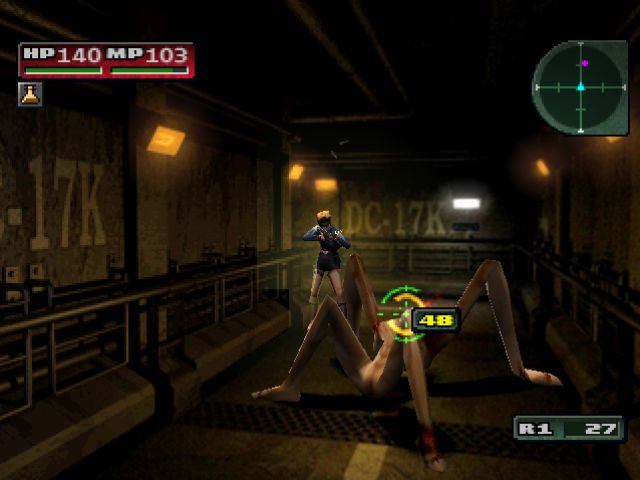
At this point, I'd like to remind you that infected humans look like this:
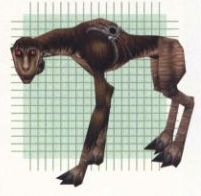
Yup.
: Global "evolution"-- and this time, natural selection is against us.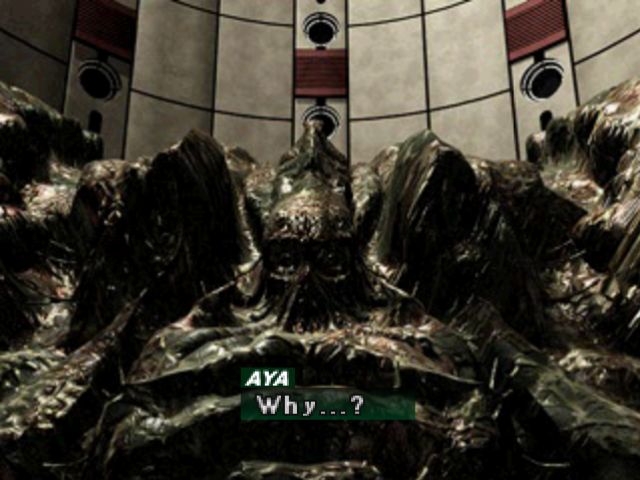
I really like that Aya never gets a straight answer to this. It creates the impression that no one in the Neo Ark thought about their plan for more than a few seconds, then went right back to making exploding babies.
: So this...this creature was made from me?: Strictly speaking, your mitochondrial DNA transformed it. It changed from human to ANMC.: .....: By now, it's lost whatever humanity it once hand.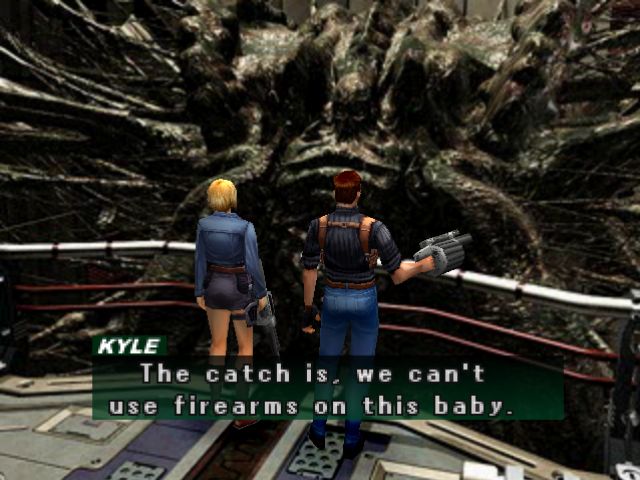
Note that this is a complete lie, since we already know that shooting the Final Boss in its dumb face works just fine.
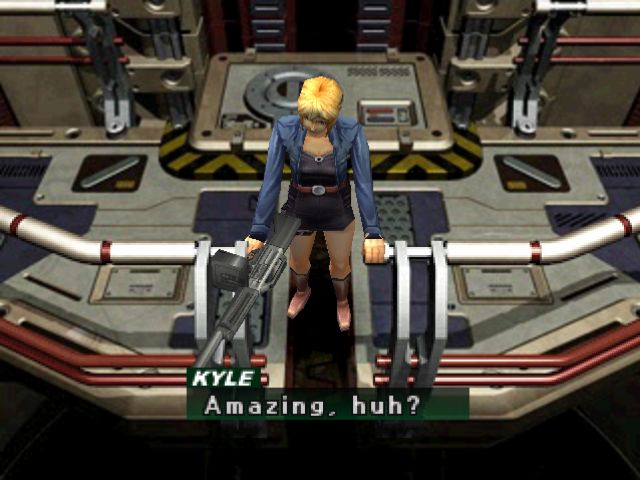
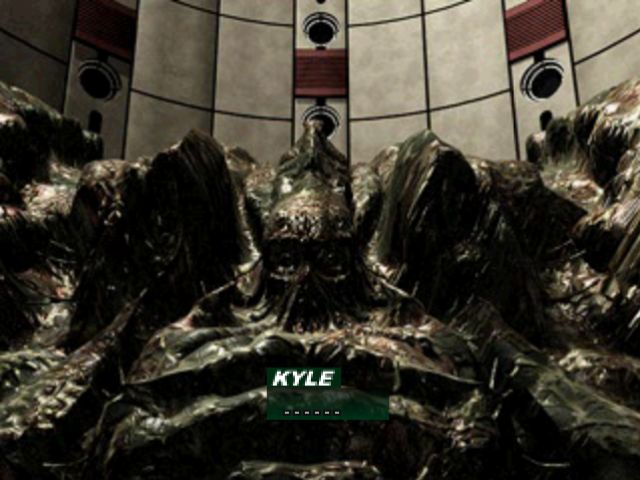
: Luckily, it should stay in the chrysalis for a while yet.: Are you sure?: The mainframe I hacked said so. There's a chamber in this living reactor-- a cockpit. It's waiting... Waiting for someone to get on board.: You mean...: Right. There's a pilot hiding somewhere in this shelter. Let's get him before launch time.: Right!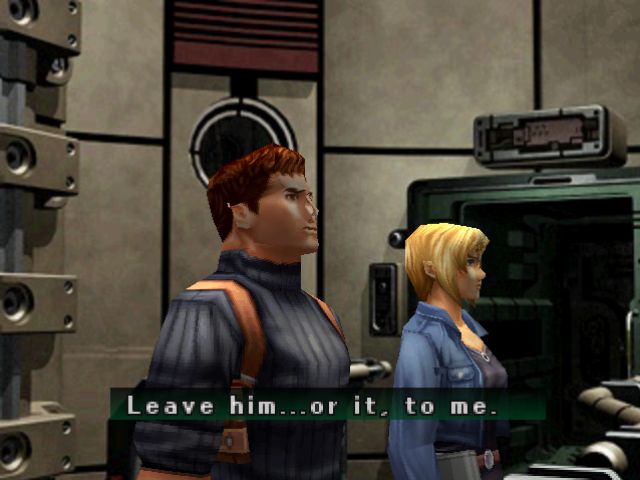
This sounds good and all, but we know from the end of the game that this is just No.9's plan to use Aya to get past Eve's fiery protection, which Kyle allows to happen because...
...I have no idea. Presumably just to be a dick and get a chance to have a big dramatic hero moment at the end. After he shoots Aya. And attempts to shoot a small child. Kyle Madigan is basically a villain, is what I'm saying.
Anyway, that's the end of the cutscene, so Neo Ark's big intro is slightly less impressive.
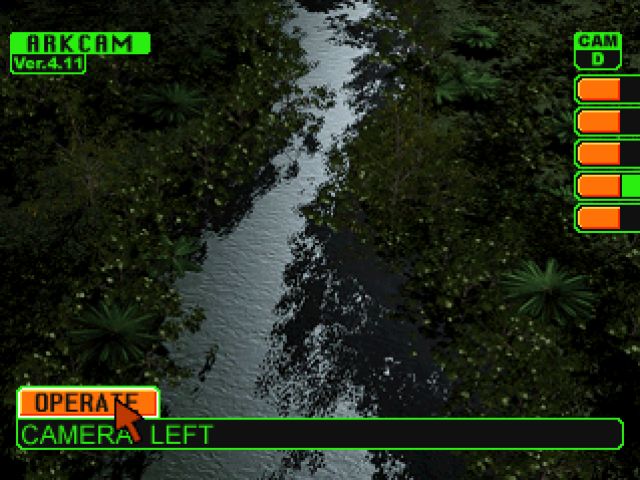
You can still see it on the security cameras, but neither of our leads mention it or react in anyway. Welp!
So, Madigan joins us again, this time mocking us by using the MM1 Grenade Launcher we can't get anymore. Madigan!!

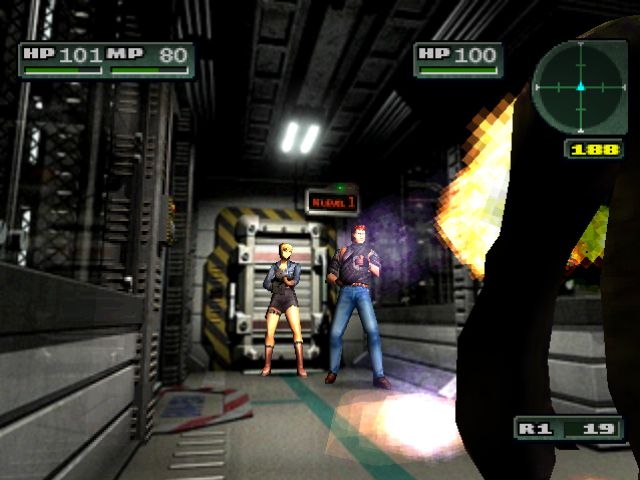
We need to go to the Ark. With Kyle shitting grenades in every direction, this oughta be pretty easy.
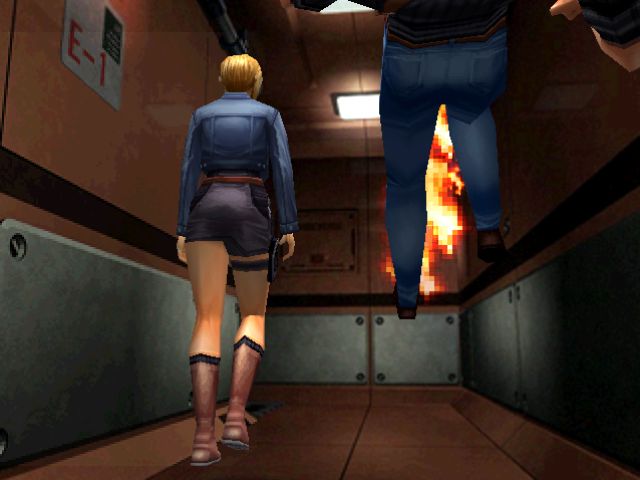

PFFFFTHAHAHAHAHAHAHAHAHA
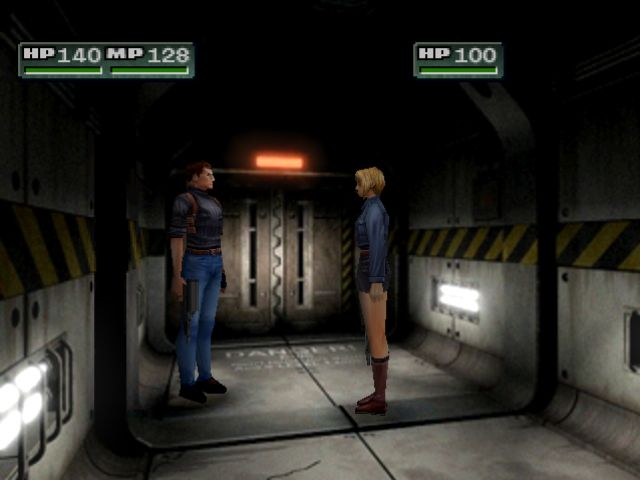
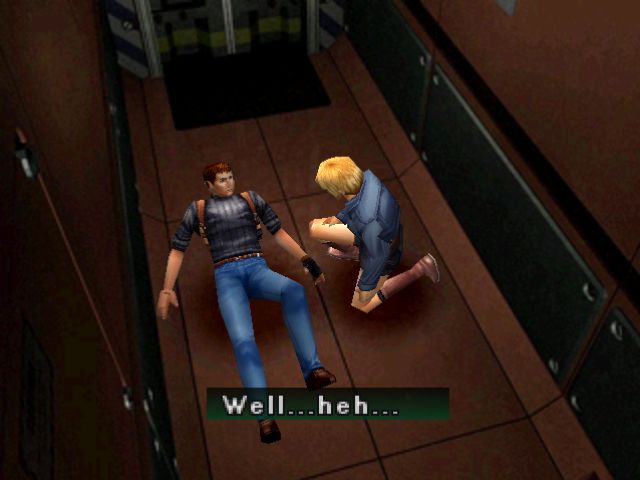
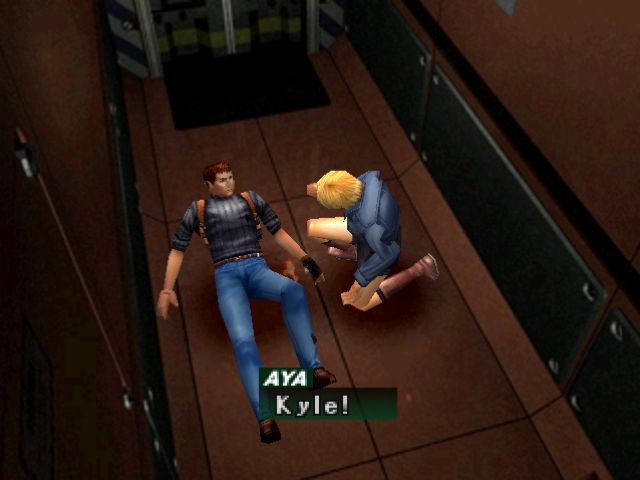 : You just got knocked the fuck out!: T-The heat... My body's on fire!: Hang in there. It'll pass soon.: Just like last time?
busted
: You mean you noticed?: And you were playing dumb!
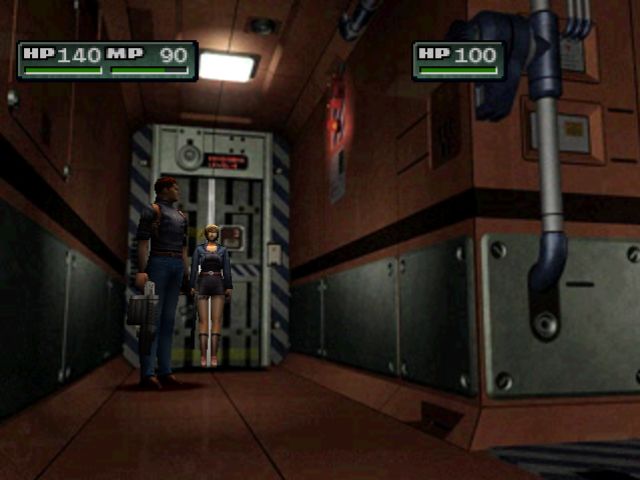
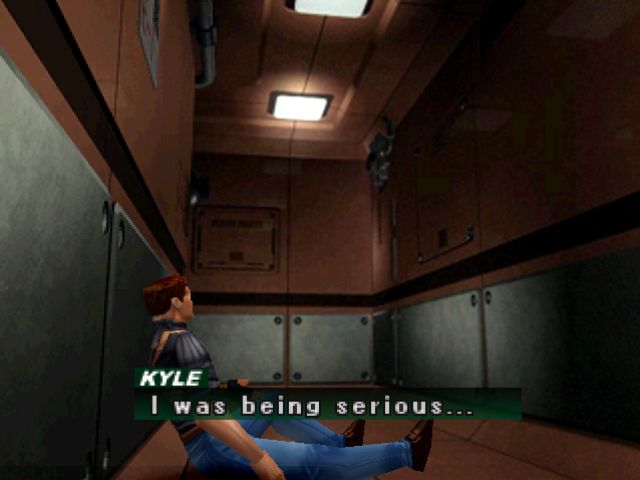
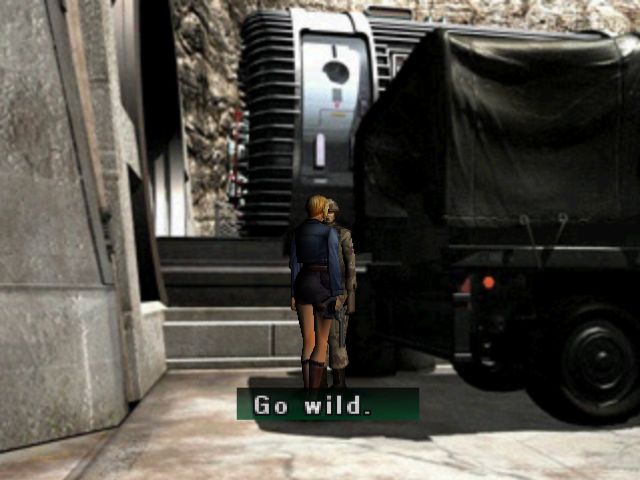
 : I want you topside, resting! It's my fight from here on.
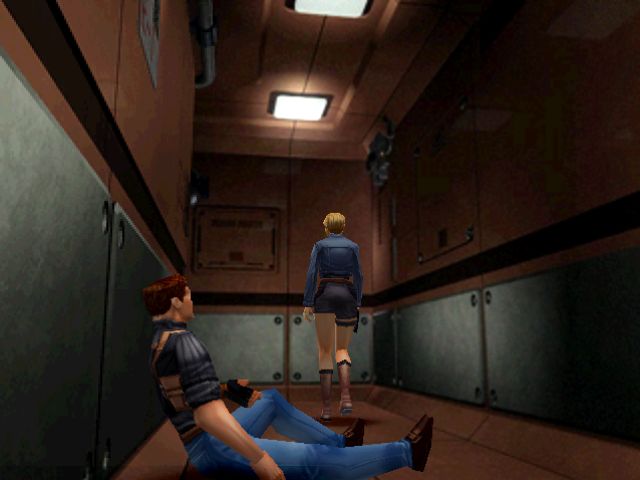
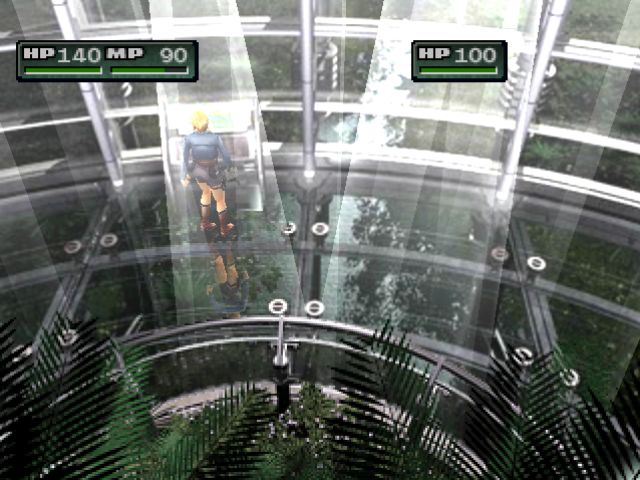
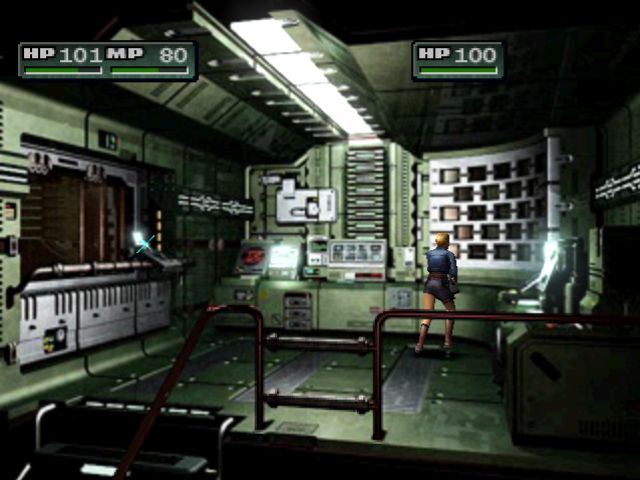
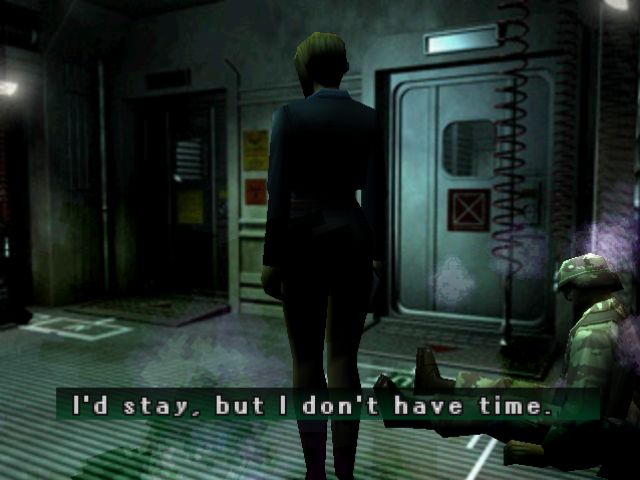
From here on out, the game proceeds pretty much the same way up until we meet Eve.
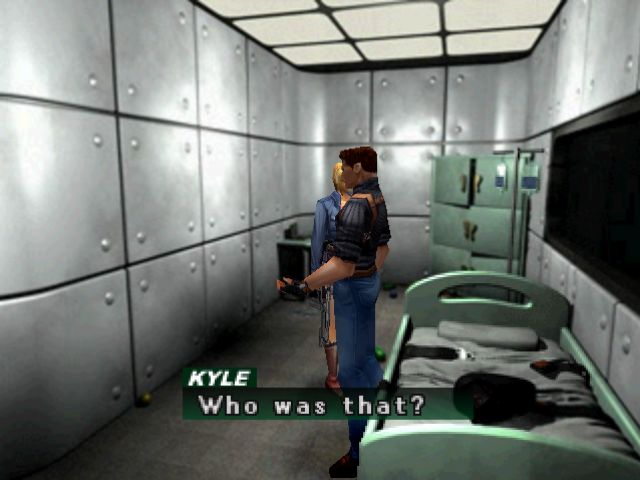
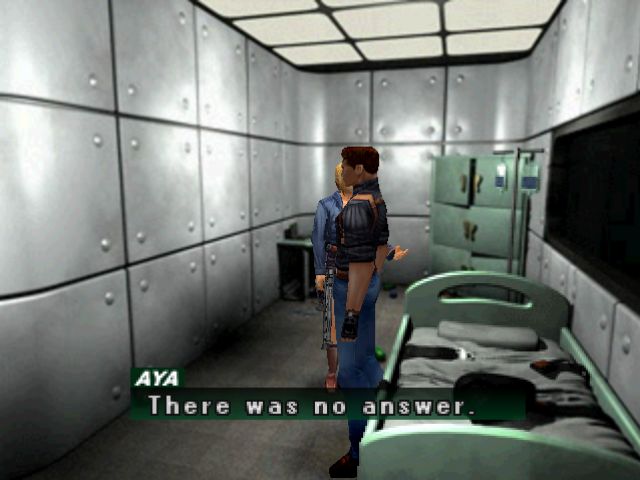
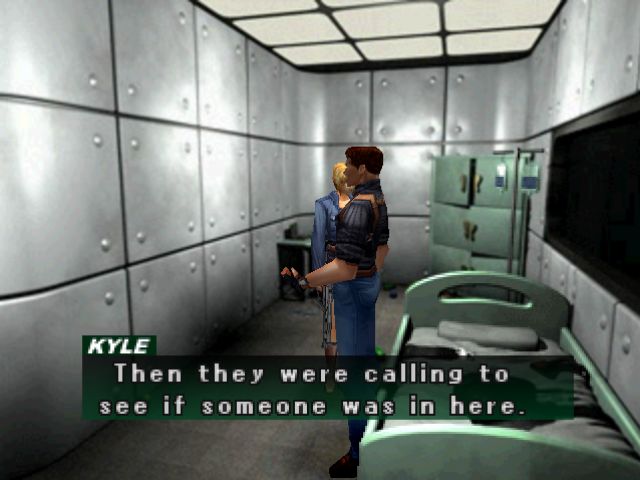
Even then, the only difference is that when Aya picks up the ringing phone, there's no one on the other end.
So, we bail and go fight some GOLEMs for a while. Spartan rounds in an SMG is terrific for dealing with GOLEMs if you're short on R.Slugs, by the way.
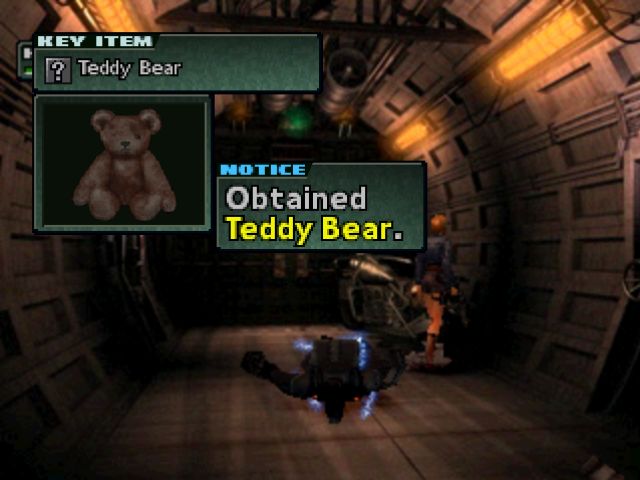
We can still pick up the Teddy Bear, but without Flint, there's not a whole hell of a lot we can do with it.
And then the best scene happens.

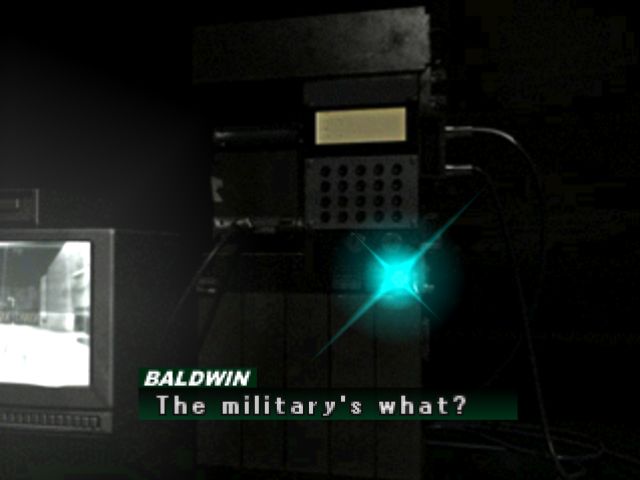
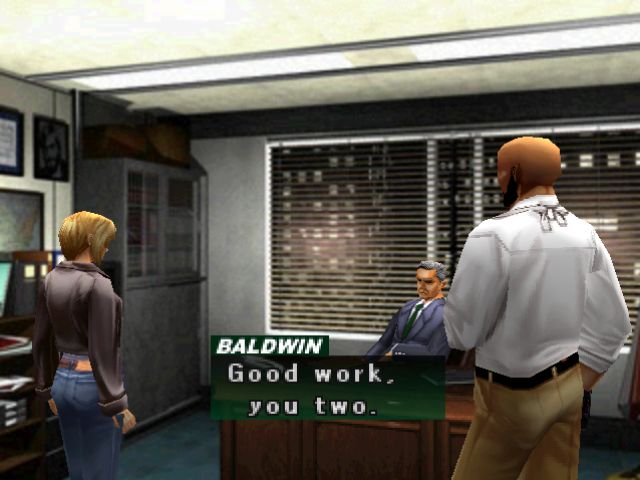
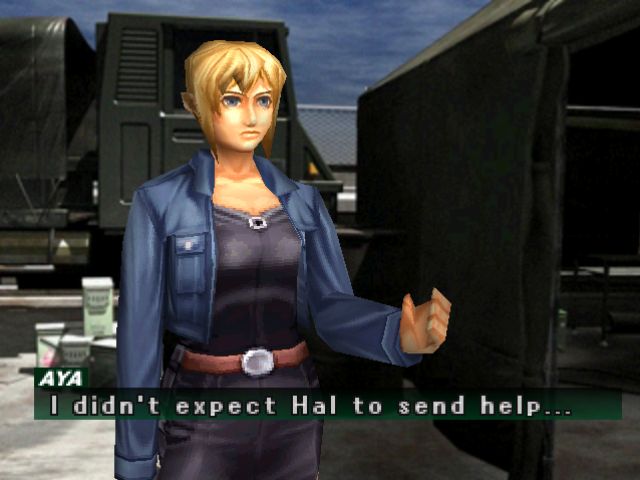
Since we never find out about Baldwin's backstabbing this time around, we can give him a ring and hear some suspicious stuff from him.
: They're not marines...? : Hmm... What's going on? Right, I want you to withdraw immediately.: I can't do that... I can't leave and let that child die.: Come back immediately. That's an order, Agent Brea.
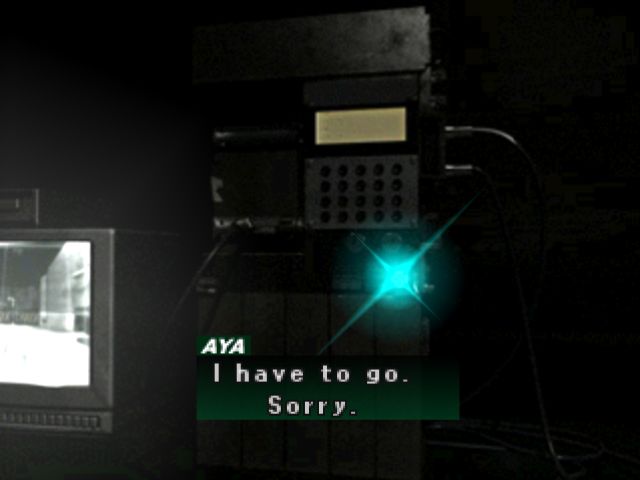
Knowing what we know from the proper ending, it's pretty clear that Hal is flipping the fuck out and scrambling for some damage control, but on its own it can cast a suspicious light on the military.
But then they give me free explosives, so they're my bros for lyfe.
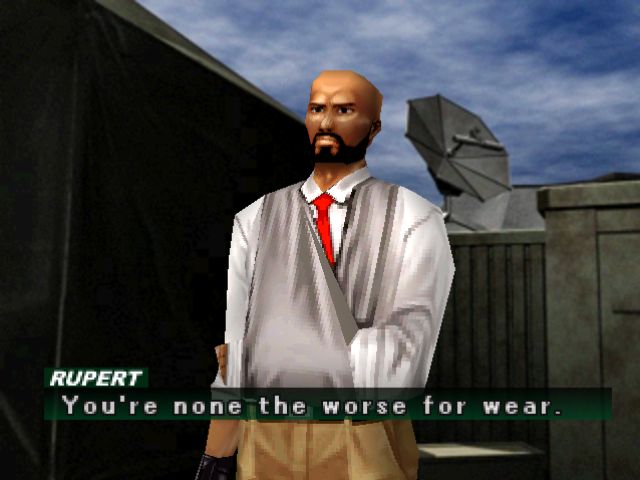
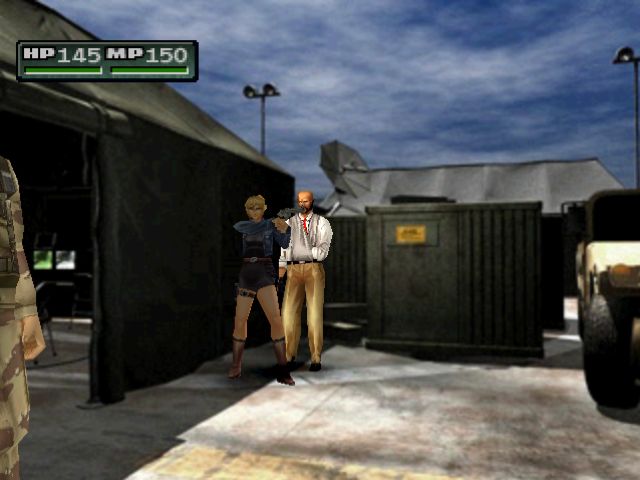
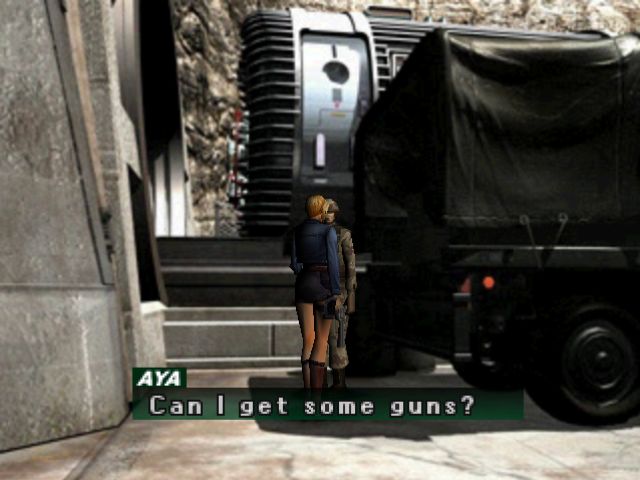
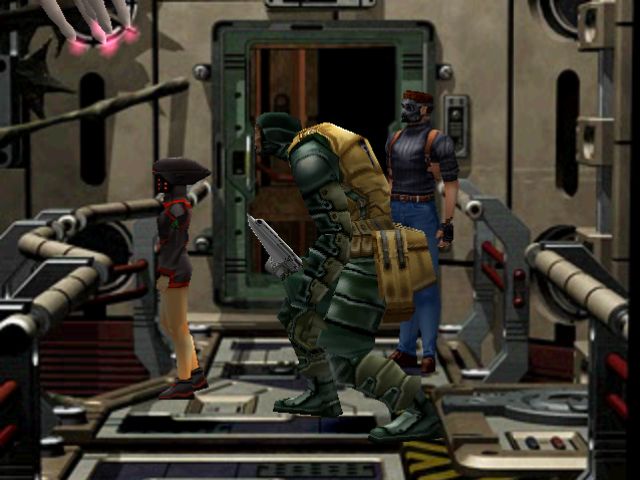
Yay, Rupert's back!
: You came! : It's more of a social call. Here, I brought you some things.
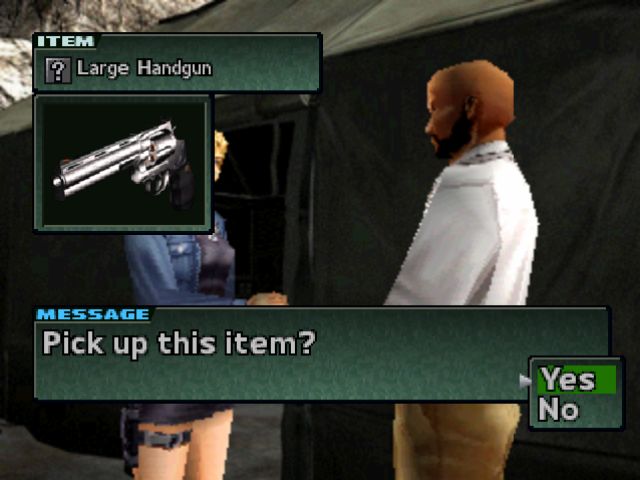
fukkin' love you rupert
 : What?: I'm on sick leave 'til my arm knits up. Just thought I'd kick back in the desert, y'know?: You're not serious?: Deadly serious, actually.
Rupert owns
: Thanks, Rupert. I owe you one.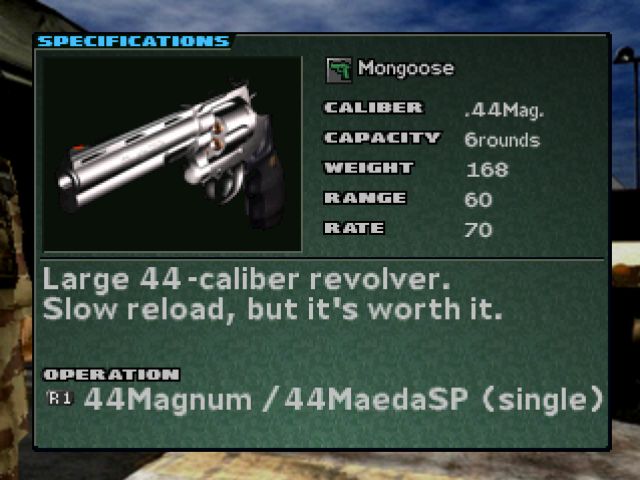
The trade off of having Rupert instead of Jodie is that you can't get free infinite grenades, and the store sells a few less goodies. But you do get a goddamn handcannon and the ability to buy more ammo for it.
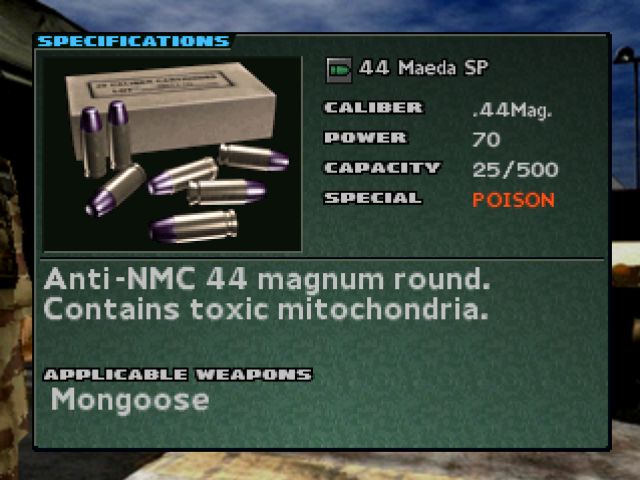
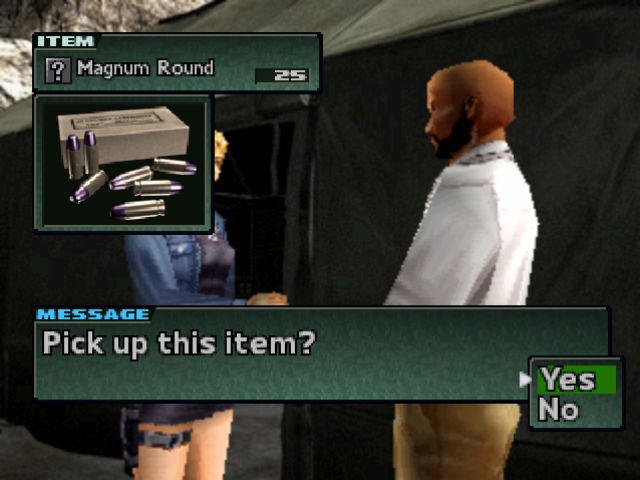
You also get these. You only get 25 of them, but they own. I have no idea how Rupert got a hold of magic bullets made from Aya's blood by a Japanese guy, especially since I thought I used all the magic bullets killing UB last game, but I don't care. Gimme 'em. In addition to doing huge damage on crits, Maeda SP also inflict a special kind of Poison that does damage in ticks of 130~ or so. Which is a fucking lot.
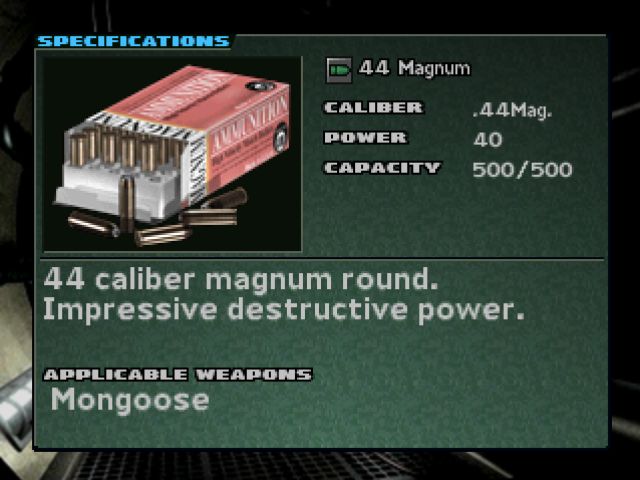
There's also regular magnum ammo available.
Yeah, I think we can find a use for this.
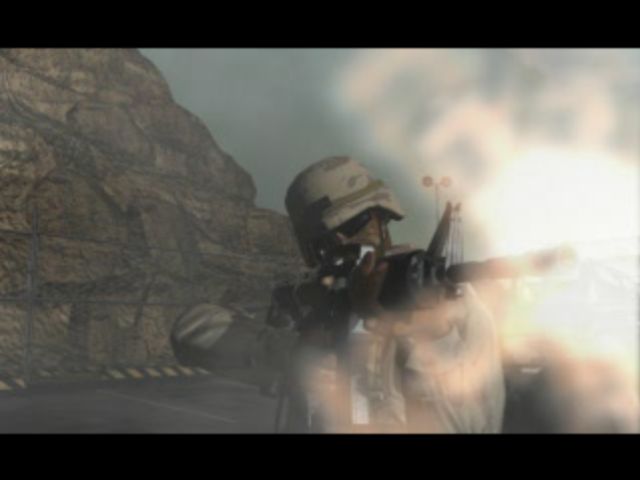
The 51st Chill Regiment of the U.S. Army Cool Dudes are still kickin' around, being great.

Ironheart is still here, and the scene plays out almost exactly the same without Flint.
The only difference is that without Flint to lead him to safety, Aya is forced to leave this brave man to die alone in a metal box under the desert. Plus, I don't get that cool grenade gun


Crits with the magnum are pretty great, even with regular ammo.
This scene is the same as ever.
Although a change of weapon certainly makes it seem more action movie-ish.
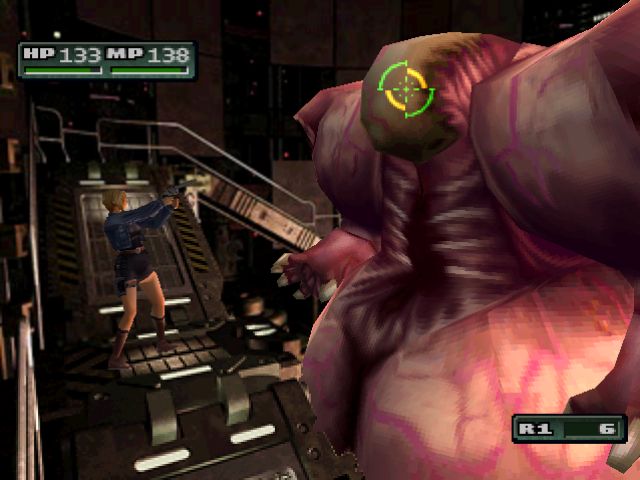
Time to fight this dude again!
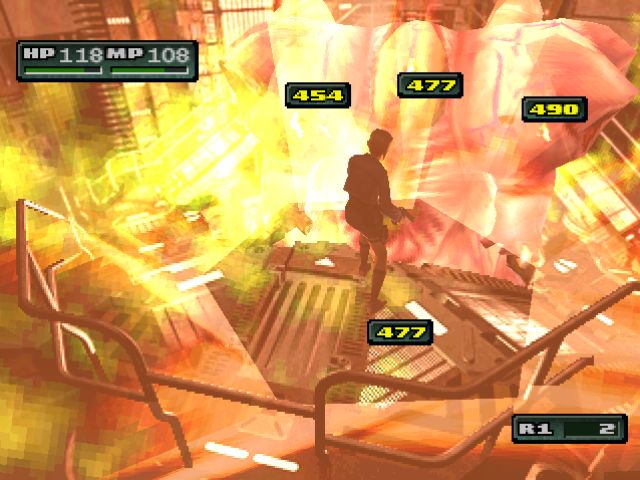
I don't even care if its impractical, Inferno is the most fun spell in the game!
If you're in a hurry or trying to avoid EXP/BP, you can make Kraid open up his weakspot by just killing the head. We're still only playing on Replay Mode, though, so nothing different from last fight.
always gotta take a moment to strike a badass pose, though,

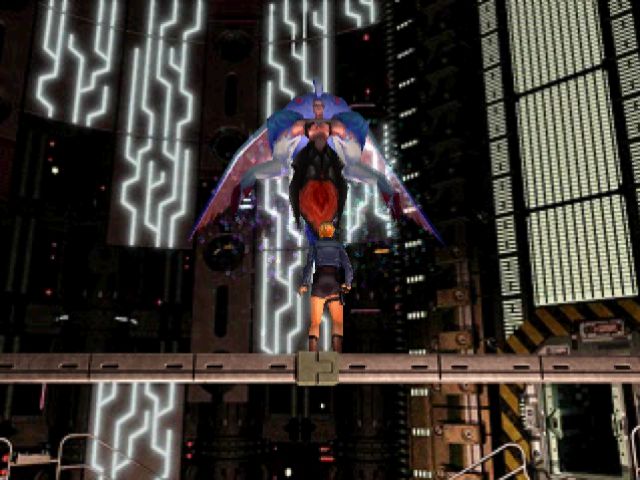
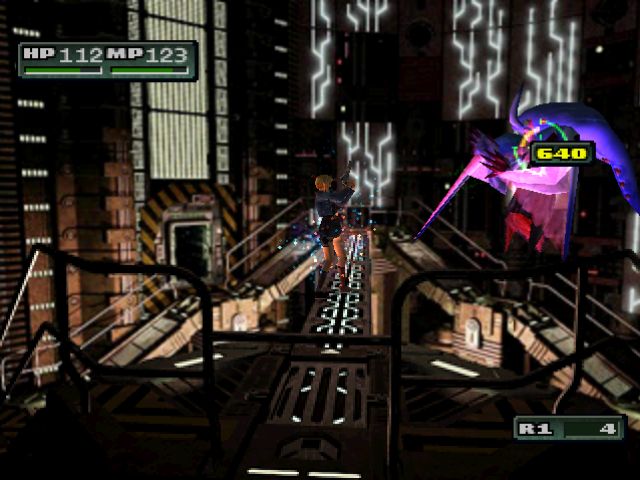
Eve's actually easier to take down this time, though, because we have the Maeda SP rounds.
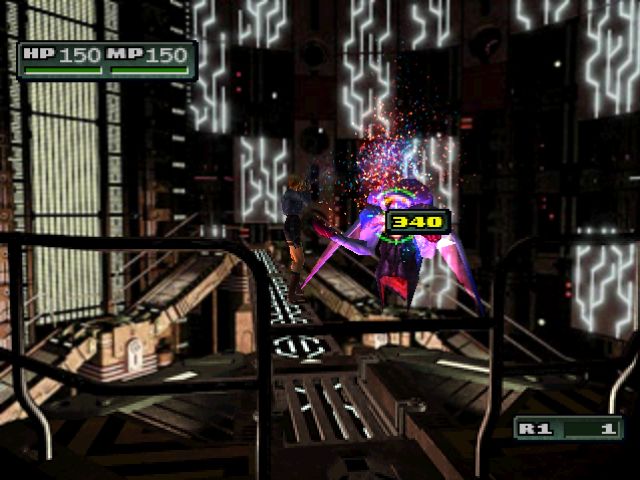
With Energy Shot, and a little luck with crits, you can really dish out the pain in the fight. Plus, the Mitochondria Poison effect is eating away at the boss as soon as you land the first shot.

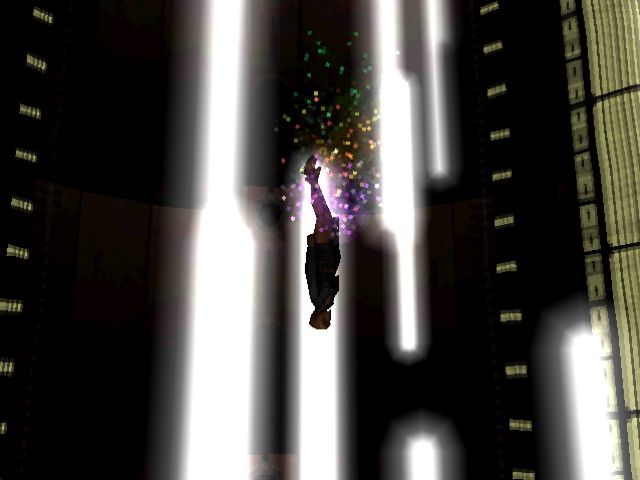
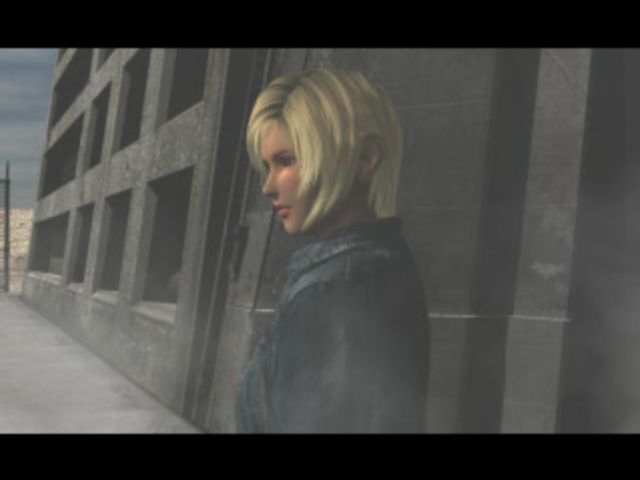
What follows is rather familiar. Aya falls...

Kyle shows up for a few seconds...
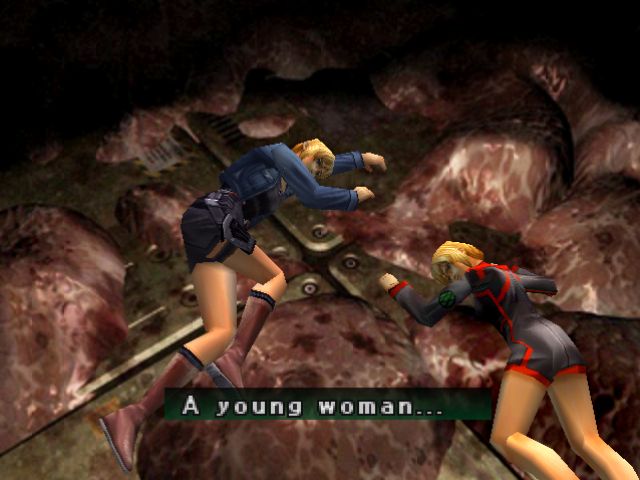
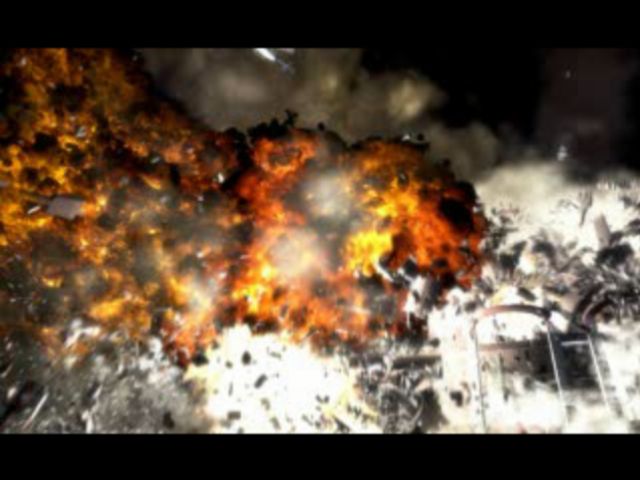
And the soldiers find Aya and Eve, chillaxin'. Then the screen fades to black, and...
Credits! On its own, the Bad Ending doesn't answer a goddamn thing, and is clearly designed to make you go back and play the game again. But, given what we know from the real ending (Flint living is totally canon, btw, don't worry), it adds some interesting depth to some things. Specifically Kyle Madigan.
Kyle's characterization as a smart mouthed prick who pushes people's buttons to move them in the right direction is, on its own, pretty interesting. Him insulting Aya's forehead over the phone for no reason, for example, is hilarious. The problem with Kyle is twofold: One, the dumb shoehorned romance angle. It's not too bad, admittedly, but it feels really awkward and forced, particularly at the end. The other problem is that his double agent act is really dumb and taken too far. By the time we have that final confrontation with No.9, Kyle's had plenty of opportunities to sabotage or stop the villains' plans, but he just rides it out for no real reason. Then, he shoots Aya and immediately turns around and plugs 9 in the head! Why didn't you do that as soon as I came in the room and save me from having to cast Heal an extra time, ya prick?
I just do not know where exactly they were going with Madigan, but whatevs.
[i]But that's it. That's Parasite Eve 2. Honestly, when I LPed the first game, it was really a case of "I told you that story to tell you this one". PE2 isn't perfect, nor does it surpass the original, but it's a damn fine game in its own right. For everything it aped from Resident Evil, PE2 has a lot of really good ideas that sadly never came up again. The spell system, for example, is fantastic. It empowers the player, gives you an extra tool for actual survival, and eventually a fun toy for experimentation. Sure, it may seem a little imbalanced to be able to summon lightning and heal yourself at will, but damn if its not great fun. And it's not quite as broken as it seems (although it is pretty damn broken).
It also pioneered some little mechanics that found their way into some of my personal favorite modern games. Effecting difficulty settings by moving enemies around and surprising you with later game foes where you wouldn't expect them was later used very well in Devil May Cry. A currency and gun buying system became one of the most memorable parts of Resident Evil 4. I'm not sure that PE2 was the first game to use these mechanics, because I can't be assed to check, but it was the first place I encountered them.
And even though we'll never see those dangling plot threads followed up on, and never again see Aya Brea, Daniel Dollis, or Gary Douglas ever again, it was a fun ride while it lasted. From Carnegie Hall to the Mojave Desert, we've quite a journey, and I dunno about you, but I had a blast.
So, until next time, remember...
 : Dere ain't no one as handsome, as Rattigan Johansen!
image courtesy of my awesome sister, who is awesome