Part 41: Side Note 07: Void of Legends
Side Notes 07: Void of Legends
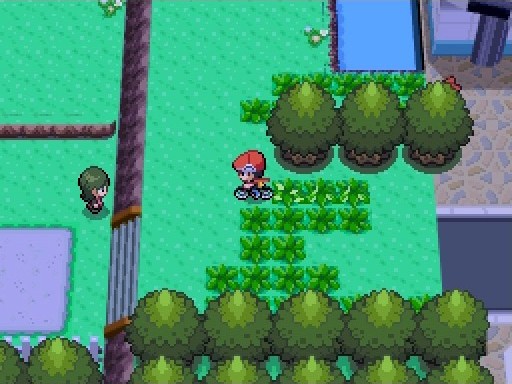
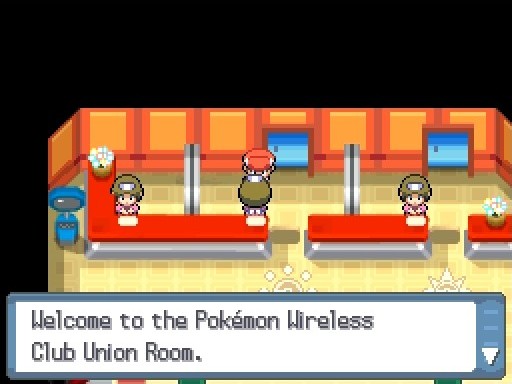
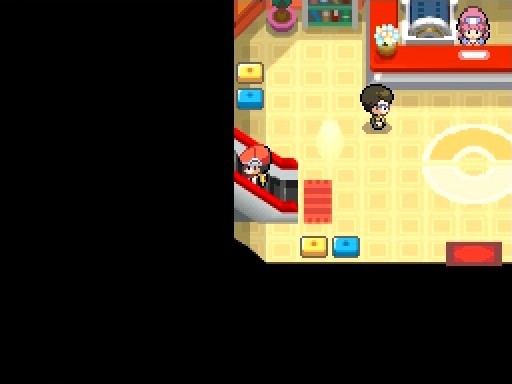
I like going over a specific important glitch in each game. This time, it's tweaking. The game is divided into various chunks that are loaded and removed as you move across the map. If you move very quickly where they intersect, such as in Jubilife City, going straight across the pavement, then down, up and left one tile in quick succession, you can confuse the game, and have it load part of Route 203 in the east part of Jubilife.
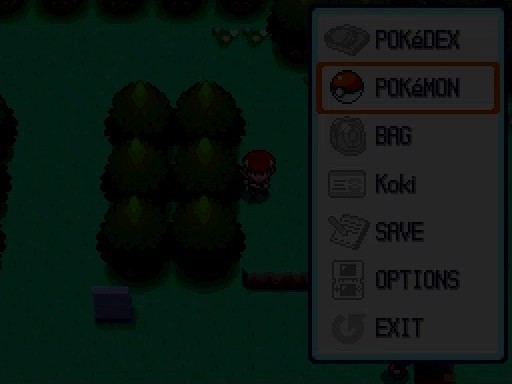
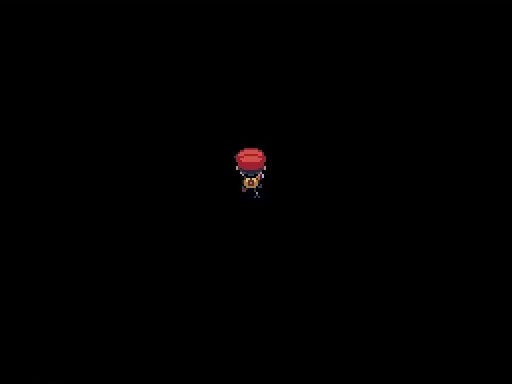
By opening a full menu and making the game refresh the graphics, everything is put in its proper place, but we put ourself just above the door to the Poketch building, so when we walk down to enter the loading zone, we continue through the door in that direction and enter... the VOID! The space between areas, where everything is connected, even if it's not loaded, and we can traverse the VOID in specific ways to change data in the game, rewrite code and find things we're not supposed to.
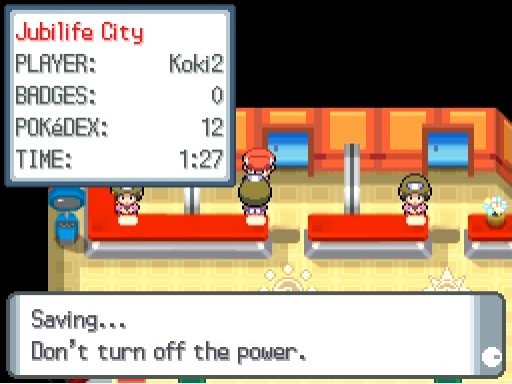
Be very much warned, the VOID is large, mostly empty, and if you don't know where you're going, you can get stuck, or crash the game, or completely corrupt your file. It is very risky, especially if you do it after certain events or triggers. But let's begin, shall we? First, we need to set up an easy reset point, before we get to the good stuff.
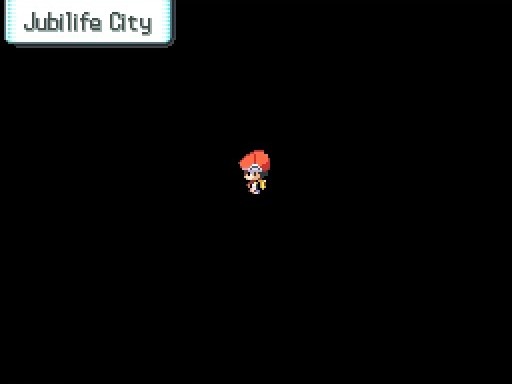
 Beta Jubilife


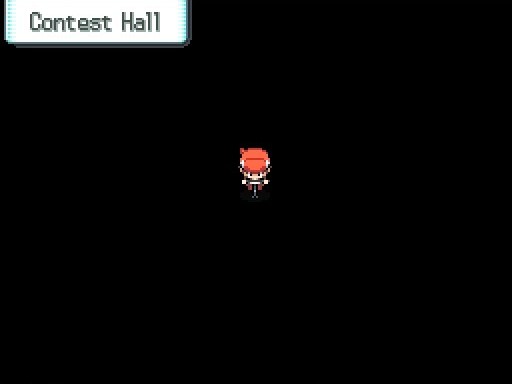
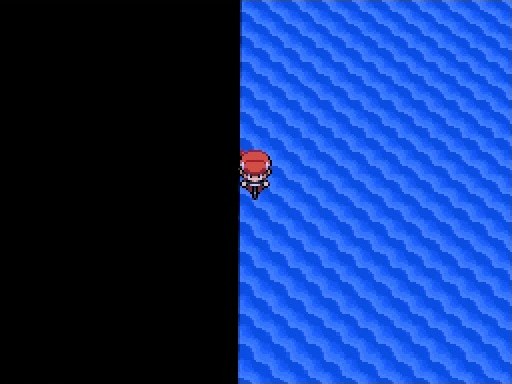
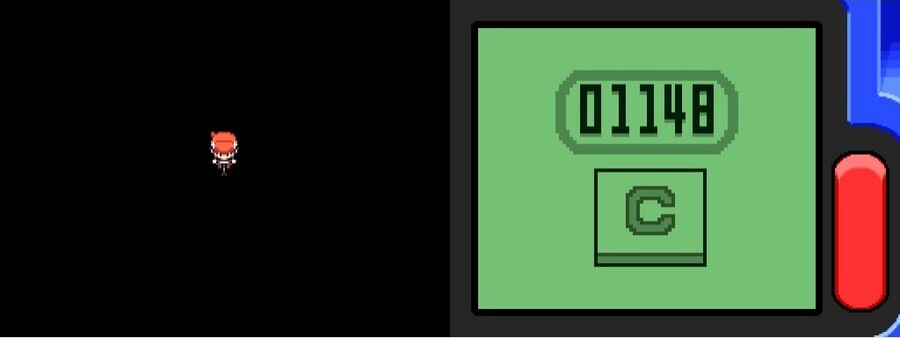
Since we'll be doing a lot of roaming through all kinds of places, the music will change pretty often, including this beta version of Jubilife City when we enter the MYSTERY ZONE. Because the only way to really track where you are is place names or the occasional glitchy texture, use the Pedometer app. Finally it shines!
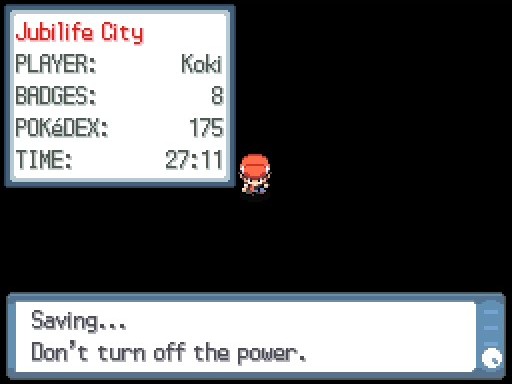
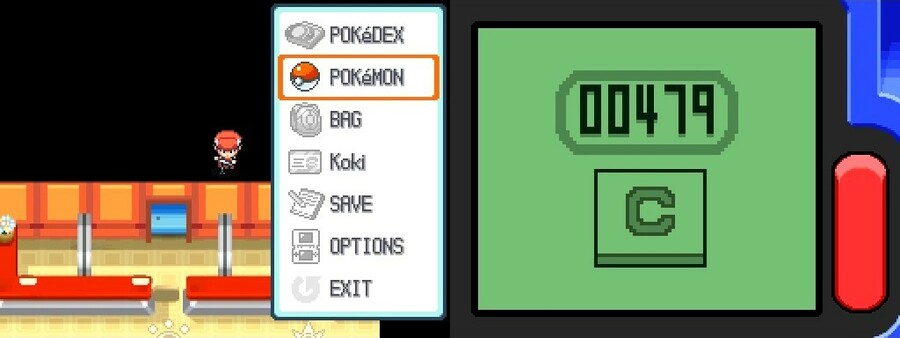
Once we go 415 tiles west, we save and reset. There's a fair bunch of steps to follow, and I'll make a list after the update if you want to try them yourself, but please watch some vids so you get the gist of what you're doing. No matter what you're going for, you need to do a few steps, firstly you obviously need the bike, but you also need a Pokemon with Fly/Teleport just in case you get stuck, the Pal Pad, the Berry/Roaming app, as well as used the Explorer's Kit once to get the Roark cutscene and entered the Contest Hall. And that's it, you can do all this before the third goddamn badge and it's pretty easy to go from the set up.
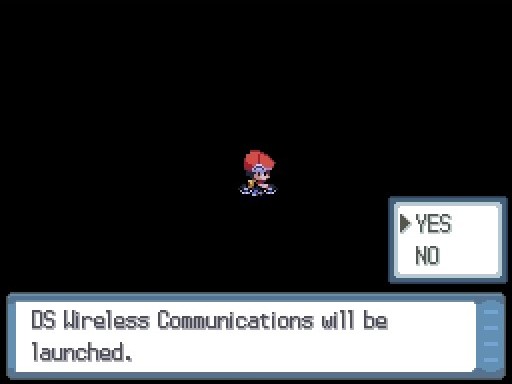
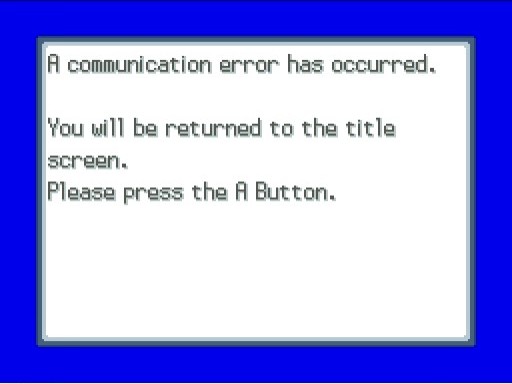
After that, we go mostly back the way we came and then use the Explorer's Kit, but we don't actually go down, we'd error out and get kicked back to the title screen, which isn't helpful. Simply back out of the message. And as an aside, any time you save is a checkpoint, so you can go back to it if you screw up. The travel time is exact.


Up and around, another save and reset, then left and down, I won't be mentioning every step, there's a lot of them.
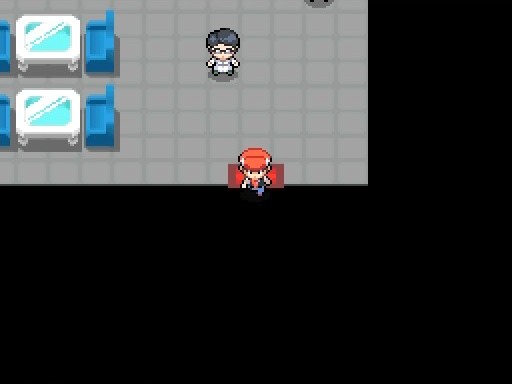
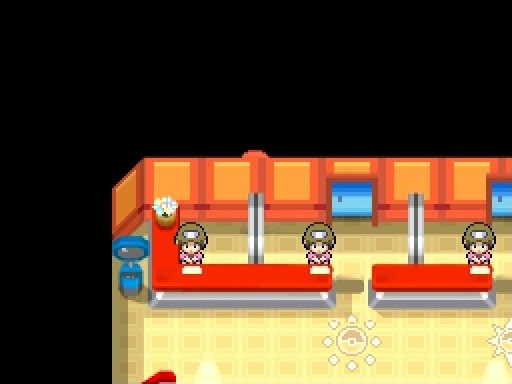
But our goal is ending up and the back of the second floor of the center then refreshing the graphics so the back wall has collision. Then we go full speed into it to bonk, then reload graphics again to walk through the wall to talk to the woman. Then when we save at this point, we restart.
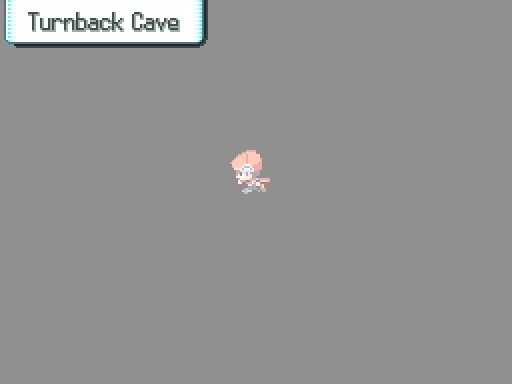
Route 205 Beta
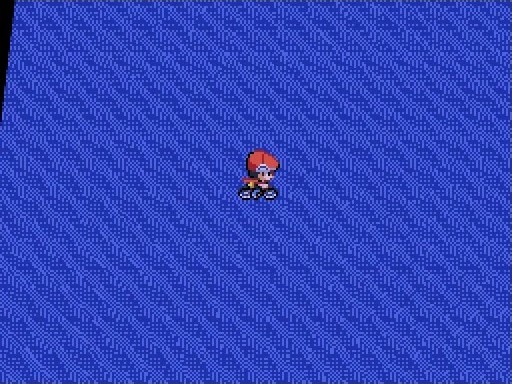
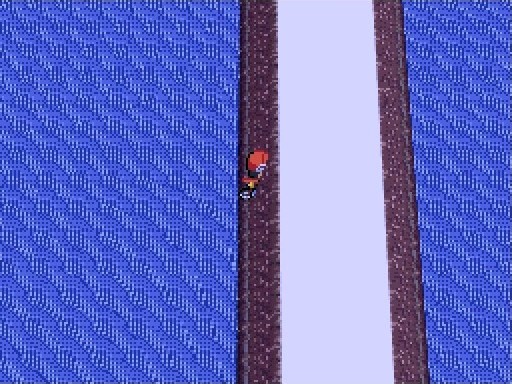
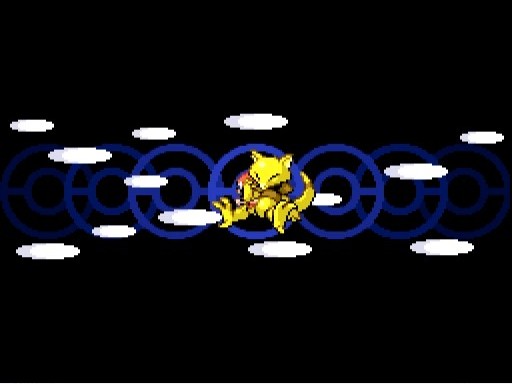
Let's continue, we're now on the path to Darkrai, but Shaymin and Cresselia are also options from here. Arceus is also possible, but the initial set up is a different path to this location since you're tweaking different data. Also don't mind the water, it does that. Anyway, there's a bunch of steps before the tricky one.
We head east until the cursor is above Iron Island, then slowly step by step move to the next square, since the Pedometer doesn't work in specific voids, such as this Battle Tower one. Once we do that, head east 11 steps, refresh the graphics and...
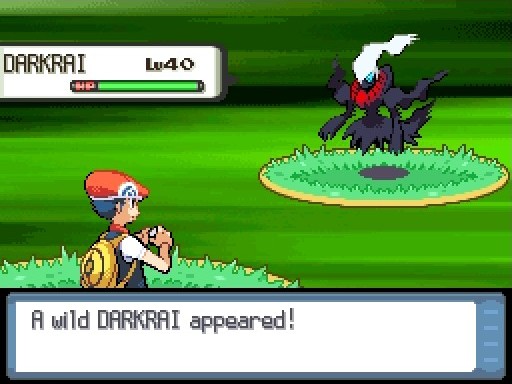
Yup, seems legit.
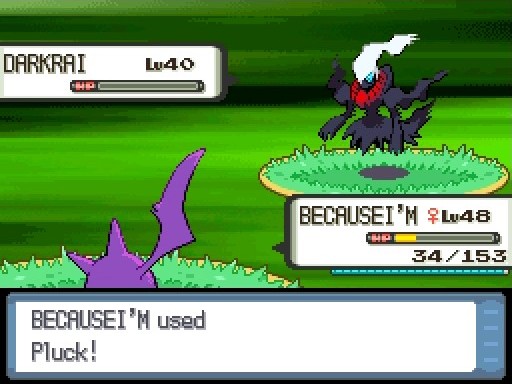
Anyway, you can catch it if you want, and even move it forward to other games! However, the cheat detection for Pokebank is a little... specific. Darkrai needs to be level 50, doesn't know Pursuit, and caught in Diamond. Yeah it's weird that Pearl makes it illegal, but it's checking it against the one obtained from the Plat event that also makes Diamond legal.
Alright, now to quickly get back to where we were, we just need to head to the second floor of any Pokemon Center.

Since we interrupted the game walking us through the barrier, it'll still try the next time we go here, but since we did it facing down, the game moves us straight down and into the void. Just walk around, run into the wall, talk to the lady and save, reset and boom, we're back! Now if you wanted, you could do the Darkrai path and encounter it again! You can do it as many times as you want, but you can also just save in front of it for shiny hunting. Anyway, let's do Shaymin!
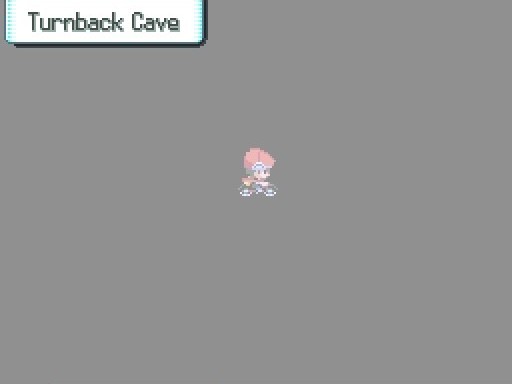
Eterna City Beta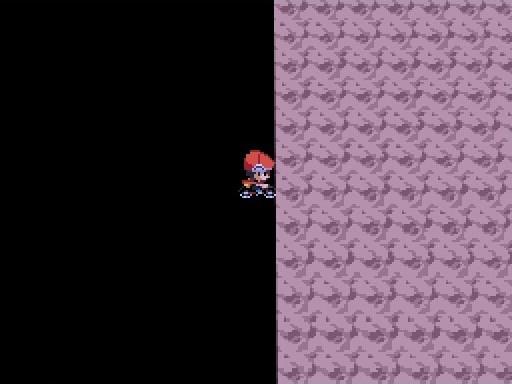
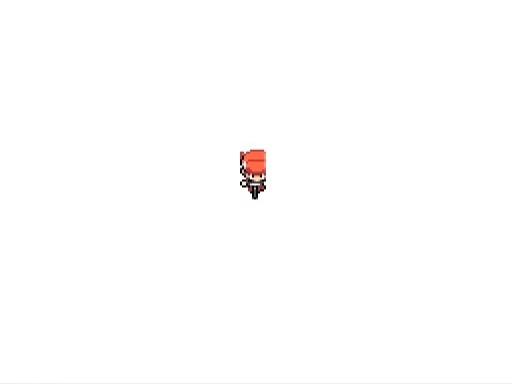
Don't worry about this stuff, it's normal here.
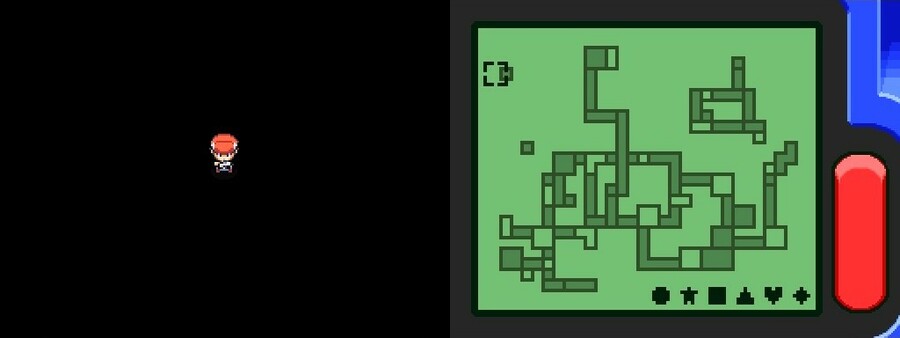
Now when you're in the Mystery Zone, your menu is disabled, however if you need to refresh the graphics, then registering the Town Map is the best way to do it. This does mean you can't get off your bike, so make sure not to overshoot. All that matters is you do the right steps, please take your time
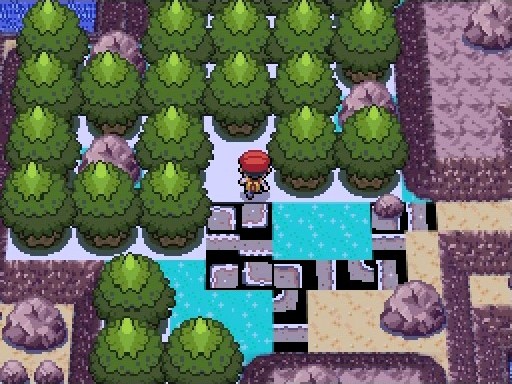
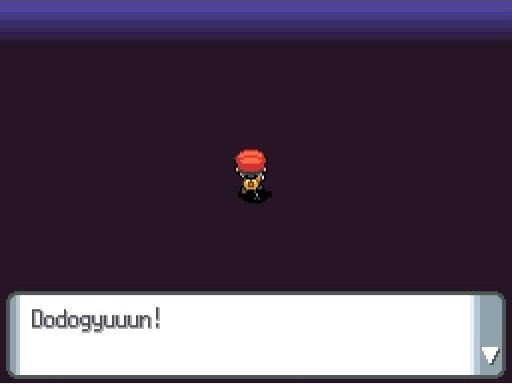
Now that we've refreshed, just head north and it'll load correctly. Event number two reached!
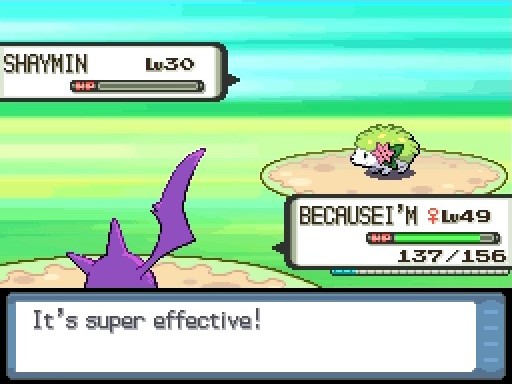
Unfortunately, since it's not a fateful encounter, Shaymin can never be transferred to Bank, nor will get you the Gracidea in any Gen 4 or 5 game that has it. Still, pretty damn easy, catch as many as you'd like. Now for the final one, the big one.
Route 206 Beta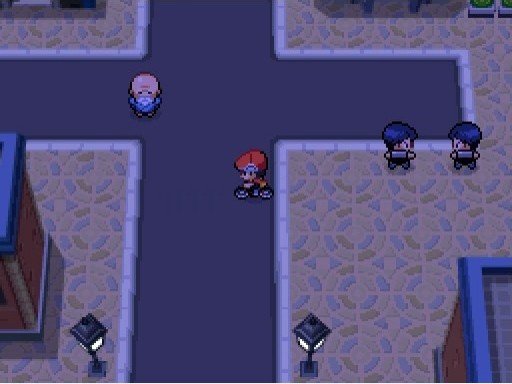
We'll need to do another tweak and travel to the center in a slightly different path. You'll need to wipe the script from the center to do this, so head to the GTS and say you'll go in, but you don't actually have to, easy as that.

This is actually something you want to do, trust me. You'll get kicked back to the title screen, but you saved just before using the kit, so you didn't lose anything.
Then you head a few steps west and Fly/Teleport out, going back to the Center and scripting back into the void again.

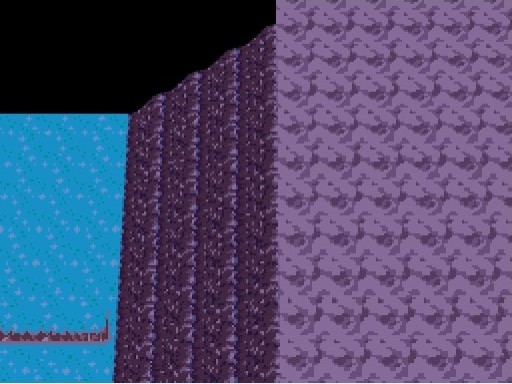
Then you go through some lovely scenery. Don't worry about the bright white areas, they're harmless. Promise.
Uh, mostly. During this time you'll also enter the Pal Park, which runs the Prof. Oak encounter if you haven't visited already. Unlike the Contest Hall or Explorer's Crash, you move east to let the prof pass, but we were heading east anyway, so you just gotta make one more step then you would otherwise. The Pal Park capture animation also occurs and your menu changes, meaning you can't use your Bag, but that's fine. It's important. Everything we do is, but that's why Arceus took until TWO YEARS AGO to finally reach, even though the void glitch was found as early as people discovered you could Surf through the doors of the Elite Four in JP DP. They definitely patched that in the localization, but people found Darkrai and Shaymin quick. Arceus is another matter.
Anyway one of the steps is going 1279S, just in case your fingers were getting tired.
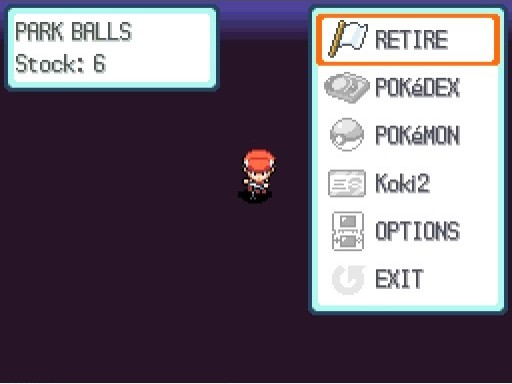
But finally, we've made it. It takes a fair bit of RAM tweaking to reach the Hall of Origin, but even if you did get here, it would be empty. That's when the Pal Park Retire glitch was found to activate the third script in the area you were in. Not that the third script doesn't necessarily have to be Script3. This activates Arceus.

But it's not as easy as that. Originally, you needed a new file if you'd already encountered Dialga/Palkia, so I did that and got the path all ready for you guys. Then RETIRE, the one making these rad strats, made a new vid for Arceus that not only let you get a infinite amount from the Hall of Origin, but could also be done whenever, like the other two. You can do all 3 of these strats on your DP cartridges right NOW! But since I did the old Arceus strat, my game crashed when I caught this one and I didn't fancy making another new save file. All you do is walk south, Retire again and you can encounter as many Arceus as you want, all of them from the Hall of Origin.
The reason this is important is two reasons, the old strat had the encounter for Arceus be one tile, which you walked down to and then walked up to Arceus, which put you in the next border area, the Mystery Zone, or Jubilife City, the game counts it as the same. So only the first Arceus was Hall of Origin. It's just nice being able to get as many legit ones as you want without doing the entire thing again. The second is how the game treats a HoO or MZ Arceus. The HoO can be traded to HGSS to activate the Ruins of Alph event as many times as you'd like but cannot be Banked, while the MZ can be, so long as it's level 100 and caught in Diamond. Additionally, since this is level 80, you can EV train it properly, unlike the event one, though standard simulators do not allow this. But regardless of all the various technicalities, if you want to do these void runs, then simply follow these instructions and you should be fine!
Oh, and if you've been wondering this entire time, you can tweak in Pt and HGSS, but entering the void is impossible, since they put up invisible walls everywhere that trap you. You can walk through walls and carry on as normal, but the setups will be completely different and no one's bothered finding them out.
Pre-requisites
Obtain the Bicycle, Pal Pad, Explorer Kit (used once), Tuxedo/Dress from entering the Contest Hall
Pokemon with Fly/Teleport, various Pokeballs for legendary catching
Berry/Marking app
Setup
Tweak into the void, preferably in Jubilife City to enter the back of the Poketch building by reaching a specific point on Route 203 and refreshing graphics, which involves opening a menu. Having the bike registered now is perfectly fine.
From there, equip the Pedometer app, boy will you use it, and follow the directions very specifically. There might be room for error, might not, you'll find out at the end.
1 S
Go east until you reach Mystery Zone, then get on your bike and go back until you're exactly where you were.
17 W
14 N
415 W
Save and reset
380 E
Use Explorer Kit, but back out from the first message.
480 N
260 E
Save and reset
214 W
479 S
Reload graphics
Full speed south, bonk on north center wall
Reload graphics
2 S and 3 W to talk to Center lady, facing down, let her save your game and then reset
DARKRAI
Will only transfer to Bank if caught in Diamond and is level 50 having forgotten Pursuit, can be shiny, but it's not a guarantee.
36 E
260 S
70 W
60 S
27 W
32 E
32 N
Save and reset
Pedometer no longer works, so use the Berry/Marking app to track your location, nice and slowly
Go east until your marker is above Iron Island, then go 1 step east until your marker moves to the next square.
11 E
Save and reset
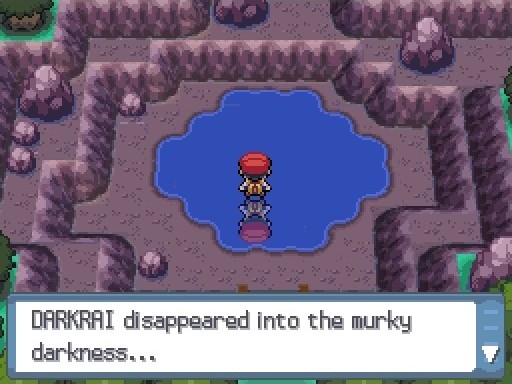
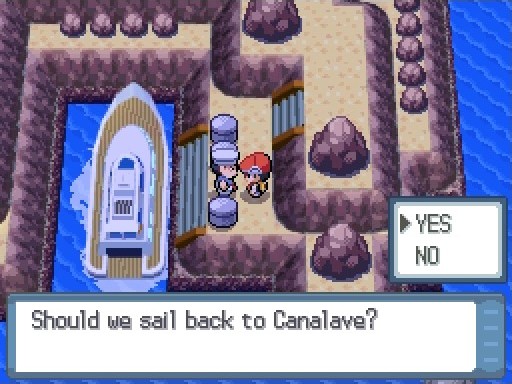
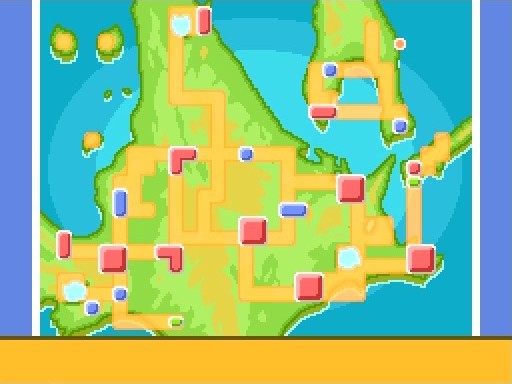
Enter forest and battle Darkrai! Take boat back to Canalave and Fly back to any Pokemon Center when finished.
Go upstairs and the script will dump you back into the void
4 W
15 N
6 E
Reload graphics
Full speed south, bonk on north center wall
Reload graphics
2 S and 2 E to talk to Center lady, facing down, let her save your game and then reset
SHAYMIN
Due to not being fateful encounter, will never transfer to Bank
Register Town Map, watch your steps on the bike, take your time.
132 E
160 S
352 E
96 S
287 E
Reload graphics with Town Map
126 E
1 N
48 E
Reload graphics with Town Map
2 E
1 S
Save and reset
Reload graphics
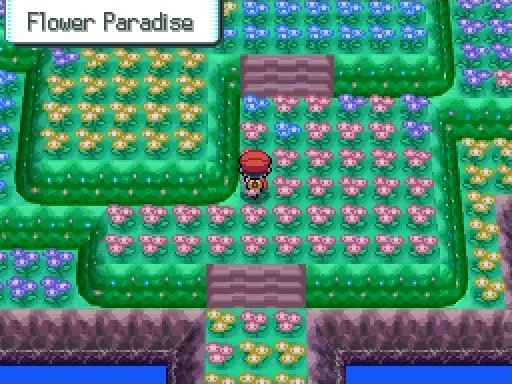
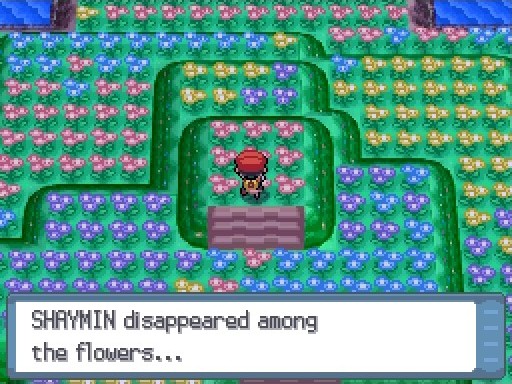
North to Flower Paradise, fight Shaymin, easy
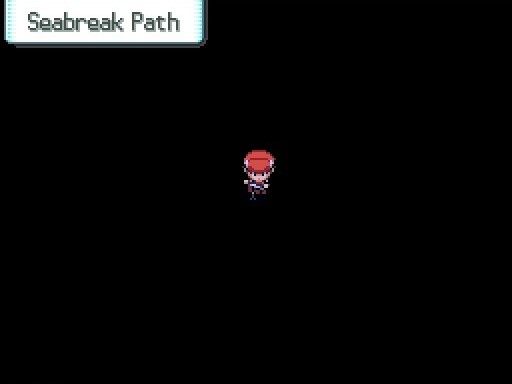
Return back to Seabreak Path, Fly back. If you want to repeat these routes again, or even void to Cresselia, then repeat the second floor center void.
Otherwise, go to the GTS and agree to enter, but you don't have to save or whatever.
ARCEUS
Same pre-requisites as before
Tweak into Poketch Co again
1 S
17 W
18 S
Use Bike
33 N
415 W
Save and reset
384 E
Use Explorer Kit, but back out from the first message.
479 N
256 E
Save and reset
214 W
479 S
Refresh graphics
Full speed south, bonk on north center wall
Reload graphics
2 S and 3 W to talk to Center lady, facing down, let her save your game and then reset
511 S
Use Explorer Kit and now go all the way, since you're in RAM, the game doesn't know where to place you in the Underground and crashes, this is intentional.
32 W
Fly/Teleport to any Center
Go upstairs and the script will dump you back into the void
4 W
13 N
Refresh graphics
2 N
6 E
Reload graphics
Full speed south, bonk on north center wall
Reload graphics
2 S and 2 E to talk to Center lady, facing down, let her save your game and then reset
2 S
Use Bike
32 S
Register Town Map, watch your steps on the bike, take your time.
96 S
160 E
97 N
63 E
32 S
Reload graphics with Town Map
32 E
32 S
64 E
Reload graphics with Town Map
1 E
1 S
If you have not visited the Pal Park before, after cutscene: 63 E
If you have visited Pal Park before: 64 E
64 N
Reload graphics with Town Map
96 N
1 N and Pal Park encounter starts, nothing else happens, but your menu, if you can open it, has the Retire option
1 S
193 W
256 S
64 W
160 S
64 W
1279 S
96 W
Now there are two Arceus to obtain, the Hall of Origin, or the Mystery Zone, you can get either, or both, as long as you do all steps for one before attempting the other.
Hall of Origin:
3 S
RETIRE
Capture Arceus, not battle, not run, capture
1 S
RETIRE
Defeat or run, DO NOT CAPTURE, GAME WILL CRASH
Repeat the first step for infinite HoO Arceus that can be shiny, not that you can Bank them anyway.
Mystery Zone:
2 S
RETIRE
Capture Arceus, not battle, not run, capture
Repeat the first step for infinite MZ Arceus that can be shiny, though can only be Banked if regular, level 100 and caught in Diamond.
And there we go, as easy as that. If something didn't work, you're fine to try again from your last save, but it's never a done deal. Have fun!