Part 23: The Challenge of Not Destroying Your Screen
Music: Jungle RelicVideo: The Challenge of Destruction (Salamence)
Next up is the Challenge of Earth. This one is definitely the hardest of them all.
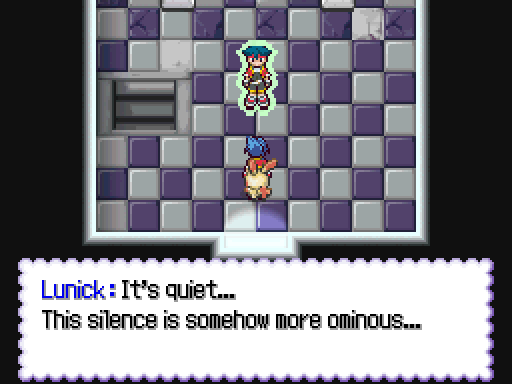
I'm sorry, it's the Challenge of Destruction. Earth doesn't even get its own challenge

Earth being Destruction is fairly novel. In my experience, Earth in RPGs usually deals with healing, or poison, or stuff like that. Everyone focuses on stuff growing out of the earth instead of earthquakes.
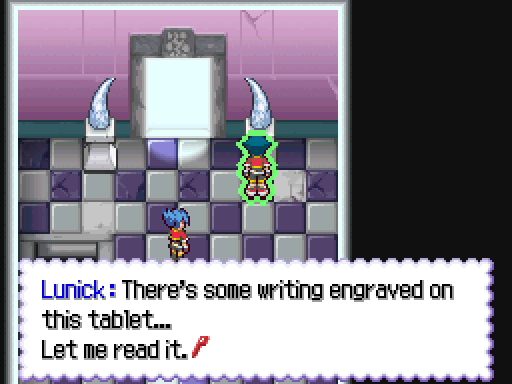
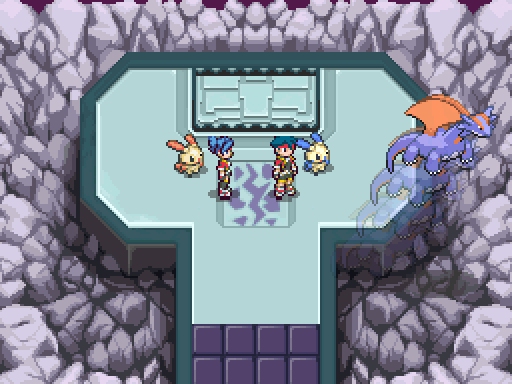
 "The Challenge of Destruction" The power of destruction you must seek from those that fall from the sky. Having thus cleared your path, face you shall the rage of destruction's king. By your hand you must becalm the fury that drives the savage beast. Whence the king is so calmed, the seal of stone shall be no more, bringing conclusion upon the challenge of destruction. In the chambers of trial there shall be no record saved, for that in itself a challenge is posed. ...That's what the tablet says.*To Circe* Did you understand that? Why don't you read it for yourself, Circe?
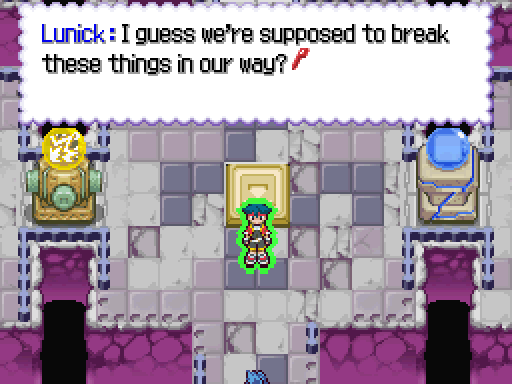 But that's weird... I don't see any Pokemon around at all. Where are we supposed to get help?
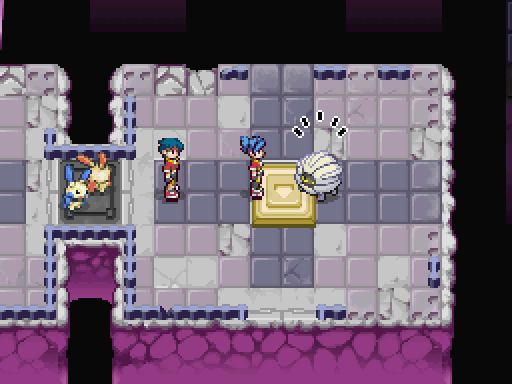
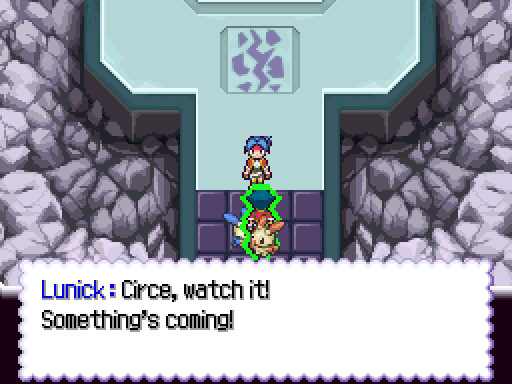
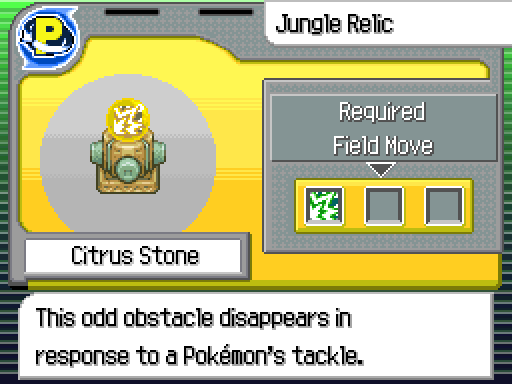
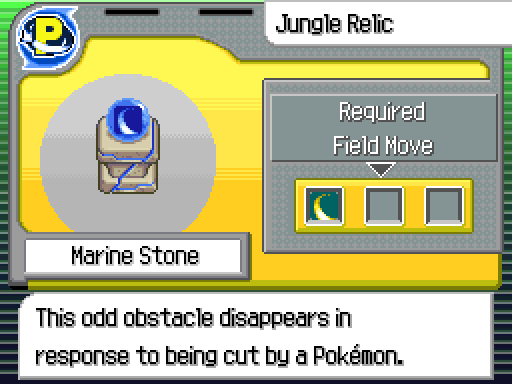
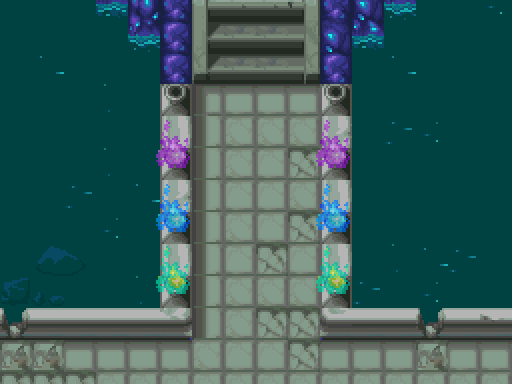
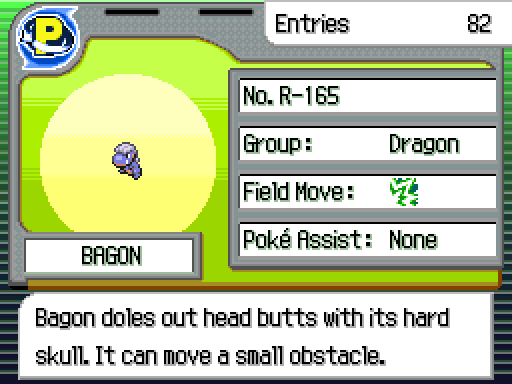
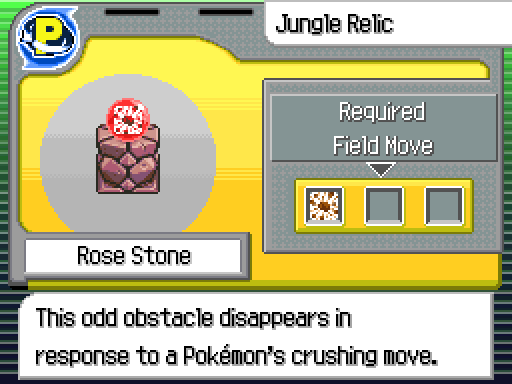
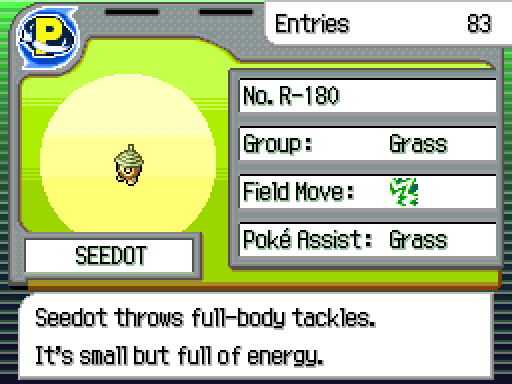
The symbol shows the Field Move we need. It's very straightforward.
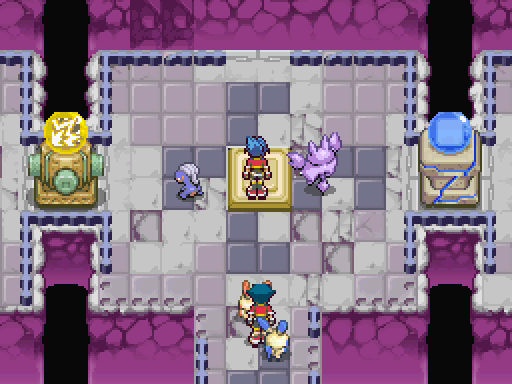
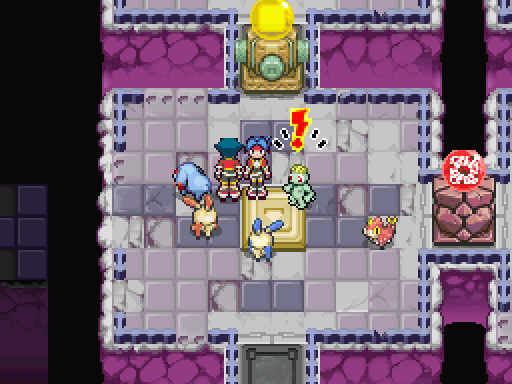
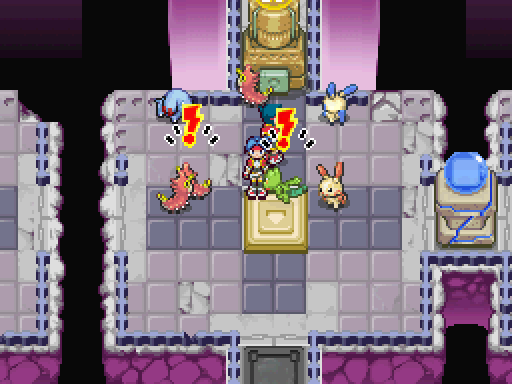
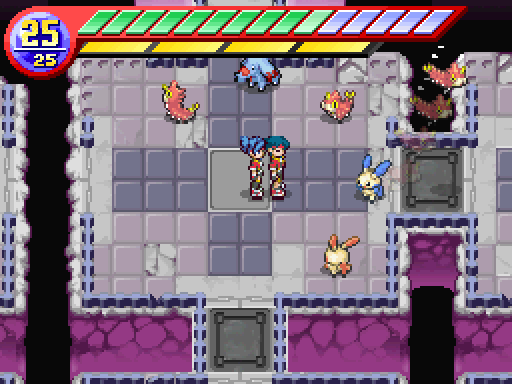
Stepping on the button drops down some Pokemon and immediately we're thrust into an encounter.
Music: Wild Pokemon Capture
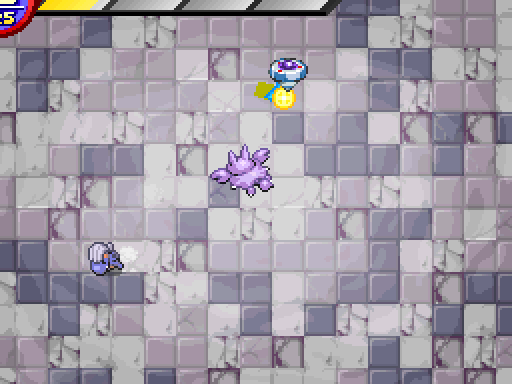
These Pokemon have the field move necessary, so we're going to have to capture them to proceed.
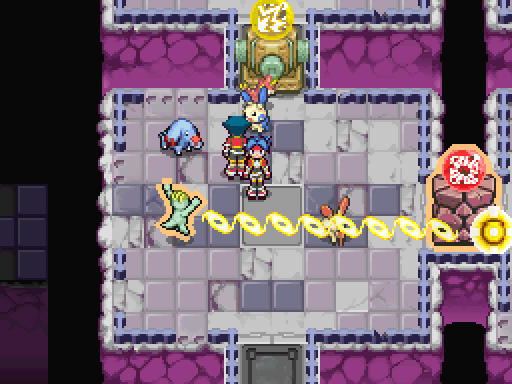
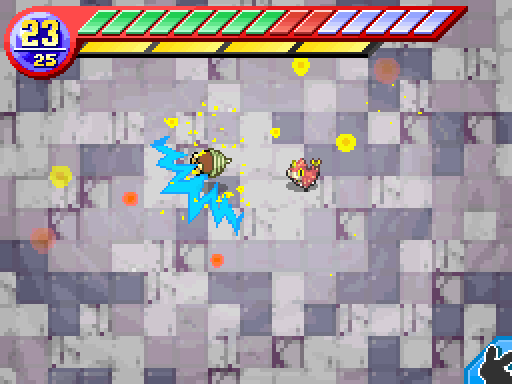
...That said, just because it's straightforward doesn't mean it's easy. Bagon here charges, which combined with Gligar (who also charges
 ) makes this a very hard capture.
Uh oh... I'm starting to see why this area is so despised.

My strategy here is to let Gligar flee so I only have to deal with Bagon

Music: Capture Complete
Required Loops: 5
Possible EXP: 28/32/36/41
One thing to note here that if you don't catch them during the encounter (if either side flees), they'll be gone until we leave the area and come back. Of course, doing so will also reset the obstacles and our captured Pokemon. So, you know, don't let that happen.
I but...

Music: Jungle Relic
In this case, the right path will eventually leads to a dead end, so we won't get in trouble for letting Gligar flee.
They throw you into a difficult battle against two pokemon, let one of them flee so you think you messed up, and then after all that, the path of the one that can flee is a dead end? What the hell?
It's still better than the reverse.
When there's only one obstacle around, the second Pokemon will be a Wurmple.

If you remember, Wurmple only needs 3 loops and is as slow as an actual sloth/grime. Needless to say, the encounter is over quick.
Machop's attack has a much smaller range than Bagon's, so catching Phanphy is actually possible. We don't actually need to, but still.
The upper path leads to a dead end. Both this and the earlier dead end have an encounter with 2 Magnemite. They'll heal for 10 HP per encounter, which isn't bad. We do need to clear the obstacles everytime we want to catch them, though.
They're also the only healing we'll get in this area. So if you fucked up this part and can't use the healing here, the nearest one is the single Electrike outside the relic. Hope you like healing 5 HP at a time AND redoing this challenge!

...Is what I'd like to say, but we can't even go outside because of Lunick. So if you're low on HP and can't get a Magnemite, it's best to load from before everything goes to shit.
Just...
 Trying to not jump down the game's throat, but this is really bad design. A blind maze with limited and dwindling resources is not cool.
This place would be much better if there's a recharge station near the save point outside. It can even replace the automatic recharges after the bosses.
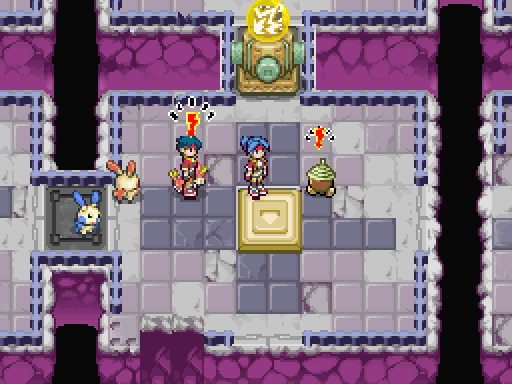
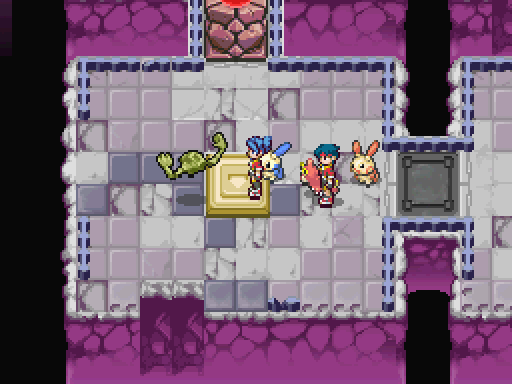
We can use Phanphy for this obstacle, but there's a new Pokemon to be captured here.
Music: Wild Pokemon Capture
Music: Capture Complete
Required Loops: 1
Possible EXP: 16/18/20/22/24/26
Music: Jungle Relic

...Let's just move on.

This place is lined up in a 3X3 squares. If we look at it like a phone's number placement, it goes like this:
code:
"The Challenge of Destruction Layout"

 End          1. 2 Magnemite
  |           2. Wurmple + Treecko
1 2-3         3. Shelgon
| |           4. Phanphy + Machop
4-5 6         5. Wurmple + Seedot
|   |         6. 2 Magnemite
7-8-9         7. Wurmple + Geodude
  |           8. Gligar + Bagon
Start         9. Wurmple + Meowth
This means that even though the way up is the exit, we have to take a detour to this dead end first.
Unlike the other dead ends, this one doesn't have any Magnemite.
At least it's a very simple maze, and even if you find the exit, you'll quickly realize you need to find something special. So the idea on the whole isn't terrible, just the execution could use a little work.
Great idea but a little flawed execution is this game in a nutshell.
Music: Wild Pokemon Capture
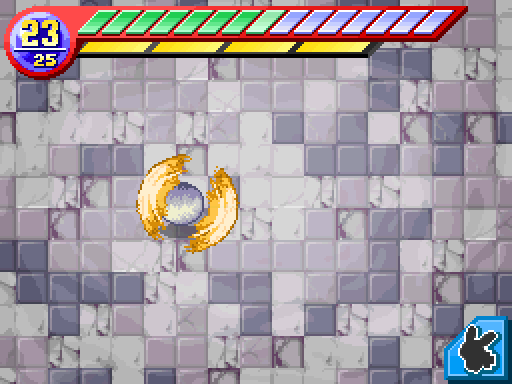
It attacks the same way as Staryu. Fun fact: This is the only time we're going to see any of Bagon's evolution line in the wild.
Music: Capture Complete

Required Loops: 6
Possible EXP: 46/52/58/66
If you haven't figured it out, this challenge tests our capturing skills and endurance.
Music: Jungle Relic
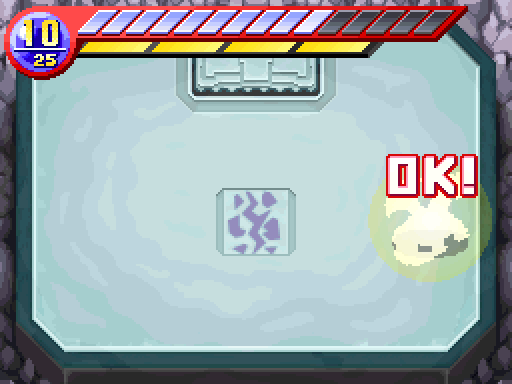
That's our final obstacle destroyed. All that's left is the boss.

The game gives us a small mercy by healing us to full and permanently destroying all obstacles, letting us go back and save.
Surprisingly kind of the game... I'm concerned.
But then it takes those mercy back by releasing all our captured Pokemon and disabling all the buttons. Those Wurmple and Magnemite would've been so useful against the boss...
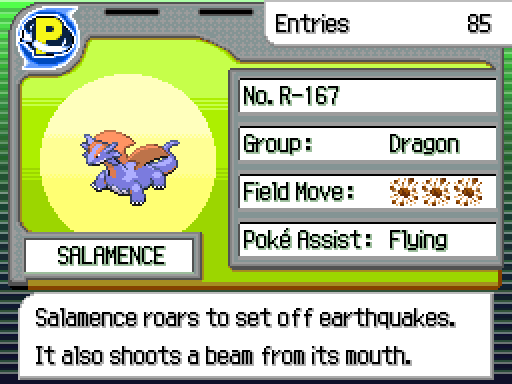
Speaking of the boss, it is the hardest Pokemon in the game.
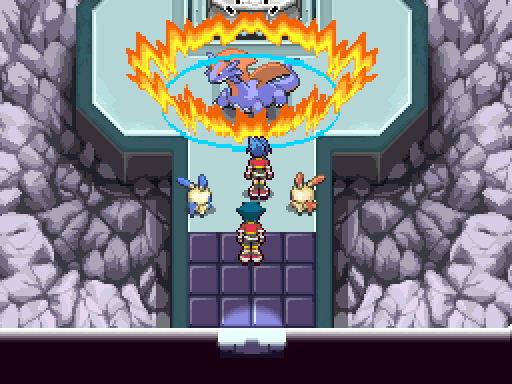
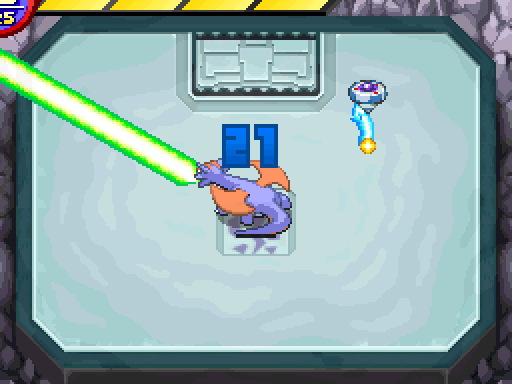
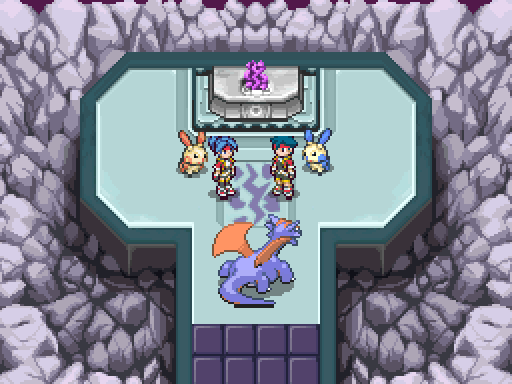
Music: Wild Boss Pokemon Encounter
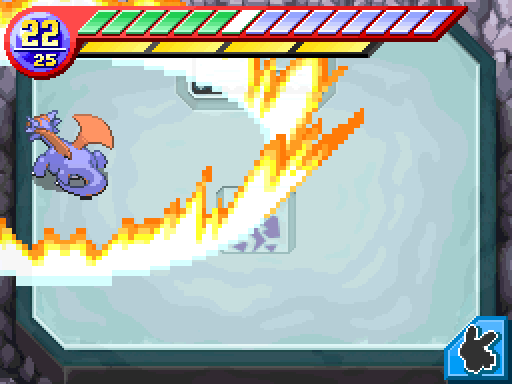
Let's go over why Salamence is so hard.
For one, it has a shockwave attack that hits the entire screen. It will hit your line, no questions asked.
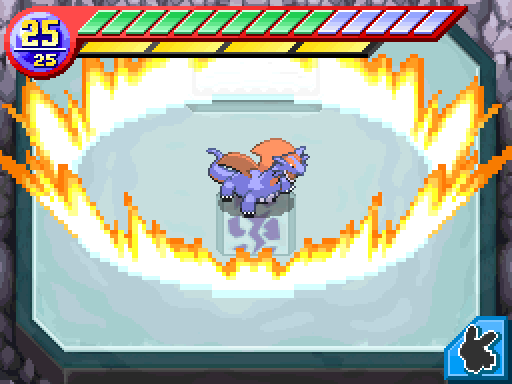
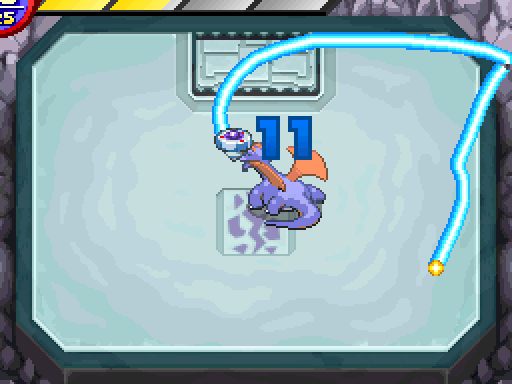
It also has Hyper Beam, an attack which comes with an extremely short warning and pretty much nonexistent reaction time. And yes, it needs a whopping TWENTY TWO loops.
Are you fucking kidding...
Both attacks deal 3 damage. Our last level lets us get hit 8 times instead of 7.
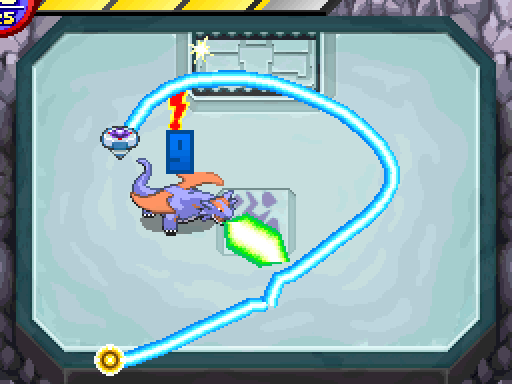
After hitting or using Hyper Beam several times, Salamence will fly instead of walk. It won't attack during this time, but its movement speed is much faster.
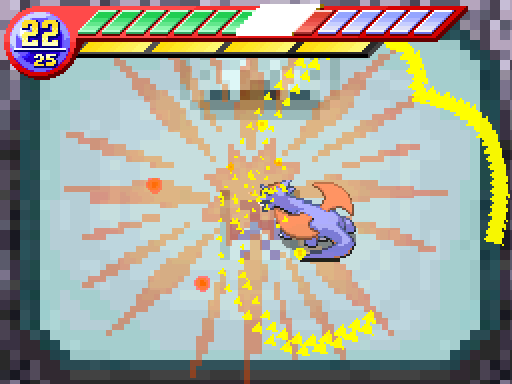
After a short time (not enough for 22 loops), Salamence will fly up very high, most likely hitting our line. We WANT it to hit our line. Why?
Because of this. Then the cycle starts over from the beginning.
So exactly when are you supposed to get 22 consecutive loops in? Because I'm not seeing a spot...
That's exactly why catching Salamence is hard.

To make matters worse, Salamence is classified as Dragon instead of Flying, so Plusle is completely useless here.
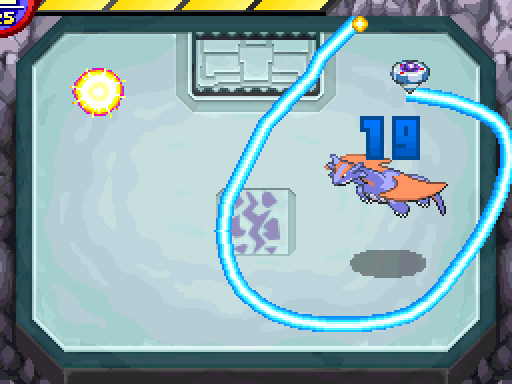
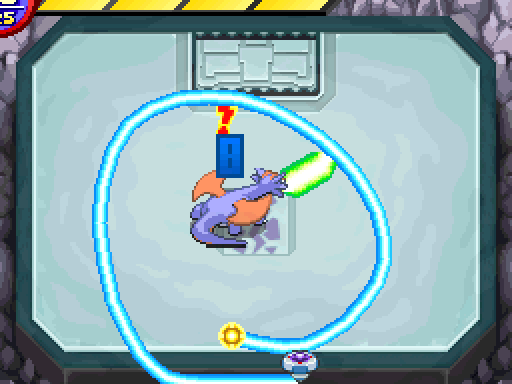
Essentially, you need to get most of the loops when it's walking around and possibly doing the last few loops when it's flying.
Make sure to loop it quickly or it'll hit with Hyper Beam.You can probably make 3 loops quickly after each Hyper Beam. Repeat that 6 times and you're good. Easier said than done, though.
Yeah, this is solidifying my desire to never play this game. I'll look at other Ranger games to play, sure. But fuuuuck this.
There's a huge difficulty jump from this game to the sequels, that's for sure.
It'd be great if our progress isn't reset every time our line breaks, but that won't happen until the next game.
If you can get through this, you can get through everything else in the game.
Music: Capture Complete
Required Loops: 22
Possible EXP: 350/360/370/380/390/400
You know, why doesn't Flygon become the boss of The Challenge of Earth while Salamence become the boss of The Challenge of Wind? It would've make more sense typing-wise. And it would actually let Earth get its own challenge.
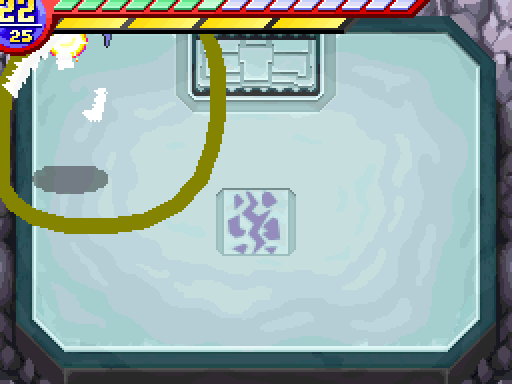
*The pedestal fades*
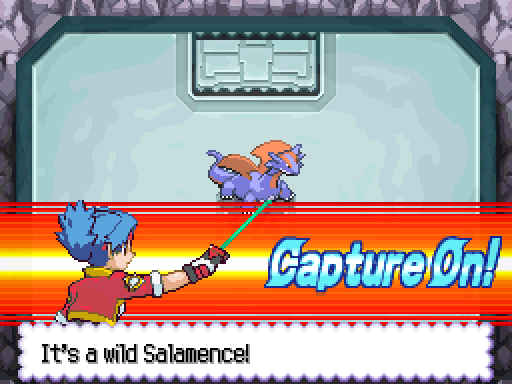
When you captured the Salamence, the stone seal disappeared! That's it! We've cleared all three challenges!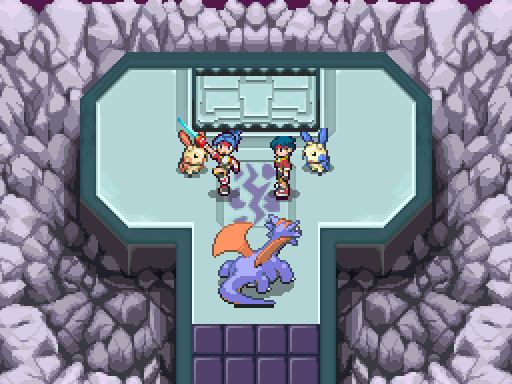
Goodbye, level 3 Crush