Part 33: Speed Run Strats - Well That Was Quick
Wow Crosspiece...that sure was a wonderful adventure. You know what this calls for? SPEEEEEED RUN STRAAAAATS!!! You ready,yeah,yareadyFreddy,yeah,okthen, READY SET GO!!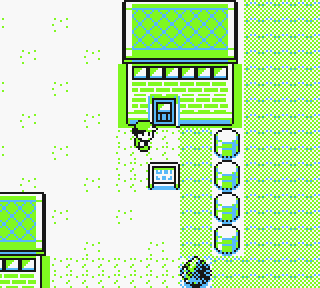
Hi everyone, this is Fionordequester, and last time, we beat up Misty, yay! First Cerulean and Pewter, and now, the whole dang world!

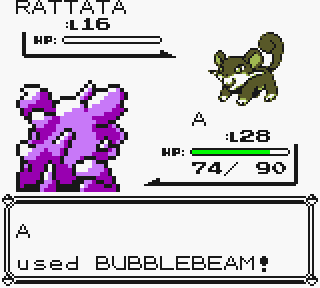
Yay, fricken BUBBLES!
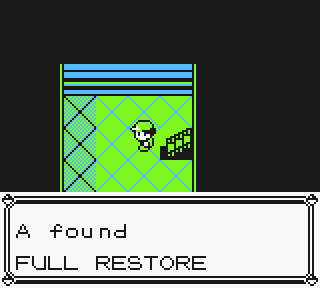
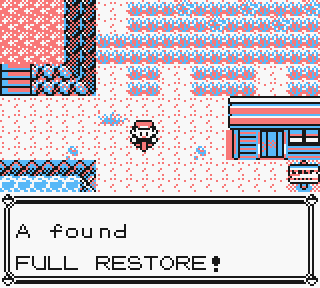
Free Full Restore on the Road to Vermillion!
More NOOBS to Roxor!
WE R TEH NIDO KINGS! WE ROXOR U AND THEN ROFL, THEN U AM CRY. WE R HOTNESS! WOOT WOOT WOO-

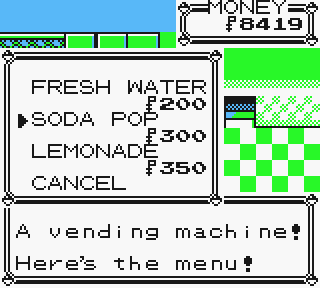
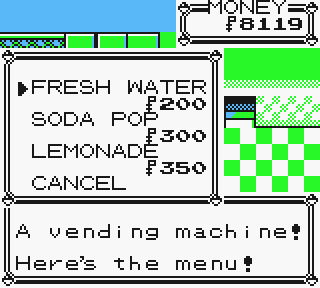
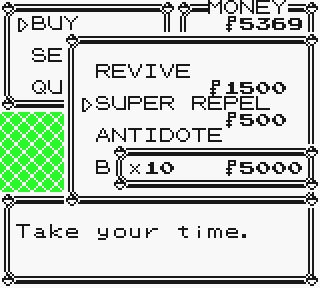
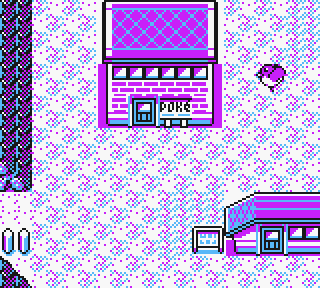
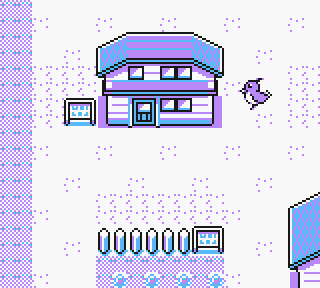
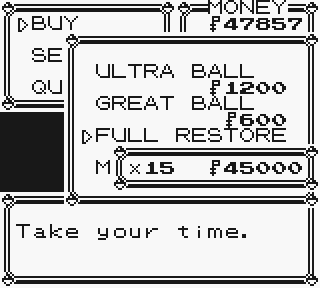
Oh hey a Pokemart!
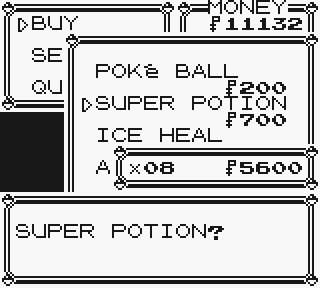
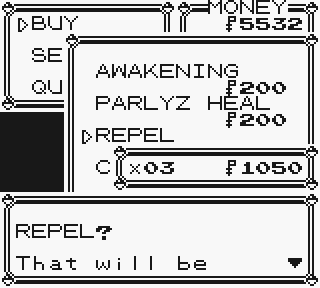
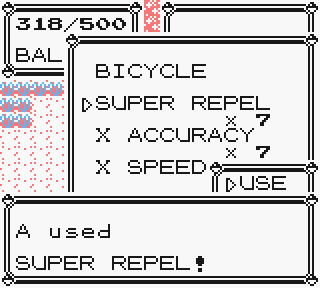
Healing items and Repels, our bread n' butter!
No need to use the PokeCenter btw, that'd be bad for you, and you'll see why soon.
Oh hi Gary!
Bye Gary!
Here lemme help ya with that.

Awesome-sauce!

Yeah, n' Gary had 40. Fat lotta good that did him.
Score!
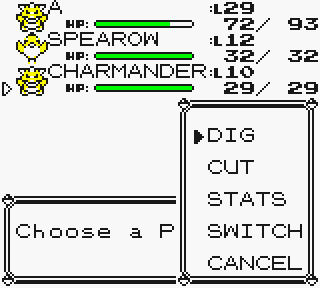
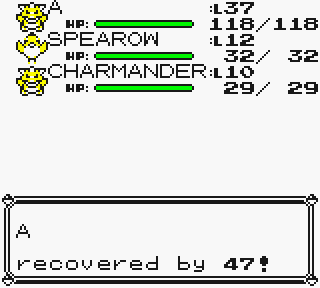
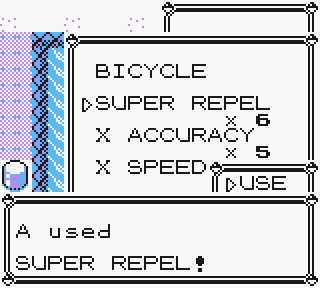
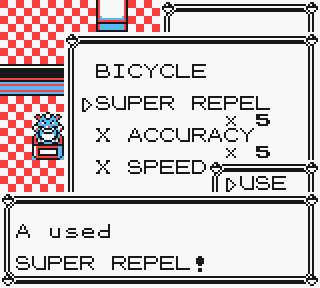
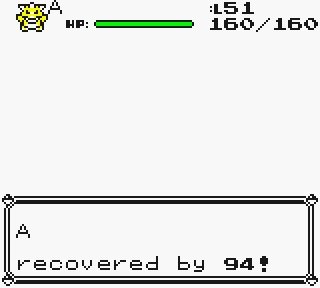
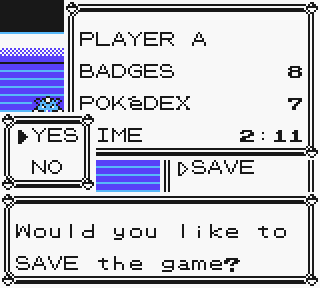
Alright, being serious for a moment. First off, we're still not using the PokeCenter, and while our chances of beating Surge are really good, there's still that small chance that he'll kill us with a lucky Mega Kick critical or something. Fortunately though, we got plenty of Potions last update, so first, heal yourself up, like so...
Good. Now, here's where things get interesting.
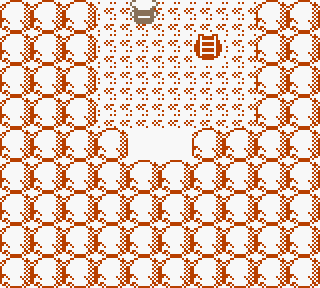
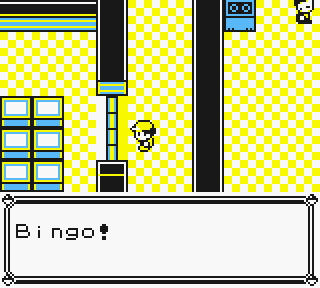
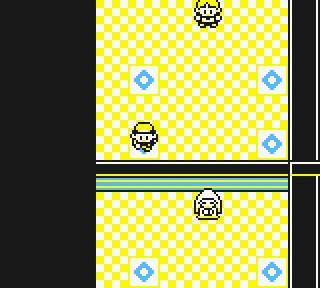
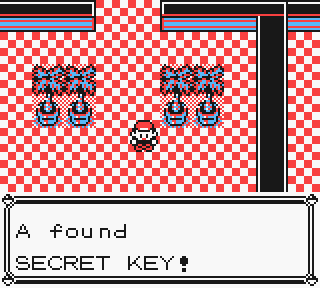
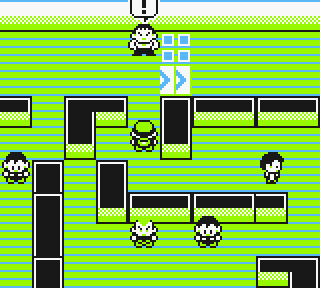
Remember these trash cans? These trash cans of doom? Well, these little stinkers have been the bane of plenty a Pokemon Yellow runner in the past, and still are to some extent. But, during the course of all the RTA's done on this game, people have also discovered something...interesting, about them...
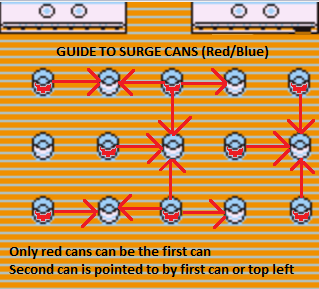
First of all, the cans actually work in very different ways depending on whether you're playing Pokemon Red and Blue, Pokemon Yellow, or Pokemon FireRed and LeafGreen. To quote the wiki...
"The first trash can can only be one of 8 of the 15 cans, in a criss-cross pattern. Most of the first cans have two possible second cans: the can in the top-left corner and one other. However, the two middle column first cans have four possible second cans, and so it is considered unlucky to find these cans as your first can in a run/race. In any case, all possible second cans have equal probability weighting so you should just test the closest can pointed to by an arrow for the second can and hope it's correct each time."
Of course, that's only the case for Blue and Red's cans. As for Yellow...
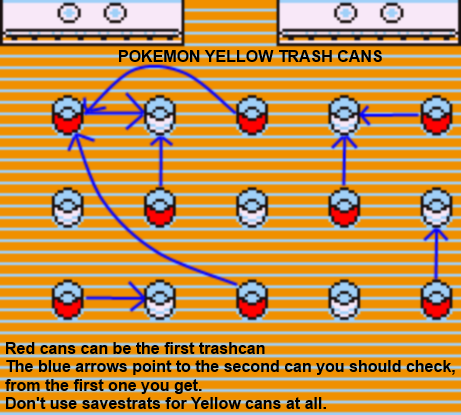
It's a bit different. Again, to quote the wiki...
"For some reason, likely to do with the aforementioned chance of the second can always having a chance to be in the topleft, the mechanics of the trash cans were changed for the Yellow version. In this version the set of possible first cans is the same but there are generally two possible second cans chosen at a time which will both unlock the door. Therefore the image below does not show all possible second cans but instead the most likely second can for each possible first can. This is an adjacent can to each first can for each possible first can except the two in the middle column, which are bugged to always have a very high chance of the second one being topleft, but can also have the chance of there being no second can chosen at all. As such, it is very dangerous to save and reset to try to find the second can in Yellow."
So, there you go. The trashcans were INTENDED to be random on the 1st can, and the 2nd can was INTENDED to spawn next to the 1st, but, things didn't work out that way. However, the remakes fixed that. So in those versions, the 1st can truly IS random.
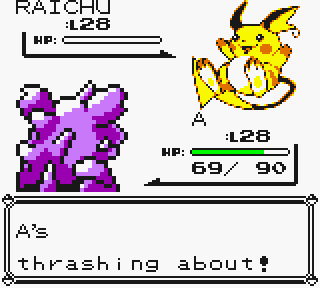
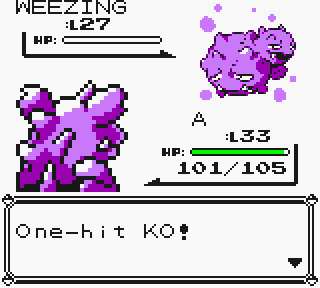
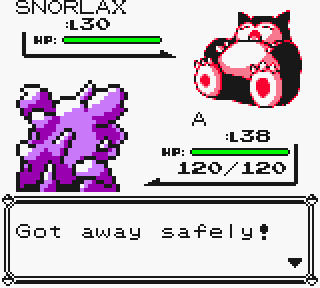
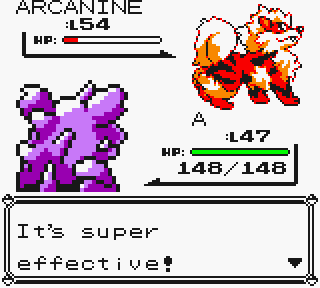
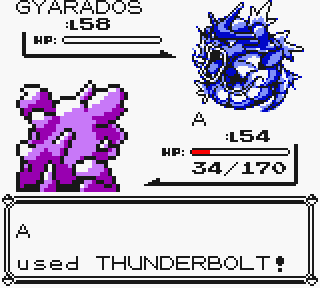
Also, Raichu goes down without a fight. Just one ineffective Thunderbolt, and one measly Mega Punch, and bam. Fight's over!
I KNOW RIGHT? Wanna see somethin' REALLY COOL?!
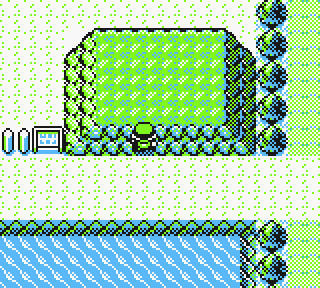
Yeah? See Diglett's Cave here?
Well if you get'n here n' use the Dig command, WITHOUT visiting Vermillion City, you get...
MAAAAAGIC
 !!! Warping strats for the win!!
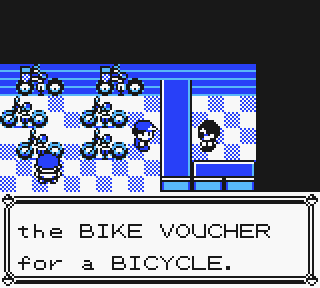
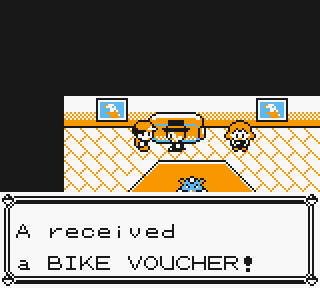
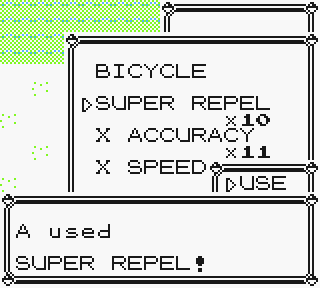
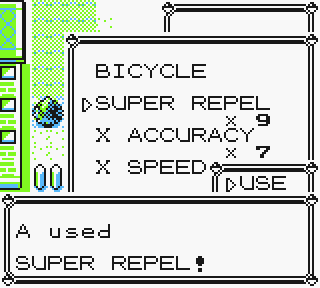
And now for every speed runners best friend, the Bicycle! Hope you like the Cycling music, cuz you're gonna be hearing it AAALLL GAME!!

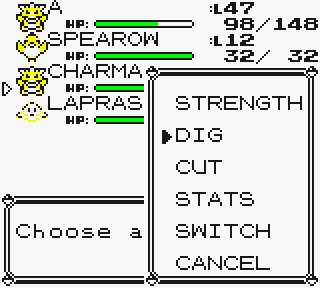
Naturally, it and the Repels go to the top of my list. For the sake of brevity, I'm leaving out a lot of the item Feng-shui stuff out of this update, but do keep in mind the importance of proper inventory management. If you're ever hoping to break the record, your run WILL live and die by how well you can navigate the menus. Well, that and the whims of the RNG, but that's just a given
 .
.
Alright I think that'll do for now...
BOW BEFORE MY POWER!!
No Flash HM, no light?
Nooooo problem!

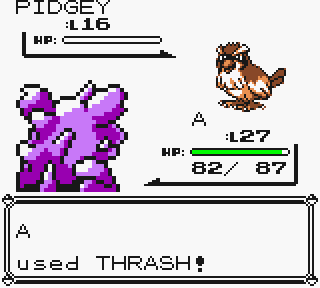
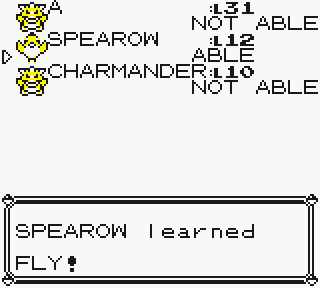
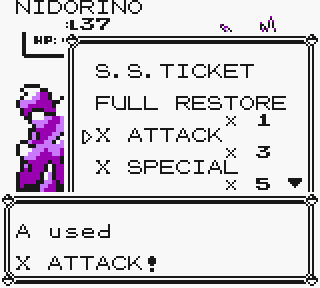
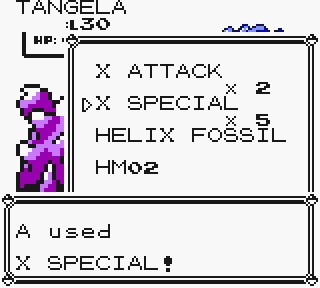
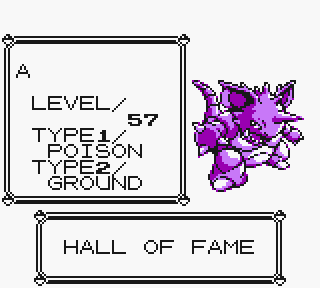
Two cheers for A, the special sweeping Nidoking!!
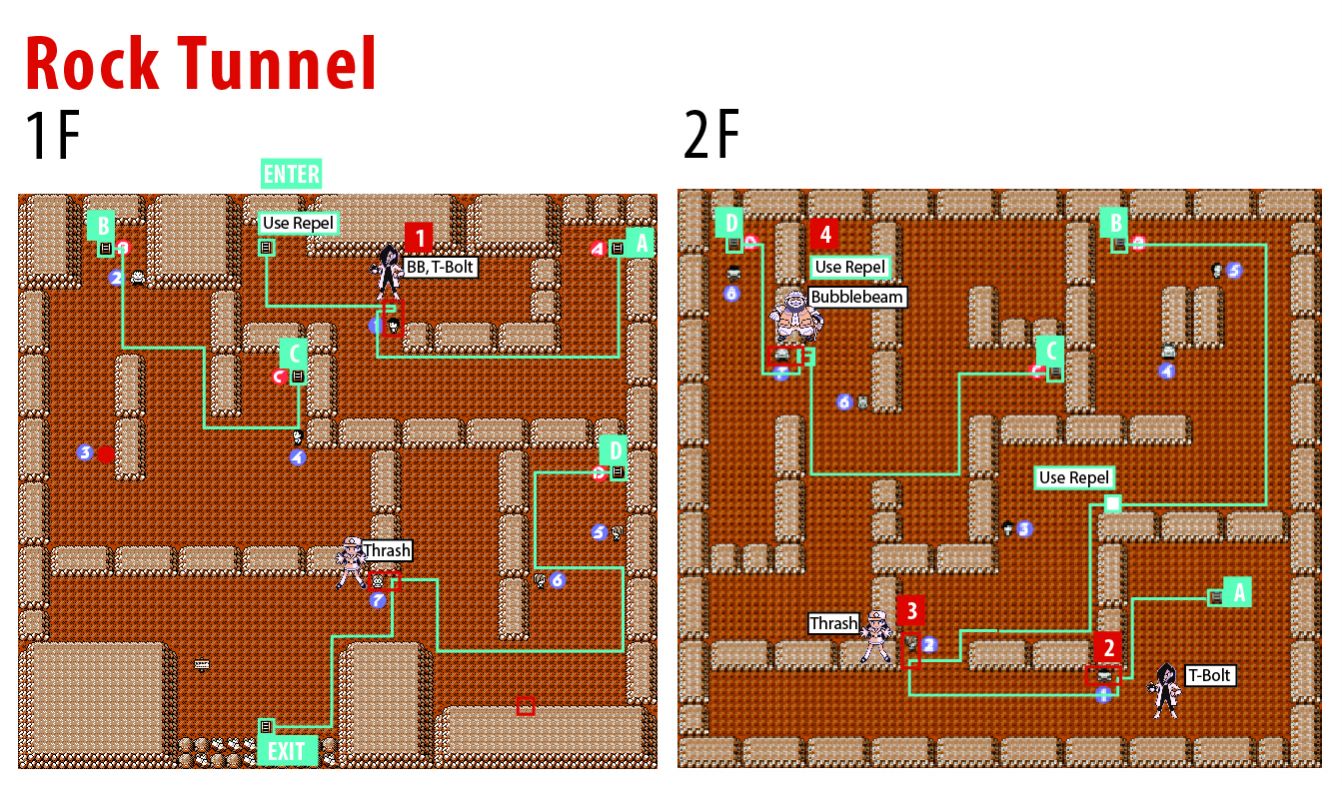

(I got that map from this website btw.
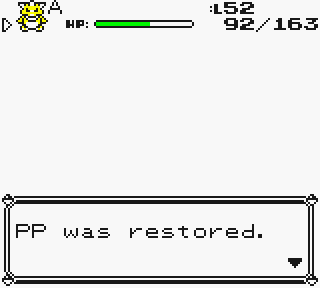
Nope, not gonna need that Max Ether, no sirree.
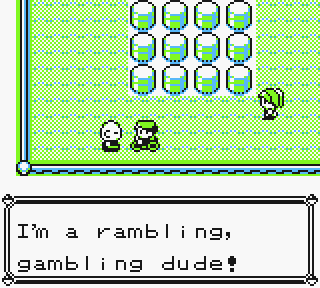
An' now you're a ramblin', shamblin' dude.
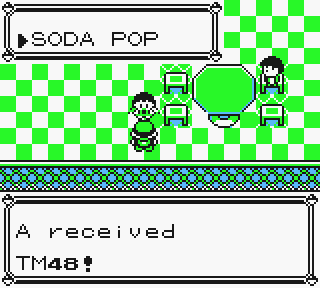
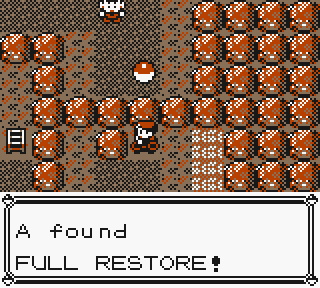
Also, MORE FREE ITEMS
 . All the better to go...
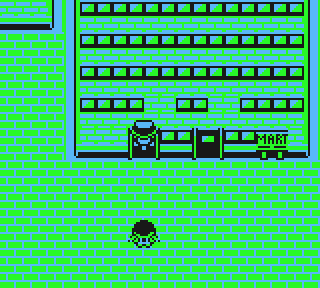

SHOPPING!!!
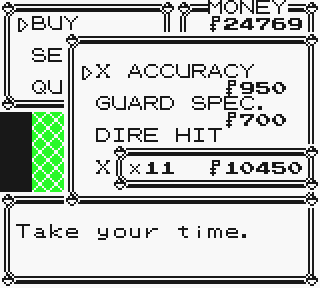
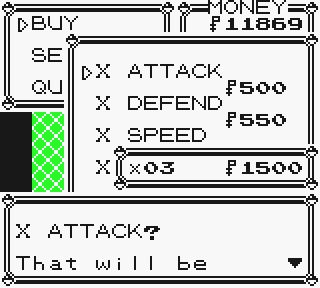
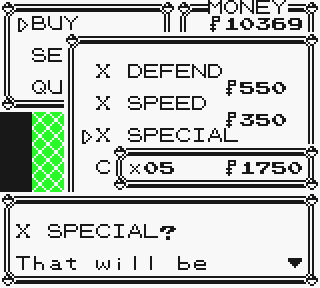
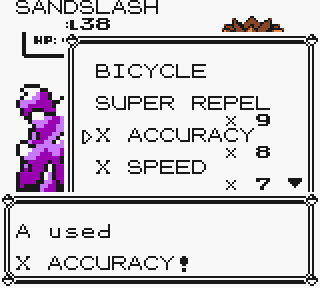
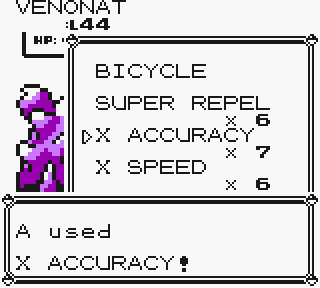
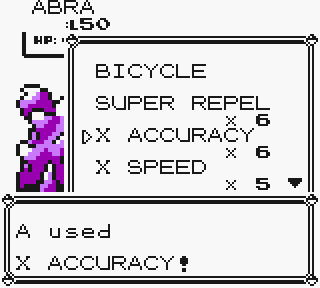
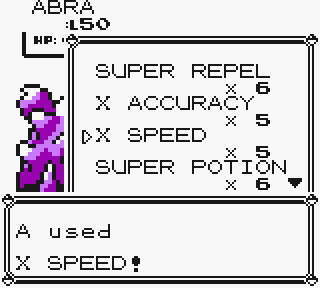
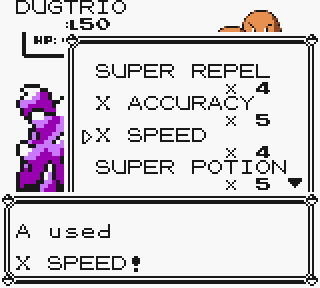
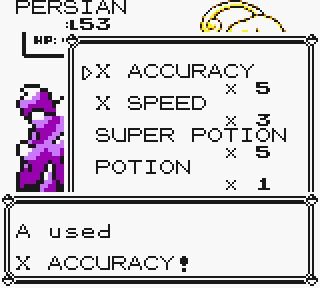
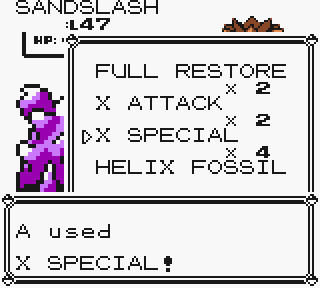
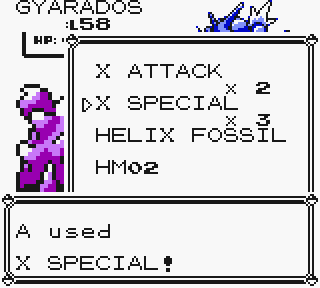
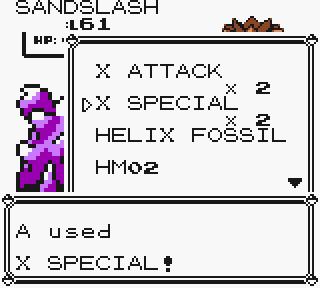
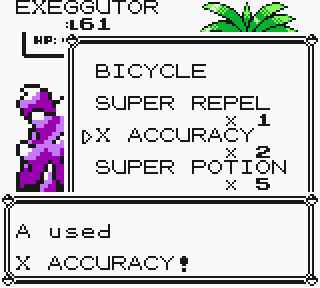
Ah yes, the X-items, friend to Pokemon speed-runners everywhere. These things are absolutely incredible, especially in the context of a solo run. Each one of them except the X-Accuracy will boost it's respective stat by one stage. This means that your base stat multiplier, 1.0x, will increase by 0.5, giving you a total multiplier of 1.5x instead. So if you already had, say, 100 Attack, the X-Attack would increase it to 150. And these bonuses stack, so if you use 2 X-Attacks, your Attack would become 200. With 3, your Attack becomes 250, with 4 your attack becomes 300, with 5 it becomes 350, and with 6 it becomes a whopping 400.
You of course can see the obvious benefits to having a ton of X-items to use during this game's many boss fights. So why have they always seemed so worthless? Well, first of all, the A.I. is terrible at using them. Misty, for example, will use X-Defends when it SHOULD be using X-Specials to defend against Thundershocks and Vine Whips. Lt. Surge will use X-Speeds on Raichu, who should already outspeed everything you have anyway. Giovanni will use Guard Spec.'s, when he should be more worried about your Lapras sweeping all his ground types, and so on and so forth.
Compounding that even further is the fact that the concept of "stages" is introduced to you all the way back at the beginning of the game...at a point where your stats are too low for those multipliers to matter that much. After all, an increase of 15 Attack to 22-23 Attack is nowhere near as impressive as an increase from 200 to 300 Attack. And aside from that, most of the stat-altering moves you get are stat-lowering moves, whose effects are much weaker than the stat-raising moves. Compare...
code:
Stage	        -6	-5	-4	-3	-2	-1	0	+1	+2	+3	+4	+5	+6
Gen I-II	25/100	28/100	33/100	40/100	50/100	66/100	100/100	150/100	200/100	250/100	300/100	350/100	400/100
Gen III+ 2/8 2/7 2/6 2/5 2/4 2/3 2/2 3/2 4/2 5/2 6/2 7/2 8/2You know how the game says that the Gym Badges are supposed to increase your stats? You know how it says that, in-spite of the fact that there never actually SEE any increase in your stats? Well, that's because this game is a glitchy mess, where nothing ever works quite like it should. Badges like the Boulder Badge (increases Attack) are SUPPOSED to increase your Attack by 9/8 (12.5%) once at the start of every fight. But instead, they are applied whenever your Pokemon's stats are changed in any way, whether by Paralysis, by Leer...or by the X-Items. And yes, I do mean WHENEVER your stats are changed, meaning that those stat increases can be applied MORE THAN ONCE!!
So, actually, X-Attacks aren't just a 1.5x increase. No, they'll actually increase your Attack by 1.6875x, while raising all of your other stats by 1.125x. And yes, this also means that your opponent actually INCREASES your other stats by 1.125x every time it uses Leer on you! And when YOU use Leer on THEM, they don't get a blasted thing, because Badge boosts are only applied to you, and no one else!
Consider all of this, and I think NOW you can see why the X-items are so much more useful than they first appeared, especially in Gen 1-2. And this isn't even getting to the X-Accuracies, which are it's OWN kind of monster. But we'll get into that later. For now...

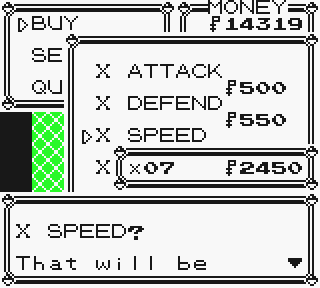
MOAR SHOPPING!

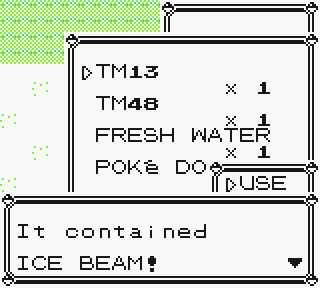
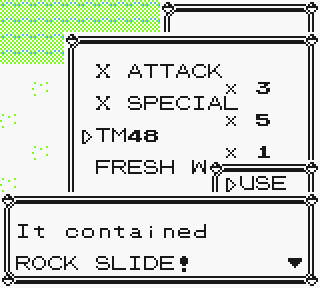
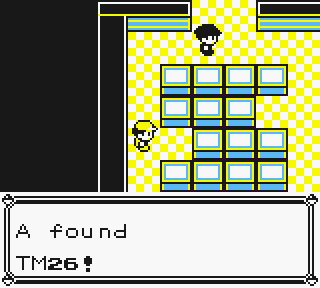
MORE TM's!
Get another Fresh Water on the way out (inventory shenanigans prevented us from just getting a Lemonade I believe)

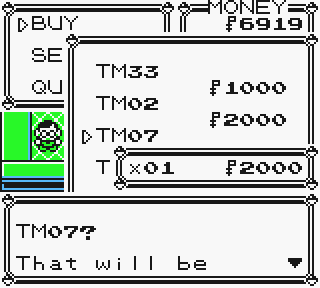
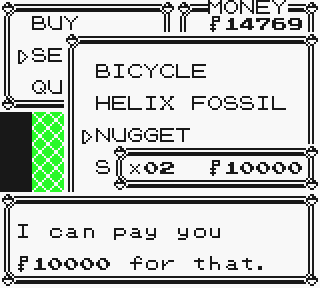
Somewhere out there, Blue's crying big salty tears at all the Zenny we just spent. 25769z, and there wasn't a blasted thing Blue could do about it
") .
.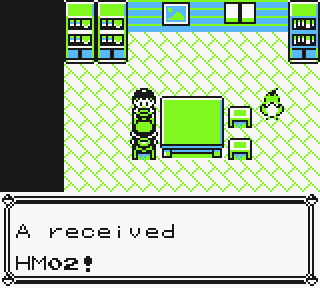
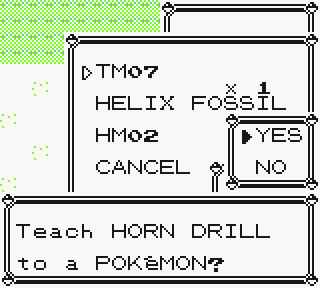
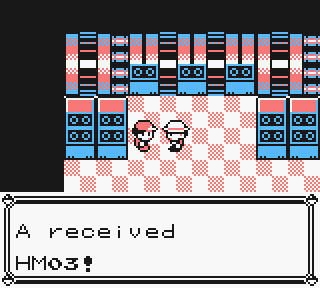
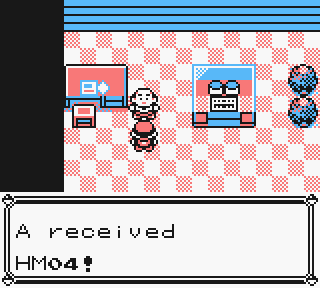
Anyways, HM02 is here, and now it's time...
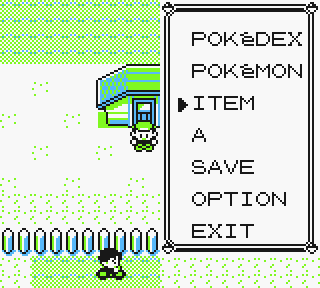
For MORE menus!

Alright Gary, now come'n get what's come'n to ya!
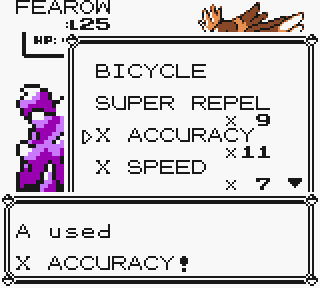
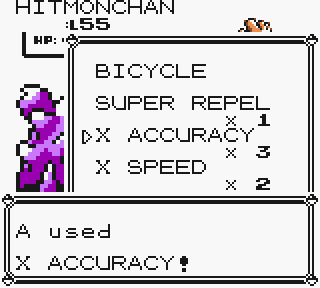
Alright, now here's where things get REALLY crazy with the X-Items. Like I said, X-Accuracies are on a whole nother level from the others, and here's why.
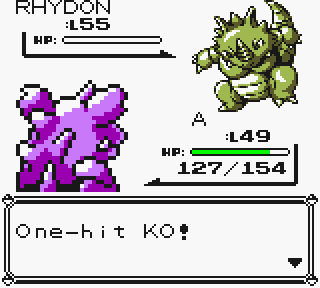
You see, X-Accuracies don't do anything as simple as multiplying the accuracy of your attacks, or of any of your moves. In fact, they don't even increase your accuracy at all. They don't need to. Why? Because when you use one, it enables all of your attacks to completely IGNORE any and all accuracy checks! That's right...every...single...attack...will ALWAYS hit...no matter what. It doesn't matter if your opponent's landed 6 Sand-Attacks on you, nor does it matter if they've used 6 Double Teams. When you use an X-Accuracy, you could use a move with 0% accuracy, and STILL hit them. Every single time. Without fail.
So basically, if I were to use an X-Accuracy in real life, and I tried to hit the moon with a snowball...I would actually succeed. And I wouldn't succeed because my own aim actually got any better. No, I would succeed because the very laws of nature itself would actually bend over backwards to MAKE SURE that that snowball reached the moon, no matter HOW ridiculous that would be.
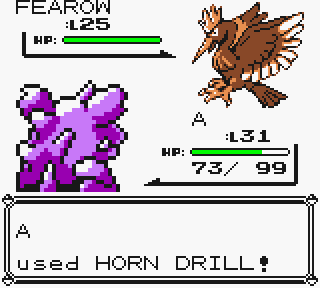
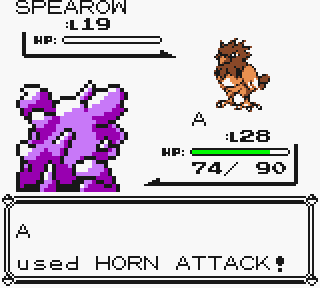
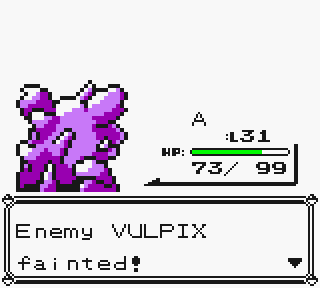
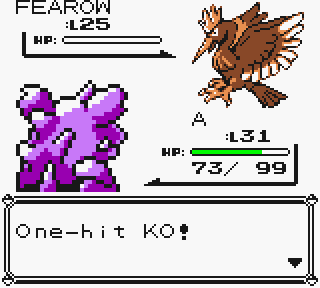
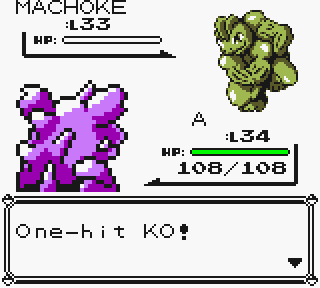
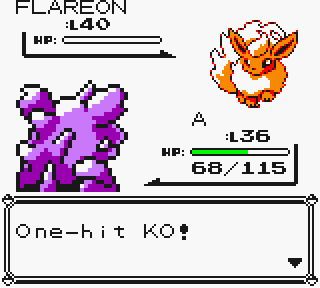
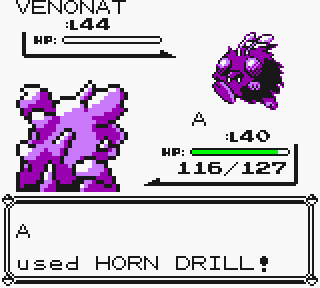
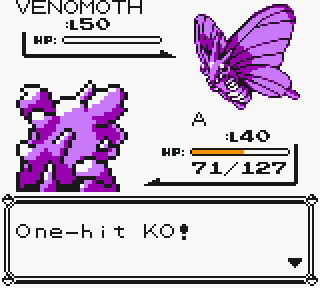
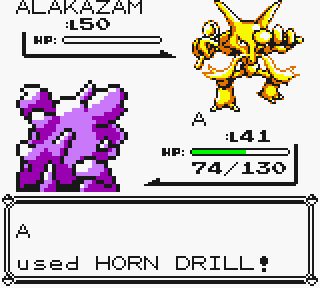
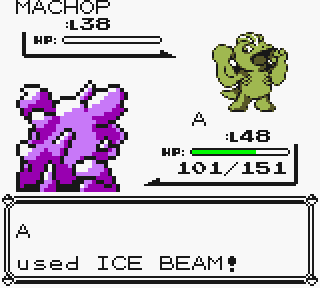
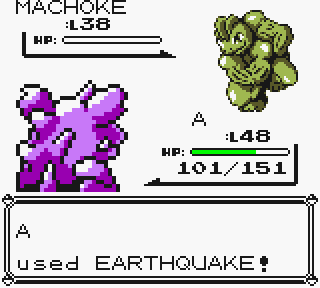
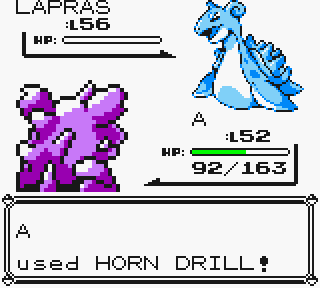
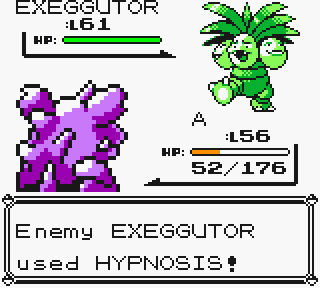
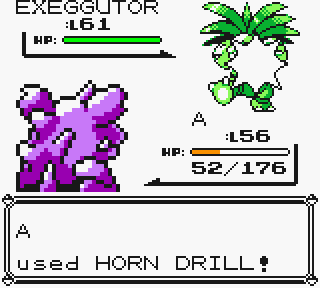
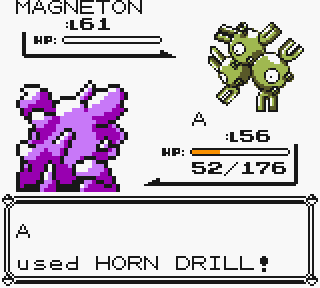
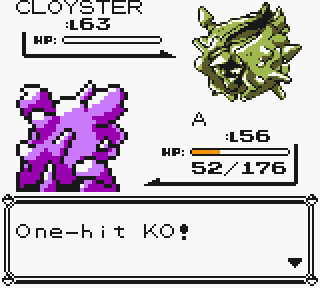
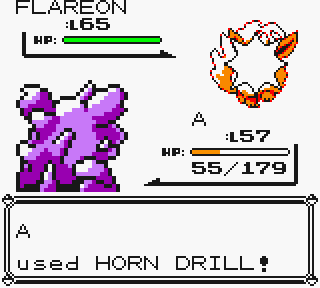
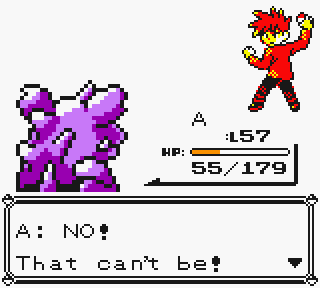
Which then brings us to Horn Drill, the TM we bought at Celadon. This is a Flying-type move that will ALWAYS kill anyone it hits, no matter what. You could be a Level 1 Nidoran fighting a Level 100 Mewtwo, and you would STILL one-shot Mewtwo as long as your Horn Drill hit. Problem is, Horn Drill also only has 30% Accuracy, even assuming that you haven't gotten hit with any Sand-Attacks. Plus, it only has 5 PP, so normally, it's completely worthless...
Except...we just used X-Accuracy. And like I said, X-Accuracy makes it so that your attacks will ALWAYS hit, no matter what, which means...

Yes....Yeeessss....
YEEEESSSSSSS!!! YEEEEEESSSSSSS!!!!
Kwahahah!

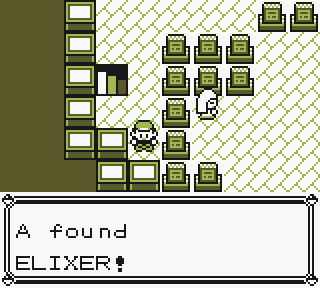
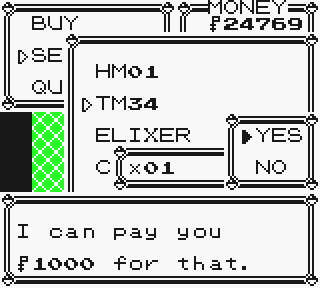
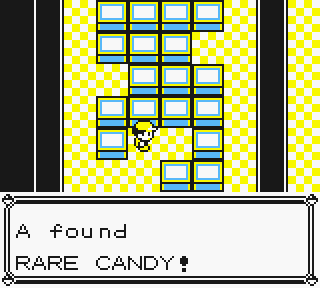
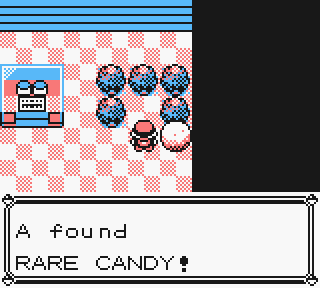
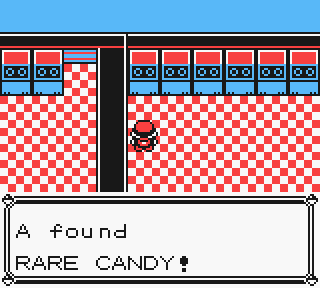
And, here's some Elixers. And just when you thought the game was done throwing us freebies...

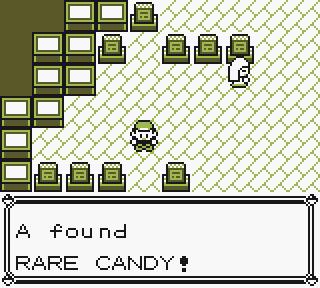
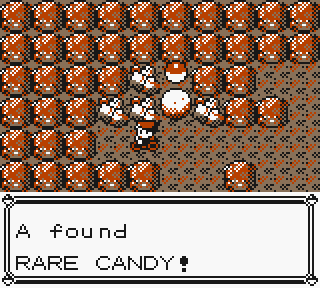
It gives us a forced heal AND a forced Rare Candy! It's amazing just how nice the game is being to us, isn't it
?
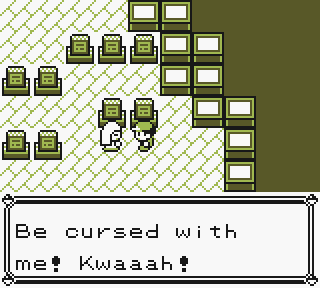
Also, you know that Poke Doll we got at Celadon? Well, in almost all the games it appears in, it allows you to automatically escape every battle you run into. Generally, this is rather useless since your Pokemon's never going to have a lower level than the wild Pokemon. But when used on this Ghost...
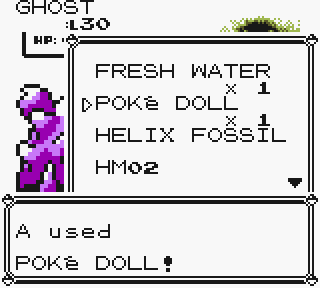

We can bypass the fight entirely! No need to storm the Rocket Game Corner, and no need for that blasted Silph Scope! Nope, you just buy a Poke Doll, and there you go! Problem solved!
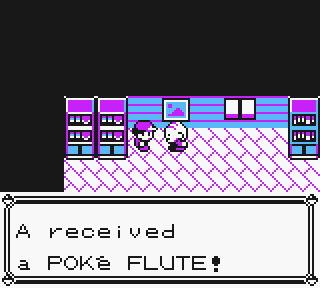
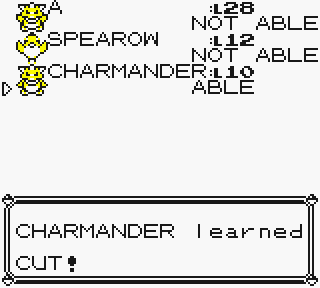
After that, well, it's really quite elementary. Just Horn Drill Jesse n' James to death, get the Poke Flute...

Then just head on back to Celadon and...

(gasp) What?! Are we...actually USING a POKEMON CENTER?! Like NORMAL people?! Yes, that's right. We could use the free healing, but more importantly, this resets our Dig point. Now, every time we escape a dungeon, we'll be warped back to Celadon instead of Cerulean!
Also, did you know that Silph Co. counts as a dungeon? Cuz yeah, it totally does, as well as Sabrina's Gym, Blaine's Gym, and a smattering of other places that you REALLY wouldn't think would count.
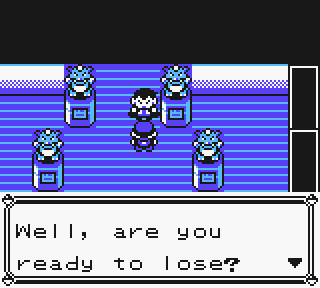
Welcome, to the end of your life! And I promise it's going to hurt!
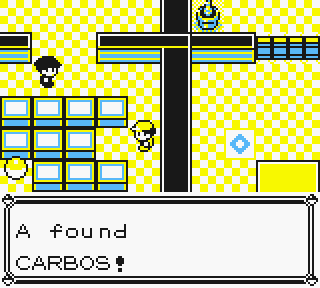
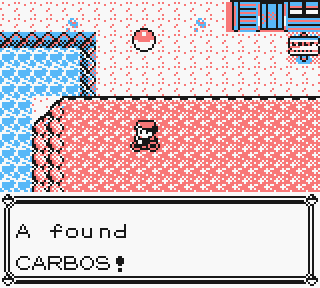
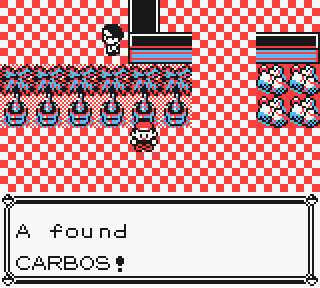
Technically, a true WR run attempt would skip the Carbos, just on the hopes that their Nidoking is fast enough without it. But again, I'm doing slow but safe strats for this LP, so that Carbos is comin' with us!
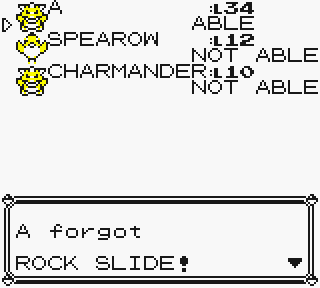

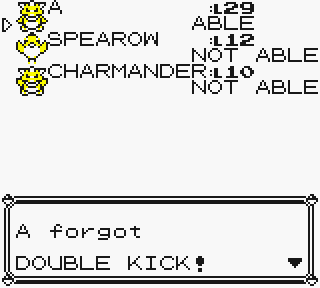
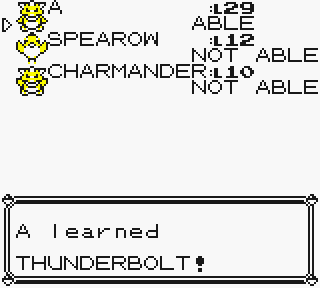
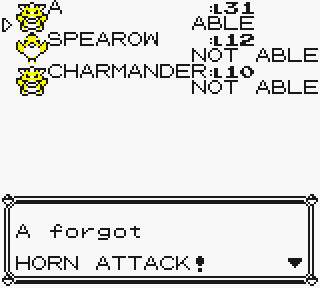
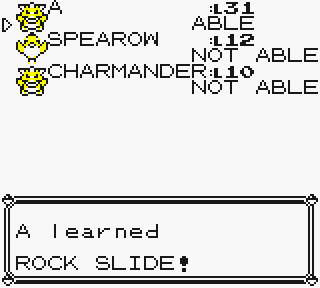
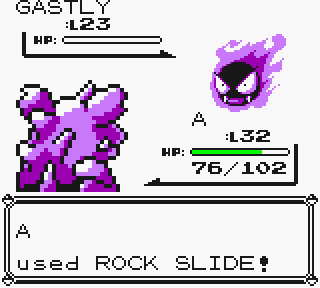
And yeah, we're already replacing Rock Slide. TM management is a funny thing in these speedruns
.
So after that, just go down a floor...
Take the warp...
And show this grunt what's up.
Yeah that about sums up every fight we've had up till now.


Alright Gary, ready for the pain?

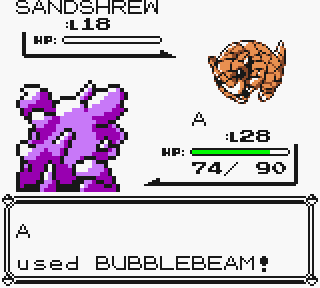
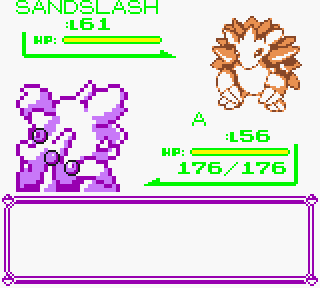
Ooooh, guess not. Actually, this fight IS just a little more tricky than the others, just because Sandslash has Slash. Had he not done that, I coulda used an X-Speed too, but now...
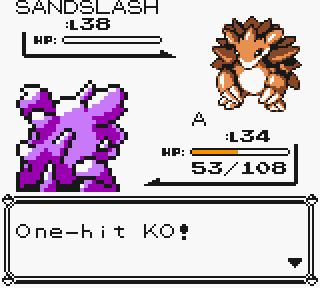
We gotta just charge on through to Magneton and hope he doesn't troll us.
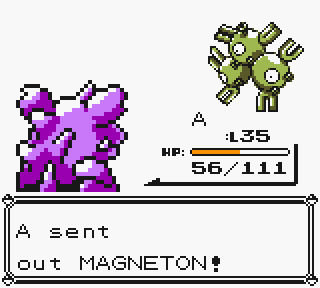
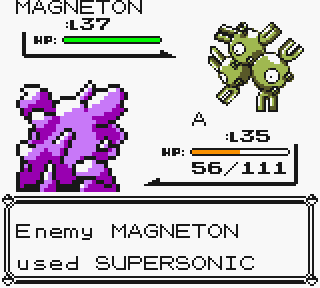
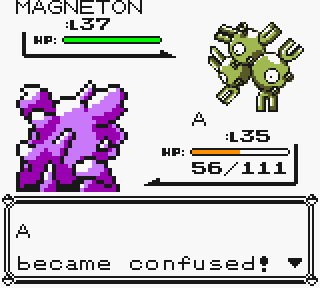

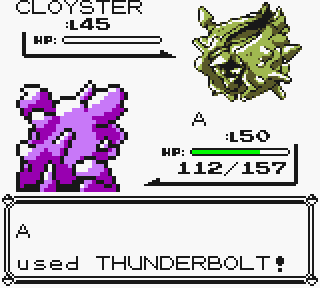
Well, that's annoying. But I can deal with that. Confusion only lasts for 1-4 Turns, Magneton's only capable of doing 32 Damage at most, and Nidoking will only hit himself for about 16 Damage, so we can just stall with Thunderbolt till it's safe.
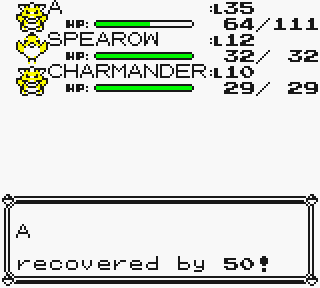
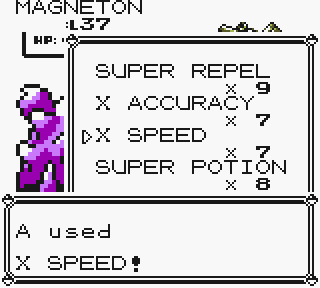
And of course, we have plenty of Super Potions, so,
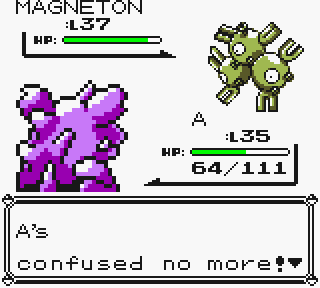
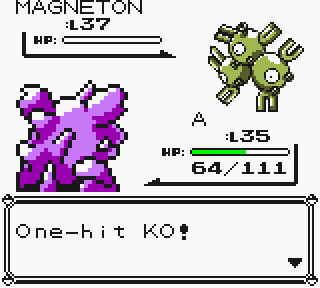
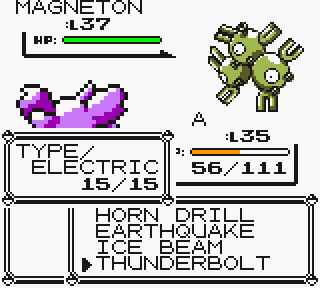
There we go! Horn Drill strike on the 4th turn (I think)!

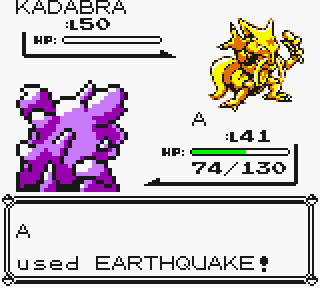
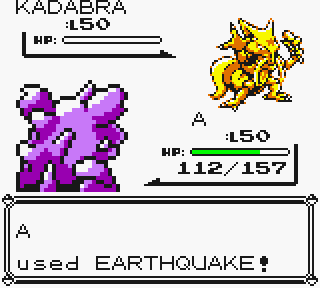
Fun thing about trainer Pokemon btw. Turns out, they don't get Stat Experience like you do. And for that matter, their DV's are never anything exceptional. No, they're doomed to always getting an Attack DV of 9, and a DV of 8 everywhere else. Since DV's can get up to as high as 15, that basically means that every Pokemon you fight will be only slightly above average in every stat. And again, they can't get Stat Experience either, meaning that they'll be out 63 points in EVERY stat by the time you make it up to the Elite 4. So if you're wondering how Nidoking is outspeeding this Kadabra, well, that's why...
...
Well, that and the X-Speed, but, Stat Experience is also working against Kadabra here. Without that, Kadabra here only has 84 Speed, and even a Level 35 Nidoking, with a Speed DV of 0 and no Stat Experience, will reach 96 Speed with one X-Speed. And WITH the Stat Exp we should have so far, our Nidoking would actually reach 103 Speed instead! But, add just 20000 Stat Exp. (out of 63504) to Gary's Kadabra, and all of a sudden, he's now at 104 Speed. Plop on the other 43,504, and YOWZERS! That same Kadabra's now packing 147 Speed instead! Even 2 X-Speeds wouldn't help our Nidoking in that case!
So needless to say, this is definitely NOT the first time Nidoking's going to be outspeeding things he really shouldn't. It's like 7th Saga...but in reverse!
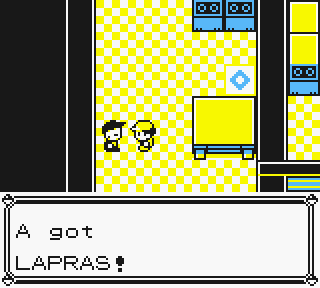
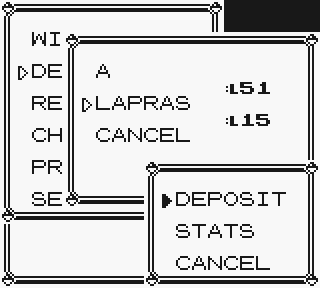
Oh, one more thing, BE SURE YOU GET THIS LAPRAS NOW!! I...actually ended up skipping this during the run, and ended up having to waste a good amount of time backtracking to Silph when I found that "hey, there's no one to teach Surf too!"
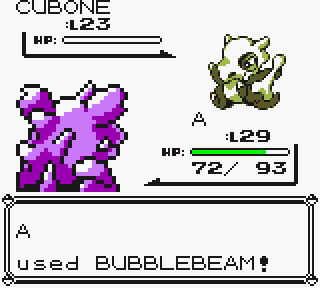
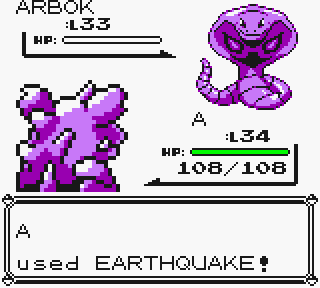
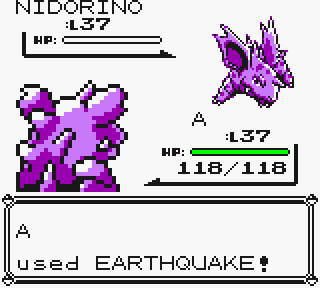
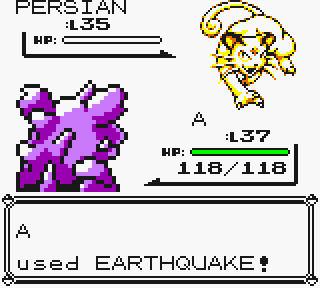
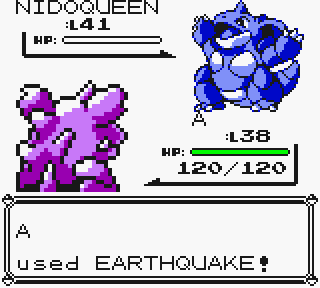
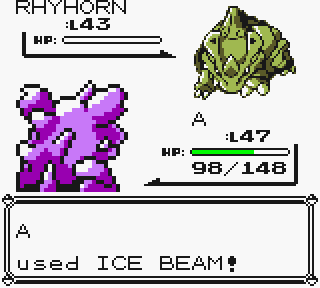
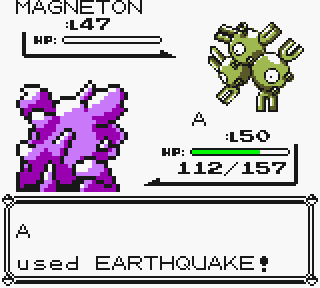
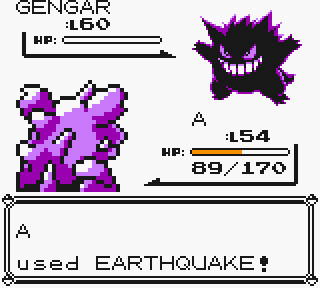
Also, these guys? Just use Earthquake on em...
An' heal up for the climactic fight against Giovanni himself!
Giovanni, the...
...walking...
...talking...

...punching bag...
.......
Yeah, not quite as awesome as he was in the manga, is he?

Oh well, out we go!

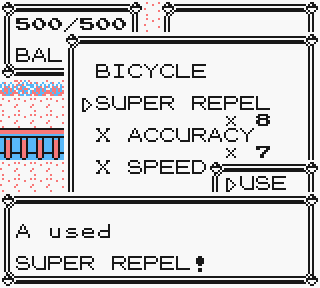
Use an Elixer and a Super Repel, and...
...well...
........


Ok so we basically just spend the next few minutes running around.
NEXT!
BOOM CHICKA AH, BOOM CHICKA AH, BOOM CHICKA AH, MMM, MMM, MMM, MMM, MMM!!
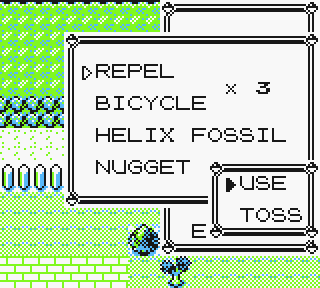
Full inventory strats! 2-3 textboxes skipped! SO MANY FRAMES SAVED

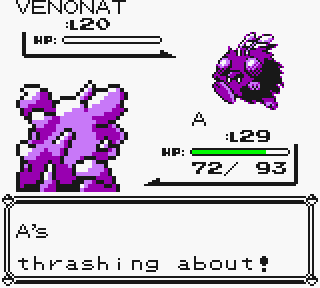
Alright but seriously, come 'ere Koga.

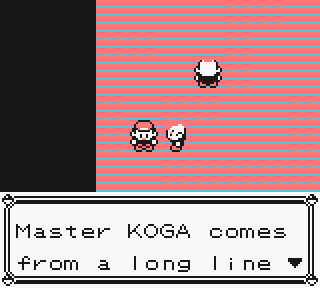
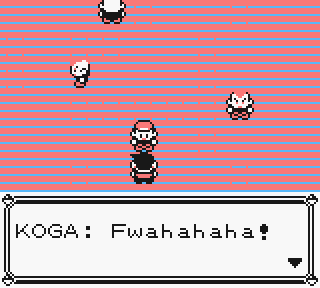
Shut up Koga.

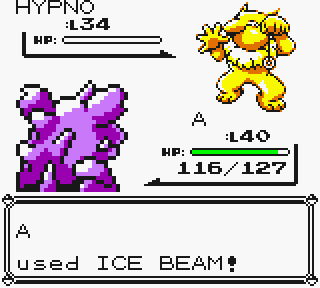
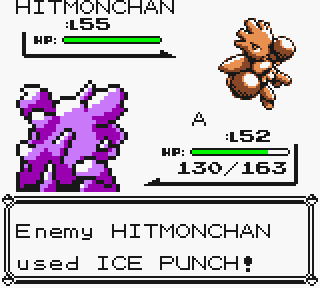
Man, good thing Hypno didn't use Confusion on me. I might've had to like, use a Super Potion or something before fighting this guy! And yes, it was absolutely necessary to kill that first Venonat before using the X-Speed. That first one has Sleep Powder while the second one doesn't, and that wastes time.

Pokemon Trainer Red. Trolling Gym Leaders since 2014.
Ah well, least I'm paying my dues to the elderly. Normally Lapras would get both Strength and Surf here, but...this how long it took me to realize that I had forgotten Lapras at Silph. So, Charmander got Strength instead here.
Alright Sabrina, I'm coming, but if this turns out to be a building of nudists or something, I'm leaving
 .
.

Yeah, too bad you didn't have a vision of THIS!

Sabrina's Abra + No Attacking Moves = Perfect Set-up Fodder
USELESS PSYCHIC POWERS!!
No seriously, get that thing away from me.

Hi Mom.
Bye Mom.

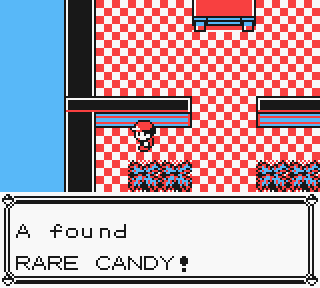
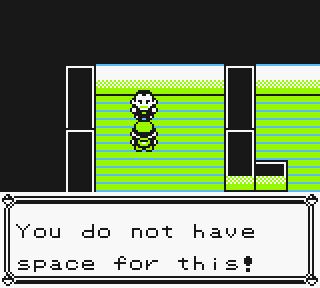
Also, gotta use 3 of those Rare Candies, because the Pokemon at Cinnabar Mansion are pretty high level. Speaking of which, here it is.
Looking back on it, I probably should've just leveled Nidoking up to Level 46, and just saved the last one for Lorelei. That might've actually been a later safer than what I did, but...oh well.
Also, if you got all three Carbos like I suggested, and are saving that last Rare Candy for Lorelei (and I recommend you do), you'll want to use em all up because...
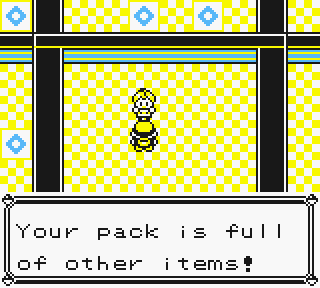
Had we tried to pick this up, our inventory would've been full!

There we go. Off to Giovanni!
HEY!! WANNA SEE SOMETHING COOL?!?
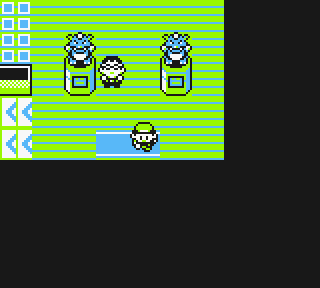
BAM! No arrow tiles for moi!
Alright, now we're at Giovanni, we're gonna heal up, and...

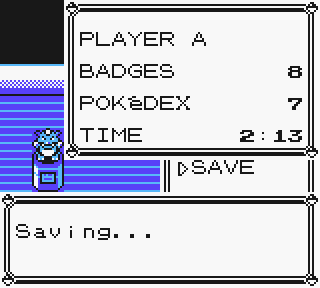
...and yeah, we gotta save. For the very first time since we fought Misty. But hey, look at how much we've done! And that's WITH the time I wasted by missing Lapras the first time
 !!
!!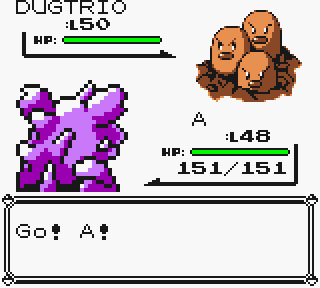
Alright Dugtrio, I know you wanna use Earthquake or Dig, I KNOW you want to...
And that's fine, as long as you don't CRIT me!
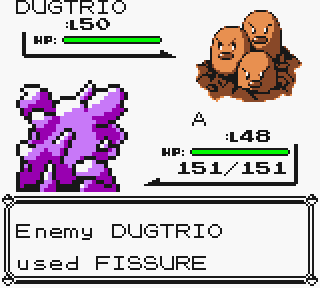
Or heck, just use Fissure, that works too. Especially since OHKO moves don't work on enemies that are faster than you
!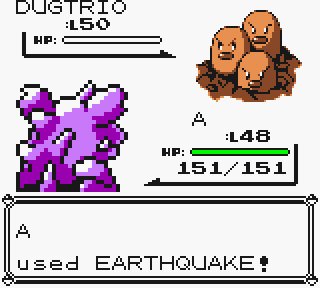
And yeah, that Dugtrio was the only really threatening thing here. After that, it's just another exercise in X-Accuracy pwnage.
Btw, are your lips green? Cuz they're totally green
 .
. 
Speaking of which, here's our Rival.

Remember what I was saying about Stat Exp the last time we fought Gary? And remember the 3 Carbos we just took (2,560 Stat Exp to Speed)? And also the Gym Badge boosts I mentioned? Needless to say, poor Kadabra never had a chance of outspeeding our Nido
 .
.
Anyway, aside from picking up these three items, there's nothing worth mentioning about Victory Road, so,

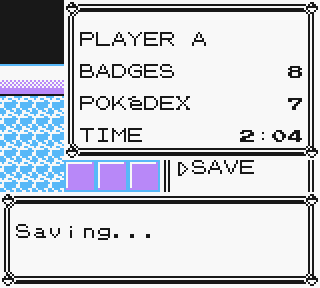
Here's the Indigo Pokemon Center...
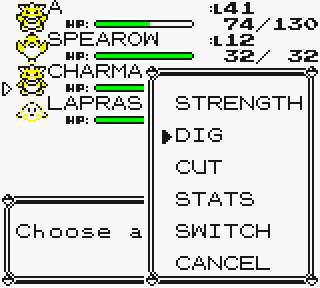
And here's us depositing all of our Pokemon except Nidoking. Because as it turns out, doing that is faster when we're going through the Hall of Fame Sequence.
Oh, and one last thing? Buy a ton of Full Restores, because we'll be needing those.
(gulp)
If you couldn't tell, this is about where the game finally starts getting difficult again. Nidoking has one of THE worst possible typings you could possibly have here, and literally every single person here has some way they can screw us over. Yes, even Bruno.
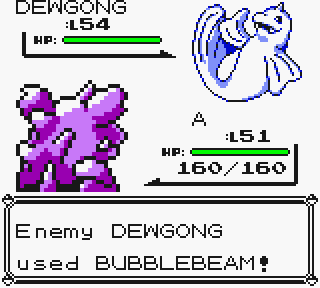
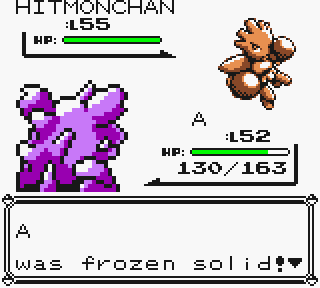
For example, THAT could happen. And of course, had Dewgong gotten a critical on that attack, that would've been the end of our run right there.
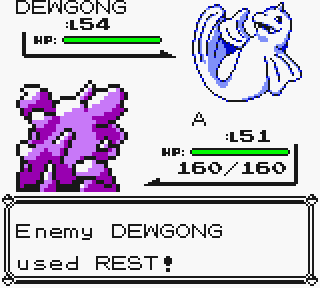
Fortunately, the A.I. in this game is stupid. The A.I. for Gym Leaders and Elite 4 members is set to ALWAYS use Super-Effective moves on your Pokemon whenever it can help it. Which is great, except in this case...Rest happens to be a Psychic type move. Which means Dewgong could very well just spam that without ever doing anything else
...
Oh well, works for me.
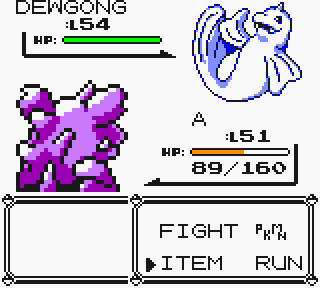
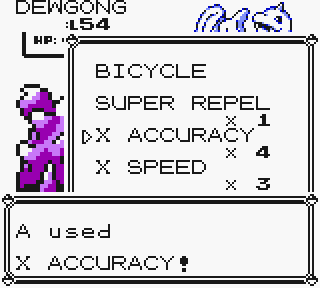
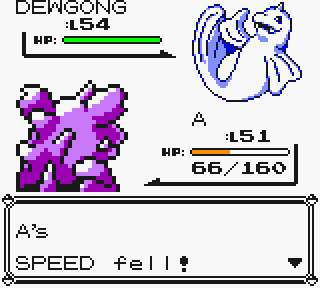
And there's our Gym Badge boosts, kicking in once again. Also, see how our Nidoking just barely survives three hits of that now? This is why I say that I should've saved the final two Rare Candies for Lorelei. Because here, the Damage Ranges are such that Nidoking could've very easily ended up getting 2HKOed even with the badge boost, so long as his Special DV was just a little bit lower.
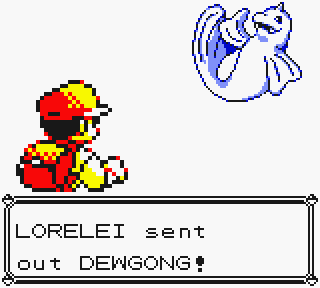
Anyways though, Lorelei's done...

And now we gotta use an Elixer and Full Restore before Bruno (and you DID get those Elixers...riiiiight?).

Oh well, that's why we got Full Restores.
Alright Agatha, don't be a jerk to me.
...
Great, Agatha's being a jerk to me.

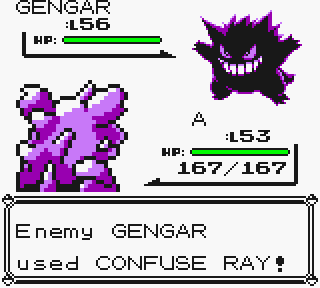
Well, actually I guess it could be worse. Gengar could've paralyzed me with Lick, forcing me to use 2 X-Speeds instead of saving the final one for Lance. Because you see, even when you cure Paralysis, the speed drop is still there! All you did was get rid of the 30% chance of freezing.
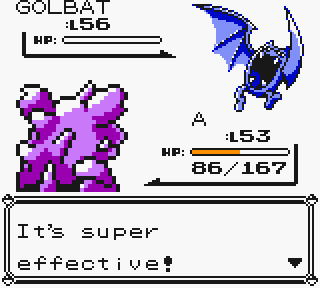
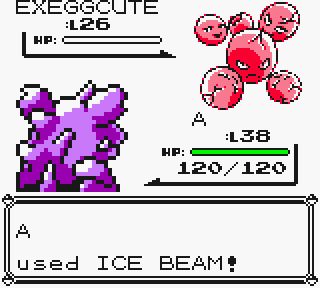
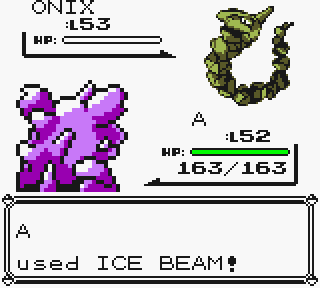
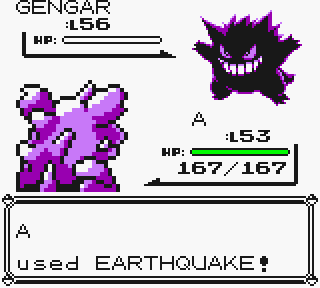
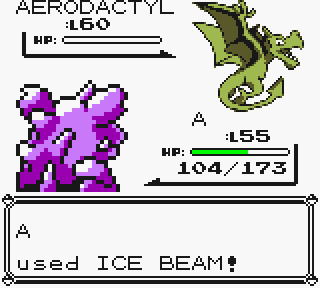
But oh well, we got her in the end. Ice Beam still owns the stuffing out of Golbat, and Earthquake still trivializes everything else.
Alright, second verse, same as the first.


YES!! Nido survived Hydro Pump! Whew!
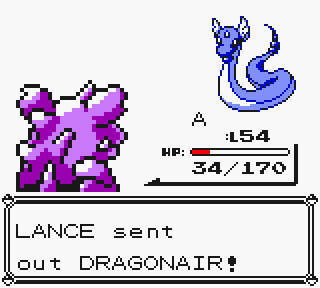
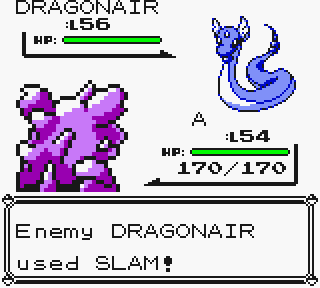
And fortunately, Dragonair didn't end up trolling us with Slam, which means...
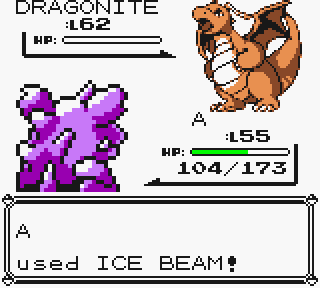
...that everything else ends up going down without much effort. Good thing too, because Paralysis could've really messed us up here.
Ignore this Rare Candy usage, this was an artifact from before I figured out that I should've just used the last two against Lorelei.

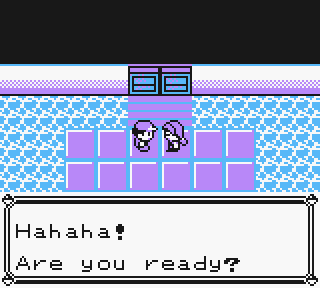
Alright, one last trial...

The final confrontation...
The tables have been set...
NOW LET IT BEGIN!!


YEEEESSSS!!!! YEEEEESSSSS!!!! WE WON, WE WON, WE WOOOOON!!!
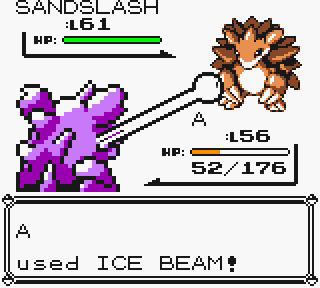
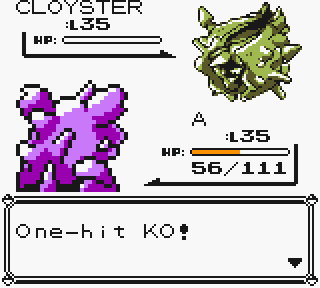
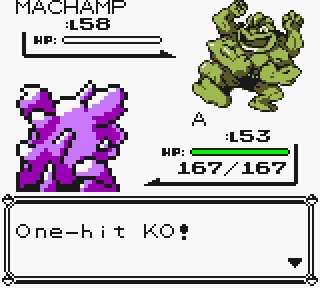
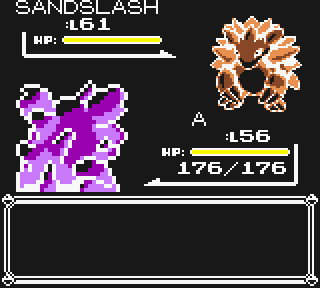
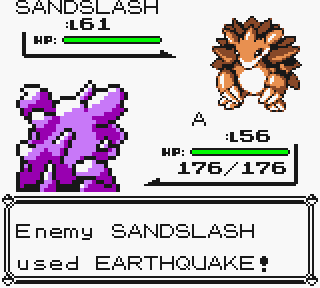
Sandslash gets OHKOed...
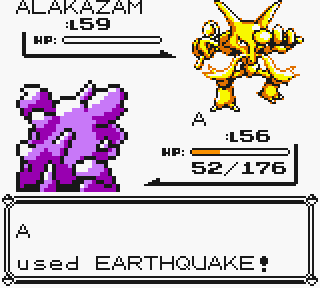
Stat Exp bites Alakazam in the butt once again (dude just can't catch a break, can he?)...
Exeggutor can do naught but flail around...
WE WOOON!!! AND THERE'S NOT A DARN THING YOU CAN DO ABOUT IT!!
NOTHING TO DO...
...EXCEPT KEEP LINING EM' UP TO DIE!!
...
And that, as they say, is that
.
Because the Anime has Tobias, Smogon has Mega Rayquaza, and I have Nidoking.
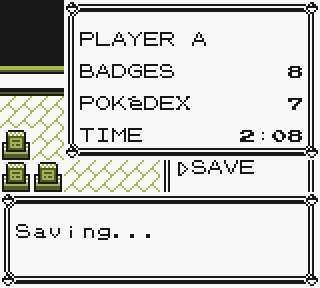
Speaking of which, here's the Hall of Fame!!
...
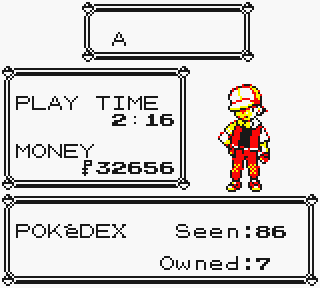
That was short!

So yeah, there's your "grand adventure" right here folks. Don't know why Crosspiece had so much trouble with this game, but there you go! And only 21 minutes off from the WR record run too! SEE Y'ALL NEXT TIME
 !
!