Part 27: The Tower III

[Music: About Town]


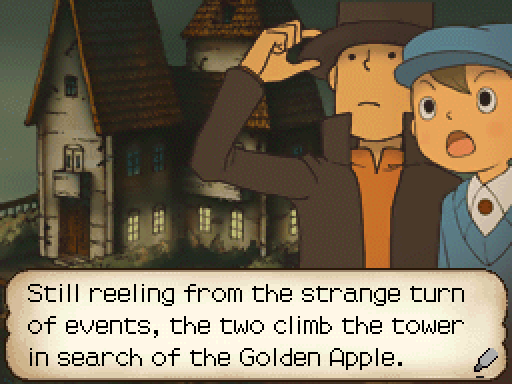
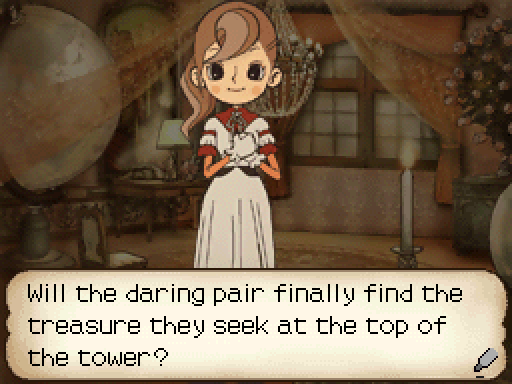
The final recap the game gives us; there's nothing else in terms of plot to see, so from this point onwards it's just post-game(ish) puzzles and stuff.
[Music: The Puzzle Explained ~ Professor Layton's Theme]
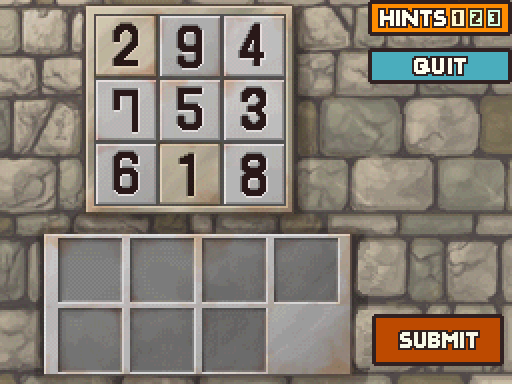
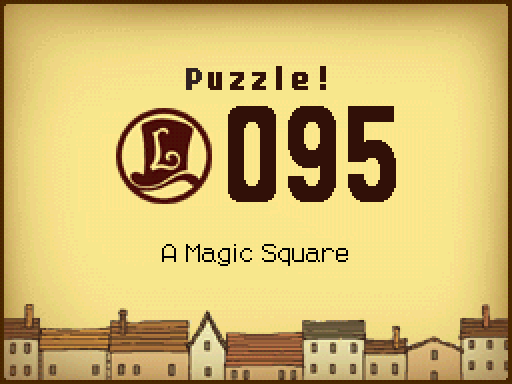
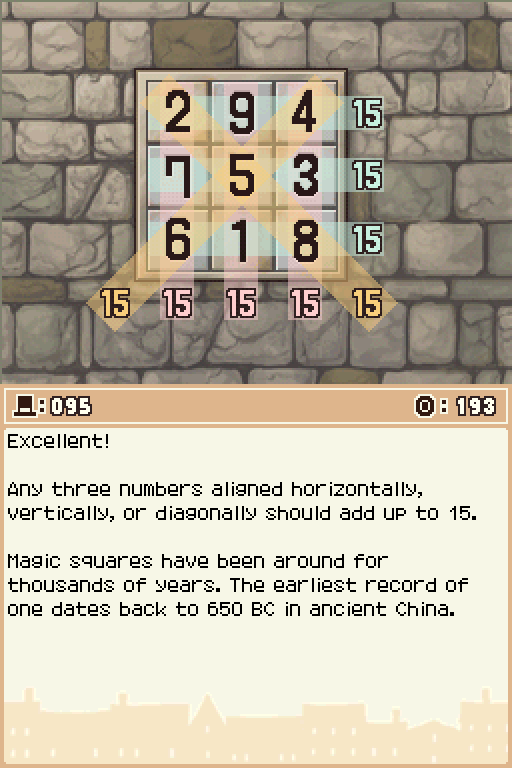
3. You know that the number five goes in the center space. You also know that the sum of each string of numbers is 15. Fifteen minus five is 10, so each pair of numbers that surrounds five should add up to 10. Pair one with nine, two with eight, and so forth. Follow this principle as you arrange your numbers, and the answer is yours.
Being a 3x3 magic square, i.e. the most well known one, there's only one real solution to this with every other one being either a rotation or a reflection in some capacity. Since it's 3x3, the sum of every line, column and diagonal will always be 15 (if it was 4x4, it'd be 34; since the total rises exponentially, for fun reference if it was 9x9 it'd be 369, whereas 11x11 would be 671). In most cases, you'll see the 5 in the middle but it doesn't always have to be in that square. If we were to have only one number pre-placed then we'd seemingly have a lot more freedom with our positions. As it stands, we have the reflection of the Lo Shu square giving only one possible solution.


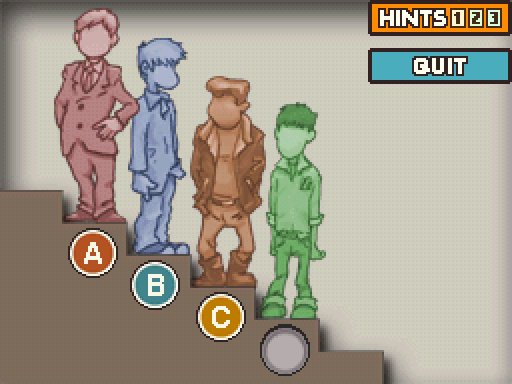
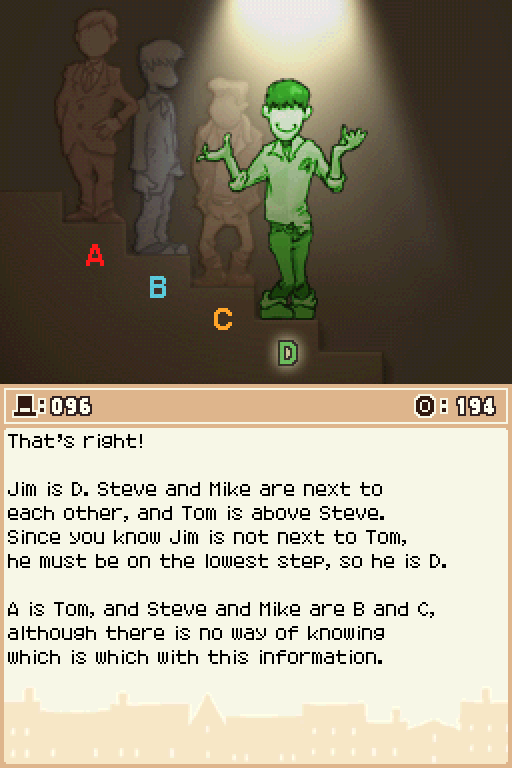
2. Steve and Mike are next to each other. In other words, the are one of the groups AB, BC or CD.
3. Combine the information in the second hint with the fact that Tom is above Steve. You can then add the information that Jim is not next to tom, so...
Just a simple logic puzzle; nothing tricky here.

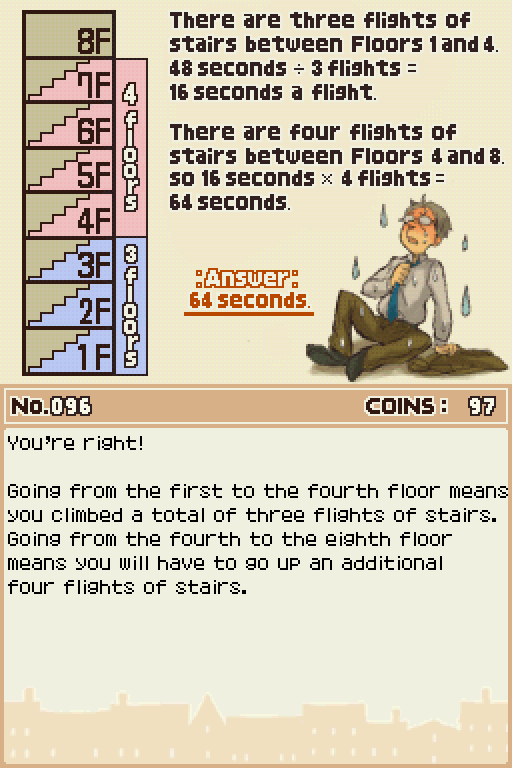
It took me a while to figure out why this one was changed, since it's just simple maths and that's when I realised that the answer would be too obvious outside of American English. I mean it's obvious enough already ((48/3) * 4), but in British English it'd be far too apparent since the ground floor is called, well, the ground floor.
also i imagine continental europe would present similar problems but i can't say for sure in every case there

2. The heart is to the immediate left of the club, and neither the joker nor the diamond are next to the club. So either the club is the rightmost card, or the spade lies to the right of it. Don't forget that the diamond, heart, and joker can't be next to the spade. Therefore, the spade is the rightmost card, and the club lies to its immediate left.
3. From earlier hints, you know that from the right side, the cards appear in this order: spade, club, then heart. As for the two remaining cards, you know that the diamond can't be next to the heart, so the joker must be the fourth card from the right.
These kinds of things are amongst my favourite logic puzzles, since you can do some really fun things with the concept if you wanted to.
Of course, you can also give someone an impossible puzzle if you prefer it. That can be fun too, if done right.
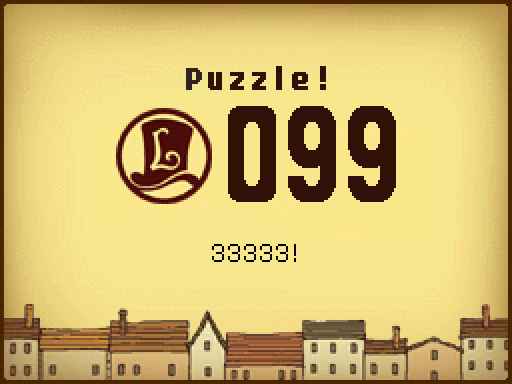
Y'know, speaking of impossible puzzles I can't help but wonder how many people when they first saw the name of this puzzle thought it meant 33,333 factorial (33,333 x 33,332, 33,331 x 33,330 x [...] x 4 x 3 x 2 x 1). I wouldn't think there'd be that many people that'd jump to that conclusion, but I'm sure someone somewhere did.

2. There are two possible solutions, but some digits are located in the same place for both answers. For example, for both solutions, "7" is the leftmost digit of the bottom number.
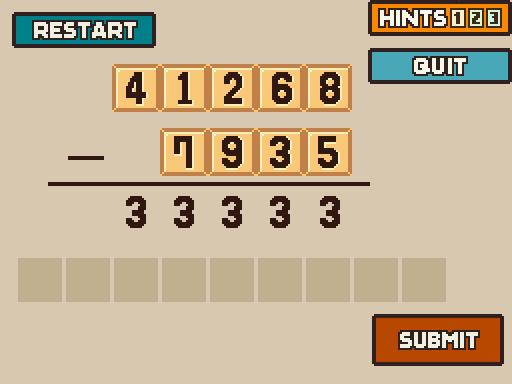
3. This is the last hint you're going to get. For the top number, going from the left, the first three digits are "4," "1," and "2."
It's been a while since we've seen a puzzle with more than one valid answer, huh? They're practically identical apart from the ending but that's somewhat understandable.
There's not much you can do to really alter it, so you're stuck with minimal variance. Still, any variance is a nice variance from the usual "one answer and one answer only".
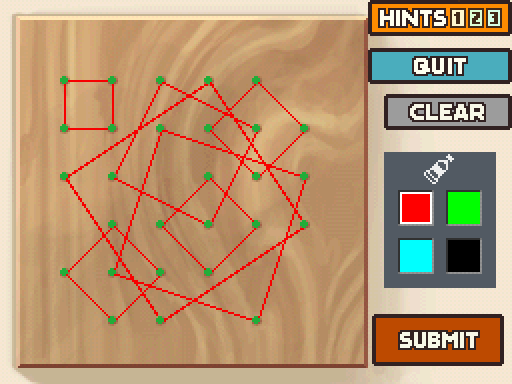
3. The largest square contains the pin that's third from the top on the left column and the bottom pin from the far-right column. You also need to form a small diagonal block using the two pins lined up diagonally on the bottom-left portion of the board. There are two more small squares just like this one on the board.
After trying for a while, I came to the conclusion that even though it's not a specific requirement you need to use every pin to achieve this.
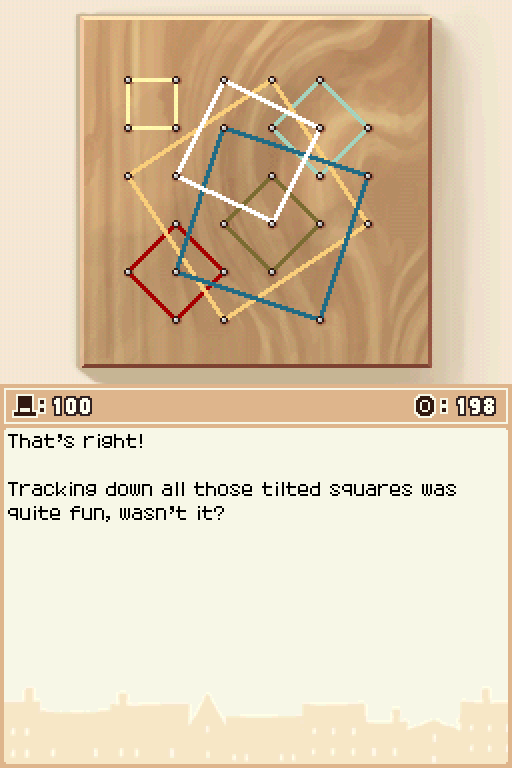
Also there are no alternative solutions even though it looks like there should be.
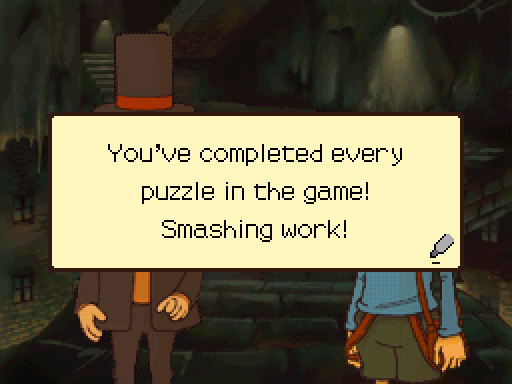
Also with this, we've officially solved all 120 puzzles of the main game. Hurray!
[Music: Setting Out]
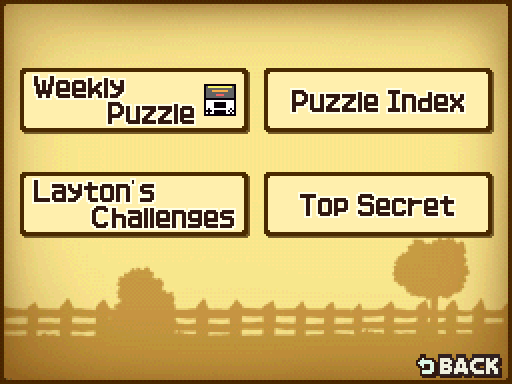
Before worrying about solving anything else, now that we've beaten the game we get a new option in the Bonus menu. Let's see what's in the Top Secret area, shall we?

Now THIS is what we need picarats for. So long as you answer every puzzle, even if you get them all wrong twice first, you'll end up with enough for everything so nothing is permanently missable at least. Annoyingly, the amount needed for each thing isn't mentioned here if you don't have it.
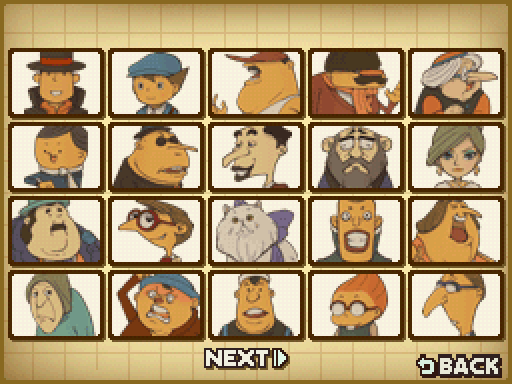
They're almost all self-explanatory, but let's take a look at them anyway. Profiles gives you a short paragraph or 2 on every character (and a little something else too; I'll put them in the second post to peruse at your own leisure.
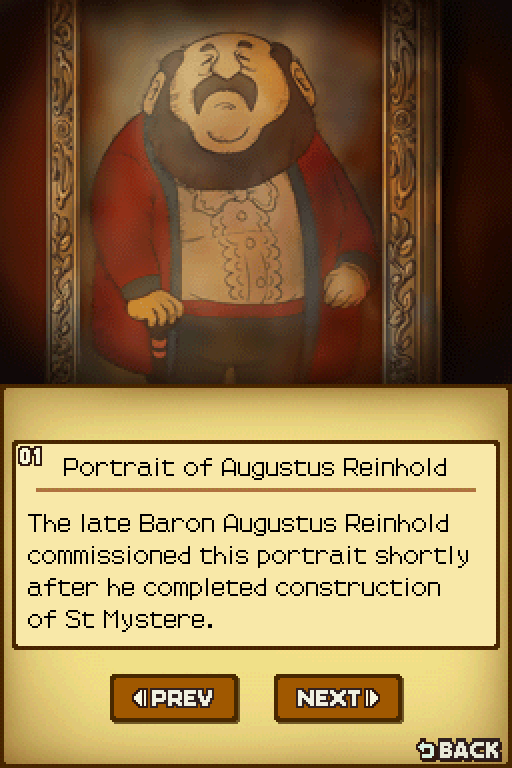
Art is just every important image that appeared in a cutscene. It comes with a minor descriptor, and I'll post them in the second post as well.
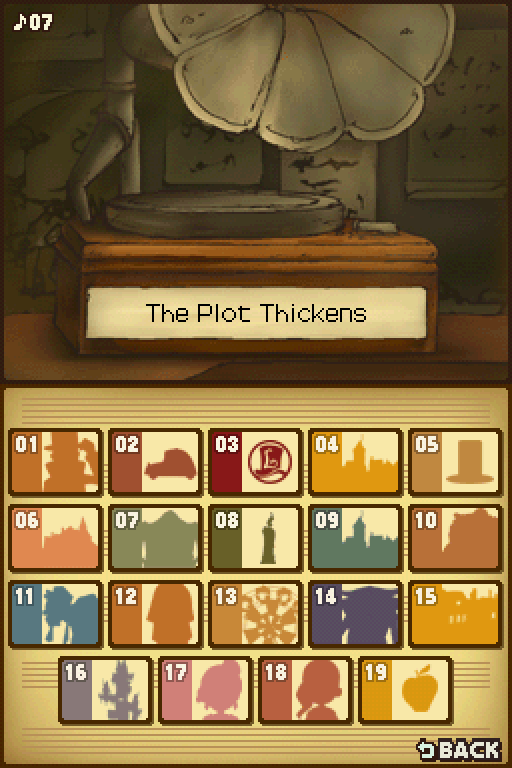
Music is most of the soundtrack, and it's nice enough to even tell you the track's name too. The order they appear in here isn't quite the same order they play or anything though. It's also missing the live and higher quality versions of a few things that appear on the soundtrack itself.
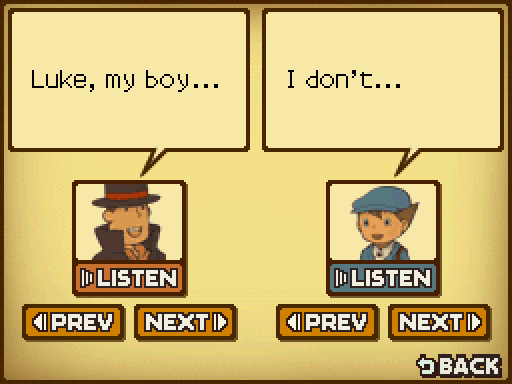
Voice just lets you play a line from the opening cutscene. It doesn't including from after that, so its use is questionable at best.
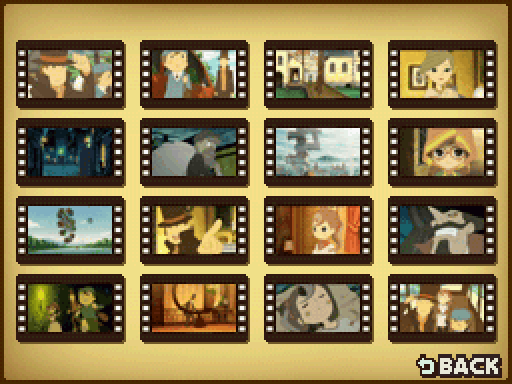
Movies lets you re-watch any 3D cutscene you want. It comes in handy occasionally, or if you just want to see some of the cooler moments (remote control ferris wheel, or the best puzzle we never got to do for example). It shows more than you'd think too, since on at least one occasion two of them are played back to back.
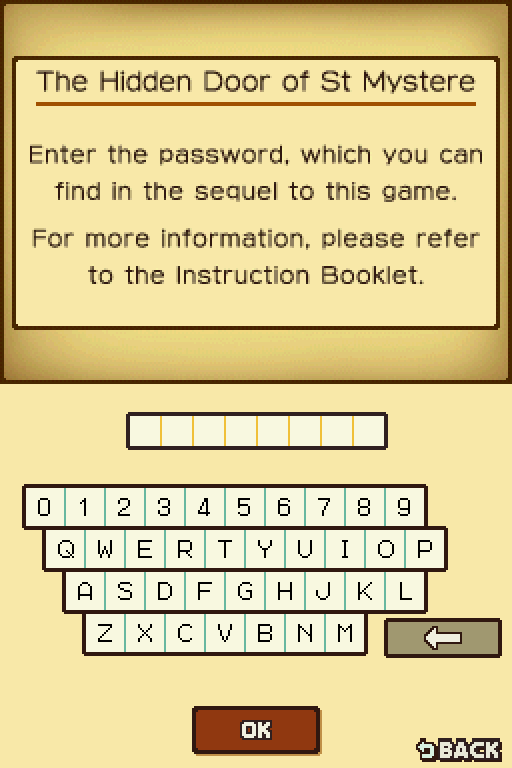
We can't do anything with the Hidden Door, unfortunately. Whatever lies behind it will remain a mystery.
...For now.

[Music: Professor Layton's Theme (Live)]
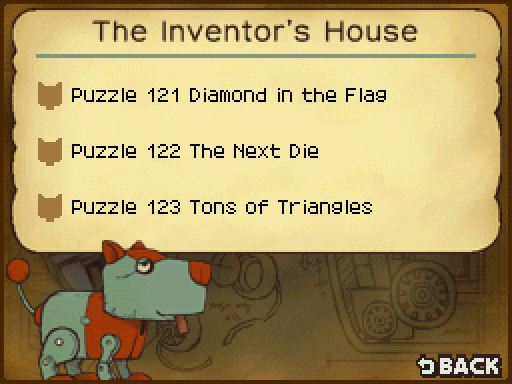
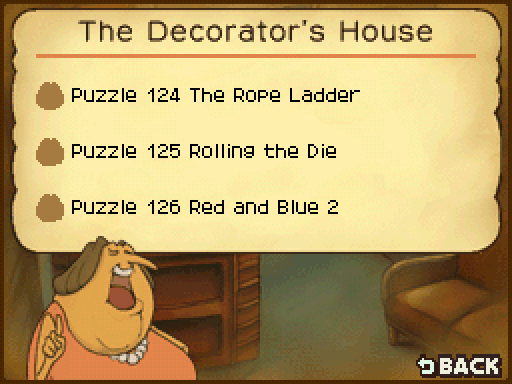
I'll be taking this opportunity to post the 9 puzzles still remaining from the main game, before we do anything else. Consider this a chance to do them now if you missed them before, or to change your answers if you think you got something wrong or just repost them to save me time or something.
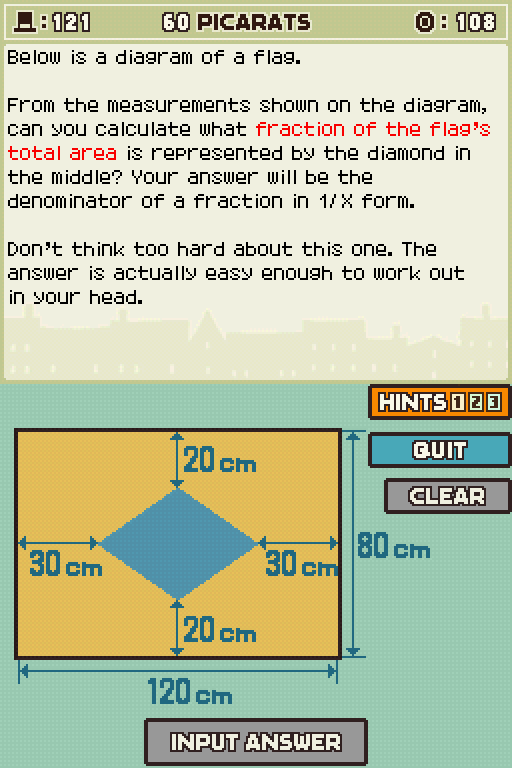
1. Help yourself out by dividing up the flag. First, split the flag into four equally sized rectangles by drawing a vertical line and a horizontal line through the middle of the flag. This will divide the diamond into quarters as well.
2. Examine one of the flag's new quarters. These smaller rectangles can actually be broken down into fourths again. Be careful when calculating the length for each side. Is each small rectangle really 30 by 20 inches?
3. When you divide the small rectangle into fourths, you will end up including a portion of the diamond in one of the smallest rectangles. What fraction of the rectangle's area does that slice of the diamond represent? Figure that out and you're a step away from the solution.
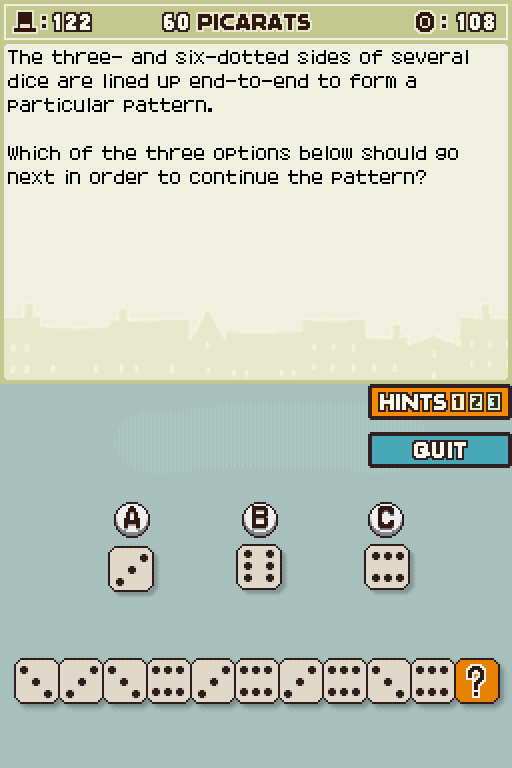
1. Examine the dice and try to find a reason or method to their orientation. You might think that the dice's arrangement has to do with the total number of dots, but this puzzle is far more simple than that. Just pay attention to the way the dots on the dice line up.
2. Look at the way the dots are lined up. See how there are three rows of dots stacked on top of one another? One of those rows holds the key to this puzzle.
3. The dots on the dice form three rows that are stacked on top of each other. You need to focus on what's going on in the top row. Scan the row from the left to the right. Do you notice anything going on?
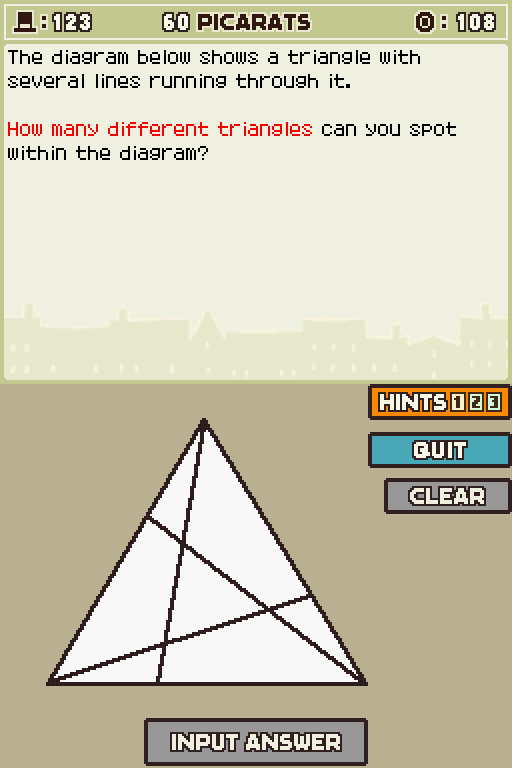
1. There really is no trick at work here. You just need to find all the triangles you can. Look carefully so you don't miss any triangles that are hard to spot.
2. Several triangles can share a single side. To make matters even more confusing, you need to look at every side of the big triangle to find all the triangles. Make sure you don't accidentally count a single triangle twice during your search.
3. First, go ahead and count the large triangle all by itself. Then, add one of the three lines that splits the big triangle into two. Now your total has grown to three triangles. Next, add one more line to your big triangle and you'll create three new triangles. There are three combinations of two lines possible. Good luck finding the rest.
Oh, and I'll be skipping over the sliding puzzles from these for obvious enough reasons.
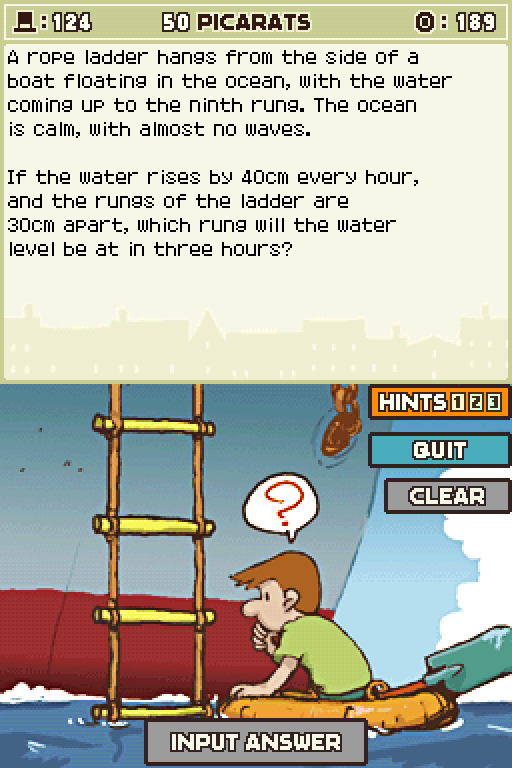
1. Before you get started on any calculations, read the explanation very thoroughly.
2. The end of the rope ladder is under the surface of the ocean. Try to
picture this. you'll see how easy this puzzle really is.
3. The boat is floating in the ocean! It's not going to sink when the water level rises, is it?
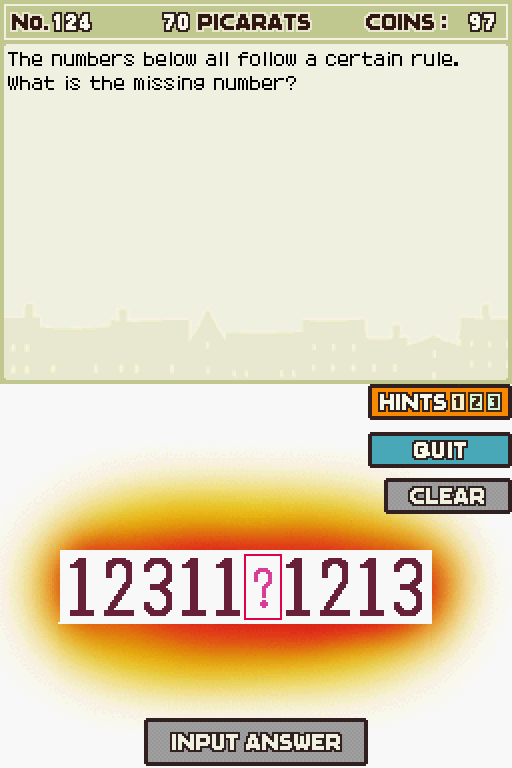
1. As mentioned earlier, the numbers are lined up according to some rule or idea. Continuing the string out to the left, the number that would go in front of the first number is zero. The number that comes after the final three is one.
2. If you were to break up the string of numbers, the first group is "1231."
3. If you need another hint, look no further than your closest calendar. You should find numbers lined up in a similar fashion within its pages.
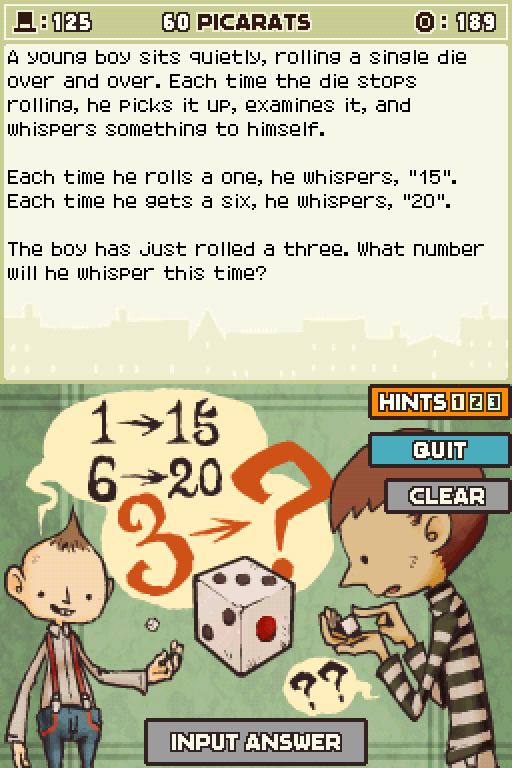
1. A key phrase that you should keep in mind as you solve this puzzle is "sum total".
2. Your average die is labeled with the numbers one through six. What number would you get if you added them all up?
3. Fun fact time! Did you know that opposing faces of dice always add up to seven?
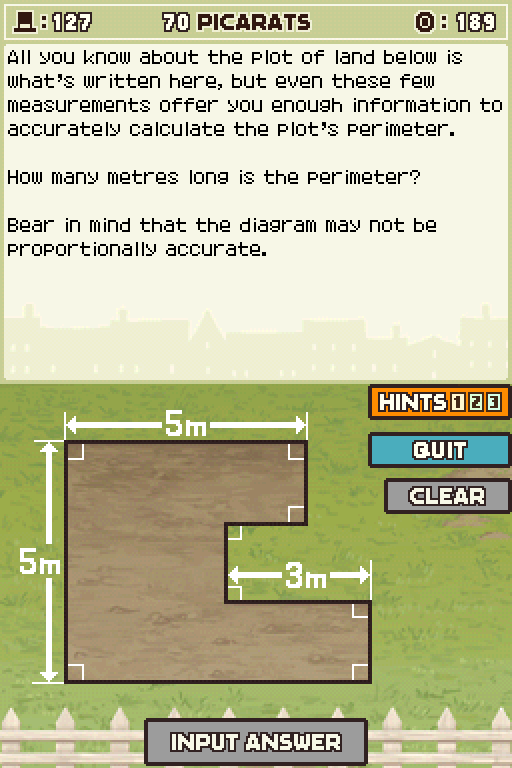
1. First, don't be thrown off by the shape of the plot's right side. The total length of the right side is five feet. Now focus your attention on that three-foot measurement. It plays a pivotal role in helping you solve the puzzle.
2. Try drawing a line straight down from the upper-right corner of the plot. This will divide the area marked three feet into two section. The two parts you just created with your line may not be labeled, but you might be able to find equivalent lengths somewhere else on the perimeter of the shape.
3. If you look around the shape, you can find two other lengths equal to both parts of the three-foot edge you divided with your line in Hint Two. If those two parts total three feet and you know there are two more segments identical to those two, then the total of all the edges with unknown lengths should be...
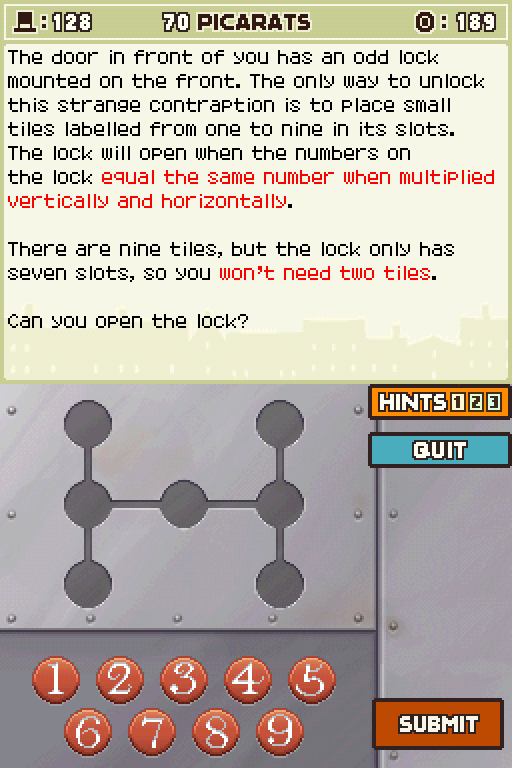
1. There are multiple correct answers, so the best thing to do is just work patiently until you find a solution. For those of us without patience, here's a more obvious hint: you can eliminate the five tile.
2. The five tile isn't used in your answer, nor is the seven tile. Now that you know the seven tiles you need to work with, see if you can find the answer.
3. When you multiply each row of numbers, they should all equal 72. If you still feel like you could use a hint, here's one more. Place the two tile in the center slot of the lock.
...Oh, all right fine.
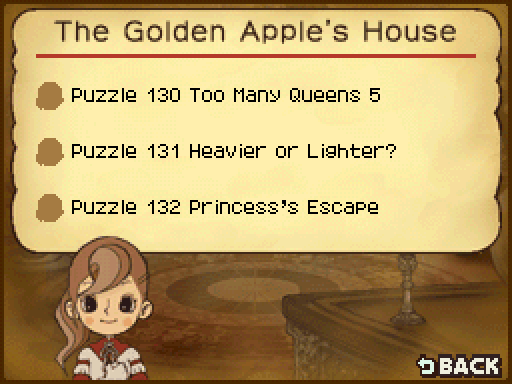
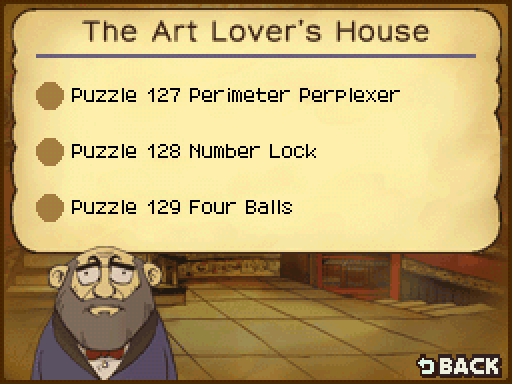
The only requirement for unlocking these three is beating the game, but I'd recommend clearing out the other 3 "houses" first. That's because...
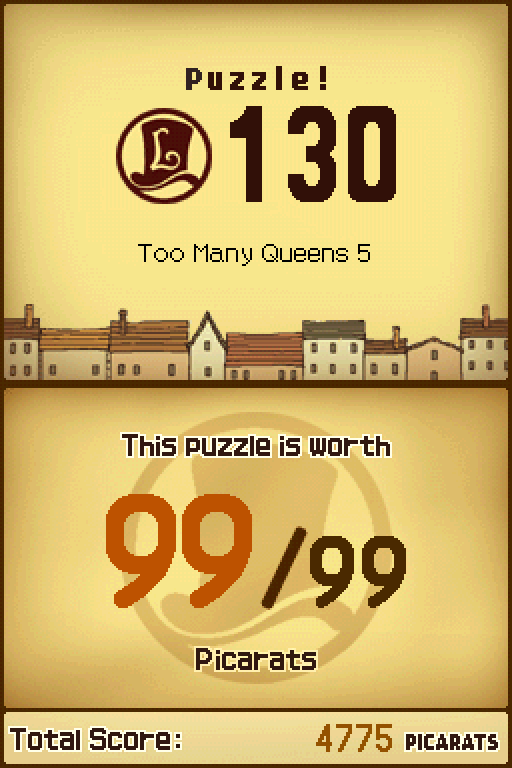
99 Picarats is reserved for what is meant to be the hardest of the hard. I wouldn't quite say that this first one isn't quite deserving of that title for one simple reason.
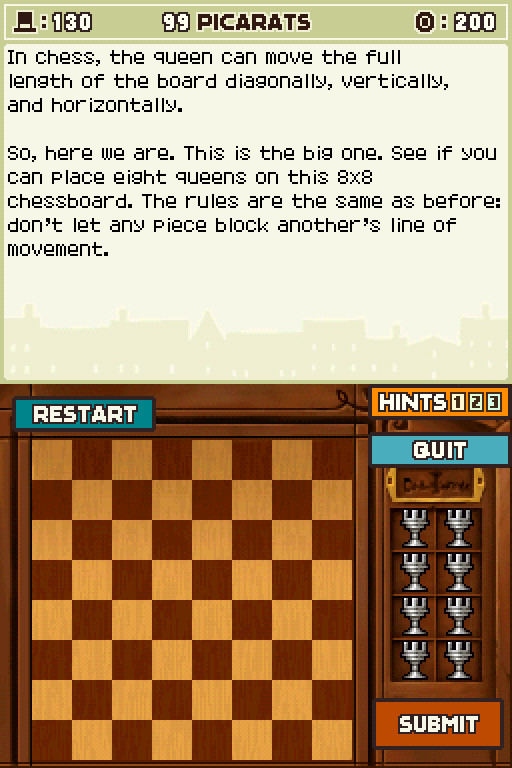
1. You're an old hand at these puzzles, so why not try to solve this one on your own? Just so you know, there are 92 possible solutions to this puzzle.
2. Sorry, no hints!
3. Hey, didn't you read Hint 2?! No hints!
There's one very obvious trick you can do here to make this one a joke. Needless to say, any answers actually doing that will be ignored because that's not very fun!
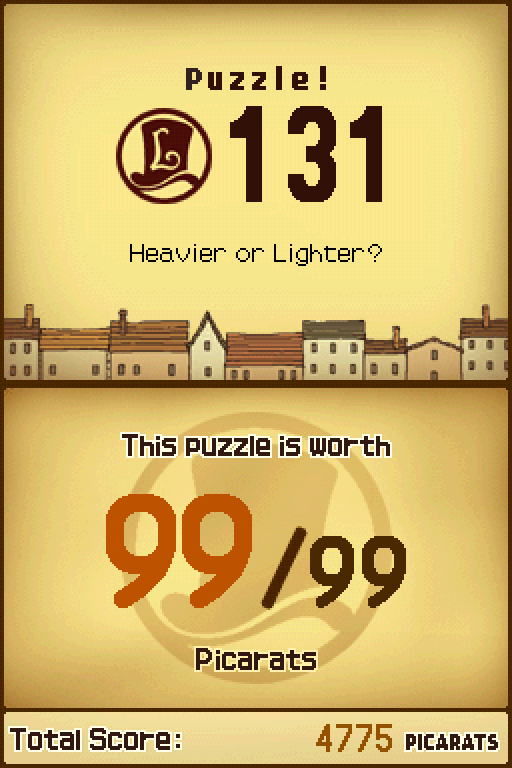
Here's one that I know at least one person has been waiting for.
1. There is no one definitive way to solve this puzzle, but it's best to start by putting four weights on each side of the scale. If the scale tips one direction, you know that the four weights off the scale don't contain the weight you are looking for. If the scale stays level, you know that one of the four weights you didn't load on the scale is the irregular weight.
2. If the scale tips after you weigh eight weights in the fashion described in the first hint, take one set of weights off the scale and keep the other four where they are. Next, put the four unweighed weights on the empty side of the scale. If you make it this far, all you need to do is narrow the possible choices down one more time in the next step.
3. If your scale doesn't tip after your second weighing as described in the earlier hint, you know the odd weight is somewhere within the four weights you took off the scale. If the scale tips in the same direction as before you know the irregular weight is somewhere within the four weights that you kept on the scale. If it tips in the opposite direction than before, the weight you seek is one of the four you loaded on the scale before the second weighing.
Since which weight is the answer is completely random, I'm interested in the method used to guarantee you get the right answer this time.
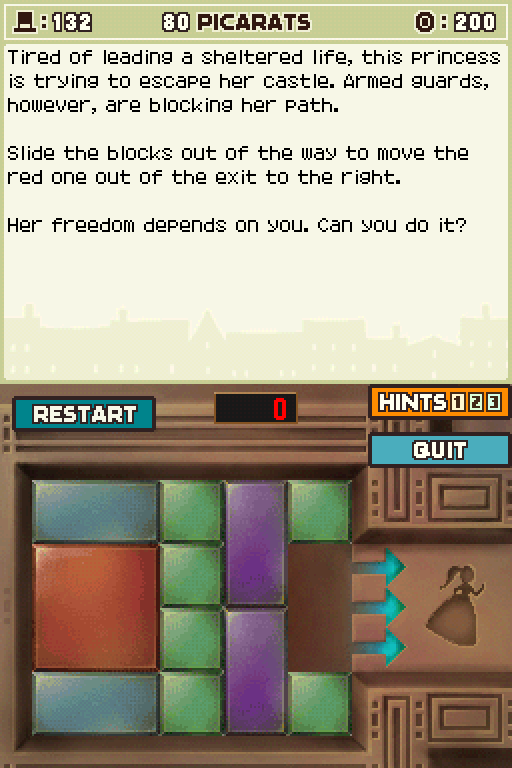
...At least it's "only" worth 80. Still, not doing it yet.