Part 26: Tribal Customizations
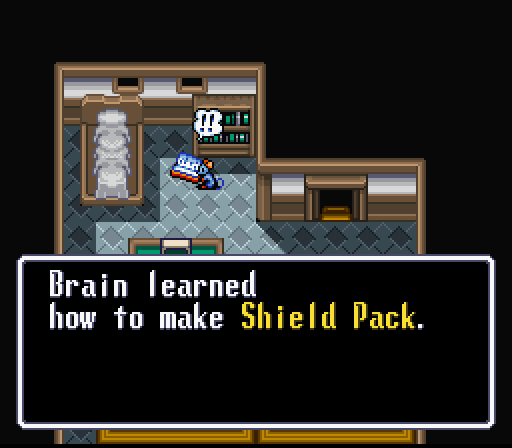
We're starting off this next part with pure excitement - picking up the other available schematic available at Dad's place. Shield Packs, understandably, are the defense equivalent of Power Packs. However, killing things faster means we eat less damage in return and we're already equipping Shields for boss fights. So, this is a pack that's never seeing use in this run. For now, though, let's get to finding out how to get to that island.
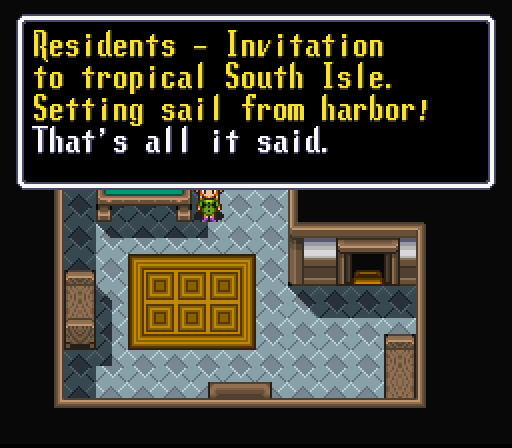
Oh hey. How convenient.

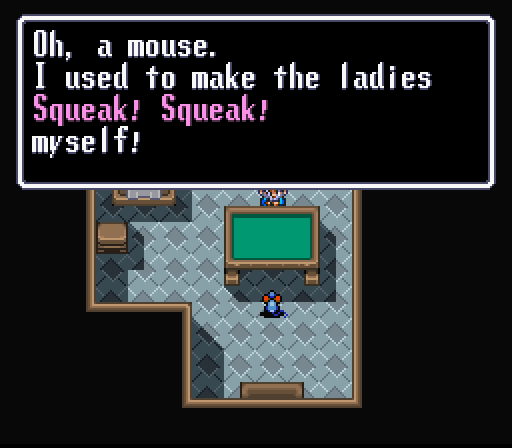
This gets us access to the Harbor, whose only point of interest other than the boat to the island is an old fisherman who gives us a little more information than we needed.
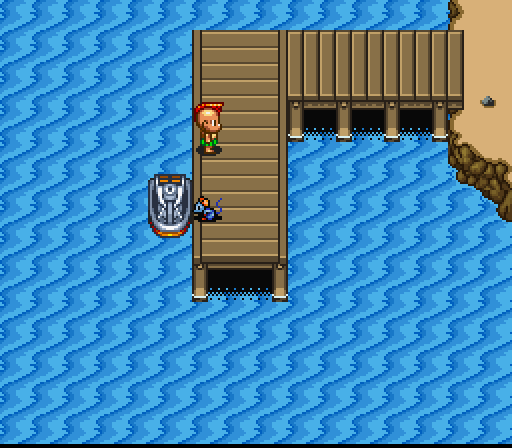
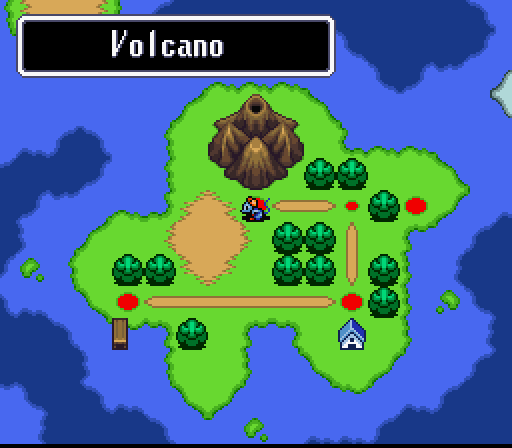
So let's just ignore the hell out of him and catch a ride in our appropriately-sized boat to the island. That stone isn't going to find itself.
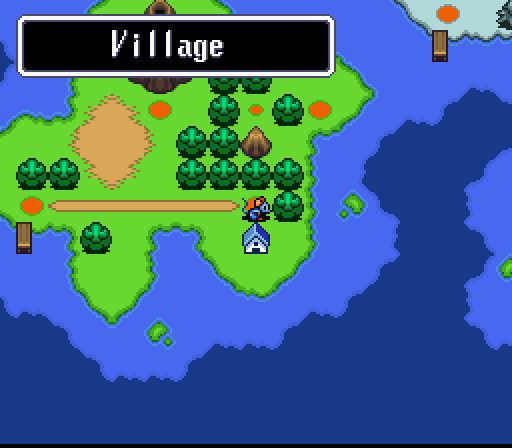
The only village on this island offers such spectacles as volcano tours and angry shamans. Shamen? Either way, we've reached a new level of inconvenience for our mouse run here on this unnamed tropical island.
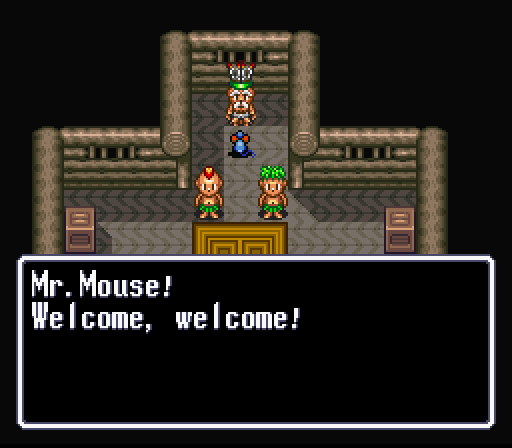
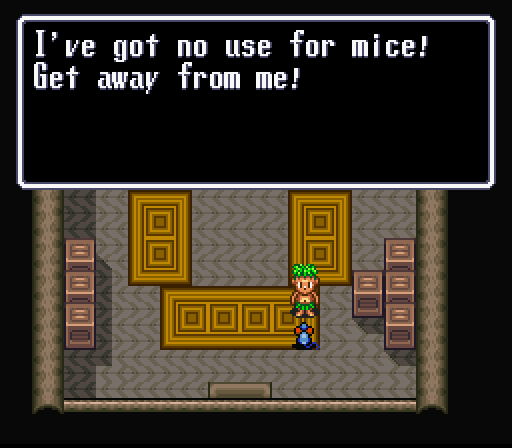
All the villagers here have a set reaction to our hero, meaning that the switch-and-back trick is going to see a lot of use here. Fortunately, this problem isn't with everyone. The tour guide, Mint, and the MAYOR of all people will still talk to us normally. However, the village chief suffers the same problem as the Mayor did back home. Also, the dancers won't dance for us, which sucks.
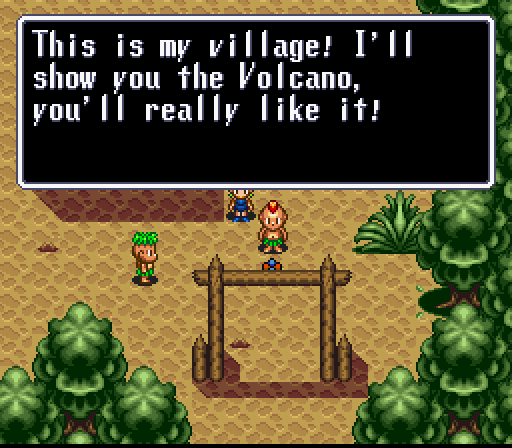
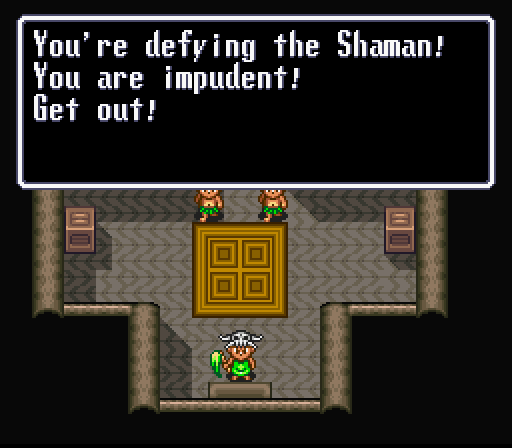
After seeing the shaman temper tantrum and hearing Mint's conspiracy theories, we do the next logical course of action and take a nap. This results in our second dream sequence of the game. After waking, we can now talk to the tour guide and he'll open up the path to the Volcano. Because touring an active volcano seems like such a capital idea.
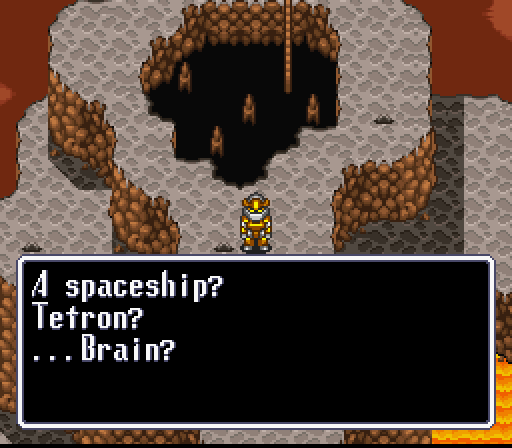
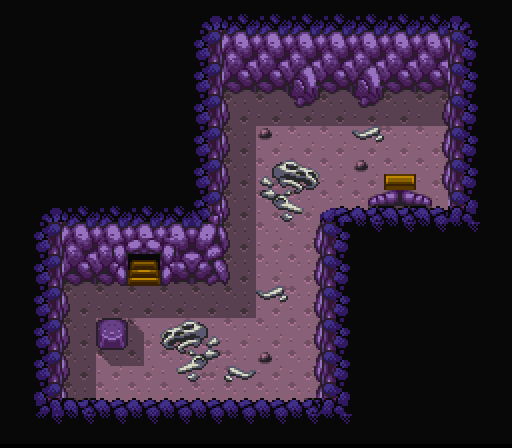
He's waiting for us at the crater - or top - of the volcano, and there's no enemies here to run into. So it's a straight shot to continuing the plot if you so wish. It should be noted that the entire time, the screen has been rumbling on and off since we've landed on the island. I wasn't kidding about them giving us a tour of an ACTIVE volcano.
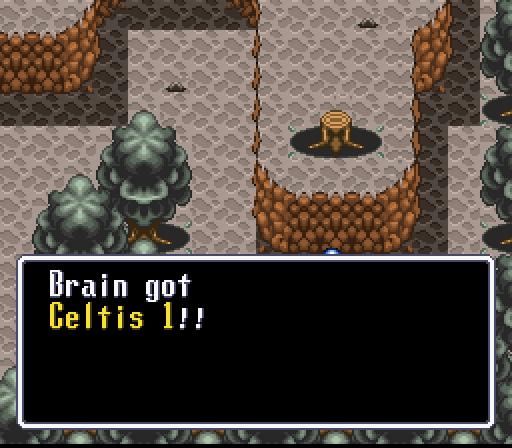
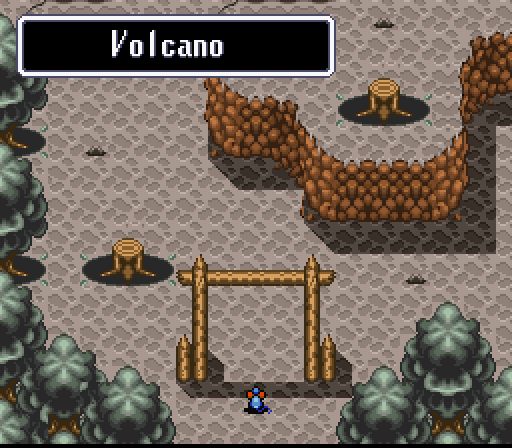
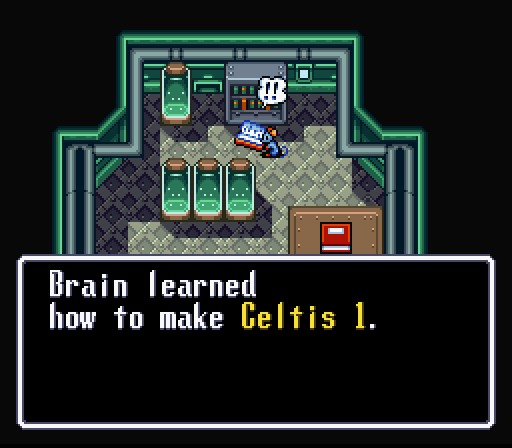
However, since we're in the area anyway, there's two capsules lying around to the bottom-right and upper-left of the map. Opening both nabs our hero with a Celtis 1 and 300G. Celtises... Celtisii? The throwing hammer is actually a superior ranged weapon to the Shot line, especially if we spend the time to upgrade them. However, we're going to be getting something much better pretty soon, so it's best to hold off unless you like pretending your robot is a Hammer Brother.
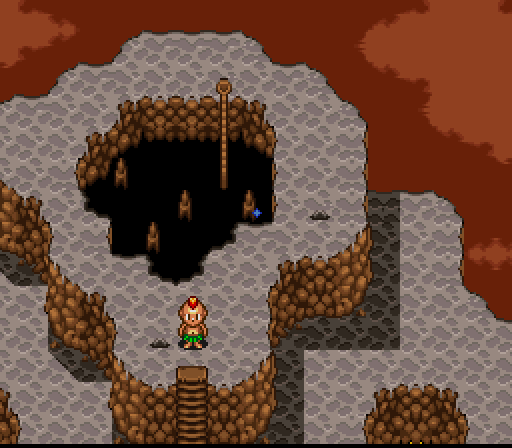

The tour apparently involves going unsupervised into the throat of the volcano, and then getting yelled at when you wander too far in. The villager actually goes so far as to pull up the rope to keep you from getting back out, so make sure you have any combining or shopping done before going in here. And no, I don't know what he was supposed to be saying there either.
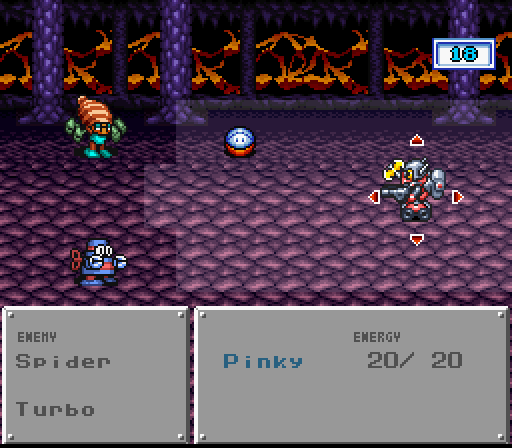
The Volcano is the domain of the recolor - there's recolored Spiders, Mines (called Turbos now), and "Power" Moles. They hit harder, have more health, and the new Spiders can inflict Rust instead of Stop with their webs. I'd say these are like the Monks in the Tomb and are good for testing your 'bot, but adjusting for any problems is going to be much harder. Expect to go through a few Cures or Repairs if your bots aren't up to speed, or possibly even loading up from your last save.
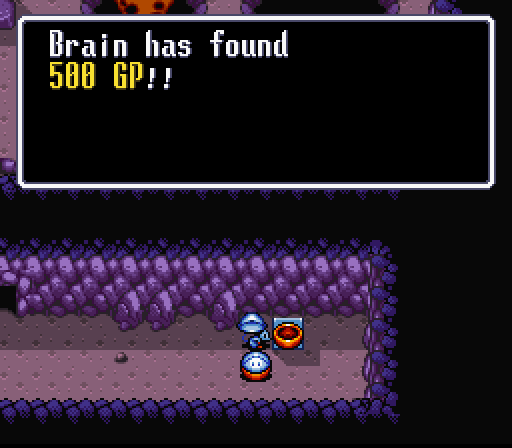
Fortunately, the volcano will reimburse you a little bit for your troubles. Pinky's still taking single digit damage, so the loot is just tossed onto the growing pile of money and items. This seems like a constant trend, but it'll be changing soon.
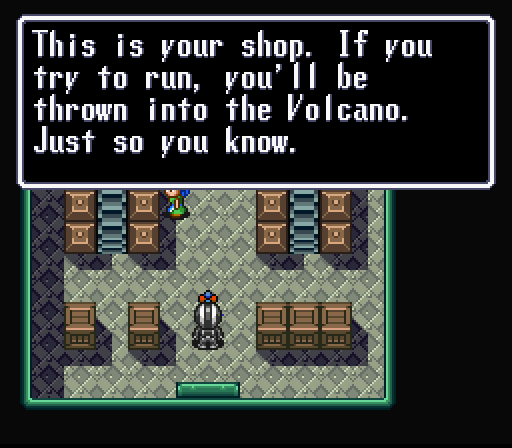
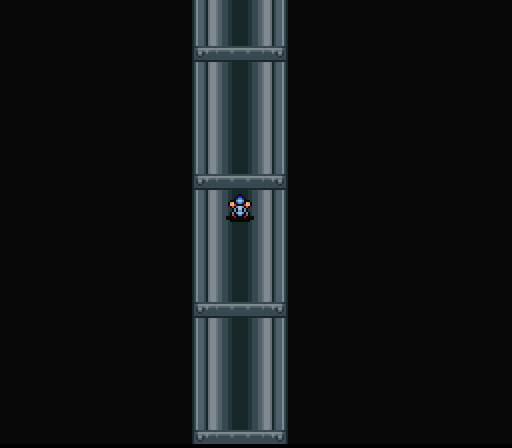
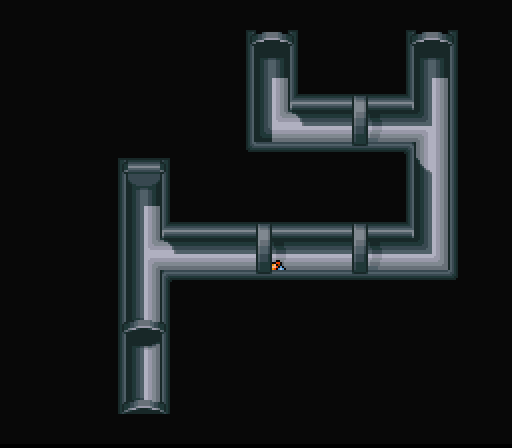
Continuing through leads to the hidden Hacker Hideout, where they try to put our hero to work staring at a conveyor belt for hours on end. Despite their threats about leaving, you can still head out of the conveyor room and duck to the left for a Cure. You'll just have to beat up or avoid some Turbos in the process. Continuing south won't accomplish anything, since it's blocked off by a guard, so it's just a matter of hitting the obvious switch to switch the direction of the belts and go for a ride.

What follows is the second pseudo-Solid Snake segment involving moving around hitting switches and avoiding getting spotted by the guards, who will throw our hero back into the conveyor room if spotted. Or they would if he wasn't a mouse. For some reason they'll just walk over him and continue on their patrol. Odd.
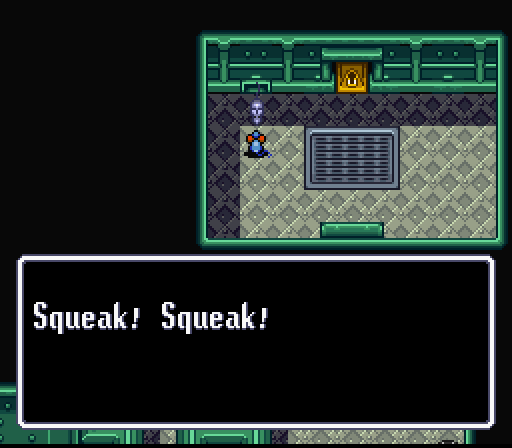
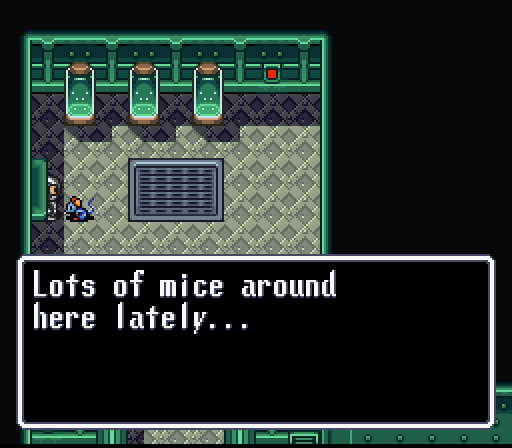
Also, we still can't talk to other mice. By the magic of the Relay, though, we find out that this one just mentions that mice can use vents that look like the one behind it. Good to know.
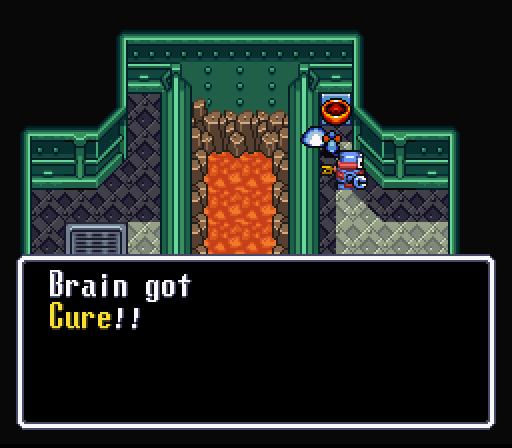
Heading downstairs from our fellow rodent leads to a bathroom and, beyond it, a Cure. With nowhere else to go right now, we pop into the bathroom for some more plot.
I don't see how that's a bad thing.
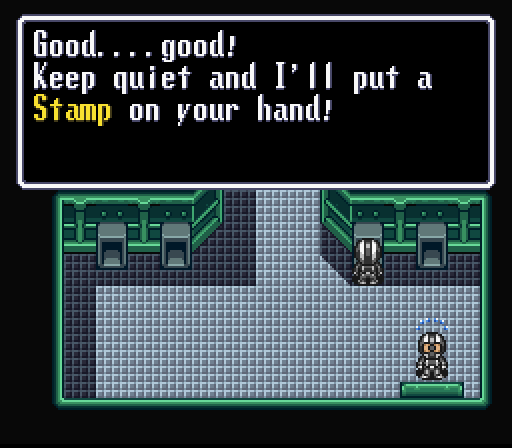
Still, the Hacker flips when he finds our we've been eavesdropping and gives us a Stamp in return for not ratting him out. Now we can traverse the various conveyor belts to get to the upper-left part of the map, where another guard is blocking a doorway.
Again, I fail to see the problem. Anyway, flashing our Stamp to him allows us to get past.
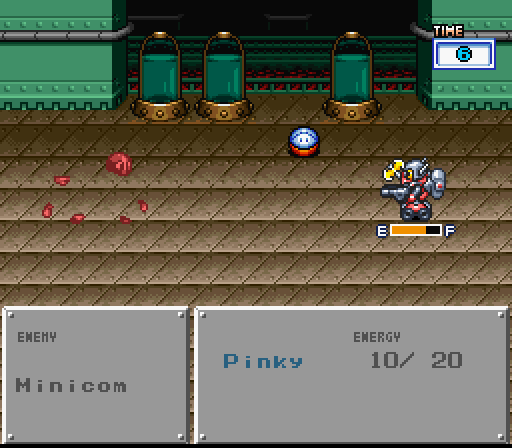
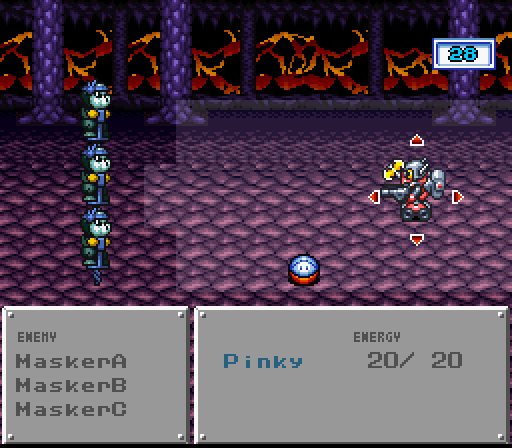
The next room introduces to the golden versions of the Hackers soldiers, who have some new tricks up their sleeves. They can do some serious damage if they randomly crit - some seem to do so more than others - but they're not the most dangerous new arrival. That award goes to the Minicom. These little guys can do pretty solid damage even to Pinky, have a nasty habit of dodging a lot of your attacks, and they have a nasty surprise when you do kill them. They explode in a wide radius that WILL one-shot your 'bot, even one as tough as Pinky. Hit them with a ranged weapon or a screen-clearing Run command.
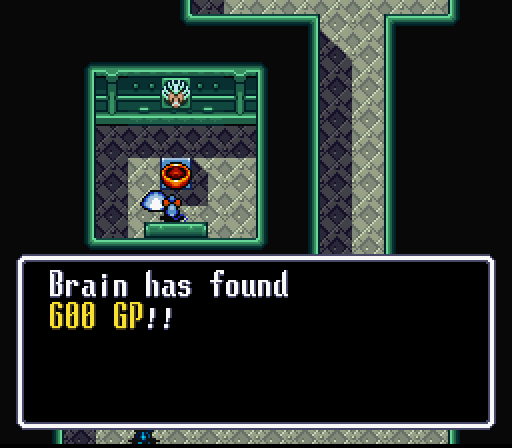
Make sure to stop off for some free cash before continuing into the next room. Fun fact - when I was younger, I always thought that image on the wall behind the capsule was of a dragon or something.
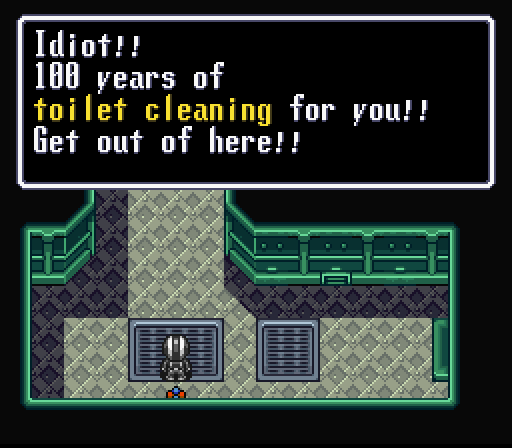
It's actually Dr. Einst's head, who apparently is working with the Hackers now - at least according to what we manage to overhear at the locked door in this room. There's another guy inside who's overheard the whole thing, and he gets sentenced to latrine duty for his crime. The vents around here are barred and impassable, so there's only one place left to go.
Turns out the eavesdropping Hacker was Kotetsu, the guy we freed back in the Caves. He returns the favor by showing us a garbage chute escape route that leads into another part of the volcano.
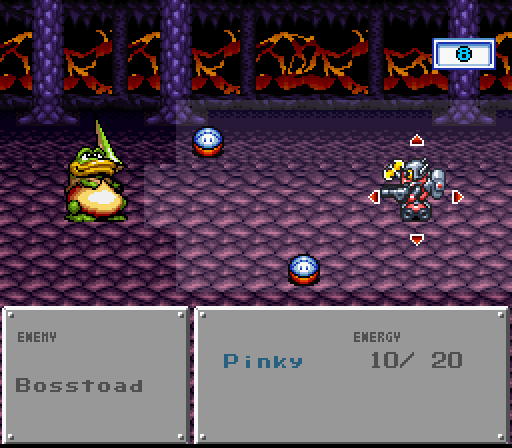
New enemies appear down here, including this guy. His slow hopping and row-changing may seem pointless, but be careful. This enemy is actually programmed to try and get you in the back for the extra damage, and he hits VERY hard. Take him out before he has a chance to show you just how hard.
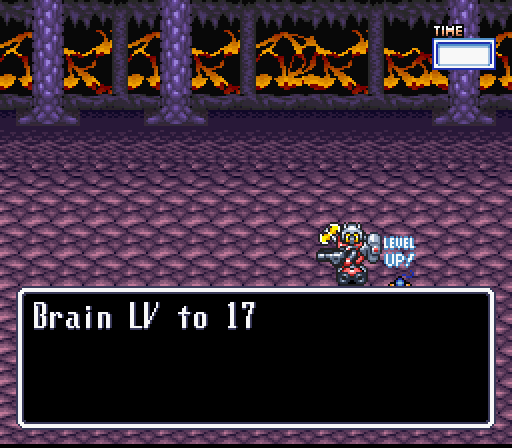
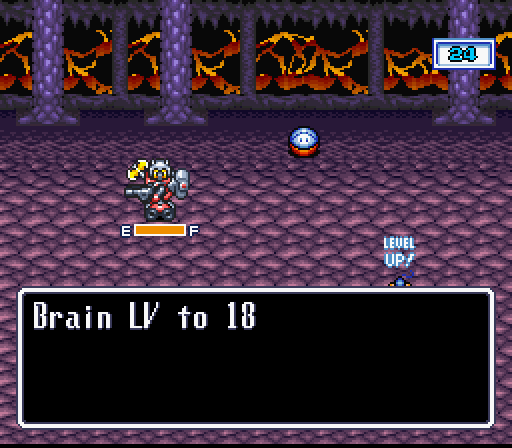
Fortunately, the enemies both up in the Hideout and in the Volcano give some good experience, helping Pinky become more and more of a murder machine. And take less damage from all these harder-hitting baddies. He's taking a bit more of a pounding than usual.

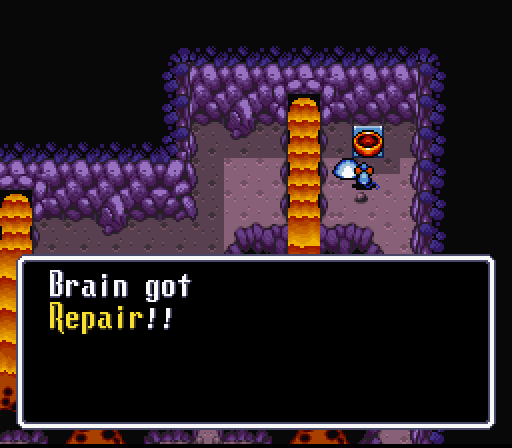
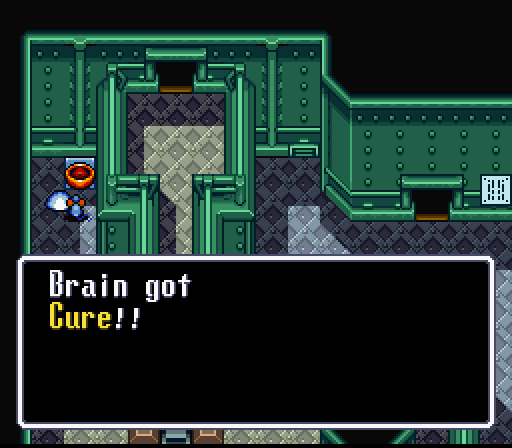
As such, this Cure is much appreciated.
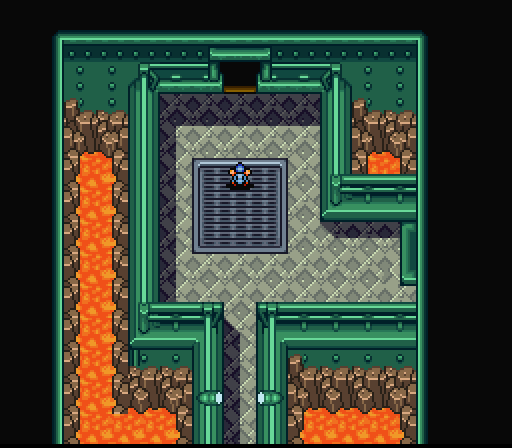
You see this area? SAVE before going through here.
It looks empty, but it and the next room actually have invisible enemies roaming them. POWERFUL invisible enemies. Even with Pinky's buffed stats, these guys will ONE-SHOT him. They also take only a point or two from Run commands, so trying to Troz them before they can murder you is out of the question. If there's one of them, feel free to rush it and get a kill. Otherwise, you're probably better off either trying to run.

To offset how dangerous they are, they give oodles of experience. Slapping on a shield to help raise the chance of them missing is recommended if you want to partake of their bounty. Getting past this enemy equivalent of a minefield gets us back to the surface.
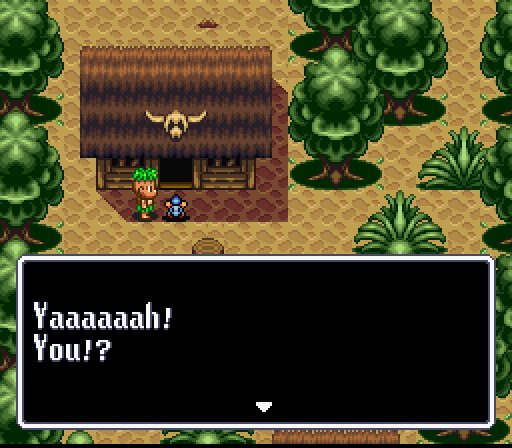
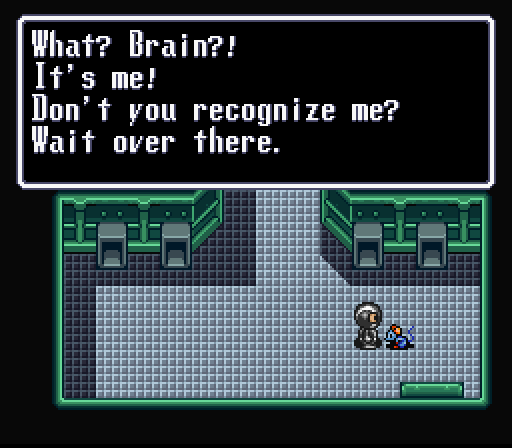
Me!?
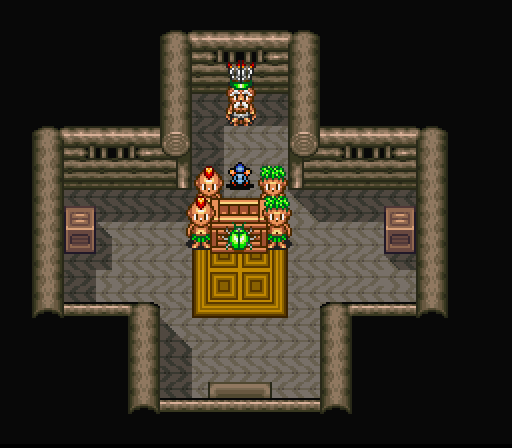
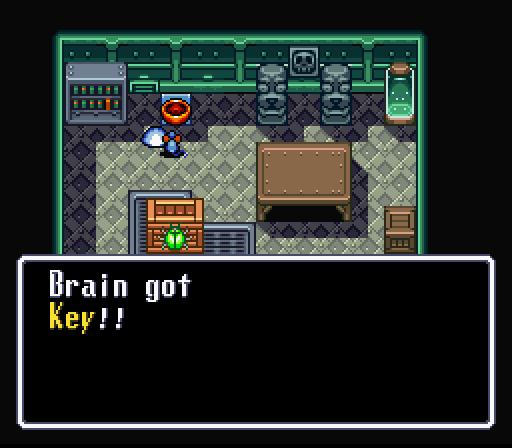
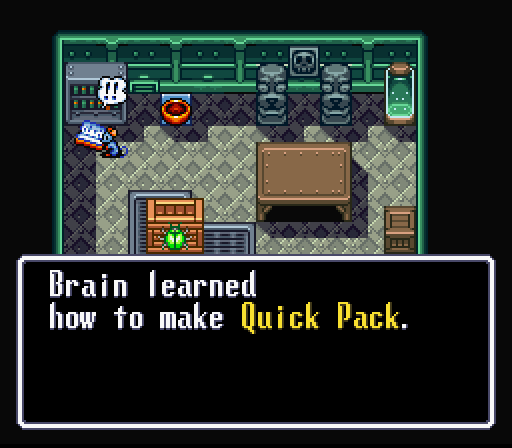
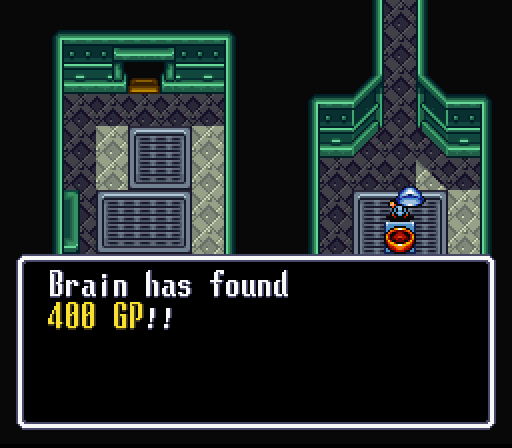
Going back to the Chief results in plot. And plotting. It all ends up with Brain being sent back into the fray. At least we get something out of it - the Quick Pack is a very handy item in a one-robot run, reviving your robot once if they're scrapped. Combining the Empty Pack that results with a Repair nets you a new Quick Pack. However, crafting the first one costs 5000G and we just don't have that kind of cash right now. So we'll have to make do without one for right now.
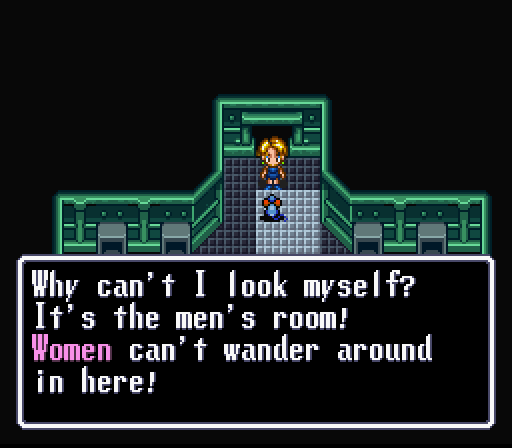
So, in that room we ended up in, Dr. Einst showed up and got chased off by Mint. We find her again in the bathroom, where she's lost his trail after suddenly gaining a concern for other people's privacy. While in the urinals. Because of this, we are forced to go in instead and take a secret toilet elevator to the hidden floor below. Yeah, I can't believe I just typed that either.
Heading right leads to a locked door and an open vent. More importantly, it leads to cash.
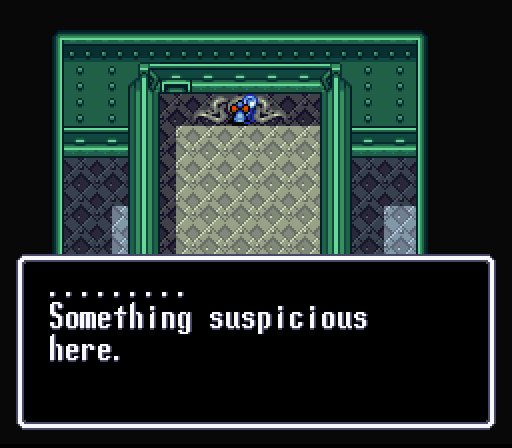
Heading south - past invisible sensors that can summon four Hacker soldiers - brings us to a suspicious dead-end. Were we playing normally, we'd have to head back up and do plot and a lot of rigamarole in order to find out exactly what's off about this room.
But we're just going to skip all that because I'm a mouse.
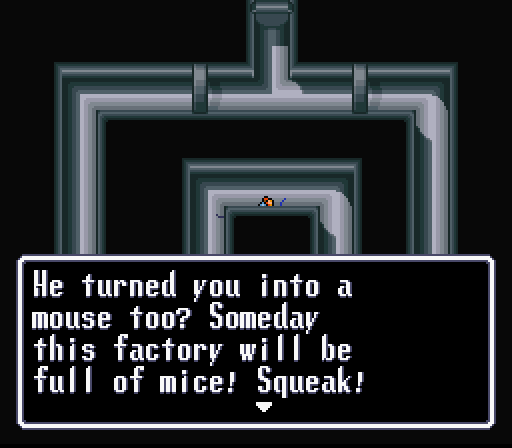
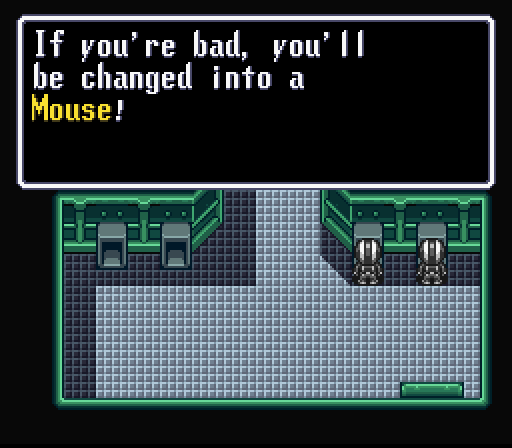
What do you mean by "turned into"? I'm starting to think there's some serious anti-mouse sentiments here.

On a more technical note, yes we can suddenly talk to mice now without using the Relay. We've finally come across mice that we can come across when a mouse normally. A good hint of what's to come.
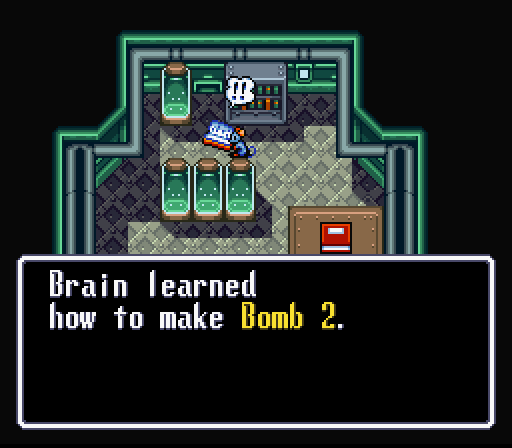
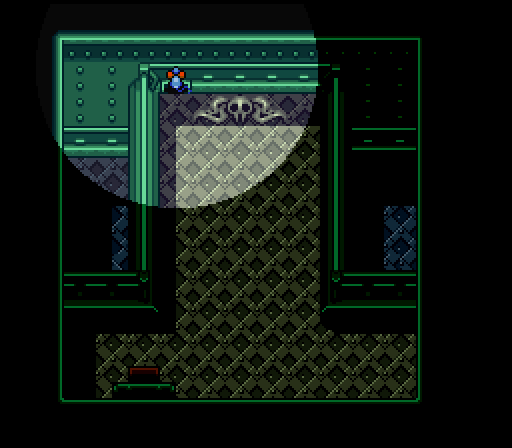
Behind the mysterious wall are some new schematics and a book detailing Einst's escapades after storming off from Rococo. Reading this last book results in the Doctor himself showing up and throwing a fit.

So he deals with the trespassing mouse by... flashing a light at it? Something doesn't seem right here. We'll find out exactly what next time.
Next Time: Breaking and Entering