Part 27: Breaking and Entering
Glazius posted:
You don't have 5K? I thought you were rolling in cash from only running one robot.
Oh, I was still rolling in cash. Had over 4k on me, but the pack costs 5k. So while I was rich, I wasn't quite rich enough at the time to make it. Could definitely pick one up now that I'm out of the Hideout, but there's something better I can pick up in the next area. That's for that update, though - today we deal with some...
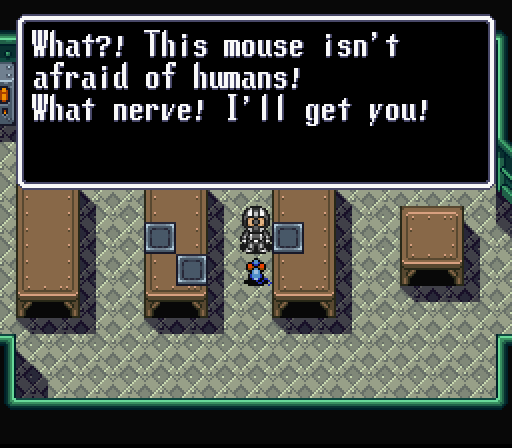
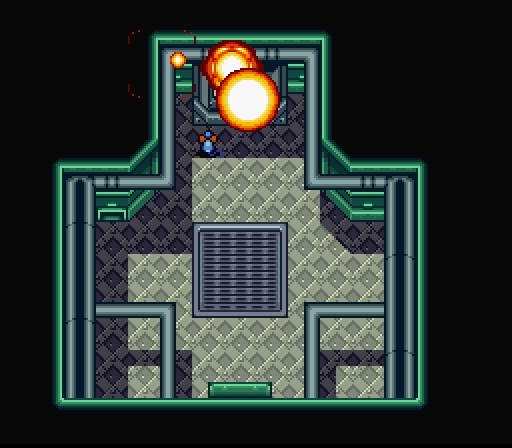
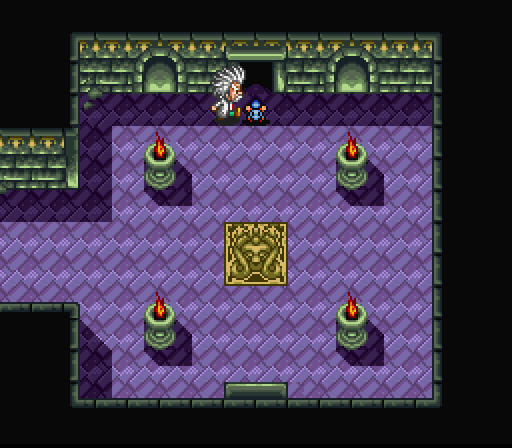
Last time, a mouse was turned into a mouse. So we deal with that circular logic problem by going back to check on that other room in the secret basement that was accessible via vents. It leads to the Earthquake Machine, along with someone else.
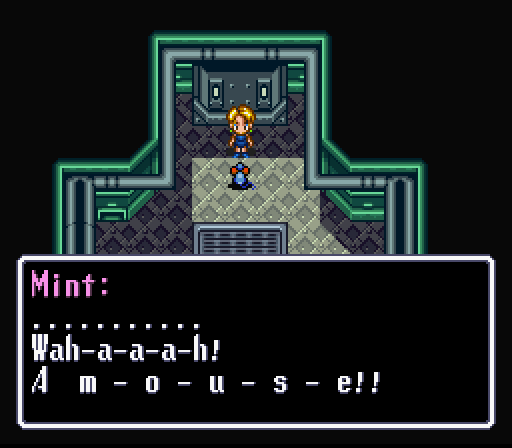
It's just Brain, Mint. Settle.

It's Brain. You know? The hero? Seriously. You've both seen him before.
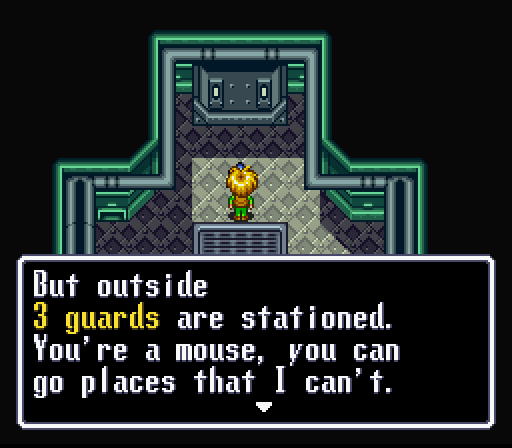
After scaring off the suddenly mouse-fearing Mint, our hero gets tasked to rob the Hackers. In return he'll... change Brain back into a mouse? Sure, why not. Besides, we still don't know how to turn OFF the machine. So our hero takes the secret elevator back upstairs and head out of the bathroom.
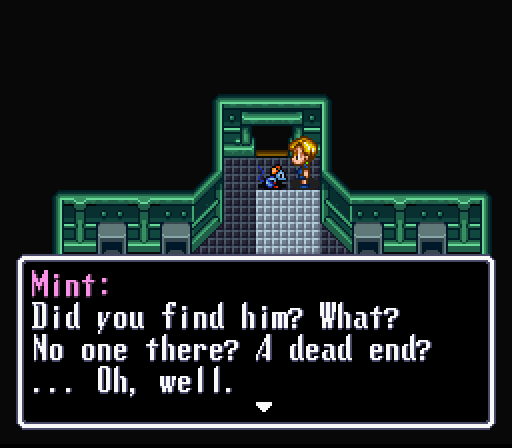
No, we did find him. Mint, who's suddenly talking to us again, apparently gets lost in her own thoughts and heads off to investigate into the "missing" Dr. Einst. She won't be seen again for a bit.
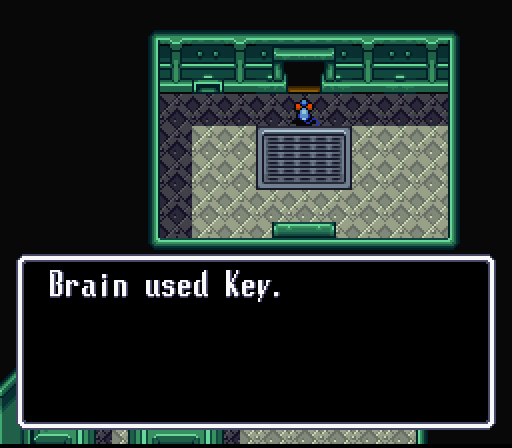
Whatever, let's use that key we got from the capsule in the room we arrived in. It opens this locked door near the mouse that talked about vents.
A fun thing to note - even though we took off the item that made us a mouse prematurely to use the Key, our hero remained a mouse. This is because the mouse effect caused by Einst's laser overrides everything else, letting us use items while staying a mouse. I had originally wanted to hunt down a way to have this sort of mouse form going... but then it would've required hacking in an item to turn us human again. If that was even possible. That or turning the code on and off as required.
I'm pretty happy with the results, though, aren't you?
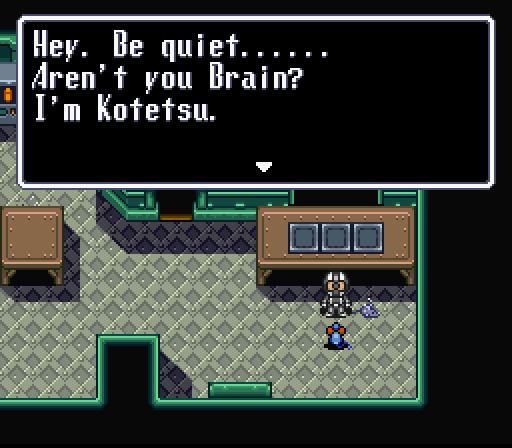
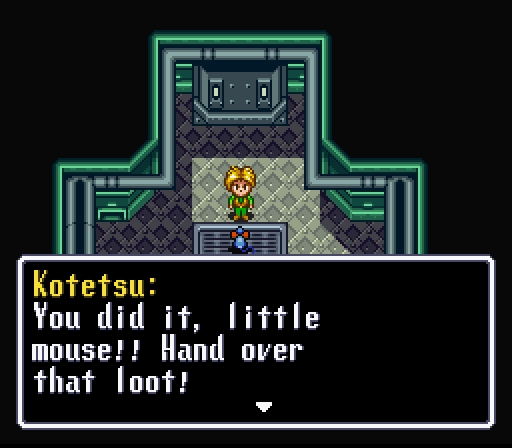
Anyway, beyond that door is a hallway that leads into the Lunchroom. There we find Kotetsu, who also suddenly remembers who Brain is and lets us know about the Chameleon Glasses needed to get into the secret dead-end room we've already broke into.
So what's going on here? Well, by sequence breaking getting into Einst's hidden office, I've queued off two plots that aren't supposed to be running simultaneously. So if we were to go back into the Earthquake Device room, we'd find an undisguised Kotetsu still down there waiting for the money. We have two Kotetsus. I would've made a joke about Schrodinger's Kotetsu, but we actually know the condition of both of them so that wouldn't work.
Anyway, the Kotetsu up here is needed to continue the chain that ends in the Chameleon Glasses, since he tells our hero where they're made. Which turns on the flag for the chef to hire Brain for food delivery. This chef is really chill about mice, and even hires them for work. I like him.

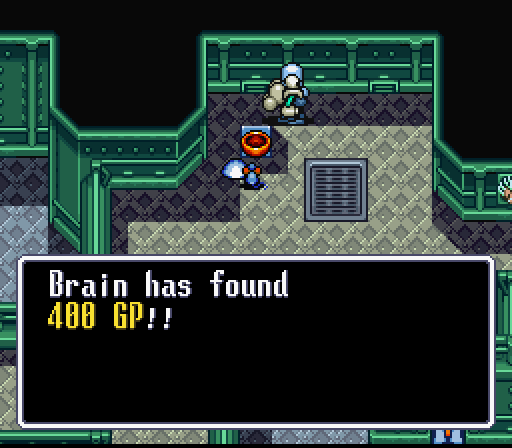
Heading west from the Lunchroom leads us to a larger, multiple-level area with areas that continue both plots and loaded with loot and new baddies. Like this 800G.
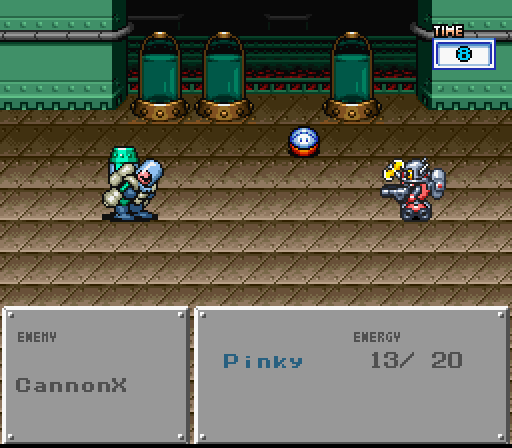
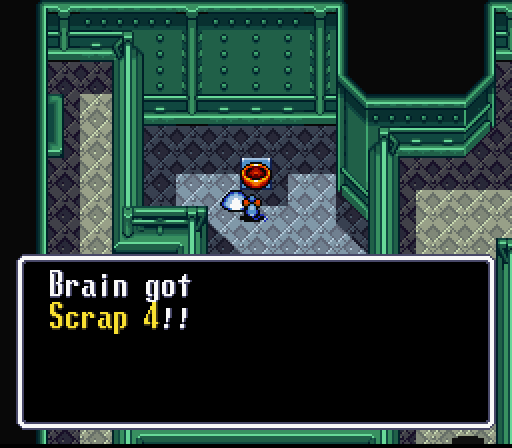
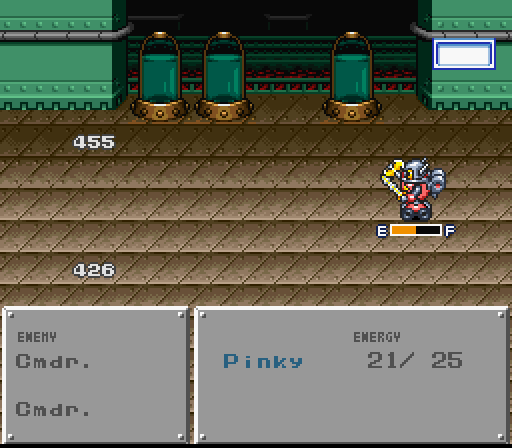
And this robot that can steal health with a boomerang laser. It also has a chance to drop a capsule with a Scrap 9 in it, which this one actually did for me. I'll explain why this is amazing in a bit.

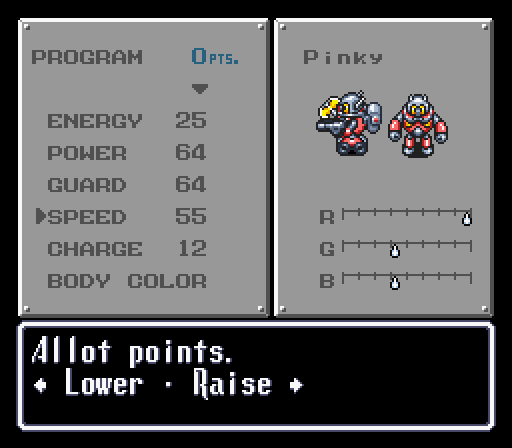
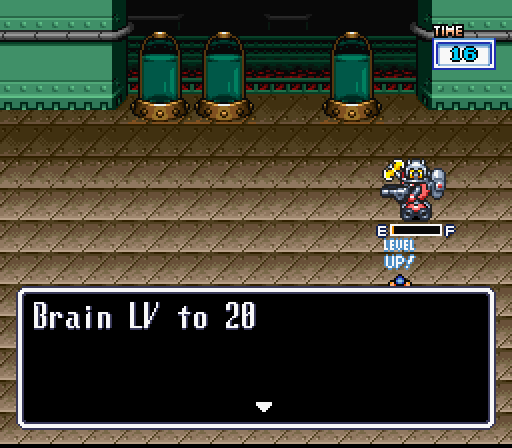
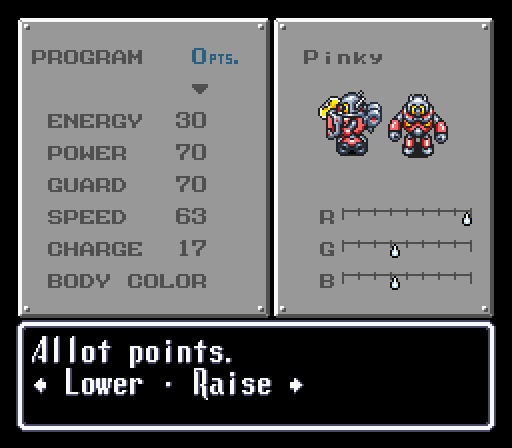
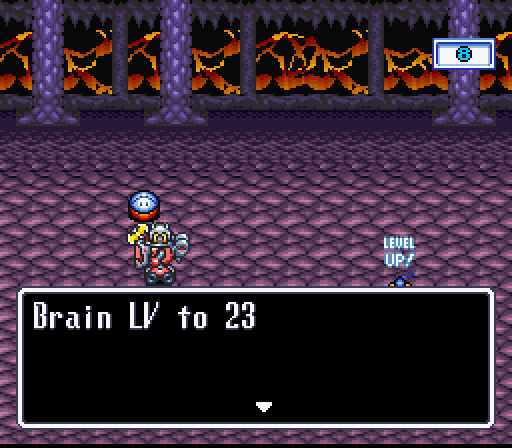
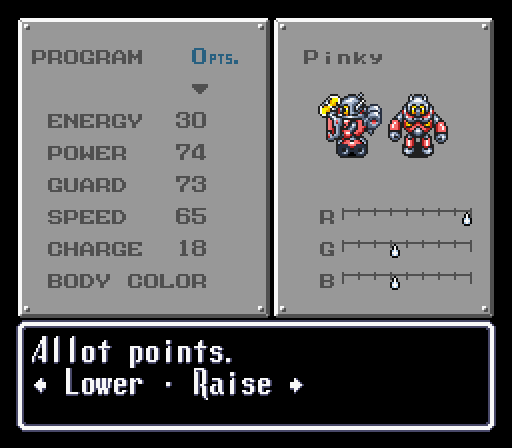
For now, I'll say that along with awesome drops, these new enemies also give the most experience per kill so far - save for the invisible murder soldiers - so it's not surprising we gain a level while clearing them out. And, in doing so, Pinky goes through another appearance upgrade. Looks like he's ready to go scuba diving or something.
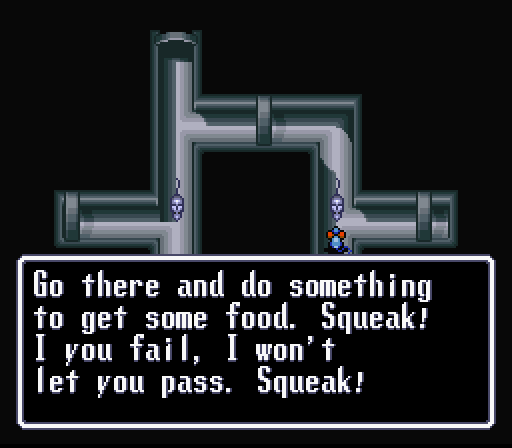
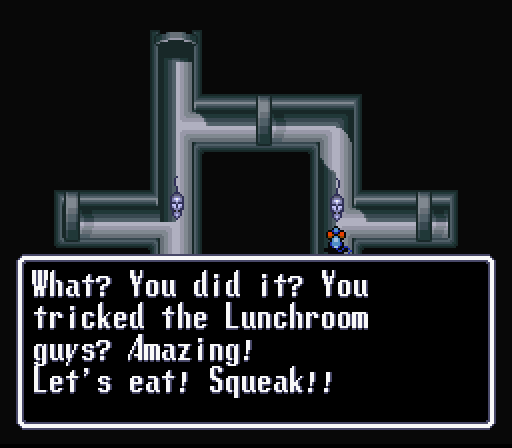
We'll continue the sequence-breaking plot first by ducking into the vent by the 800G capsule. It leads to the room with the cash, but the mice here want to eat. So we're going to have to return to the Lunchroom and deal with the problem there eventually.
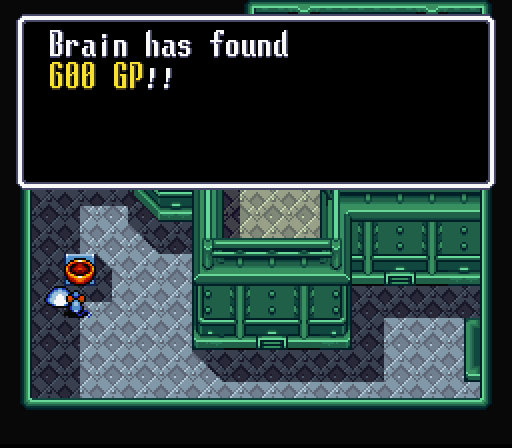

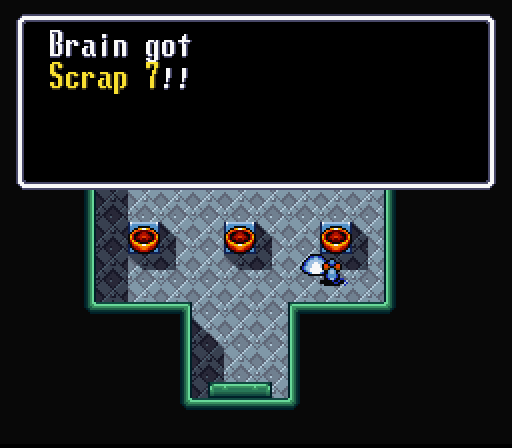
But for now we loot the place for all its worth. The other two capsules with the Scrap 7 had 298G in each of them. All in all a pretty good haul, and it's about to get better.
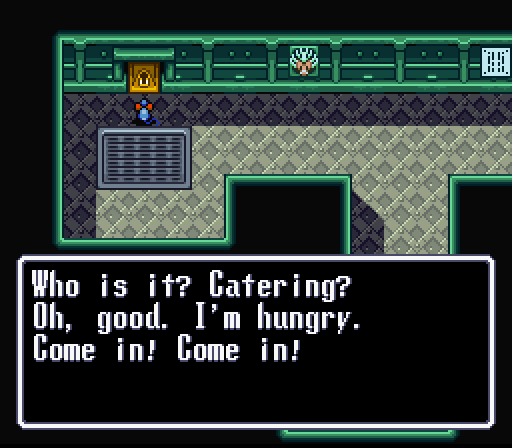
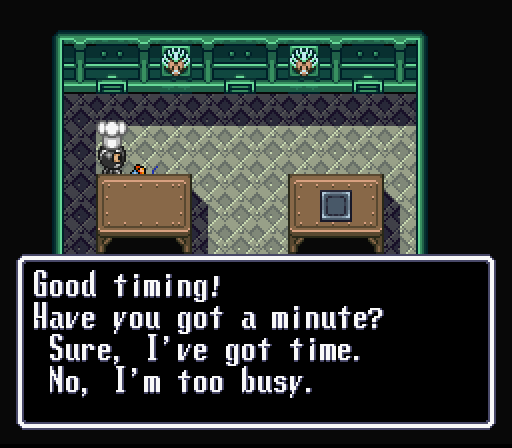
The Hacker R&D is also in this section of the Hideout, north and west a couple rooms. Since we talked to the chef, we can get in by delivering some food. They don't seem to mind that it's brought by mouse - they're too involved in their science to care.

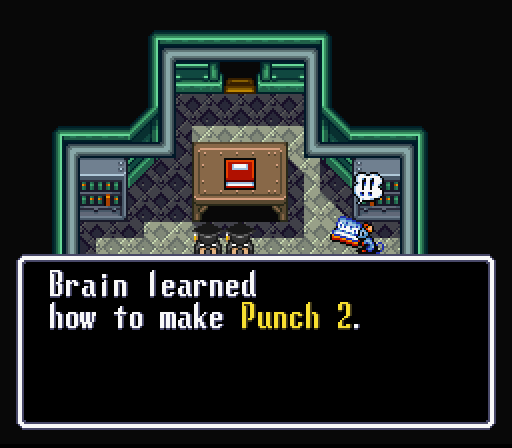
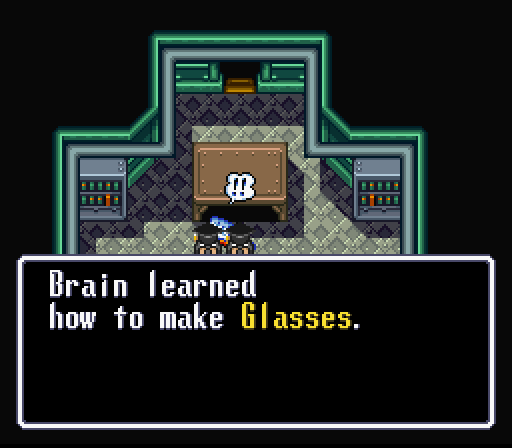
It's in here that you pick up the schematic for the Chameleon Glasses - along with a couple other schematics for weapons I won't be using. To make things easier, the back room has an Invention Machine so that you can create those glasses right away without having to grind for a level and access to the Portable. Rather considerate of them, I must say.
Also, here is where I think there's one major flaw in this game. When you put on the shades as a human, it shows on your sprite. If you're in mouse form like this and pop on the shades, it doesn't. I think the developers completely missed a chance to sprite a little mouse wearing some kicking shades.
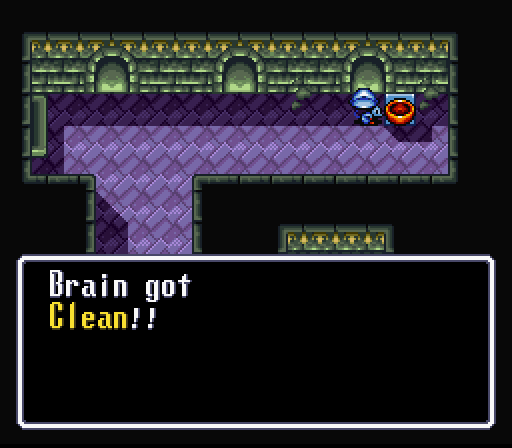
So, in protest, we're actually not going to go in there. Loading the save I made before entering the R&D, our hero passes up feeding the Hacker's nerd corps in favor of feeding his fellow rodents. This Hacker has been harassing mouse-kind for far too long, so it's about time to put him in his place.
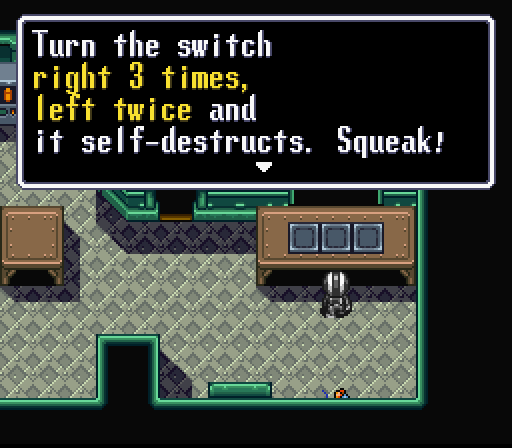
Doing so not only completes the objective needed to get into the Hacker Treasury, but also allows us to learn the destruction sequence for the Earthquake Machine from one of Einst's victims.
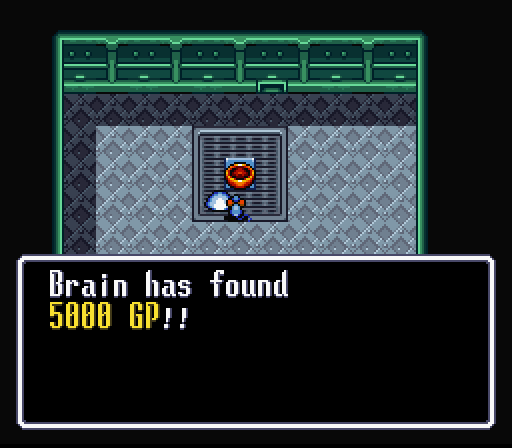
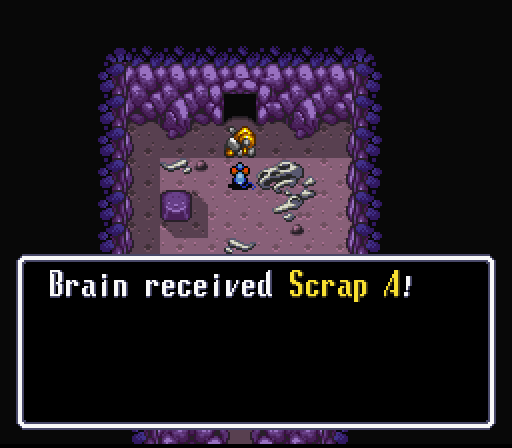
Then it's just a matter of going the rest of the way through the vents for this 5000G that one of the Kotetsus wants. Along with the money, there's two other capsules - one contains another Scrap 9, and the other has a Sword 4. It's time to do some more shenanigans.
You should know the drill by now.
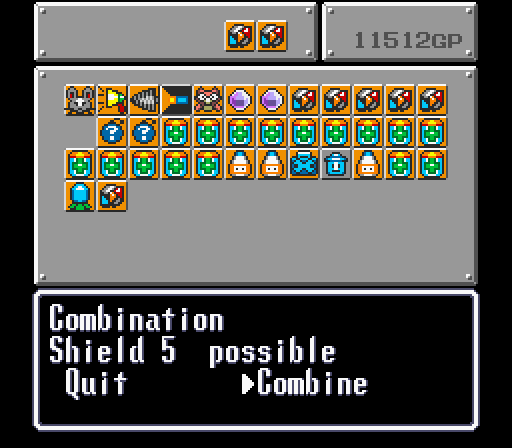
Now, Scrap 9 is nice because it's used in a lot of high-level combinations - Sword 3, Axe 3, Punch 3, Celtis 3, and all the shields beyond Shield 2. However, the game thinks I'm not breaking it over my knee hard enough and gave me that second Scrap 9 off that CannonX. Combining two Scrap 9s gives us the STRONGEST SHIELD IN THE GAME. We really shouldn't have this until around the last two boss fights or so. The next boss is going to be in for a bit of a surprise.
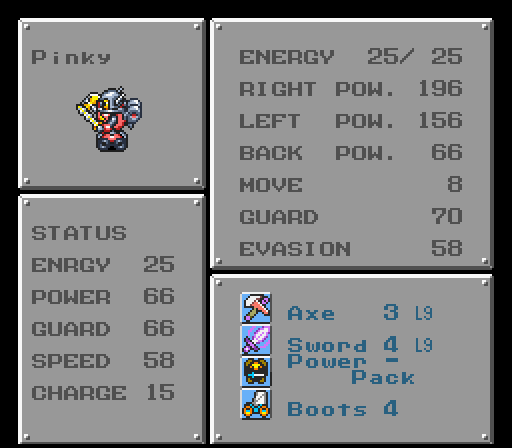
If that wasn't bad enough, the game already handed us that free Sword 4 - which is going to to replace our Shot 2 with the second best in-slot item for clearing out trash. Sword 4 is different from the other tiers of Sword in that it will attack each row with a bolt of lightning with each swing. Using it with the proper Run command means you can do this multiple times, for sizable damage. Observe:
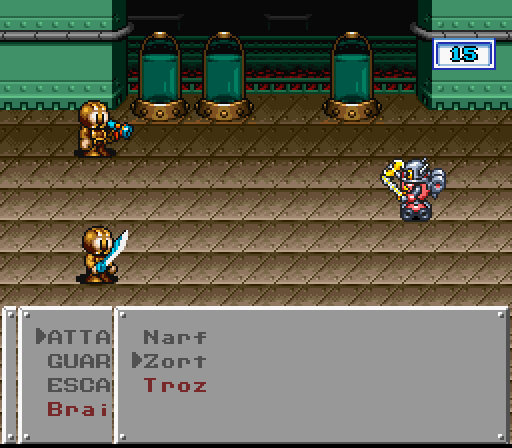

Zort indeed. The only time that's not going to be in Pinky's left hand is when we need a shield. It should be noted, however, that Run Resist also affects how much damage special weapons like Sword 4 do as well as Run commands. I probably could've just called it Special Defense or something like that, but I've grown rather fond of the term.
Regardless of terminology, as long as the enemy doesn't have a resistance to this kind of attack, you can bet we're probably going to be Zorting the hell out of them. If they are? Bash them over the head with our Axe 3. We've got this covered.
Anyway, bringing the cash back to the undisguised Kotetsu moves the plot along. With our side of the bargain done, he goes back to the secret room with us and uses the laser to return our hero to his... normal form. Sure.
Mechanically speaking, it means we'll be able to change out of mouse form for things we need to be un-mousey for.
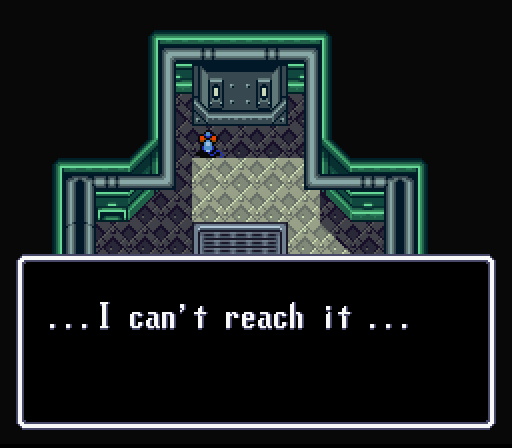
Such as this.
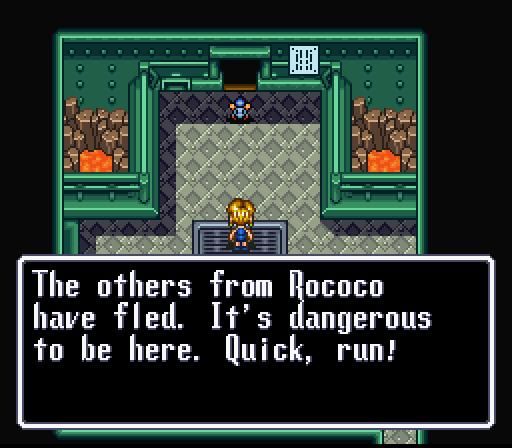
So, using a stick or something, our hero manages to push the buttons in the proper sequence to blow up the device, and Mint overcomes her on-again-off-again musophobia in order to warp him out of the hideout before it all collapses inward. After which she wanders off somewhere. Again.
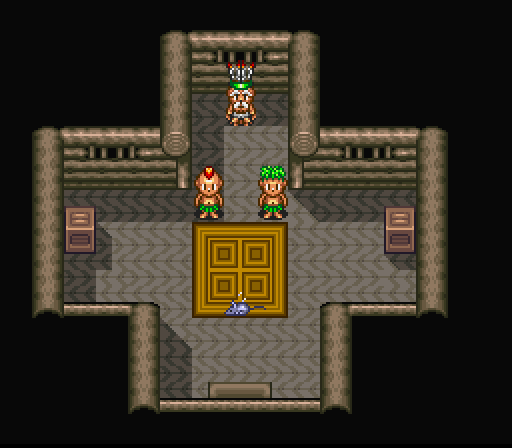
Returning to the Village results in finding all of them turned into mice. The Shaman tries to emulate Dr. Einst when our hero stumbles into another argument between him and the chief. This time, though, the fact that Brain is already a mouse results in the device backfiring and bringing the Shaman into the mousey fold. The villagers are overjoyed and take our hero to their Shrine as reward.
And then Einst shows up and kicks us out of the way to get at the treasure. The jerk.
The Shrine is pretty linear, with only this one capsule in the entire place. The rest of it just involves hitting the two switches to move two platforms. The only real puzzle element is given away by reading the plaque set at the first dead end you'll find it as long as you don't just push the first button right off. It basically says to check this "door" above the capsule. Checking the far left one summons four Gelgels, and the middle one warps you back to the entrance of the Shrine... two rooms back. Doesn't even reset the platforms.
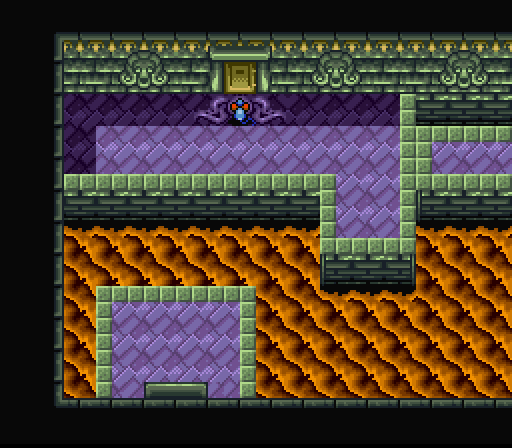
After successfully solving this mind-bending puzzle, it's just a matter of ducking into the only room accessible beyond the secret door and hitting the button there. This brings us to the familiar-looking "important door with a skull motif."

Which means it's time to put Dr. Einst in his place.
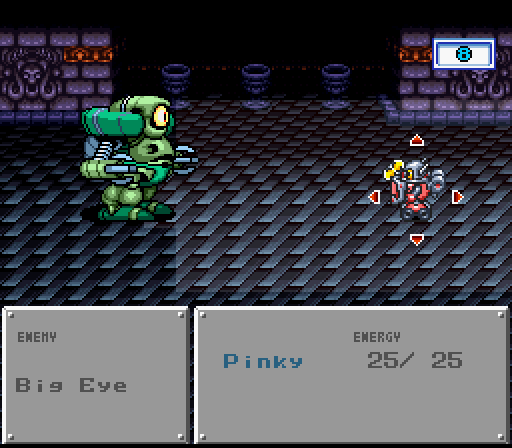
Much like Meta Crab, Bigeye can be a challenge for those who don't know how to approach him. He guards against attacks from the front, and can randomly block other attacks as well. He fires lasers, shoves your bot around, and can even fly right through them to the other side of the screen. All of these can be very damaging, and also make doing consistent damage to him difficult. Some recommend just staying away and nailing him repeatedly with Sword 4 Runs for about 120-150 damage a shot since he has surprisingly low Run Resist.
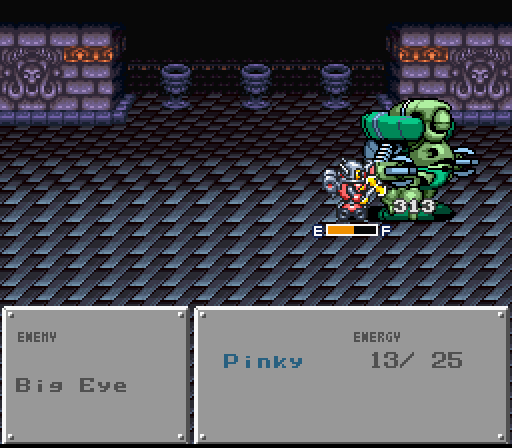
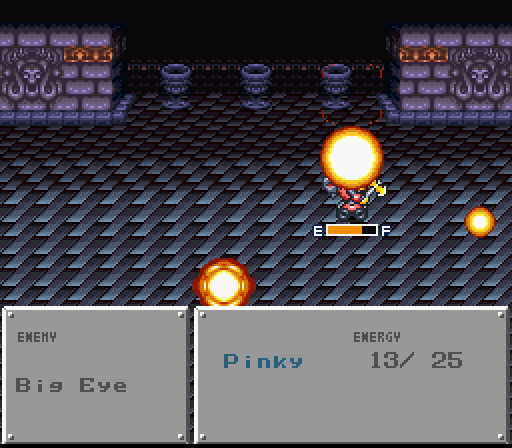
However, this is Dr. Einst we're talking about. As such, like his inventions in general, his robot has a major flaw: Bigeye is horribly predictable. It follows a set pattern - it'll laser twice, then will do one of two things depending on where your robot is. Its standard next step is to fly to the side of the screen its facing, but if your robot is standing where it would end up, Bigeye will launch his rocket fists to knock you back instead and then repeat his sequence.
Laser, Laser, Move/Shove. That's his entire pattern, and he never varies from it. Once you know that, it just becomes a matter of getting into the opposite corner before he moves and tempting him with back attack by facing into that corner. You'll take a hit, but he'll leave himself wide open for a couple Axe 3 Narfs before he shoves your bot away.
Keep that up and - random guards notwithstanding - he'll die in three or four hits. Full hits do a little over 300, and even attacks where one of the swings is randomly blocked, our bot still does around 200. Plus, with our top tier Shield 5, Pinky either blocks/dodges most of the attacks anyway or takes minimal damage thanks to the massive Guard bonus. Much faster than plinking away for 150 damage or less with repeated Zorts.
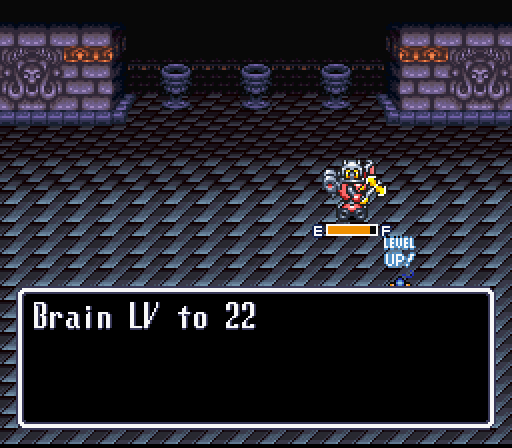
And we get two levels for our little robotic dance of death. At this rate, we might have Power and Guard maxed out before level 30.
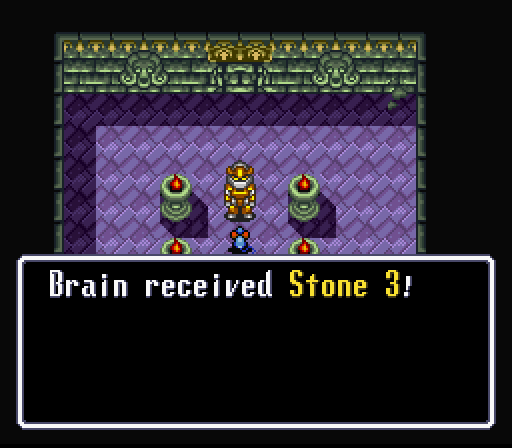
Einst throws a fit at our defeat and threatens to seal Brain in here forever. However, the "statue" awakens shortly after and gives us our hero the final MacGuffin. With the path back destroyed by a sore loser, he proceeds to bash his way through several walls in order to free our protagonist.
However, the exertion is too great for this ancient robot and it falls apart at the very end, asking us with his dying breath - or whatever the robot equivalent is - to take his remains as a protective charm and to listen to our ghostly ancestor. The hole he opened leads back into the escape chute path, which means running through the two rooms of invisible murder-baddies again.
However, Shield 5 makes even these dangerous enemies laughably easy, and the fat experience they reward gives our hero and his bot another level.
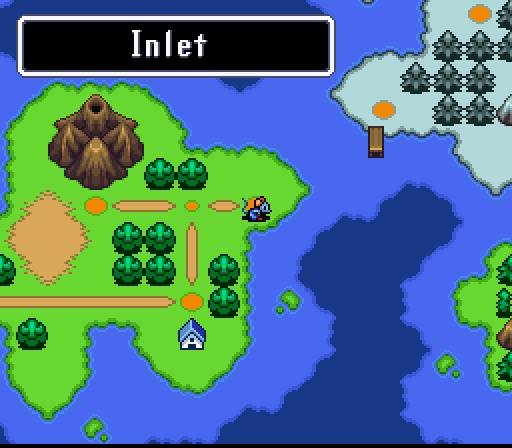
Speaking with the chief again upon our hero's return gets him lauded with praise and a doofy island title. He then passes on that Dr. Einst was seen by someone near the entrance of the village after his defeat at the metallic hands of Pinky. Speaking to the villager near the entrance opens up this next location.
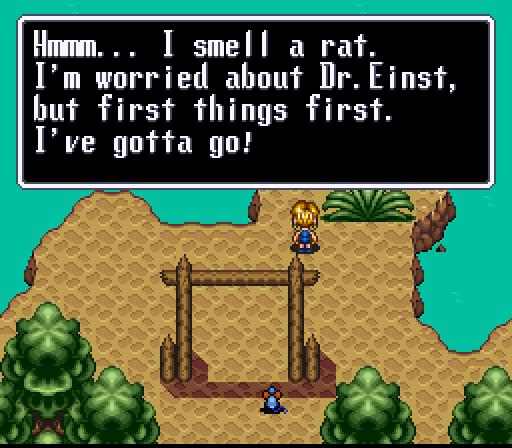
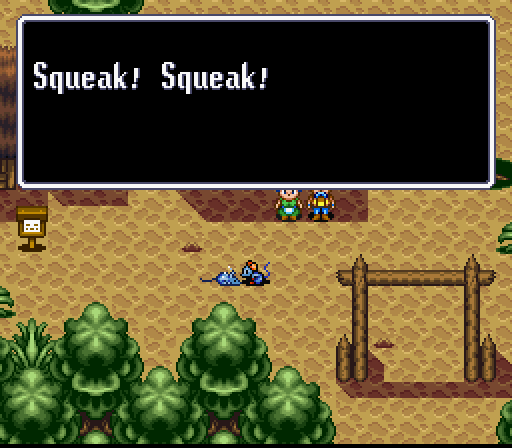
Where Dr. Einst escaped in a ship or something. This is where you would get the Change item that allows you to change freely from man and mouse, and the game is scripted to cause plot when you get it into your inventory. Since Brain already has it, the plot activates immediately upon entering and Mint moves to stares off into space after hearing about trouble at home over our Transciever.
The reason I took this particular screenshot should be obvious.
That concludes this island adventure. Our hero possesses all three of the MacGuffins. Now it's time to head home and see just what Nagisa's so upset about.
Next Time: Hackers in a Half Shell