Part 28: Mini-Update: Baddy Breakdown 3
As we leave from the tropical island and all the adventures we've had there, we take a moment to pause and remember the obstacles we overcame during our stay there. Join me, won't you? We've got quite a few to cover.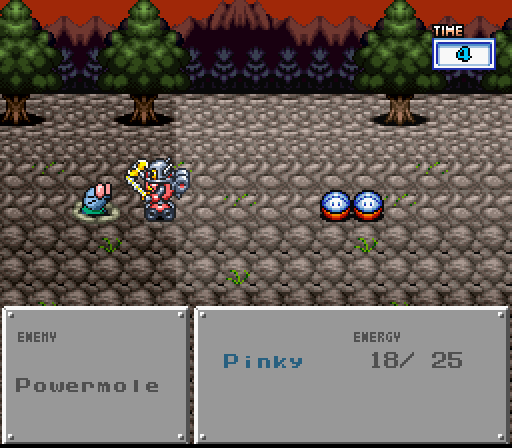
Powermole
HP: 48
Megs: 1.0
Run Resist: None
Drops: Axe 1, Axe 2, Axe 3
The Mole's big brother doesn't take too long to pop up to replace its weaker kin. It has the same back attack and ability to hide underground, but gets the added bonus of having a screen-hitting quake attack that will not only damage your robot and destroy any capsules... but it has a chance of randomly disabling one of your weapons. They share the regular Mole's lack of Run Resist, so dealing with them is simple enough.
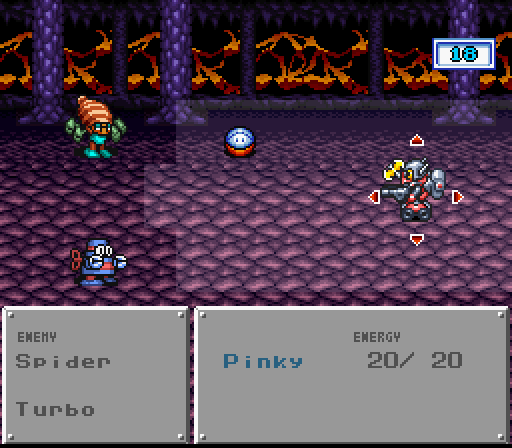
Spider
HP: 30
Megs: 0.9
Run Resist: Major
Drops: Clean, Repair, Blow 1
Same name, different color. This baddy shares the exact same traits as its previous incarnation, just bolstered up a bit. The only real difference is that its web has a chance to inflict Rust instead of Stop. Since this ailment actually lasts beyond one combat, that can be pretty dangerous if you forget to Clean it off. Since its so similar to the original Spider, the same strategies work well when dealing with it.
Turbo
HP: 30
Megs: 0.7
Run Resist: None
Drops: Scrap 1, Scrap 9
The wind-up robot makes its recolor return as well, mostly in the Hacker Hideout. Like the Spider, it is basically a powered up version of the original Mine. However, since it doesn't have any status effects it can inflict, it's much less dangerous. Probably one of the least threatening of the new enemies. Has some really nice drops, though, especially that Scrap 9.
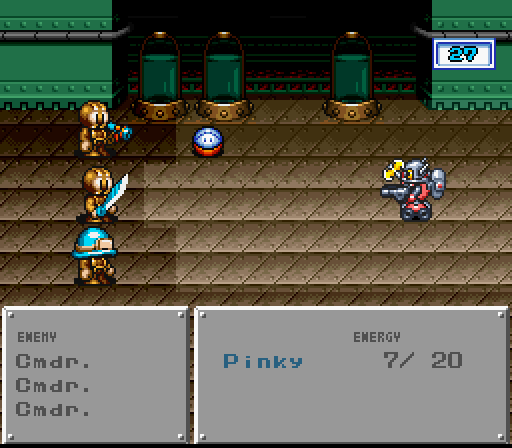

Golden Cmdr.
Helmet
HP: 10
Megs: 0.3
Run Resist: None
Drops: None
Launcher
HP: 30
Megs: 0.5
Run Resist: Minor
Drops: 1000G, Clean
Blade
HP: 30
Megs: 0.4
Run Resist: Major
Drops: 1000G, 7500G
Rifle
HP: 30
Megs: 0.4
Run Resist: None
Drops: 1000G, Clean
The next tier of Hackers. Their attacks have some new tricks - such as Helmet causing knockback, the Launcher being able to fire a piercing laser, and Rifle being to launch missiles to all three rows - but the tactics to deal with them haven't changed. They've also gained the ability to call in more Hackers of the same type, but the ones that would flee before still have a chance to flee now. Just be wary of Blade and Launcher, they seem to have a bolstered crit rate.
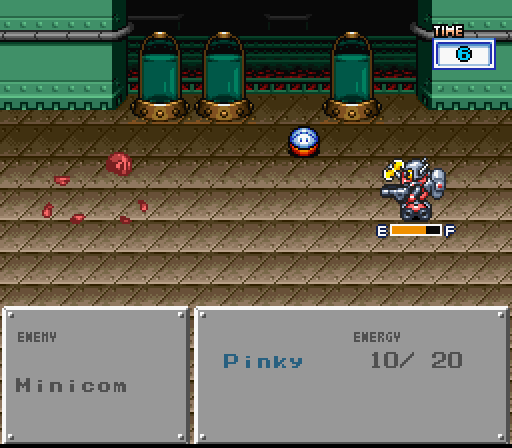
Minicom
HP: 8
Megs: 0.5
Run Resist: None
Drops: 180G, 220G, 1000G, 7500G
These probably rate as my least favorite enemy. They're evasive, hit hard, and explode on death with enough force to one-shot any bot. If that's not enough, their singing attack can also inflict Stop, keeping you from getting the distance you need to safely blow them up. If you're stuck in close range with them, it's safer to guard for a turn if you're Stopped rather than risk the kamikaze aftermath. Detonate them at range at all costs.
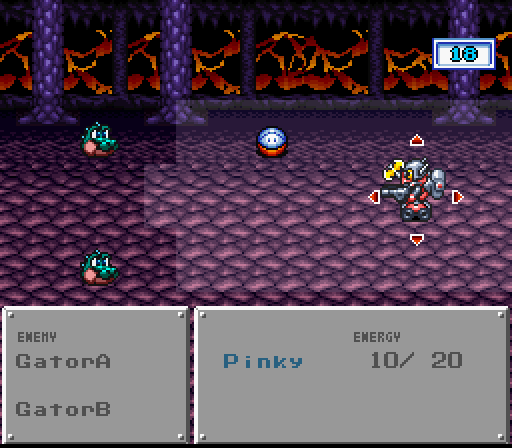
Gator
HP: 50
Megs: 1.1
Run Resist: None
Drops: Cure, Scrap 5, Scrap 10
These bouncing gator heads show up after the bathroom escape chute. At range they spit a ball at your 'bot, and up close they do a little flip that causes a bin to drop on their enemy's head. As is par for the course, they're not too dangerous if you've been keeping your Guard up. Worth a good bit of experience and have some nice drops, though the Scrap 10 apparently doesn't drop on the Gators at the Volcano.
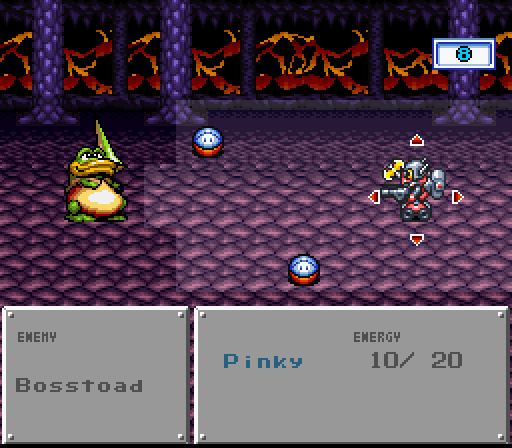
Bosstoad
HP: 50
Megs: 1.4
Run Resist: None
Drops: 200G, 250G, 300G, 1000G
An oddball, but dangerous enemy if you're not paying attention. As mentioned, its odd approaching tactic is in an attempt to get at your bot's weaker backside. If they can get in close, they'll assault with their umbrella. If they can't, they'll spit at their target instead. Shouldn't be too hard to kill if you're using good weapons, but be wary of your back when dealing with multiple Bosstoads.
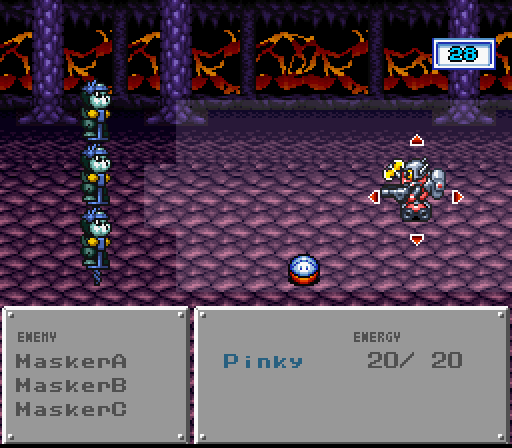
Masker
HP: 10
Megs: 2.6
Run Resist: Extreme
Drops: Smoke, Shield 4
These guys are downright dangerous for guys on pogo sticks with water balloons. They smack you with them up close, or cause a Gel-style waterfall at distance. Whatever they decide to do with those balloons, expect to lose a robot. They hit ungodly hard for this part of the game, and they seem to have a bolstered crit rate. Run Commands are completely useless, so either run away or rush in and try to draw first blood. Despite being complete monsters, they actually have a chance to flee if you're in their face.
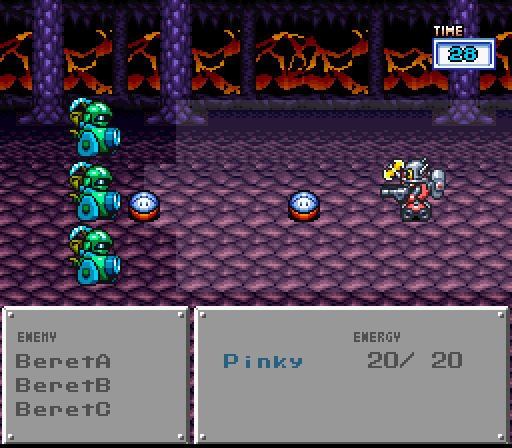
Beret
HP: 10
Megs: 2.5
Run Resist: Extreme
Drops: 800g, Laser 2
The second invisible enemy and they're just as dangerous as the Maskers, if not more so since they won't flee when pressed. They have two different attacks they can do from any range - one is to set off fireworks that hit random parts of the battlefield and can inflict Rust, the other is to launch an octopus that falls on their target and explodes. As goofy as it sounds, you'll want the former rather than the latter since it actually has a chance to miss due to random placement. Kill them quick or run, because they will murder you otherwise.
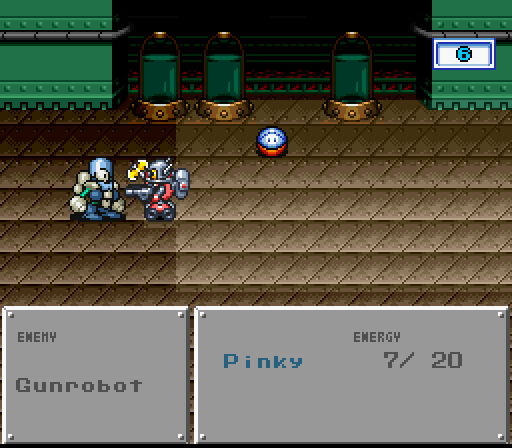
Gunrobot
HP: 56
Megs: 1.3
Run Resist: None
Drops: Cure, Scrap 1, Scrap 2, Scrap 4, Scrap 5, Scrap 6
Found hopping around the deeper parts of the Hacker Hideout, these robots attack with beam swords, lasers, and a ram that will knock your robot back. Taking them out is a simple enough process, and they have a chance to drop lots of useful Scrap. Surprisingly tame considering some of the other enemies that have been introduced so far.
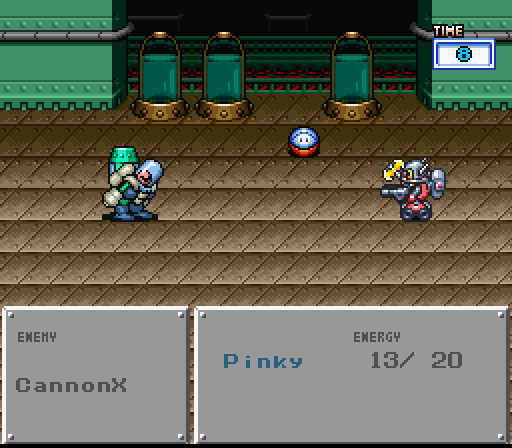
CannonX
HP: 60
Megs: 1.3
Run Resist: None
Drops: Cure, Repair, Scrap 2, Scrap 3, Scrap 4, Scrap 7, Scrap 9
Another hopping bot that closely resembles the Gunrobot, but toting a cannon. It can use its special armament to launch cannonballs on all three rows, and it also has a boomerang-esque energy attack that steals health not unlike the two puffball enemies from the Old House. Another surprisingly tame enemy with some potentially amazing drops. Especially that Scrap 9.

Biolion
HP: 20
Megs: 1.1
Run Resist: Extreme
Drops: Cure, Empty Pack
Looking like something you might see in Earthbound rather than in Robotrek, Biolions are surprisingly dangerous. Despite their low health, they hit surprisingly hard - probably the hardest hitting generic enemy that isn't invisible - and they take next to no damage from Run attacks. They send shockwaves at enemies at range with their wings, and bite those that get in close. Kill them quick before they can rack up too much damage.
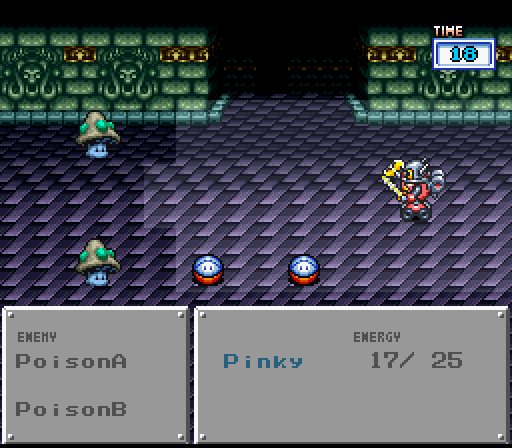
Poison
HP: 30
Megs: 0.8
Run Resist: None
Drops: 1000G, Clean
Didn't think we'd get through all this without a Mushroom recolor, did you? Much like the Spider, it has the same attack patterns as its original... but with a small change. The spore attack they perform at distance now has a chance to inflict Rust. Beyond that, they're not very threatening. Just kill them before they Rust your bot and force you to waste a Clean and possibly a Cure.
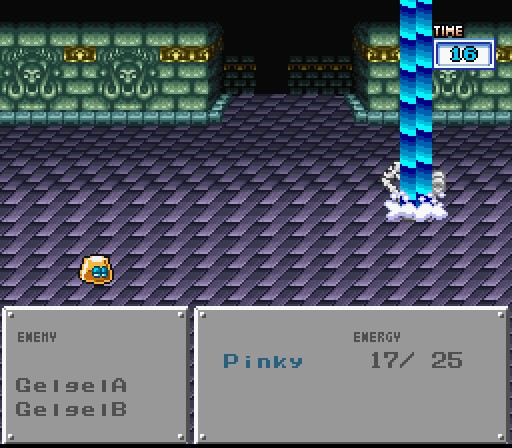
Gelgel
HP: 40
Megs: 0.8
Run Resist: None
Drops: 1000G, Clean
Finishing up the recolour parade is the Gelgel. Following the precedent, its waterfall attack causes Rust instead of Stop, but its attacks are otherwise unchanged. It does have one more trick up its gelatinous sleeve, though - it can split into another enemy. You could abuse that to keep the Megs coming, but the best suggestion is to just take them out before they stick a Rust.
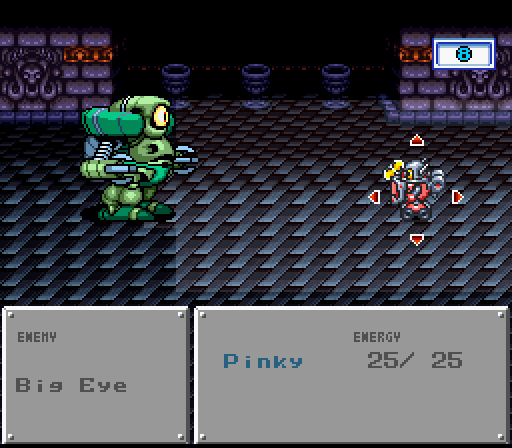
Bigeye
HP: 600
Megs: 70.0
Run Resist: Minor
Drops: None
This boss can be a bit of a wall for those who don't know how to deal with him. He can randomly block attacks like a robot wearing a shield, and this effect happens almost every time you attack him from the front. He can fire two lasers at once that hit two of the three rows at random, shove back robots that get too close, or just fly right through them and do damage. It should be noted that he is the first boss to take sizable damage from Run commands, so smack him with a multi-hit Run with your new Sword 4 or do what I did and get behind him to punish him with a multi-hit Run with a high-damage melee weapon.
It should probably be noted that in replaying the boss fight to get a screenshot I missed, I managed to crit Bigeye for about 725 or so. Even now, powerful weapons + crits = one-shotting bosses. That's going to change soon, though.