Part 39: Domo Ari-Gateau, Mr. Roboto
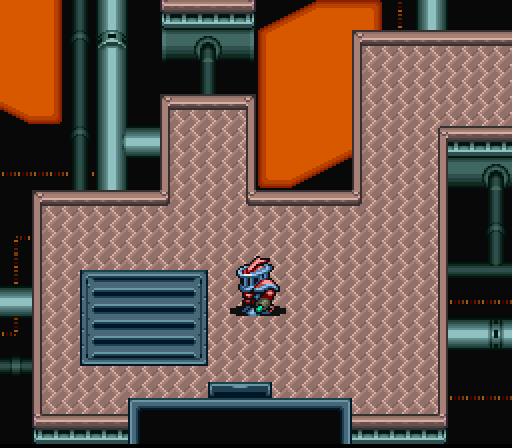
After the Ninjas of B1F, fighting the upgraded Bigfaces up on 3F is a nice breather. Our hero can't get too comfortable, though, since Gagarians start popping up again a couple rooms over - and they can have Ninjas with them. Still, Pinky's pretty safe switching his shield back out for the Blade 4 again now that he's out of the basement. Just has to play smart if the Ninjas pop up.

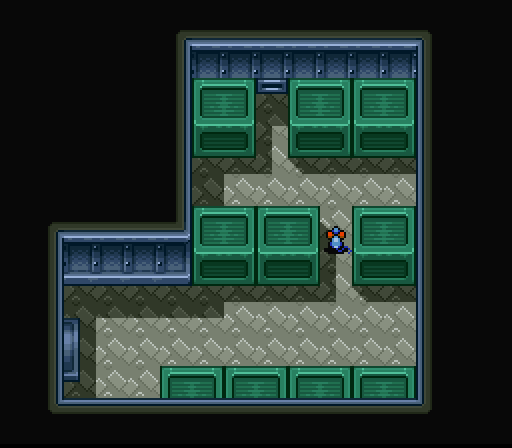
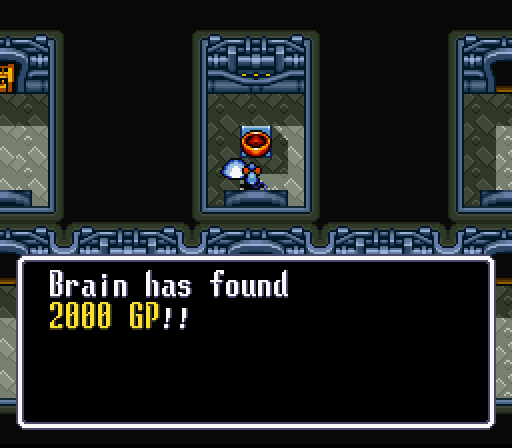
Two rooms down is a hall with multiple directions. Heading through the upper left leads to this Scrap and 3000G. Not a bad haul, but its doomed to sit on the pile with everything else. Sadly, a Cure would probably be more useful for after any fights Pinky gets beat up in.
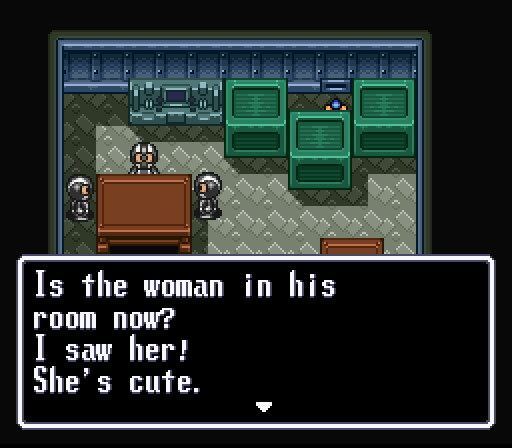
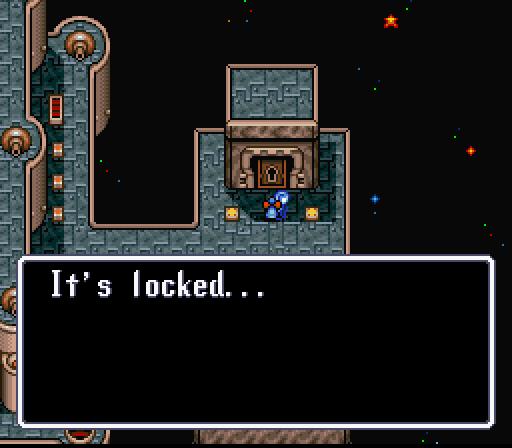
Anyway, heading back and continuing east leads to a vent. Beyond it are some Hackers talking about where the Princess really is. She's locked away, so our hero will need to hunt down the Key in order to rescue her. That's... really the only point to this room - it can probably be skipped relatively easily by just going south.

Still, leaving a room replaces all the baddies in it, and that means more Gagarians to fight in the room with the multiple doors. Delicious, Meg-filled Gagarians.
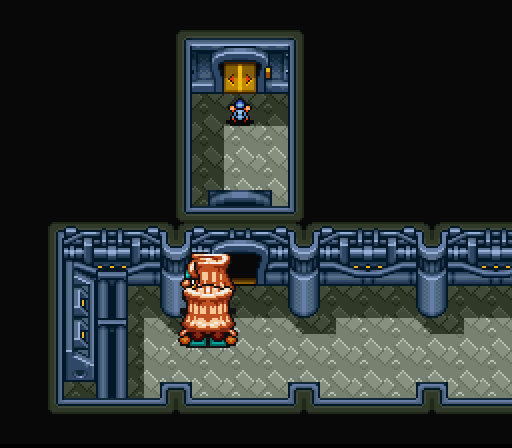
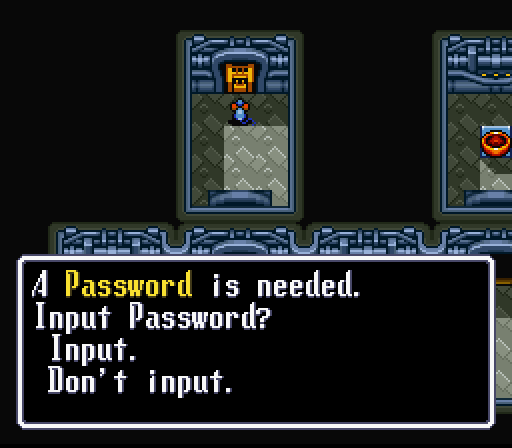
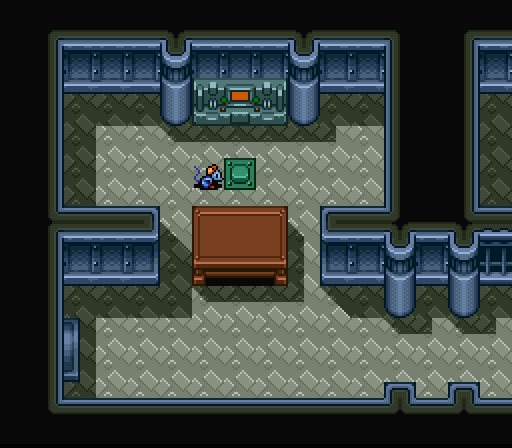
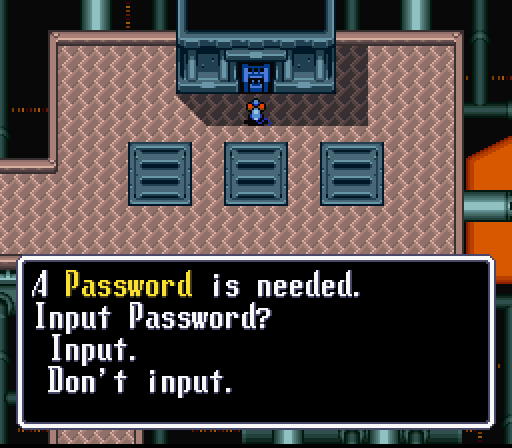
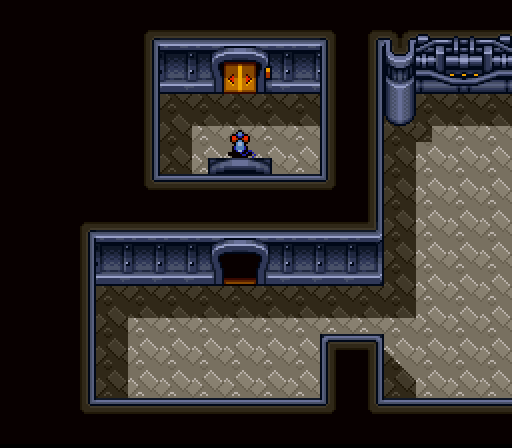
Heading south leads to this room, which has a few Masters patrolling and this capsule full of cash. Note that yellow door. Brain can't go through it right now - he doesn't have the proper password to do so - but it'll be important in a moment.
Heading east leads to a juncture. Continuing in that direction leads out into space - which our hero can apparently breath just fine - but heading north leads to another bathroom. That's another place Brain has been to a bunch during his journey, along with caves and lab settings. Bathrooms.
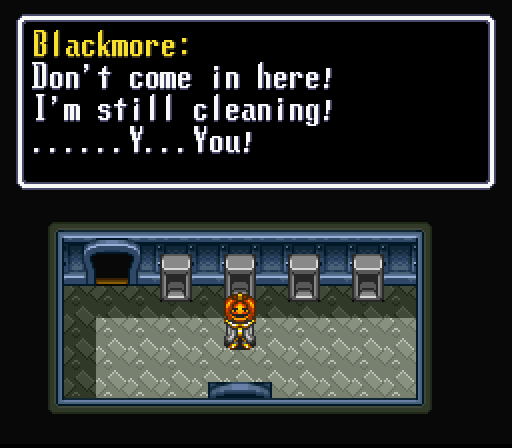
Anyway, Blackmore has the janitor keys that our hero needs to free the princess, but wants a favor for them. He gives Brain the Yellow Password so that he can turn off the program and free the former Hacker leader. There's multiple yellow doors throughout the complex, all that lead to master consoles. However, the one mentioned earlier is the one our mousey main character wants to open.
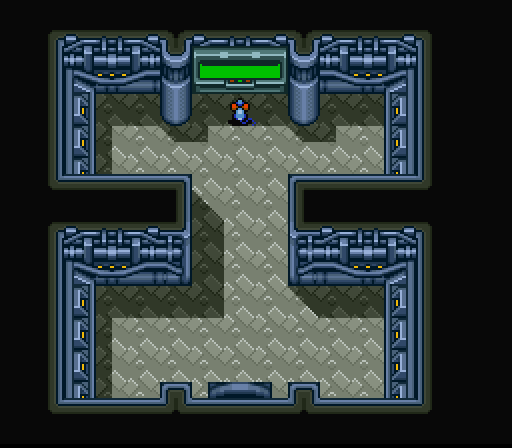
It's rather nice of the game to have the closest console be the one you need to go through. Using the Cyber Jack gets our hero into the network, where it's a straight shot just like the last time he surfed the net. There's some alternate paths that lead to dead ends, but there's no teleporter maze or anything to deal with. Each teleporter leads him directly where he needs to go.
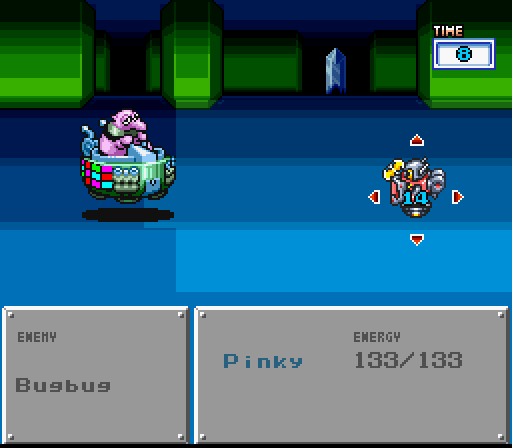
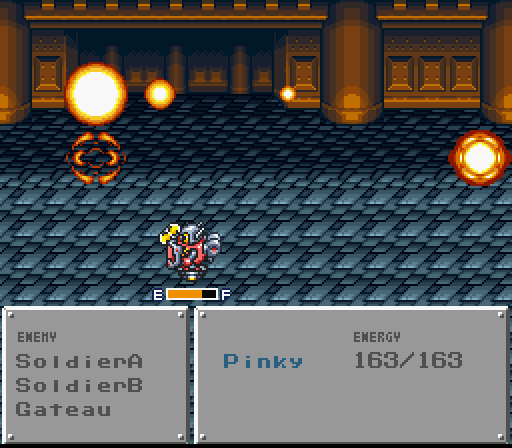
And that's to a rematch with Bugbug. He's faster, hits harder, and actually has Run Resistance now. As such, Pinky's stuck using normal hits to take him out. On the plus side, the Shield 5 continues to make his damage trivial and the Boots 6 allow our bot to hit him in the back pretty consistently despite his sizable movement range now.
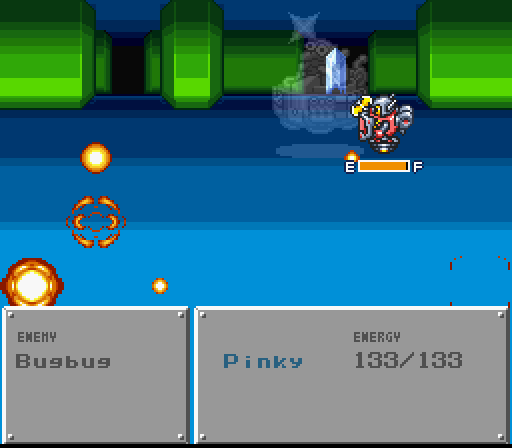
It's just a matter of chewing through 2400 HP. Just watch out for his turret - it can Confuse rather than Stop now, which is a much worse affliction. It never stuck on Pinky, though, which is always a good thing. His defenses may be huge, but Confuse-enabled back attacks still do some decent damage.


Bugbug gives a lot of experience, but not quite enough to level thanks to the large amounts needed at the later levels. Fortunately, the remaining Megs are polished off heading back to Blackmore for the reward.
Also, it should be noted that the guides I've looked at recommend being around Level 50 by the Bugbug fight. That's six levels higher than what Pinky's at right now. It probably wouldn't have made much of a difference, though. Just more Energy that Bugbug would've failed to get through.
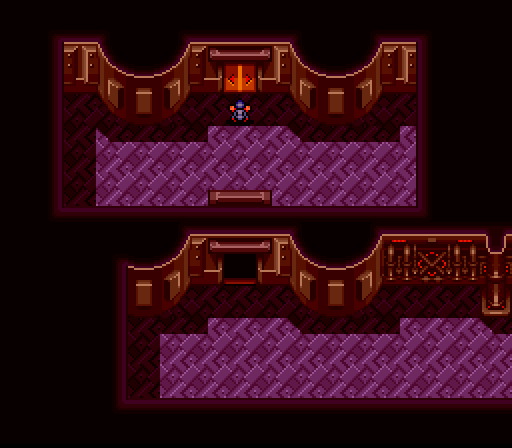
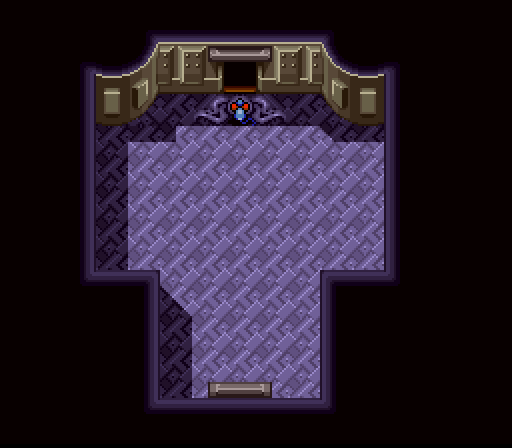
Blackmore gives up the key as promised before heading off. Following his lead, our mousey main character heads out and into the strangely habitable vacuum outside the Fortress. Princess Tira's being kept locked away in a cell out here for some reason, and the Key lets our hero in to spring her.
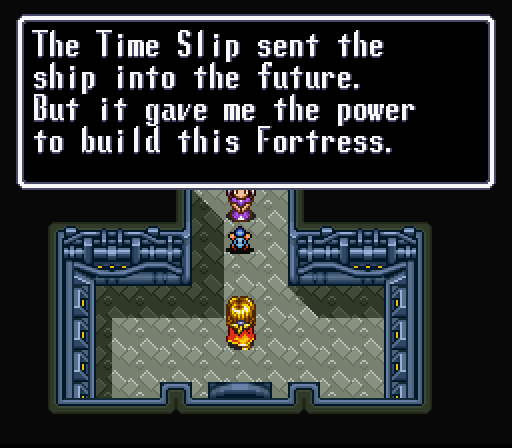
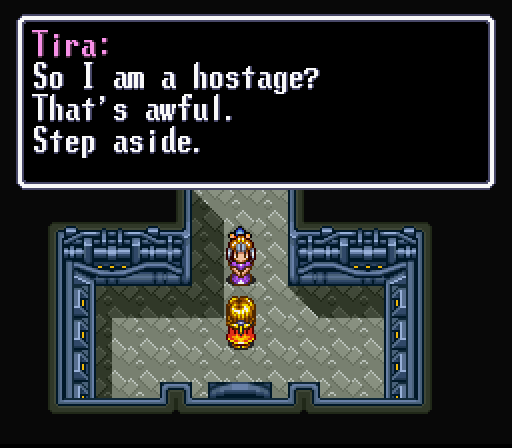
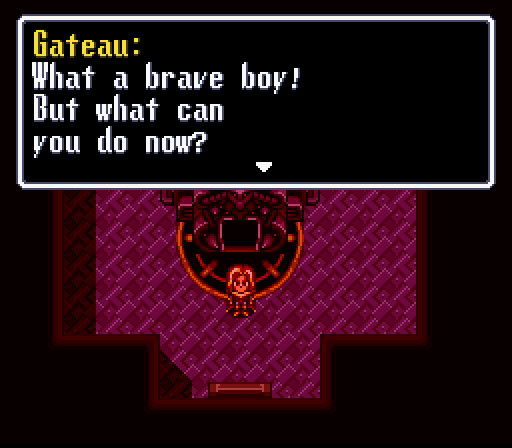
Trying to leave afterward results in a plot dump as Gateau shows up. He was flung into the future thanks to the events of the dream-past, built this Fortress, blah blah. The only noteworthy bit is that the slow-speaking and slow-witted Princess finally figures out she's being held hostage, so she deals with that problem by decking Gateau out into space. With that matter dealt with, it's time for our hero to return victorious to Choco.
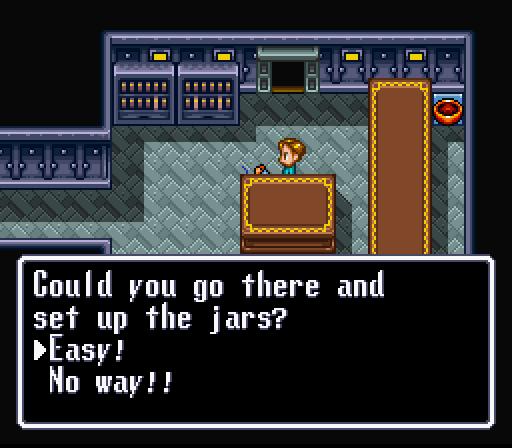
Returning the princess, as expected, results in more plot. Napoleon's Scrap apparently had some microfilm or something in it, and it explains Gateau's plan along with the weakness of the Fortress. Using that, the scientist create Jars that should cause the engine to explode. Sticking with the theme of the Space Fortress, they're color coded to the engine they have to be stuck in: red, yellow, and blue.
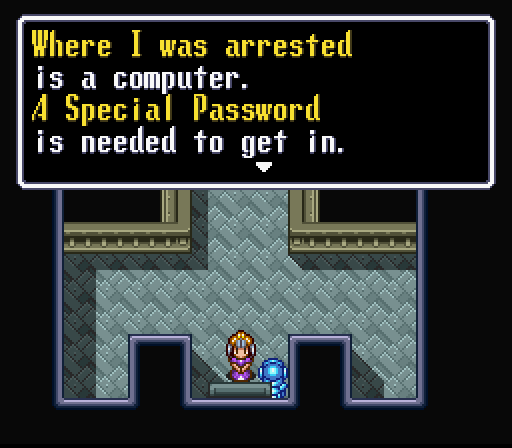
Brain is apparently the only one on Choco with a working Spaceship now, so it's all up to him to stop Gateau once and for all. Though it seems the Princess could deal with him just fine. Speaking of Tira, while leaving, the Princess gives our hero the password for the computer in her cell.
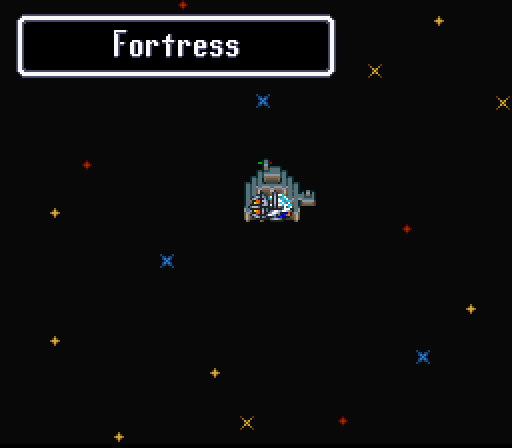
Flying back to the Fortress sets our hero down right in front of that cell, so it's just a matter of hopping through the internet via Cyber Jack to get to the next area. Conveniently enough, it leads right to where our hero needs to go.
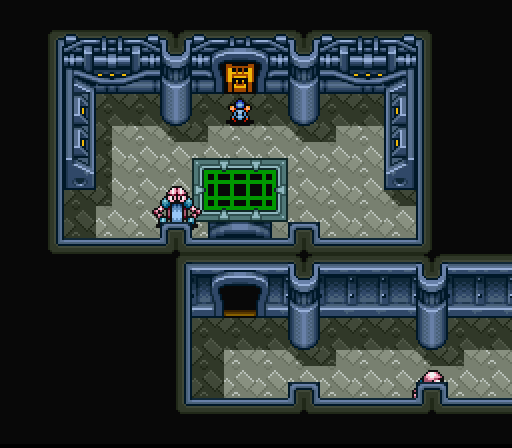
The massive basement of this futuristic space ship. This really is something out of Space Mutiny. And our hero is about to play Kalgon and apply the chemo-plastic compound. Just like the previous adventure down in the basement, invisible Ninjas are roaming around so having a shield and Chameleon Glasses on are recommended. Brain and Pinky will be making do with just the former.
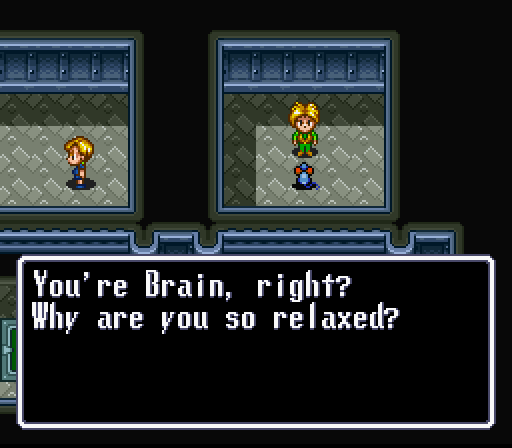
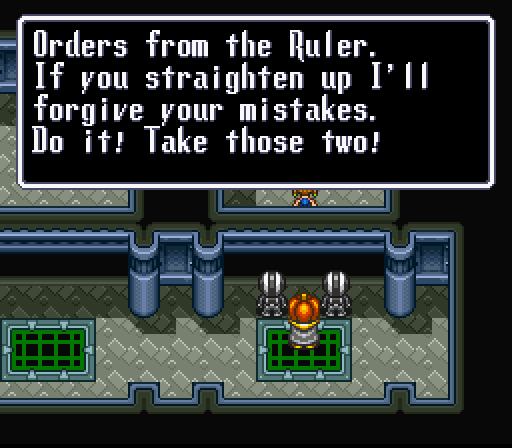
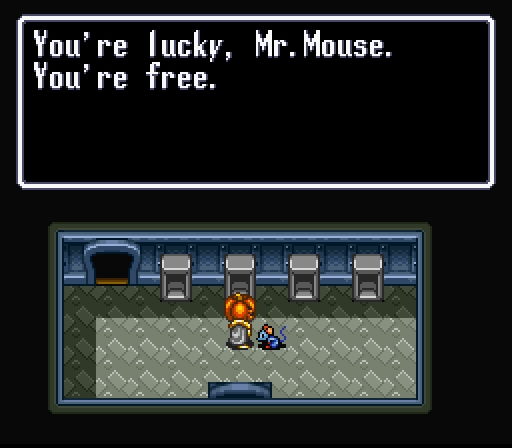
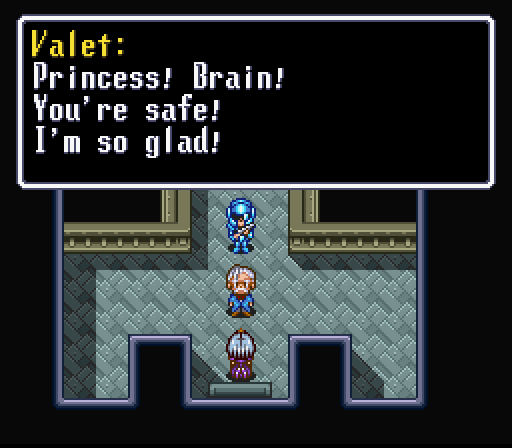
Heading to the southeast corner leads to another couple cells. Mint ended up here, along with Kotetsu. Letting them out results in Blackmore showing up and being threatening. However, it's all an act and he's actually getting them out of the Fortress so they won't be in the way anymore. And he gives our hero the final password. Handy.
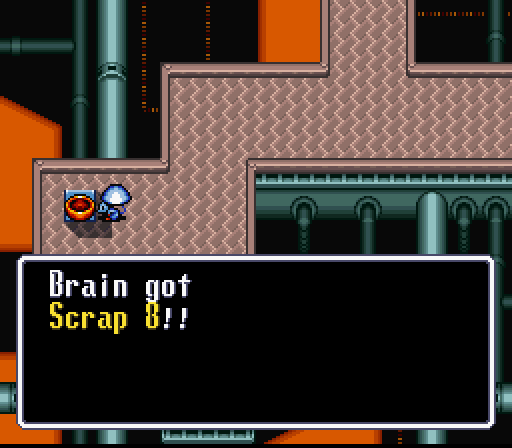
A quick detour to nab a Scrap 8 - which could make another Blade 4 if Pinky wanted to dual-wield phoenix swords or something - and our hero uses his new password to enter the engine room proper.
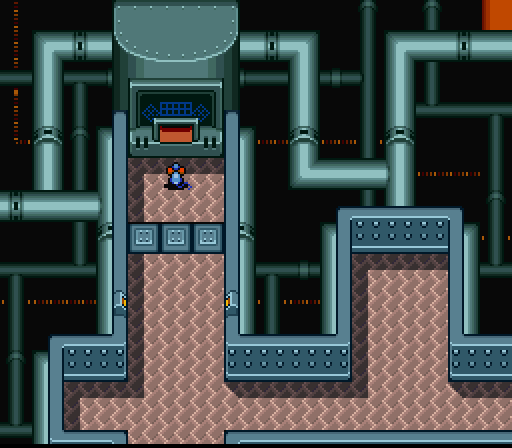
Conveyor belts make a return here, and the place is packed with Masters and Pixies. The latter is much more of a problem than the former, since the switches for the conveyor belts are usually within sight if their direction needs to be changed. Like before, remember this door - it'll be important later. For now, though, our hero goes left.
It should also be mentioned that this is another place where having Chameleon Glasses would be handy. Crossing the invisible trip beam causes these blocks to pop up. Fastest way to get them to go away is to get into a fight, but they'll reset after a bit of waiting too. So don't worry if you don't have a mook to smash.

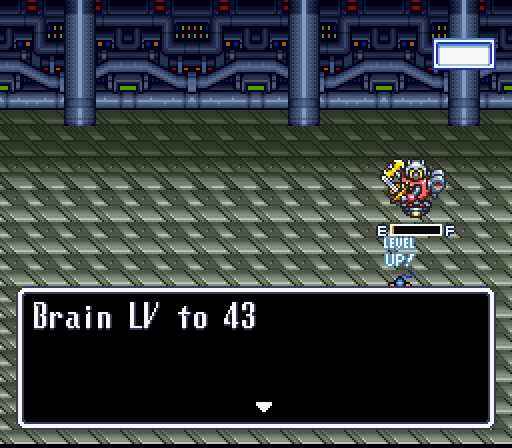
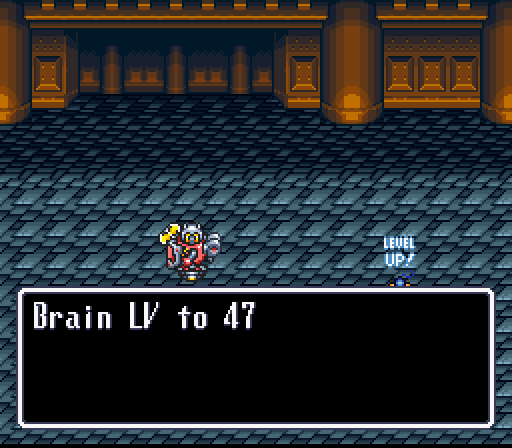
Brain, however, chooses the former option and gets a level out of it.
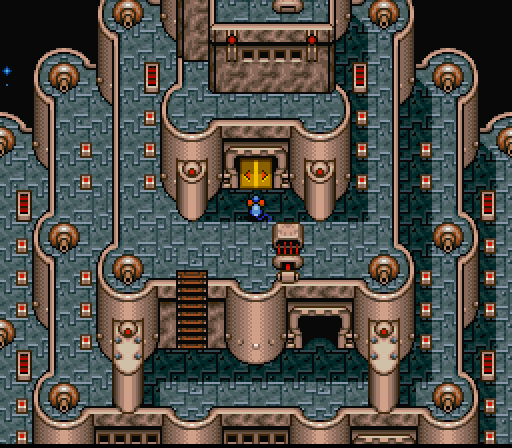
Heading left and up leads to the first engine, down from there loops around to the second engine, and heading back through the previously mentioned door leads up to the third and final engine. Dropping the appropriately colored jar in each of them is the way to go. Don't worry if you put in the wrong one, you can take it out again if needed.

Completing this surprisingly painless final puzzle leads to explosions. With that done, our hero can retreat back out of the basement. Continuing south leads all the way back to where Kotetsu gave Brain the first password. Heading left from there leads to the "preview" room mentioned in the previous update - the one with the Gagarians. The elevator sits at the opposite end, which means it's time for our hero to hit the top floor.
He's greeted with a suspiciously empty series of rooms. You should know what this means by now.
Invisible murder-enemies. This is the last of the new invisible enemies, and he throws wind-up toys. Really, these types of enemies have been becoming less dangerous as the game progressed. They can still one-shot Pinky with a crit, though, and they crit surprisingly often. So being cautious is always a good idea.
Still, they give solid experience regardless of the inherent danger involved.
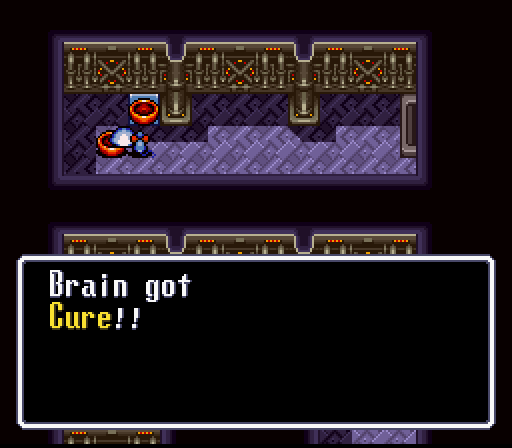
Heading up the middle-right door, since the other two options in the inviso-baddy hall are both dead ends, our hero takes one last detour for the last capsule in the game: a Cure. Not the most fantastic final loot item, but Brain already has everything he needs.
Pinky's a surprisingly good deterrent.

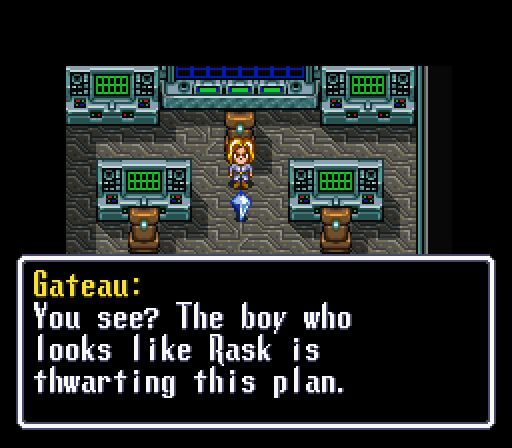
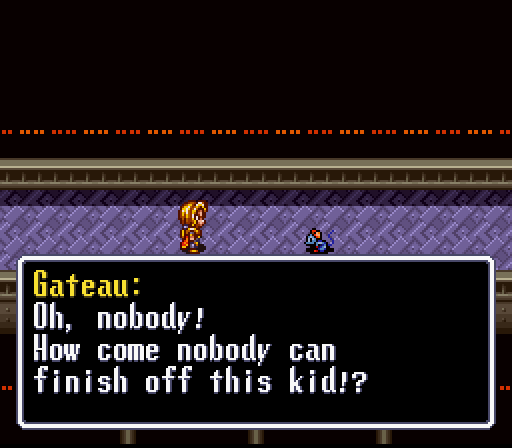
I still don't see the resemblance. Anyway, Napoleon got rebuilt in the interim and turns against his creator. Gateau throws a fit and blows up the bridge, but that isn't stopping our hero and Napoleon tosses him over the gap.
The same thing we do every fight. Pinky?
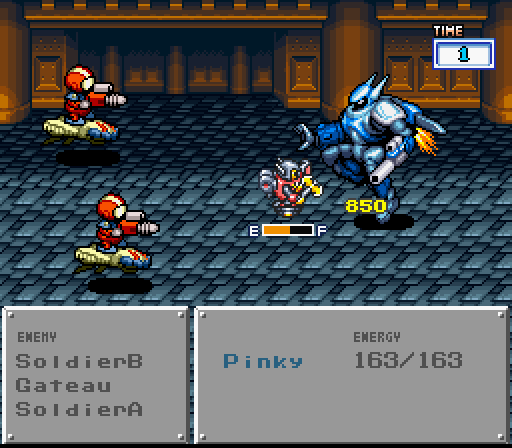
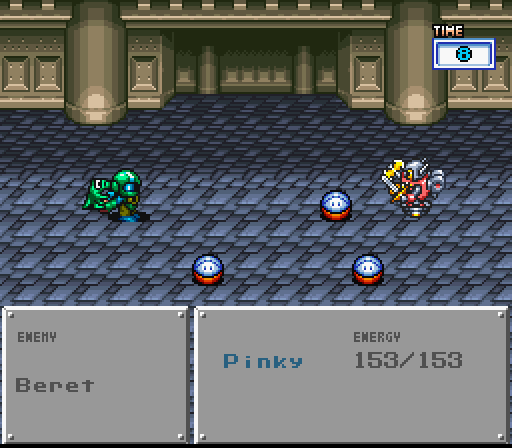
There's two ways to approach this fight with Gateau: kill his allies and then focus on him - or the method I prefer - focusing solely on him. Like with the previous boss fights that have extra enemies, having the weaker one still up lets them do things in place of the boss. That means more chances to recharge energy or to hit the boss. Plus, leaving them alive will result in Gateau retreating to the other side of he battlefield at one point.
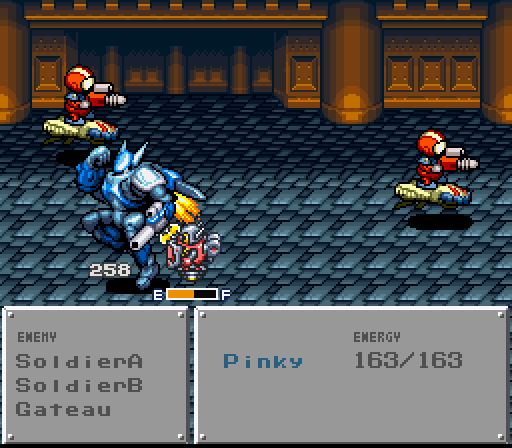
Since he's looking towards Pinky when he's over there, the teleport-switching he'll do will often leave his back wide open to attack. Since he has no Run Resistance, that means chewing through his 2800 hit points doesn't take that long at all.
Especially with that crit earlier. This is a jRPG, though, so things aren't over quite yet.

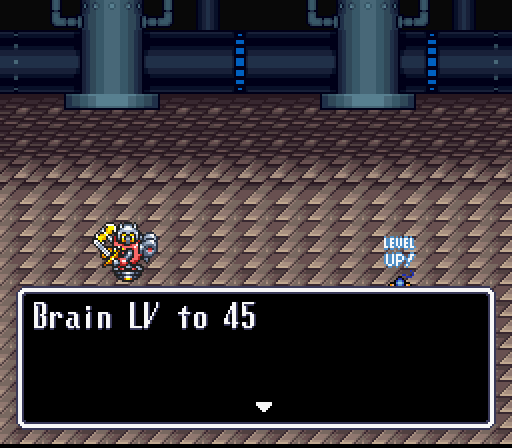
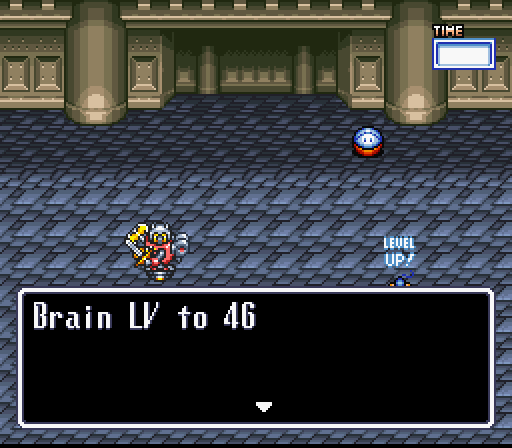
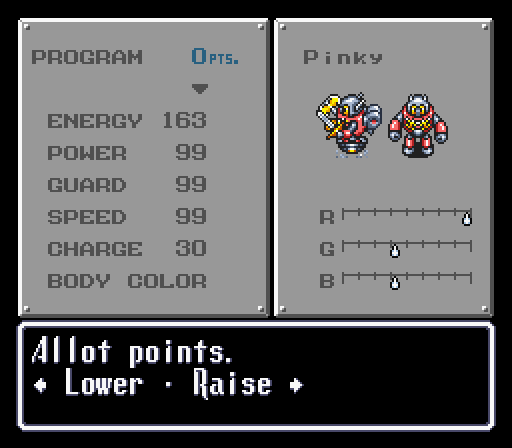
The last level for the LP, and the final upgrade to Pinky's stats.

Also, our hero makes a pair of Boots 5. It will be explained shortly.
Oh, I plan to, Nagisa. On both counts.
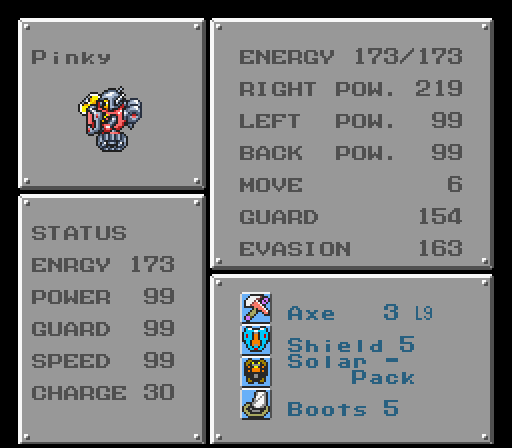
This is the final load-out for Pinky before heading into the final battle. Technically, if you pumped up Charge more than I did, you could probably use a Blade 4 instead of Axe 3 - but it's only a difference of about 20-30 damage a swing for a longer recharge time. Not really worth it.
The shield is there for the same reason as always, block and evasion, and the Solar Pack keeps that regen going. Finally, the Boots 5 - the final boss is stationary and can't be gotten around, so giving up the movement for a major Guard boost is nice. Plus, tank treads.

With the equipment settled, it's time to go.
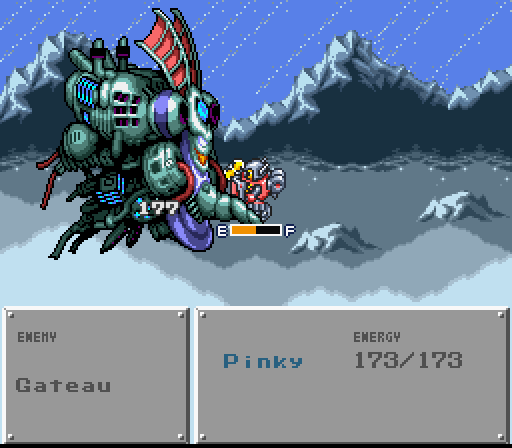
Final Boss Gateau. Hard hitting, huge defenses, a lot of HP, can't be back attacked, and he can Confuse if the robot isn't up in his face. This was the guy I was worried about when I did my test run before starting the LP. He has 5200 HP to eat through, and the Solar Pack only heals for about 25 max per turn. There's no real way to kill him quick, like with Meta Crab at the beginning, so it's a matter of outlasting him. Which would normally be rather difficult considering the damage he puts out.
However, as is par for the course, Pinky's new loadout completely shuts Gateau down. Like with De Rose, most of his attacks are either blocked or dodged. What attacks that do get through only do about 20 damage or less, depending on the attack, except for one missile attack for 50ish and a crit for 80. The latter actually brought Pinky down to about 40 HP, but he was able to heal back up with just the Solar Pack.
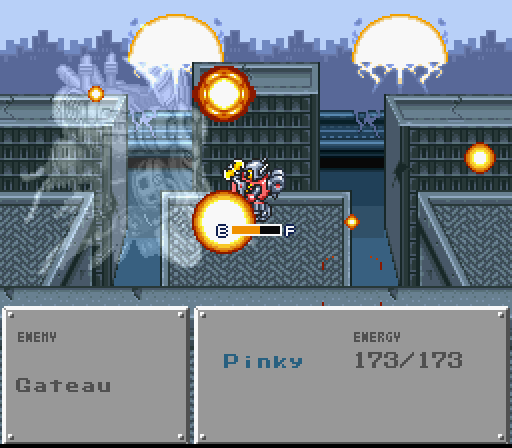
Seriously, he ended the fight back at full Energy. And if that wasn't enough insult to injury, Pinky actually crit him in return for about 900 damage. Other than that, it was a pretty boring battle of attrition. However, it was a battle that ended in Pinky's favor.

And with that, our mighty mouse and his machine flying away in a spaceship as the Space Fortress explodes. So ends this one robot, no items run. It was a lot of fun playing through this game again with this handicap, despite some of the complaints I may have made here and there. It adds a level of strategy and punishment in an otherwise easy game. Even more so if you know how to abuse the mechanics.
Plus, in doing the prep work for this LP, I can across some things about the game that I didn't even know existed - like the Programmer Room and getting back the Surprise Horn. So, in showing what I know, I also found out some new aspects of a favorite game. I'm sure there's probably some other things I missed - such as the invisible Hammer 2 hidden in the Shrine - but I hope I gave a solid breakdown of the mechanics and provided an interest run through the game.
There's still a little bit more left to do - one more mini-update left to cover on the enemies of the Past and the Space Fortress. However, other than that, the LP is more or less done. There's one last image that I think fits:
Thanks for watching.