Part 7: Errands
Chapter 5.5: Errands(Or, "Yes, You're Supposed to Figure All This Out On Your Own")
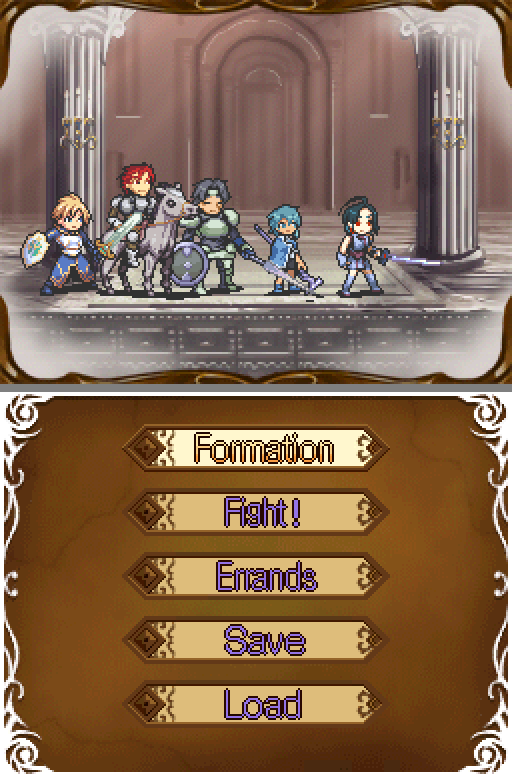
We finally have access to Errands!
Warning: There's a reason I'm leaving this out of the main updates. It's a lot of text, and if you just care about the map tactics or the story, it isn't really relevant to you. If, however, you want to see more of the fantastically undocumented mess that is Rondo of Swords, then by all means read on.
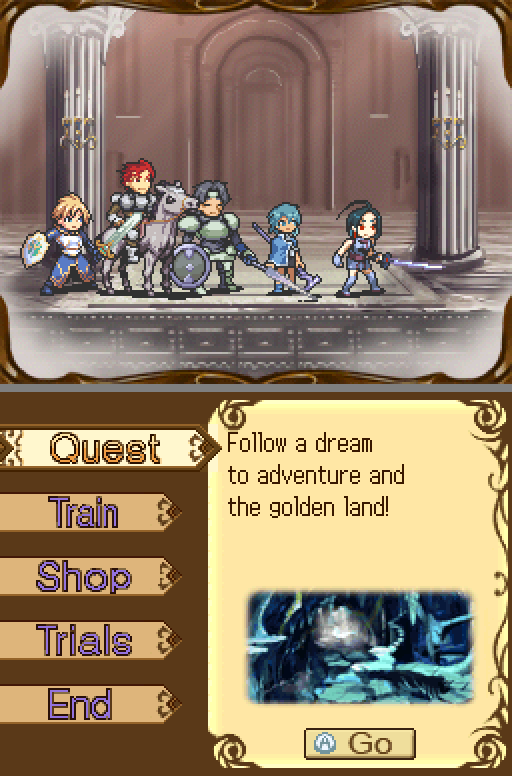
"Quests" is the most important of these options.
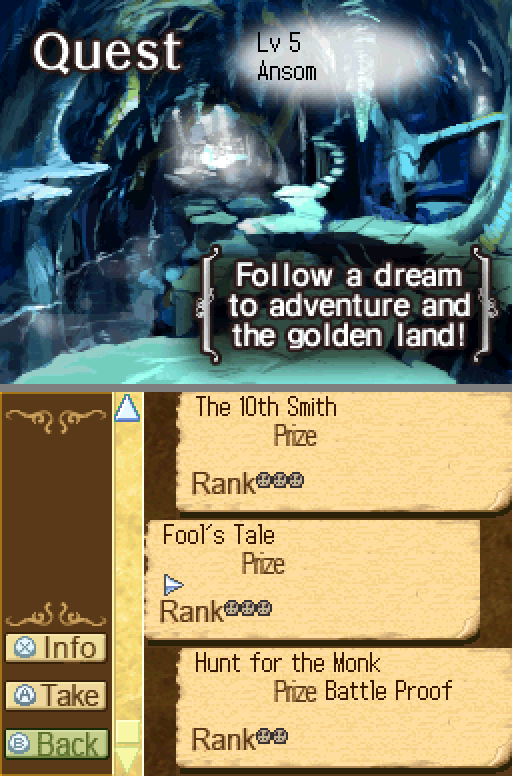
You can have four quests at a time. There are four possible Quests at a time.
You select one inactive character for a Quest. After selection...
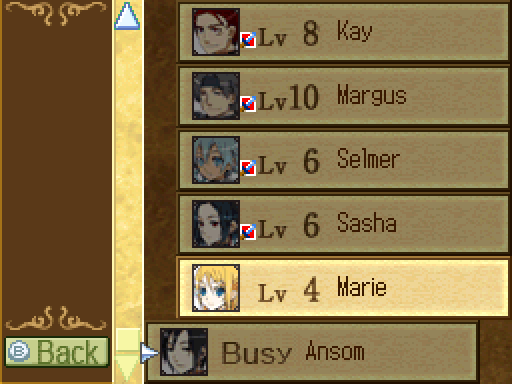
...that character is marked as "Busy." They are now unable to participate in the next map. All five types of Errand work like this. Serdic can't participate in Errands (for obvious reasons).
Quests do not generally require stats, at least not that I recall. You can fail, you can succeed, and you can get a bonus for succeeding especially well. The Charisma skill increases your odds. There's really no reason not to send inactive characters out and complete all your available Quests...
Or rather, there wouldn't be, but there's an additional wrinkle to consider.
You see, some Quests are "Continuous Quests." This means that finishing the Quest triggers a new Quest. There's no indication of this in-game, though you can sometimes deduce the links in hindsight. (Piglet Husbandry -> Sow Husbandry -> Rare Husbandry is one such chain.) That's a good thing, right?
Not always. Not even often, actually. The further down the Quest list you go, the better the rewards get, and there are enough Quests that triggering multiple Continuous Quests will greatly slow your progress. A lot of Continuous Quests just give you consumable items or vendor trash.
There's also an additional wrinkle: Some Quests are tied to character recruitment. Recruiting Ansom unlocks two Quests later. These Quests have bad rewards, so that's a bad thing.
The character we can recruit the stage after next unlocks three Quests. Only one of them has rewards I actually want. In a perfect world, I'd give him the boot and move on; he's not particularly useful anyway. Circumstances don't allow that, though.
There are three Quest types that need special mention, though only two are available right now. Look at "Fool's Tale" and "the 10th Smith." Smith Quests are how you improve character weapons. Each character gets a different set of improvements from Smith Quests, and some are much better than others. Kay gets +1 Attack and +1 Accuracy per Smith Quest. Sasha gets +2 Attack, +3 Accuracy, and +3% flat critical rate -- the last is particularly impressive, considering her base rate is 10%. You can send someone on up to 9 Smith Quests.
Smith Quests are a special kind of Continuous Quest. Eventually, you'll get the Smith Quest "the 1st Smith." If you don't send someone on that Quest, then Smith Quests vanish and are replaced with a normal type of quest. If you do, then you get the Atelier Quests, which are more Smith Quests. This works similarly -- if you don't send someone on The Last Atelier, then you don't get the third line of Smith Quests.
They're generally not worth it, at least in my opinion. I guess you could send Sasha on a bunch and make her much more offensively scary? Except that by the time you did that, she'd be underleveled enough to go from "kind of fragile" to "melee Selmer." You're best off letting them lapse for the extra normal Quest slot.
The second type of Quest is the Card Quest. The Card Quests are called that because they all have Tarot motifs. Fool, Magician, High Priestess, Empress, that sort of thing. Card Quests have no displayed rewards and do nothing to your character's stats. You have no way of telling how many Card Quests you have sent a character on.
They do, however, iterate a hidden counter. After three Card Quests, most characters will unlock a secret innate ability. After six, all characters will unlock one; if they had a 3 Card, that makes two abilities. These range from "useless" to "incredible." They don't carry over to New Game+; if you want the abilities, you need to do the Quests again.
A quick list of Card abilities for the characters we already have:
Kay: OB rate up 25% (3x), Exp gain +50% (6x)
Margus: +1 to all MC gains (3x), Counter % x2 (6x)
Selmer: Ice Magic MP cost -20% (3x), 5% MP Regeneration (6x)
Sasha: Attack Accuracy 100% (6x)
Card Quests are a serious trade-off. Even if a characters has useful abilities, can you really afford to lose them for three to six maps? Here's a minor spoiler: There are 38 or 39 maps in the game, depending on route, and about three to four of those are optional. Sure, character levels may not mean much by themselves, due to the relative slowness of stat growth, but skills do make a big difference, and you are losing access to that character. And if you do send characters on card quests, make sure to make a note somewhere; having five card quests completed does you no good. (Major benefit of the LP format, I have to say.)
By the way: Charisma can cause Card Quests to give you two cards instead of one, or improve Smithing results. Unfortunately, again, Card Quests affect a hidden variable, and five cards does you no good. I don't think it's worth the uncertainty.
Ansom Card Quests: 1
I'll tell you what his abilities do when he hits six. His three-Card is nothing to write home about, but his six-card is absolutely fantastic.
The third type of special Quest is a long way away, but I'll go ahead and talk about it.
The third character promotion requires the same items as the first and a character-specific Seal. These Seals show up as the reward for specific Quests, which show up if that character is in your party and in their second class, and you only get one Seal Quest at a time. There's a set order of priority, and you can't choose to not have the Quest show up. To my memory, you get one shot at doing the Quest, and the name doesn't necessarily indicate whose Seal it is -- if you miss it, that character isn't promoting.
This means that you don't want to promote Kay, Selmer, Sasha, or any other first-class character you have and don't plan to keep. It also means that if you don't want a character who is in their second class, you shouldn't recruit them. Sure, you'll have another warm body to do Errands, but you'll also have an irrelevant Seal quest blocking other ones. And finally, it means some characters are worse than they would otherwise be, simply because of their priority order on the Seal Quests. The final healer may have very good potential and an interesting skill list, but he's also dead last on the Seal Quest list. He's going to be promoting very late, if at all.
(I did say "more than you ever wanted to know" at the beginning of the update.)

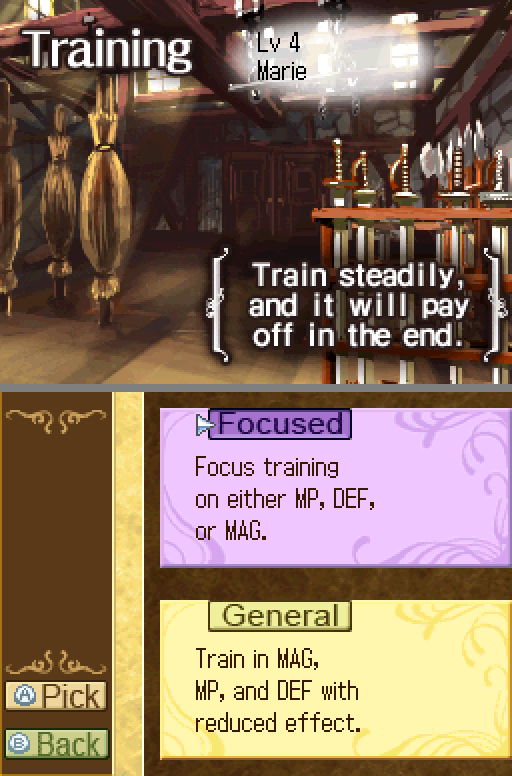
Next is Train. Physical characters and mages have the same options for different stats. It's pretty much just as it says. Remember, the character can't participate in the map if they do this.
If you do the dedicated training, you can get 1-3 points in attack, defense, or magic, you choose. I'm not sure on the HP/MP growth range. Right now, "3 points" is 4-6 levels of stat growth. That's quite good! But 1 point in a stat is kind of awful.
I've never actually used it.
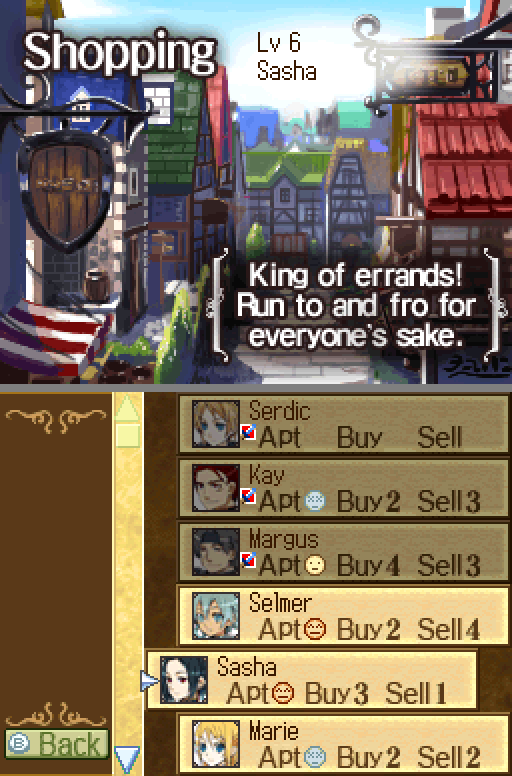
Shopping! This is the only way to use money -- there are no shops on the map, and there are no map-triggered events that use money.
Each character has an inherent aptitude, intuitively displayed with the little faces. They also have a limit on how many different types of items they can buy or sell at one time.
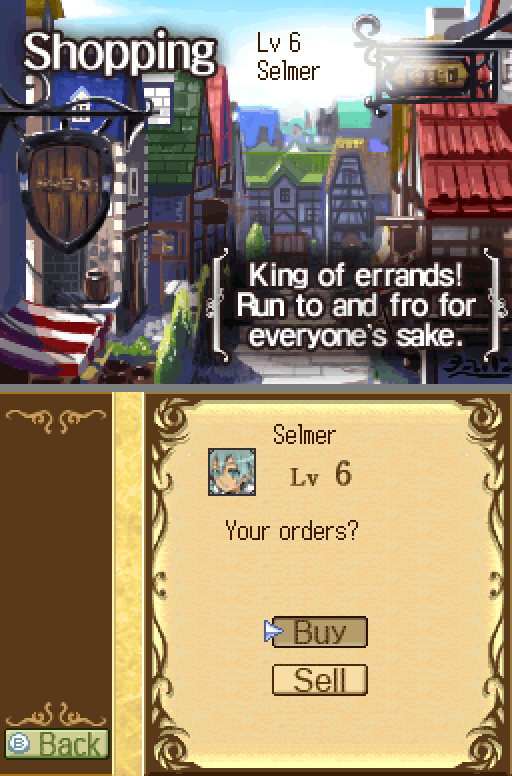
You select a character, and then pick "Buy" or "Sell." You can only buy or sell on each trip, not both at once.
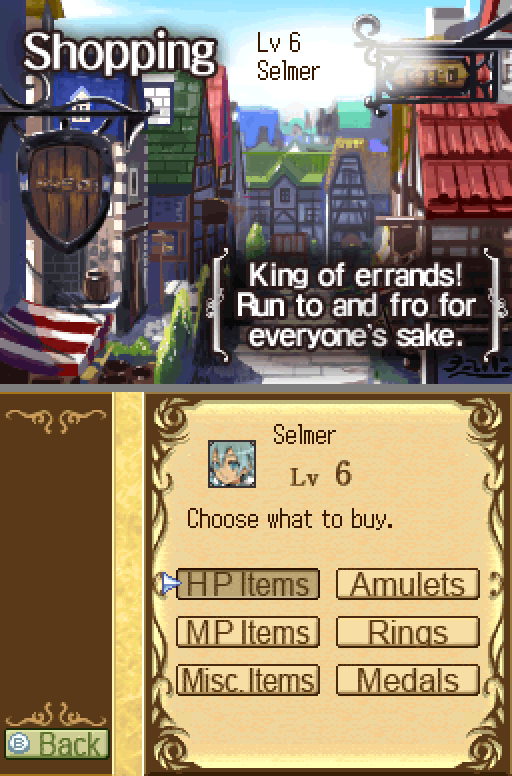
When buying, you can select an item type for each of the available Buy slots. Then you give them a budget, and the game tells you how they intend to distributing that money across the items. This budget will be split across all of the items, and when there are multiple possibilities, you can go up and down by one gold to redo the check and split the money differently. You don't get to see exactly what it is that your character wants to buy, but you can generally work the effect level out from the cost, and it's always the same. 50 Cost amulets are Amber (+2), 300 cost amulets are Azure (+3).
The big one to remember is that 6000 cost amulets are Topaz (+18), the best kind of purchasable amulet, but we're a long way from those.
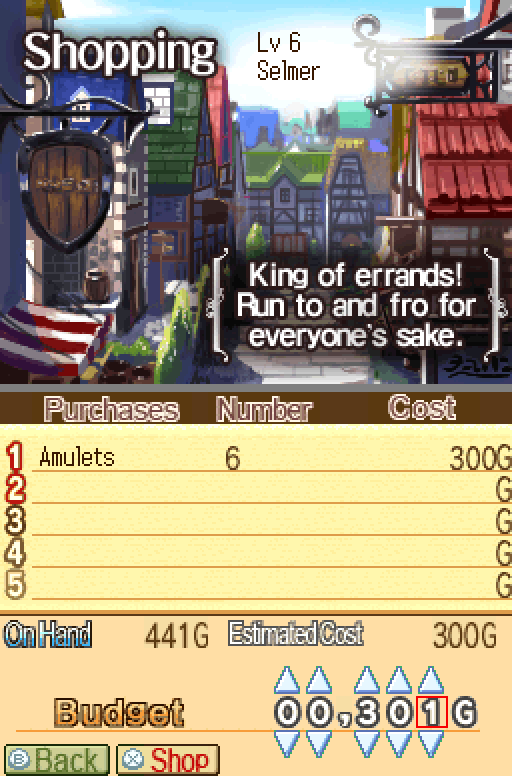
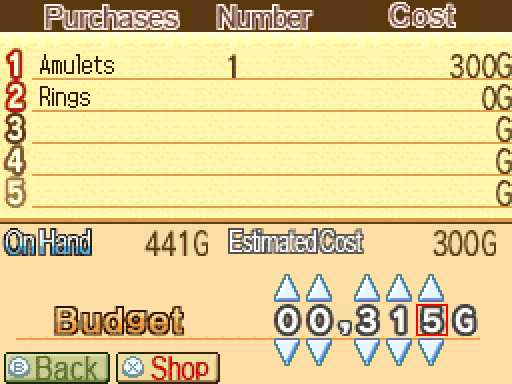
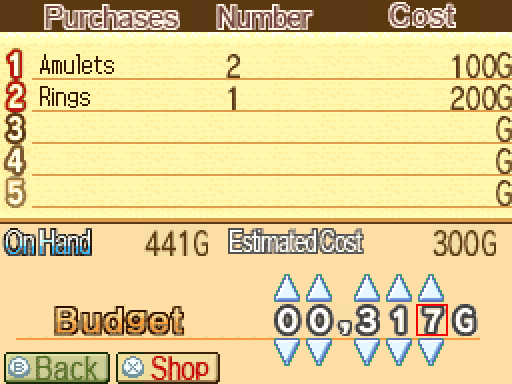
A few examples of how this budgeting works. Your characters will haggle a little, so you want to give them some leeway on price. Sometimes they'll go under or over.
Items are actually level-locked -- I want to say by Serdic's level, but I'm not sure. I do know that the "unpurchasable" items have a level lock of 80.
You will spend all of your money on one thing, and that thing is amulets. I'm sure hearing this is no great surprise.
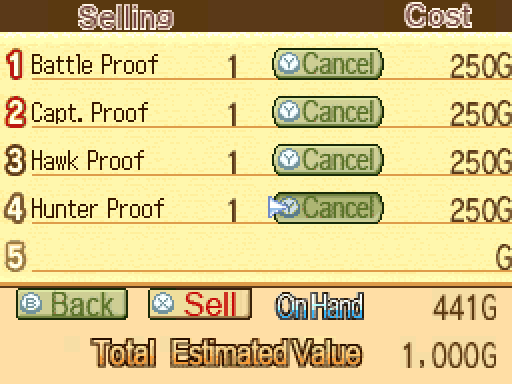
Selling is a little different. You don't sell by category, you sell by item. If I had 10 Battle Proofs, I could sell all of them at once, but I couldn't sell both Battle and Hawk Proofs in the same slot, even though they're both Proofs.
Finally, Trials. You pick a character, and...
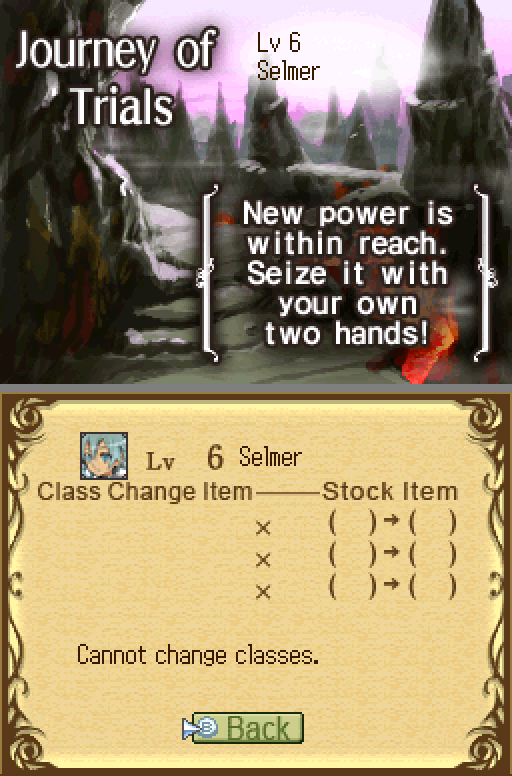
...then you get told they're underlevel.
Charcaters can promote for the first time at level 15. This requires two low-level proofs and one higher-level proof. There are five types of Proof:
1) Warrior (Battle/Captain)
2) Mage (Hermit/Sage)
3) Archer (Hawk/Hunter)
4) Thief (Thief/Robber)
5) Healer (Chrism/Vow)
First class characters (who can Promote and aren't Serdic or Aegil, and you haven't met her yet) stop learning skills at around level 12-15. To get new ones, you have to Promote. This happens again at level 30, when you can Promote again to reach the third class, which (as mentioned) requires the same items as before plus a specific Seal item. If you've played Shining Force, then it's much more Shining Force than Fire Emblem; promotion does not reset your level and has no downside. (Yes, it's not a perfect analogy, I know.) To the contrary, in addition to the skills, Promotion can confer minor stat bonuses, improves your weapon, and improves all stat growths. Characters tend to have very important skills unlock right after they promote; a Warlock going from their second class to their third can immediately learn their ultimate elemental spell, for example.
Remember, though: Like all Errands, sending a character to their Trial means that you can't use them in the next chapter. It's not a bad idea to use seven characters instead of six.
That's all for now! Chapter six update tomorrow.
Next time: The Red Lion