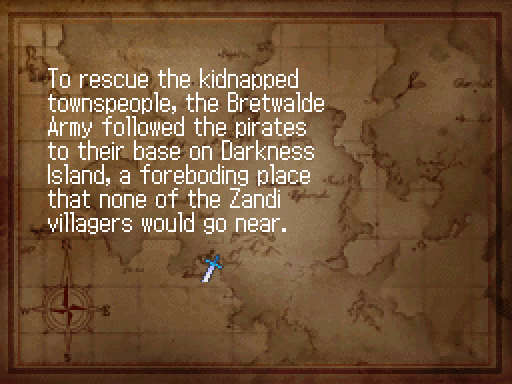
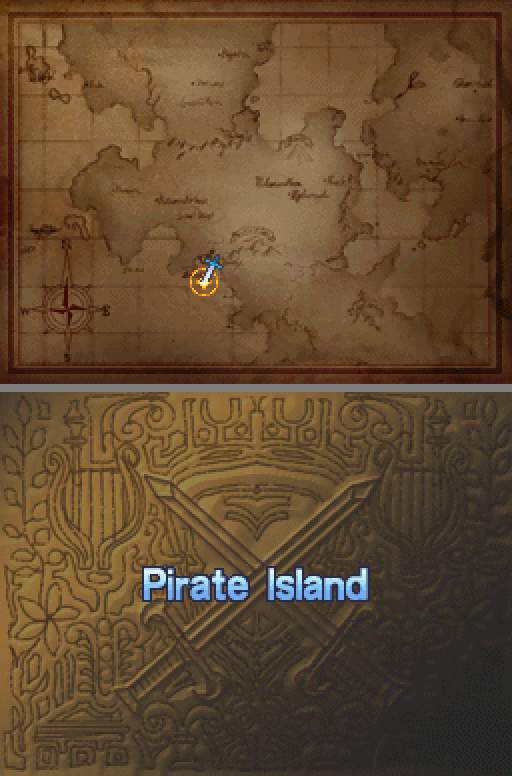
Part 11: Pirate Island
Chapter 9: Pirate Island(or, "We Will Have Our Battle In the Shade!")
Sasha is Hurt, as you'd expect.
Kay gets a point in Frontal Blow. Margus is level 15, so I'm going to leave his 7 skill points for after Promotion -- remember, promoting unlocks new skills, and this should be his last chapter in his first class. Marie gets a point in Cure Drop, bringing it up to level 3 and increasing the cost to 30 MP. She has 134 MP now, though, so that's only 17 MP per turn. Owl is exactly 18 experience away from learning Sprint, which is aggravating. He learns nothing.
We're bringing the same group as last time, Sasha excluded. Serdic and Margus exchange the Silver Ring and Angel Medal -- Serdic is going to play arrow magnet this map, so Marie probably can't spare the attention to heal Margus.
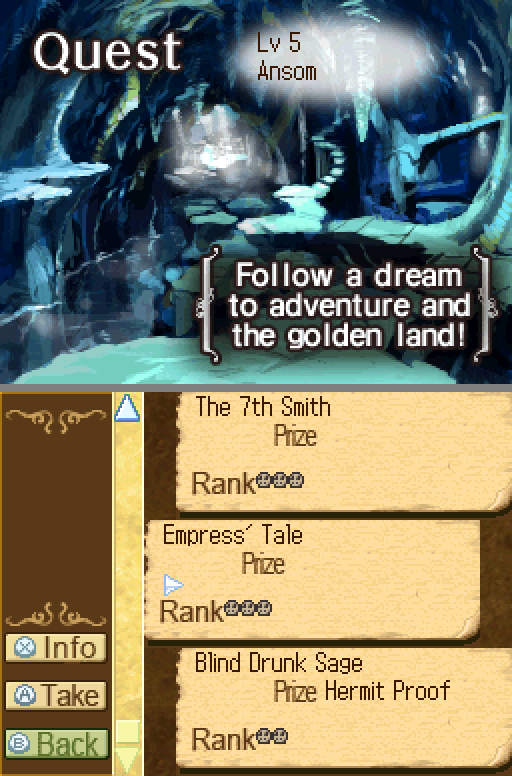
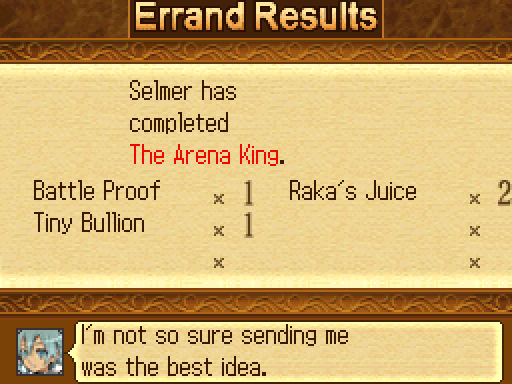
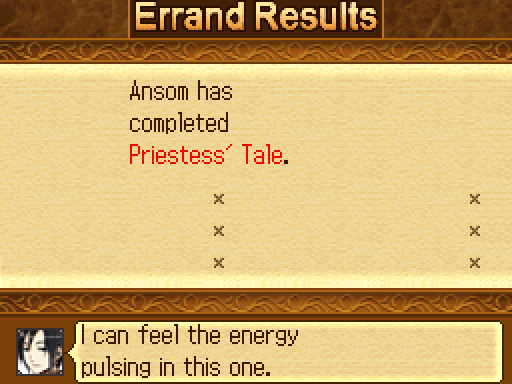
Ansom card quests: 4. Just two more to go.
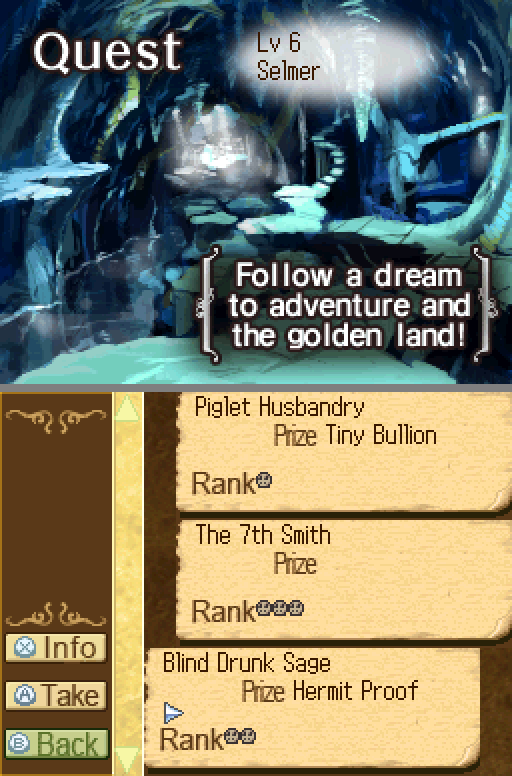
The first Continuous Quest, the Husbandry series, is unlocked. All three levels just have Tiny Bullion and Bullion; they're worthless, ignore them.
Blind Drunk Sage is a great Quest name, though. (Shame the Quest description doesn't live up to it: "Those seeking to reach the pinnacle of magic power should hurry to a new level of excellence!")
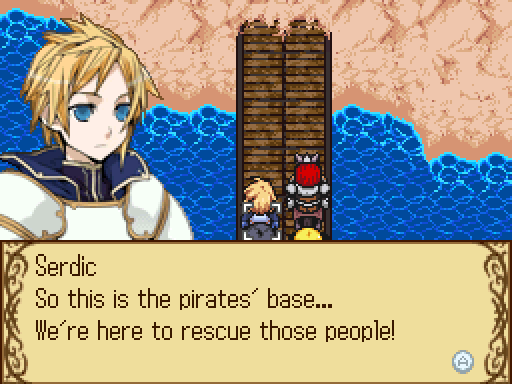

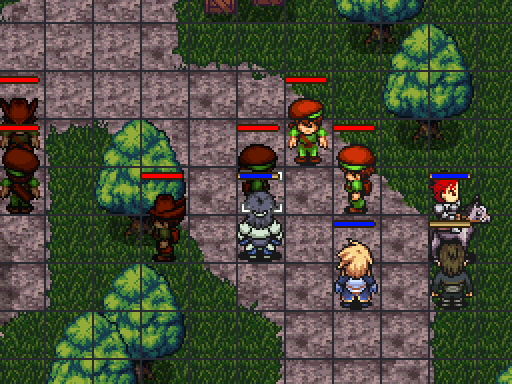
This is a relatively straight-forward map by recent standards. No civilians to save, no reinforcements to worry about, no alternative way of clearing the stage. Just murder everyone.
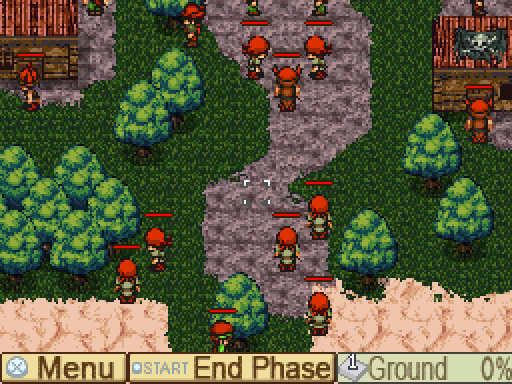

The Sand tiles near the beach are a variation on the Wasteland we've seen -- -15% defensive penalty, 2 tiles to cross. The grass is grass, and the gray ground is standard no modifier one-movement tile. The trees and houses are all impassable.
You've got the usual assortment of Scouts and Infantry. The Scouts are even more ineffective than usual, because for some ungodly reason, they have 4 Move. Four. I... just... why? Seriously, why?
Unfortunately, there's also a lot of Archers. Margus, Serdic, and Marie are going to be seeing the majority of the work today, especially the last two -- Serdic's MC (boosted with the Silver Ring) is going to ensure that he's taking the majority of the arrow fire. Hopefully his Arrow Guard will help with that. We need to be very careful with Marie here -- if the archers have a killing shot then they'll take it, and her durability is Selmer-level.
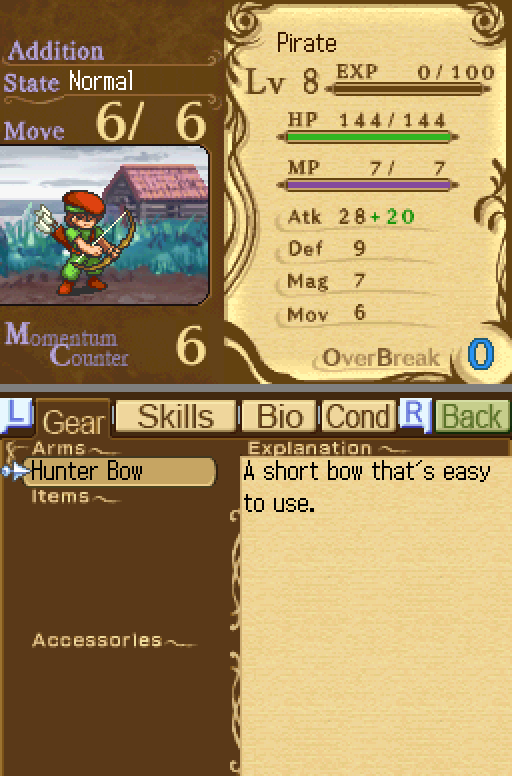
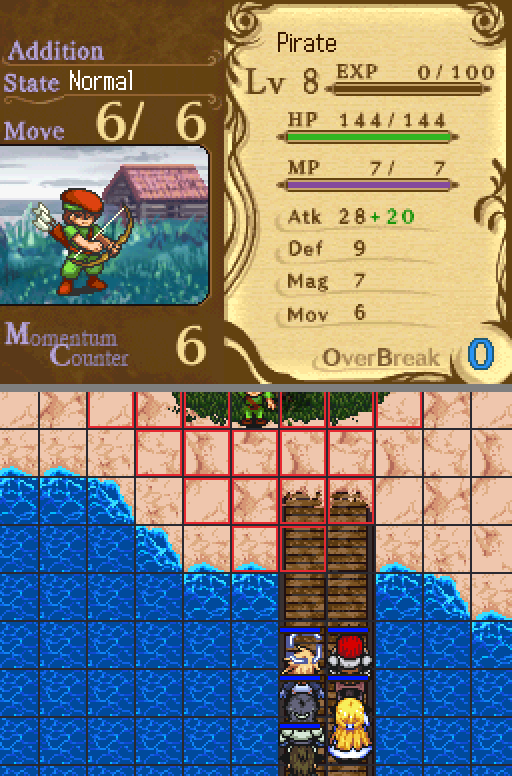
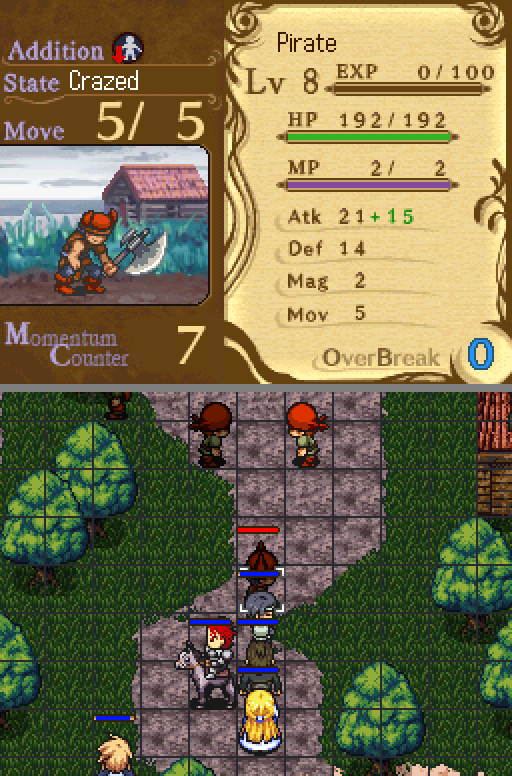
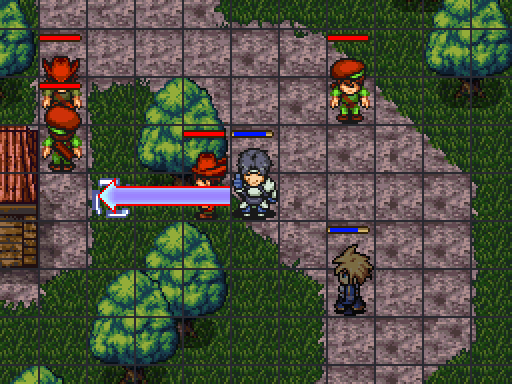
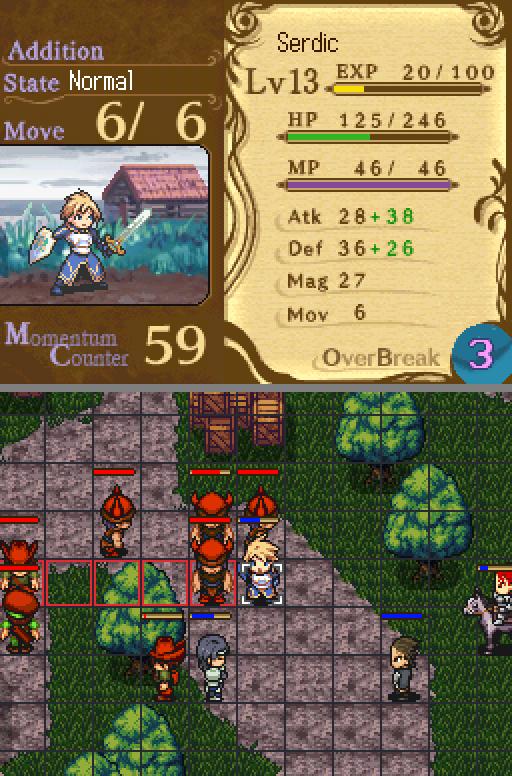
There's also a new type of enemy that deserves a little more attention:

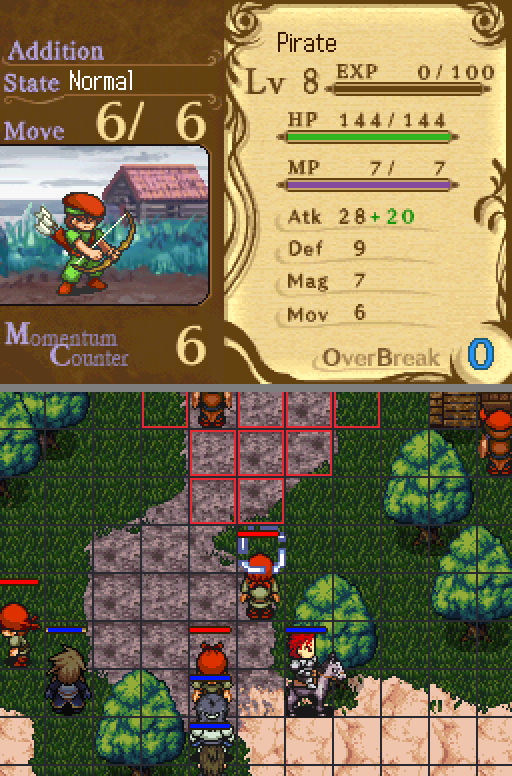
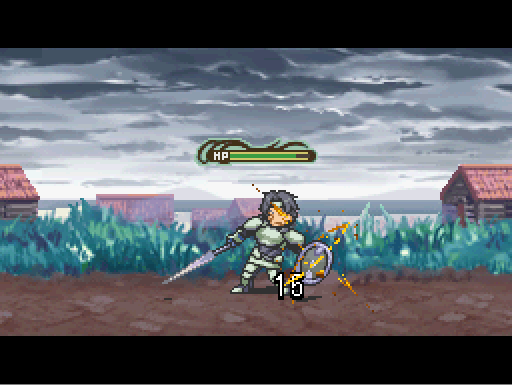
Let's call these Snipers. (They're named "Pirate" with the class Buccaneer, just like all the other enemies; I forget what their class will be when they show up in other stages, but "Sniper" works for now.) Snipers are Archers+, with better stats, better weapons, and usually equipped with better skills. In addition, their range is boosted from 6 to 7, though they still follow enemy archer mechanics.
None of the Archers have True Arrows (or any skills at all, actually), so what you see is what you get. I'd recommend checking each Archer for skills; you'll have to do it when enemy mages start showing up, so it's a good habit to develop.
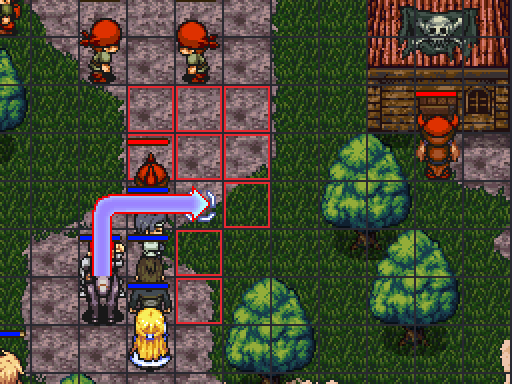
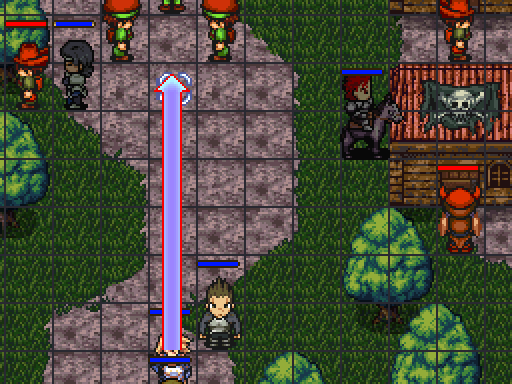
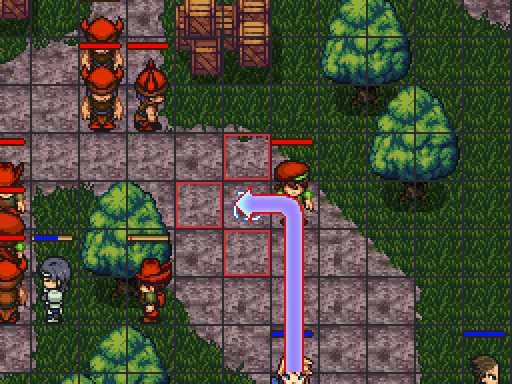
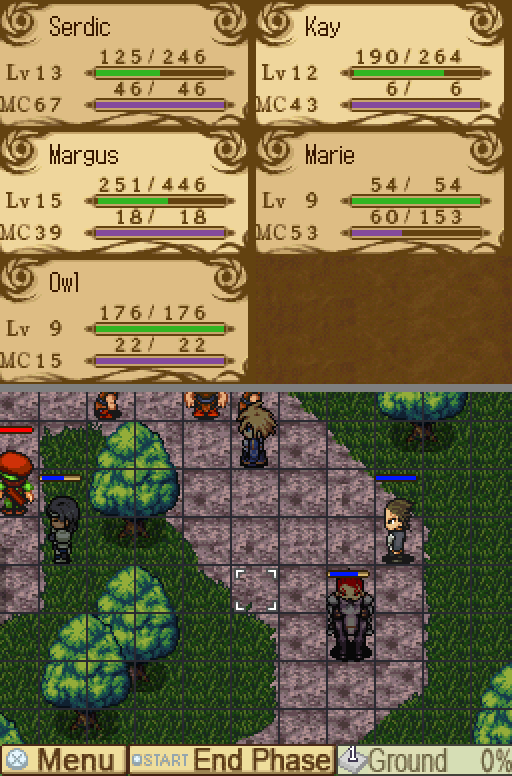
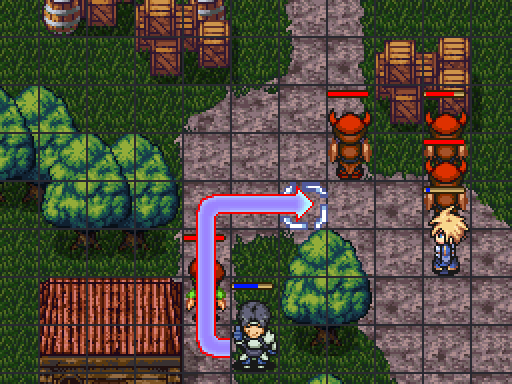
There are two items hidden in this stage:
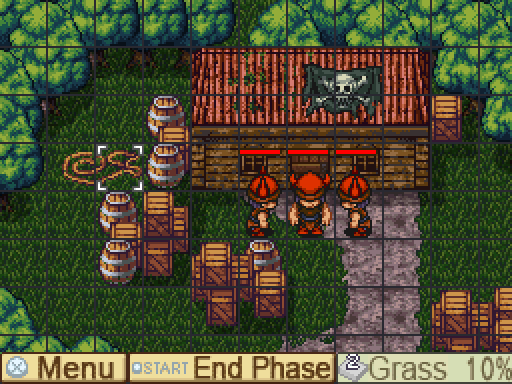
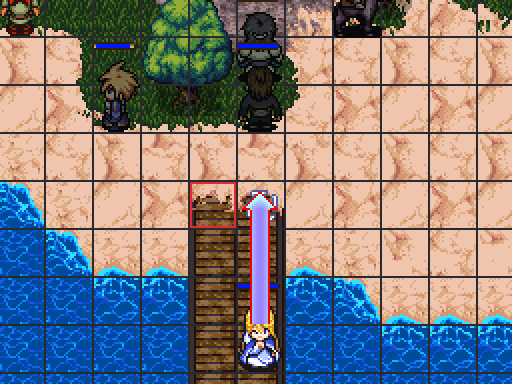
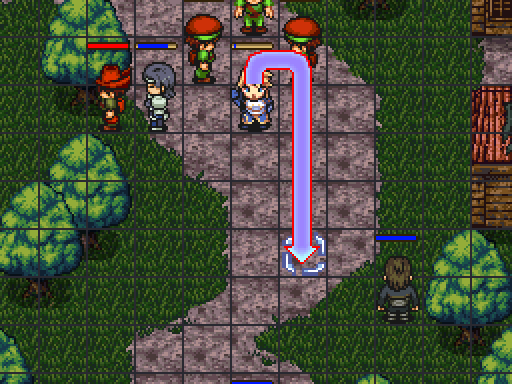
A Crimson Ring (+4 Attack), and
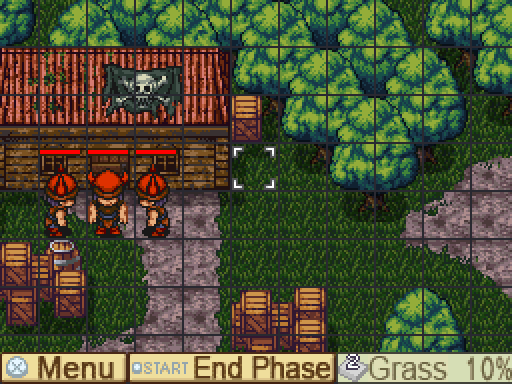
A Bullion, each where my cursor indicates. Neither is really worth it; the Crimson Ring can take up to 3-4 turns to pick up, it's only +8 damage before skills, and individual Bullion don't sell for much. Kay might pick up the latter at some point, though.
There's only alternate universe conversations this time -- Sasha and Ansom are half of each of the two conversations, and they're not coming along.
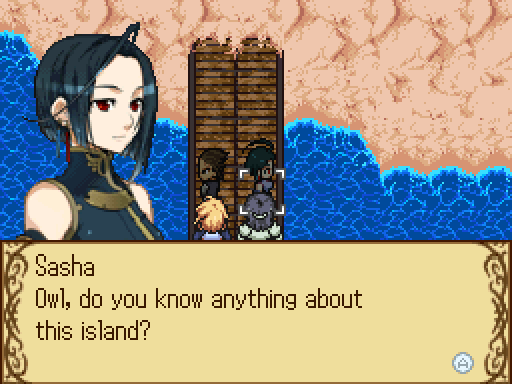
 Just a rumor that pirates live here, that's all. I ain't no pirate. I'm a bandit.
 So pirates and bandits don't necessarily get along? Well, you got your big shots like Ansom and Jaglat that don't get along, right? Just because a couple of guys have similar lifestyles don't mean they're best buddies. Plus, they're seafolk. Thanks, but no thanks, y'know? What do you mean? Ever since I was nearly shipwrecked this one time, I try to steer clear of the ocean. Honestly, I don't even want to be here. Are you saying you're afraid of the ocean? Scared ain't the word! Alls I'm saying is, I want nothing to do with it! But isn't that the definition of being scared...?
Next conversation!
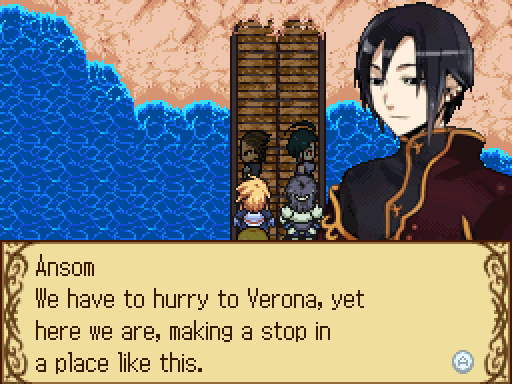
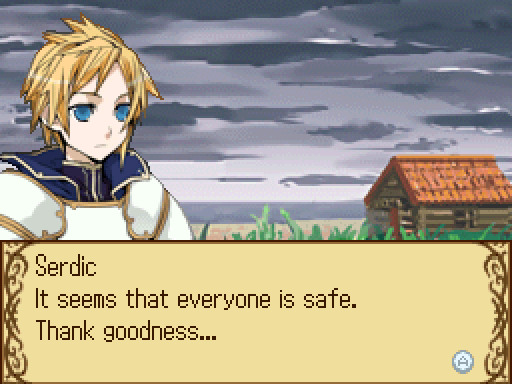
 I'm sorry, Emir Ansom.
 Well, I suppose it's all right. I hate to see innocent people being attacked. If at all possible, I'd like to save them. ...I'm sorry. I just said it's all right... why are you still apologizing? Because we were unable to save the people of Shalem.
Blood-related they may not be (probably), but ??? and Marie both rub salt in Ansom's emotional wounds in the exact same way.
...That's all right. If you want to blame someone, blame me. I should have saved them. Now why don't we both work extra hard to save the people of Zandi? Yes!
Yes!All right, let's get started.
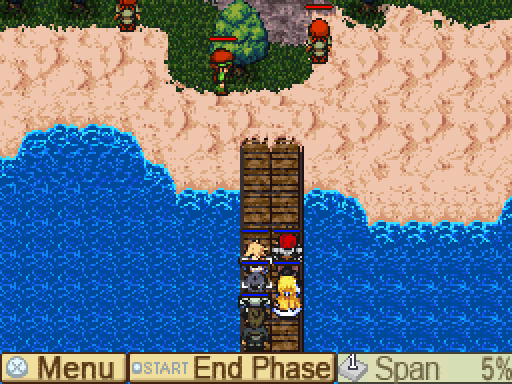
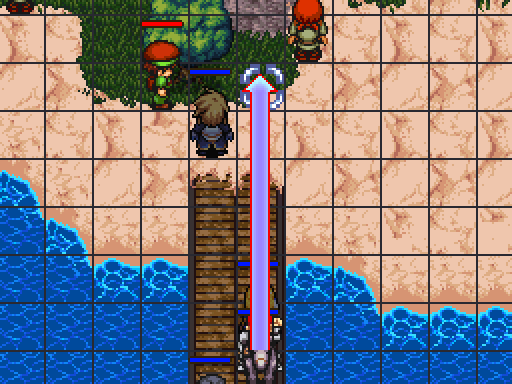
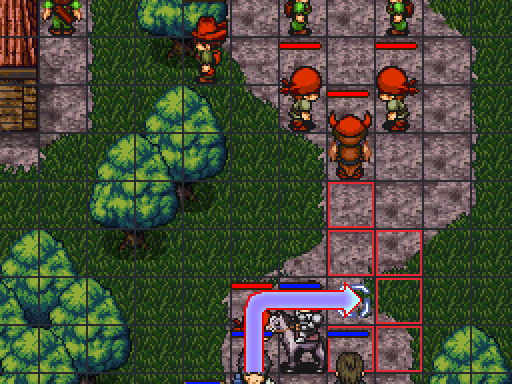
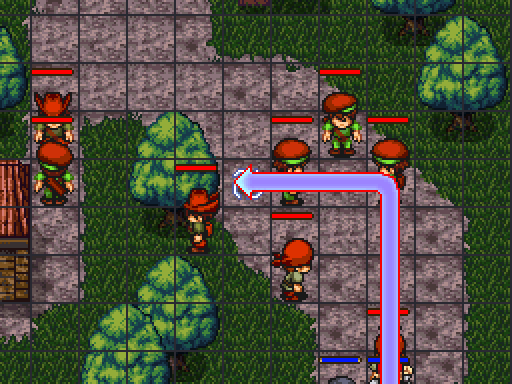
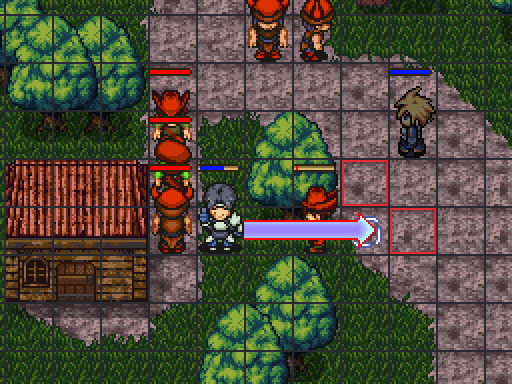
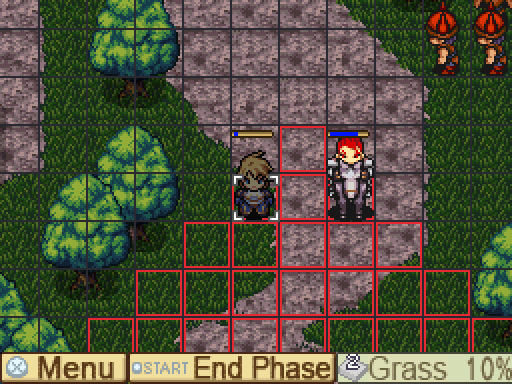
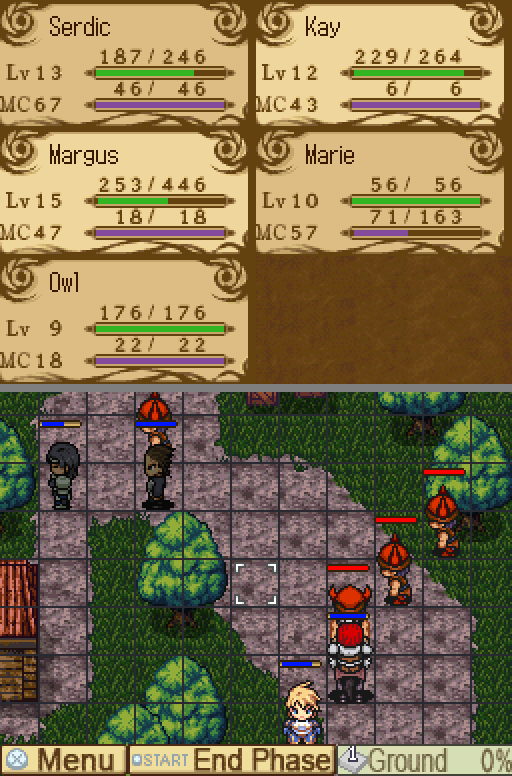
We've got one Archer immediately above us. His range is six, so there's a safe spot for Marie just above Kay. We move her there. The Scouts will take a turn or two to get involved.

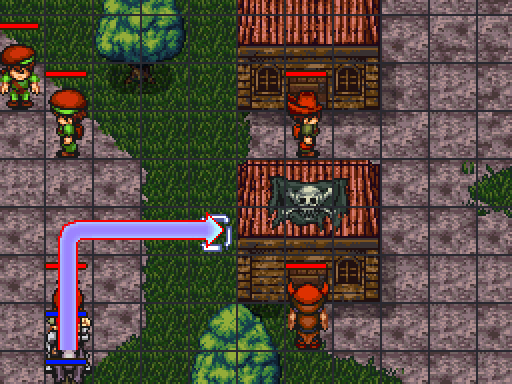
Serdic, as the priority target, moves just past the end of the dock. Ideally, I'd like to keep him out of the sand; the starting terrain actually has a slight defensive bonus of +5%, so continuing on to the sand is a -20% penalty. However, each tile has a terrain cost of 2. Duelist ensures I can kill the Archer, but only if I move up as far as I can.
He's also still in Cure Drop range, so he should be okay.
If by some miracle he doesn't kill the Archer, Kay can pick up the slack. The 2-move terrain means the Scouts can't attack him.
Margus and Owl run along after. I'm very glad Margus has the Black Ring today; only being able to move two tiles through 2-move terrain every turn is painful. (Marie only has four Move. Yes, this is a problem on longer maps.) Owl's lack of Sprint is also problematic in that area -- if he had even one level, he'd get +1 Move. Then he'd be able to cross four grass tiles and maybe attack some Archers ahead of schedule.

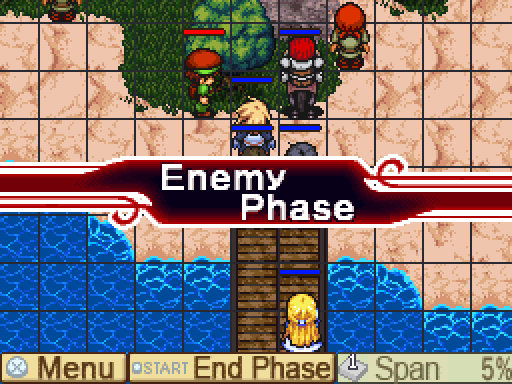
All the other enemies pass turn. This little damage on Serdic is a good sign -- we're only looking at about 40 more damage per attack from the Snipers, so we can be sure Serdic will be okay even when he starts taking heavier fire.
Serdic kills. Thank you, Duelist!
Careful examination of range tells me that Kay will remain out of range of the Scouts even after this kill. Not that that's hard to accomplish or anything...
Slow advance.
Empty enemy turn. One Scout moves in front of Margus, presumably because both of his legs are broken and he wants Margus to put him out of his misery.
Or they're NPCs the pirates drafted with threats or bribery or something. That would also explain the Move.

Serdic moves up. I'm hoping to attract both of them to move next to me; remember, this is a "murder everyone" map.
Ideally, I'd like to move him one tile further to the left so that I can kill the leftmost one with less movement, but then the top one would attack and end up below or to the left of Serdic. Hunting him down after that would be a waste of time.
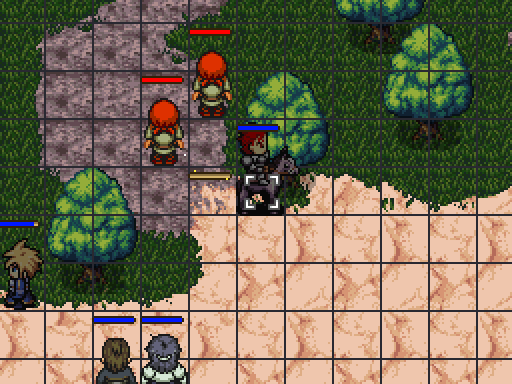
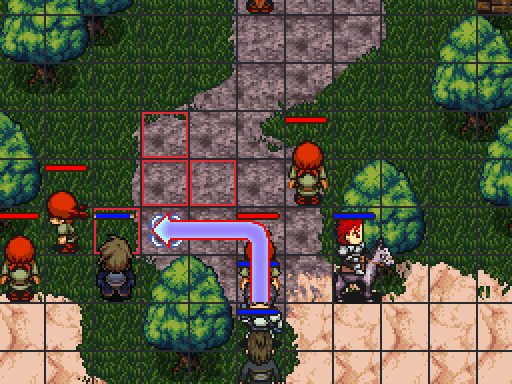
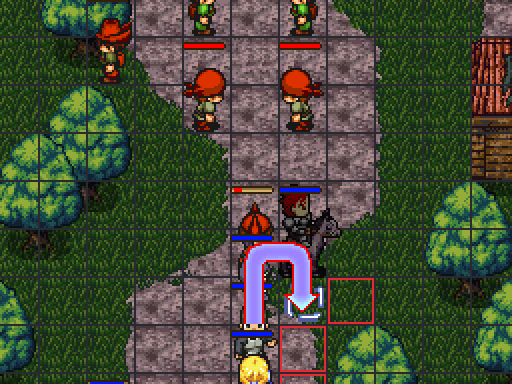
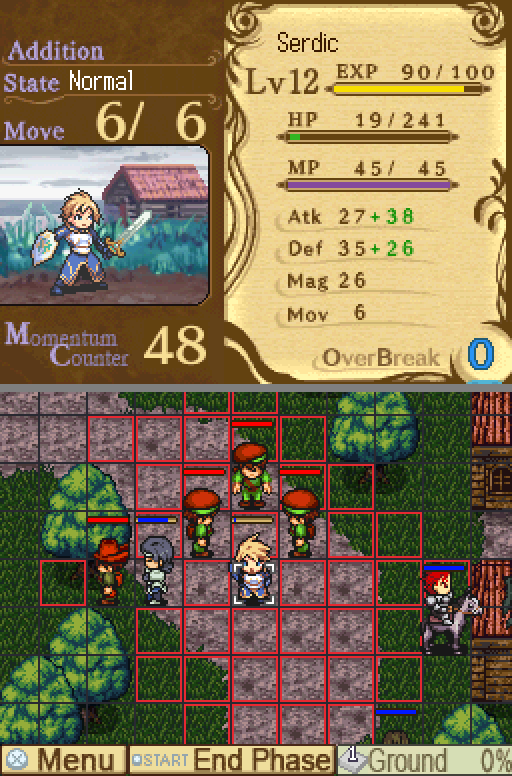
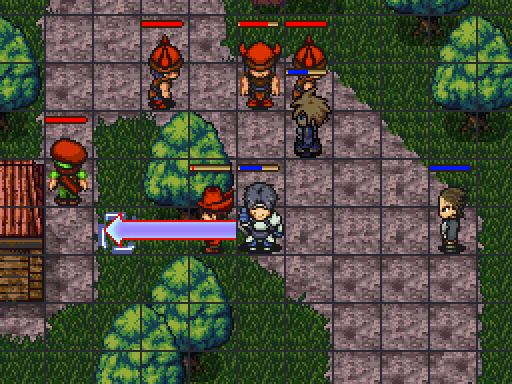
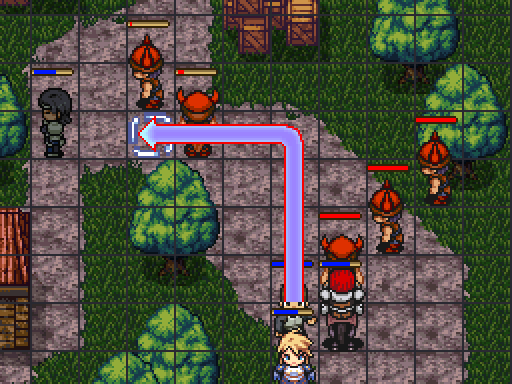
A quick visual of the range on the archers above. The cursor is on the sixth tile of range of the right archer; recenter that two tiles to the left and you have a rough idea of where they can attack.
Margus kills a Scout and moves over to help Serdic kill one of the two Scouts in the grass. He'll attract the top Scout to attack him, allowing me to kill him and move on. Remember, ZOC places the attacker just above the defender afterwards if that space is empty.
Assorted movement, and...
...the left Scout doesn't attack, which is a great waste of my time. (One does attack Margus, but Angel Medal renders that irrelevant... Or it would, but they only did 0 damage anyway.
I've got a time table, dammit!
The problem is that we can't really advance into archerland until Serdic's ready to go. Kay has a higher MC than Margus, and he can't take nearly as many arrows as Serdic. And while Margus may be tough, he's not tough enough to solo archerland alone. So Serdic being slowed down slows down everyone.
On the plus side, it does ensure that Marie can catch up.
I notice that Serdic is just one tile out of range of the lowest Sniper. I need to be careful about advancing into his range before I'm ready.
Margus kills the Scout and maneuvers into position to lure the Infantry just below the cluster of three Archers. The broken-legged Scouts might advance with him, but whether or not they do is irrelevant; they're not strong enough to be a problem.
Turn-passing.
Infantry falls for it.
Kay and Owl move up. The Archers will shoot one of them, but that's fine -- by MC, it should be Kay, and he's in range of Cure Drop.
Serdic moves up. Marie heals Serdic's Archer injury from earlier and advances to level 8. 14 MP regen per turn now! As it turns out, healing that scratch is vitally important. Finally, Margus moves up a square. This places him just inside of Archer range and decreases the odds that they'll bolt.
Margus takes three arrows, Kay takes one. Same kind of enemy; that's the difference Defense makes! The Angel Medal kicks in and restores 20 of the 80 Margus lost, which is nice. He's unlikely to take much more (and it'd take three turns of arrows to kill him anyway), so Kay gets the heal this turn.
I seriously consider this.
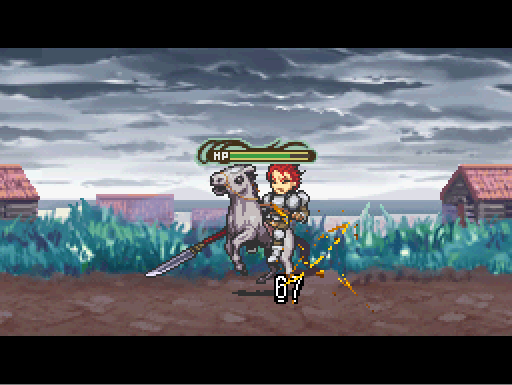
The problem is that, as you may recall, kills raise the MC gauge. If Kay's MC rises too high, then suddenly he's the priority target, not Serdic. Two Snipers and one Archer attacking him will be fatal -- we've already seen Archers do 67, and Snipers do about 40 more than that. Kay only has 260 health. That's also ignoring the chance that the Archers will survive, in which case he has no chance whatsoever.
I don't. Too risky.
Instead, Kay kills the Scout and moves in position to kill the right Sniper. From this position, he's only weathering two arrows at most -- one Archer, one Sniper, 100 HP of breathing room.

Margus kills a Scout and gets in position to start killing the three left-side Archers and Snipers. I take a moment to examine their ranges -- they terminate right in the middle of the three Archers. So long as I don't end Serdic's turn there, I know he'll live through this turn. Margus will be taking two turns of fire, but he can survive that.
(Yes, I actually did this before Kay moved, you can see him at the bottom of the screenshot. I'm attempting to create a narrative of my thought for you here. Don't nitpick.)
Of course, it turns out Serdic couldn't have done that anyway. He can, however, get just in range of the right Sniper, who is one tile closer, taking that heat off of the more fragile Kay.
Owl meanders towards Kay. He's not going to be doing much, not when two arrows will kill him.
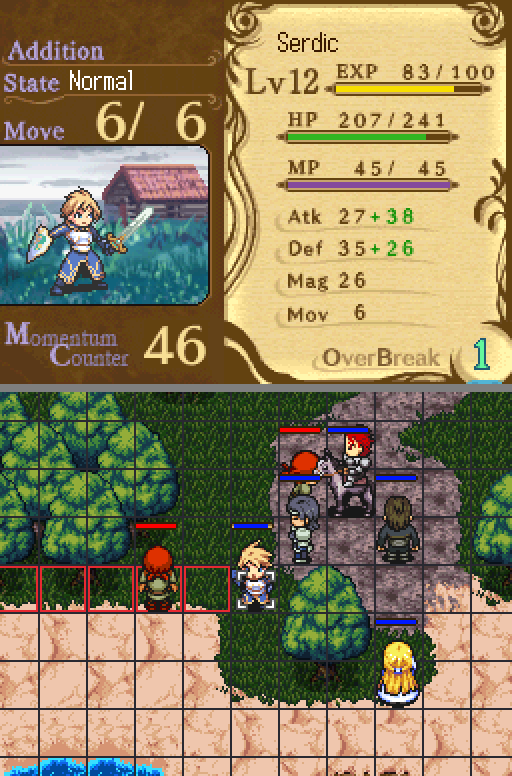
Margus takes two arrows, Serdic takes five.
Ow. This is with Stand Fast 3, Arrow Guard 1, and +18 from Amulets. This Archer gauntlet *hurts*, and if you haven't been gearing your Serdic for defense you will definitely regret it.
Serdic attacks and pulls back to heal, and... misses.
Then he dies next turn to four arrows when he would have barely survived three. +1 Reset.
The next go-round works pretty much identically until I decide to see whether Owl can contribute.
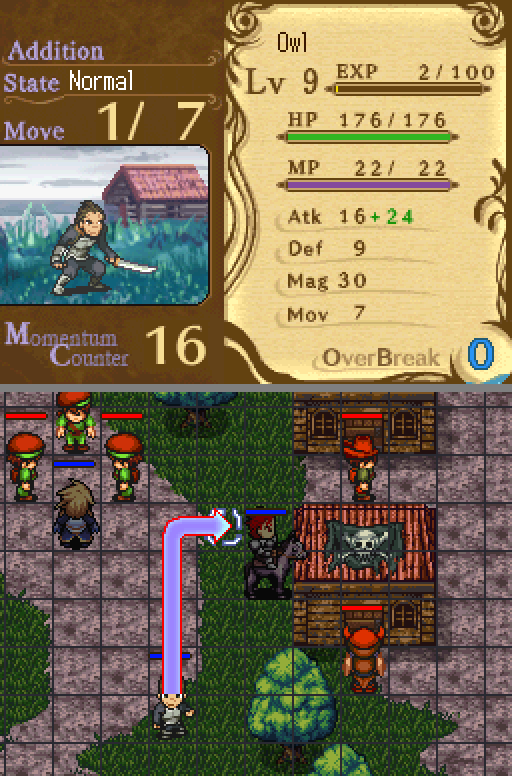
If I move him up near Kay, MC should protect him from enemy fire. He can't be killed in one hit, after all. If it does, then the two of them can kill the right Sniper in one turn, and...
(I don't have a shot of the next turn in that run, but here's an equivalent shot from another run, to give a visual example:)
Nope!
The Rondo of Swords AI thinks collectively, considering what all of its units can do at the start of a turn. If it can kill a unit with all of its available units, it does, and it attempts to maximize the number it kills each turn. MC doesn't take effect until the AI decides that it can't kill any units that turn (or if there's multiple units it could kill in any given turn). Naturally, the AI will prioritize killing Serdic over killing any number of other units.
This is what makes the durability of Selmer, Marie, Owl, and Sasha such a serious concern. The first two, in particular, will die to any attack directed their way for quite a while, and the AI targeting priority will direct as many attacks towards them as it can. This is also what makes this map so problematic: It's the first time the enemy has ranged units clustered densely enough to override MC and start prioritizing non-mages.
+1 Reset.
(That said, I tested this out some after finishing the map. I don't believe they can "see" the Guard skills, like Arrow Guard, when planning their attack sequence. If every archer and Sniper aside from the left most two + two Scouts can attack Serdic, they'll prioritize this over killing Owl or Kay. Any less and they'll go for the kill instead. Take off Arrow Guard before doing this and Serdic dies, so I think that's the cause of the strange behavior. It's something to keep in mind.)
Again!
The third time around, things go roughly the same, except that I mess up placement and decide to try moving Margus further up the left side. As it turns out, this lets me kill the left archer in that group of three while still getting in place for the Sniper. Unfortunately, it also means that I end up healing Serdic instead of Kay, since he took an arrow ahead of schedule.
Margus attacks the Sniper.
He takes several arrows during the enemy phase. Kay only takes one, but it reduces him to critical HP.
Kay will survive if this archer and the right-side Sniper die. He can take care of the Sniper, and he has the Hawkeye Medal, so I'm not worried about him missing. Serdic doesn't either, so we're good.
Kay kills his Sniper, Margus misses. Damn it.
Margus takes an arrow or two, the Infantry at the top have closed in on Serdic, and he has full OB now. He is also within five tiles of the left Sniper, which is slightly too strong for Margus to kill in one hit.
Yep. I positioned him here last turn on purpose. Looking at the map, four enemies can hit Serdic after Brave Ray. (Assuming Margus doesn't miss again...) Assuming that each of them do about 30 -- and the Infantry have lower attack than the Archer and none of them can hit his back, so that's a fair assumption -- then Serdic will survive. Good enough!
Looks like I really didn't give Brave Ray enough credit, huh?
Margus kills the Sniper and gets in position for the Archer.
Kay flees towards Marie; this screenshot is after healing. He and Owl will be handling the enemies over on the right.
Serdic indeed survives. Margus kills the Archer, Serdic moves down towards Marie and is healed up to about half.
Level 3 Cure Drop has one more range than level 1 or 2, which is just one more reason it's a good investment.

The enemies swarmed Margus, but he is more than capable of killing all of them by himself.
This is just one more reason Margus wants the Black Ring: 6 Move is just enough to attack three enemies after they've been bounced off of ZOC.
(If I could give one piece of advice to a new player, it would be this: Figure out how to get the Black Ring and then never take it off of Margus. The difference between 5 and 6 Move on him cannot be overstated.)
Owl is fragile, but he easily has enough HP to survive an attack from the final Infantry. This marks the only time he's really contributed this map! Go Owl.
Meanwhile, Marie has finally hit level 1 OB. Since healing OB gain scales with amount healed, it's going to be easier to reach higher OB levels with her later on; right now, it's fairly difficult.
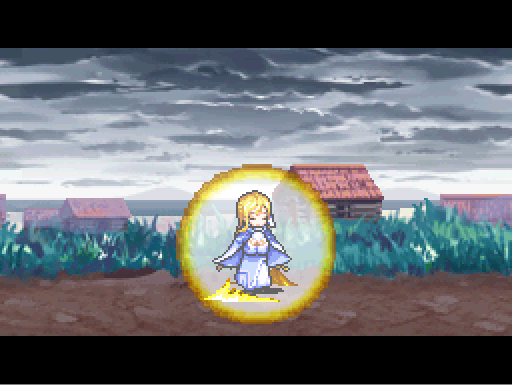 (voice, no text) Oh, light!
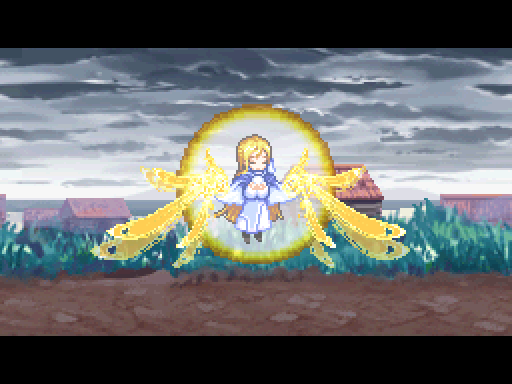

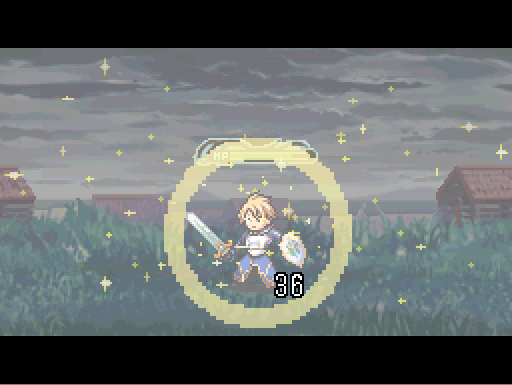

The last two shots are a before-and-after. Remember, as the OB description says, it only heals units who haven't acted yet. As far as I can tell, the healing is 15%/30%/50% HP (Level 1/Level 2/Level 3).
With that shown off, the rest is clean-up. I avoid finishing the upper-left enemies with Margus or using his OB, since that'd bring him to level 16. Sure, one level of promoted versus unpromoted isn't much stat growth, but I don't think it'll hurt.

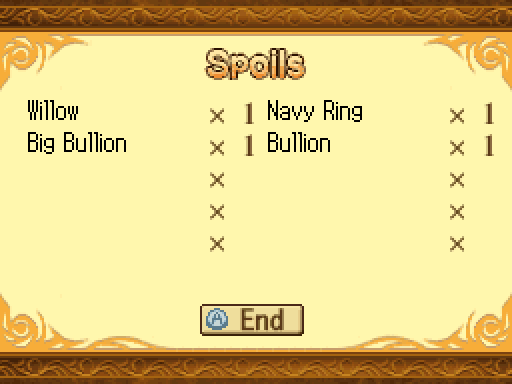
Big Bullion sells for twice as much as Bullion. (600. Bullion are 300 and Tiny Bullion are 100.) The Navy Ring adds +4 Magic. I'll discuss Willow in a moment.
 Hmm?
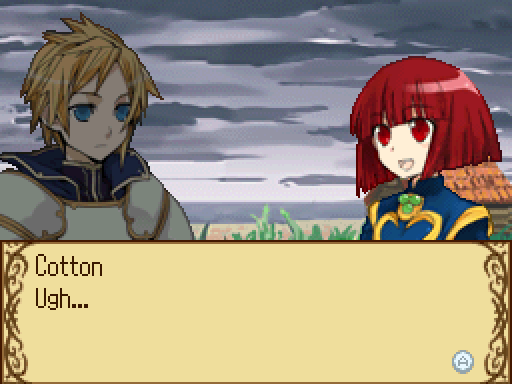
Hmm? Thanks for saving me!
 You don't seem to be one of the Zandi villagers... Who are you? I'm Cotton, the traveling witch! I came here because I was looking for something, but... What were you looking for? See, that's the thing, I forgot! You forgot!? Yeah. So is it okay if I hang out with you until I remember?
 We are not fighting for our own personal amusement, you know... Oh, I know. If you know that, then... But I still want to come along! I won't cause any trouble, 'kay? Well... If you promise, I suppose... Really!? Yay! Eheheh, I always wanted to say that! You... wanted to say it...? I'm Cotton! Nice to meet you all! ...Oh well. She does seem to be different than your average child.
Serdic. You... do realize Selmer is also 13, right? At least, according to the OB/Bio screens. It's a little late to discover your conscience on this issue.
And that's the end of chapter. However, Cotton has joined us now, and since she's the reward for completing this stage, I'll take a moment to talk about her.

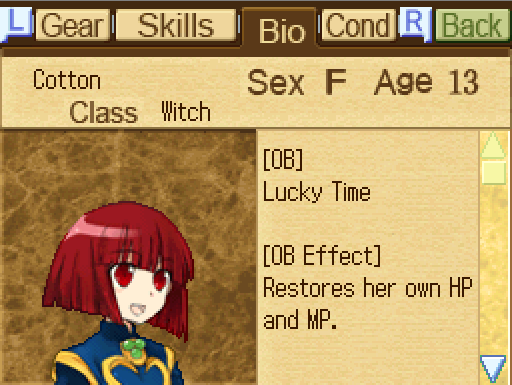
[Bio]
A traveling witch. She came to Bravord to look for something, but she lost her memory and doesn't know what.
(formation quote) I'll get you!Card Quest bonuses: MP +20% (3x), Move +2 (6x)
Meet Cotton. If you read the OP and have a fine mind for useless trivia, you might remember that I mentioned how Success Corp also made a Cotton series of shmup -- shoot-em-up -- games. (Gradius, R-Type, Ikaruga, Touhou.) This would be that Cotton. She's an in-house crossover character.
Cotton is a very strange kind of mage. First off, she's already in her final class -- no promotions. Her stat growth isn't exceptional (equal to Sorcerer Selmer in all primary growths, except defense, which is worse -- one point less over every ten levels), but she has a good Magic base and the second-highest HP and MP growths in the game. She also has them a hell of a lot longer than her competitor, resulting in big numbers in both by endgame. Sure, her defense may be crap, but if you use her all game, she's going to have enough HP to make up for it, even without amulets -- she's one of the better mages when it comes to taking a physical hit, and her combination of high magic and high HP makes her a pretty damn good magic tank.
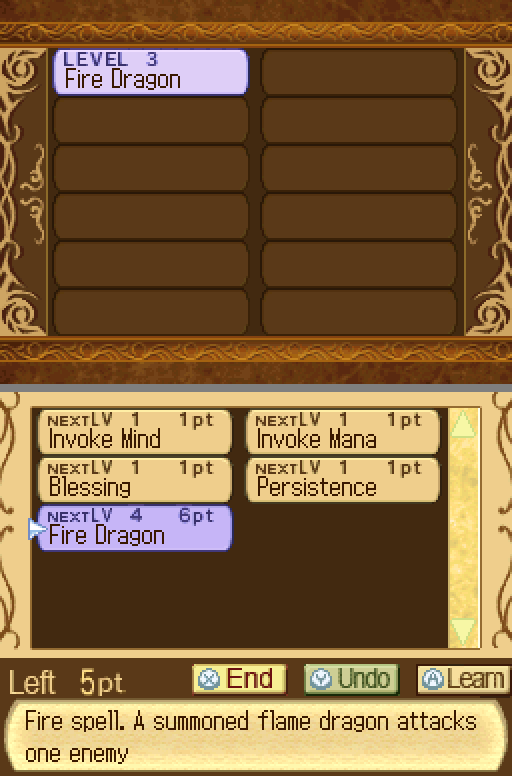
Flame Dragon costs 75 MP at level 3 and will only ever have 5 range. She currently has just over 160 MP. Her second spell, Thunder, is a 4-range line, grows into a 5-range line, and then becomes a three-width five-length rectangle at max level. Her final spell, Faerie Fire, is an AOE square centered on Cotton, initially 5x5 and then becoming 7x7 at max level, that only harms enemies -- no friendly fire. Skillwise, all she really has is her three spells, +fire damage, +Thunder damage, +mp, +magic, chance of surviving lethal attacks with 1 HP, and Blessing, a unique skill that improves healing item effects. (And she also learns Null ZOC for some reason? She can't physically attack, but she can be countered. Mage move-through mechanics are weird.) Unimpresive, right? Nope.
Sure, Cotton is short-ranged, but Cotton is also very good at blowing enemies the hell up, and so long as you watch out for archers, she won't be in much danger. It's going to be a while before Fire Dragon isn't a one-hit kill on anything without Magic Guard, and all of that damage translates into quick OB meter gain, which she can then funnel into more MP (and simultaneously heal any scratches she took). Fire Dragon is the second-most powerful single-target spell in the game and the fourth-most powerful period. Faerie Fire is the third-most powerful AOE spell and the most powerful one without friendly fire, and will be utterly devastating when leveled up -- proper allied support and tactical use of ZOC to lure enemies safely into range can result in Cotton single-handedly annihilating massive swaths of the battlefield. And her massive move score -- as much as Kay, but terrain affects her normally, flight or no flight -- means that she's one of the few mages to have no problems keeping up with your team.
Cotton weakens relative to other options as the game progresses and your other mages grow in strength and utility, but that takes her from "amazing" to merely "really good." Fire Dragon and Faerie Fire remain amazing throughout, and no promotion means that you never have to worry about not having her available. There's no reason not to use Cotton early on, and she's usually my designated "seventh" -- the substitute for whichever character is out promoting, or the filler when I choose to accept a character death in a chapter.
Willow, by the way, is an item that only Cotton can use "correctly." On other characters, it's a very weak HP/MP heal. On Cotton, it restores 50% HP/MP. It's incredibly useful for Cotton early on -- it'll be a while before her OB restores enough MP to make her a magical perpetual motion machine, so a Willow once a map can get her the MP to start killing and OBing again when she runs low.
Resets So Far: 6 (+2)
Next time: Crossing The Desert