Part 69: Burning World
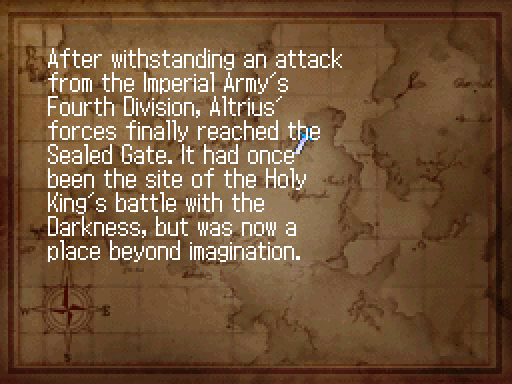
You know what Rondo of Swords has excluded from the standard list of video game cliches? Dungeons! Elemental dungeons! Quick, we need to fix that!Chapter 36: Burning World
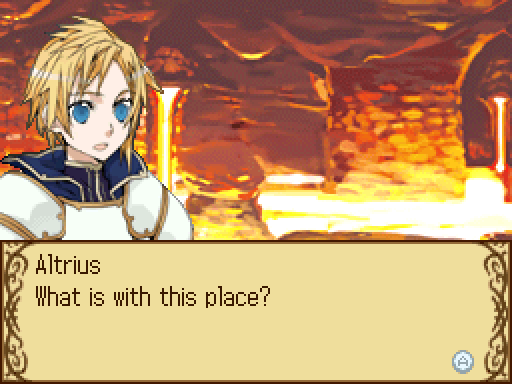
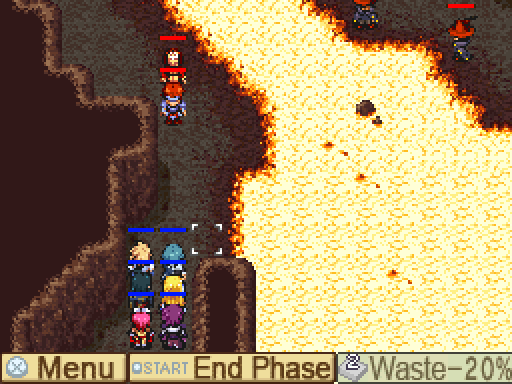
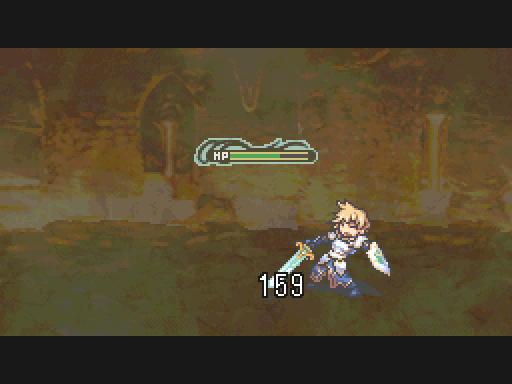
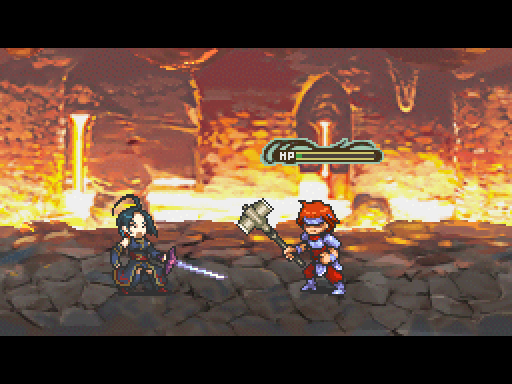
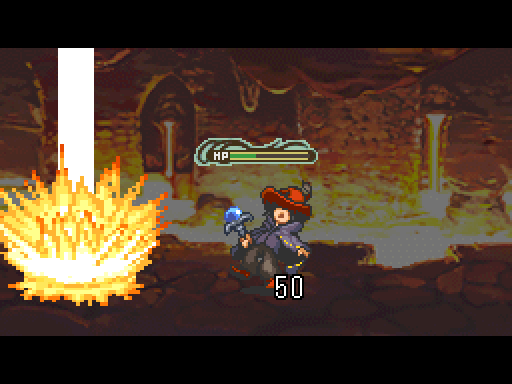
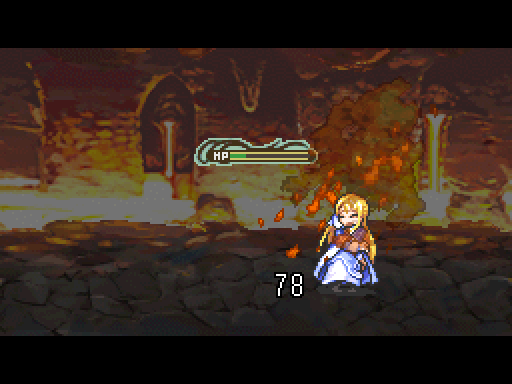
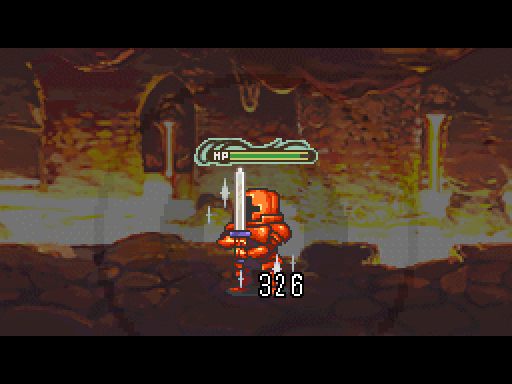
 How can something like this exist inside of a cave?
 This is where the Holy King sealed away the power of the Darkness. But he couldn't exorcise the Darkness' uncontrollable power with the Holy Blade alone. He needed the additional power of the three elements, as well as Light, to make it work. Hence the burning cave... And I suppose there will be other places like this...
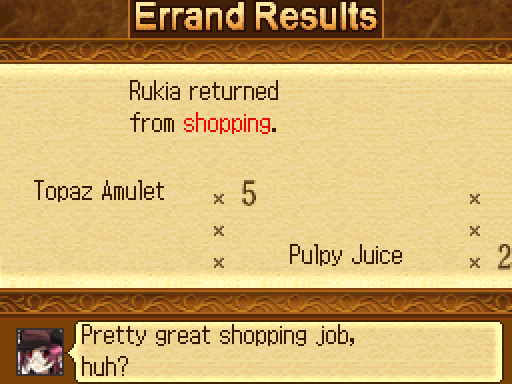
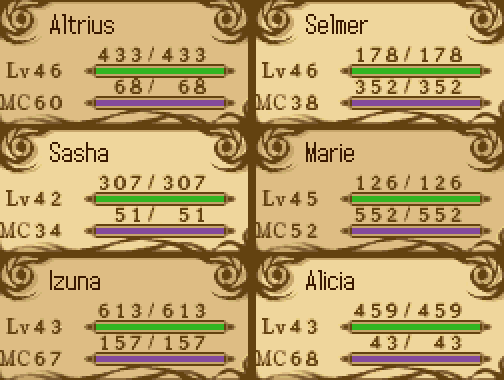
Altrius learns Duelist 4. Izuna learns Lion Strike (+OB) 2 and Persistence 2, since she's just about run out of useful things to buy.
Alicia learns Divine Seal 5 and Sharpshot (+accuracy) 1 and 2. Like in the Route B playthrough, Divine Seal 5 covers all panels within a two-square radius of the user, so with Alicia in the sixth slot, it'll hit everyone except Altrius. Thankfully, Arch Paladin's pretty good at defending against magic! He should be fine so long as I don't try to have him facetank Mephreyu.
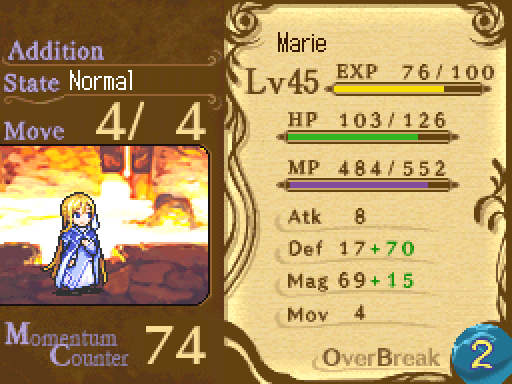
As shown in the last update, Marie learns Oratoriorae 1 through 5, Invoke Mind 1 and 2, and Wisdom Lock 1 through 3. It's worth noting that Marie and Aegil are roughly equal in terms of Oratoriorae strength; while Aegil's Magic growth is much better, Marie starts with a much better base, enough that even a level 53 Aegil has less Magic than a level 45 Marie. In practice, Aegil's faster levels mean that she tends to have better +intelligence skills, so she does more damage despite that, and it's easier to use with her, since she's not made of damp paper. In exchange, Marie's OB is Aegil's but infinite range.
Marie gets four Topaz Amulets, because I'd like to be able to actually use Oratoriorae without fear for her life. Since Altrius will start outside of Divine Seal 5 range, he replaces his Angel Medal with a fourth Topaz Amulet... Combined with Marie, this uses up the five that Rukia just bought. Huh. I didn't even plan that!
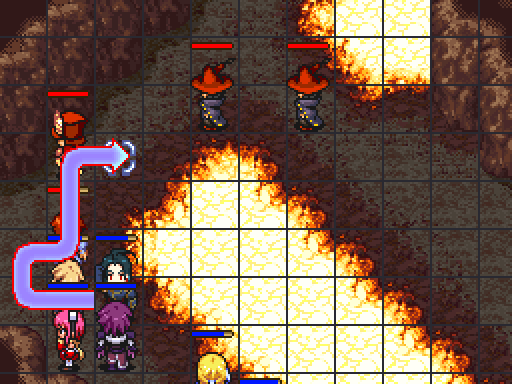
This map is a pain to show through screenshots. Once more to Spriter's Resource!
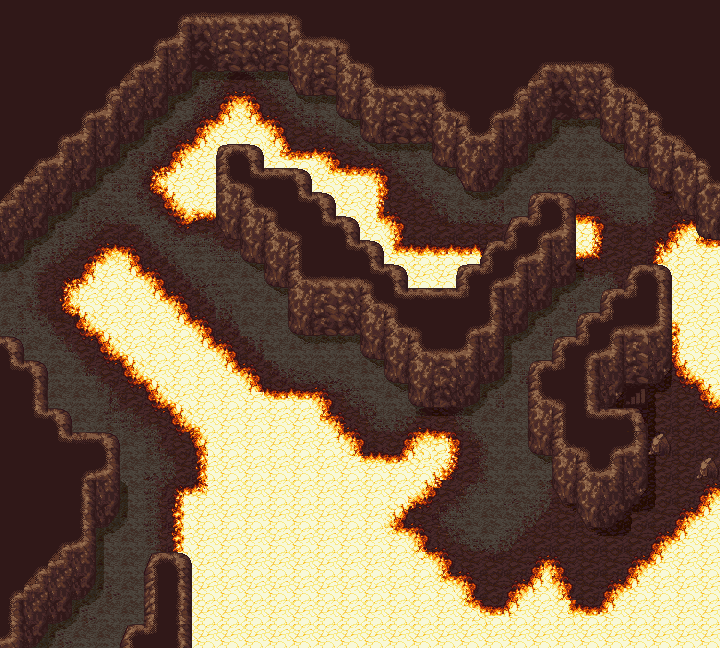
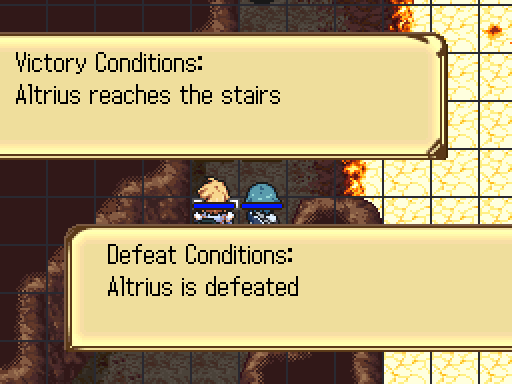
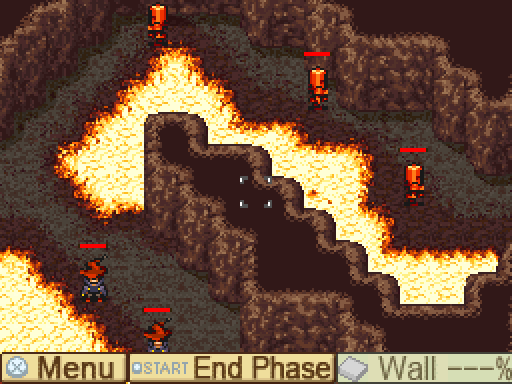
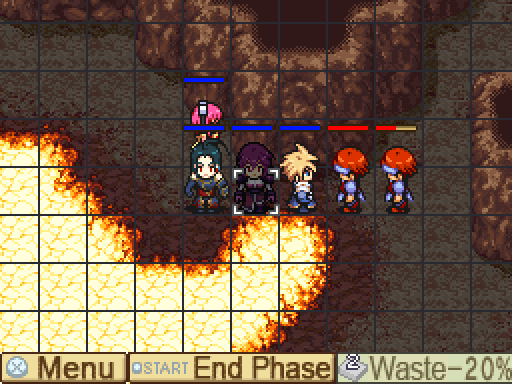
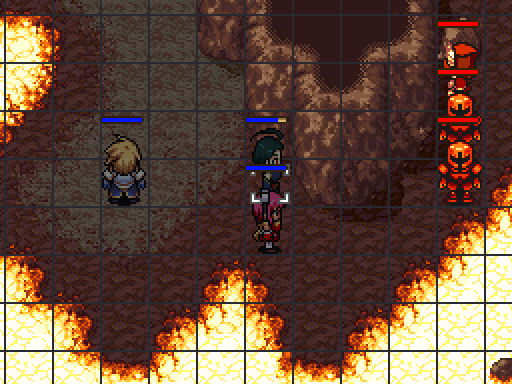
Those stairs at the bottom right are the stairs of the objective. As always, murdering everyone is just as good.

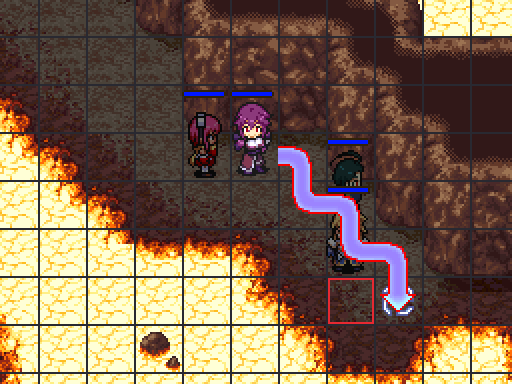
You start at the bottom-left.
The closer Swordsman actually has kind of an impressive skill set for a mook. Shame his ally up there can't match him.
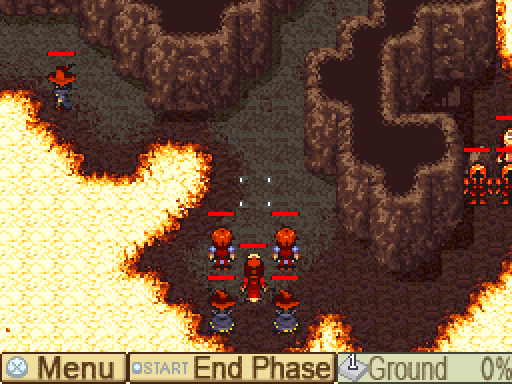
The High Priest has Cure Drop and Oratoriorae. (I am amazed I can still spell that after this break.) The top two War Mages both have Fire Raid and Soul Rend (and I'm looking forward to the latter already). Both of the lower War Mages have Abyss Gate; the lower one has Megido Nova (blow up everything around caster for massive damage, including allies), the one above him has Meteor Gate.
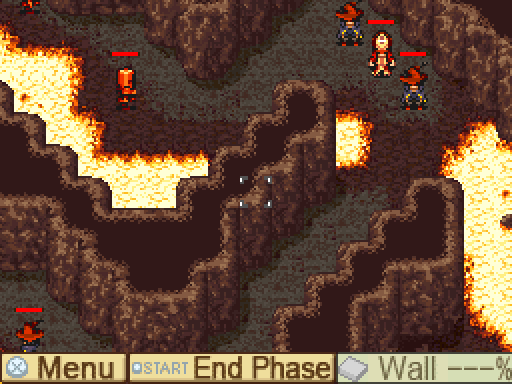
Top middle area. Armor has ZOC and Magic Guard. Lower Armors have Melee Guard, Arrow Guard, and Stand Fast.
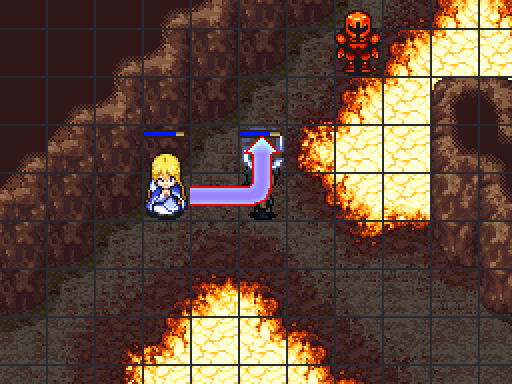
Top-right corner. High Priest has Cure Drop and Oratoriorae, War Mages have Fire Raid.
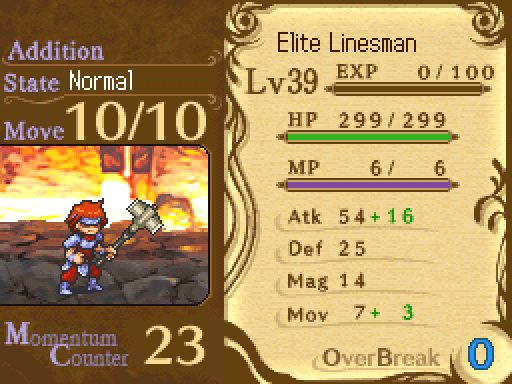
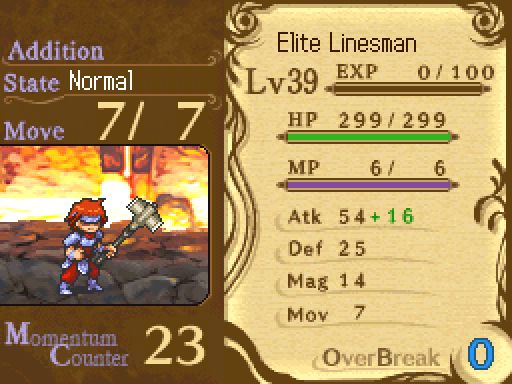
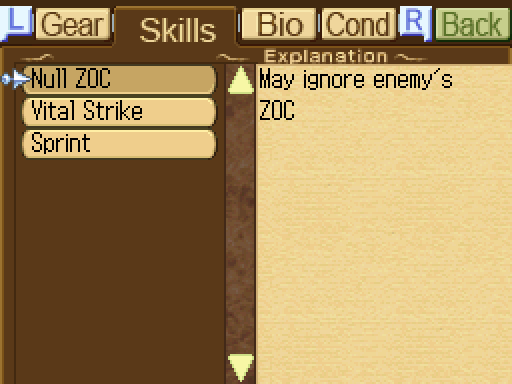
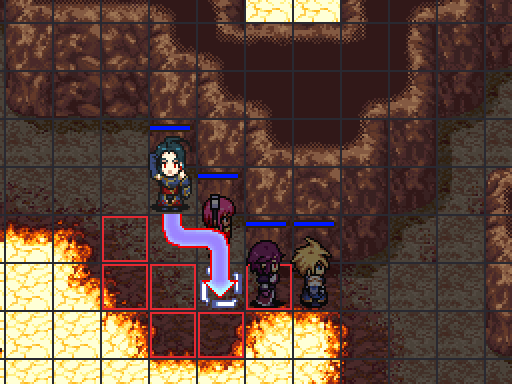
The Swordsmen follow the mold of their more badass mobile brother, having the same skills (including the Sprint 5 that brings them to 10 Move) and adding a "chance of status on hit" skill. The left one has Sin Brand (Sap, poison), the right one has Mind Chains (Clumsy, can't use consumable items). The two Armors have ZOC, Magic Guard, and Vital Power.
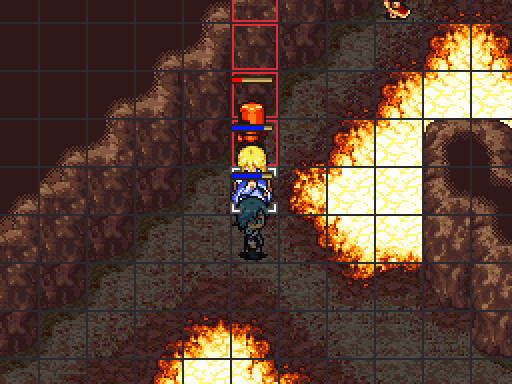
The lower High Priest only has Cure Drop, the upper has Oratoriorae and Cure Drop. The two War Mages both have Meteor Gate.
After the total joke of the last two maps, this one is actually capable of threatening you! Good thing this team is so anti-magic, huh?
Three conversations this time around.
Marie and Arios

 Perhaps you could reseal the power of the Darkness, or...
 Impossible. It doesn't matter how advanced my magic is... No human being could accomplish such a thing. Not yet, anyway. With more search perhaps... No, no, it would never be ready in time. I'd expect no less from you, Master Arios. You already have an inkling of what to do, don't you? No... not in the slightest. What!? It's all right. I have faith in my abilities. O-Of course...
Selmer and Aegil

 That's the power of the purest of flames. Compared to this, the Almeria desert is practically balmy.
 I don't feel a difference! I hate being hot! Mmm... It's true, Verona is cool all year round...
After years with Arios, Selmer is completely unfazed by unexpectedly bratty behavior from internationally recognized authority.
Altrius and Cotton
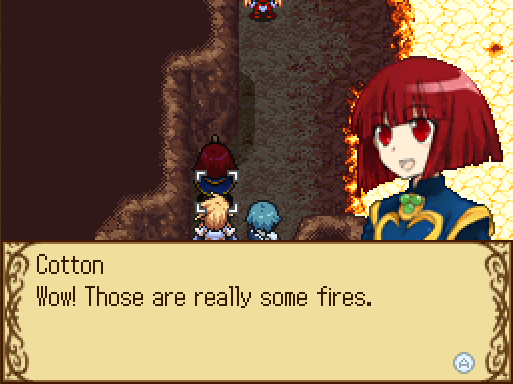
 Oh yes, you're a magician... Do you know anything about this?
With that expression, I can't read this as anything other than sarcastic.
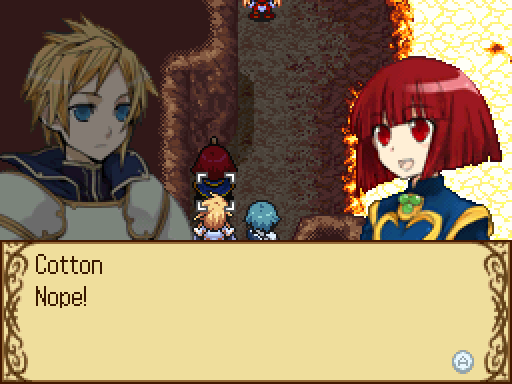
 I-I see.
Stutter.
Maybe this is something mere humans can't overcome...Time for the map!
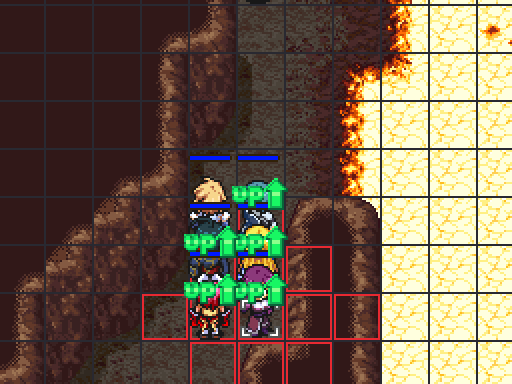
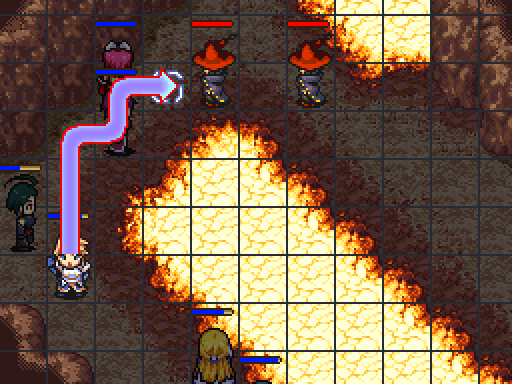
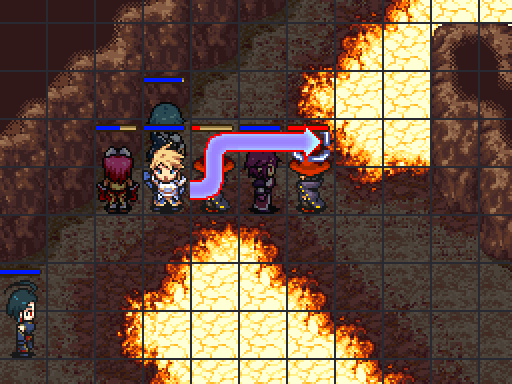
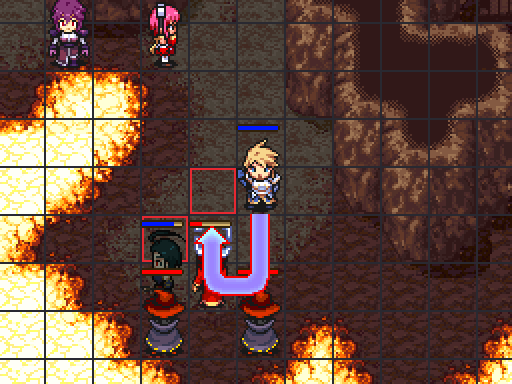
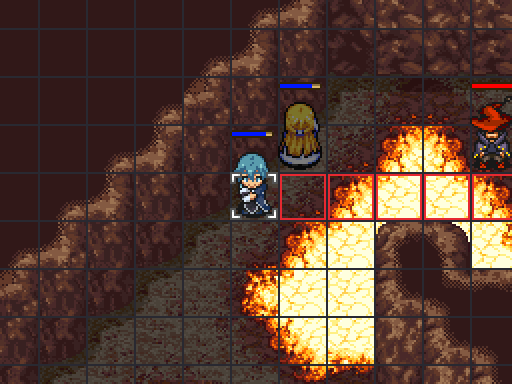
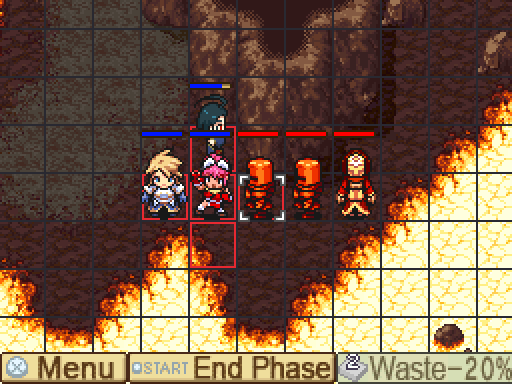
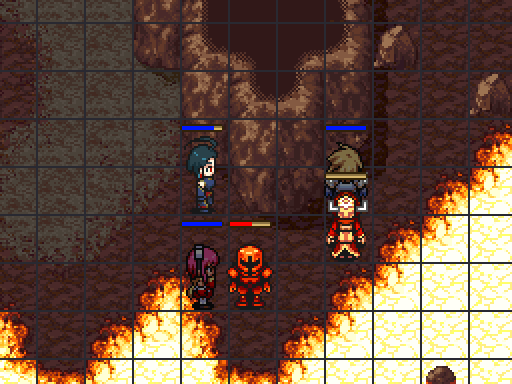
Alicia starts us off with a Divine Seal, which should serve to completely invalidate most of the War Mages near the start. Meanwhile, the astute may have noticed that Selmer started right in front of the closest Swordsman and Priest. He takes care of that right off.
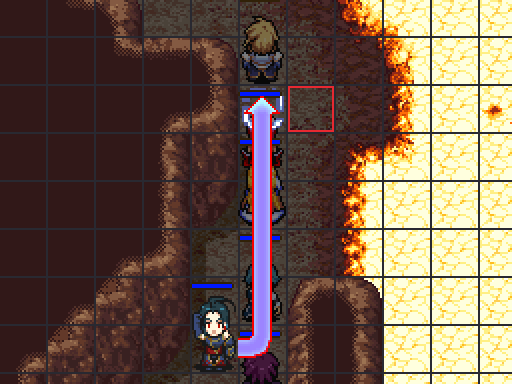
It's worth noting that the darker tiles at the edge of the lava are wasteland tiles, with the standard 2 movement cost/+20% damage received penalties. That means that you're spending a significant portion of your first turns in single file.
Altrius takes a single Abyss Gate and heals it away with Vital Power. The top two War Mages move up, despite probably being able to reach with Soul Rend. Weird.
More movement. Again, not much happens.
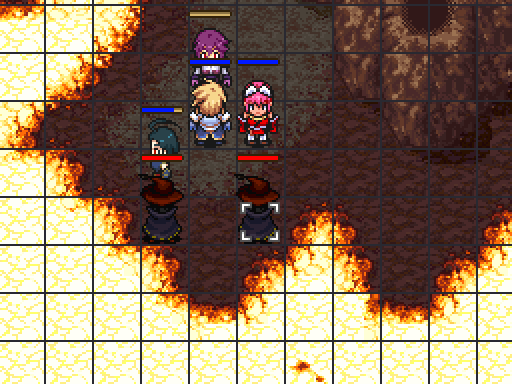
Selmer and Marie get into position to blow away two of the further War Mages.

Completely forgot about Oratoriorae until I'd already moved Altrius, at which point I needed to move Izuna here lest I make the Swordsman really annoying to kill. Oops!
The consequences are pretty minimal, though.
It turns out that I didn't need to have Izuna take that spell at all! This counter puts the Swordsman right in front of Altrius. Oh well. It builds character.
Marie and Selmer kill their targets; each of them only took about 20 damage from an Abyss Gate first.
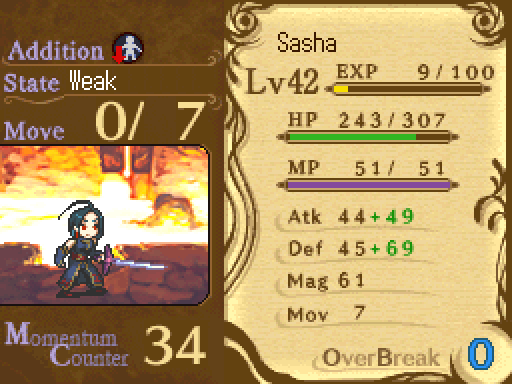
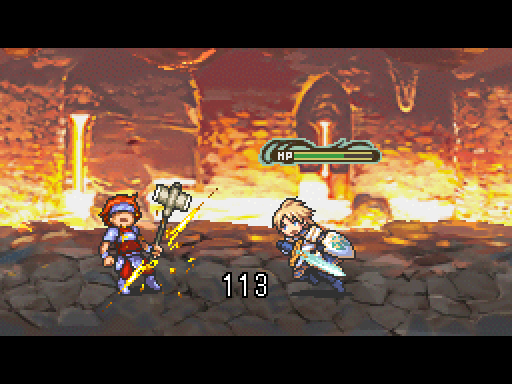
Sasha gets countered... Which actually works out really well, because she took a Soul Rend last turn and had Weak status. Crazed overrides Weak! The counter actually hurt for once, doing about 90 damage, but I'll take a 20% penalty to all stats if it means losing the status that makes you take 25% more damage and lose all physical defense.
The High Priest and Swordsman go down. Everyone advances.
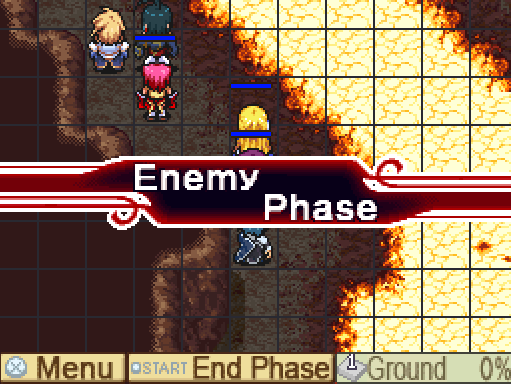
The upper enemies advance this turn. The ones near the stairs stay where they are. I'll probably murder everyone this map; Altrius just isn't very fast, and that's before the massive swath of wasteland right in front of the exit.
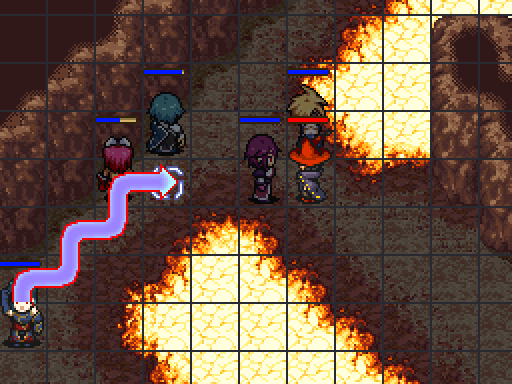
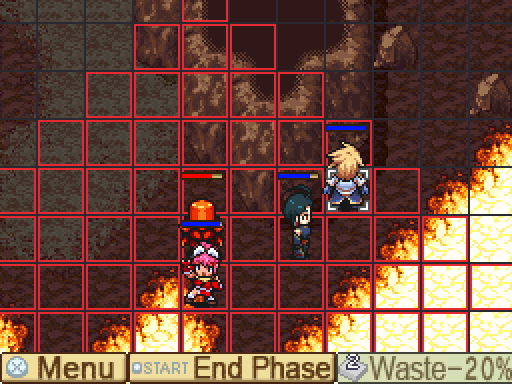
Izuna's n/s/e/w/nn/nw are all covered, so this leapfrogs Selmer to just above Altrius. Ten'i Slip really is very useful for mages!
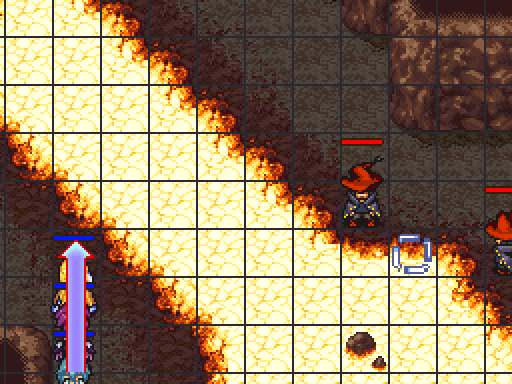
Either Alicia has a really, really bad class modifier against mages (doubtful) or these are special, just like most enemies near the end of Route B. Alicia only did about 120 against the first one here, and that's at least a 33% cut in damage.
Unfortunately, the wasteland on all four sides of the War Mage here (that's quite a tile; wow) means no one can take him down this turn.
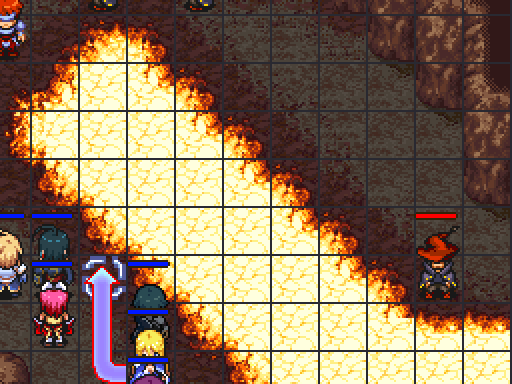
Selmer uses Sedna Prison to just about kill the first Armor. Unlike him, Marie's gonna have to hike it herself; Izuna's got places to be.
Selmer kills the Armor the next turn, Marie moves closer, the melees move towards the lower groups.

Thanks to the Wasteland, the Armor HAS to walk into Yumil Magna, and he doesn't have Magic Guard. The melees continue to advance.
Selmer kills the Armor. Marie's move here will put her directly in front of where the Armor should stop; Selmer can weaken it while she kills it with Oratoriorae, letting her build OB and get experience.
Melee group continues to advance. I was positioning to use Divine Seal, then thought, "nah, I'll be fine.
 "
"In my defense, I'd already written one-and-a-half updates at this point, so I wasn't playing at my best. Even so, forgetting the two War Mages down there have Meteor Gate, one of the top three spells in raw power? Pretty dumb!
This very nearly brings Marie to 3 full OB.
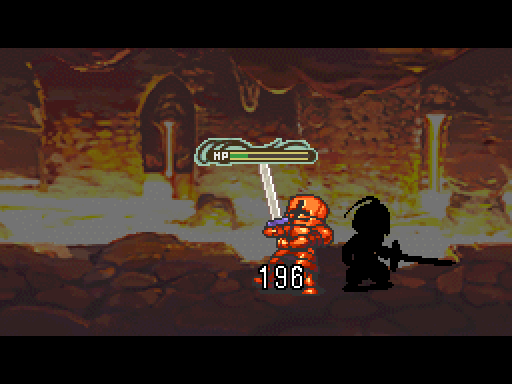
Alicia attacked. The first dodged and the second countered.
 Endgame Swordsmen are a pain for that reason -- they tend to have high evasion and counter rates by this game's standards... Which is especially problematic when you don't know what either of those rates are. Furthermore, Alicia and Izuna have fairly poor accuracy.
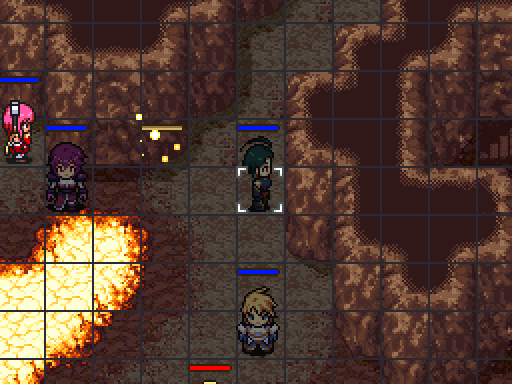
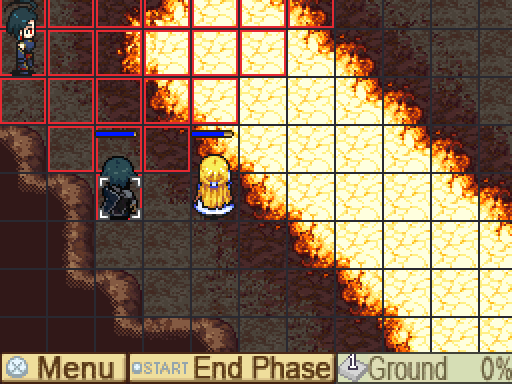
Altrius and Sasha, on the other hand, are absurdly accurate. Izuna ends turn two squares left of Sasha.
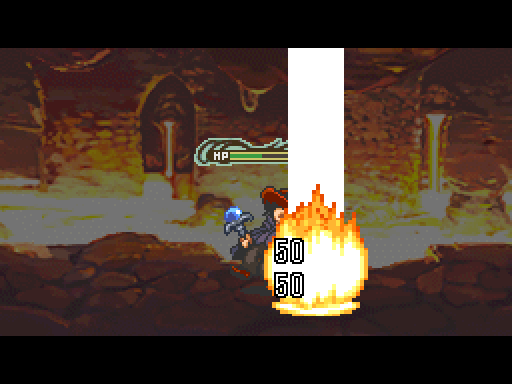
Altrius and Izuna each take a Meteor Gate.
Thankfully, Marie can handle it, even from the other side of the map.
(Note that her OB doesn't heal herself. Her fragility means this is rarely an issue, but it's worth noting later, when she can take some minor spells without exploding.)
Sasha and Altrius take out the High Priest.
Unfortunately, I forgot three very important facts:
1) Alicia's MC is really high,
2) She isn't very good at tanking magic, and
3) Meteor Gate really, really hurts.
She's down. Thankfully, Divine Seal is stat-independent and most of her ability lays in skills, not raw stats. This hurts, but even if she's Hurt she can still contribute next map. I'll just need to be careful with her to keep this from happening again.
Hey, if all else fails, I can just pass her all of my lesser Gems and have her continually OB to hand people her meter.
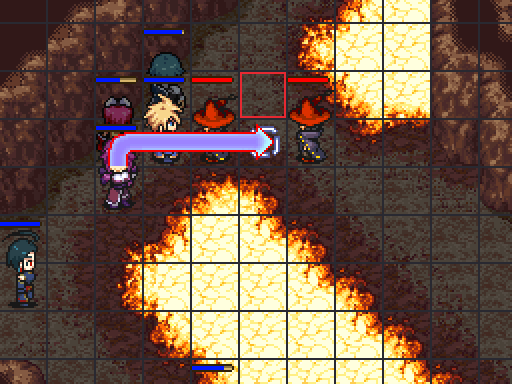
The northern War Mages aren't willing to get too close to Selmer or Marie; they spend most of their turns running away. Thankfully, Yumil Magna and Oratoriorae have very good range.
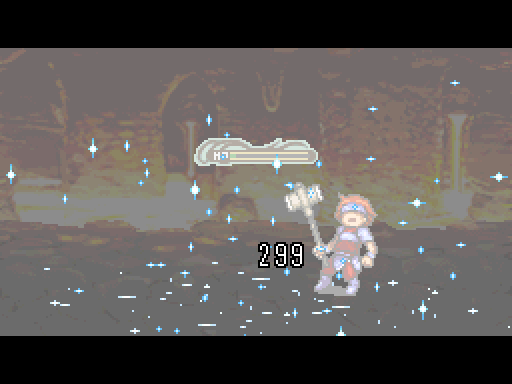
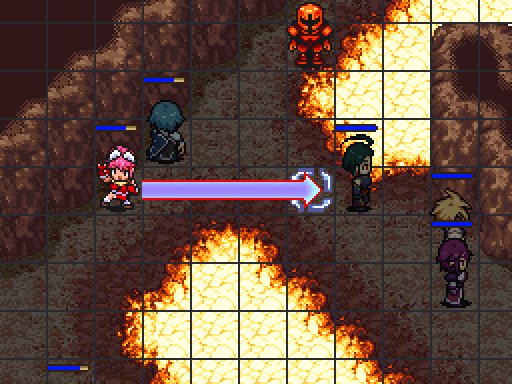
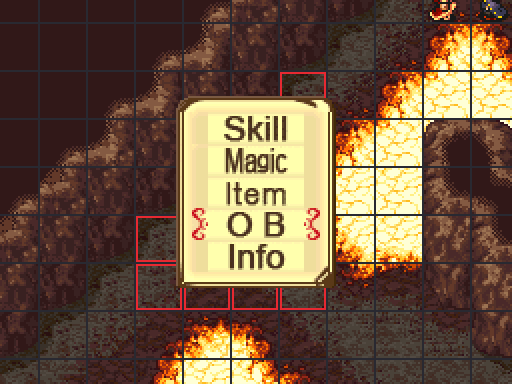
This is why Altrius killed the High Priest: Judgement lets you completely circumvent the poor terrain.
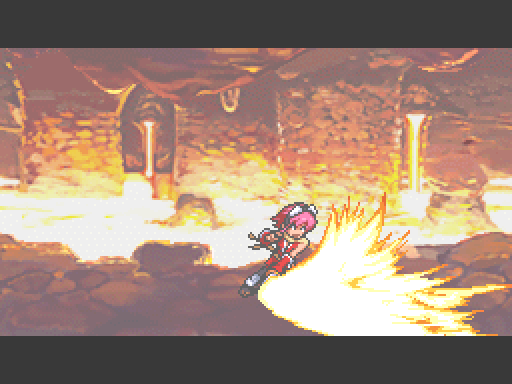
From a quick scan of the thread, I haven't shown Judgement off yet. Here it is!
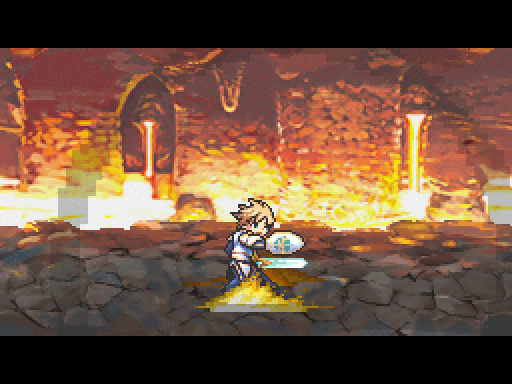
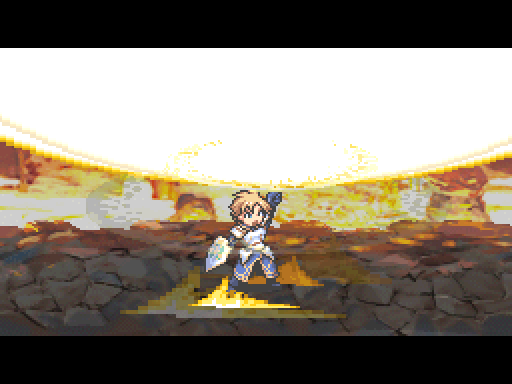
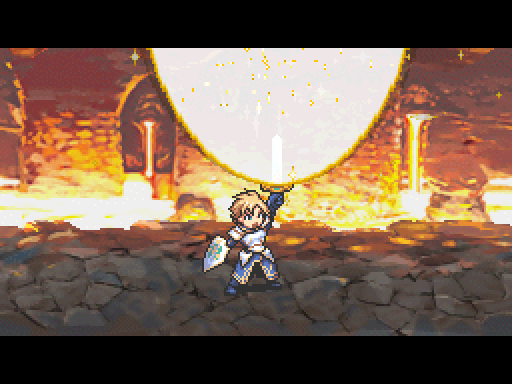
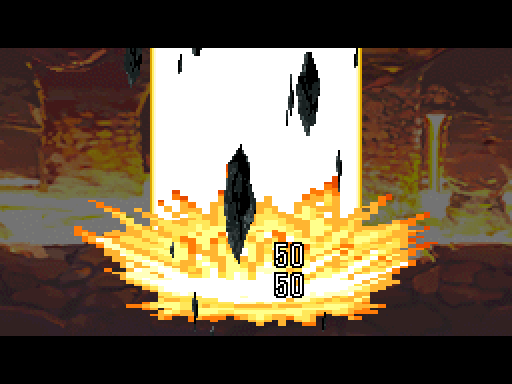

Judgement is right between Brave Ray and Seven Sins in animation, power and utility. It's kind of neat! Not very good, but neat.
Sasha and Izuna move into position. The Armors are next.
One of the War Mages took a potshot at Selmer instead of attacking last turn, so he can take out one of them. Marie's moved to take out the High Priest and other War Mage.

Izuna and Sasha both use Champion Gems for OB. Blade Blast's ridiculous power means Izuna only really needs level 1, but that's the Gem she had on. Sasha won't kill the other one, but hopefully Altrius can take it out on his turn.
And just a few turns after I lose Alicia, I nearly lose Marie too. The only thing that saved her was that the High Priest chose to move instead of Oratoriorae.
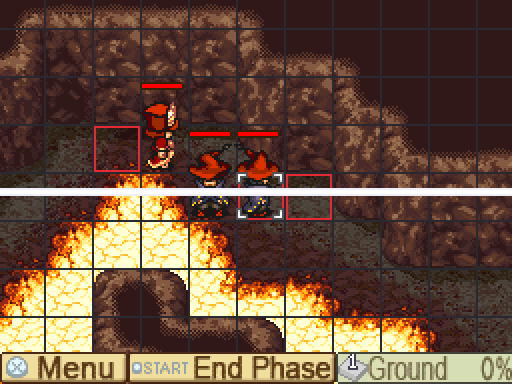
Marie and Selmer kill the War Mage and High Priest, clearing the top. The bottom three enemies are all that remain.
Izuna takes out the first...
...Sasha weakens the second. Sadly, Altrius can't quite reach this turn.
So the High Priest heals the Armor. How annoying.
Izuna hits the Armor, and Duelist enables Altrius to kill the High Priest outright. And then Sasha can't reach the Armor. I really hate low-mobility terrain.
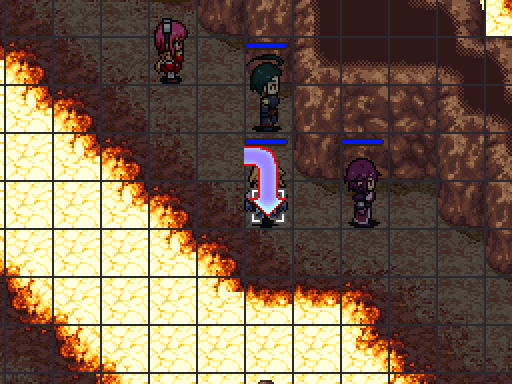
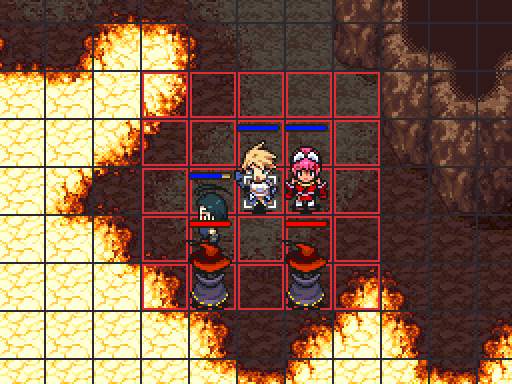
Thankfully, I have a cunning plot!
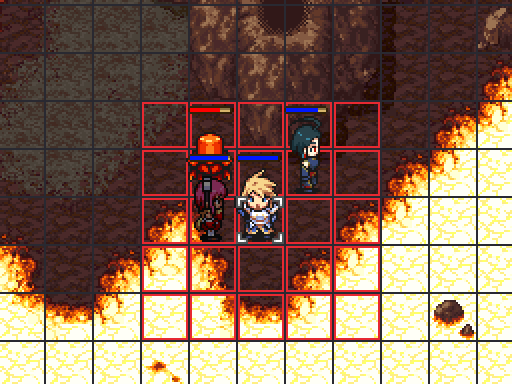
I love Ten'i Slip.
Only a mundane Victory? Really? I did this map pretty quickly... The turn limits must be incredibly tight here. Unless you get punished for deaths...
Still, everyone has just about all the skills and accessories they need. Not really all that fussed about it.
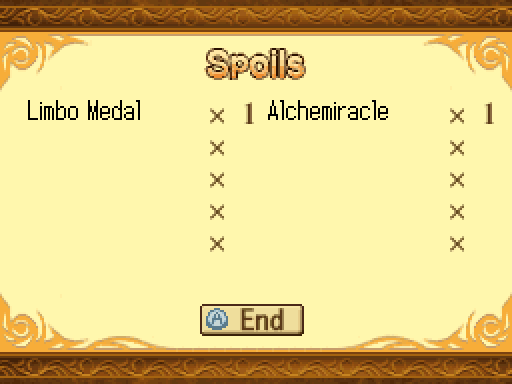
The Limbo Medal is another awful elemental resist medal. I'll never use it, even before you consider how late you obtain it.
No after-stage dialogue this time around.
Total resets since chapter 20: 4 (+0)
Next time: Land of Ice