Part 3: Update III: Fuse Box Count: 1
Update III - Fuse Box Count: 1So, the last time we unlocked a door with the help of a keycard and a keypad. Now, let's move on to...
Room #10: The Service Stairs

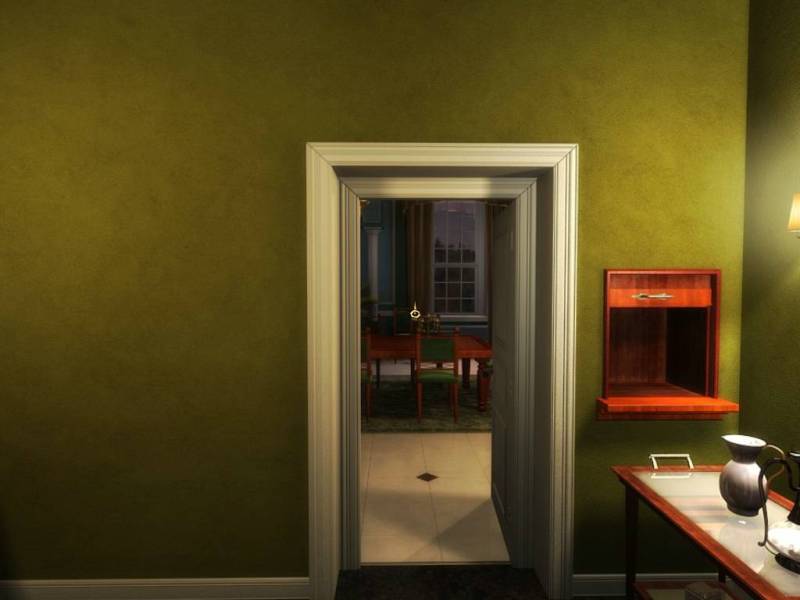

Seems like a lot of options have opened up, but for now, let's just go straight ahead, right into...
Room #11: The Dining Room
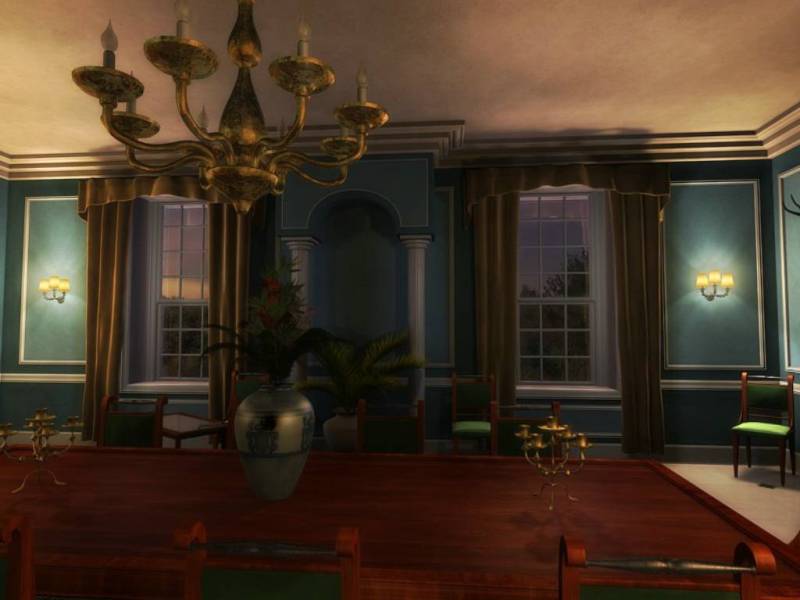

So, either DWA was a hunter, or he just really liked the look of those big bucks (maybe to go along with the other big bucks he has). Anyway, there's a door here, let's check that out... and it's locked. Again.
This is also somewhat of a theme in this game, going along with the railroading. Pretty much every door is locked in some way, shape or form. Either you've got to find a key, or find a keycard, or find a code, or find a keycard AND a code, or the door is bolted and you have to find another way to the other side, in which case the door only serves as a new backtracking shortcut. It's kind of annoying, to be honest. And speaking of themes...
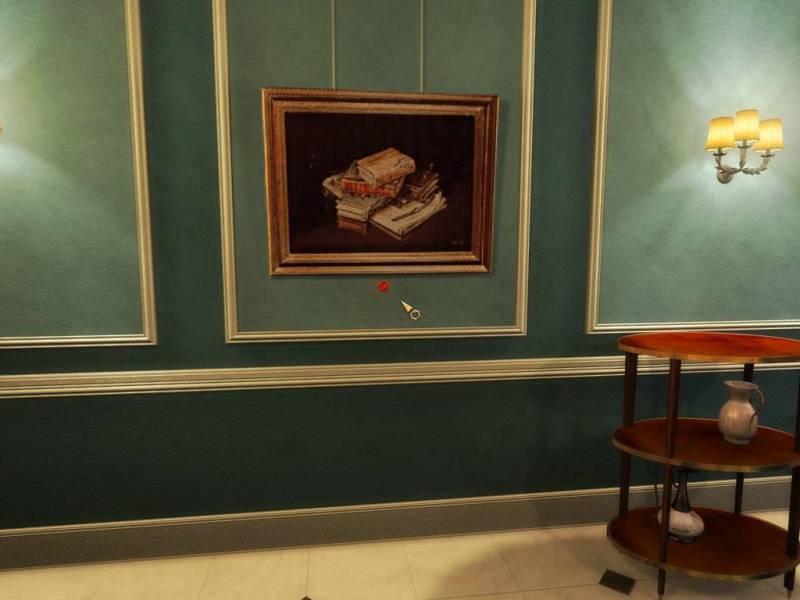
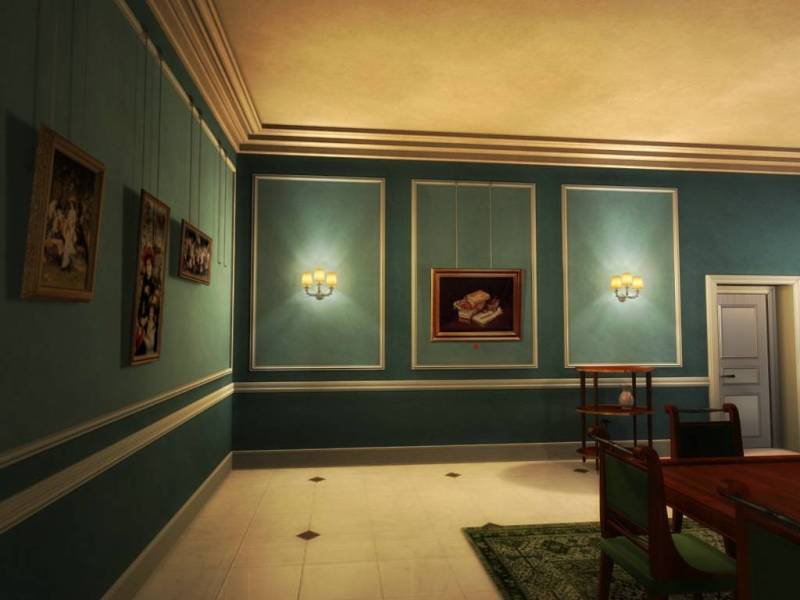
Red light! Clearly, this means there's something behind that painting! Now, let's survey the surroundings...
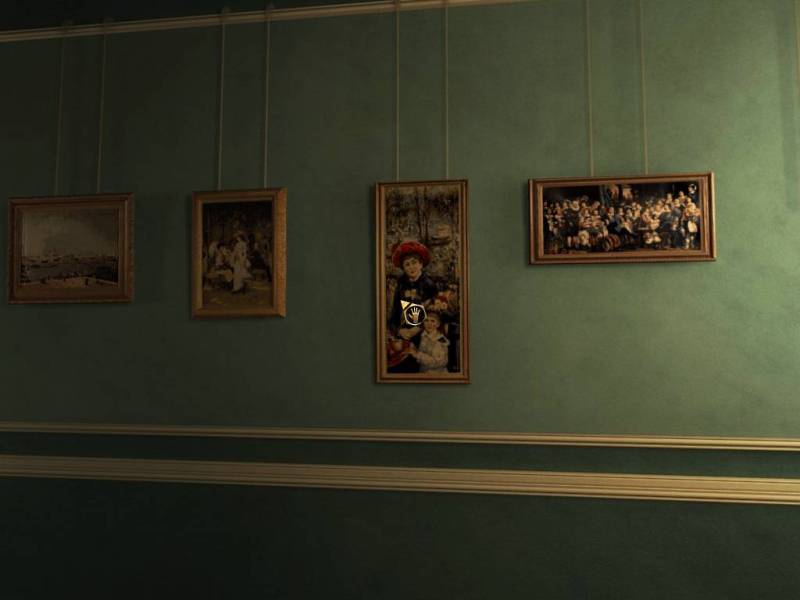
Hm, it seems like I can interact with these paintings. Hey, let's take a look at that photo we found in the cipher safe:
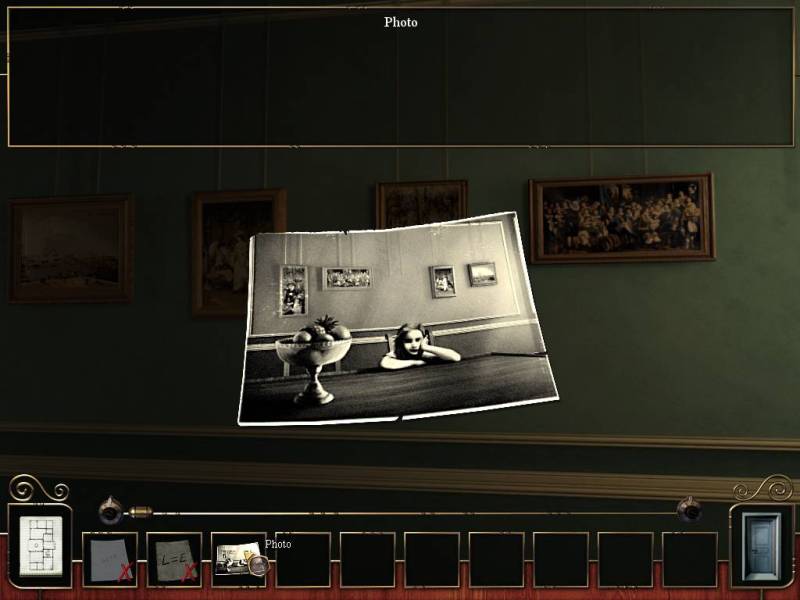
Aha, the order of the paintings is different in that photo! So let's just switch those around a bit...

Bingo - there's a letter from Hubert Dufigue de Pouillot in that secret compartment. Let's read it:

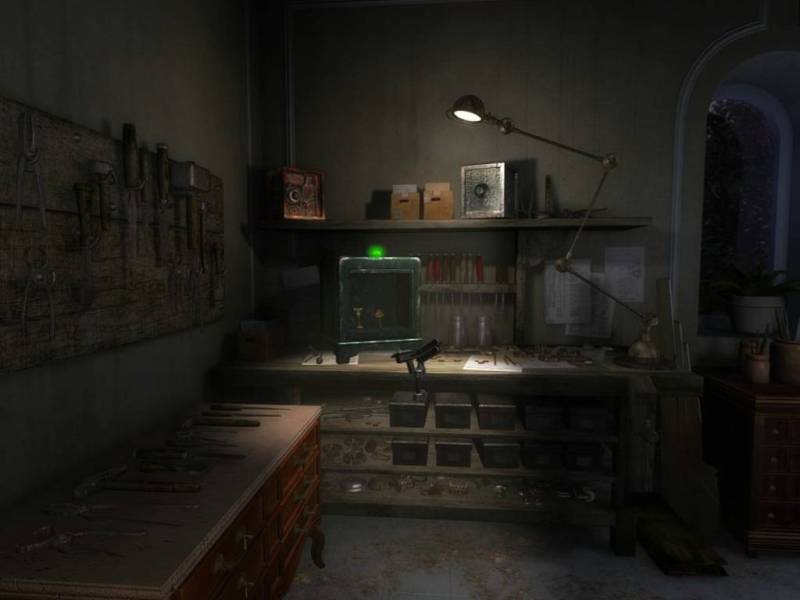
A safe working with wavelengths you say? Time to backtrack to the workshop for...
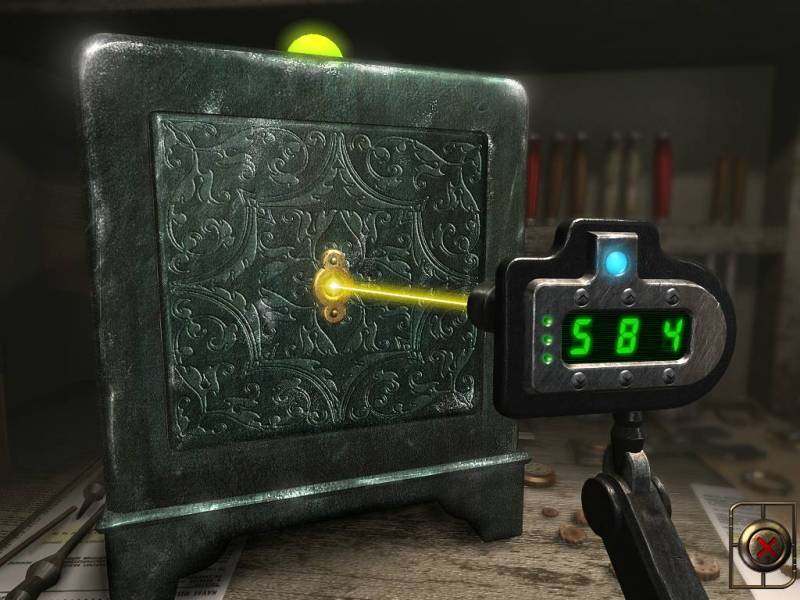
Puzzle #07: The Laser Safe

Now that we have the information from the letter, this one's a piece of cake. Basically, it's nothing but experimentation at this point - the color of a buttercup is yellow, and with a bit of fiddling about, you'll find that the upper limit of the yellow laser is 592, subtract 8 from that, and you've got the solution: 584.
And with that, the safe opens, revealing a small gold key and a T-shaped key. Hmm... a T-shaped key? Time to do some more backtracking -
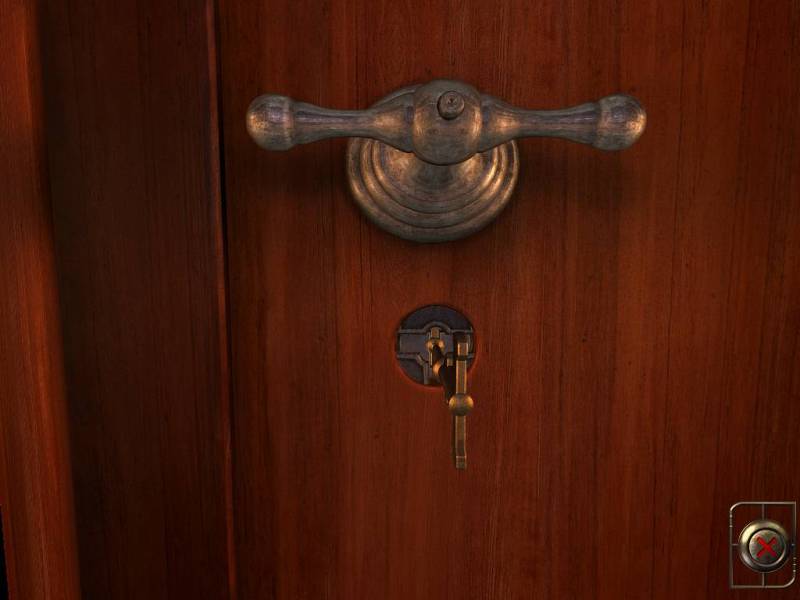
- back to the small sitting room's key safe! And in that one we find... a piston? Am I going to have to lug this piston all over the god damn mansion now? Speaking of lugging the piston, our next destination is up the service stairs to...
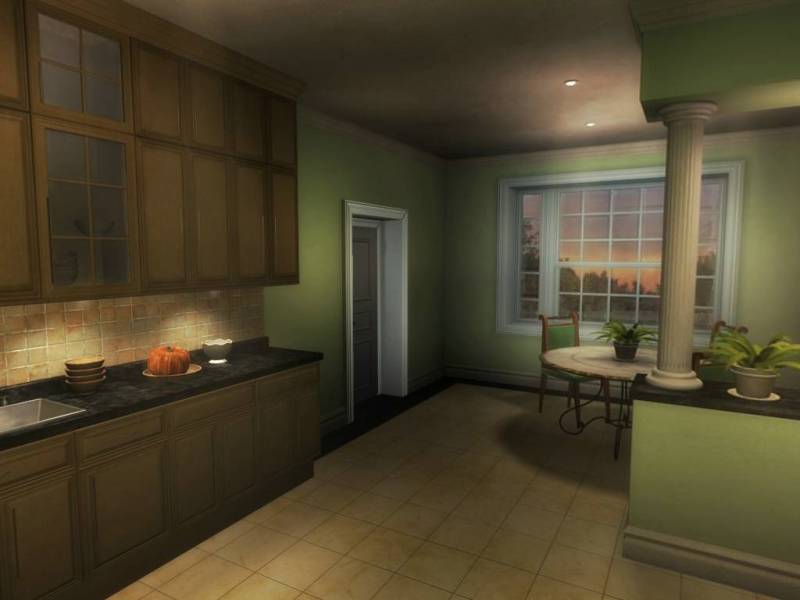
Room #12: The Kitchen
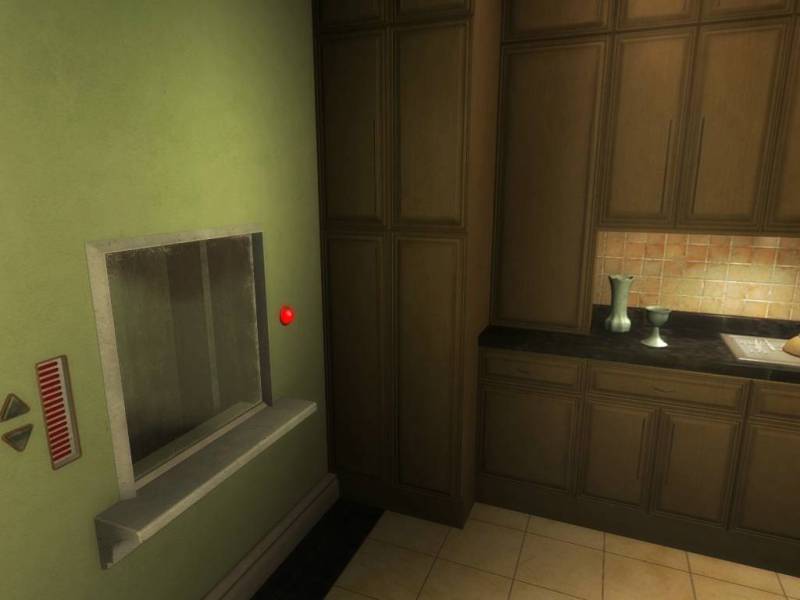
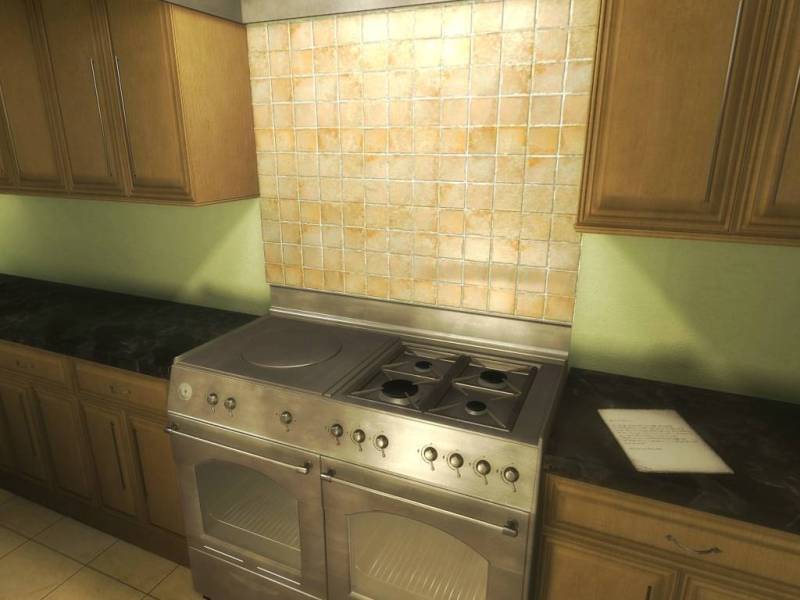
Three things of interest. First, the door - bolted again. Are you surprised? I'm certainly not. Next, the letter:
"Let's take a look at this letter: 'Dear Uncle Duncan, I hope you are well and that you are enjoying your well earned retirement. I want you to know that I've always been on your side, even when the rest of the family was against you and thought you were eccentric and mad. You must know that we've not all had your luck but the family should stick together. I would be so graceful if you could help us. Our monthly obligations are increasingly difficult to meet. Sincerely, Elizabeth.'"
"We totally stuck up for you and everybody else totally thought you were crazy! Send money please!". Subtle. The more pressing question is: Why is DWA leaving these letters lying around here? Oh well, I suppose time will tell. Moving on, we've got a red light to deal with!
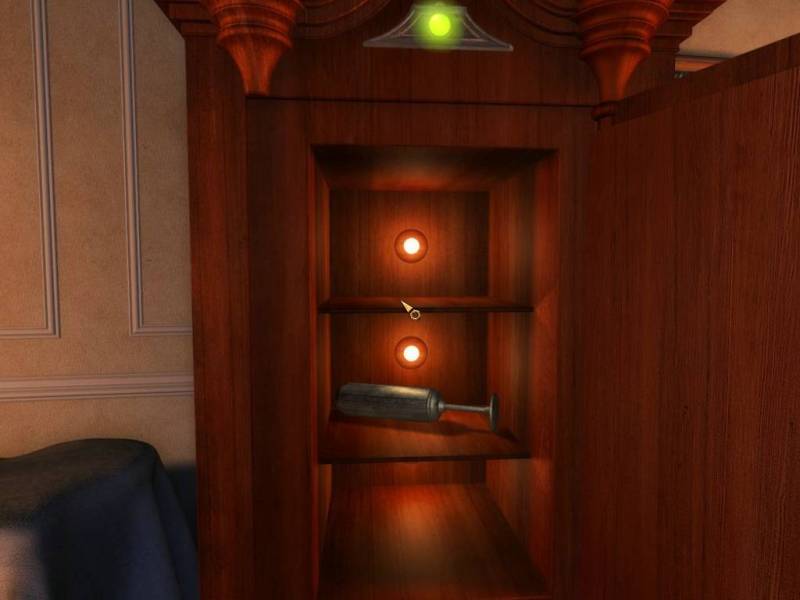
Puzzle #08: The Dumb Dumbwaiter
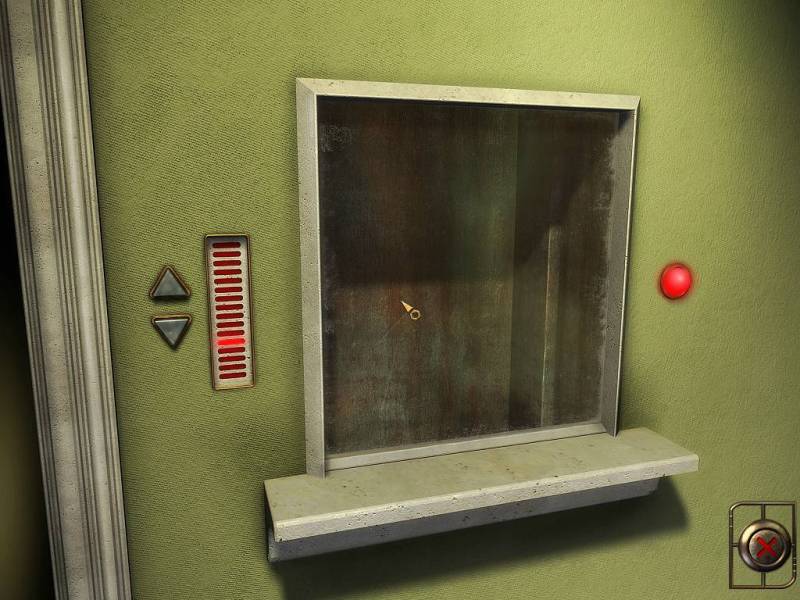
This one's a bit tricky. Basically, we've got a dumbwaiter, and the object of the puzzle is to get the wagon holding the object to make it exactly where we want it (and where we want it is the point where it exactly fits into the opening we're currently looking at). The problem? This thing has some funky movement - if you tell it to go down, it'll go down exactly seven times (if it can't go down that far, it simply won't go), if you tell it to go up, it'll go up exactly five times (if it can't go up that far, it simply won't go).
With a bit of experimentation, you'll figure out that the correct position is the fifth from the top. From there, it's simply a matter of getting the thing to the bottom by going up, down, up, down, then going all the way to the top (up three times), then moving into position by going down twice, then up twice.

With that done, we now have a special pipe key. What makes this one special when it's the only one we've found so far? Only DWA may know. Now, we've only got one way to go left...
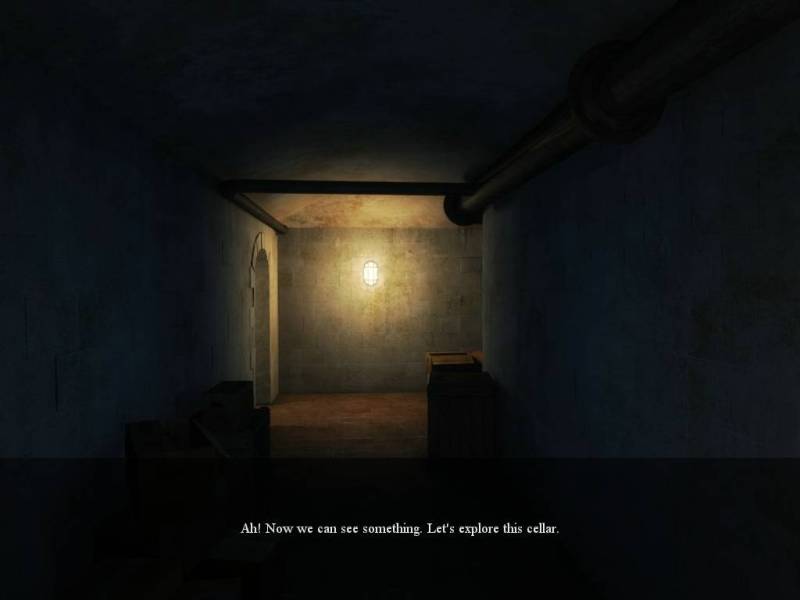
Room #13: The Basement Entrance


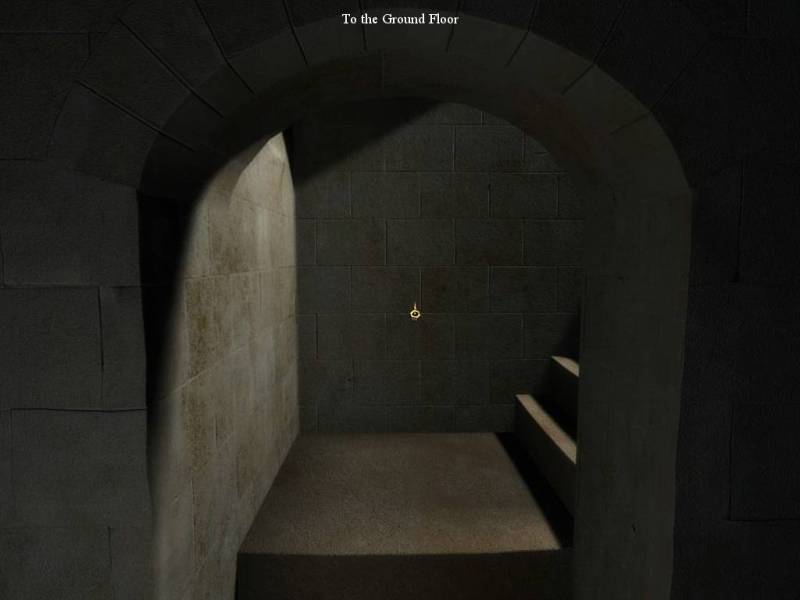
Christ, it's dark in here. Let's take a look at that box over there, then, since the MC will refuse to go down the dark hallway:
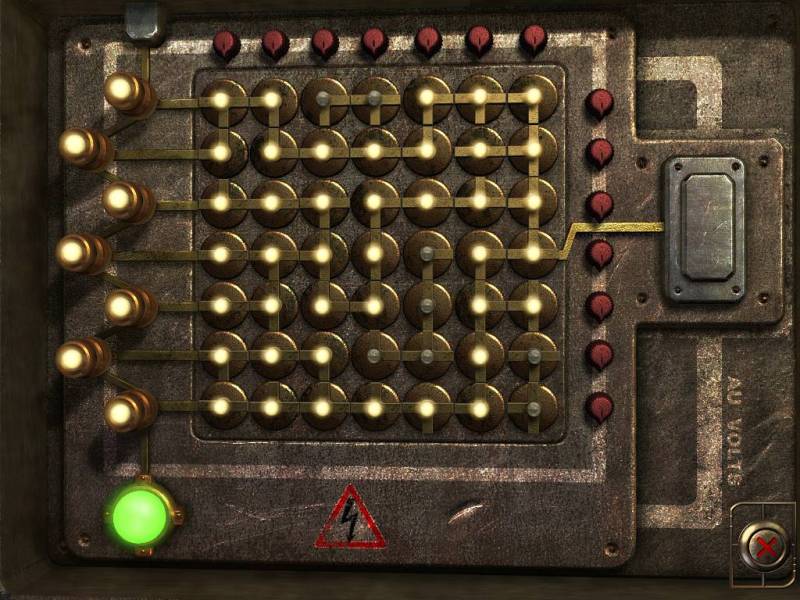
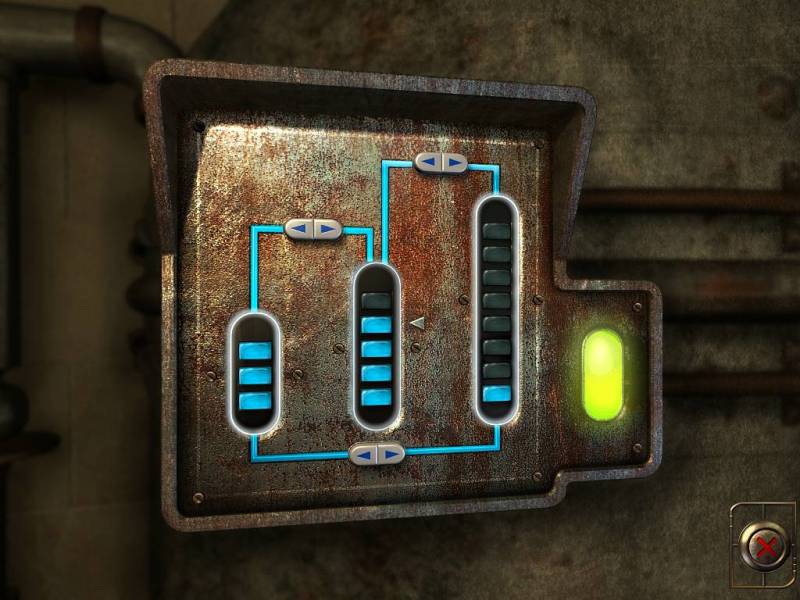
Puzzle #09: The Fuse Box
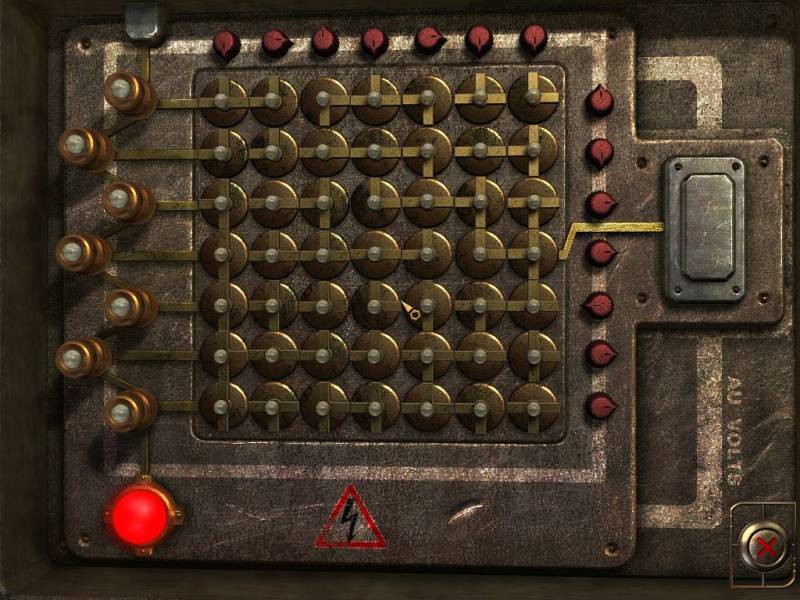
It's not a fuse box, more a hyper-complicated light switch, but I'm calling it a fuse box anyway, because it's basically the stand-in for what would have been a fuse box in a more standard game.
And I've got to come clean here: I never solved this puzzle, because quite honestly, I couldn't figure it out. I mean, the basic idea is that you've got 14 switches, and whenever you click a switch, it turns all circles in the row or column by 90 degrees. The goal is to make all the bulbs on the left light up by directing the current coming from the smaller box on the right to every single bulb. And I don't know what it is with this puzzle, but I just look at it and my head basically explodes. So, to make a kind of long story short, here's the solution courtesy of the walkthrough:
Take the switches, starting from the top left and going to the bottom right, and number them 1 to 14. Then, click the following switches: 11, 10, 8, 8, 5, 3, 3, 2, 12, 12, 12, 13, 14.
There, we're done.
Now, let's move on:
Room #14: The Wine Cellar
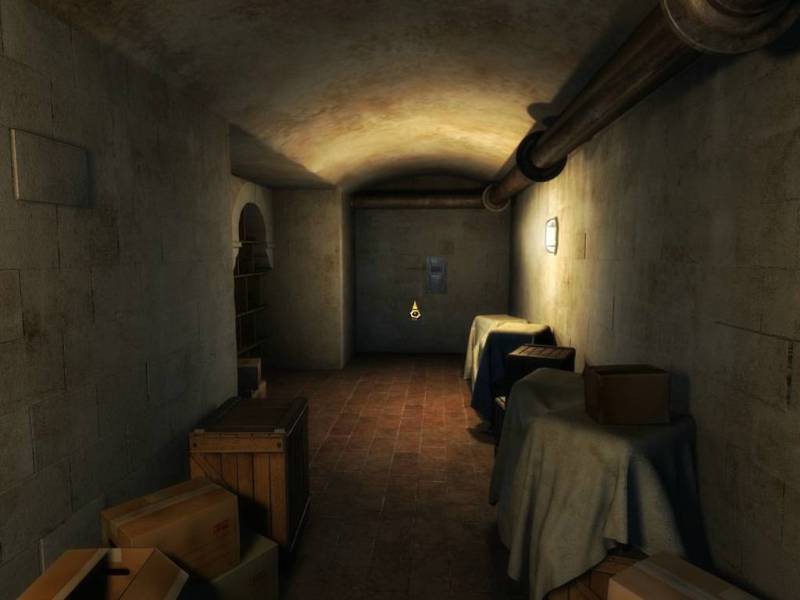

I see a puzzle back there, but first...
Room #15: The Store Room
Yes, the game actually distinguishes between these three rooms.
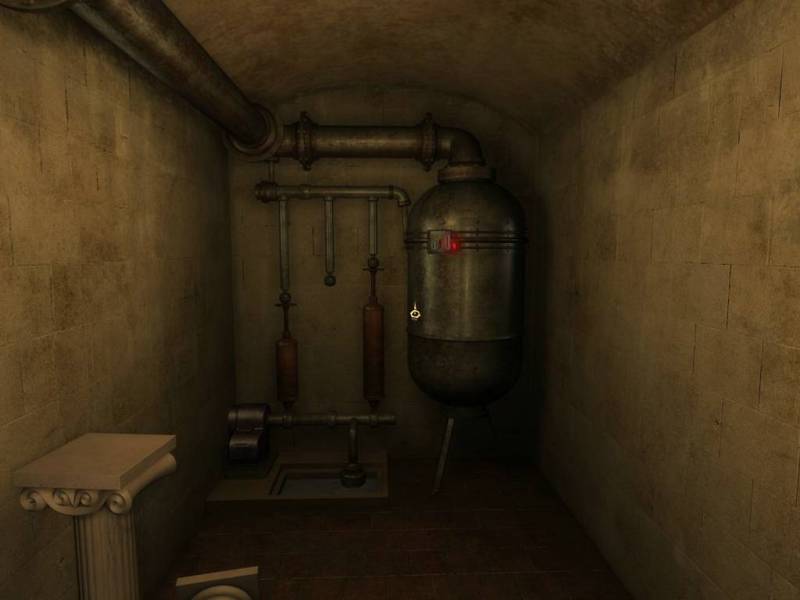
Anyway, that contraption there looks like it's missing something. Maybe this piston will fit?

Bingo! And that enables the puzzle on this thing:
Puzzle #10: That Water Puzzle

You know this one. You've got 8 litres of water in an 8 litre container with two empty 3 litre and 5 litre containers. You want 4 litres in the 5 litre container simply by emptying and filling containers. How do you do it? That's simple:
- 5 litres from 8 to 5, leaves 3 in 8 and 5 in 5
- 3 litres from 5 to 3, leaves 3 in 8, 2 in 5 and 3 in 3
- 3 litres from 3 to 8, leaves 6 in 8 and 2 in 5
- 2 litres from 5 to 3, leaves 6 in 8 and 2 in 3
- 5 litres from 8 to 5, leaves 1 in 8, 5 in 5 and 2 in 3
- 1 litre from 5 to 3, leaves 1 in 8, 4 in 5 and 3 in 3
And then we're done! What does solving this puzzle do?
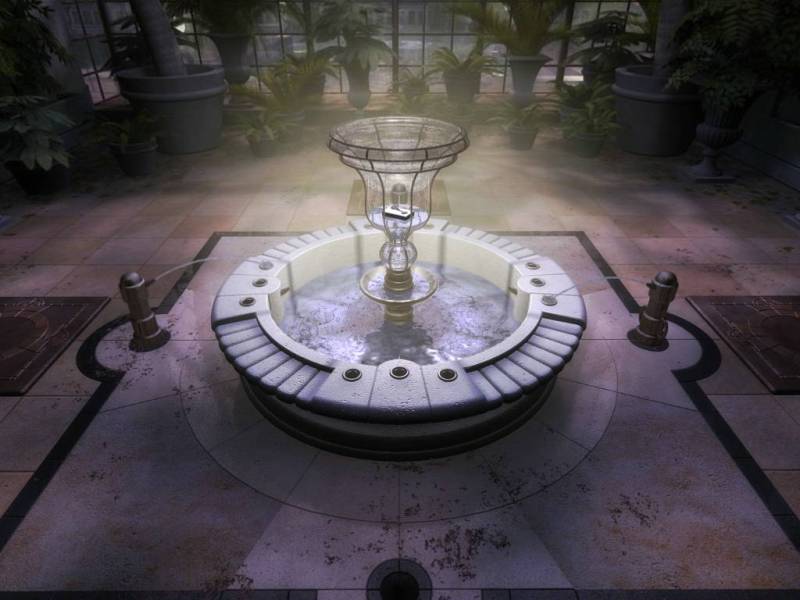
It fills up the fountain in the winter garden. Methinks there's still more to this, though. Anyway, there's still one puzzle in the wine cellar to solve:
Puzzle #11: The Skipping Puzzle

This screenshot actually isn't the original position - the original position only has the first circle lit - but this one makes it clearer what we have to do. The object is to make it from the sole circle in the top left to the one sitting on the right, and we can only move in straight lines while always leaving one unlit light between our moves.
Once again, the solution is simply to think backwards and work your way from there. Eventually, we make it to this solution:

And that opens the safe, giving us a GPS keycard and a brass key. Where will those be used? We'll see next time.