Part 5: Update V: So I Heard You Like Professor Layton...
Update V - So I Heard You Like Professor Layton...Right, so the last time we were stymied by a fountain, but now we're going to solve this sucker the right way:
Puzzle #16: The Fountain
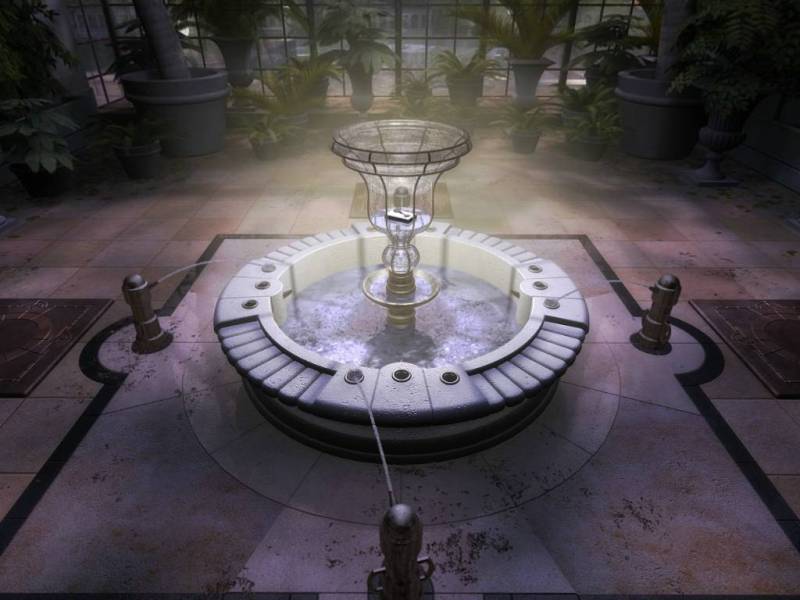
This is one of my favorite puzzles, and the setup is fairly simple - we've got four pressure plates that move the pipe in front of the plate over to the right by one position until it hits the rightmost position, after which stepping on the plate moves it to the left. Only one of the three positions allows the water to shoot into the fountain and raise the water level. Get all four pipes in the right position, and the water level rises enough so we can get the key.
Now, our character is a complete idiot and is unable to move around the fountain without stepping on every plate along the way, so this isn't as simple as it may look. Also, backing out of the room resets the puzzle, so that won't help us either. With that being said, let's abstract this one - the view is looking at it as if we were coming from the room we started the game in:
code:
            3

          X S O
        S       O
  1/3   O       X   2
        X       S
          S X O

            2
S: Starting position
O: Opening that lets the water flow in
X: Extra opening
Numbers: Steps we need to take on that plate to get to the right position modulo 4
With that being set up, it's a matter of looking at it long enough until you find the solution, starting from the door coming from the museum:
code:
 X     1     1     2     2     3     3     3     3     3     3
X S   X X   X 1   X 1   X 2   X 2   1 2   1 2   2 2   2 2   3 2
 X     X     X     X     X     X     X     1     1     2     2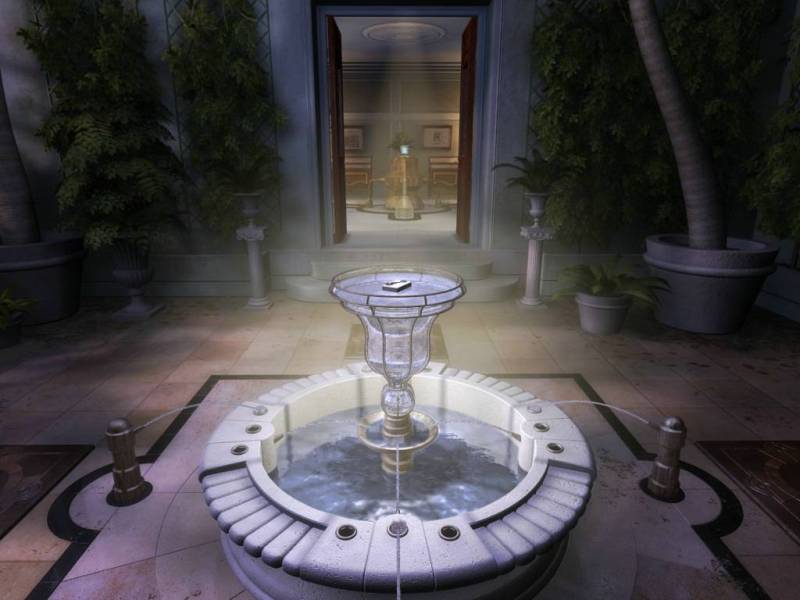
And with that finally done, we can get the double key. And that key...
...fits in the locked door in the upper level hallway.
And that door opens to reveal...
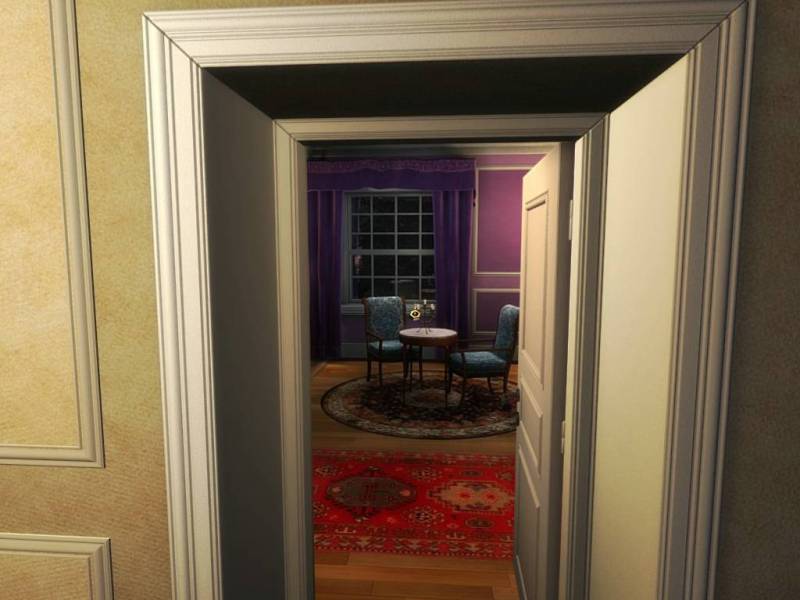
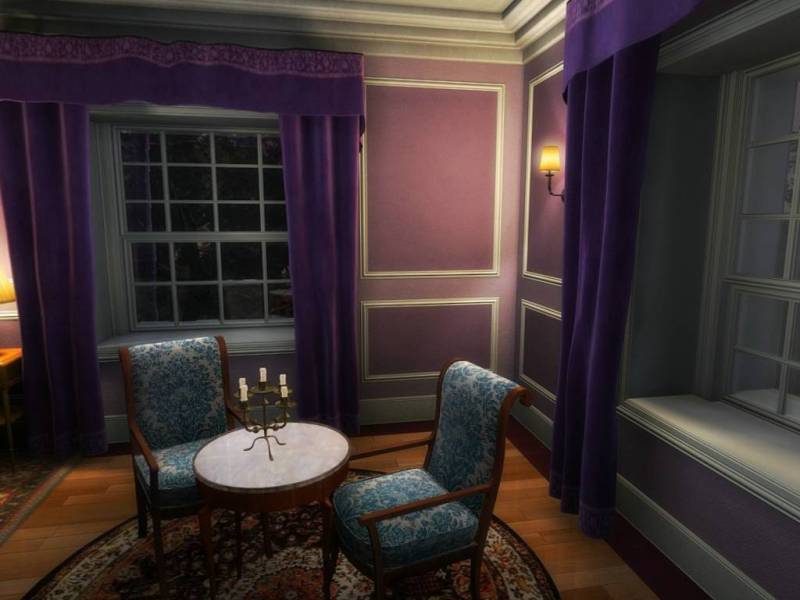
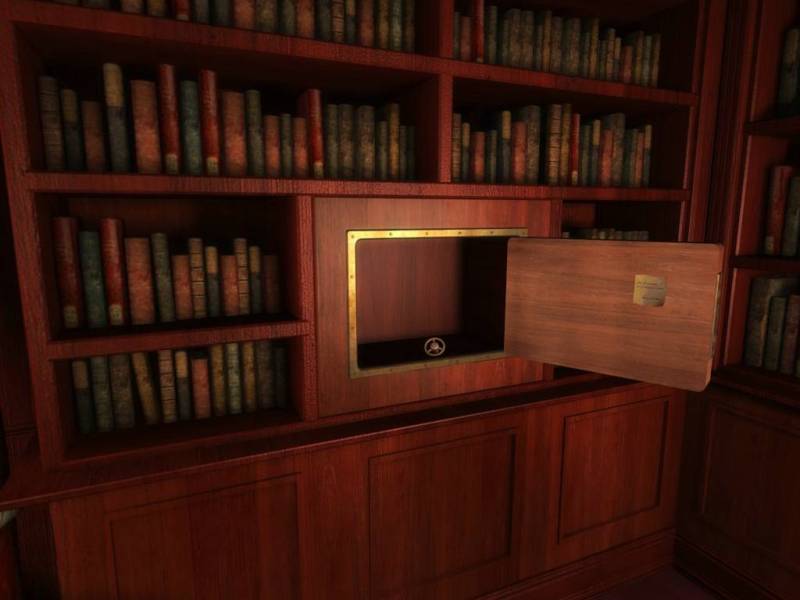
Room #28: The Violet Bedroom

The first thing of note is a letter near the bed, which reads as follows:
"Dearest uncle Duncan,
I hope this letter finds you in good health and that you are enjoying these first few days of June. I don't know if you have received my previous letters as I haven't received a reply. I do not want to sound impolite but without your help we will have no choice but to move. The rent is just too much for us. I really don't want to leave our home. I know you understand.
Yours affectionately, Elizabeth."
The plot thickens again? This is really odd. It's kind of tough figuring out who to side with when you only have the word of the different characters.

With that being said, this red light is quite intriguing, and that hole looks like it's inviting our little golden key...
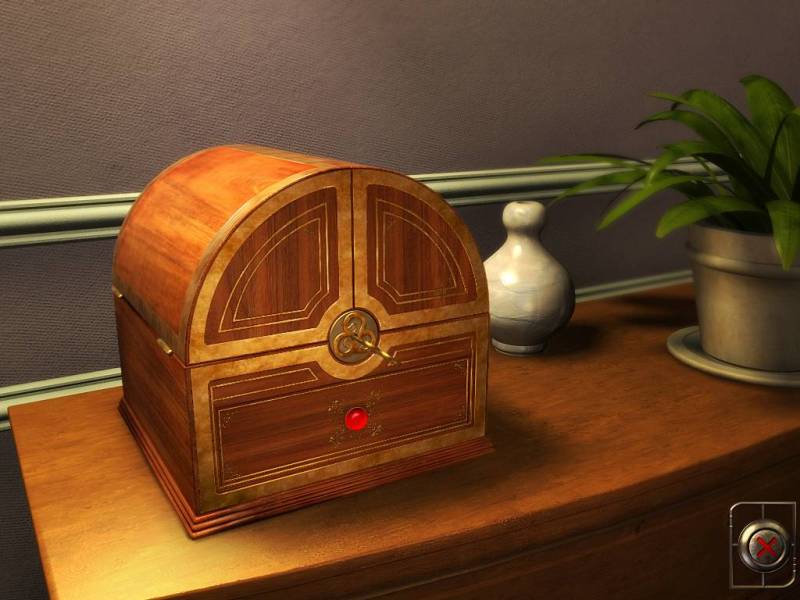
...and it fits!
As this thing opens, it is revealed that it's actually a music box, and the little tray contains a small iron key and a screen and keycard reader. Bizarre components - but I'm sure they've got their use. Moving on, the door in this room leads to...
Room #29: The Violet Bathroom

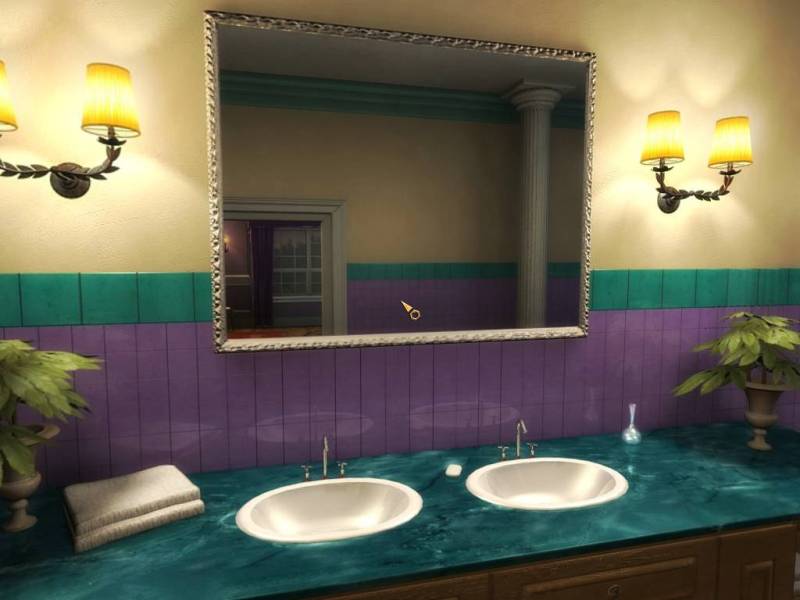

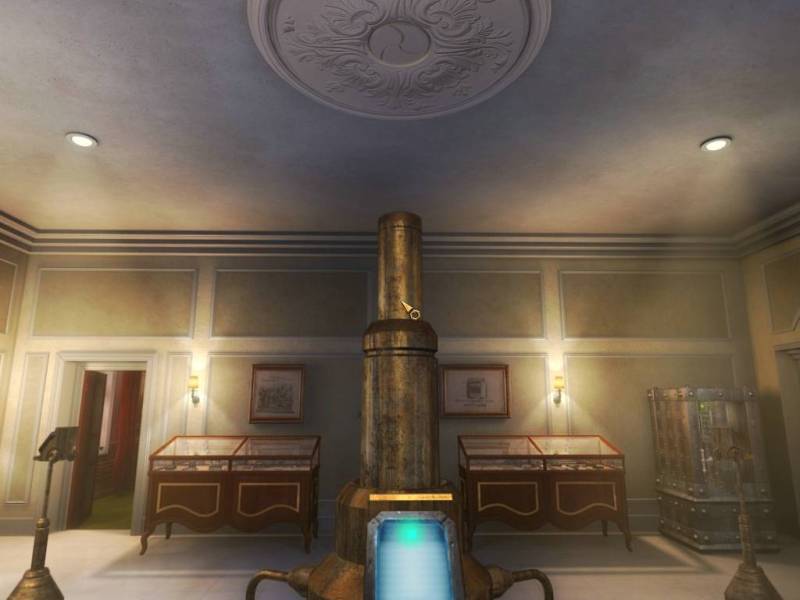
Alrighty then. Once again, nothing in there. Now let's do some backtracking, because we've run out of stuff to do apart from the three small screens by that weird contraption in the museum (remember those?). Without further ado:
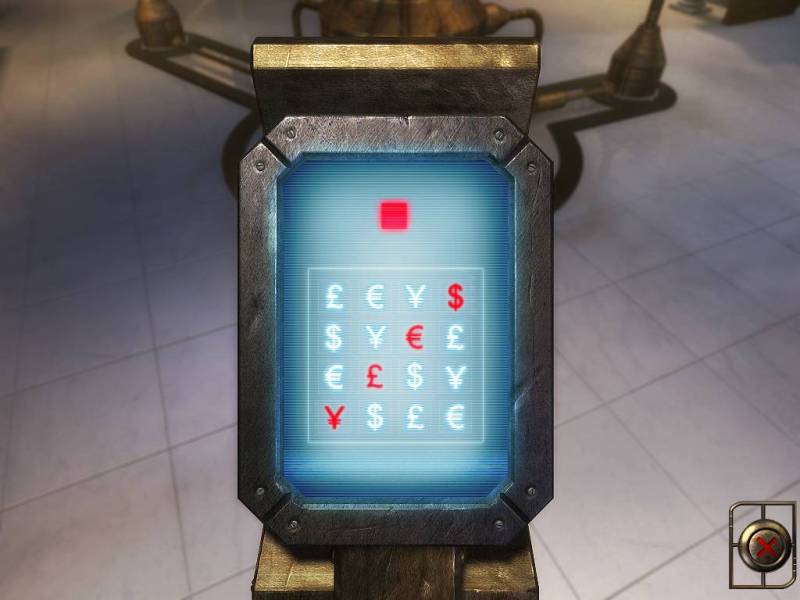
Puzzle #17: The Sudoku

Yeah, this is really basic. You've got four symbols for currencies, and you've got to make sure every row has all four, all columns have all four, and the four squares you can split the big square up into have all four.
The MC says something here: "This reminds me of that game that's so popular now. The late Mr. Adams was ahead of his time!"
I thought the Sudoku craze was a decent bit older than 2008, but what the hell, let's give DWA some credit. Anyway, solving this one's not exactly hard - fill out some stuff using logic, then the rest just solves itself, really.
And then the contraption's... pole goes up a bit. We probably need to solve the other two to raise this all the way to the top, so on to the next one!
Puzzle #18: The Jumper's Puzzle
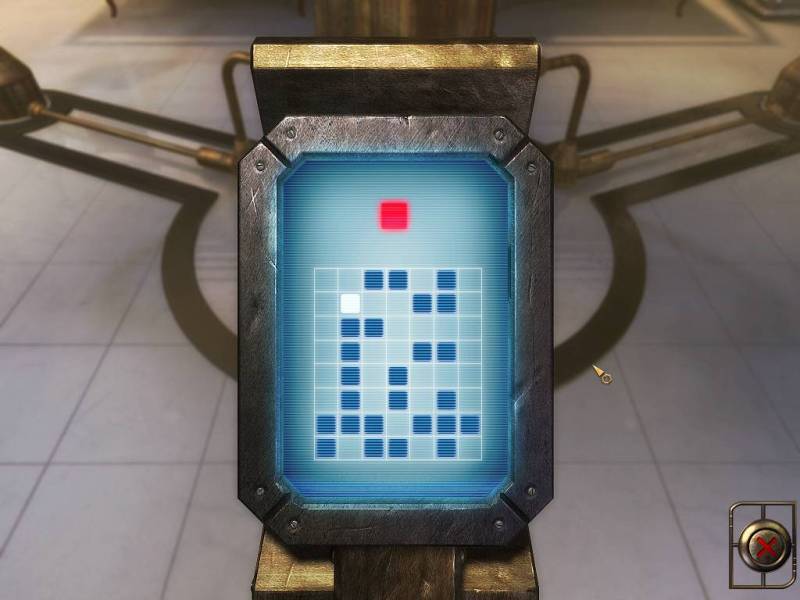
This one's a bit more interesting. You start on the white square, and you need to jump your way across the field. You can only jump in cardinal directions, you can only move one or two spaces, and you can only use each square once. The goal is to clear the board, and it's fairly easy with a bit of thinking.
Just start from A and make your way to Z.
Two down, one to go.
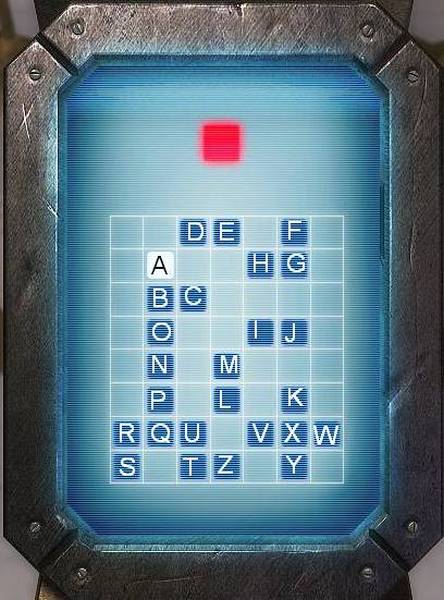
Puzzle #19: The Magic Square
This one is locked with a password,
but since we only have one code available to us right now, it's not exactly a problem.
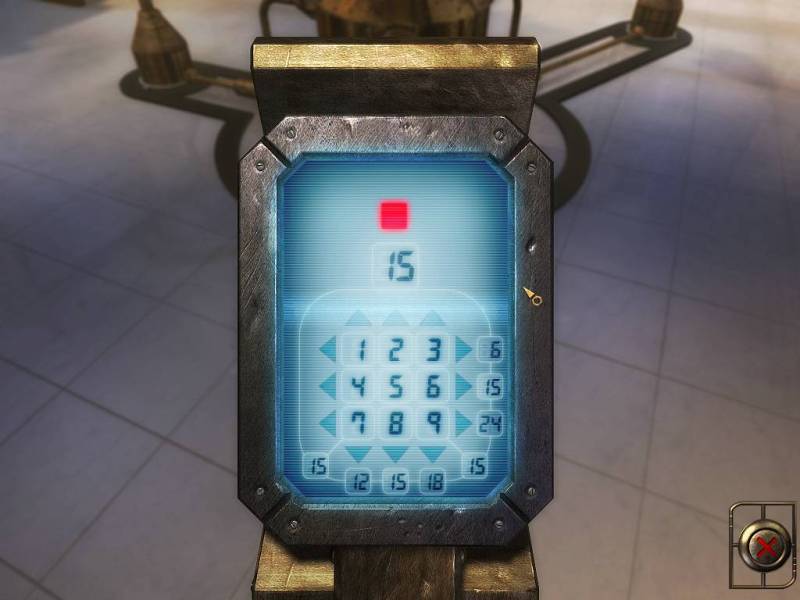
This opens up the actual puzzle, and it's my second least favorite puzzle in the game (the third least is the pseudo-slider puzzle, and the least favorite comes later). Basically, you've got to fill out a magic square, but you can't just fill it out, you also have to do it like you're doing a 2D Rubik's Cube. There's no real strategy to this one - first you figure out a magic square, then you somehow try to replicate it with your standard slider puzzle strategies.

And with that, the contraption connects to the ceiling,

and it opens that bolted door in the games room! So let's rush up there and make our way to:
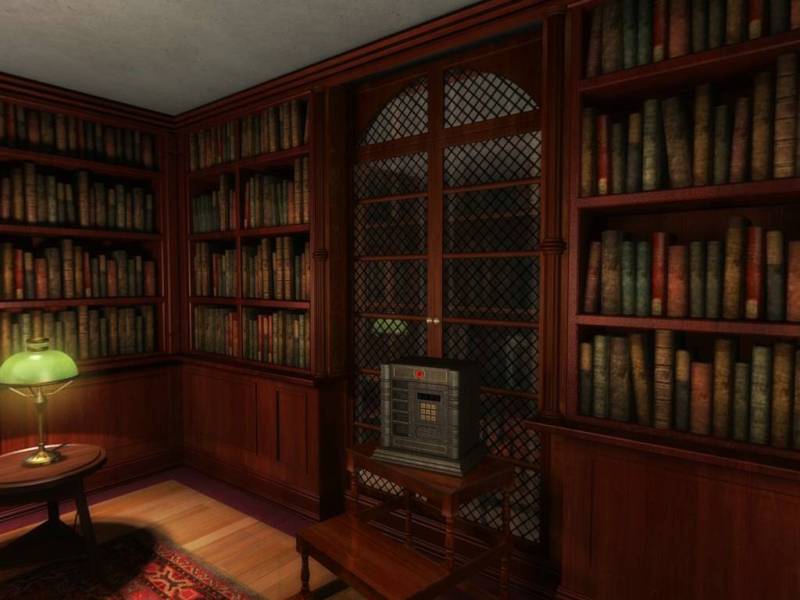
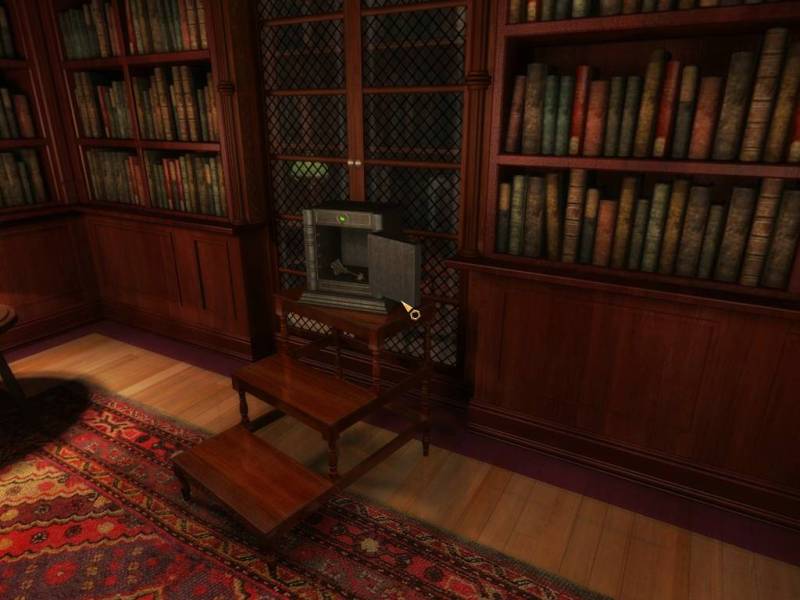
Room #30: The Library
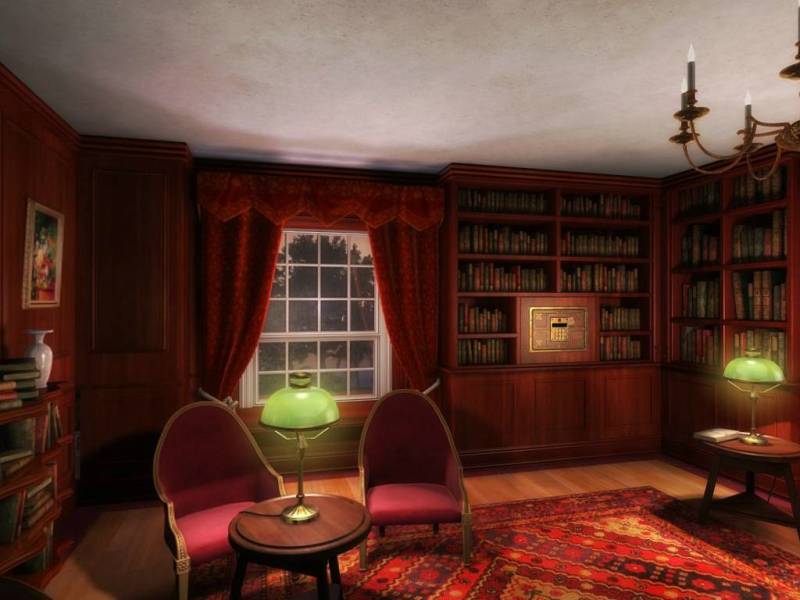
A few pieces of interest. First, the book laying on the right table in the first picture. It's written by DWA, and it's called "The Safe Through The Ages". Interesting, I guess - I'd have liked to take a look inside it, but I guess all this is supposed to do is hammer home the point that he likes safes, but it's not enough to make him look eccentric the way the game wants us to see him, instead it just makes him look like a dedicated guy who has a love for his craft.
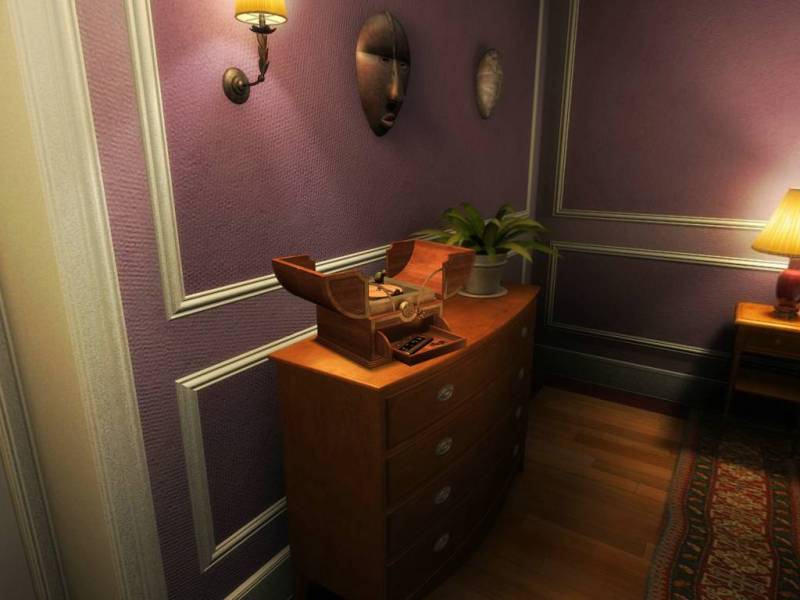
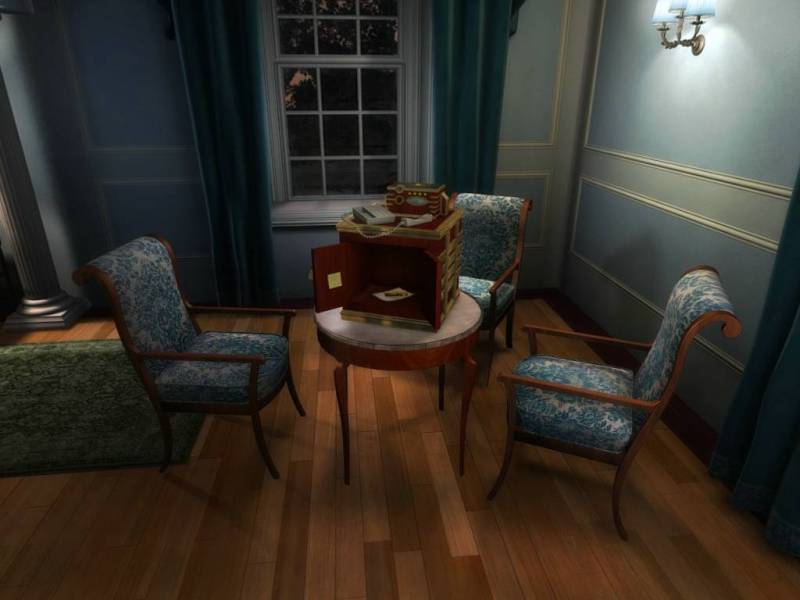
Second, this safe. "Call Sarah"? Well, there's only one thing I can think of relating to calling somebody, and that's the contraption in the blue bedroom, so let's head there!
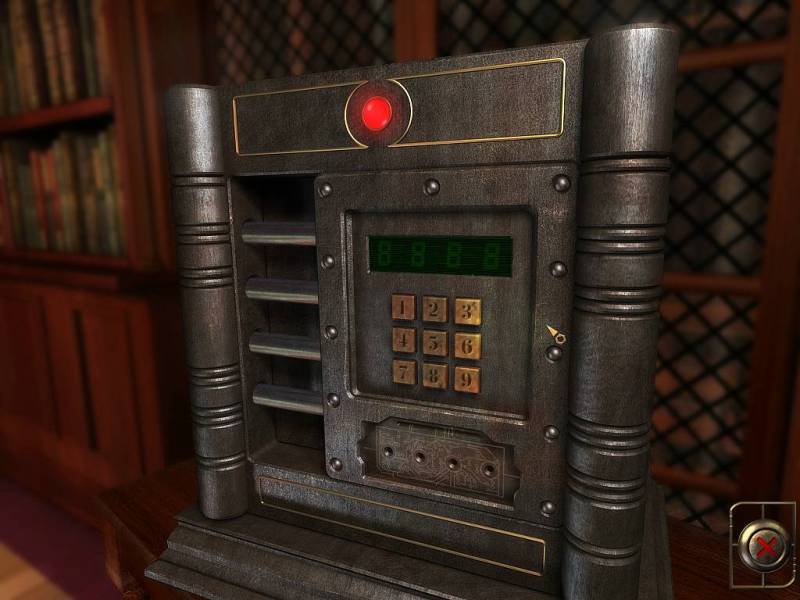
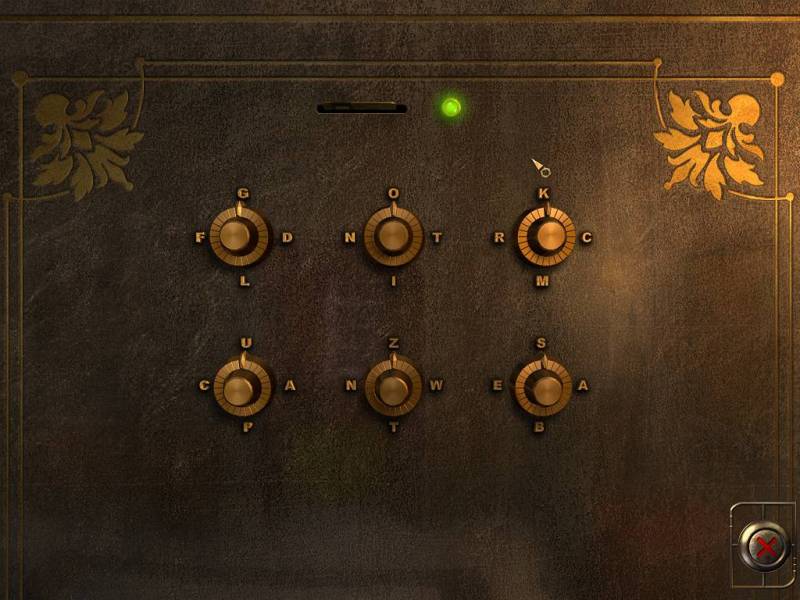
Puzzle #20: The Mastermind
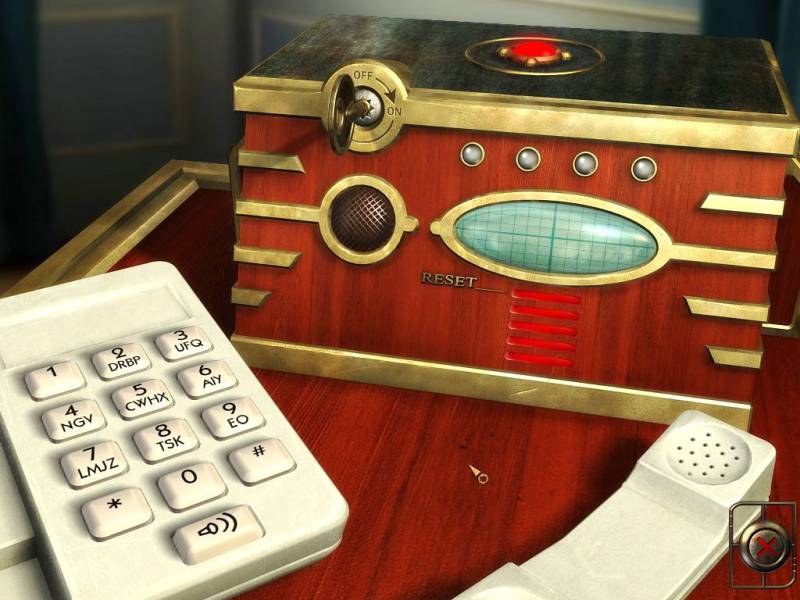
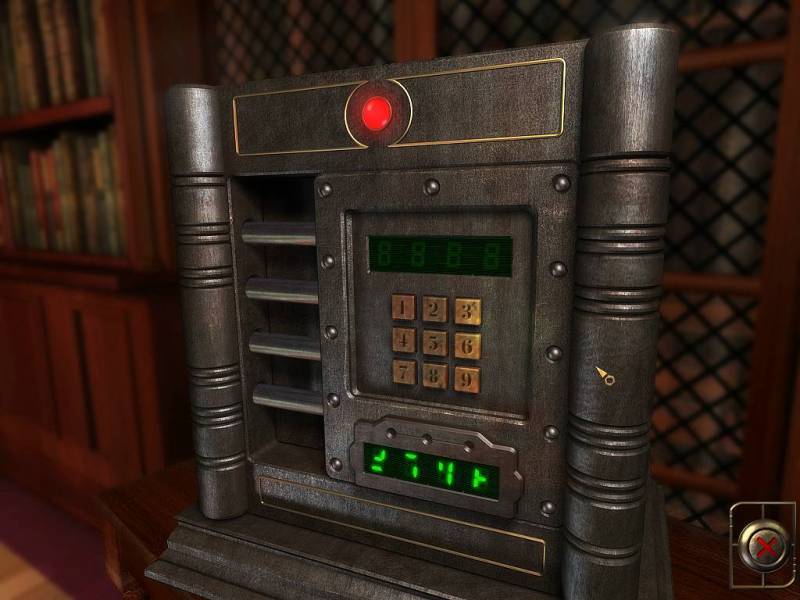
Right. So there's a bizarre telephone here, but analyzing that can wait until later. First, this box. The on-switch is operated with the small iron key we found earlier, and I already stuck it in here. When we turn it...
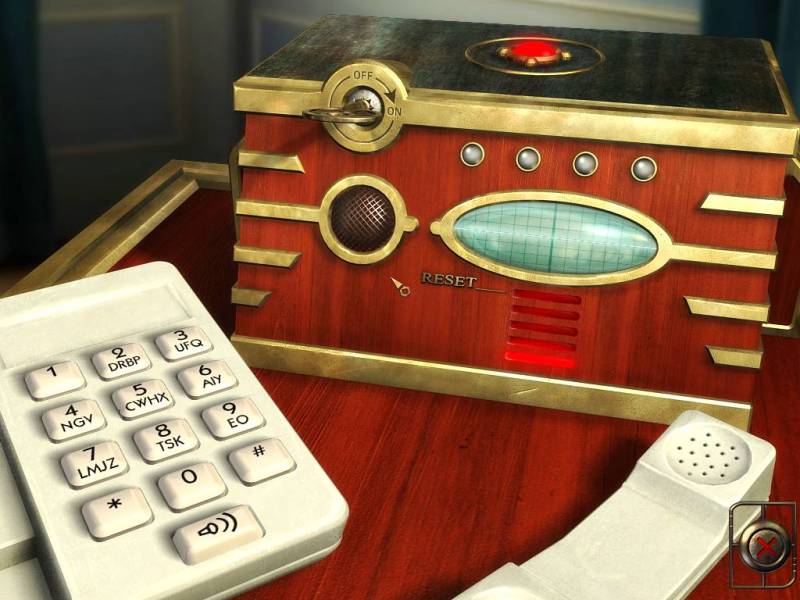
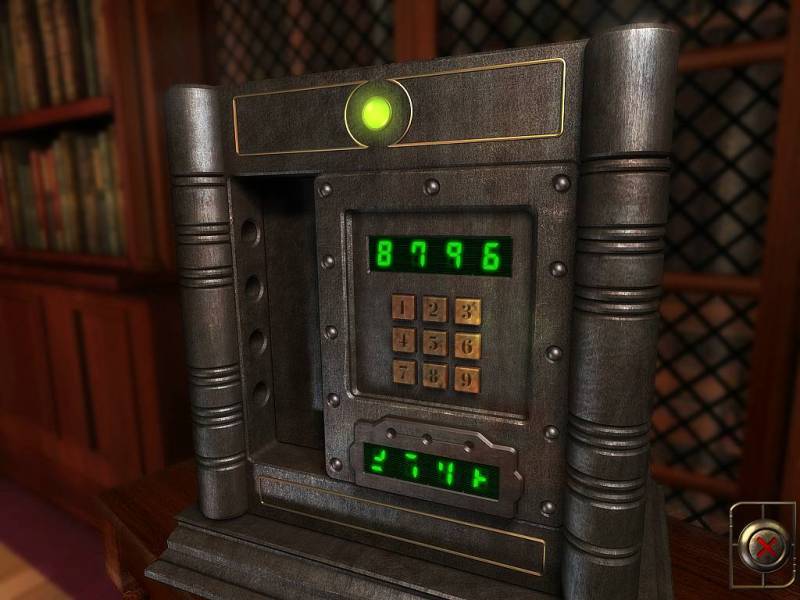
...some lights go off, and after hitting the lowest button on the phone we can then enter numbers. The basic strategy is the same as the game Mastermind - you enter four numbers, and the four lights at the top tell you how correct you are. Red means wrong number, green flashing means right number, wrong position, green solid means right number, right position. Try too many numbers and the solution resets. One note: The last number is always 9, I guess to make it easier to figure out. With a bit of experimentation,
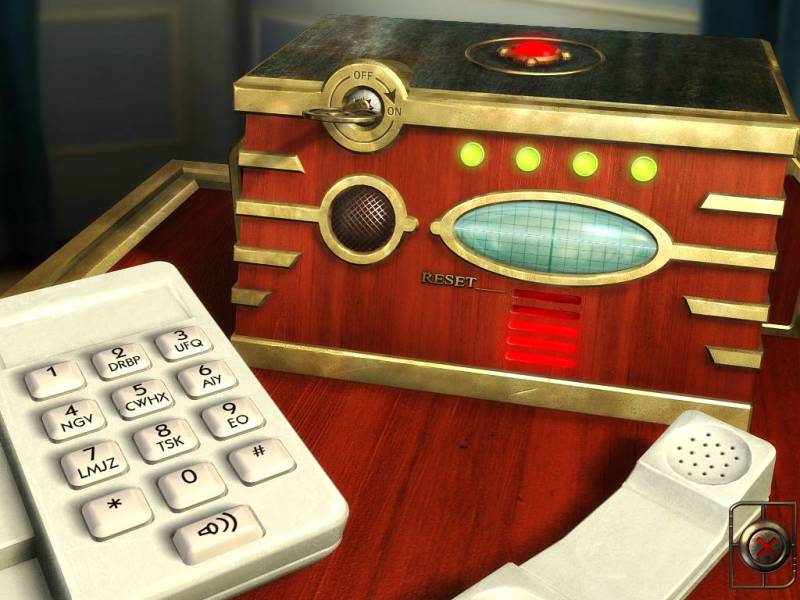
you'll eventually figure it out and solve this puzzle.
With that, we get a chip card, a letter from Margaret and a message from DWA himself:
"Ha ha! Well spotted! That wasn't easy!"
I really wish I knew what exactly he was talking about there, because that last one was rather easy, all things considered. Then, let's take a look at that letter:

Not seeing how that's relevant right now, but I'm sure it'll come in handy some time. Moving on, we can now go back to the last safe and solve another puzzle:
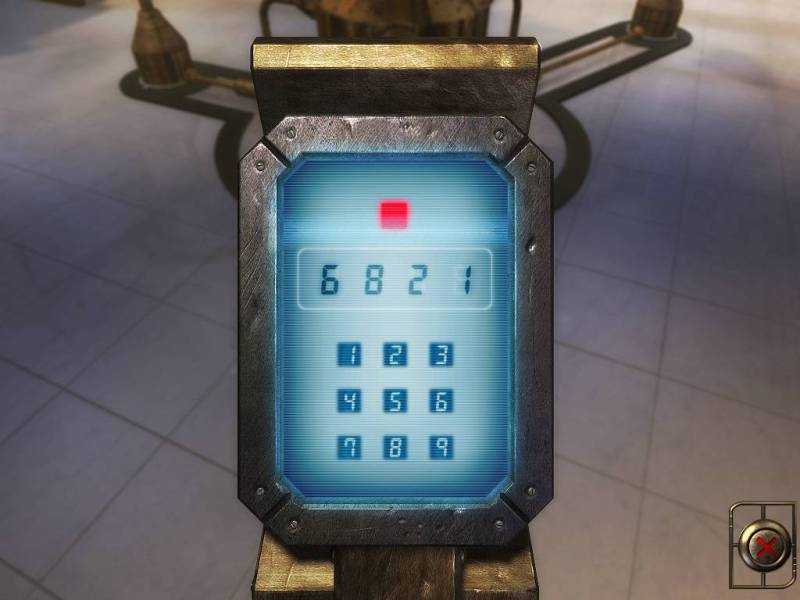
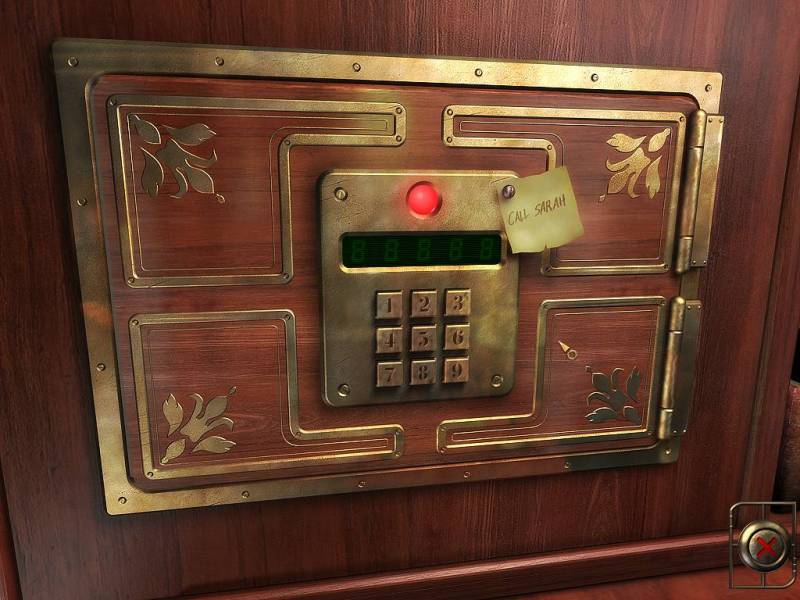
Puzzle #21: Sarah's Safe
The hint told us to "call Sarah", and that's exactly what we'll do. Cross-matching the numbers on the phone we just saw with the letters of "Sarah" gives us the combination 8-6-2-6-5.

And with that, we get a steering wheel and another message from DWA.
"Nice one! I didn't think you'd manage!
Lying prick. You wouldn't have put anything in there if you didn't think I'd manage. And in fact, if you wanted your will to be found, why would you hide it in such a way that you believe somebody wouldn't manage? Doesn't make much sense to me. Leaving that lapse in logic aside, there's another safe in this room that requires our attention:
Puzzle #22: The Broken Display Safe
Looks like there's something missing in this one, so let's pop that display we found earlier in there...
Much better. That display shows us the solution, but not the entire picture. However, the safe has these four bars, and when some of them open and then close again, that means you have the right numbers, just not the exact position yet. So you punch in 1111, 2222, etc. and find out the four numbers are 6, 7, 8 and 9, you cross-match those with the broken display and...
...presto, the safe is open!
This one gives us a triple key. Time will tell where that one goes, but for now, we've got another puzzle we saw a long time ago to solve. To the workshop!
Puzzle #23: What's In A Name

First things first, we shove the key card we got earlier in the slot so we can actually operate the dials.
Now, we need to figure out the combination, and it's rather easy if you simply analyze which clues we still have left over. The letter from Margaret stands out - so which six-letter word in there is important? Hm, let's try entering the letters in "Walter"...

Jackpot.

And with that, the safe opens up to reveal a whole new room! That's an interesting twist on the whole thing, I have to say. Onward, into...
Room #31: The Boudoir
Spiffy looking room with an obvious puzzle ahead, but first, there's a letter on the table in front of us, so let's read that one:
"Dear sir,
Our foundation thanks you for your generous donation. This amount will increase our potential for action considerably. Your contribution will, as you request, remain confidential.
Thank you again."
So I guess what we're supposed to be taking away from that is that DWA was a philanthropist, as so many rich old farts with nothing to do tend to turn out to be when they don't go insane and stick a billion into their own crazy ideas. Anyway, puzzle time!
Puzzle #24: Princess In A Box / Maiden's Escape
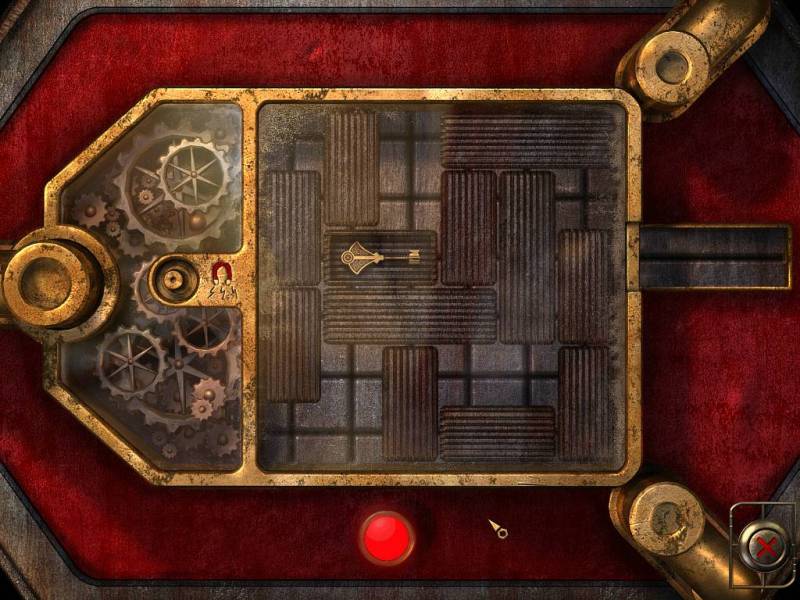
Oh boy. Oh boy. Did you ever play Professor Layton and think that those block moving puzzles weren't obnoxious enough? Well, Safecracker 2 brings you the true horror!
The basic principle goes as follows - you use a magnet to move these boxes around until you can maneuver the box containing the key into the small part not covered by the glass. However, while you could move the boxes all over the place in Layton, here the boxes are either vertically or horizontally locked depending on their orientation, so you're even more confined than usual.
I have nothing for this one. The walkthrough I read just says that you have to fumble your way through this one, and I can't really give more help either. I mean, I could make a step-by-step-guide, but fuck that noise, this puzzle doesn't deserve that kind of effort. And yes, this is my least favorite puzzle in the game. Fuck this one.

After fucking about with this for five to ten minutes, we finally get the triple key. With that done, we've got one thing in particular that we still need to deal with...

...this door in the upper floor hallway. Now that we inserted the steering wheel into the small hole, we can solve the puzzle and make our way into what must surely be DWA's inner sanctum!
But that will have to wait until next time.