Part 1: Because You've Got To Start Somewhere
The title screen doesn't have anything interesting in particular, so let's get this show on the road:
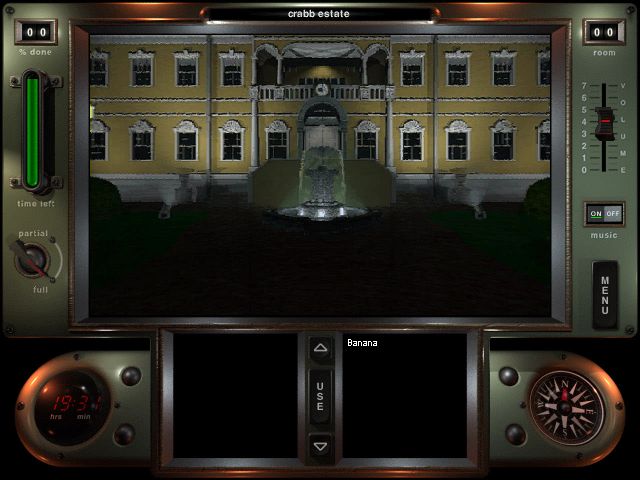
Room #00: Outdoors
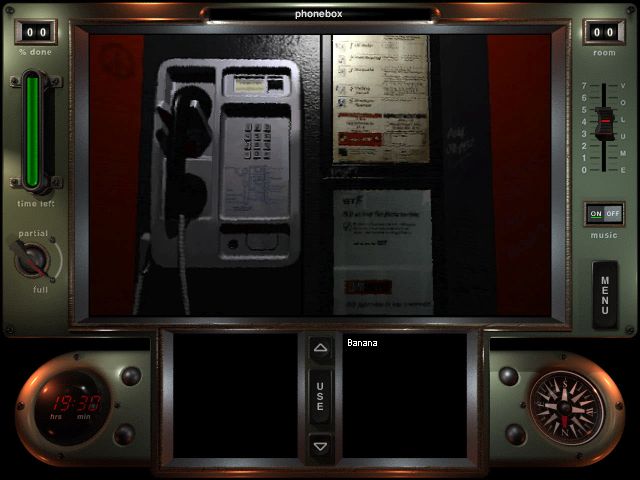
We find ourselves in a phone booth, and the phone is ringing, so let's pick it up:
Listen to the call here.
"Hello, it's Crabb here. You've made it - good. Now, don't say anything, just listen: There's a patrol due in around ten minutes, so you must try and get into the house before then. Go to the gate and open it, then make your way up the drive to the front door. To the left of the door is a security panel. Follow the instructions, and then enter this code: Nineteen, twenty-three. One, nine, two, three. Once inside, you're on your own. Good luck - oh, and remember: Keep your eyes open at all times."
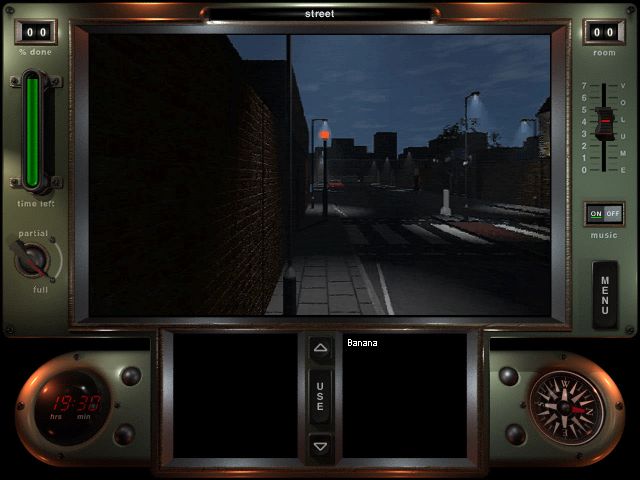
Looks like we've got our orders and a time limit to boot, so let's get going. We exit the phone booth and find ourselves in the street.
Listen to the BGM for the outdoor areas here. Yeah, all pieces of music are really short loops, but I'll post them regardless, because I honestly like a lot of the tunes. This one's OK - we're not going to spend a lot of time here, anyway, so it's not going to be around for a long time. We walk across the street and make our way to the gates of the Crabb estates.
And this is where we're stopped by our first puzzle:

Puzzle #1 - Crabb Estates Gate
This one's really simple, but at the same time it's kind of tricky because you're not given any clues on how to solve this. I believe I brute-forced this my first time around and just remembered the solution for the future. To open this lock, simply set the combination to the symbols related to music - the treble clef, the notes, and the bass clef.
Solving the first puzzle. I'll be posting a solution video for every puzzle, mostly for the sake of posterity. This opens the gate, and we make our way into the estates proper.
Swanky looking place. I'd certainly want to make this my new workplace. We move up to the entrance and spot the security panel to the left.
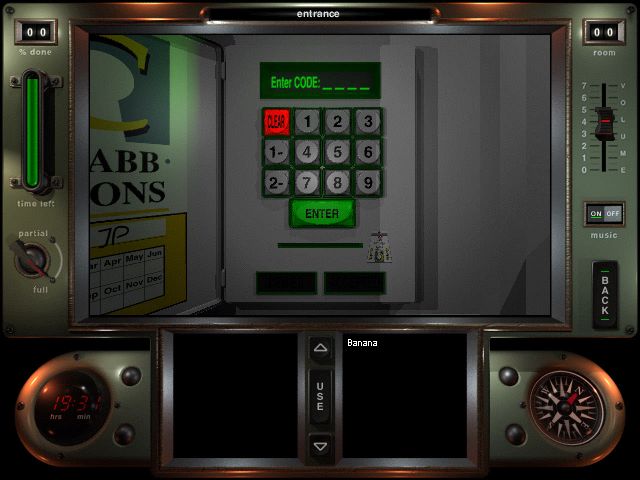
"Puzzle" #2 - Crabb Estates Entrance
Do I even need to say anything?
Just in case somebody wants to see this in motion.
With that we can open the doors to reveal...
...another set of doors. However, behind this set of doors we find the reception.
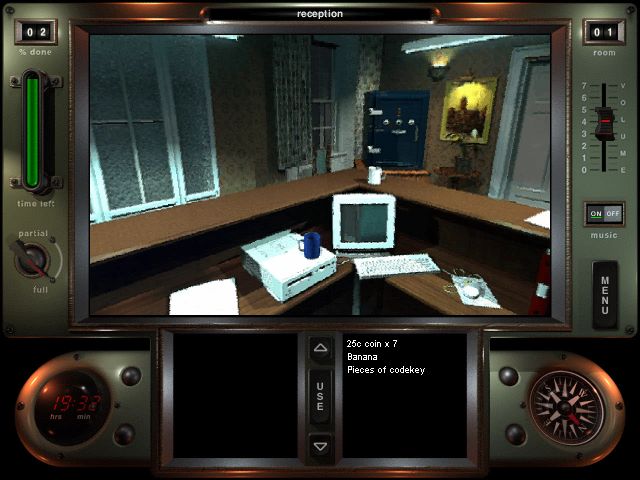
Room #01: The Reception

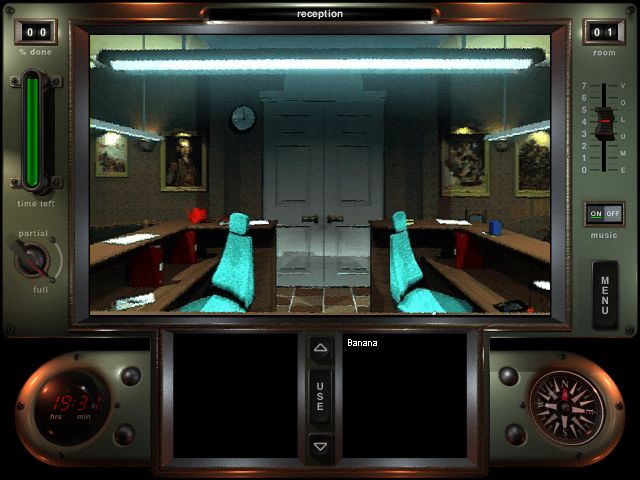
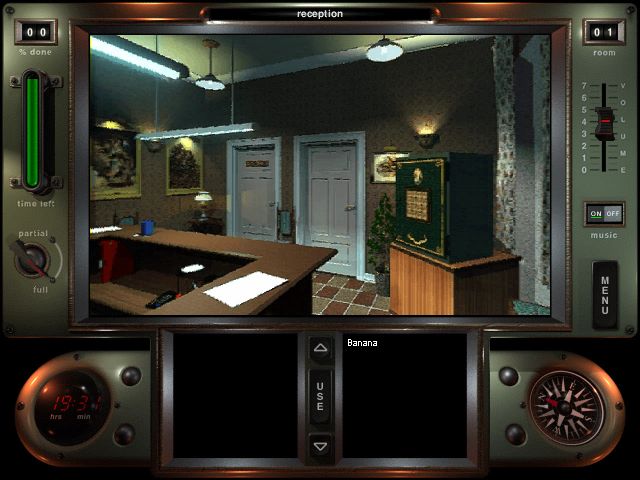
Nice looking place. It's got a smooth little tune as well. Anyway, there's two safes in clear sight, so let's check those out, beginning with the one on the left.
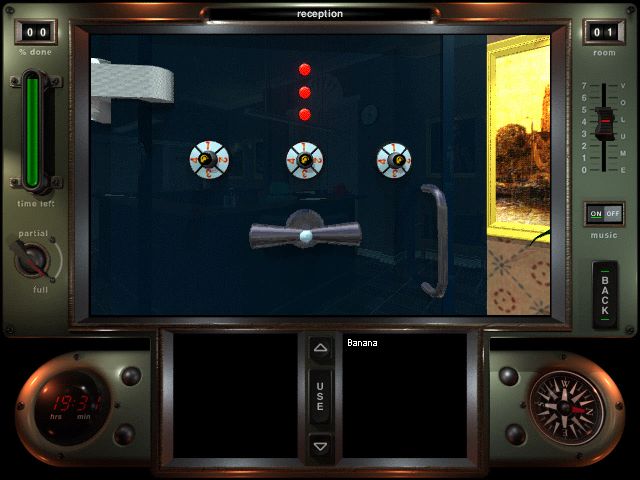
Puzzle #3 - Reception Combination Safe
This is one of the more bizarre safe concepts in this game, because it's incredibly counterproductive. Essentially, it works as follows: You've got a combination entered. When you turn the handle, the three lights at the top tell you if a certain dial is in the wrong position (off), close to the right position (flashing) or in the right position (lit). From then on, it's simply a matter of trying different combinations until you find the correct one: 3-1-4.
And here's the video. Safe cracked in less than ten seconds - really doesn't paint a good picture for old Crabb. However, this does make sense, both from an outside viewpoint (because the game obviously can't throw you right into the deep end, it has to start you off with some simpler puzzles) and from an inside viewpoint (old Crabb obviously has to have some safes you can open even without outside knowledge to get you started with some items you can then use on other safes and figure out solutions with).
With that, the safe opens and we get the first spoils of the game:
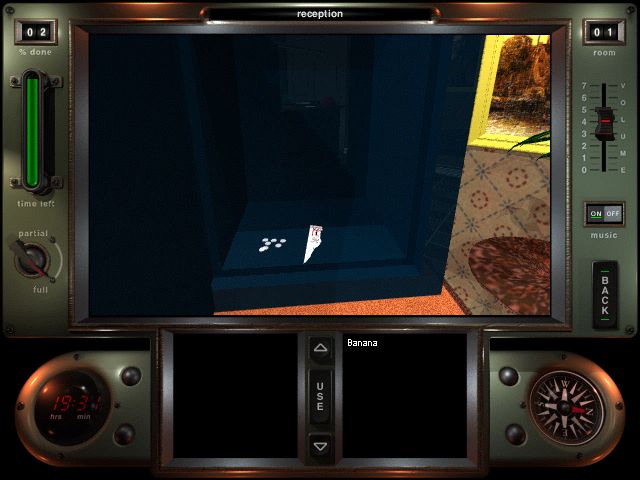
Some coins and a piece of paper. Not exactly a treasure haul. The coins are in fact seven US quarters, and the piece of paper comes into our inventory as a piece of a codekey. Let's take a closer look at that piece of paper:
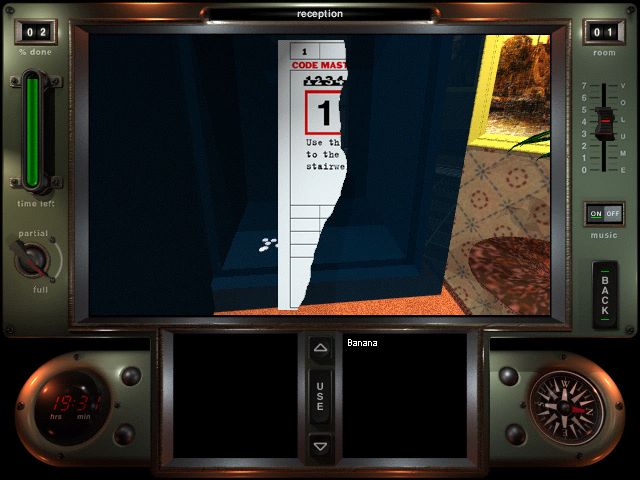
Well, not all too helpful so far. I guess we'll have to wait until we find a few more pieces to clear up just what this is a combination to. With that done, let's walk around the office a bit.
Oh, hey, a computer! And I can interact with it!
Marvel at my incompetence. Or more the fact that I couldn't be arsed to really play this for a prolonged period of time.
Well, that was interesting. Anyway, there was a second safe on the right side, so let's check that one out:
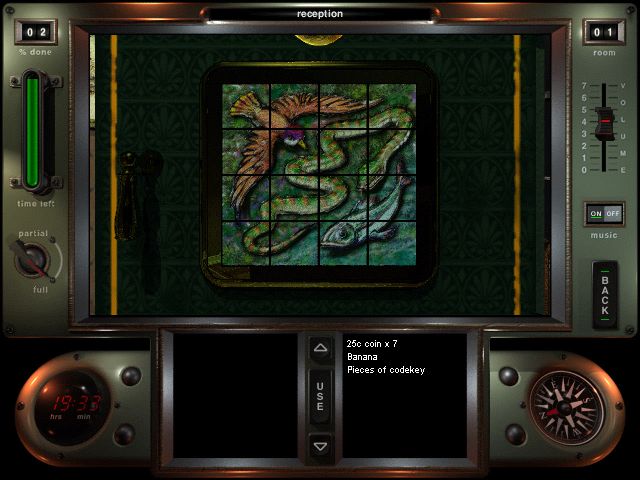
Puzzle #4 - The Darwin Safe
Oh boy, this one. I hate this safe. Why? Because...
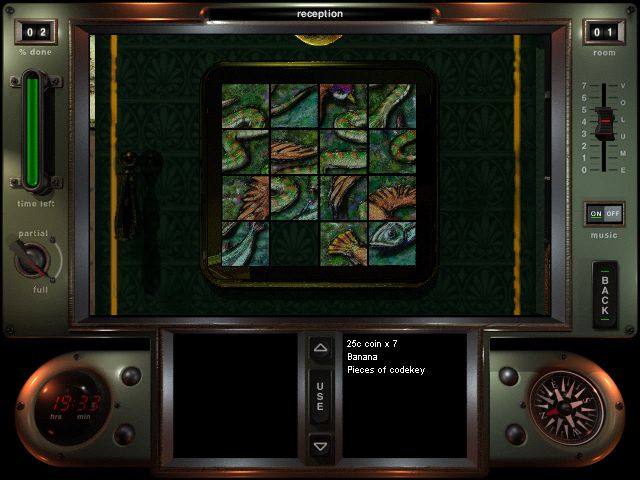
...it's a slider puzzle. I really suck at slider puzzles. It's randomized, to boot, so I couldn't even follow a guide. Thankfully, the developers apparently realized that a lot of people hate slider puzzles and put in a cheat. Simply hold ALT and click the handle, and presto - the safe is opened. This only works for this safe in particular.
At first I thought about actually doing this the hard way, but realized that would be incredibly boring because it'd probably take an eternity. With that done, we have the contents of this safe:
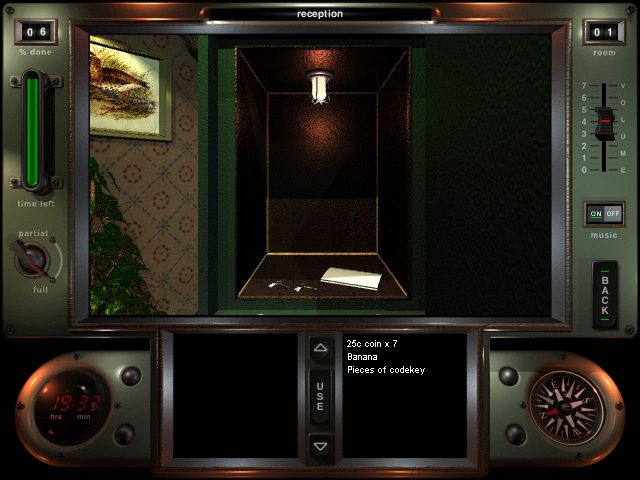
Two keys and a piece of paper. Moving up in the world! We get the key (room 06), the key (room 27) and a photo with code. Let's take a closer look at that photo:
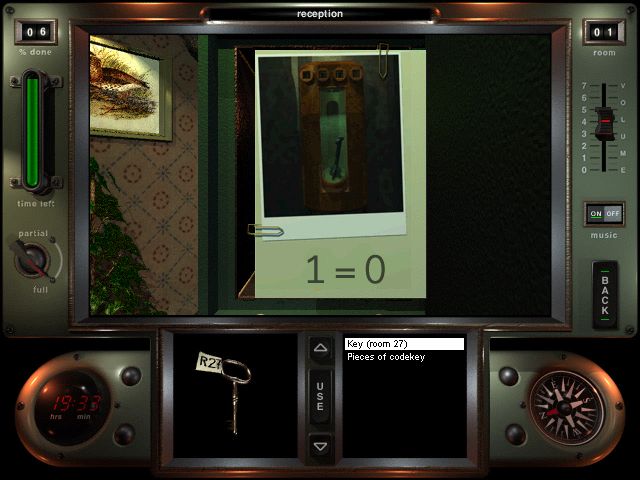
So apparently there's going to be a safe of sorts holding this weird object. I suppose the four little boxes are going to be the combination lock, so we've still got three of these to find.
You can also go into the bathrooms, but there's no reason to - except if you like flushing sounds, I guess. That'll be it for the reception, and that'll be it for this update. Next time, we'll start exploring the Crabb mansion and will be seeing some quite interesting stuff.
Here's an uncut video of the events that made up this update, from the phone call onwards. Give it a watch to see a bit better how the movement engine looks - I can't describe it that well, so it's best to just see it in action.