Part 8: Safecracker: Endgame
Last time, we screwed around in a cellar a whole bunch and then unlocked a jukebox. This time around, let's see if we can't finish this game. Since we already explored the terrain, this will just mostly be a succession of puzzles until we make it to the new part.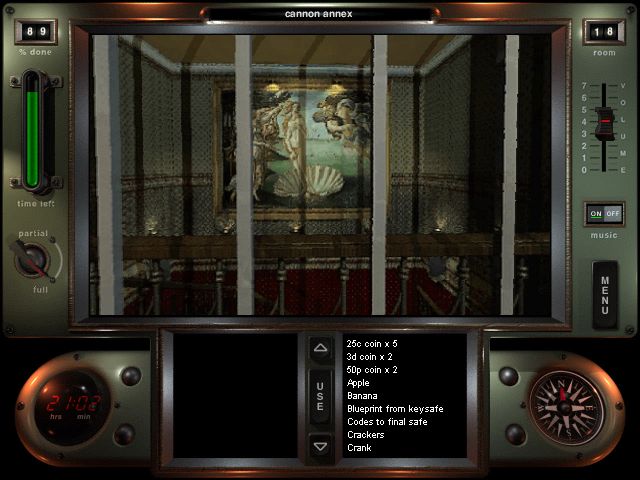
On the way to the first safe, take note of this painting. Looks familiar, doesn't it? Anyway, moving on...

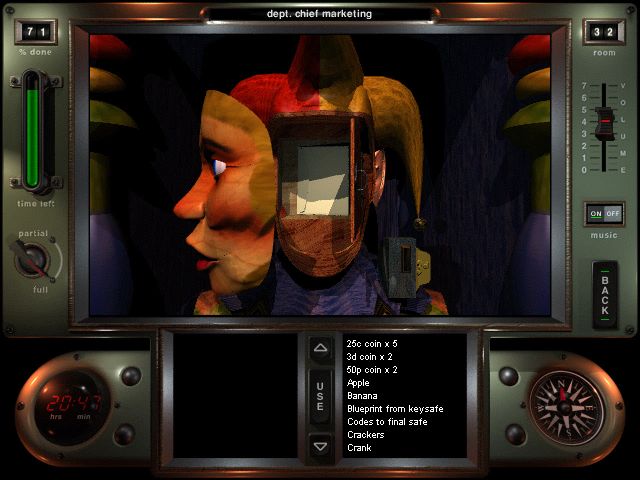
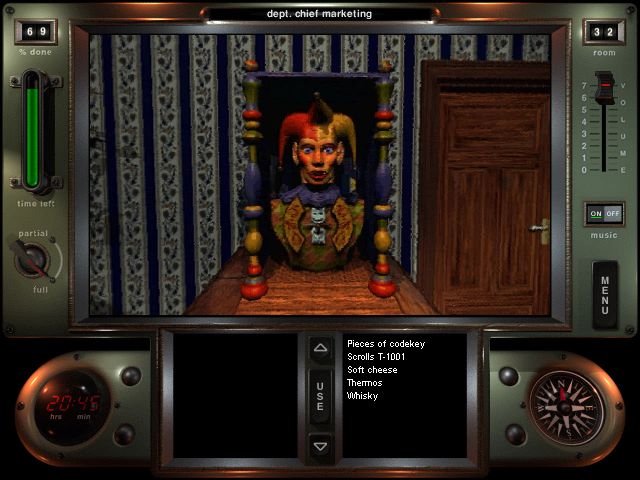
Puzzle #25: The Jester Safe
Oh boy. This one's probably the trickiest safe in the entire game, and probably the most interesting one to figure out. First, you stick one of your 3d coins in there, the jester laughs at you, starts freaking out and eventually settles down with his eyes to the left, his tongue sticking out and his ears flipped to the side. From there, you can click the apple, the banana or the pear to change some of his facial features, with the goal being the original state.
There's a bit of a caveat in that you can't make a large jump (left apple -> left pear), which complicates matter a bit. Through experimentation, we eventually figure out this:
Apple: Ears change, tongue stays, eyes one right
Banana: Ears change, tongue changes, eyes stay
Pear: Ears stay, tongue changes, eyes one left
From there, a bit of thinking leads us to one of many solutions:
Setup: Ears up, tongue out, eyes left
Step 1: Ears in, tongue out, eyes straight (apple)
Step 2: Ears out, tongue in, eyes straight (banana)
Step 3: Ears in, tongue in, eyes right (apple)
Step 4: Ears out, tongue out, eyes right (banana)
Step 5: Ears in, tongue out, eyes left (apple)
Step 6: Ears out, tongue in, eyes left (banana)
Step 7: Ears in, tongue in, eyes straight (apple)
For extra fun, try figuring out the optimal solution (smallest number of moves)! With that done, the safe reveals its secrets...
...another part of the codes to the final safe. Useful. Here's the video. NEXT!
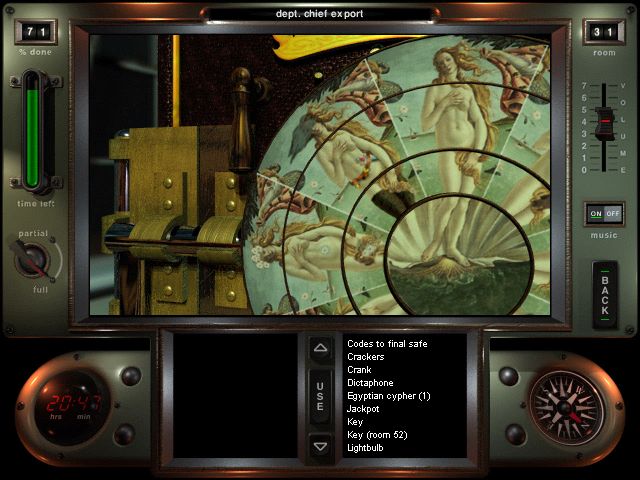
Puzzle #26: The Safe of Venus
True story: I couldn't remember what the painting was called, so I uploaded the picture of the solution into Google Image Search and it recognized it. Anyway, we're looking to replicate the Venus from the Birth of Venus painting. As I previously showed, it's hanging in the stairwell for reference.
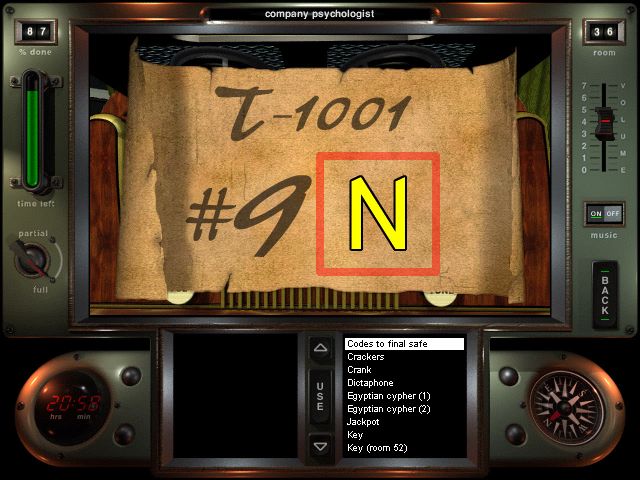
With that done, the safe opens, and we gain...
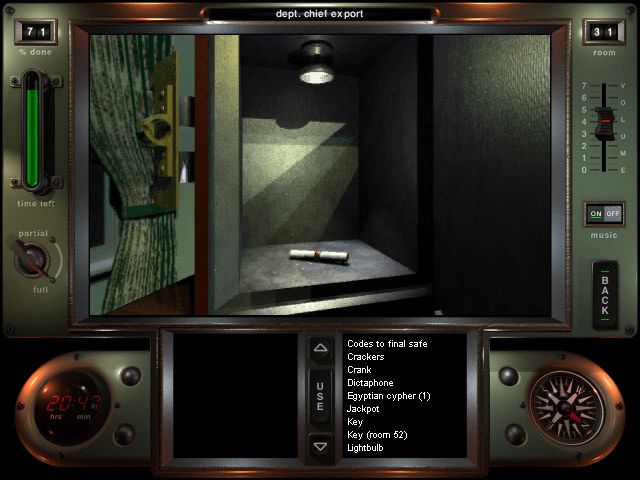
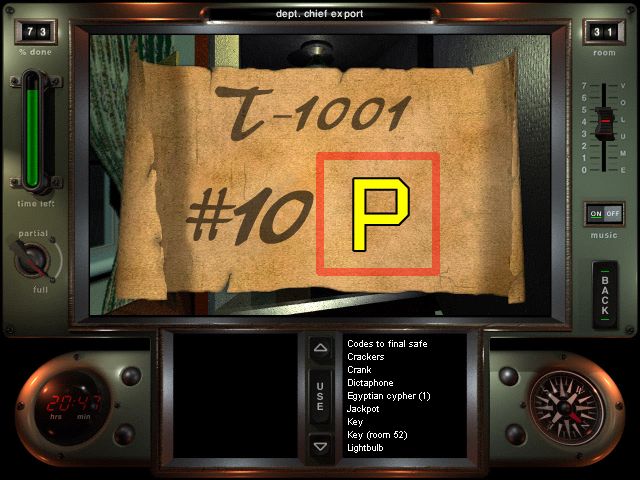
...a T-1001 scroll. Given that this is the endgame, it's not going to get much more exciting than this. And the whole thing in video form. Moving on!
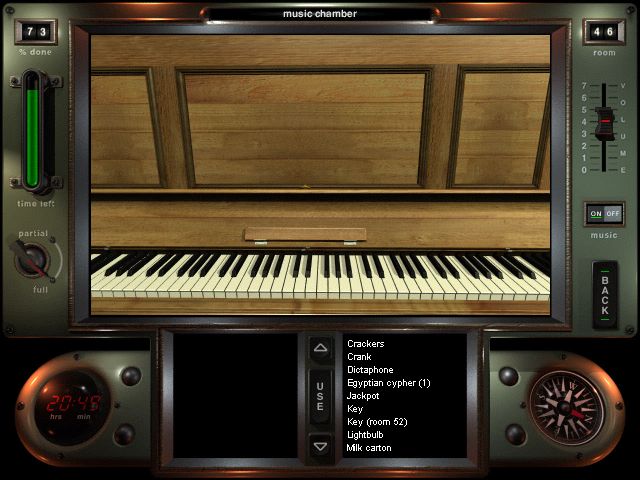
Puzzle #27: The Piano Safe
Just play "Twinkle, Twinkle, Little Star" and it opens. I suck at this kind of stuff, so I can't explain much. Refer to this video for evidence of my ineptitude. That over with, we get...
... a code to the final safe and an Egyptian cypher (3). Speaking of Egypt...
(image reusing ahoy!)
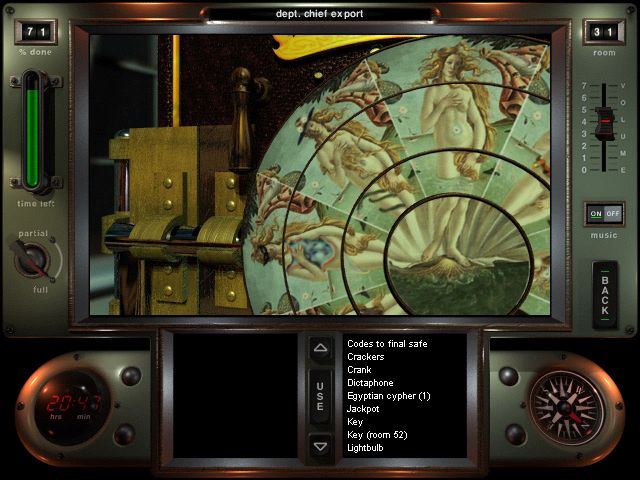
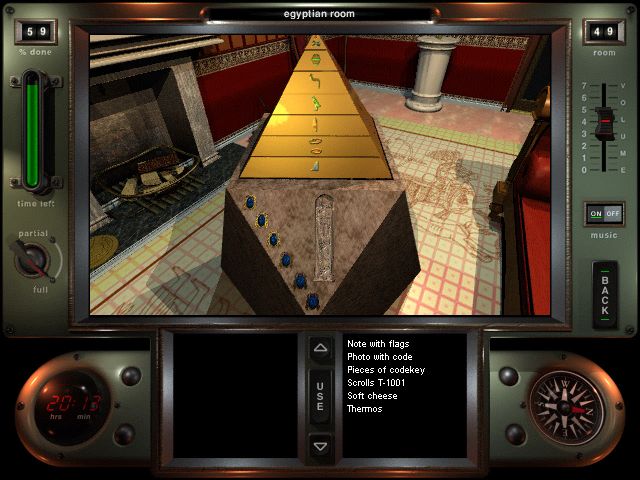
Puzzle #28: The Pyramid Safe
This one's fairly simple - we just shove our new cypher into the slot, it fits (unlike the other one we already had), the pyramid starts spinning...
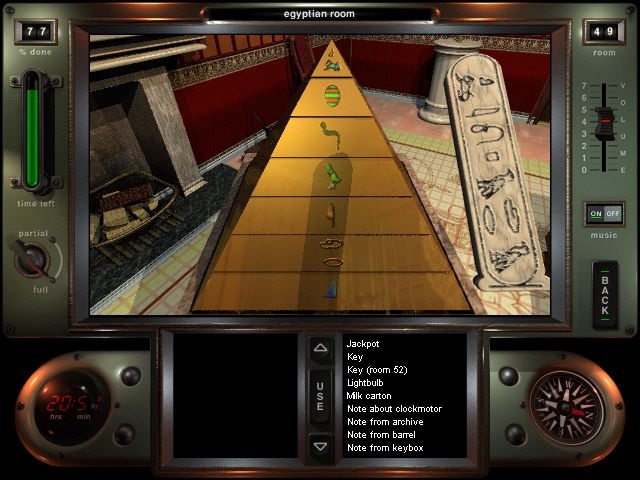
...and now we simply have to change the pictures on the dials to the ones on the cypher. Easy-peasy. And with that done...

...we get a code to the final safe and a photo with a code. Neat. Solution in motion. NEXT!

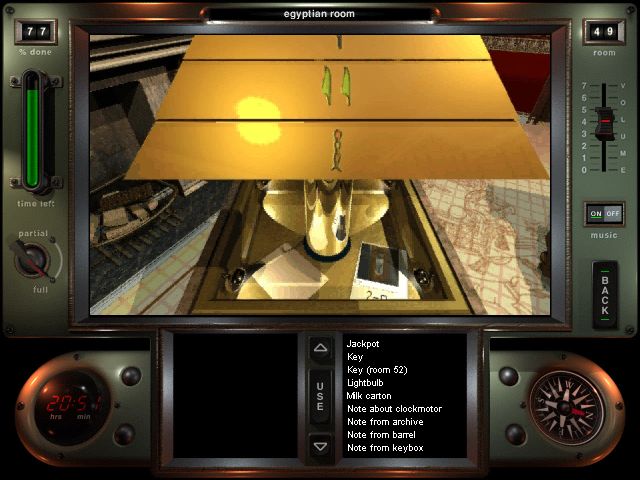
Puzzle #29: The Grandfather Clock
Refer to the clue we found back in the security office's lockbox. We move the clock hand from 12 to 3, from 3 to 7, from 7 to 1, and the compartment opens, revealing...
...an (entirely useless) Egyptian cypher (2) and a (not at all useless) code to the final safe. Movie. NEXT!
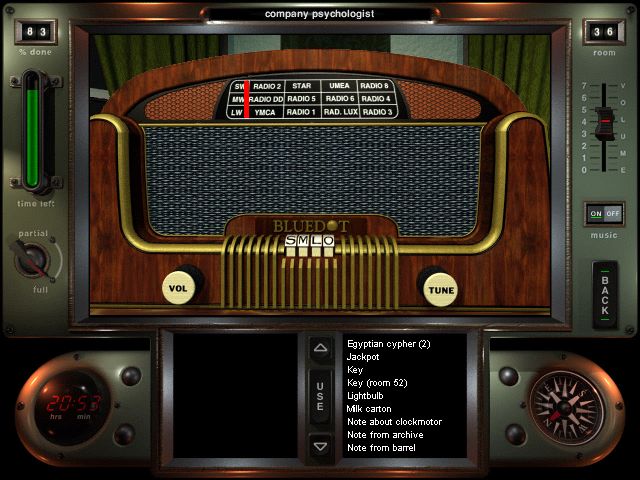
Puzzle #30: The Radio
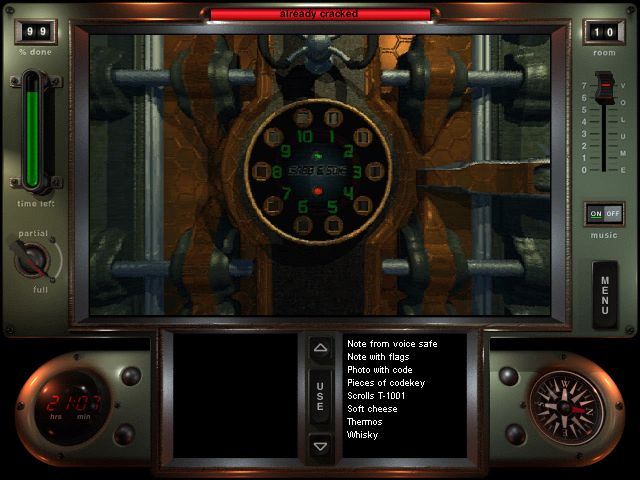
Refer to the clue we found back in the voice safe. We hit the L button, set the station to Radio 1, hit the S button, set the station to Radio 4, hit the M button, set the station to Radio STAR, hit the S button, set the station to Radio Luxemburg, and finally hit the O button to open the compartment, which contains...
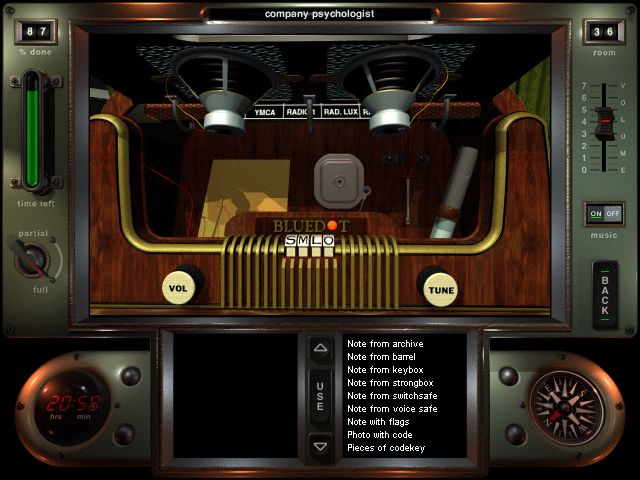
...both a T-1001 scroll AND a code to the final safe! Double the booty, and with that, we have ALL the codes to the final safe! See the solution here. Anyway, NEXT!
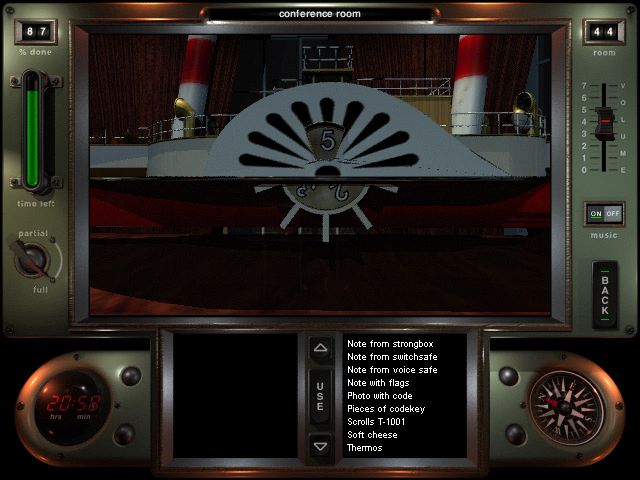
Puzzle #31: The Steamboat Safe
Using the book we found in the coffee room (or alternatively the note we found in the department chief of marketing's office), we can translate the flags hanging on the boat, which leads to the following:
RIGHT TWO
LEFT FOUR
RIGHT TWO
LEFT FIVE
Using the same method as with the braille safe, we enter that combination, and the safe opens!
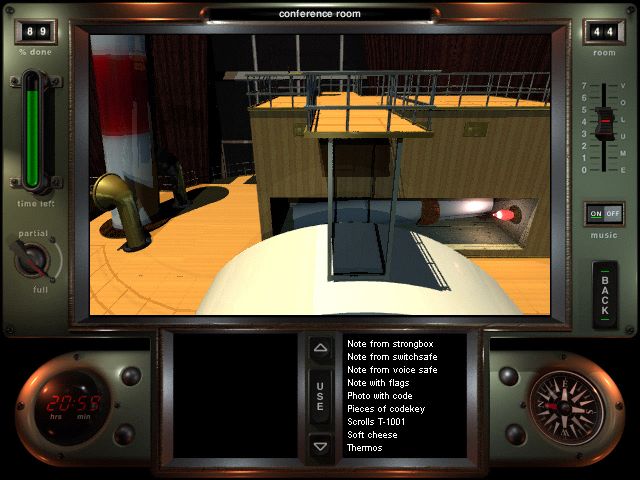

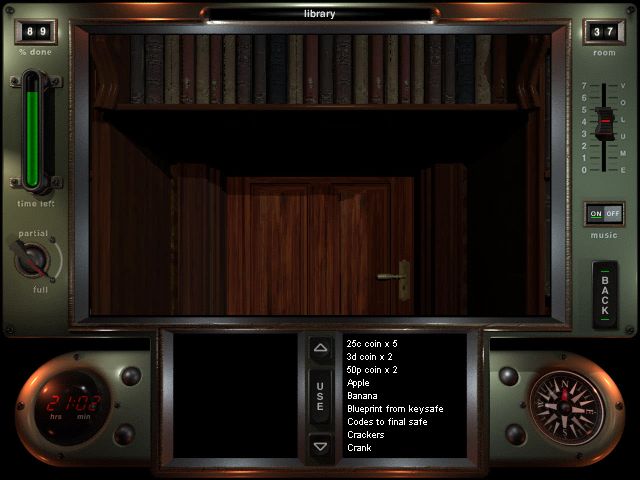
Another T-1001 scroll, and with that, we have ALL the T-1001 scrolls! Another video! How exciting. Now, remember when I fell down that hole into the cellar? Remember what I said about some secret switch revealing Crabb's inner sanctum?
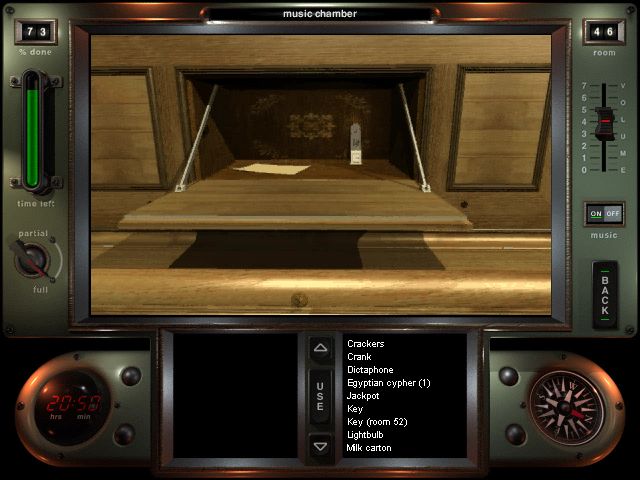
I wasn't just pulling that out of my ass. Flip down these suspiciously metallic looking books...
...to reveal a switch...
...that reveals a door...
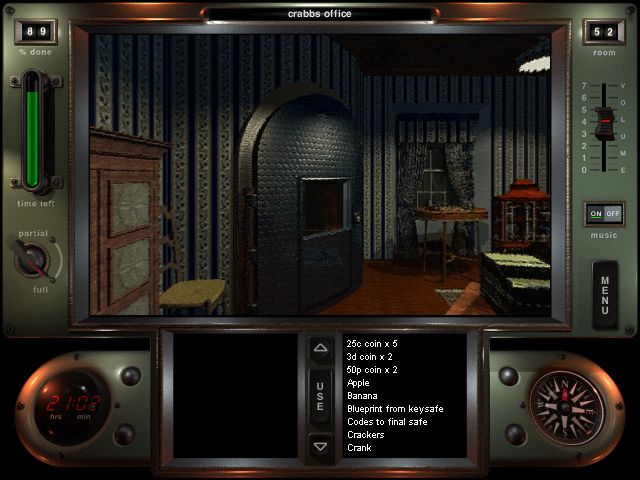
...leading to Crabb's inner sanctum! And just look at that beauty of a safe! IT MUST BE CRACKED!
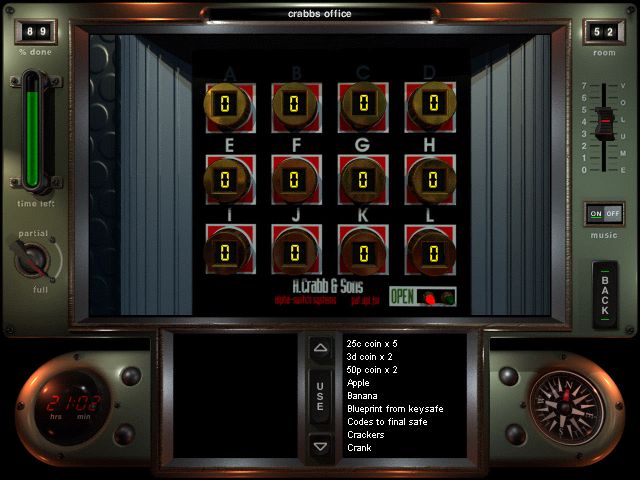
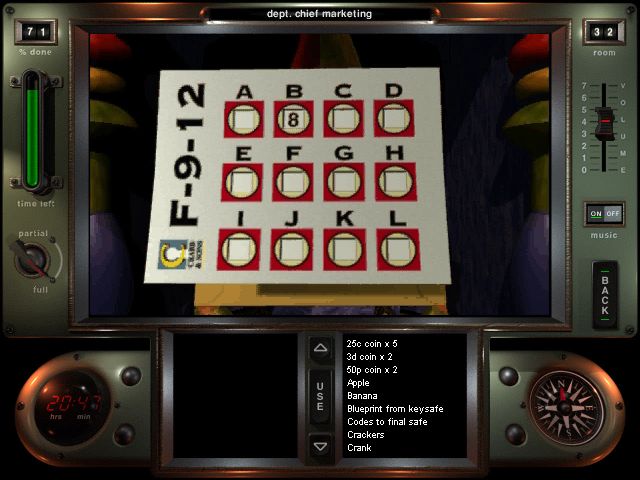
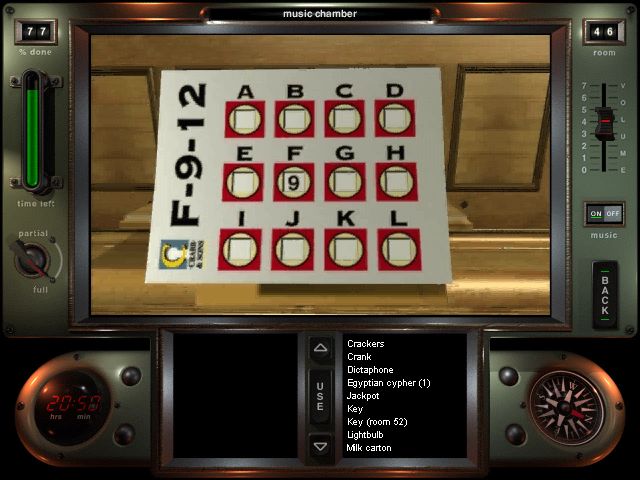
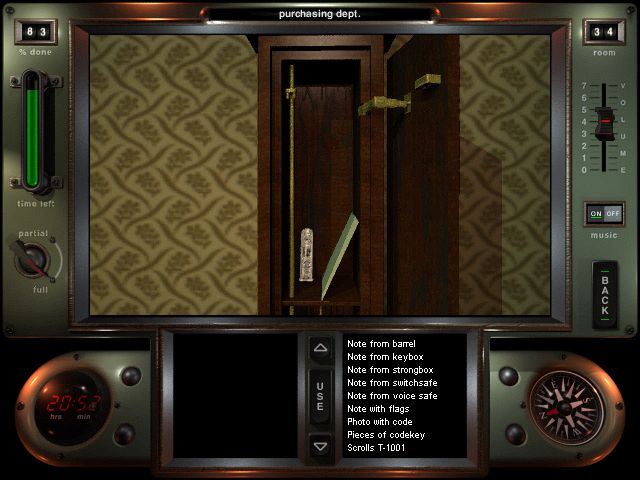
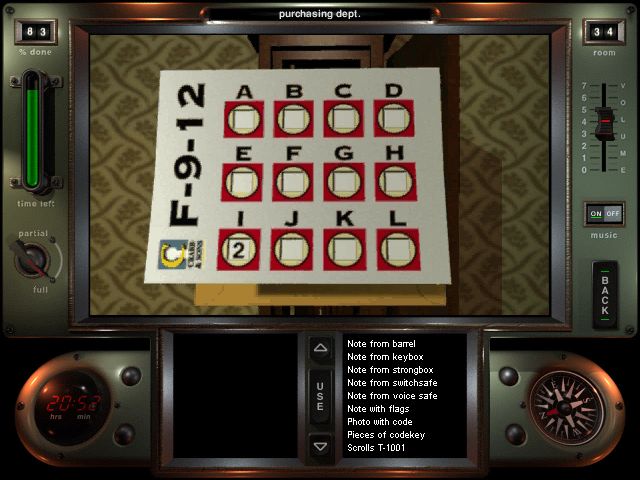
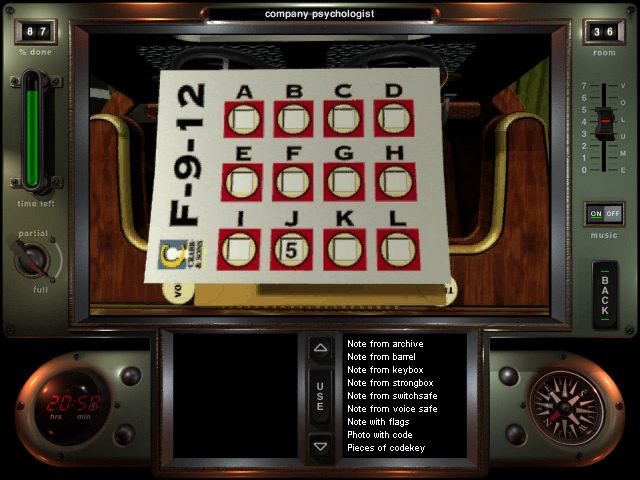
Puzzle #32: The F-9-12
Sadly enough, the two major safes aren't puzzles at all, just punching in the codes we've been collecting over the course of this game. Kind of an anticlimax, but what can you do?
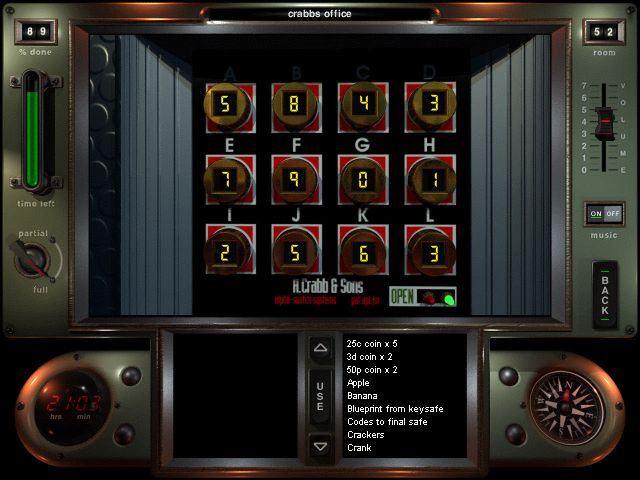
We punch in the correct code, and the massive door swings open, revealing...

...a chess piece? Now what are we going to do with a chess piece? Third to last safe video!

Hmm...
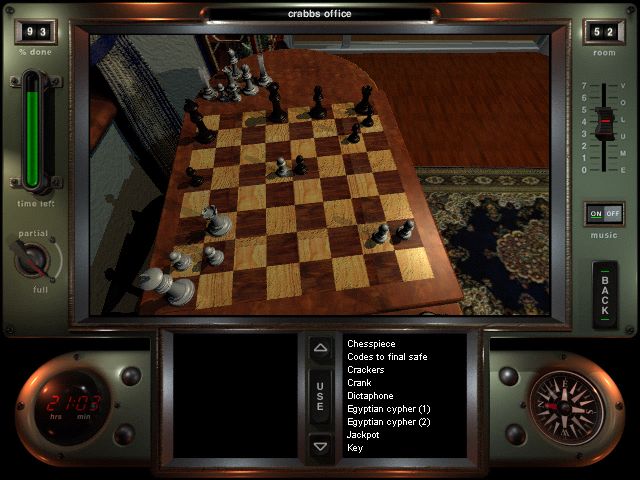
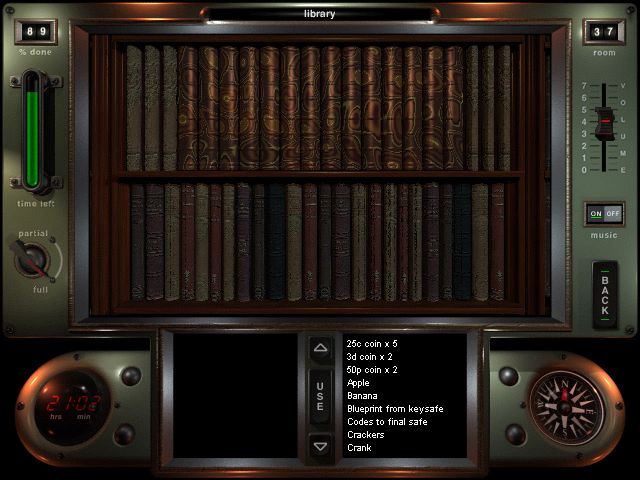
Welcome to the final true puzzle of the game, the chess board. Oddly enough, the game doesn't count it as a puzzle, probably because it doesn't actually give you any items. We have to place our chess piece (a white queen) somewhere on this board. And this could have been a great puzzle, but they made it too easy. Recognize that position? You could. Think it over for a bit. If you said "the chess book in the library", you're right! It's Kolisch vs. Anderssen, except with the colors reversed. Having that as your only clue would have been fitting for this final puzzle, but they screwed it up. Remember the note from the barrel safe I said I was going to show when it's relevant?

Yeah. It pretty much spells out what you need to do, and this clue is much easier to find, since it's pretty obvious if you just explore the cellar a bit as compared to some random book in the library. Oh well.
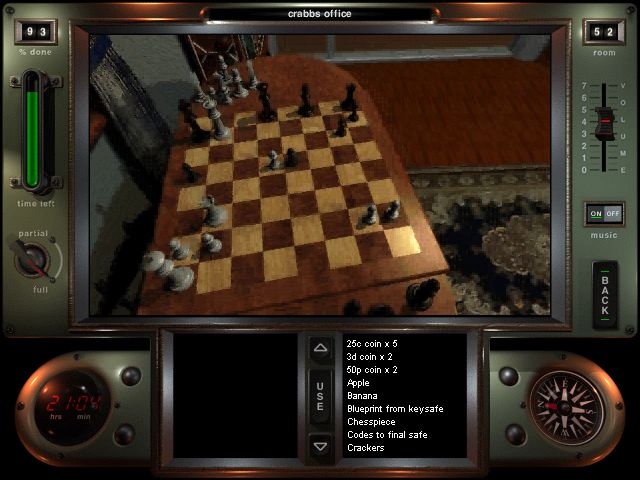
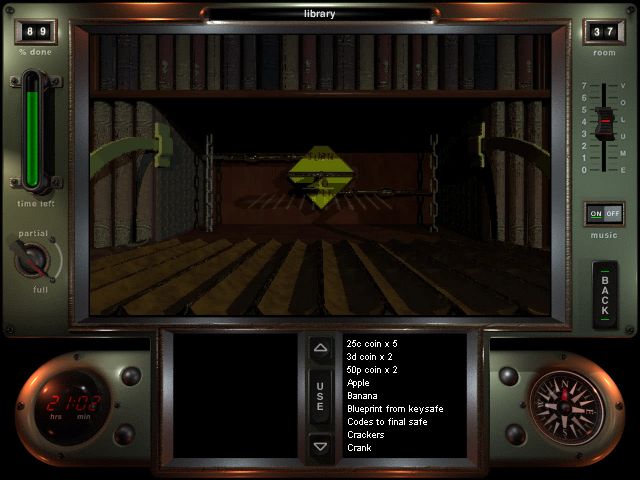
We place the queen in the right spot...
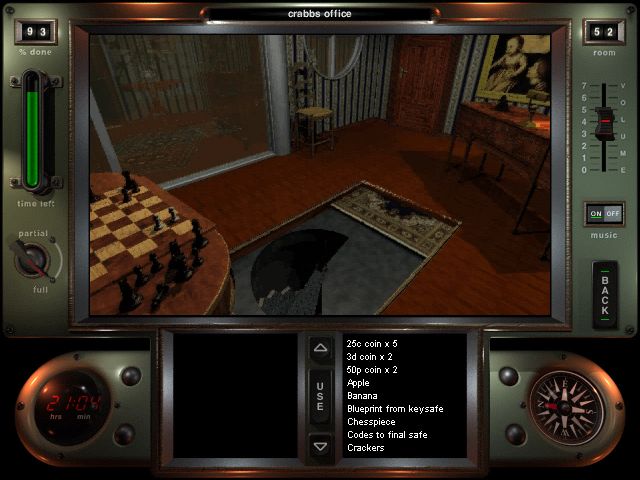
...and a stair set opens up, leading us to the final room...
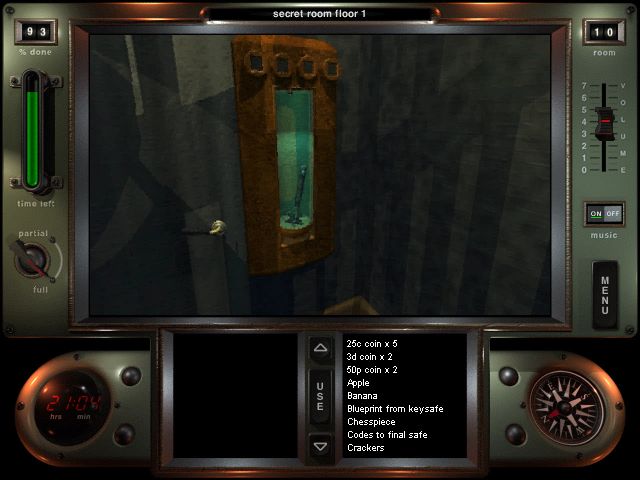
Room #10: Secret Room Floor 1 (not sure why it says "floor 1", there is no other secret room, so there's no need to distinguish)
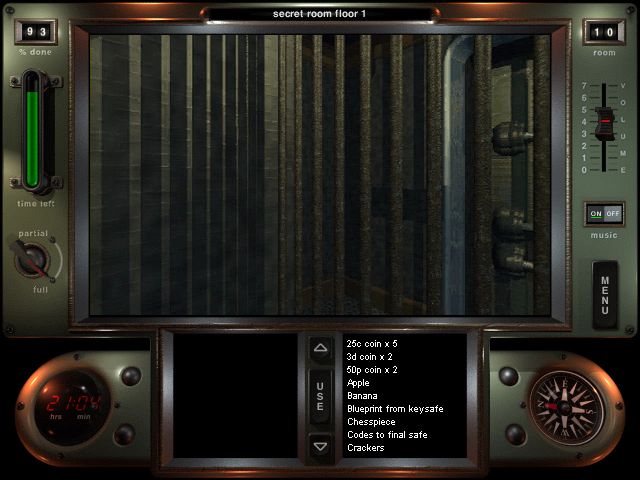
And one trippy tune to play us out.
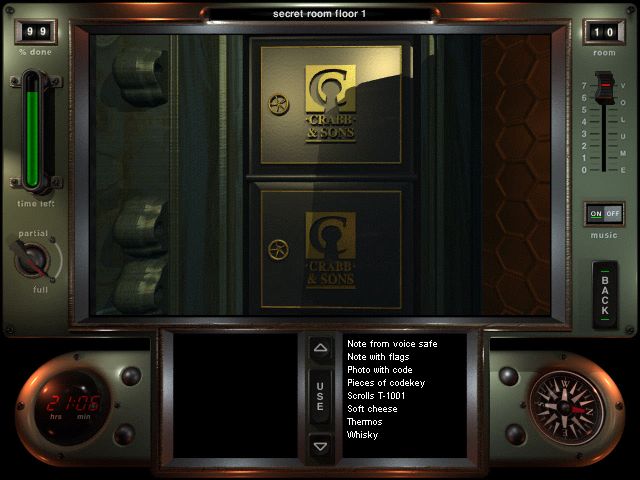
Welcome to the final room of the game! The T-1001 is to the right, but the gate is locked.
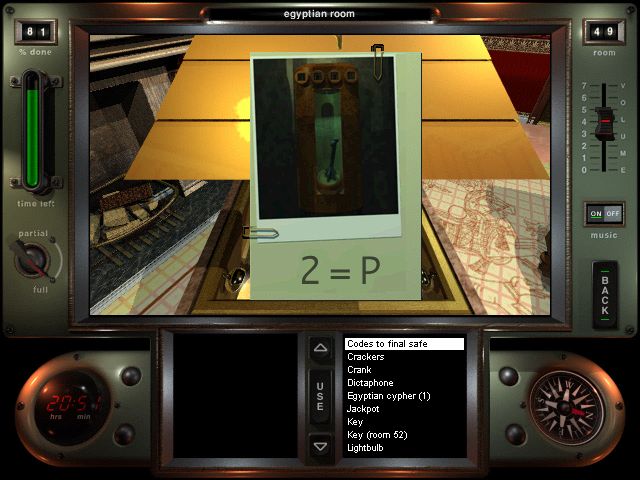
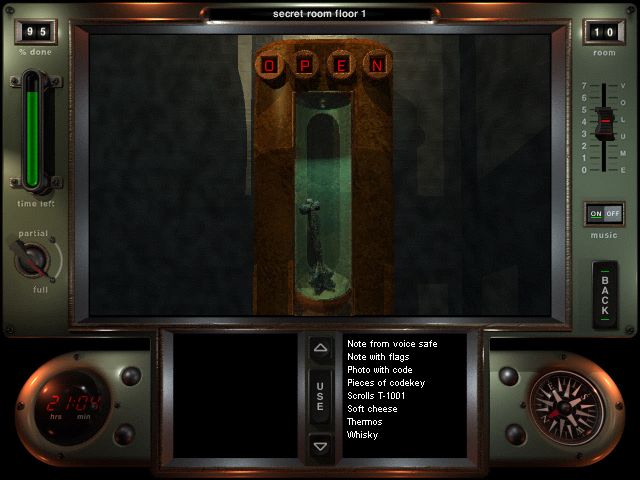
Puzzle #33: The Key Dispenser
And this looks like the key we need! Now, this safe is kind of weird. I only found three pieces of this code, 1-O, 2-P, and 4-N, with the third part missing. Now, I remember finding a fourth piece back when I was younger, which was 3-Q. However, the actual combination for this is O-P-E-N. However however, you can enter O-P-Q-N, and it'll work just the same, with the third letter changing to E when the safe opens. It's all very weird.
Second to last safe video! Anyway, we grab the dispenser key...
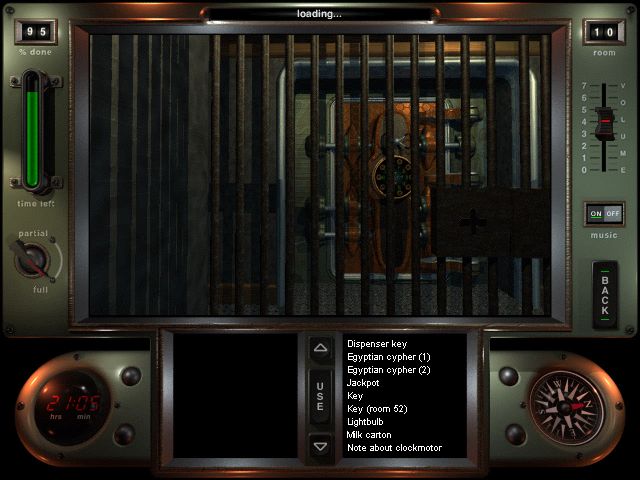
...open this door...
...and take a breather. This is it, the big one.

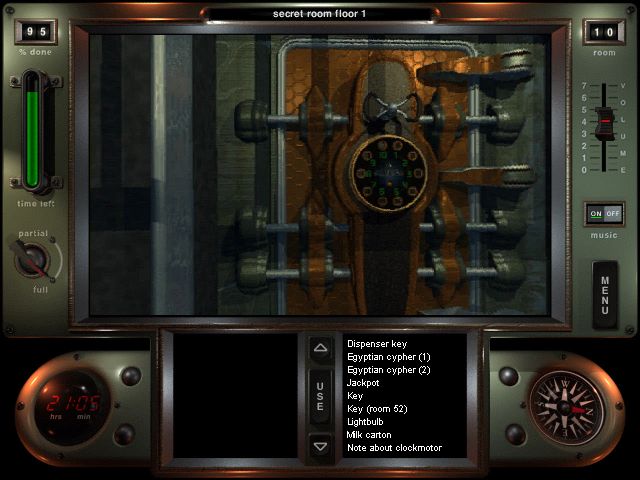
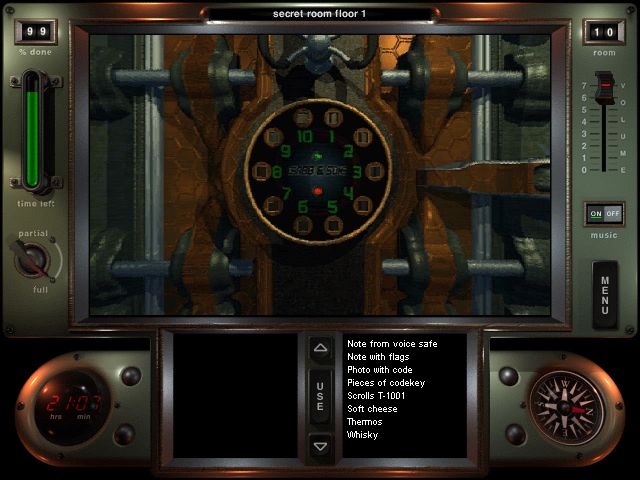
Final Puzzle, #34: The T-1001, The Most Powerful Crabb Safe In The World
I'm not making that part up, by the way. When you approach the safe, a computerized voice says "Welcome to the T-1001, the most powerful Crabb safe in the world. Now, the question is: Do you feel lucky?"

However, we don't need any luck, we have all the combination pieces and can easily enter it all. "It seems you are lucky... punk.", the voice says. How insulting. Check this video out for the voiceover and solution.
Two doors. We open both, and we find...
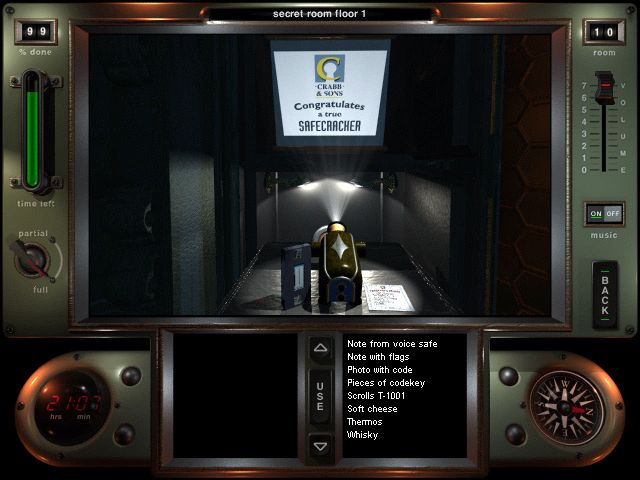
...a projector that confirms it - we're done! We are a true SAFECRACKER! Let's check out that document:
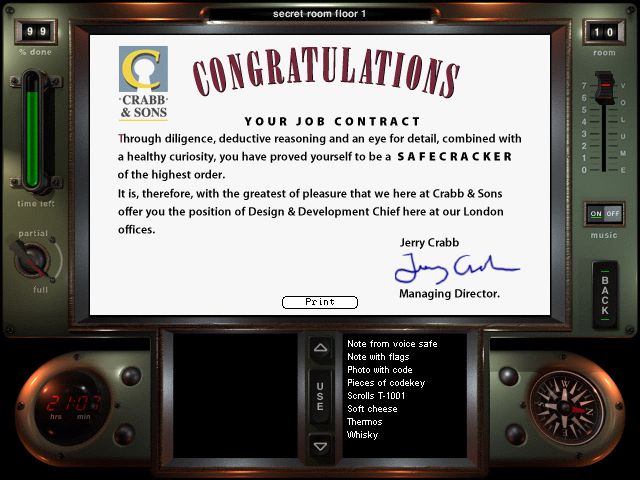
Wonderful! We've now reached our goal - we are officially hired by Crabb and Sons! Hooray for us!
...wait, what the fuck? ...oh, shit.
Oh, shit! OH, FUCK! WHAT DID I DO? Where's my last saved game at?
FUCK FUCK FUCK. "Wait, what just happened?", I can hear you ask already. What just happened? I fell into the most vicious trap this game has laid out, and it's not even intentional!
Let's take a step back, and analyze just how this game is set up. This game is heavily based on Quicktime technology and videos. Most importantly, when you open a safe - that's a Quicktime video. Because the safe opening will always show all the items in the safe, even if you already took them, the game does not allow you to open a safe you already cracked. ERGO: If you leave an item in a safe and back out, THAT ITEM IS GONE. You have NO chance of getting it short of editing your savegame or reloading. And I just left the final, most vital item, the cassette tape, in the safe, forcing me to replay the entire last part just to actually finish this game.
In the end, it isn't THAT bad, since I already know all the solutions and can easily put them in again, but what kills me is that I didn't screw this up at all, RIGHT up until the end. Everything went fine right up until the very last safe. I could have just edited this out, but it shows off the most vicious side of Safecracker, in that if you forget something, you're SCREWED.
Next time, we watch the ending. That's about it.