Part 19: The Great Pyramid Of Crushiza
Welcome back, folks! Last time, on Secret of Evermore, we met Horace Highwater and he told us where we could find the Diamond Eyes. I left it up to you whether or not I did the Pyramid or the Hall first, and you chose the Pyramid. This is going to be a long one, folks, so strap in and let's boogie.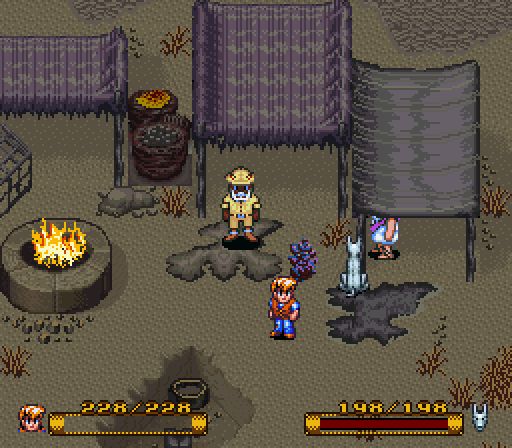

Our destination is south of Horace's camp. That doesn't mean we actually have to travel south from here.

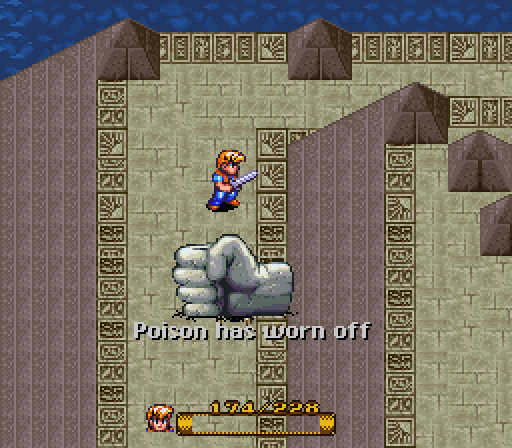
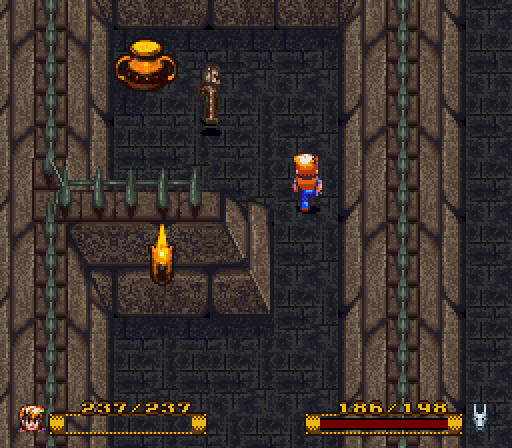
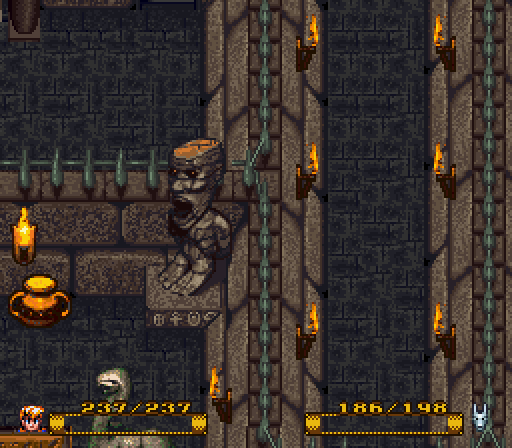
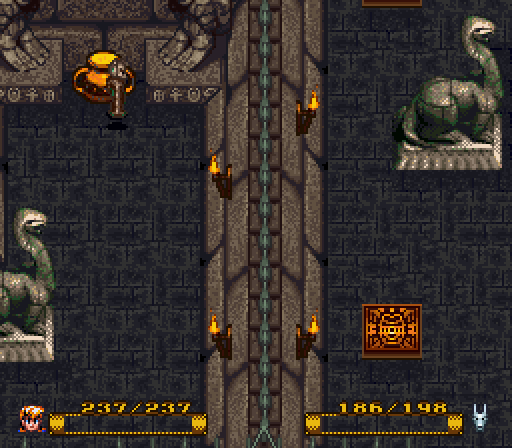
However, there is this neato-torpedo statue down here. I'm not sure why...

There's also human bones scattered all about Horace's camp. I know he said he's an archeologist, but that still raises a question or two.
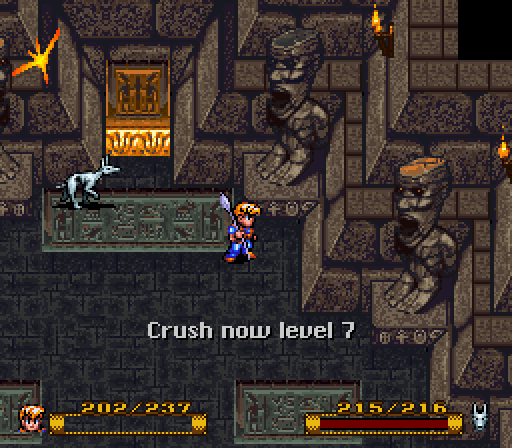
I've bought tons of alchemy ingredients. At the time of this shot, I think I had 84 casts of Crush ready to go.
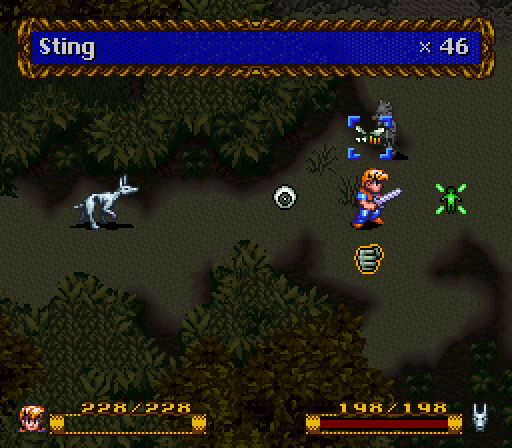
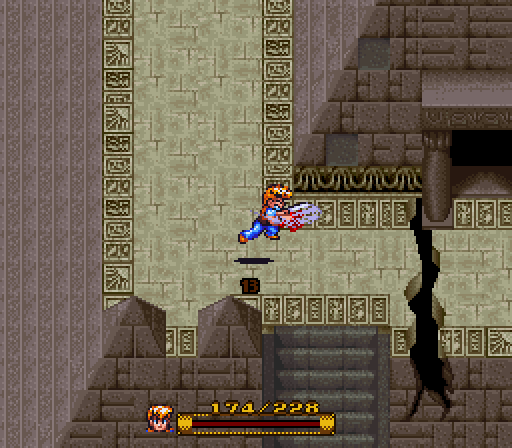
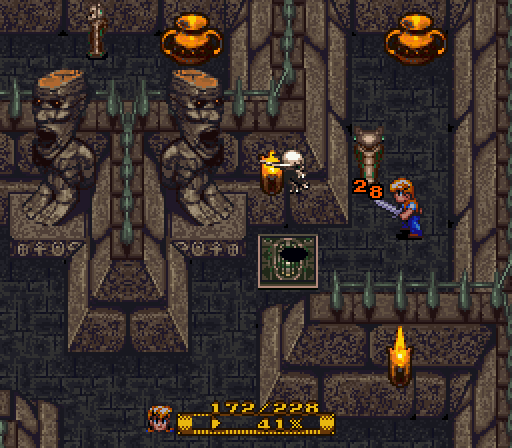
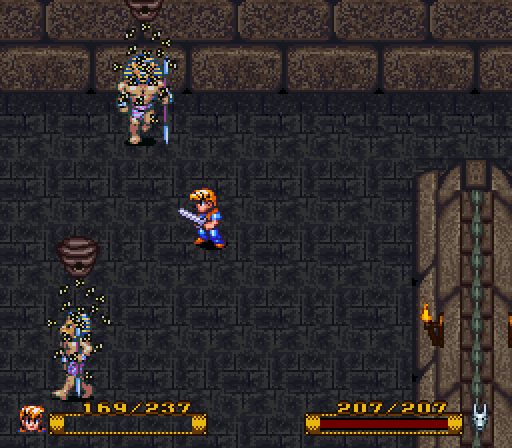
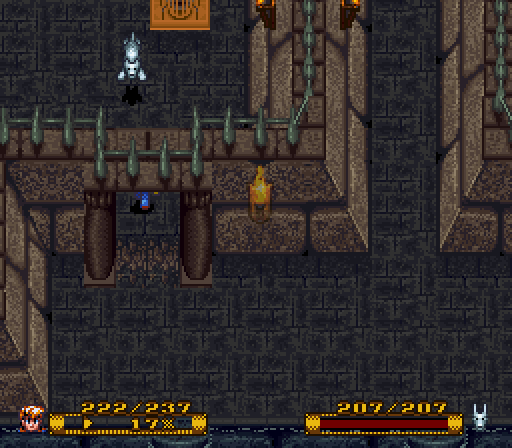
However, Sting is best described as hardcore and nightmarish. We've gained the power to summon bees down upon an enemy!
This is at its first level. Sting is actually fairly powerful and is one of those instant spells, like Acid Rain. Theoretically, I could hit an enemy with eight castings of Sting, coating them in roughly six thousand bees, and eight castings of Crush, completely stone-fist-fucking some poor bastard.
As long as we can get our hands on Vinegar, I'll be using Sting fairly often. It levels up nicely, and is one of the stronger formulas in the game, rivaling Crush.
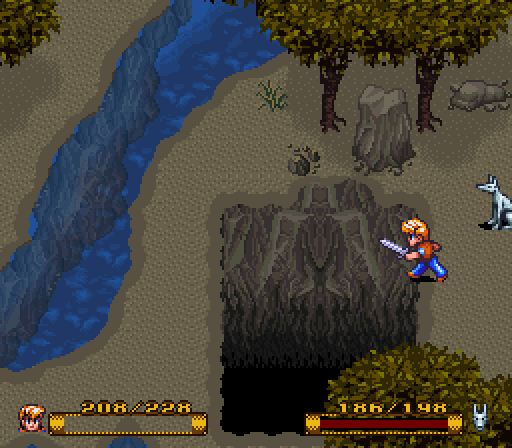
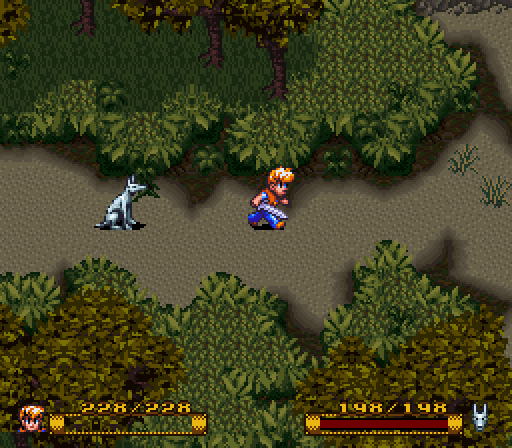
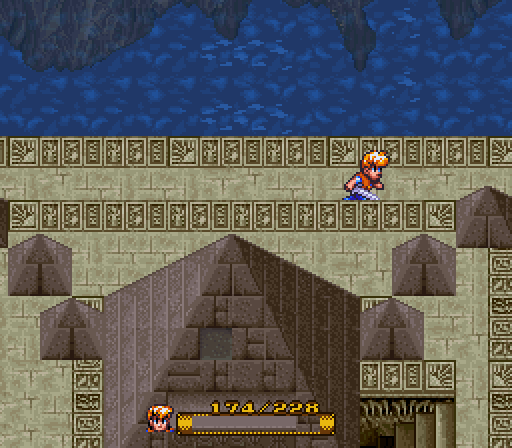
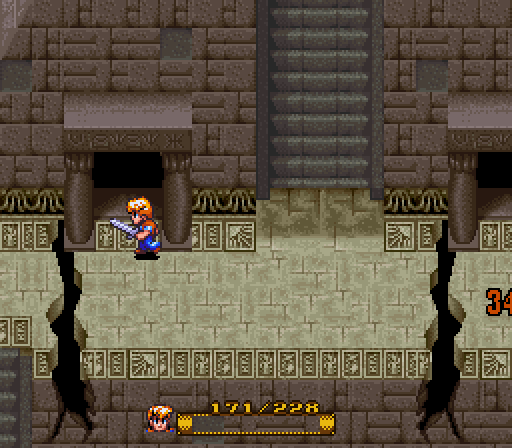
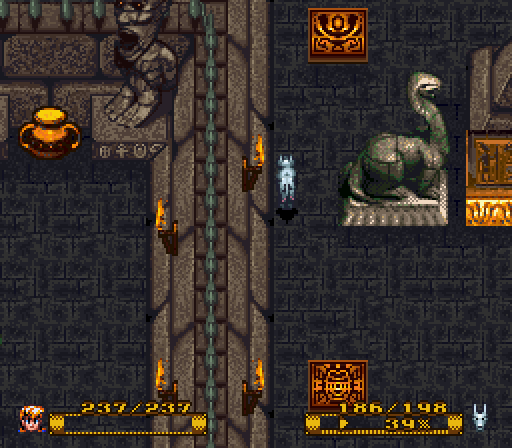
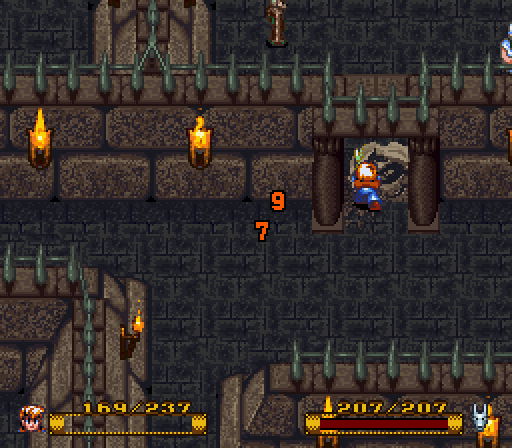
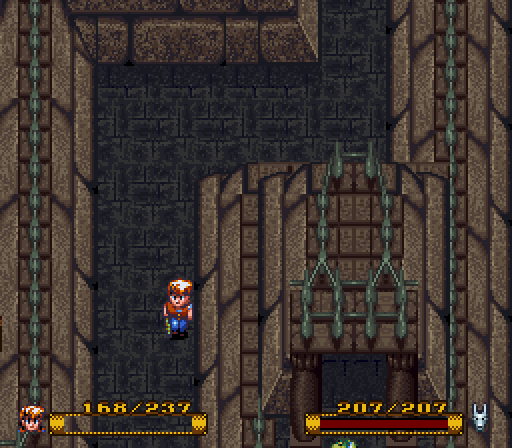
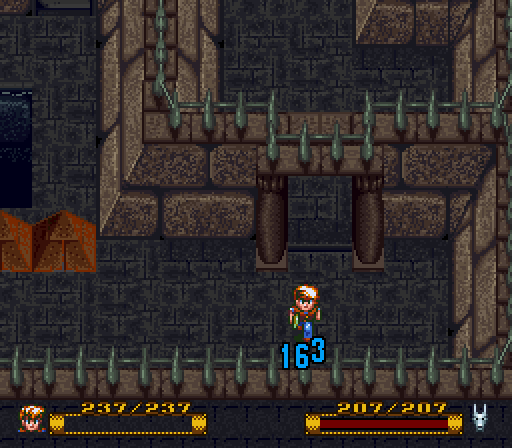
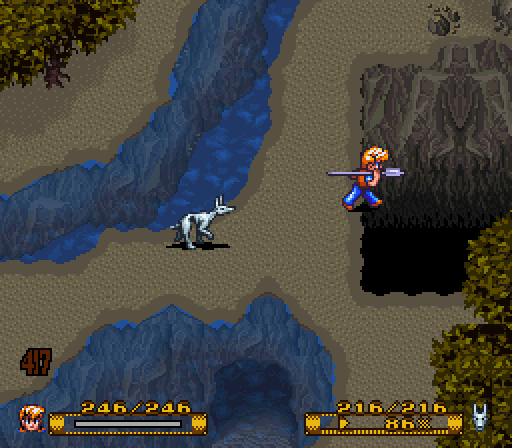
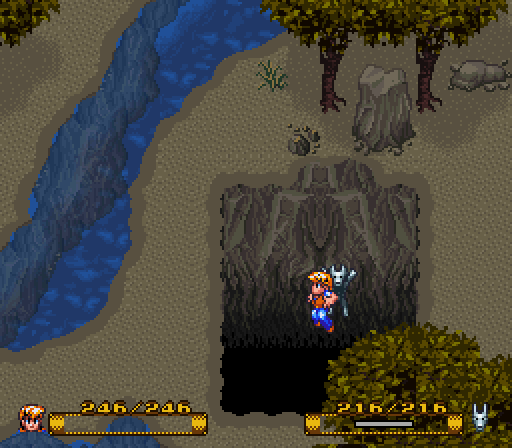
This pit needs to be crossed to reach the Pyramid.
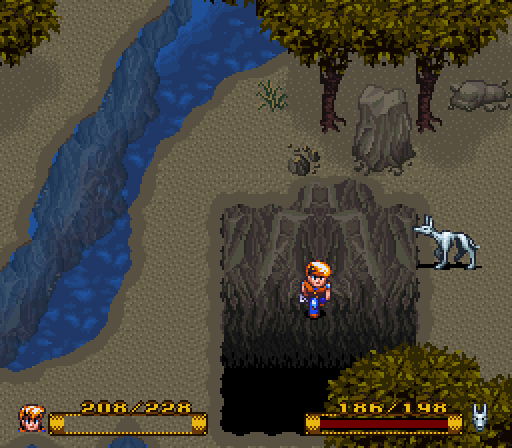
We don't need Revealer to make the paths solid; it simply shows where they are.
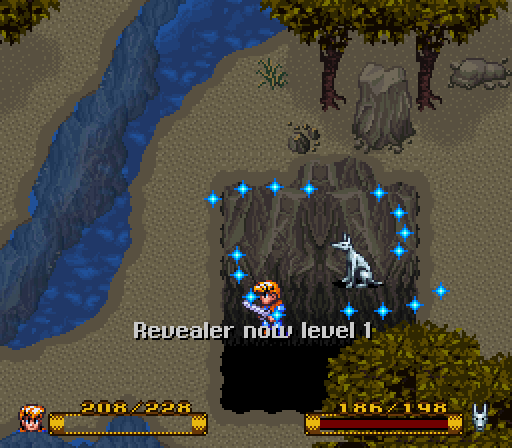
I've done a bit of exploration and played around in some of the upcoming dungeons, so Revealer has seen a bit of use.
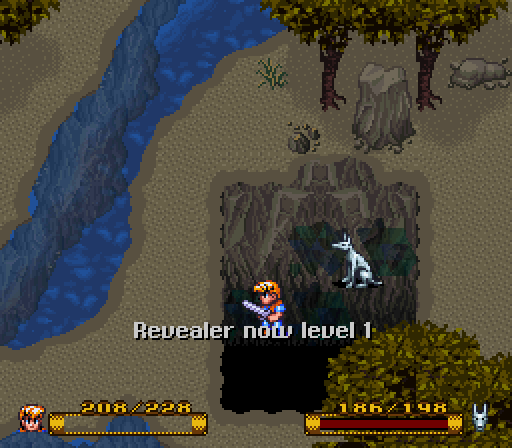
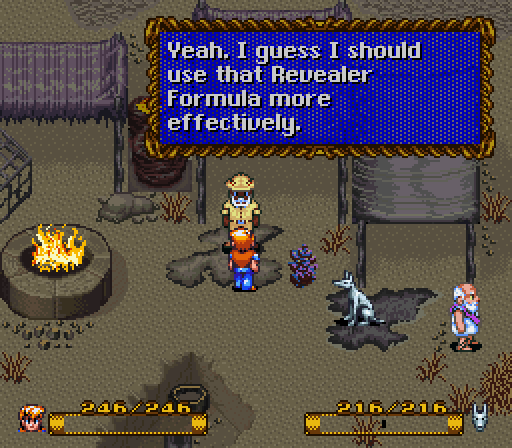
It does absolutely nothing else when leveled up.
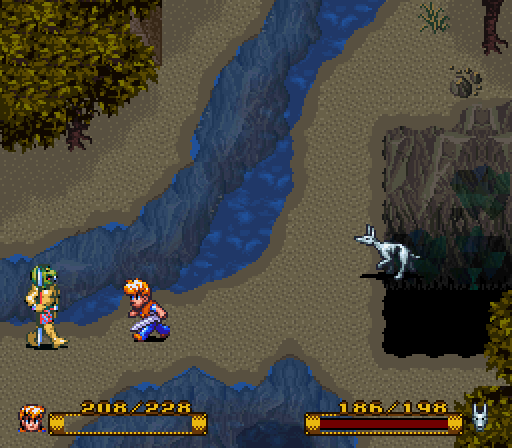
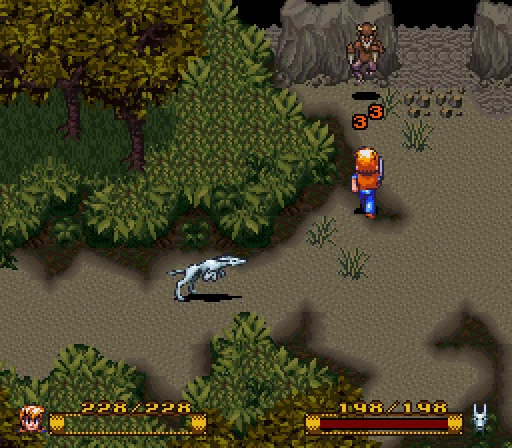
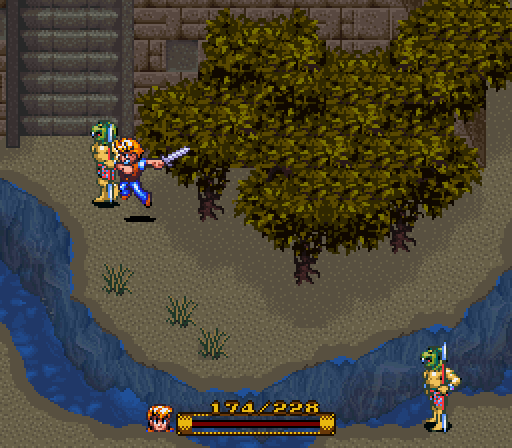
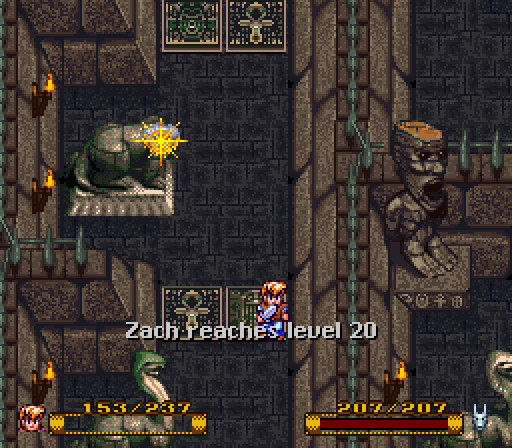
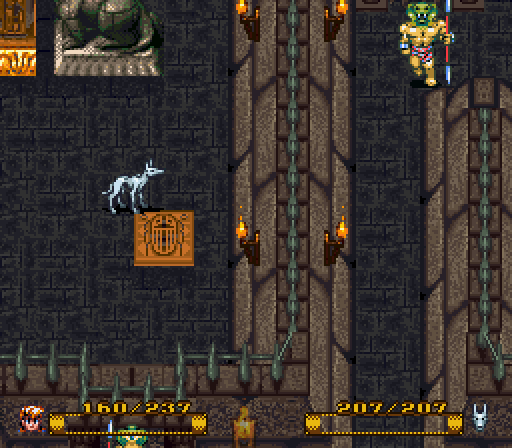
Good Lord, it's like looking at a surfer's fursona!
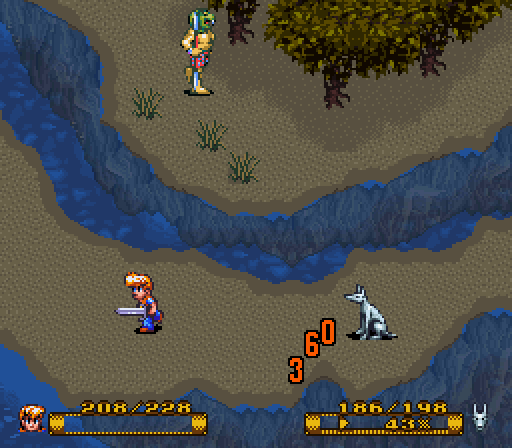
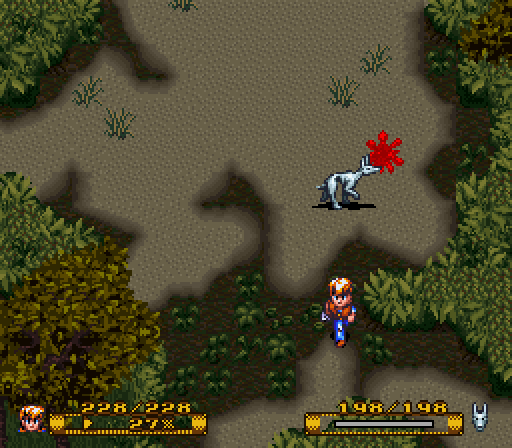
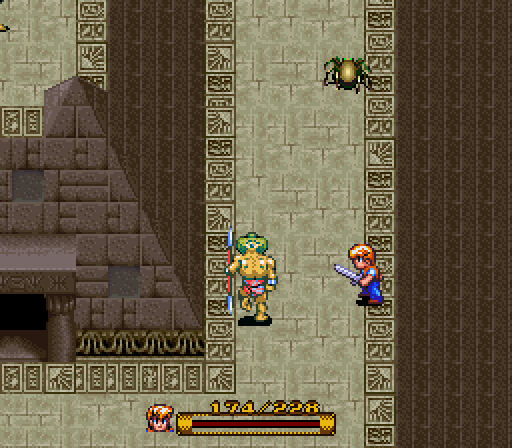
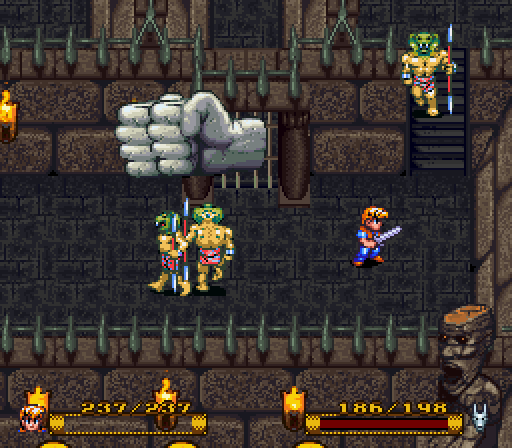
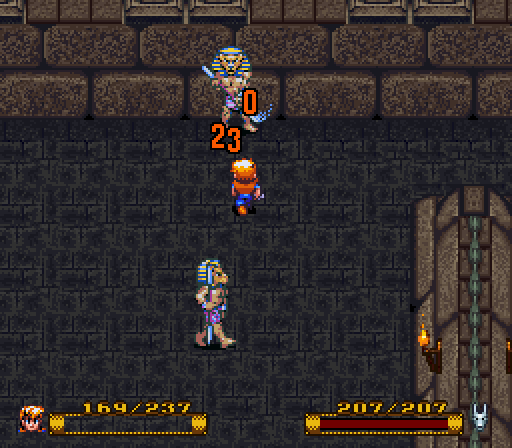
Which Zach did not take kindly to. These guys only have 160 HP at max, drop 40 jewels and give 120 EXP.
They also do not like alchemy, especially that of the Crush persuasion.
To attack, they just kind of...Flit and flail their pointy sticks in front of them.


It has a chance to inflict Poison as well as doing a bit of damage.

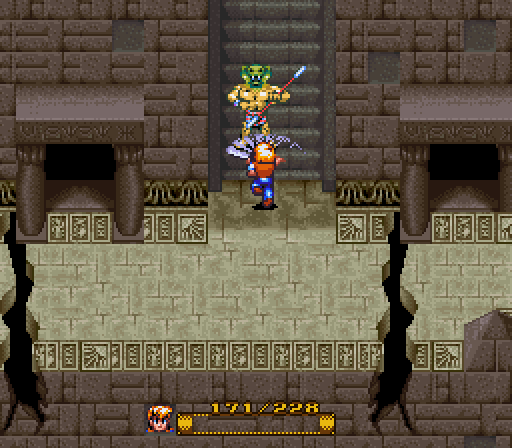
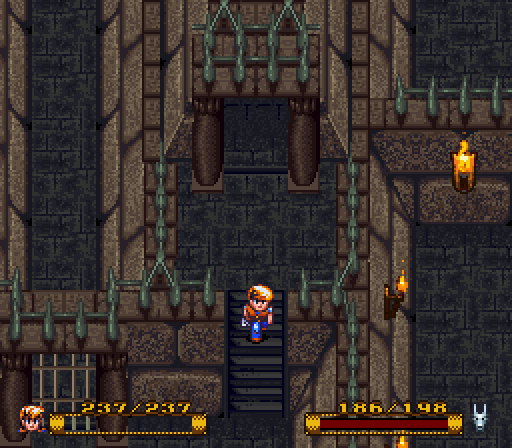
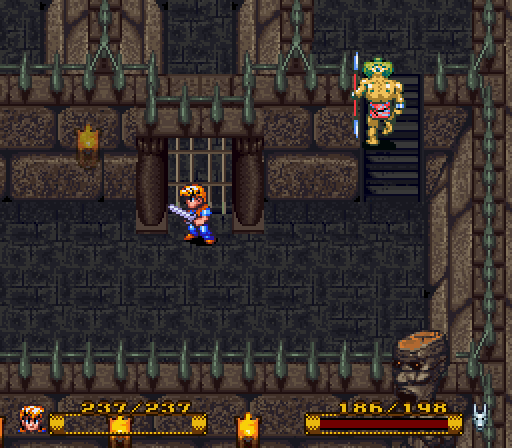
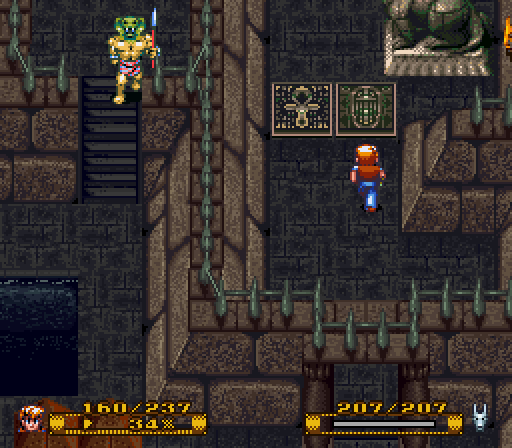
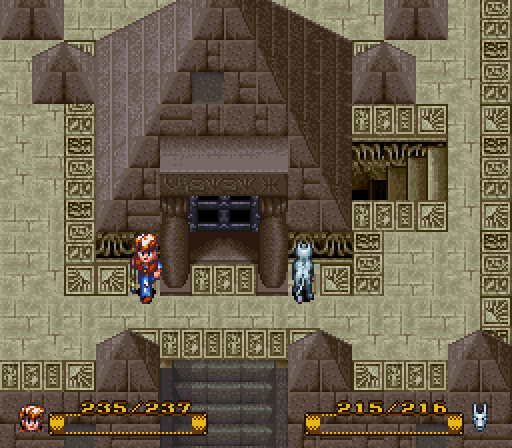
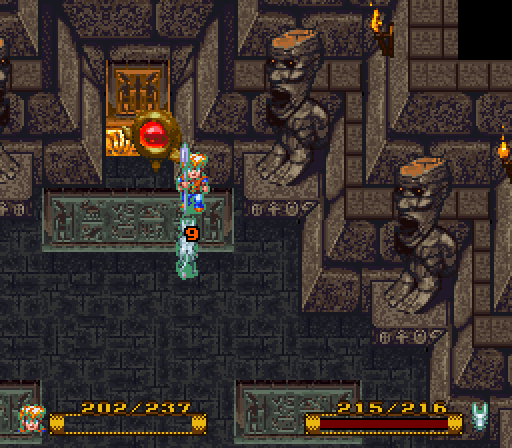
This button here needs to be pushed to make any actual progress here.
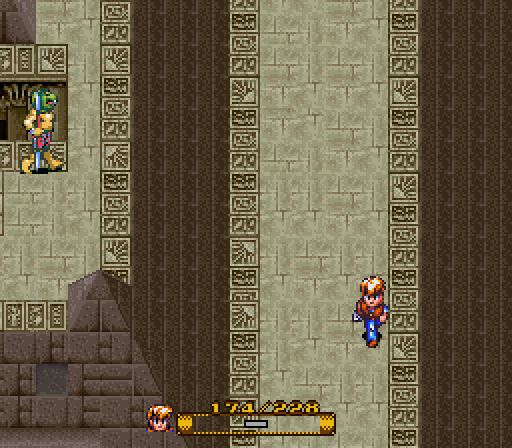
For we separate from Zach again, sending him into the Pyramid before us.
At some point, I apparently wandered in here and collected some treasures. I don't quite recall what I found, but it was nothing exciting, just the usual ingredients and consumables.
Since York can't hop over gaps, this is a Zach only area.
Not that he can really go anywhere in here, but there's a point of him being here.
You can see the buttons, so that's pretty obvious, isn't it?
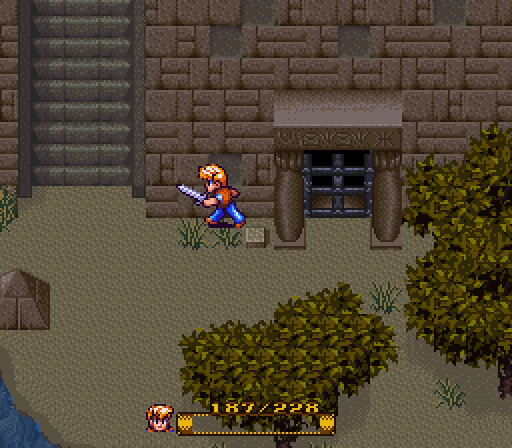
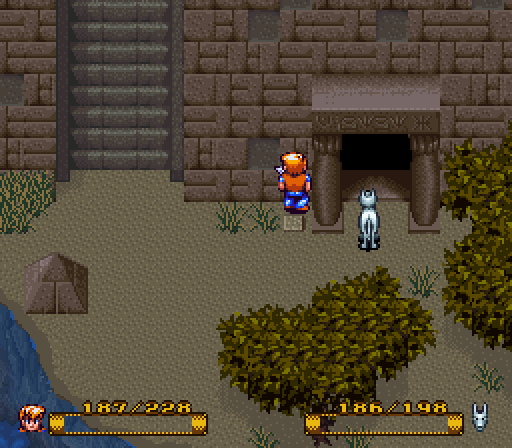
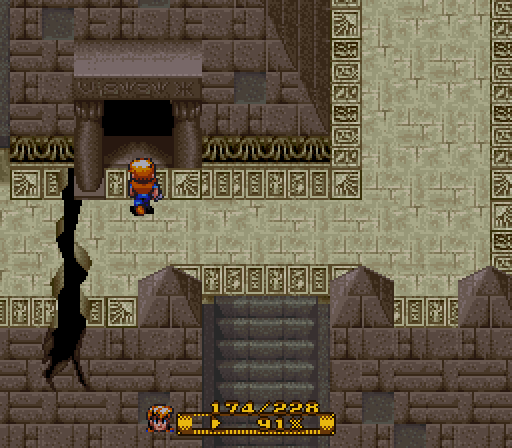
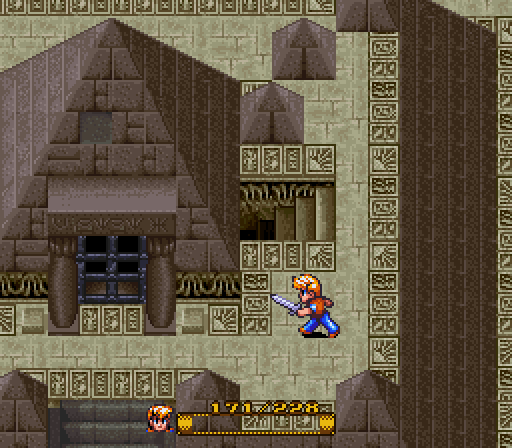
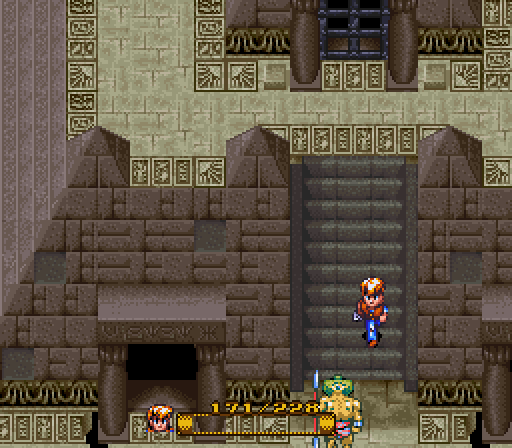
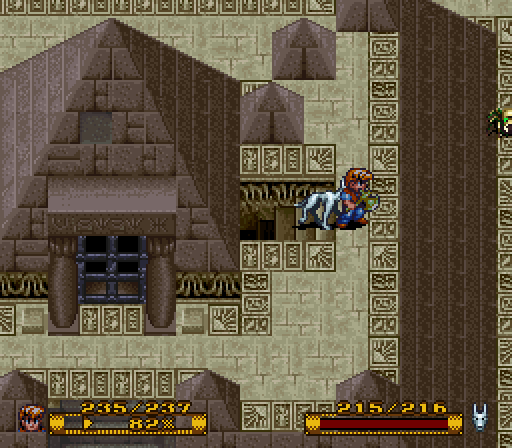
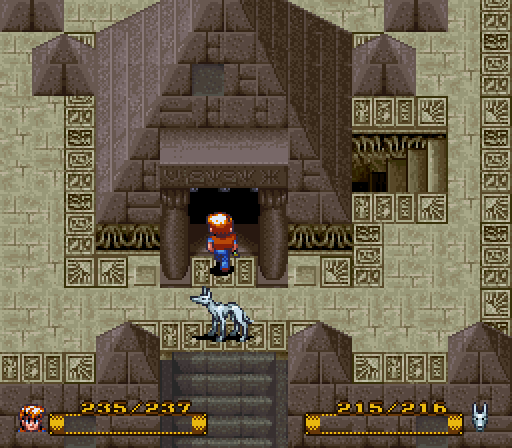
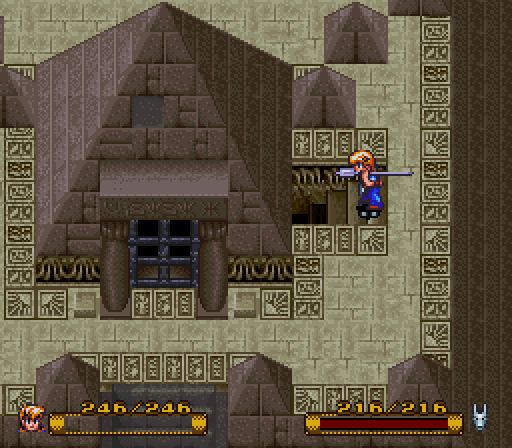
But we'll get to that in a minute. For now, let's get inside this Pyramid.
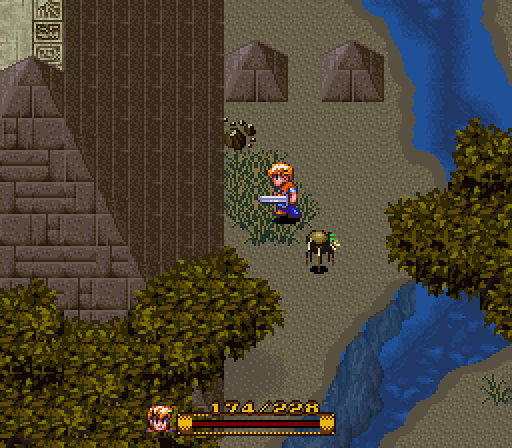
You can see the broken gaps in the Pyramid; we can't cross over those, so we have to go around.
Spiders are scooting around every-which-way here, so there is plenty of Crush being thrown about.
Before we head inside, let's take a little detour.
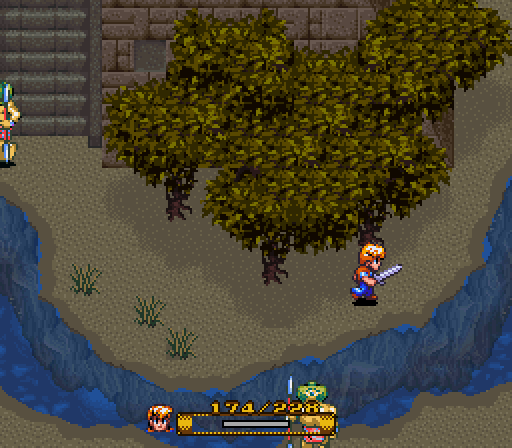
Ultimately, it goes nowhere. How odd...


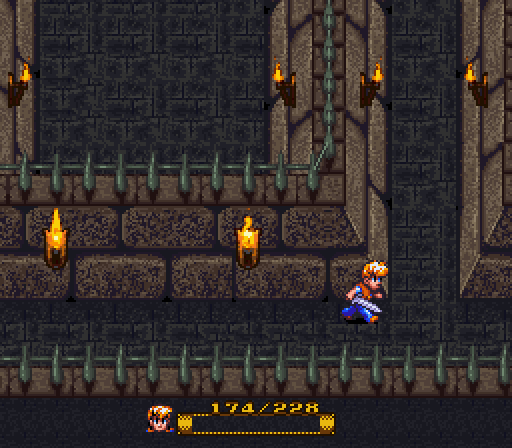
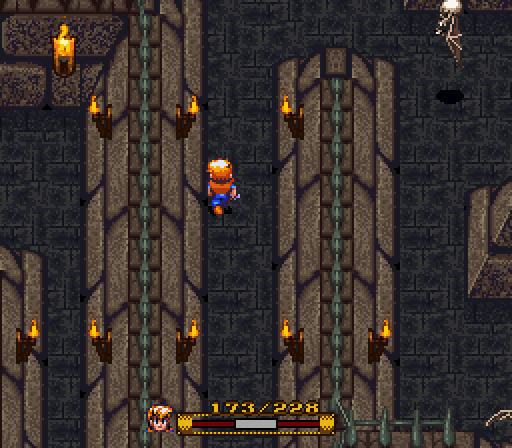
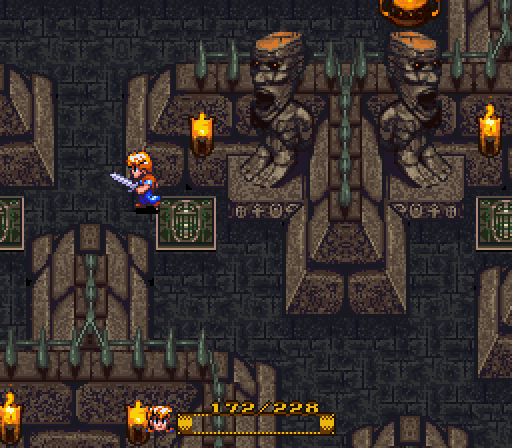
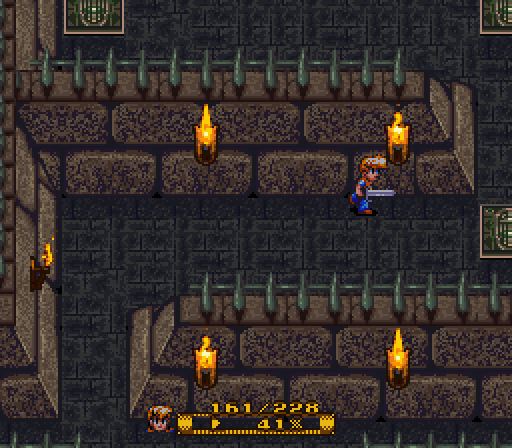
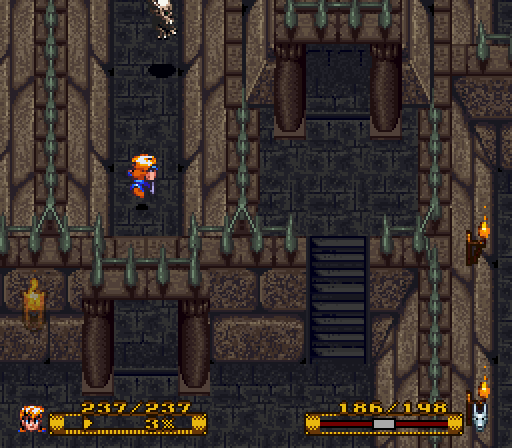
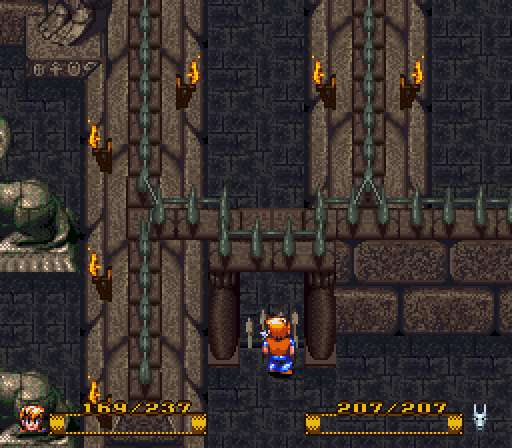
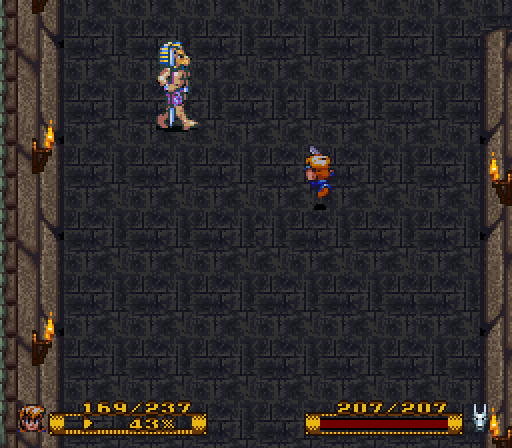
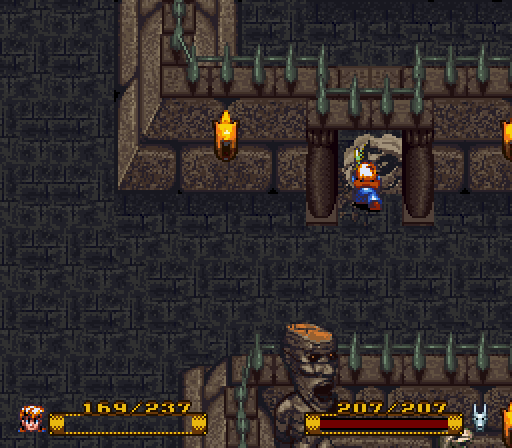
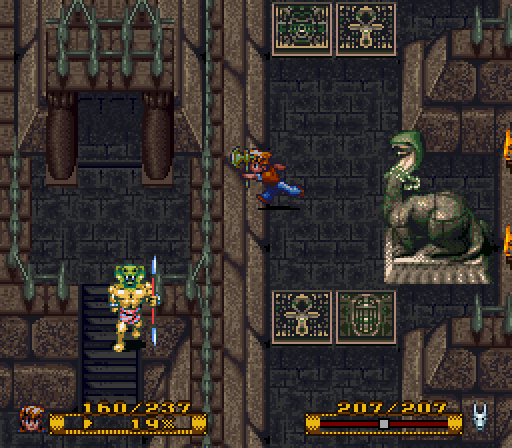
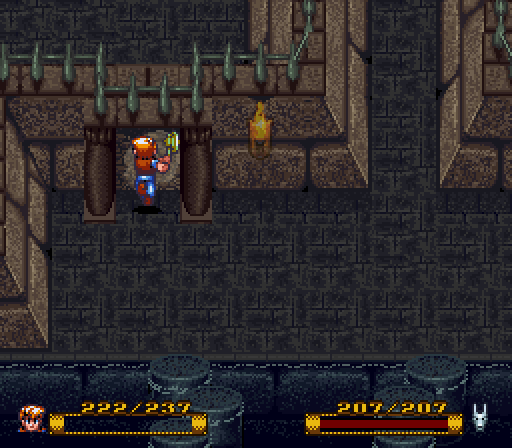
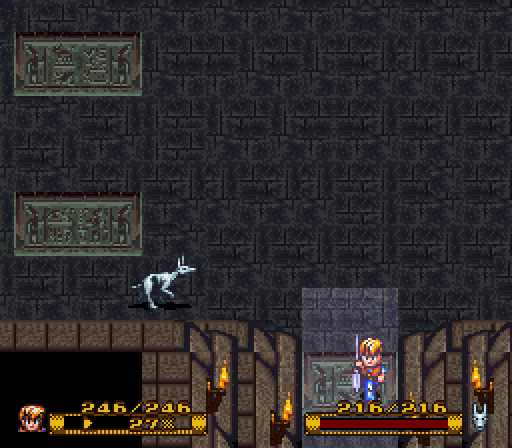
This is where we'll be spending the meat of the update. I hope you like this interior.
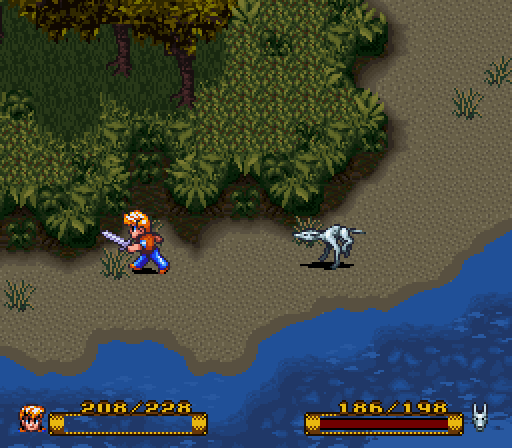
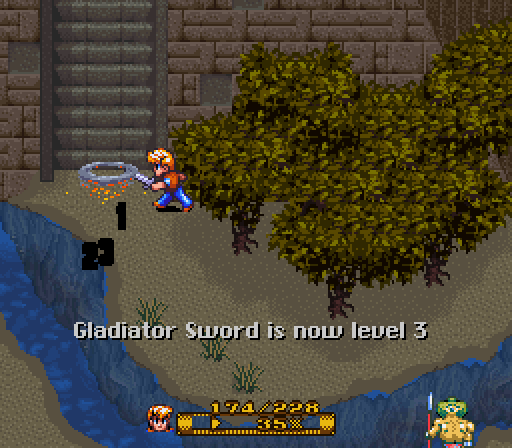
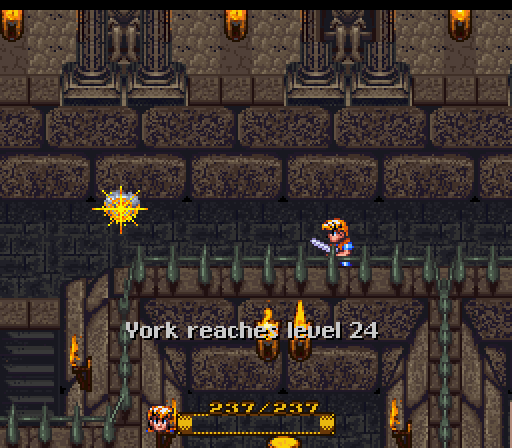
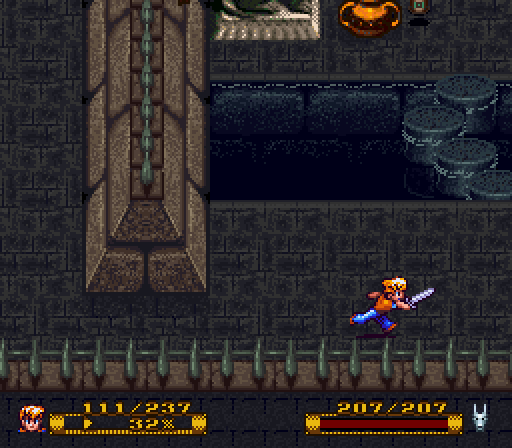
Oh, the perfect opportunity to show off the sword's level 2 charge!
York spins around like the Star Wars kid, but the biggest difference is that this is effective and cool, and doesn't involve ridiculous props. Whether or not he's making lightsaber noises under his breath is still up to debate.
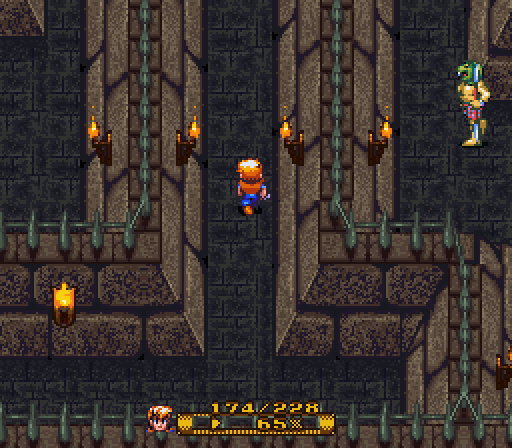
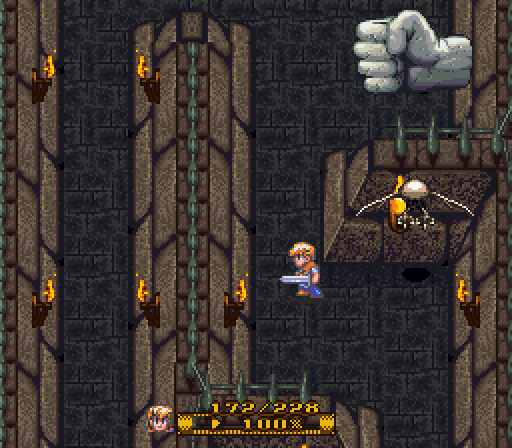
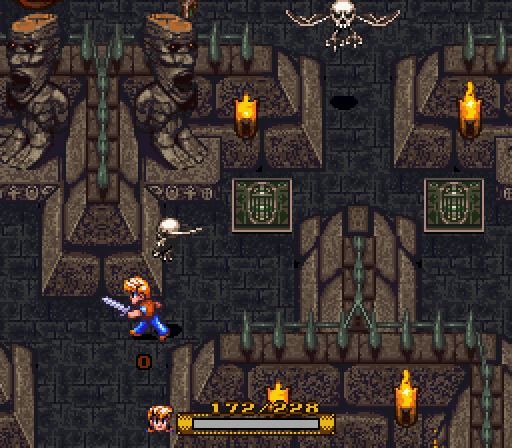
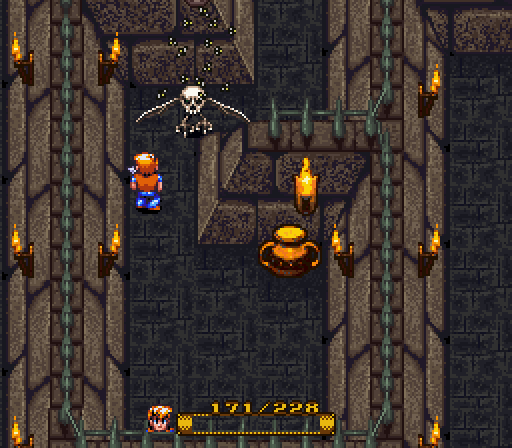
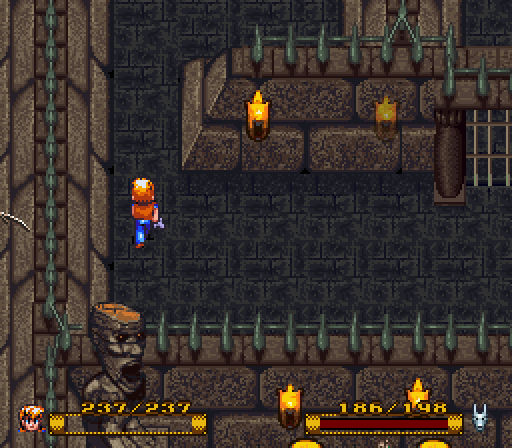
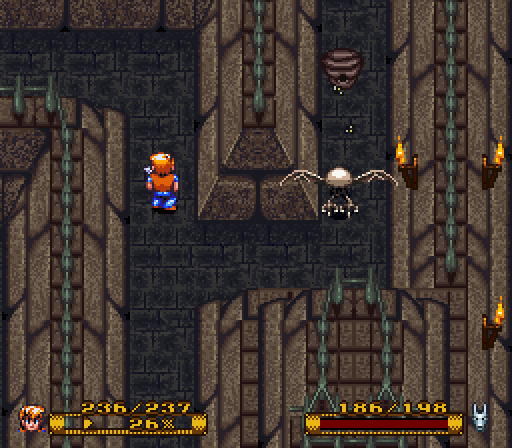
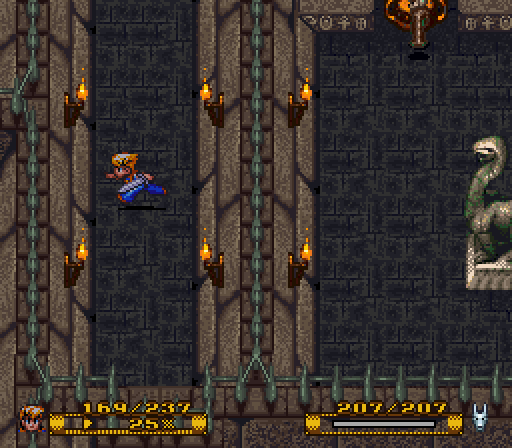
Bone Buzzards freely fly around here, being more of a nuisance than they normally would be.
Though, Crush is great for getting them out of your hair.
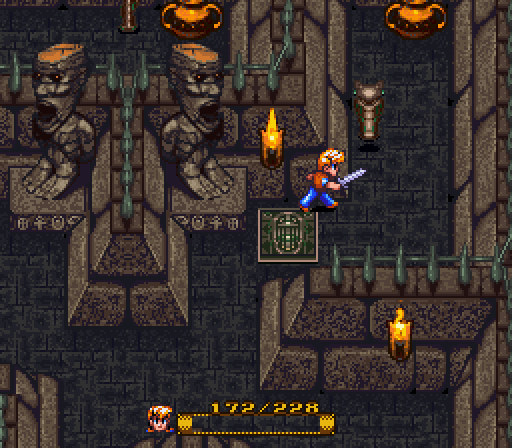
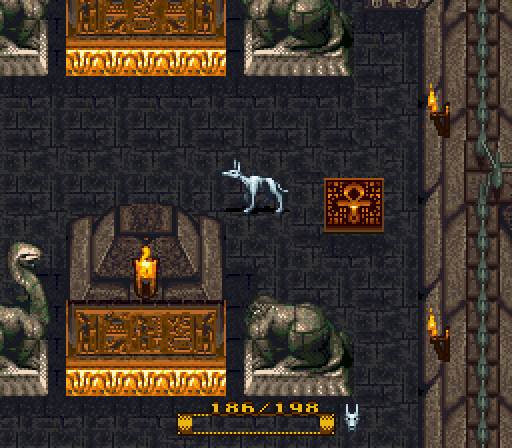
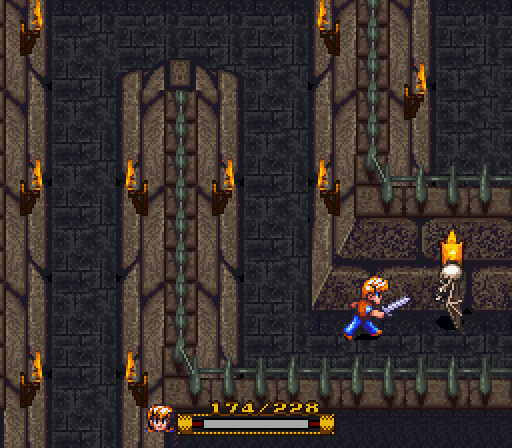
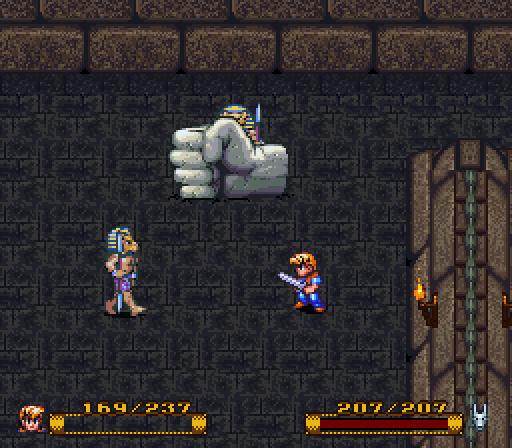
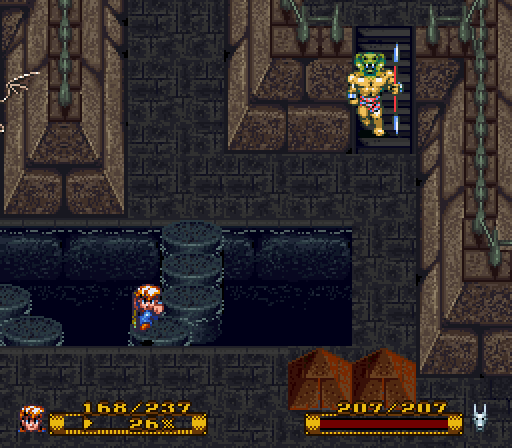
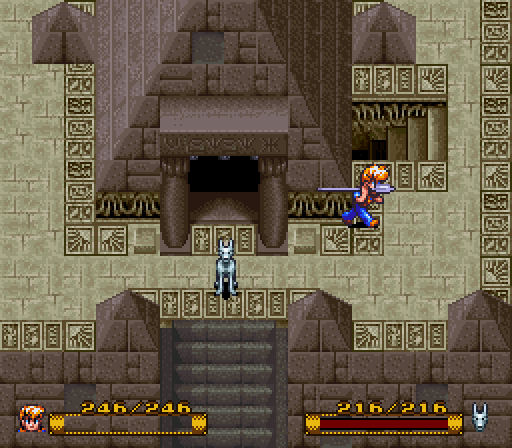
If you think that looks like a cat in a sarcophagus, your thinking is correct.
Mummy Cats have only 100 HP, but as you see here, their defense is pretty high.
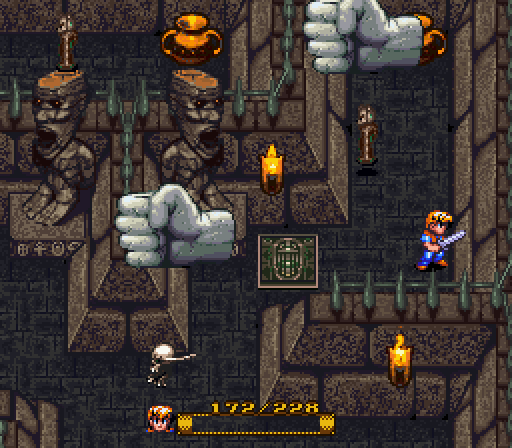
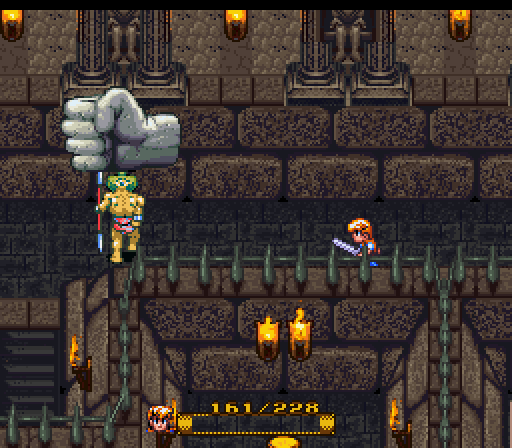
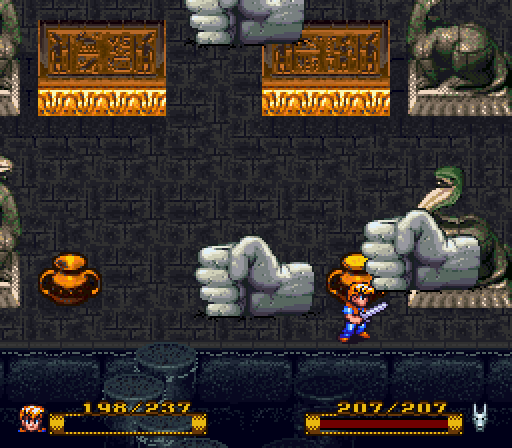
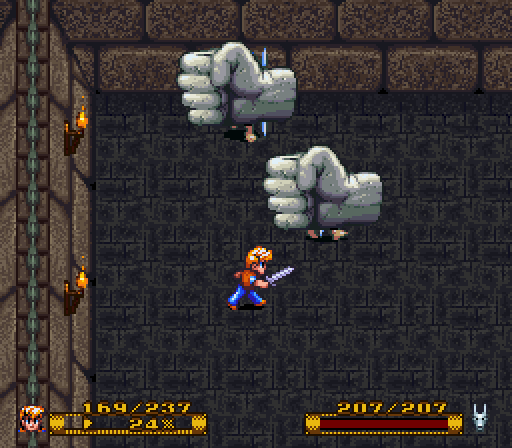
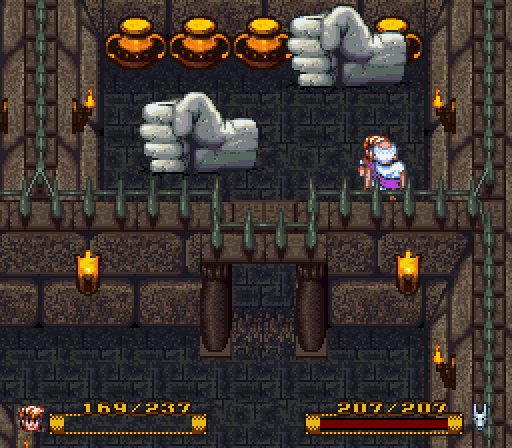
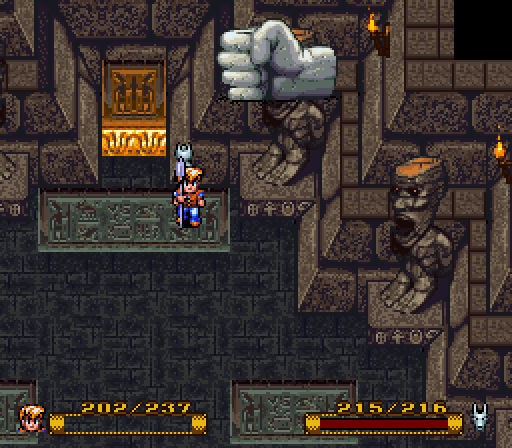
However, like most problems in life, a giant stone fist handily sorts them out.

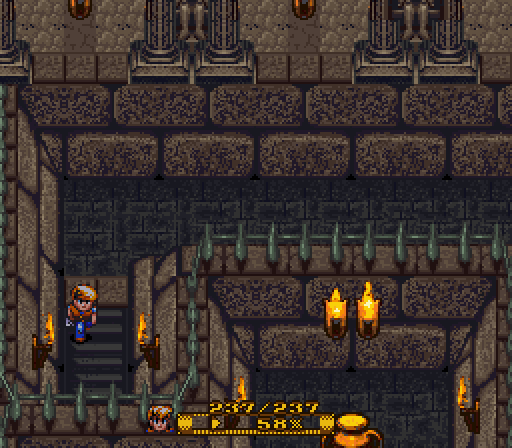
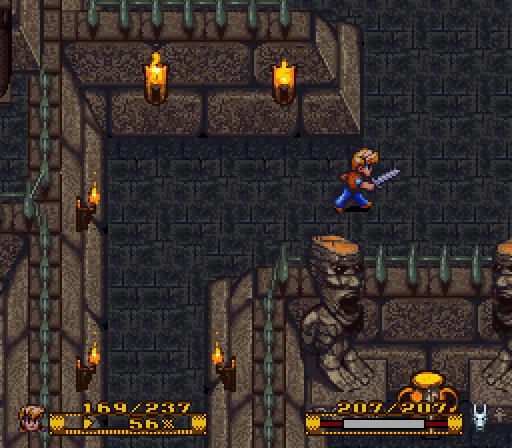
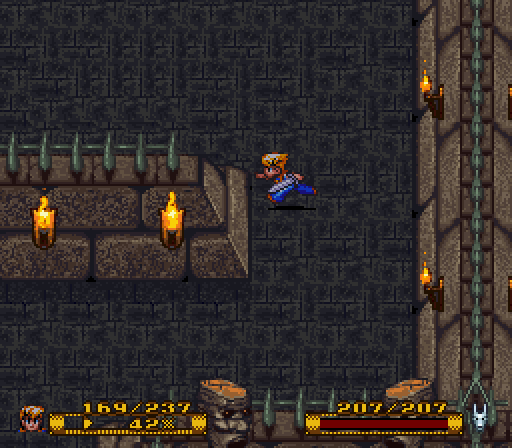
I find these kinds of areas to hard to write commentary about.
When playing, it isn't too bad. You're wandering around enough, you're not really thinking about it. It's basically going forward, despite it looking sort of like a maze.
And I can only point out I used Crush so many times.
I mean, there's the Mummy Cat, but that really speaks for itself.
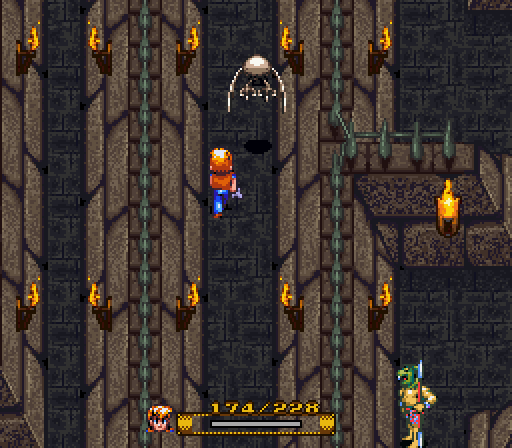
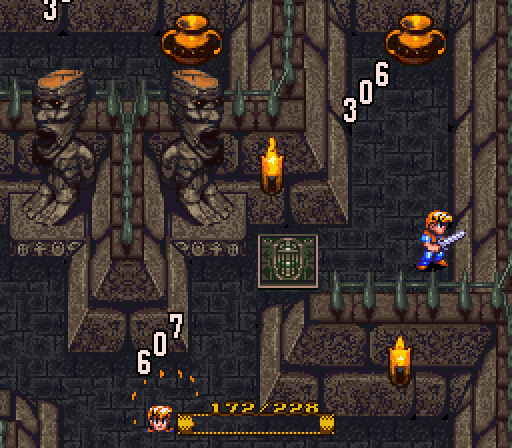
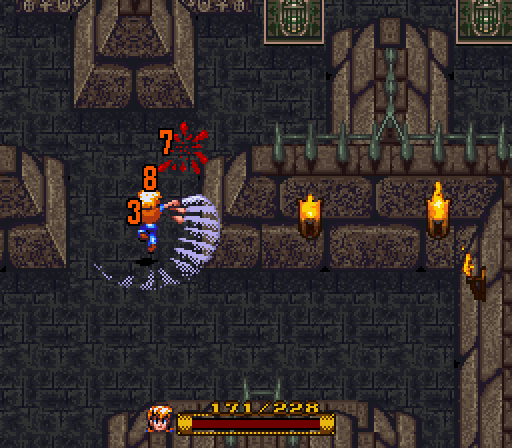
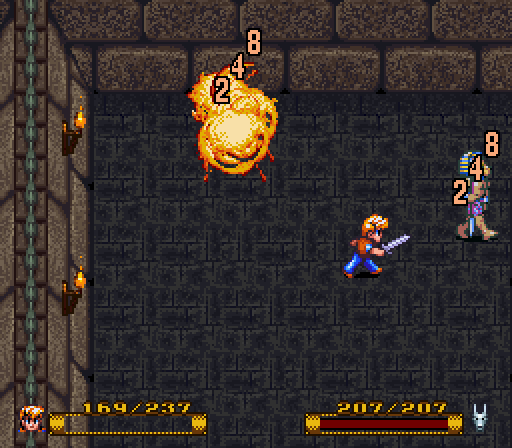
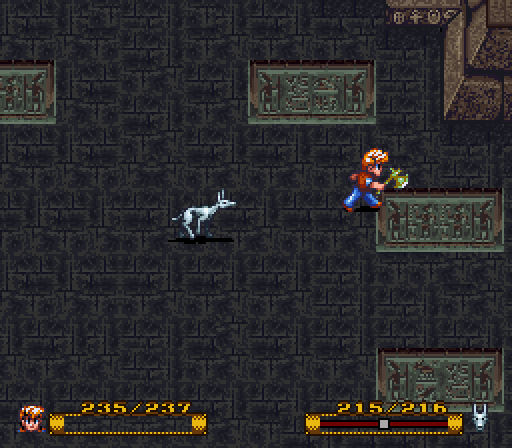
To hopefully distract you from my lack of commentary, here's a bony buzzard being attacked by bees.
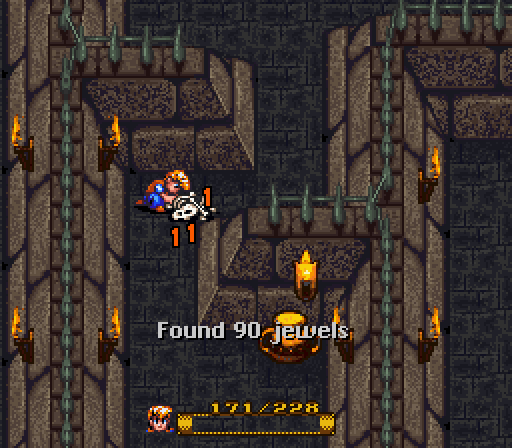
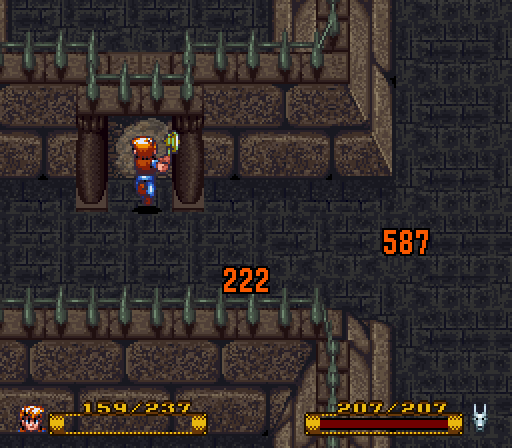
Oh, hey, free money! I've mentioned this before, way back at the beginning, but this money is in addition to the 40 jewels they normally drop.
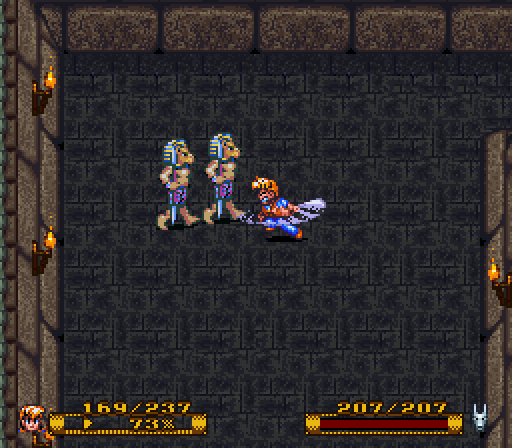
We can loop around to where I just Crushed those Sons of Set, leading us to progress.
Even though the top gate of the Pyramid doesn't seem like much progress.
Though, there's something interesting in here.
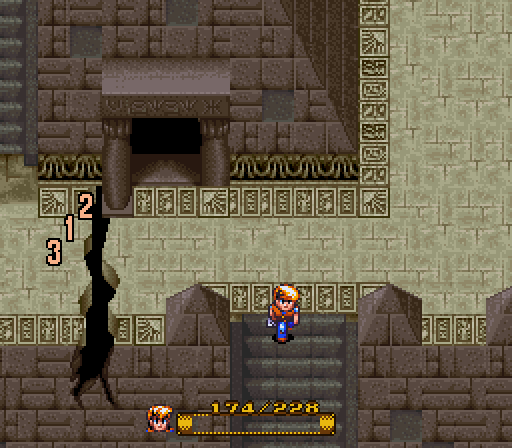
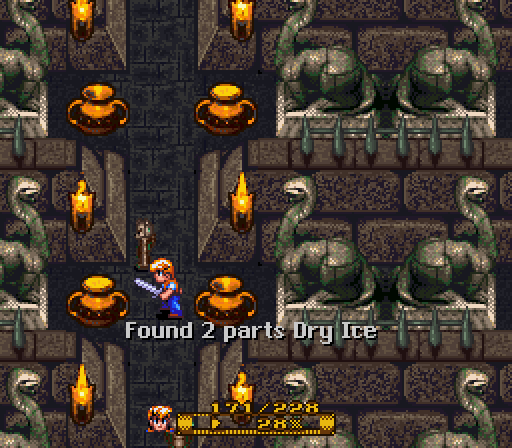
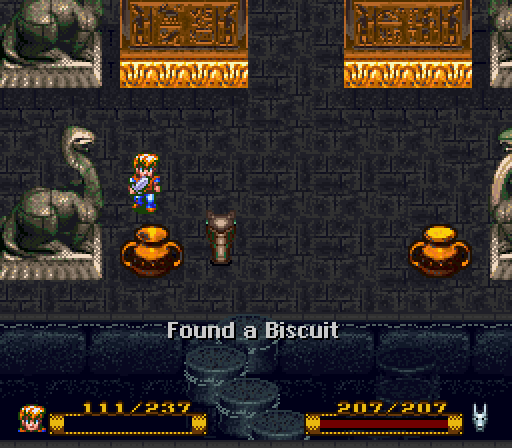
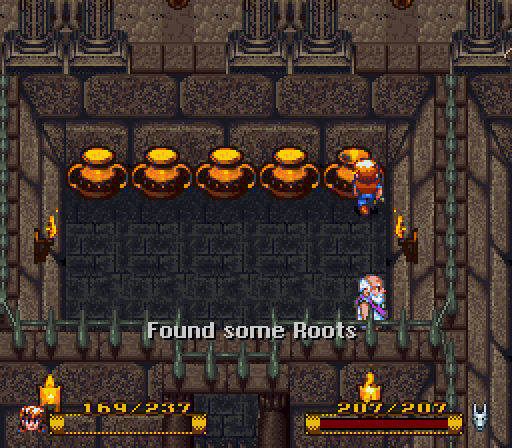
A treasure trove of ingredients. There are three rows of ingredients and items to grab.
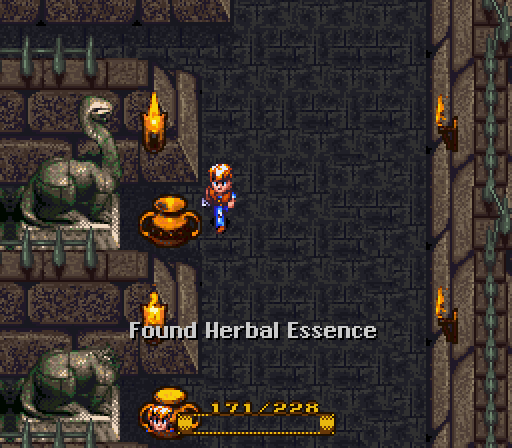
To start off, we find some shampoo.
We also find a Biscuit, four Feathers (new alchemy ingredient), an Acorn (another new ingredient), two parts of Gunpowder (also new) and
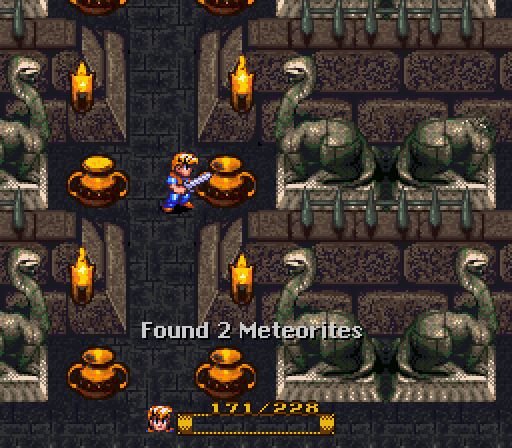
This is a very rare ingredient, used only in one formula, one which we won't be seeing for quite some time. There's also no real direct way to buy it, but there is a single merchant you can get it from.
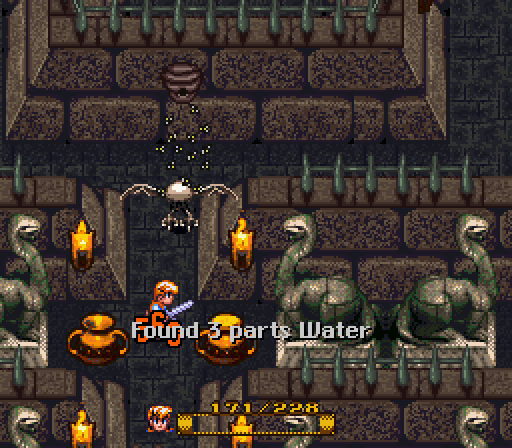
Just north from here, we find three parts of Clay and some Wings, an item I haven't covered before. They serve as an instant teleport out of any dungeon area.
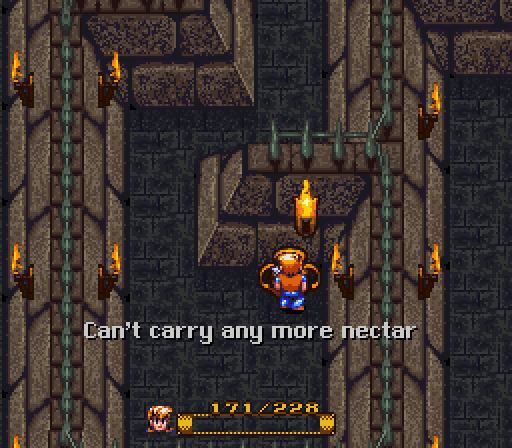
Across from the Water, there's another bit of Nectar, but we're still full-up on it.
I'd reckon this is just about the rarest ingredient in the game; no merchant sells it, and you're not going to have any more than you find in the game. It's also used in the same formula that Meteorites are.
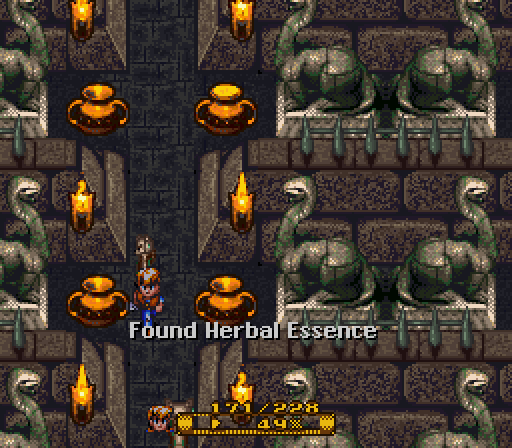
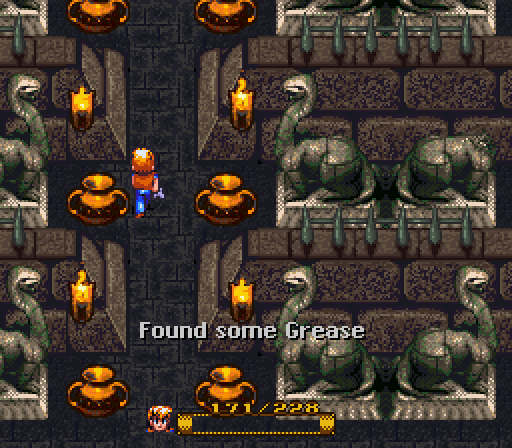
Another bit of shampoo, then two bits of Limestone and three parts of Ethanol.
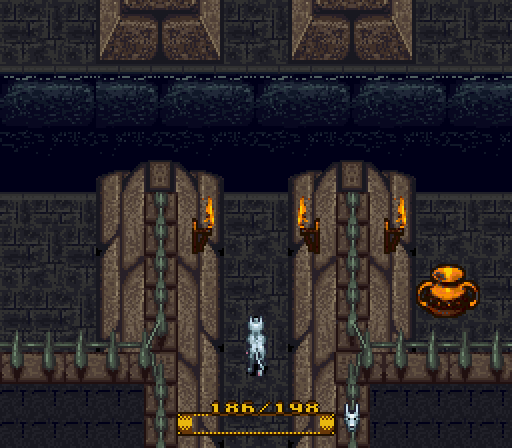
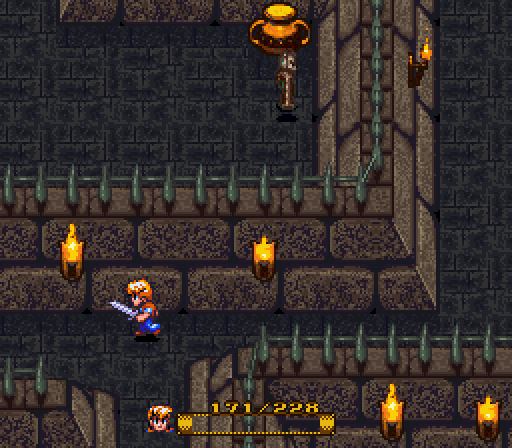
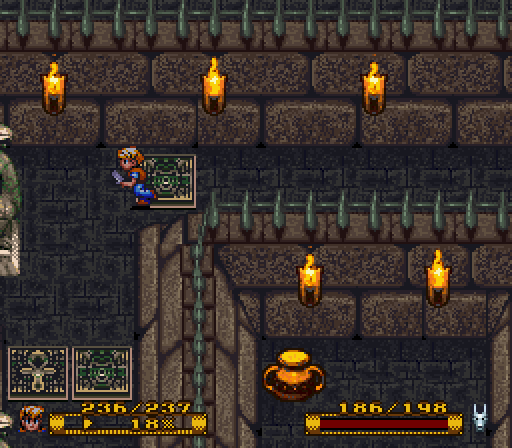
Guess what's in that pot. Go ahead, guess.
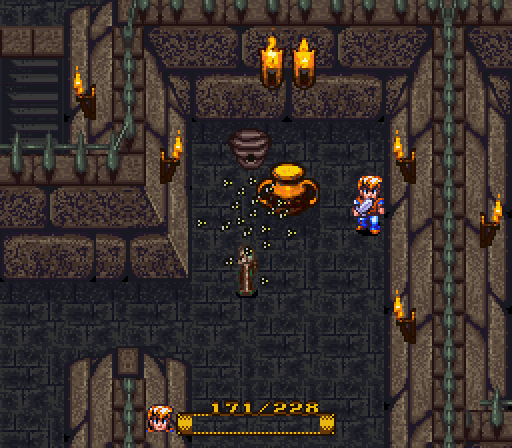
I'll give you a minute to think about it.
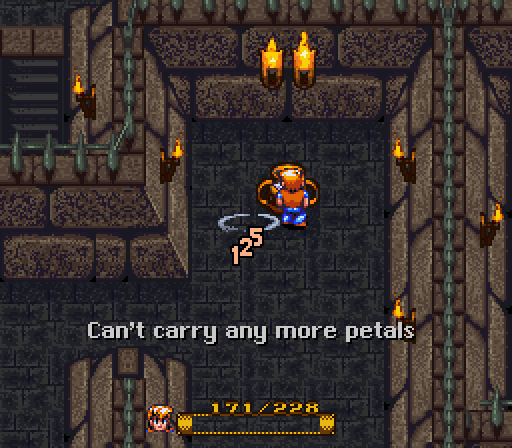
How many of you thought it was Nectar? Joke's on you!
Back on the east side, we can't make any progress.
But we can utterly annihilate two poor pricks.

Where we follow this path, in the middle of the room.
We step on the different tile here.
As it destroys this wall in front of us, letting us make some progress.
I used so much Crush in this place. It's a little insane.
I'd wonder if I'm overleveled, but this game is simple enough that it isn't really that big of a concern.
If anything, you all should be concerned about my alchemy levels. They're kind of crazy.
Damn, another gate.
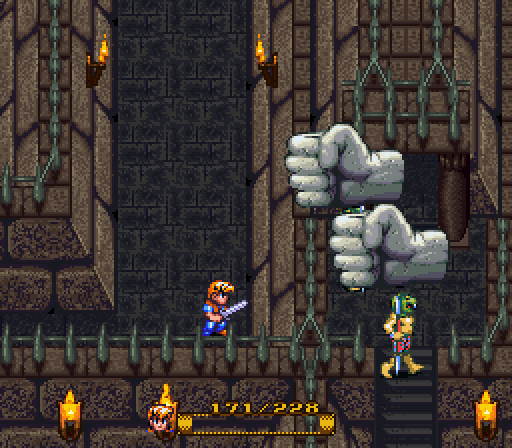
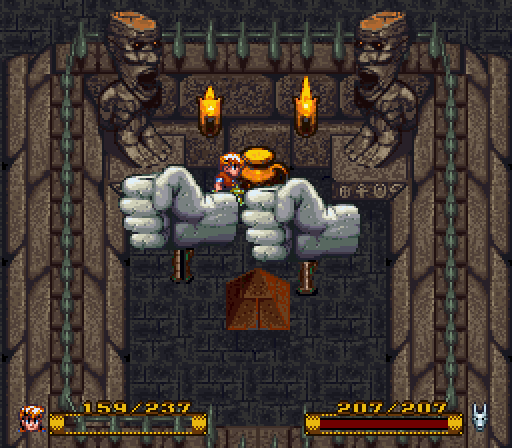
That pot contains exactly what you think it will.

So enjoy the stone fist instead.
As well as these stone fists.
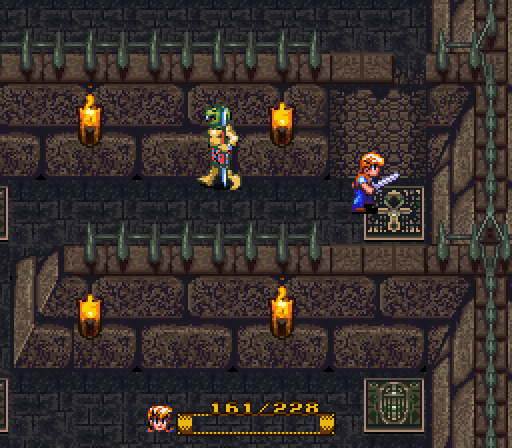
Alright, let's switch back to Zach. It's about time he did something in this dungeon.
We're actually in the same room as Zach; the camera pans over to where he's at.

These buttons are what let York progress.
It's not quite a puzzle, but it's teamwork.
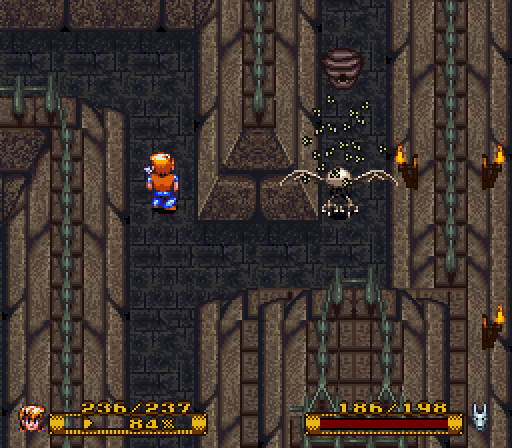
And know that the Bone Buzzard died horribly from a bee related freak accident.
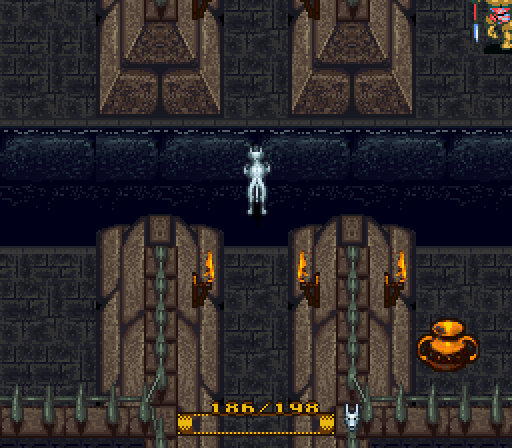
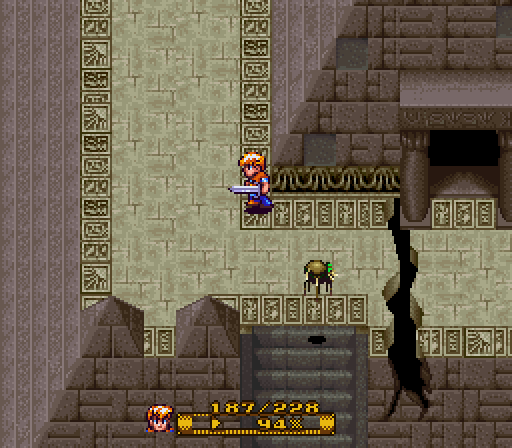
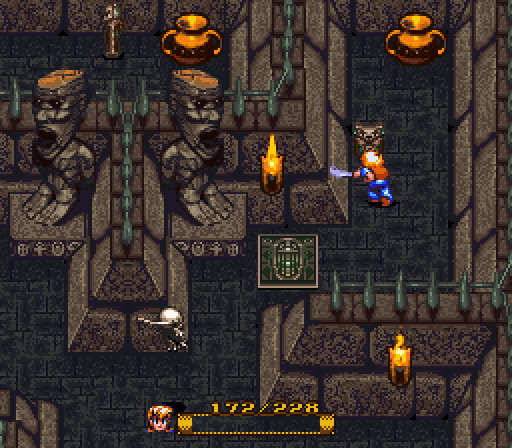
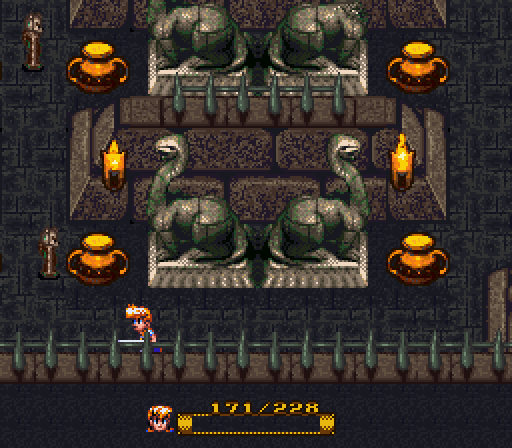
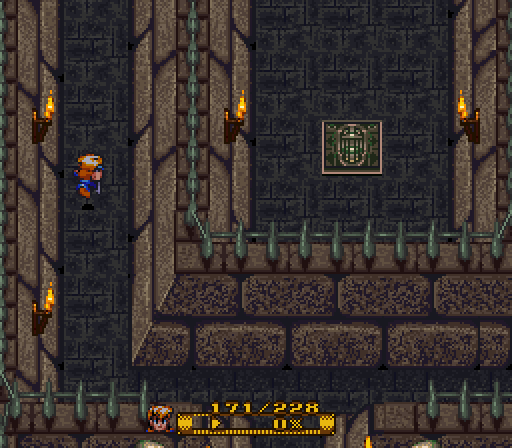
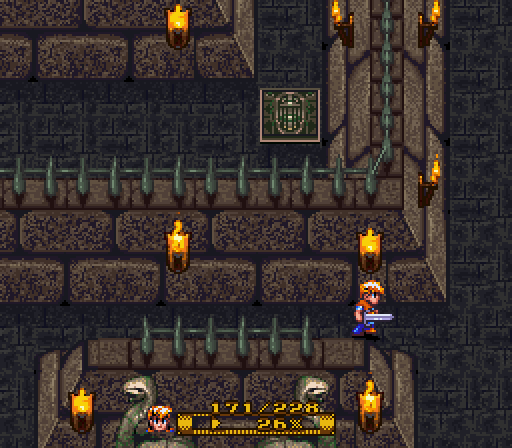
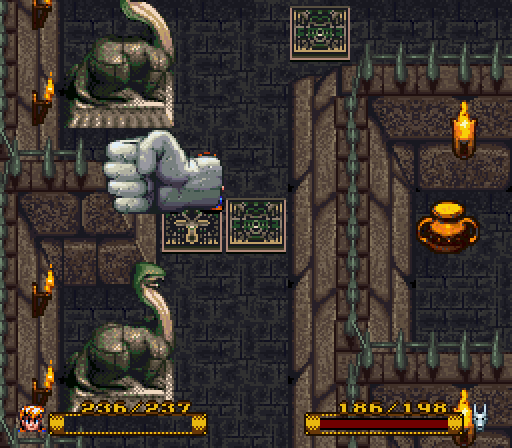
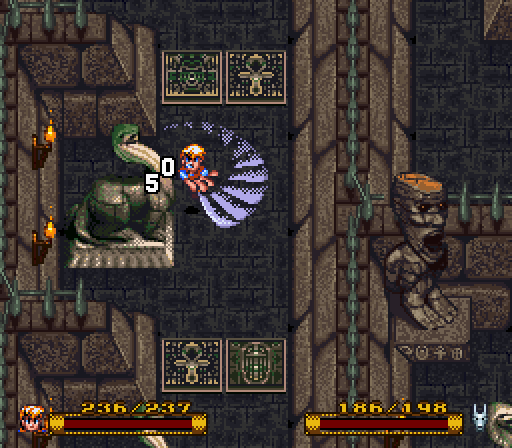
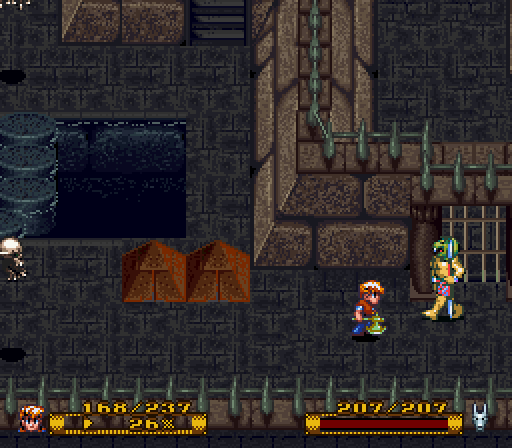
Who's ready for a new enemy?
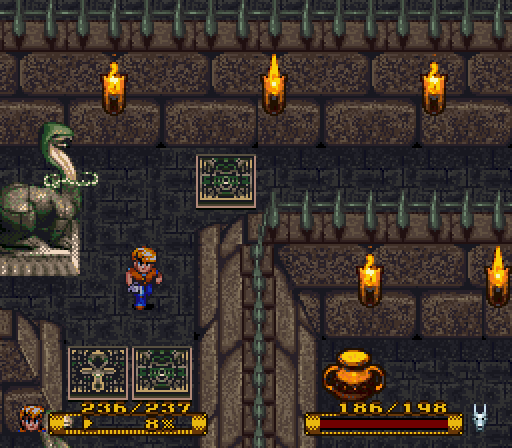
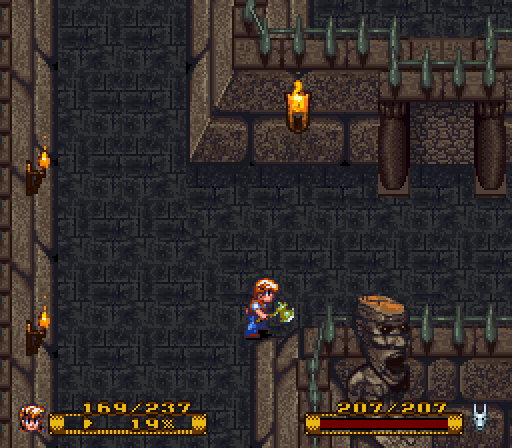
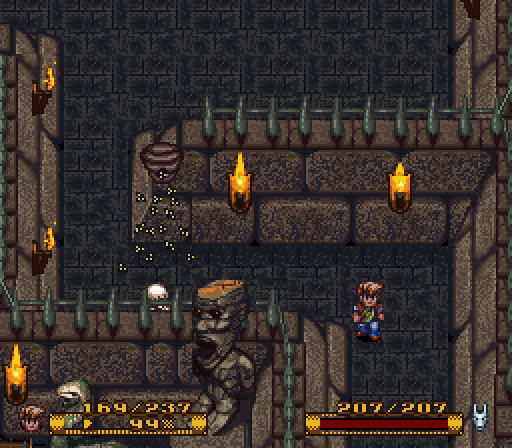
These stone statues, when you step on the wrong tile in front of them, come to life.
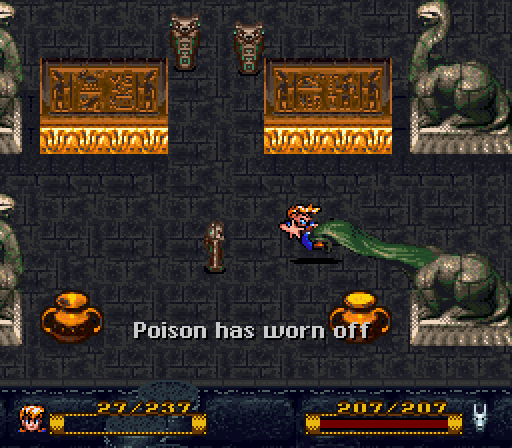
And they will try and eat your face. They can also Poison you!
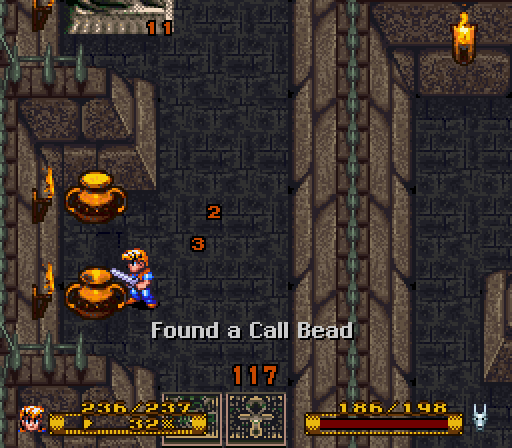
So, instead of fighting them, I come grab this Call Bead and another set of Wings.
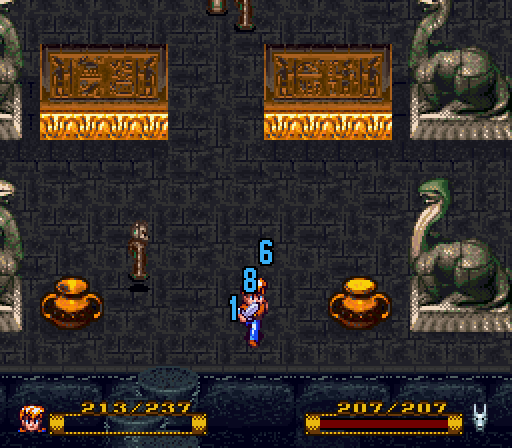
And then I decide to give Crush some more uses.
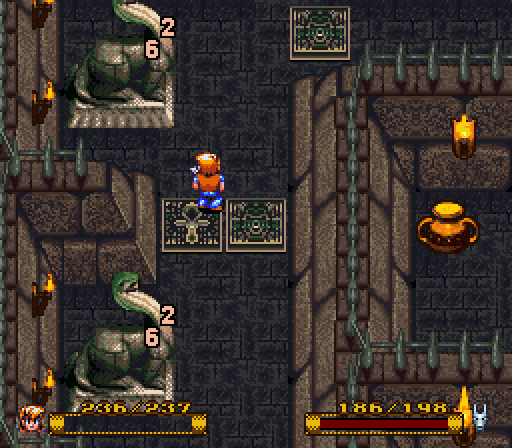
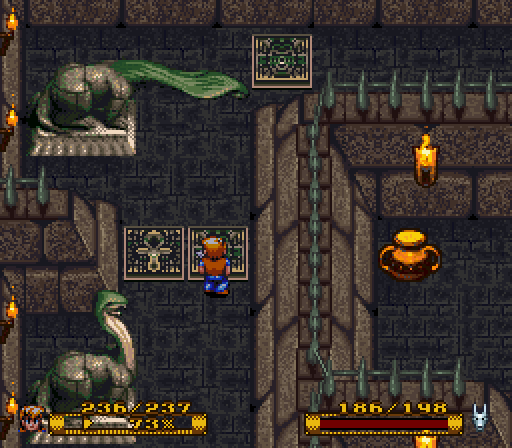
The Stone Cobra has 100 HP, and drops 10 jewels and 100 EXP.
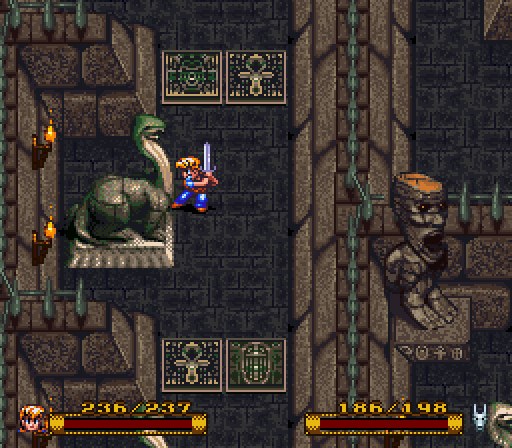
Physically attacking one is a bad idea for two reasons.
First of all, a fully charged sword attack only does 50 damage to them, and I think I got lucky to do that much.
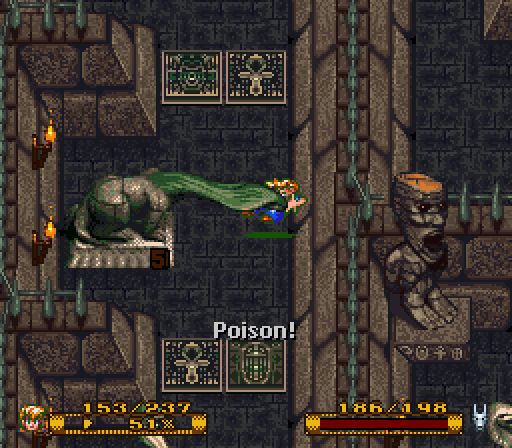
It also puts you in prime position to be attacked; they hit like roided out Conan impersonators.
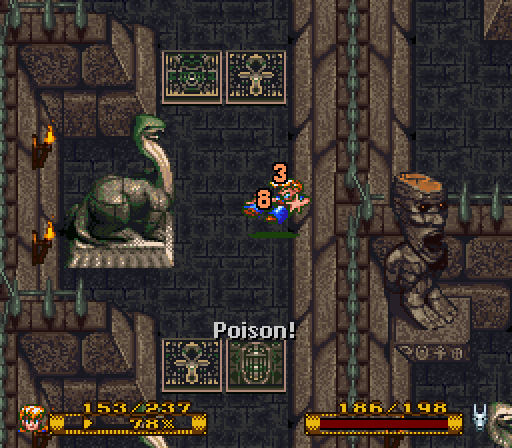
However, I hit much harder than that.


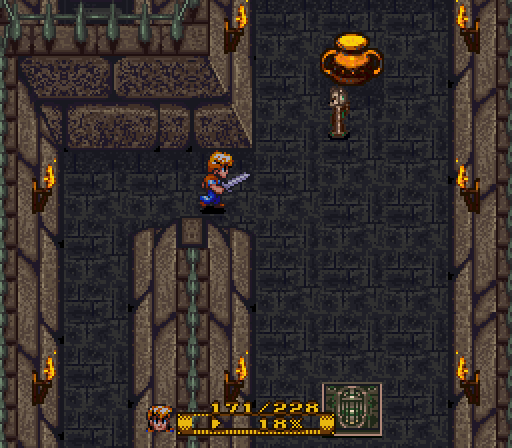
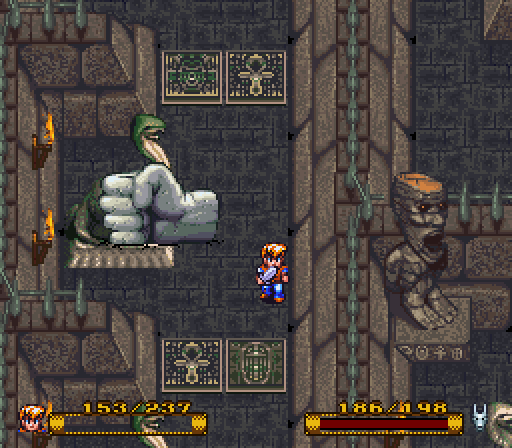
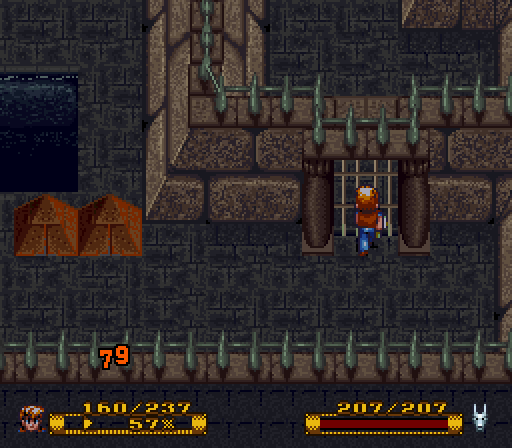
Alright, let's go nab some more treasures.
No matter how I tried, I couldn't get this pot open. Knowing my luck, there was something good in here.
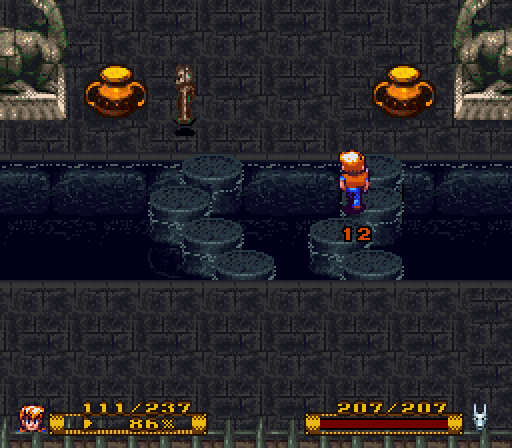
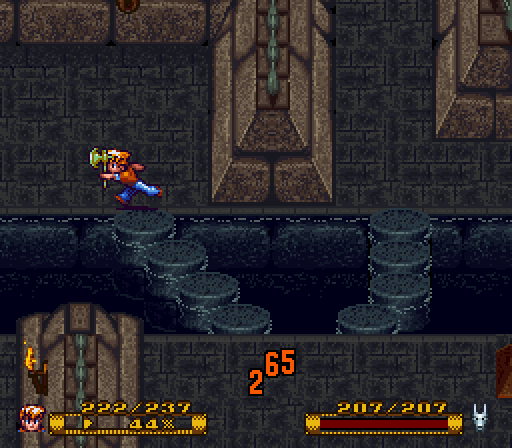
Oh, if you look, you can see the platforms I crossed sinking.
But, hey, a Biscuit is still alright.
Look at York's health; be careful around the Stone Cobras, since they hit hard enough that they can shock you into a game over.
Heal is coming along nicely, though. It's Level 4, so we're not even halfway through fully powering it. I don't know if we'll see it hit Level 9 in this LP.
Though, it's starting to seem likely that Crush will max out.
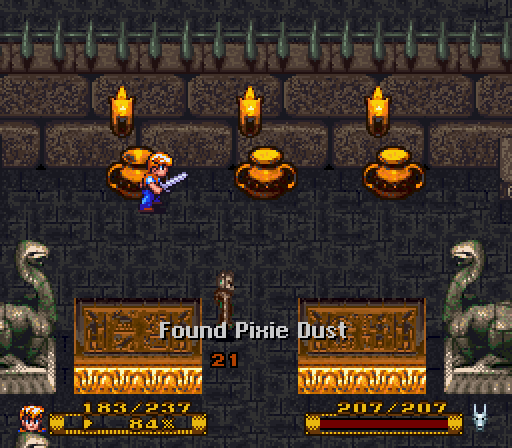
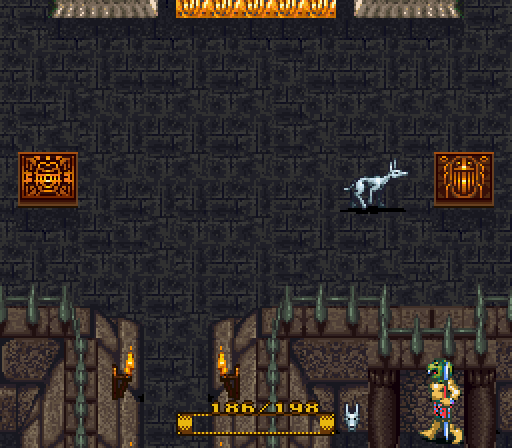
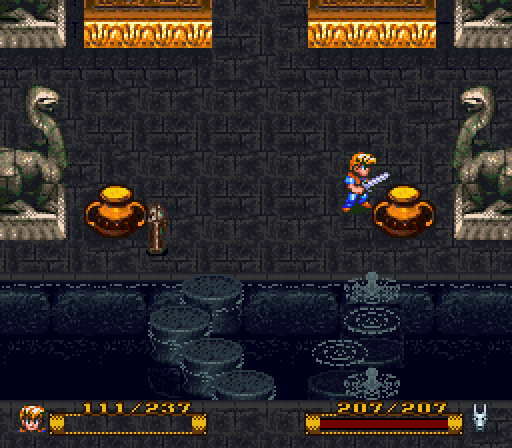
Up top here, we find Pixie Dust, three Bones, and two bits of Wax.
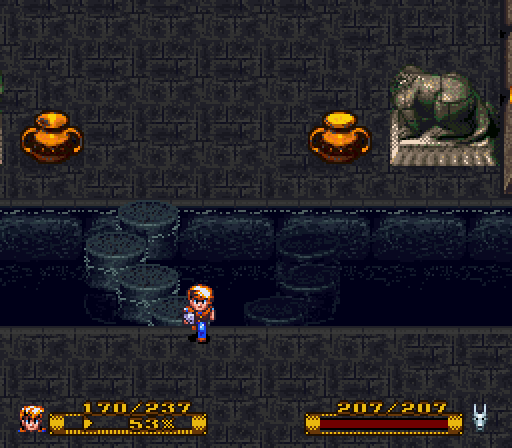
Grab all that you can from there when you head over; after you come back, the other set of platforms sink.
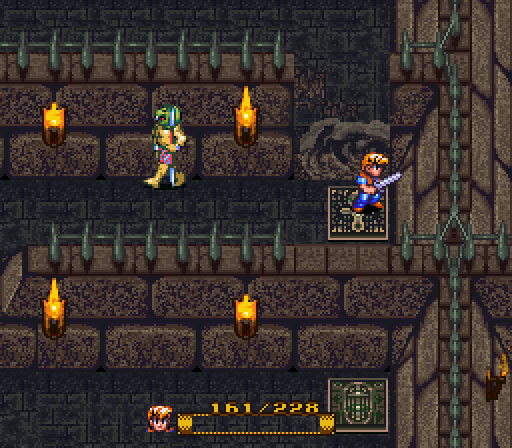
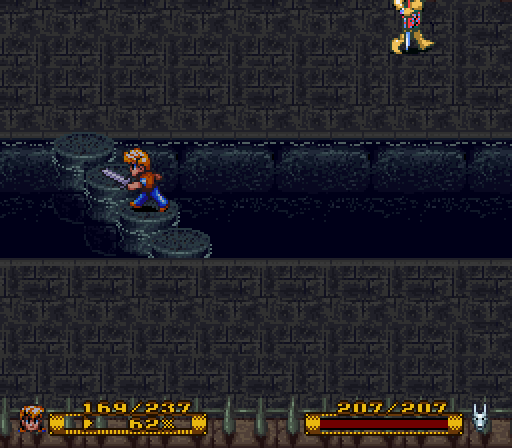
Something about this shot is just hilarious to me.
Over here, we find another gate that Zach has to crack open for us.
Though, thinking about it, I think Zach would be able to navigate around here, since I think he's strong enough to break down the walls.

OH JESUS XENU HAS COME FOR US ALL
Oh, no, it's just this dink.
Err...Dinks, I should say.
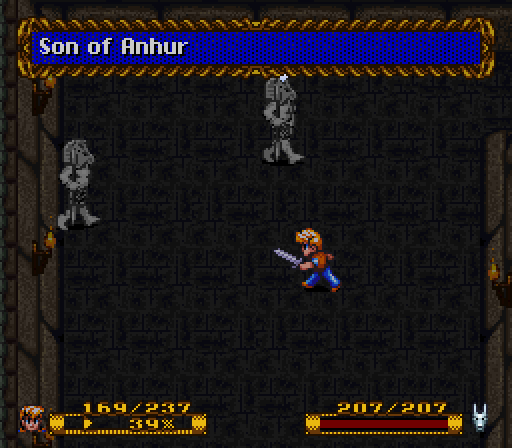
You all know what this is leading to.
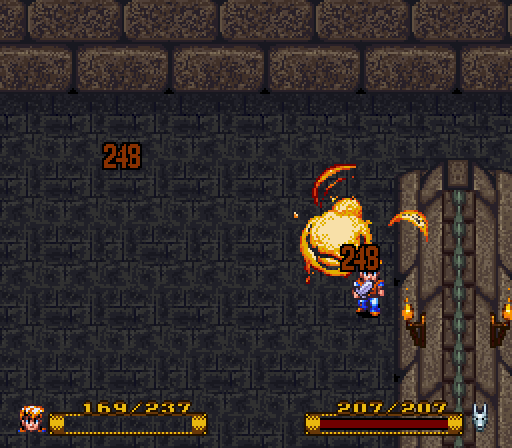
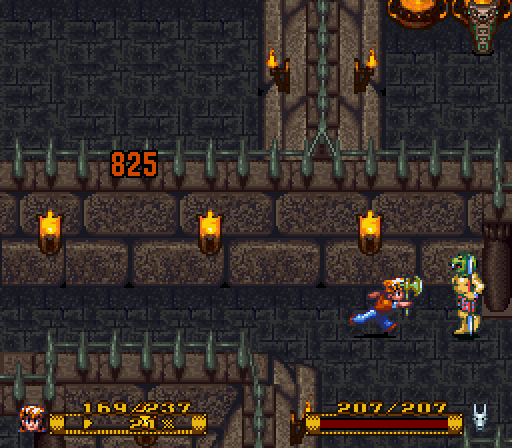
In addition to being named after the Egyptian God of War, these guys are a pair of mini-bosses. They've each got 500 HP, drop 250 EXP and 250 jewels.

Treat them like you would the Sons of Set, and just beat the shit out of them.
You know they were supposed to be important because they fully explode upon death.
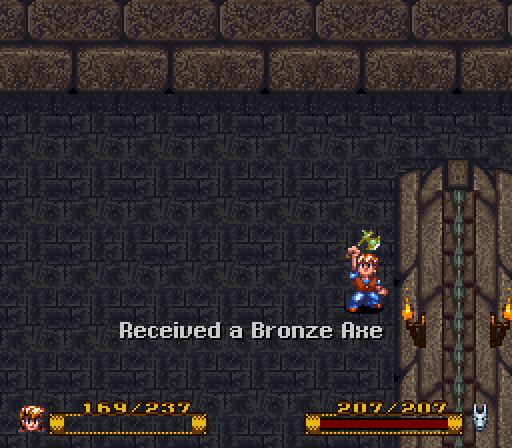
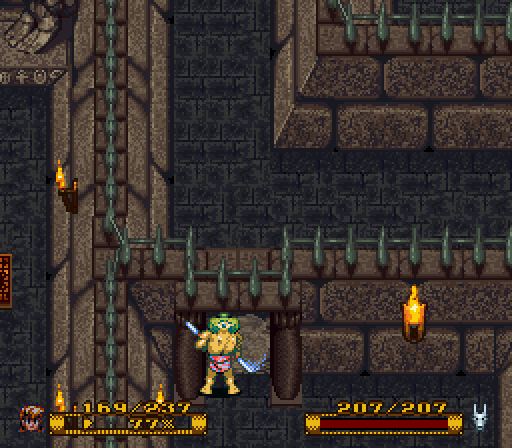
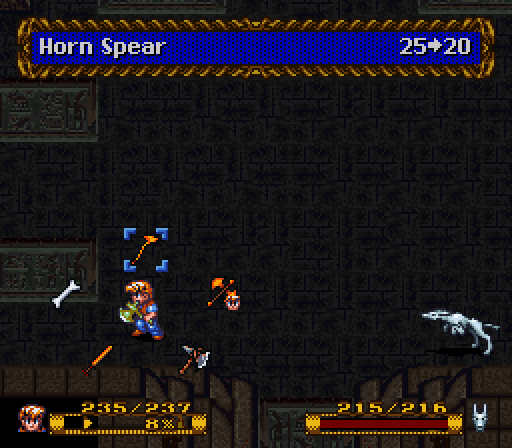
Hey, a new weapon!

With 25 Attack Power, it's technically our strongest weapon at the moment.
You may have noticed some of these stone barriers in the prior screenshots. I'm not sure, since I can't remember if they appear in any of those.
The Bronze Axe is capable of destroying these walls.
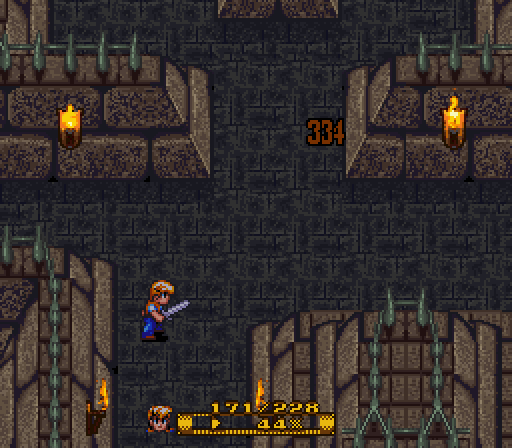
That damage there is from Crushing a Bone Buzzard.
The Axe is powerful, but it has no levels built up.
If I didn't need it to break down these walls, I'd have kept the sword equipped.
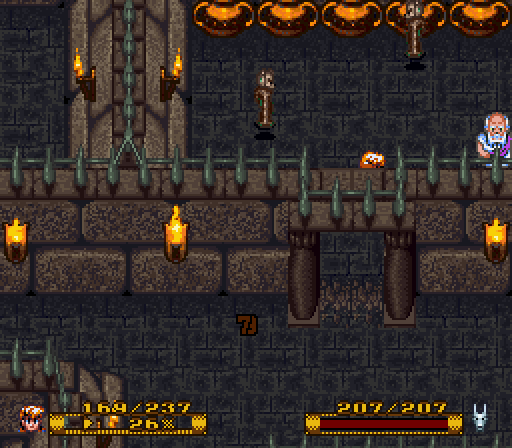
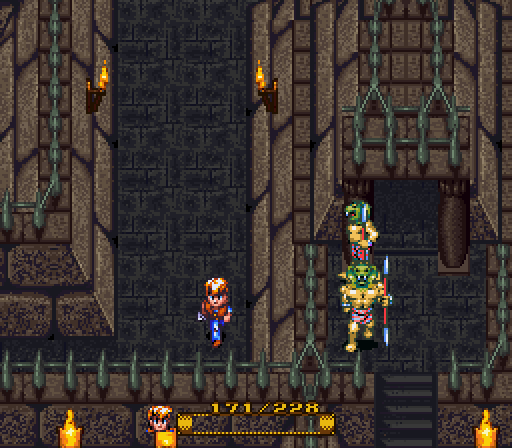
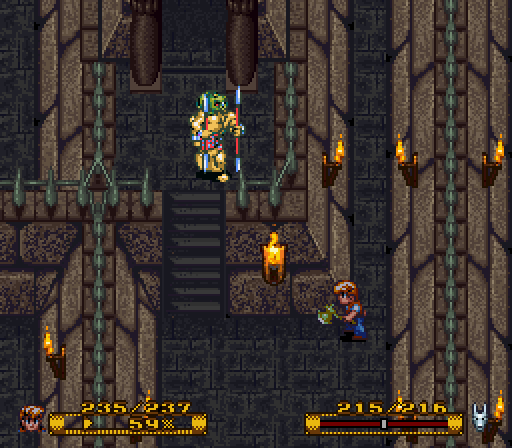
You might be thinking that this guy is a hidden alchemist.
 : attack us in this corner.
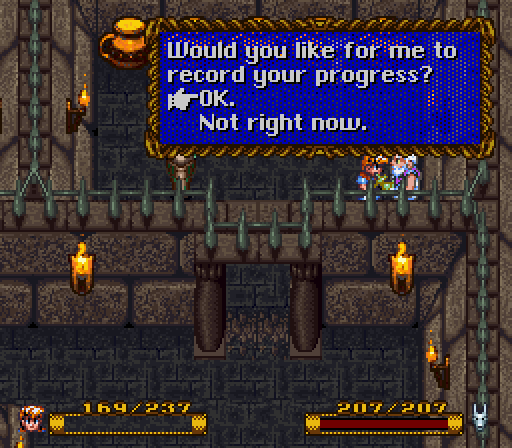
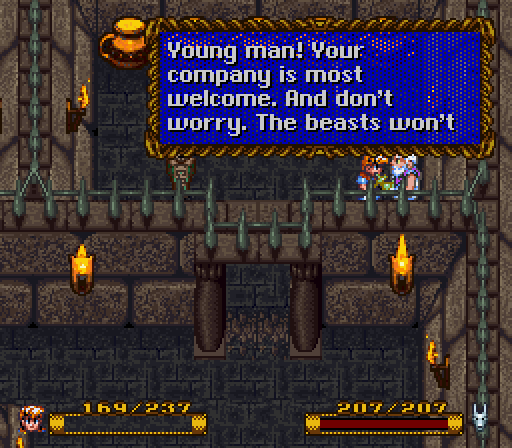
Instead, he's just someone who starts conversations with Village People songs and can save your game.
I'd like to quit here, but we're very close to the end of the Pyramid, so let's continue on.
We also find some Ash, a bit of Honey, two bits of Limestone, and three parts Vinegar in this little treasure trove.
Moving along, we keep blasting bad guys with bees.
So, uh, I bashed down this wall and then didn't wander into the new area.
Let's continue on, shall we?
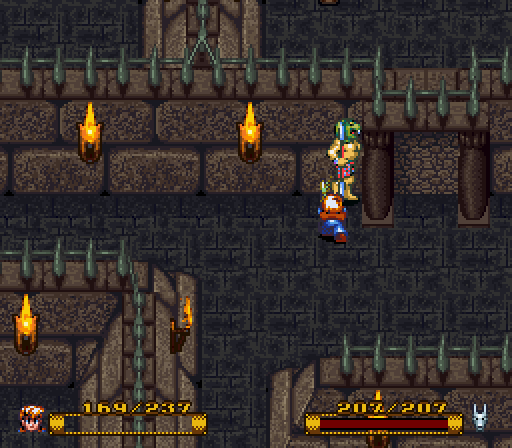
We're actually very close to Zach right now; we could go pick him up, but first, there's something else to go get.
This is the last gate we'll have Zach open.
Ugh. I hope I didn't miss anything important behind that one wall.
There's more Stone Cobras, but who cares? They're not important.
After dashing past the three Cobras, and Crushing whatever poor sons of bitches were there when I arrived, there's a wall to break down.
Oh, Cat Mummies. Like you were some sort of a threat.
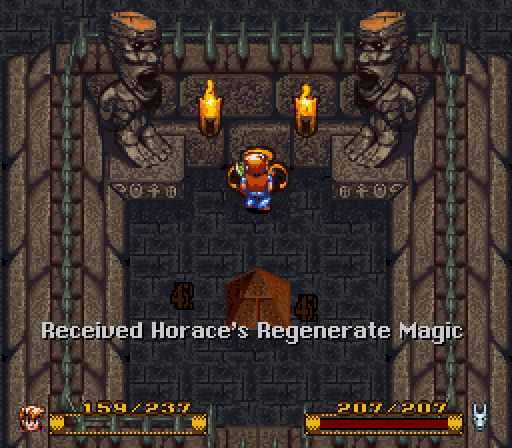
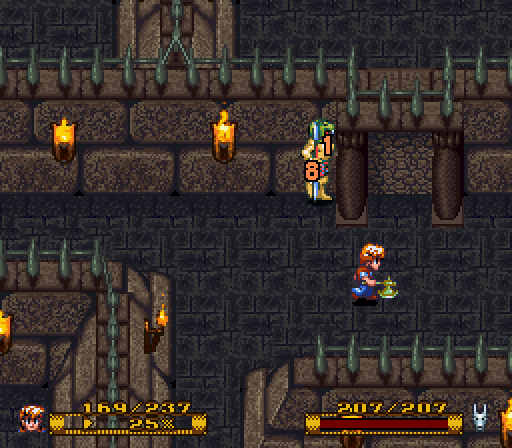
Yep, Horace gets another spell added to his Call Bead repertoire. He's the only one to have this privilege. Regenerate is the magical form of using Pixie Dust; if you're killed, you are revived with 60 HP. It's...Eh, it's there.
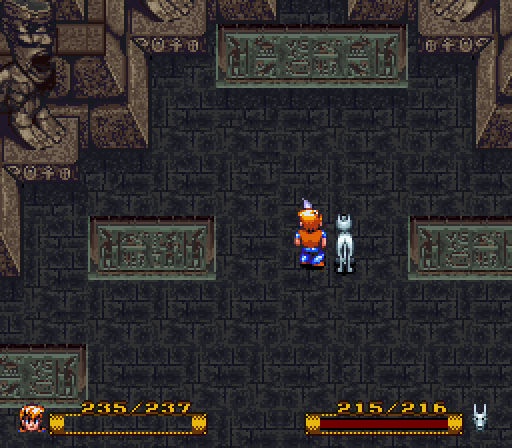
Alright, let's go get our dog and get the hell out of here.
I'm tired of looking at this place. I'm sure you are, too.
Smashing down this wall leads us to the small room he was sealed in.
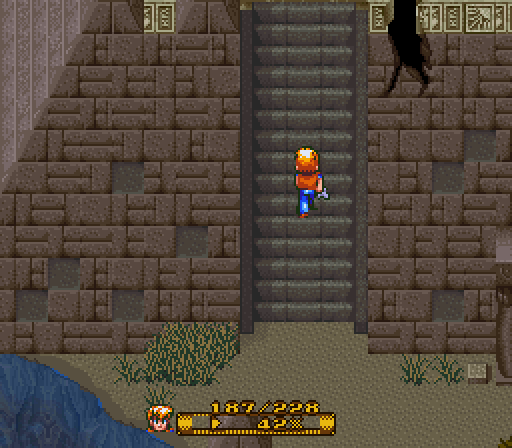
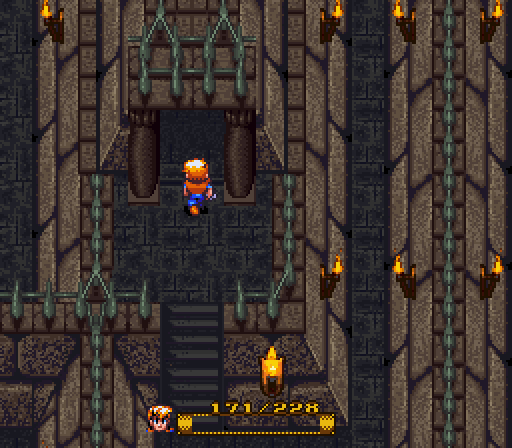
Alright, now that he's reunited with us, let's go fight the boss. To do so, we've got to get back to the top of the Pyramid.
It's this set of stairs way back in the beginning. We've just gotta work our way backward through the Pyramid to reach it. I didn't show it because, fuck, I took 276 shots to begin with, and this is getting long enough.
I have about forty shots left. Good God, what did I take forty more shots of!?
Oh, whatever, let's hit these buttons and get inside.
 This video starts at the entrance here and goes through the fight!
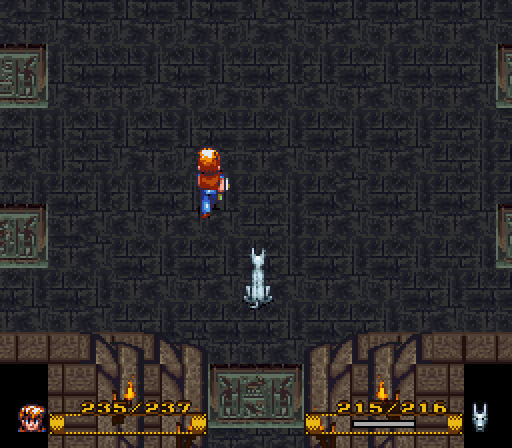
Yeah, this is a boss fight room if I've ever seen one.
Complete with odd symbols carved into the floor. No, wait, those are other tiles that are just set into the floor.
I remember this fight being a touch more difficult than it turned out to be, so I went back to the weapon that has the most range, in case I needed it.
Alright, let's collect our first Diamond Eye.
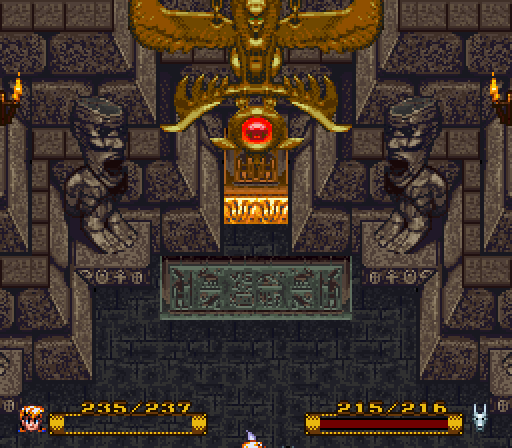
What in the hell is that?
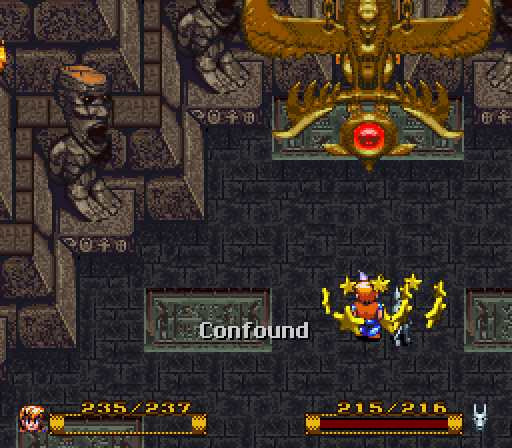
Confound doesn't really affect our AI partner, and since it's just input reversal, it's not even that much of a detriment.
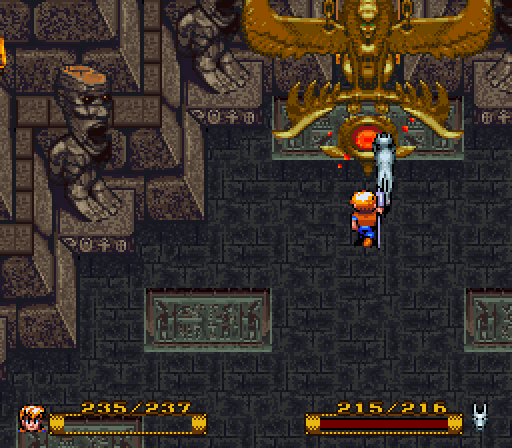
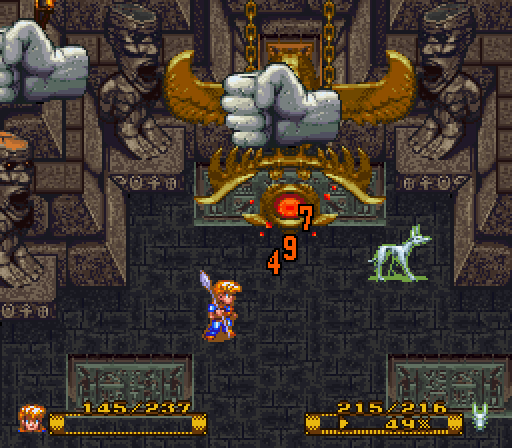
That's the Eye of Rimsala, and it has 1,200 HP.
Which Zach nearly ripped in half in a single attack.
And we contribute a little bit, too.
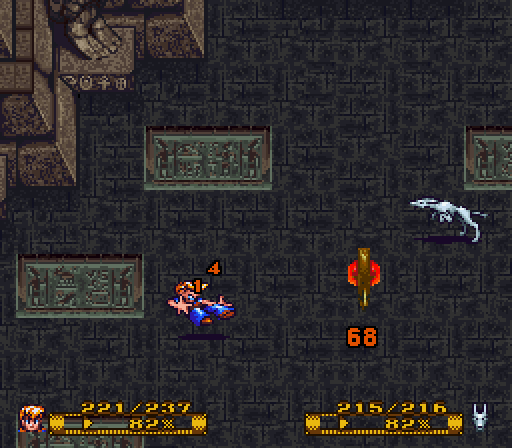
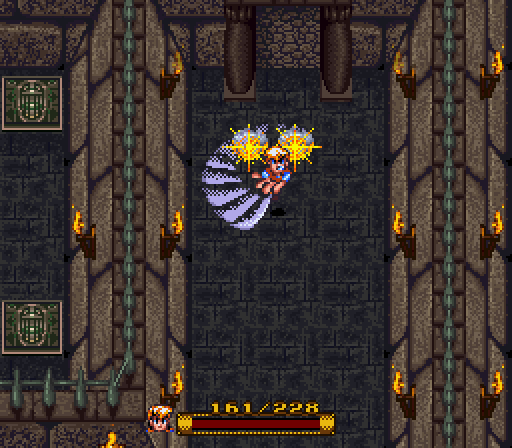
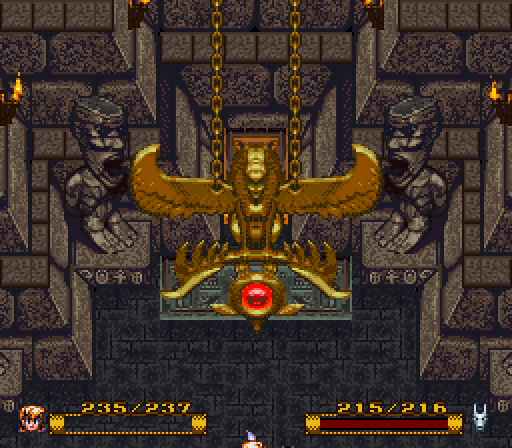
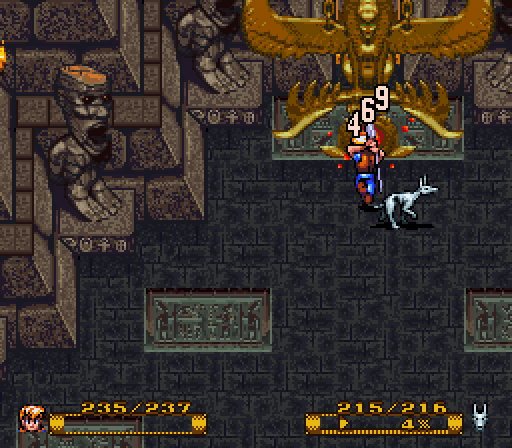
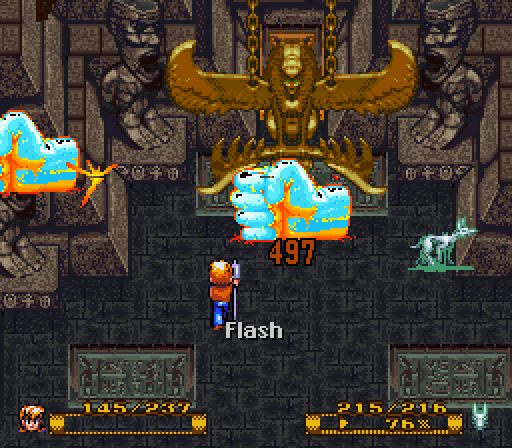
After those two attacks, the Eye comes out of its housing to spin around and attack.
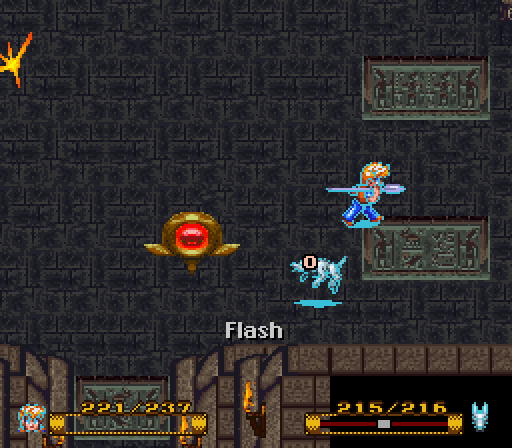
The statues around the arena can throw Flash at you. It's pretty easy to dodge, as long as you outrun the spark.
You'll notice those statues have glowing red eyes. It's not super important, but it's kind of neat.
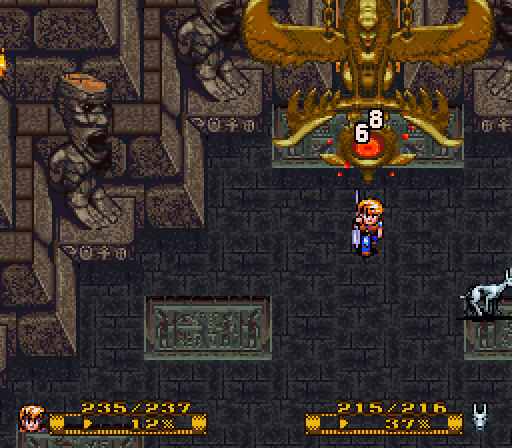
They only have a single hit point, but overkill never stopped me from Crushing something before.
Speaking of overkill...
If you watch the video, you'll see how easy this fight is. As long as you have an alchemy spell decently powered, such as Crush or Sting, this fight won't last very long.
And things get kind of interesting when there's a lot of spells out on the screen. Seiren told me a story of how she hardlocked the game during this fight, due to the amount of alchemy being flung about.
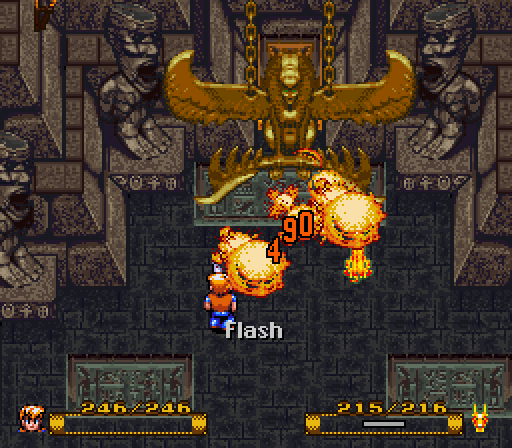
And that last Flash hit Zach, which is why he's on fire here.
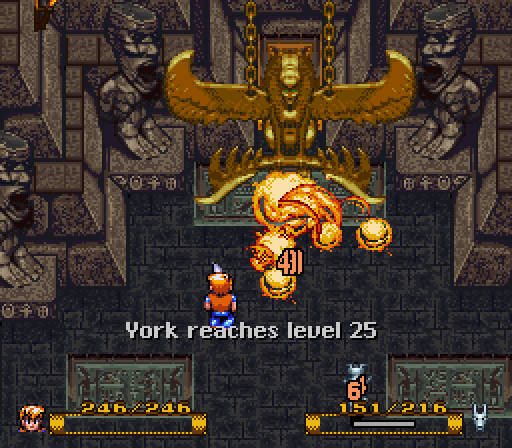
Rimsala gives 1,200 EXP and 1,000 jewels upon his defeat.
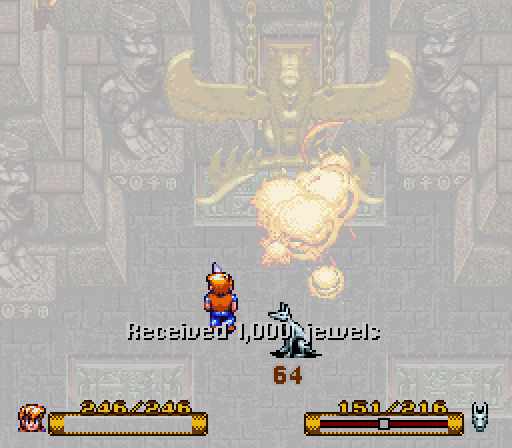
And explodes, since bosses in these games can't just lay down and die. It's not dramatic enough or something.
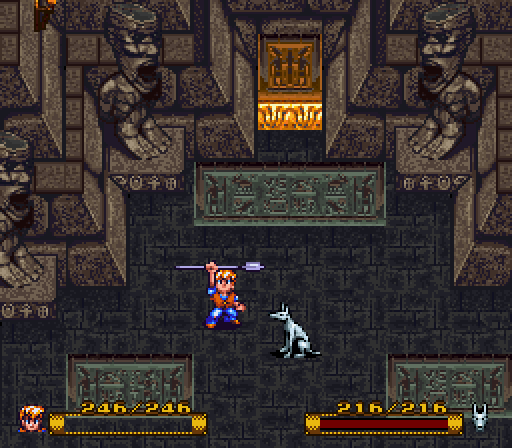
And York poses like a nerd, as he always does.
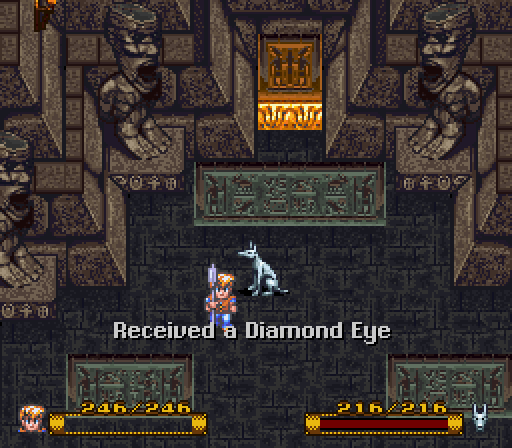
We get our first Diamond Eyes!


Upon exiting this room, York and Zach automatically leave the Pyramid, which is pretty nice. It'd be a huge pain in the ass to have to walk out of all that, again.
Let's pop back to Horace's camp. It's a good base.
And I could have walked over this and gone to the camp manually, but this feels like a shortcut.
Shut up, York. We're nearly done having to use that shit.
Yes, ma'am, that'd be rather nice.
Alrighty, folks, next time, we'll be doing the Halls of Collosia! Stay tuned!