Part 7: Update of the Living Dead
I'm not dead, nor have I abandoned the LP, but all the term projects are due this week, and finals occupy the two weeks after that, so until mid-april I guarantee nothing. (And all of my finals are at 0830. )
)7: Update of the Living Dead
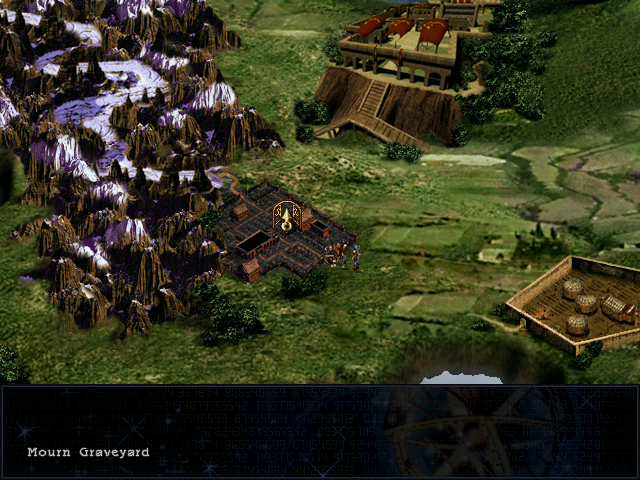
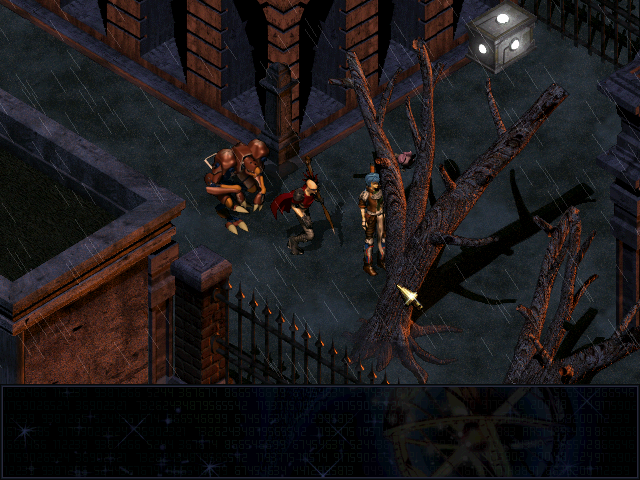
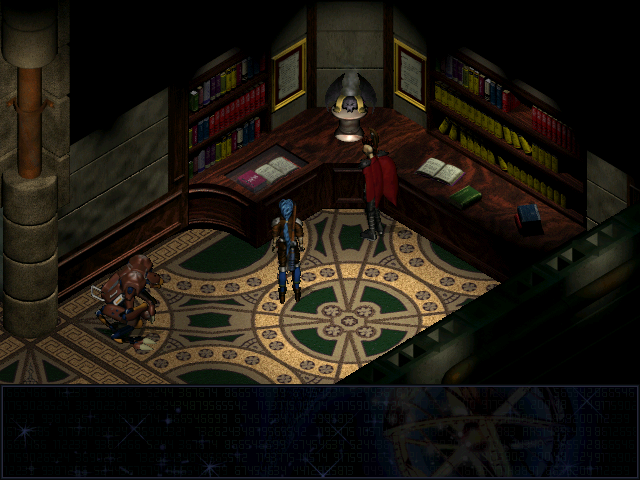
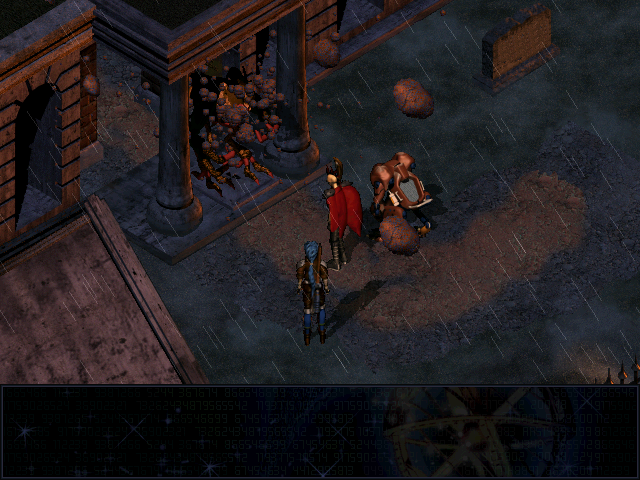
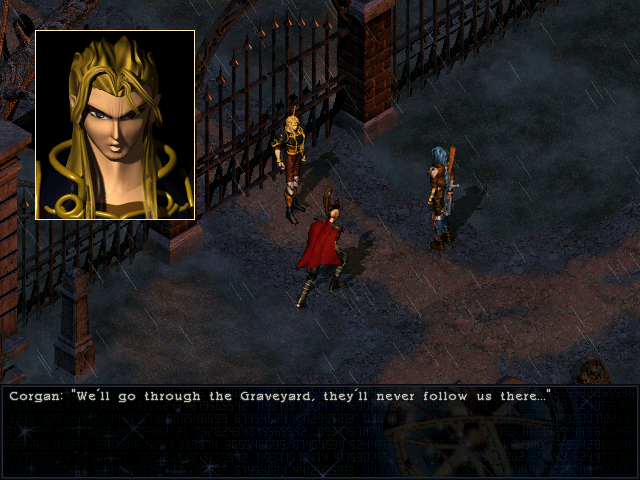
To recap: when last we saw our heroes, they were preparing to enter the graveyard, hoping to find a path through the catacombs to the cathedral in Wind City so that they can warn the Holy Guard about Dugan's plans to wipe them out with the help of Doskias in exchange for letting the latter use Wind City as a base of operations.
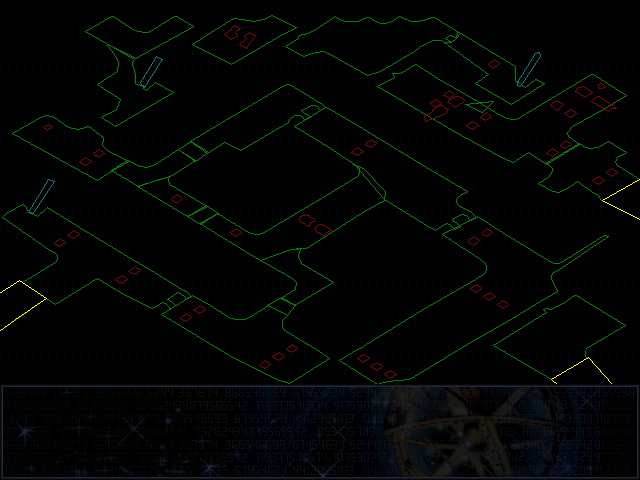
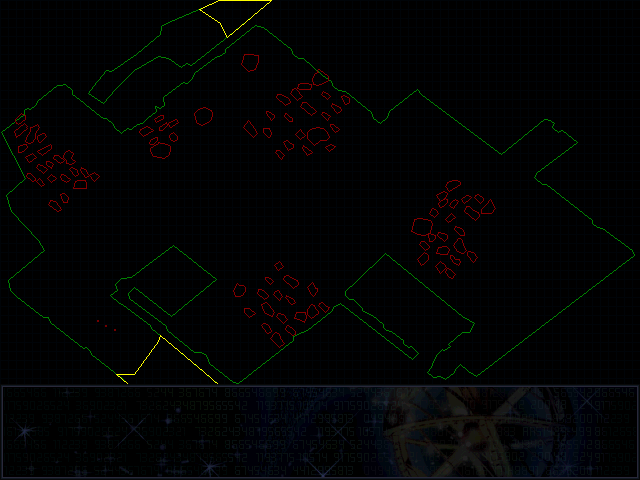
Nice looking place, no? That area in the upper right looks interesting, and is our first target.
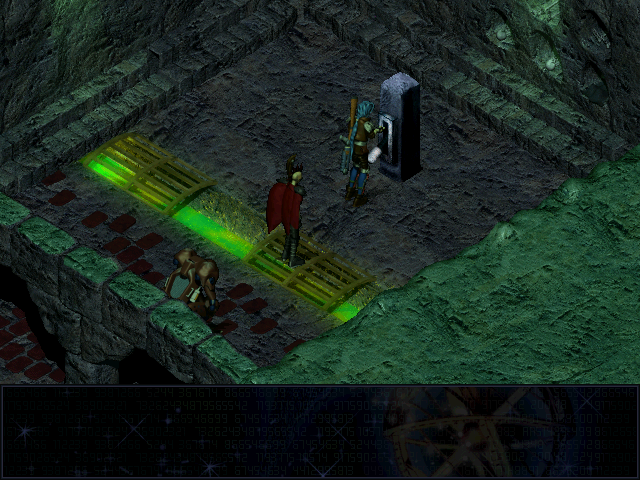
Slipping between these two structures lets us into a small side area containing a chest and a bird. This is no ordinary bird; it's the first of the ten we can feed.
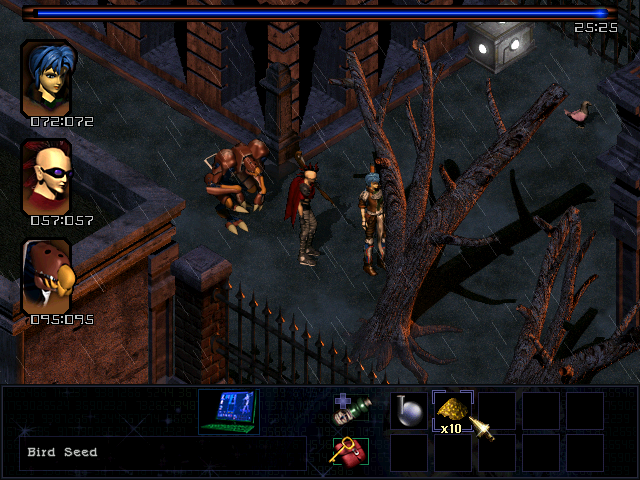
Sated, the bird flies off. We'll find out where to much, much later in the game. Cracking open the chest reveals a Silver Clove, an accessory that reduces damage from the undead; Grubb, as our most fragile character, gets that.
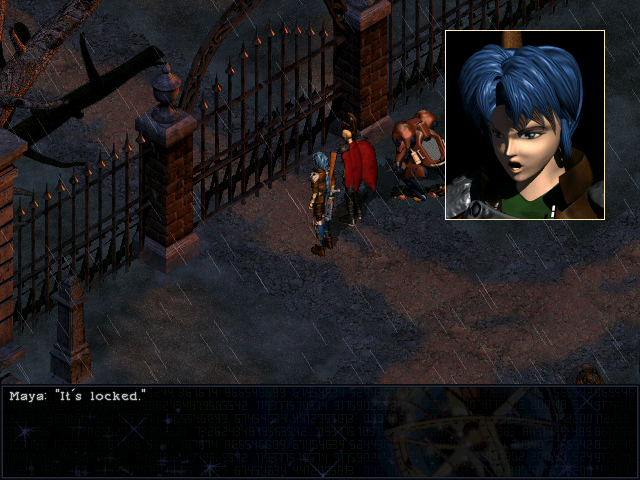
Returning to the graveyard finds us a locked gate to the north...
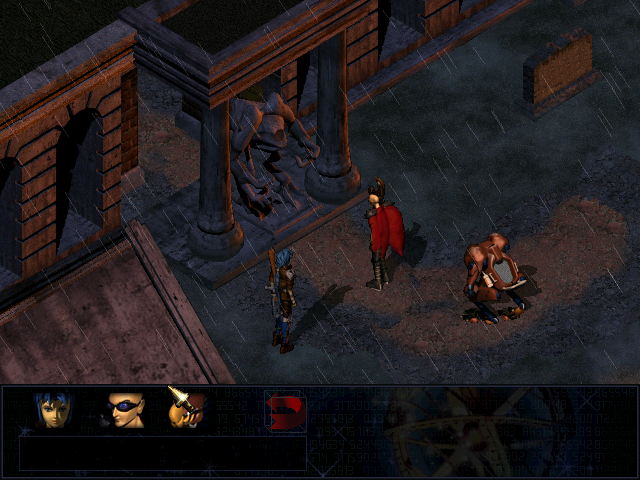
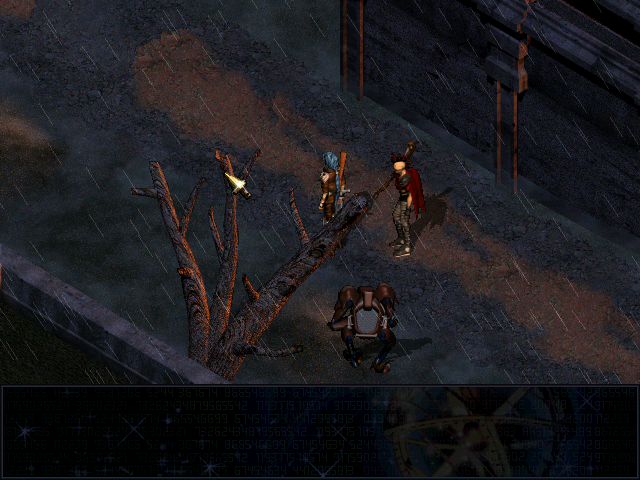
...and a headless statue to the northwest. It looks like the path continues past it, but we can't squeeze past for some reason.
 Where's the head?
 There's some mechanisms inside this statue. Can you activate them? I think there's a piece missing... I'll bet the secret lies in the missing head.
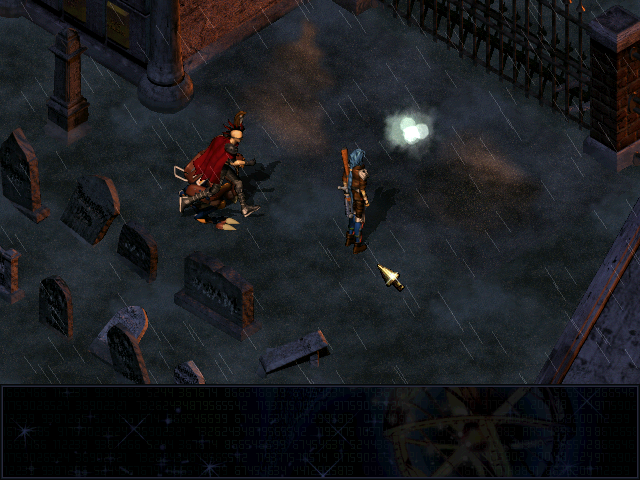
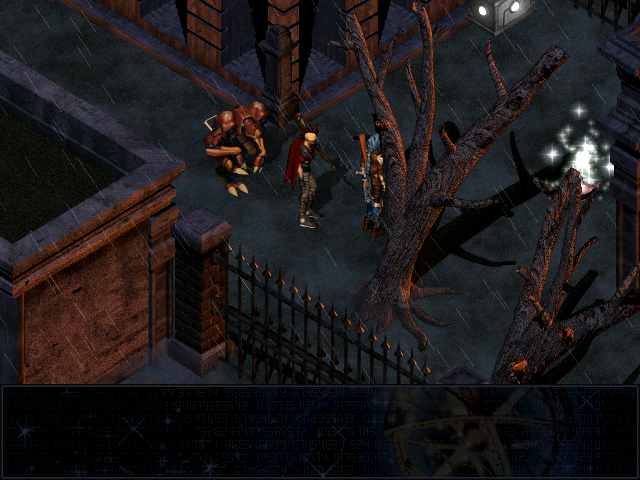
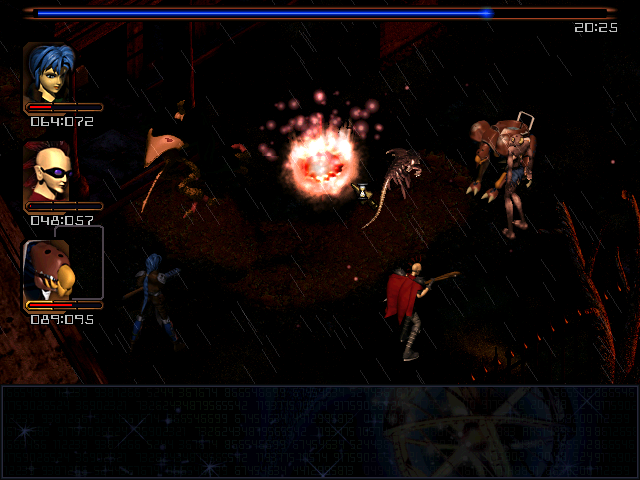
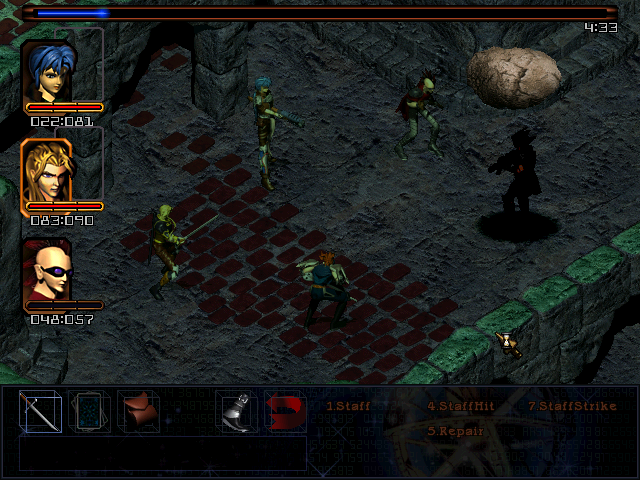
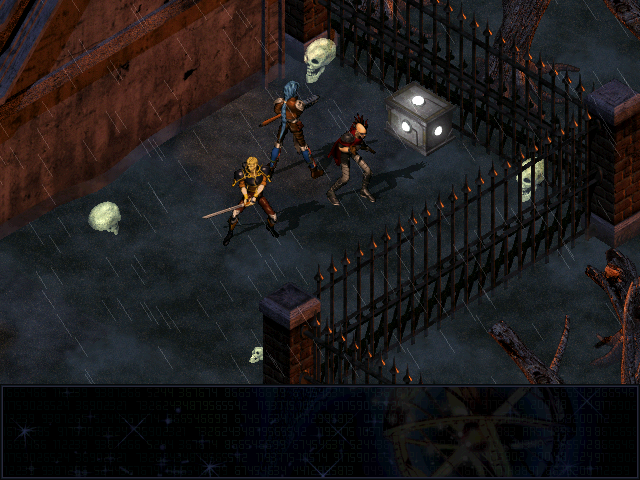
The final point of interest in the graveyard is this ball of light, to the right of the entrance.
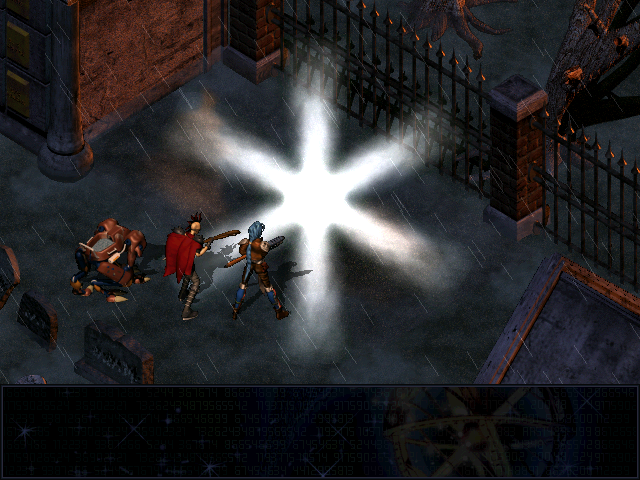
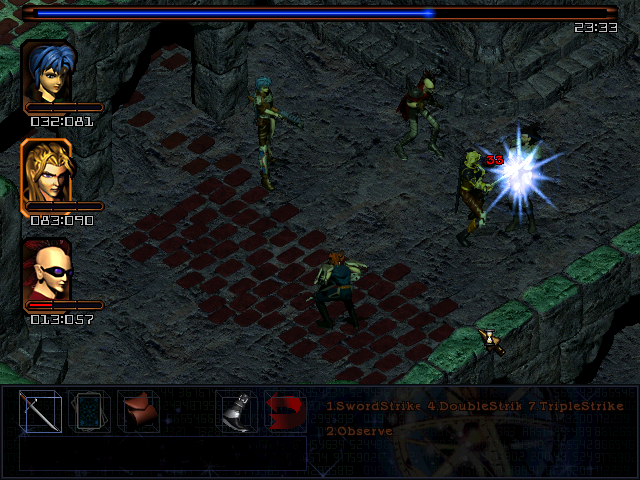
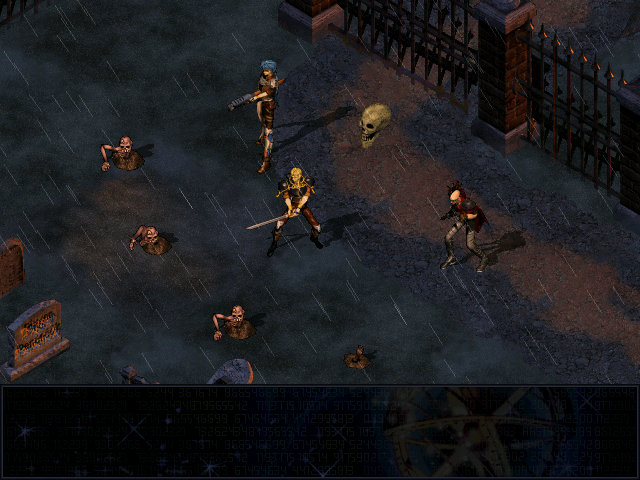
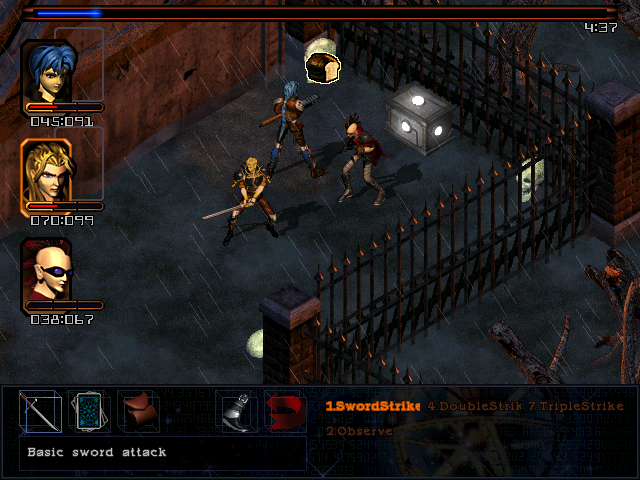
Examining it prompts a flare of light followed by a zombie. The fight doesn't really come across well in screenshots; there's a video here, but you're probably better off waiting for the upcoming boss fight. Suffice to say that the zombie takes a few steps towards the party...
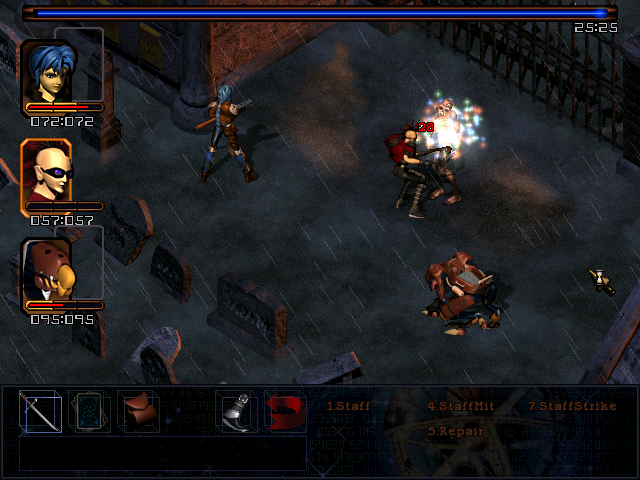
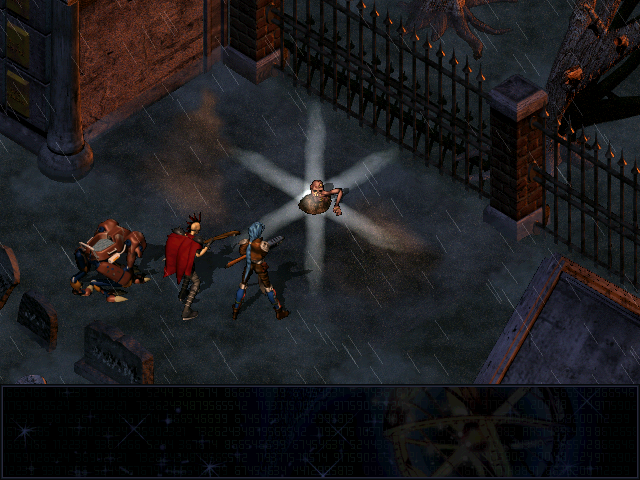
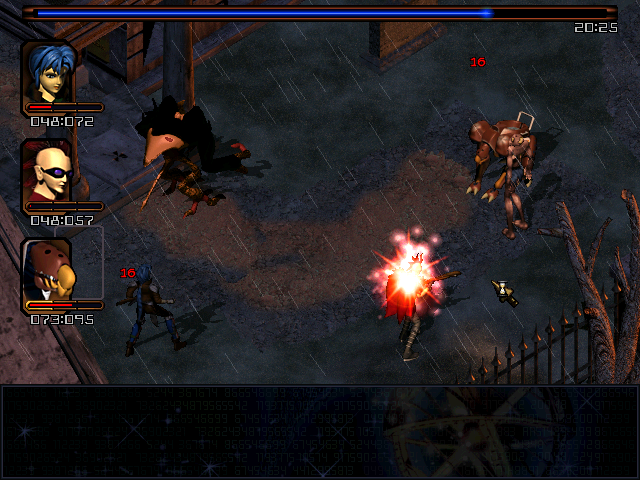
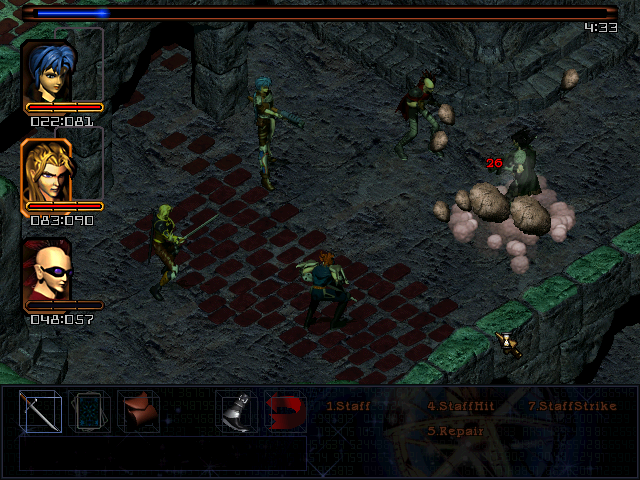
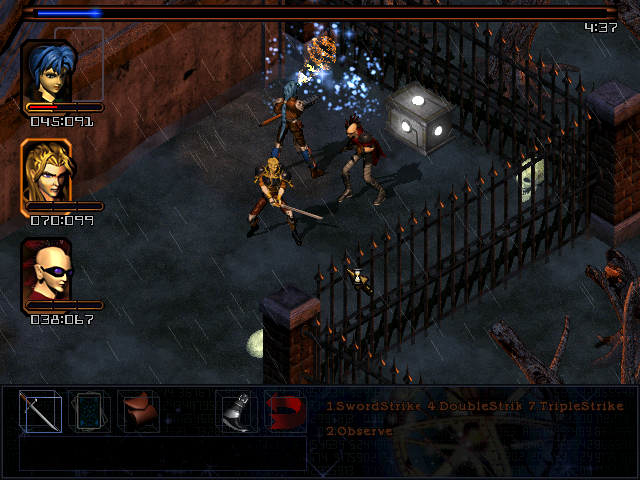
...who apply violence, and it goes down in short order.
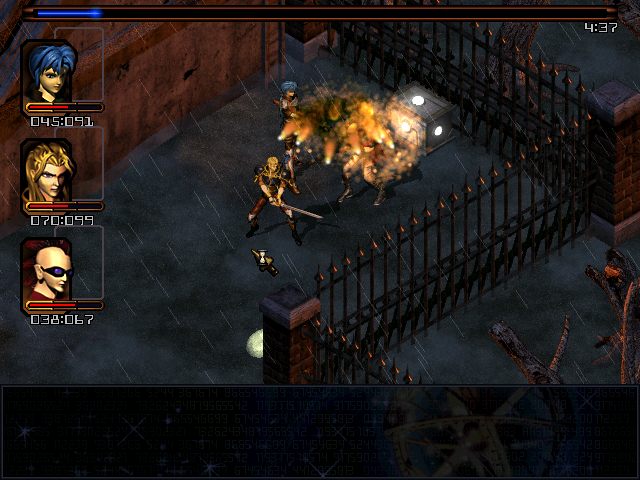
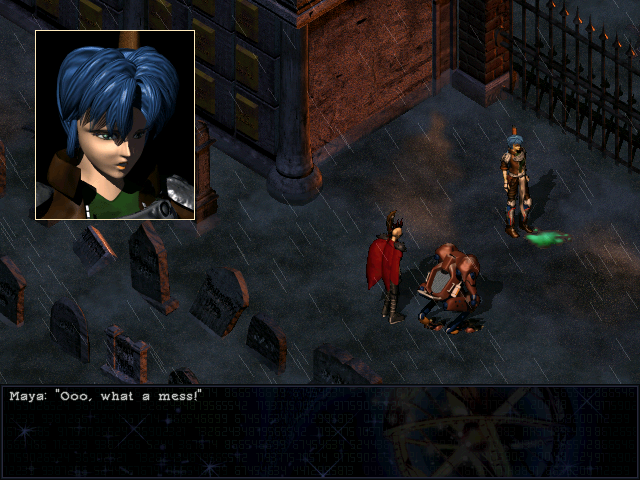 Cool. The blood is eating up the grass like an acid...wicked.
If you didn't read Alchemy in Modern Times in the library, Grubb brings the info: zombie blood is highly corrosive. This is what the Acid Vials are for, and I fill both. (We only need one, but I like having an extra as a souvenir.)
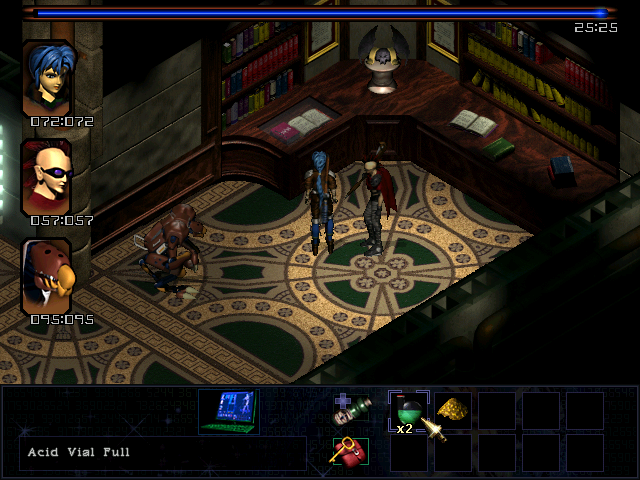
A quick run back to the library and we're ready to retrieve that stone head!
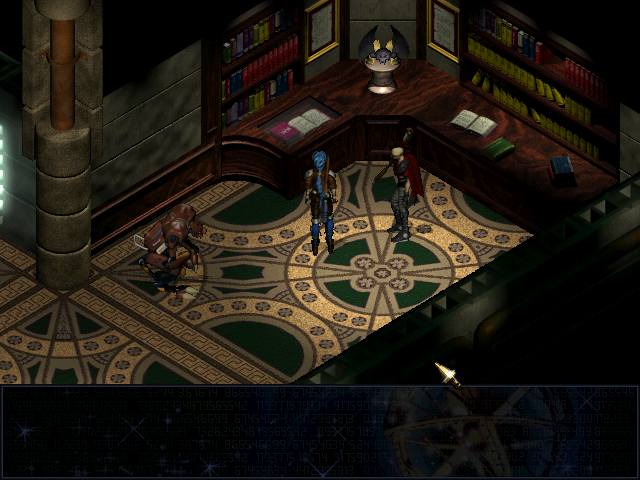
Head acquired, all that's left is to go back to the graveyard and attach it to the statue.
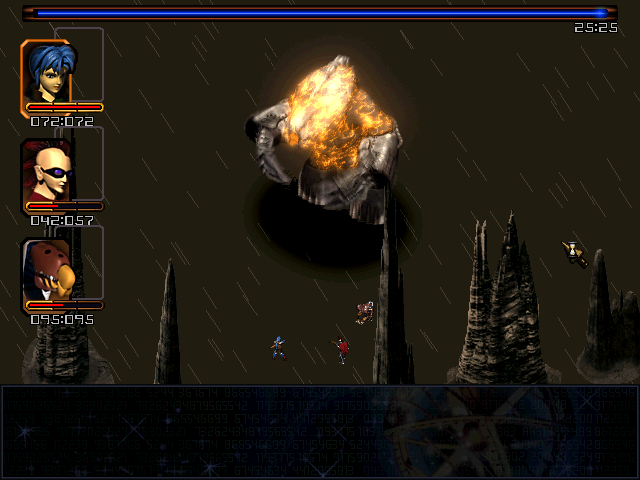
With the head attached, the statue shakes violently, and then its outer layers explode in a shower of rock to reveal...a boss!
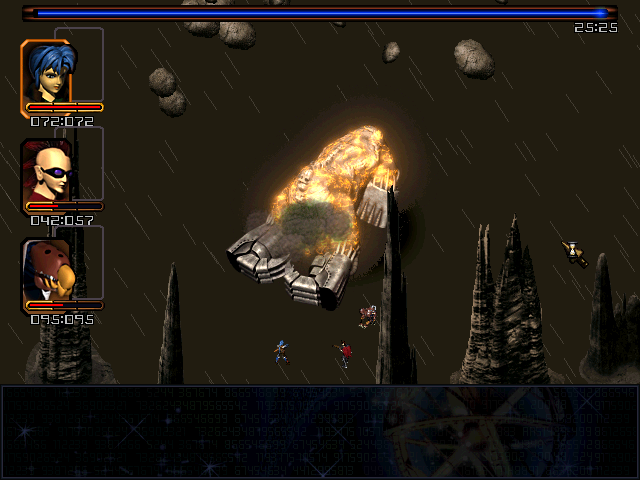
 Boss Fight: Draxx Statue
This guy has a whole bunch of attacks, and I've never been able to get him to use all of them in one fight, so the screenshots are actually taken from multiple different fights (and the video shows only one of them).

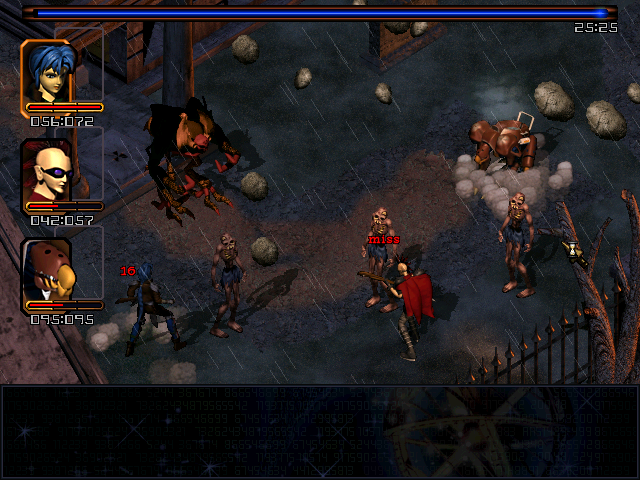
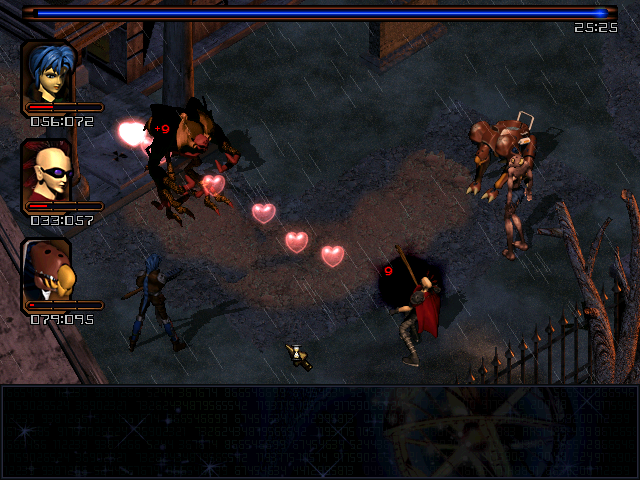
First of all, he can summon zombies, four at a time.
This fight is where you first learn why zombies are one of the most hated and feared enemies in Septerra Core. You see, zombies are one of the few enemies that actually move around; they need to walk up to a character before they can attack. This almost completely negates them as a threat, as most of the time you can drop them before they get into range.
The problem is that "shamble towards someone" is an explicit action, not something that happens in the background.
What this means is that each time a zombie gets a turn (which is often):
(1) combat pauses
(2) the zombie walks a few slow, halting steps
(3) the zombie stands there swaying and gurgling for a few seconds
(4) gameplay resumes
You really have to watch the video to appreciate how horrible this is.
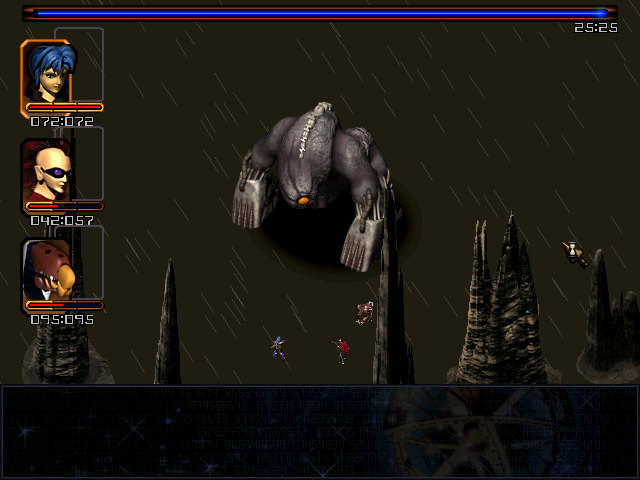
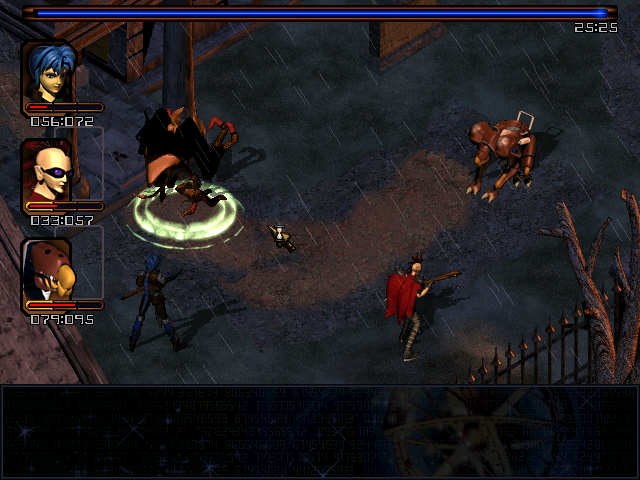
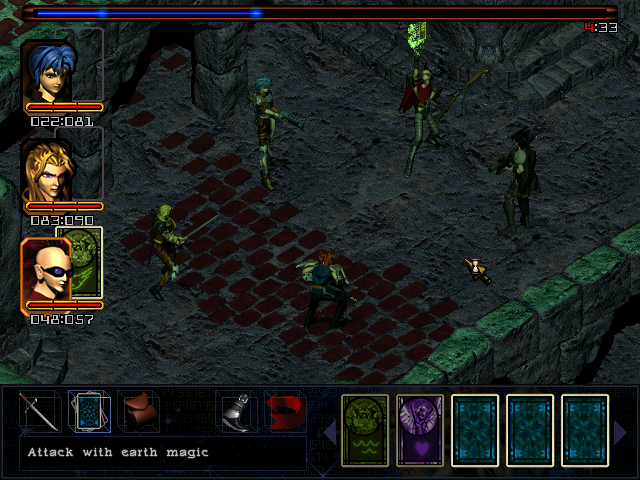
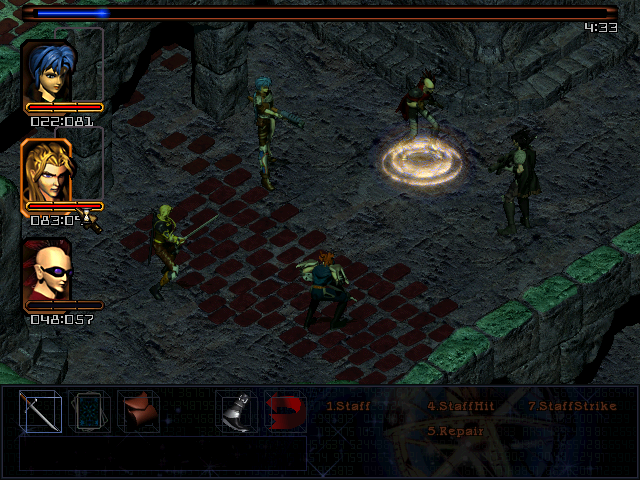
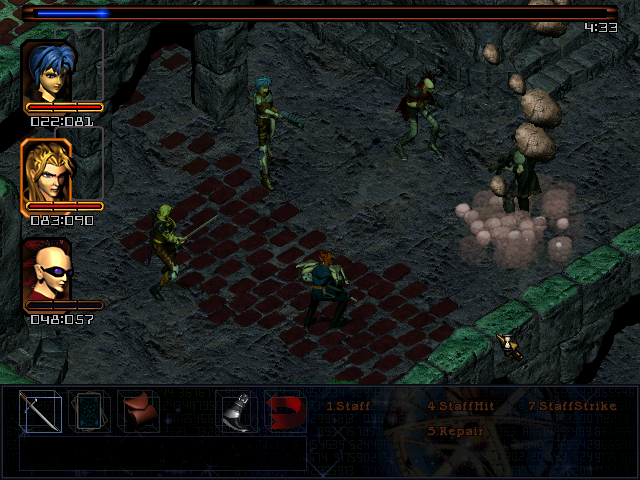
He has the Earth card, allowing him to cast Geo Strike, a basic earth-elemental attack spell. However - and I didn't even know this before recording this fight - if he has zombies out, he'll sync with one of them and use two cards, casting Summon Humbaba and calling forth the elemental personification of earth to curb-stomp you. (He's also cheating: normally you need three cards to hit everyone with this spell, but he pulls that off with two. )
Fortunately, it doesn't actually do that much damage, and it can miss.
He can drain life from one character, hurting them and healing him.
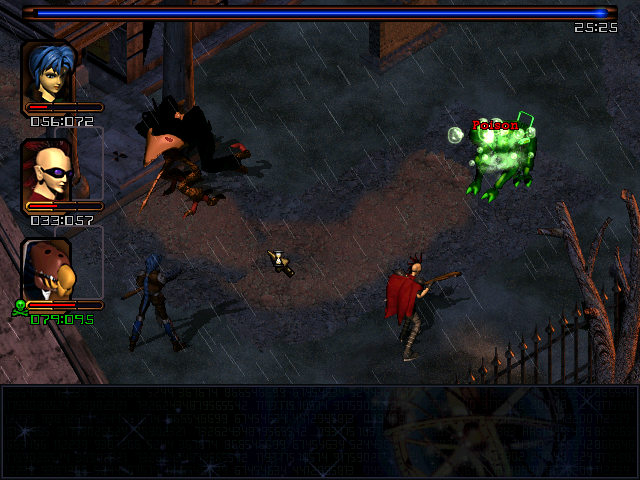
He can inflict Poison at will.

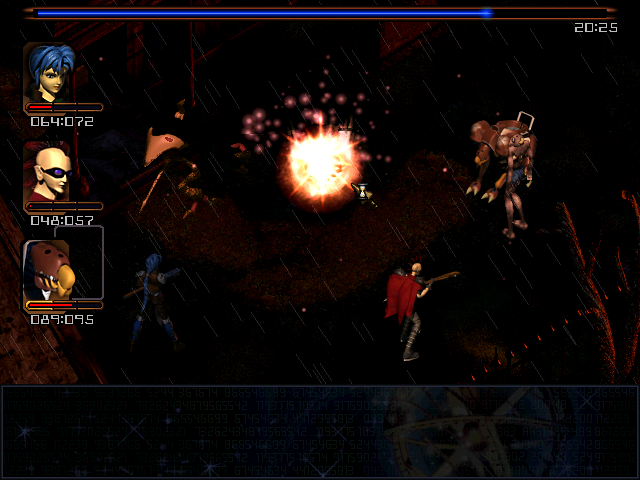
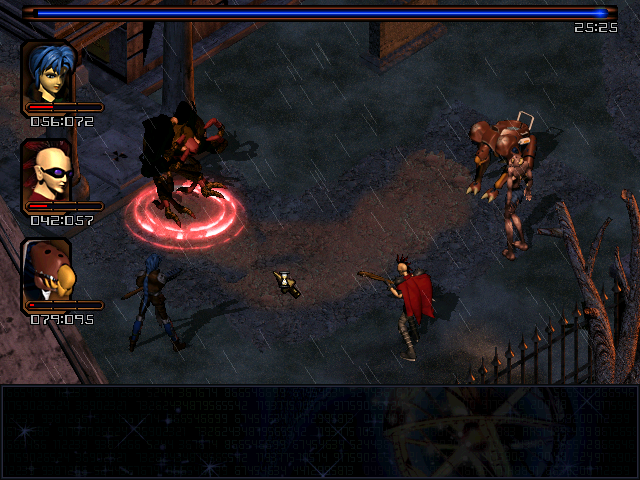
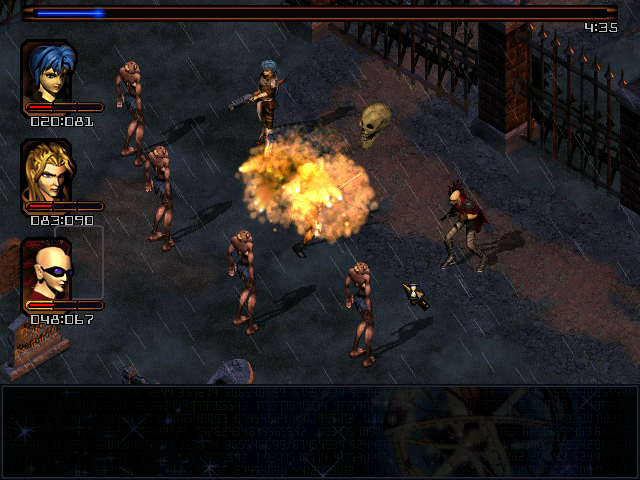
Finally, he can summon daemons, which does about as much damage as Summon Humbaba but doesn't require the help of a zombie.
I'm pretty sure he can also spit fire, but I fought him several times while making this update and couldn't coax him into doing so.
The statue is finally dismantled by Grubb, providing a pleasing sense of symmetry.

This scores us the Earth card, which - in addition to being a different element - is more powerful, and more expensive, than Water. We still can't make any combo spells, though.
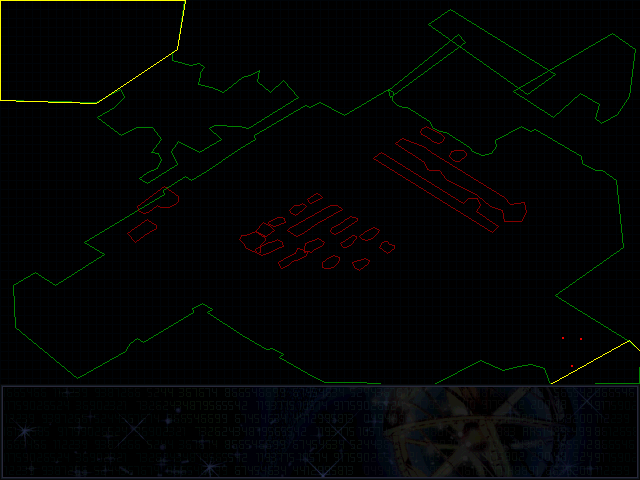
Heading down the path this reveals leads us into the Catacombs proper. Once again, this is a large area, but most of it is inaccessible.
Taking a few steps in presents us with four zombies. If the statue fight wasn't painful enough for you, I've also recorded this one; you really should watch at least one of these just to get a sense of how bad zombie fights are in this game.

Heading right at the intersection takes us to this lever, which opens a door to the north. Running through it greets us with three zombies, a fight I'm not even going to bother providing screenshots for, and if we bear left from there, this happens:
These guys are Ghosts. They have less health than zombies, but more armour, and can attack without waiting to walk towards you. They do around 8-12 damage with their attacks and can also spit fireballs for splash damage, although these two decided not to.
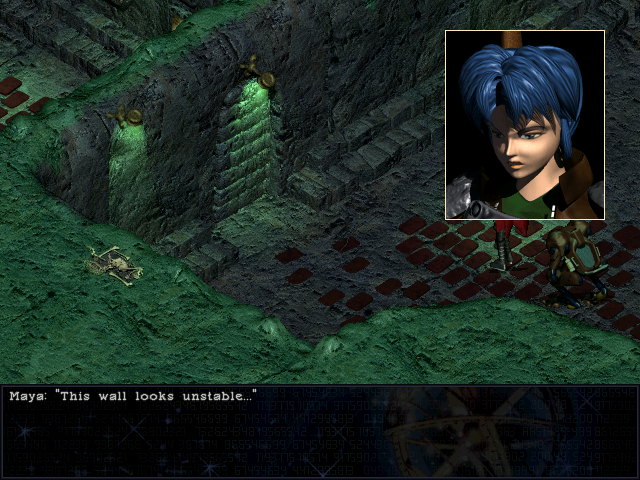 I'll bet a well placed bomb could bring down this whole wall.
Behind them is this bricked-up doorway. We don't have any explosives yet so we'll have to backtrack and head right from the doorway...
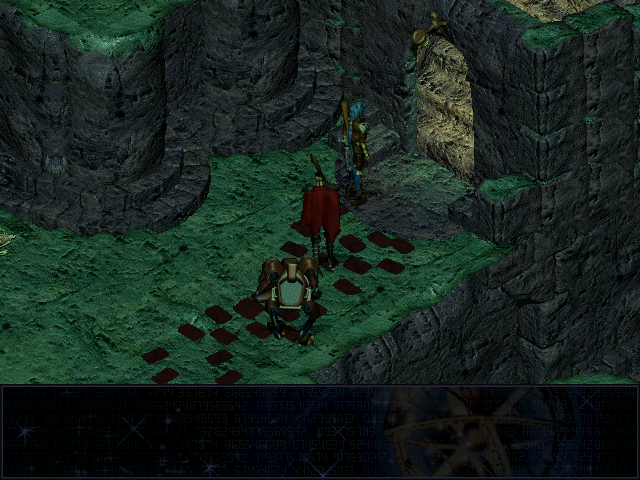
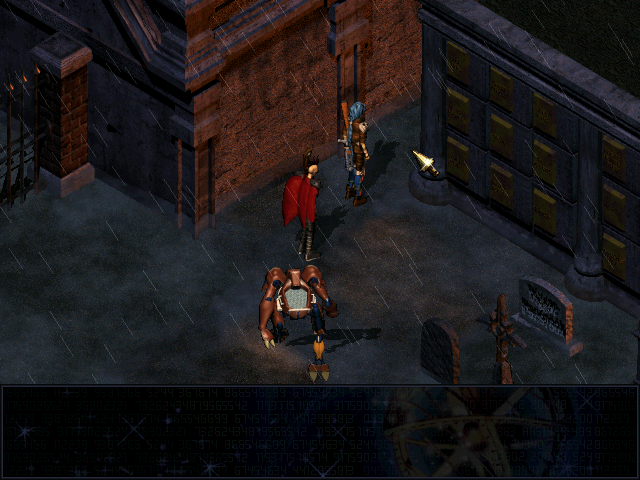
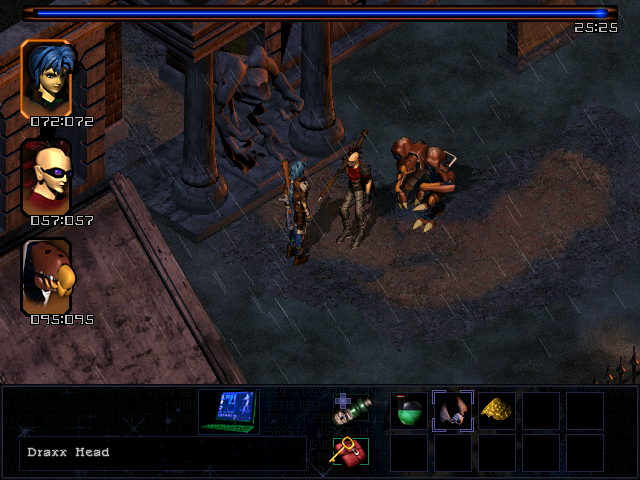
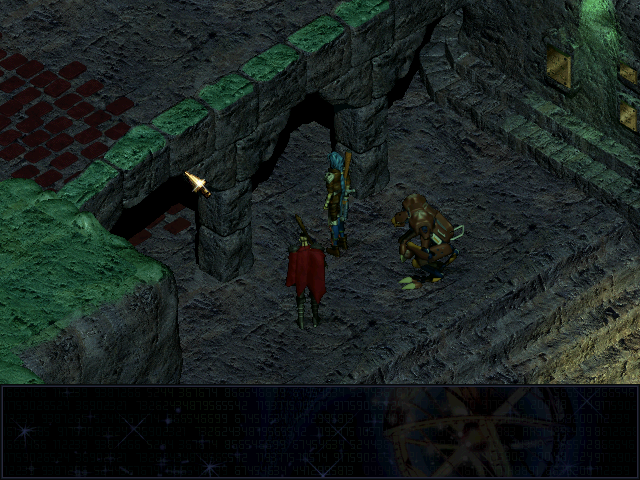
Where we find a rear entrance to the cathedral.

 There's no time to explain. I've come to warn you of a coup, led by Dugan.
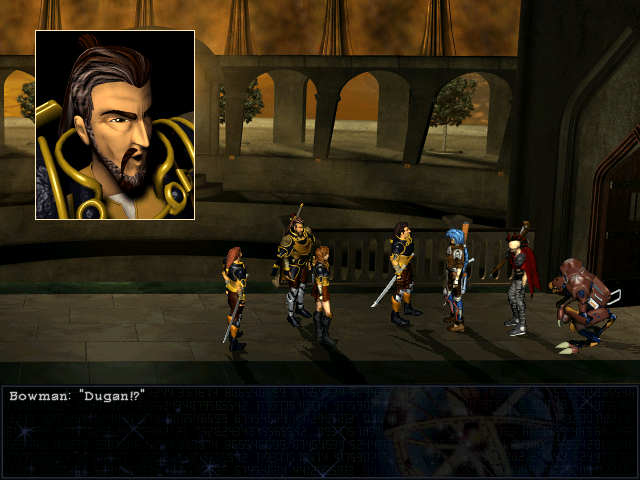 He's in league with the Chosen.
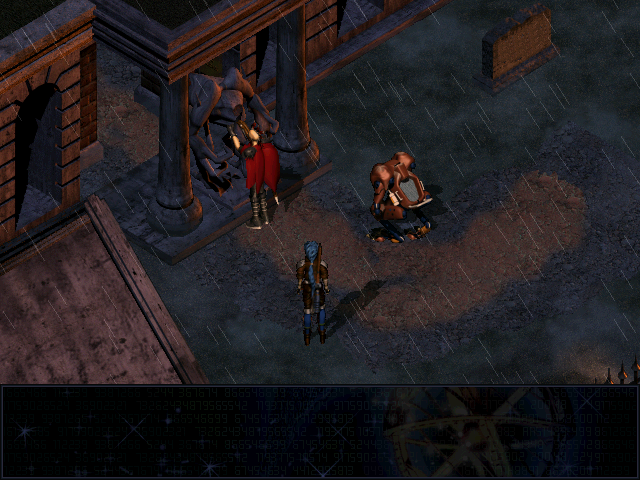
 Retreat through the catacombs!
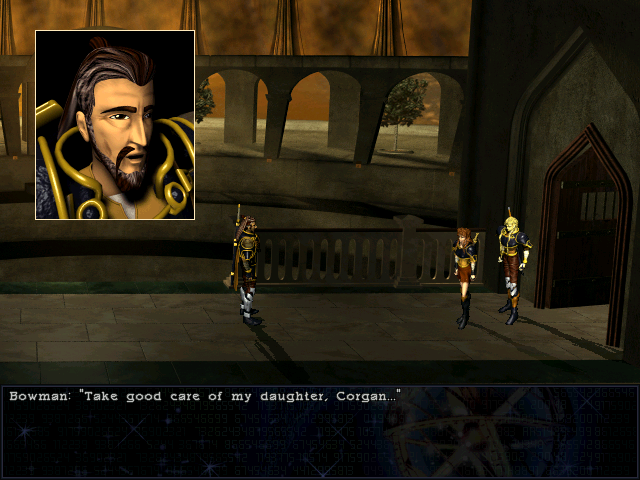
In the background, you can hear explosions and gunfire. Bowman quickly decides that the Holy Guard can't stand up to a Chosen strike team and orders the retreat. His daughter, Layla, tells him to come along...
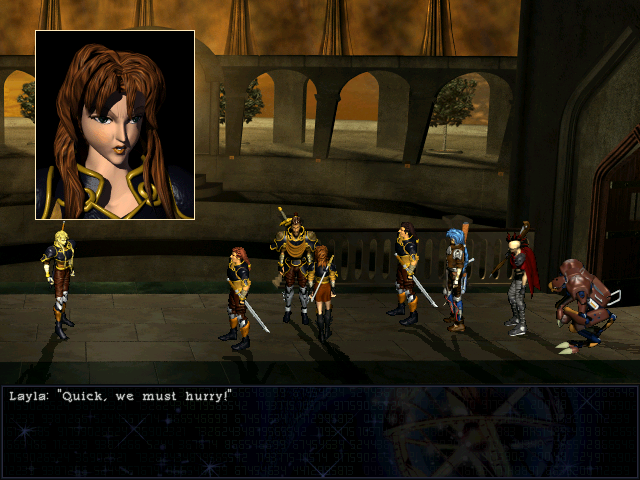 No, go without me...I'll buy you time.
 Never! It's not bad enough running like dogs, you want us to abandon our lord as well? Go! If you stay, we all fall! Layla, the task of leadership now falls to you...go to the mountains. Don't let the hope of Marduk die!
 I'll do my best...
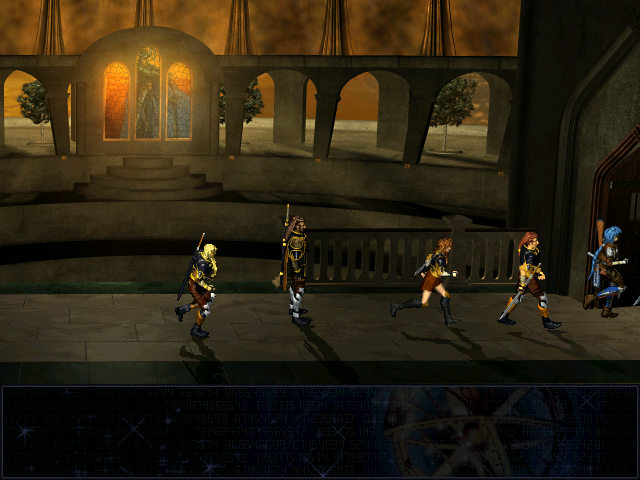
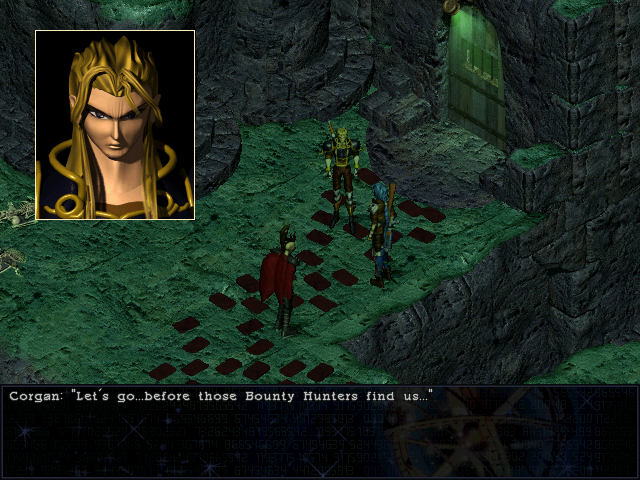
They flee. Corgan and Layla pause briefly at the doorway.
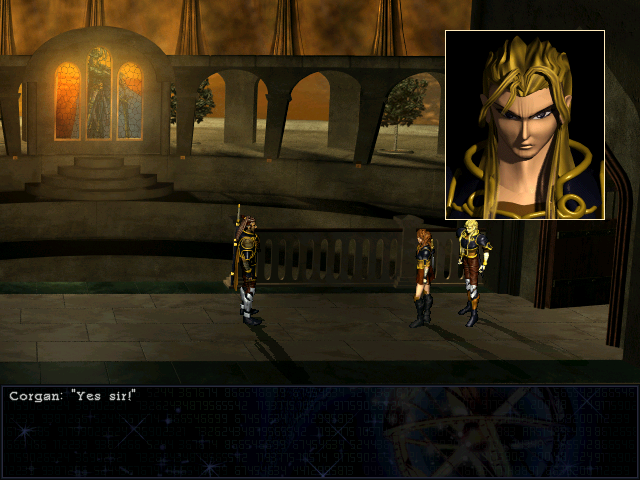
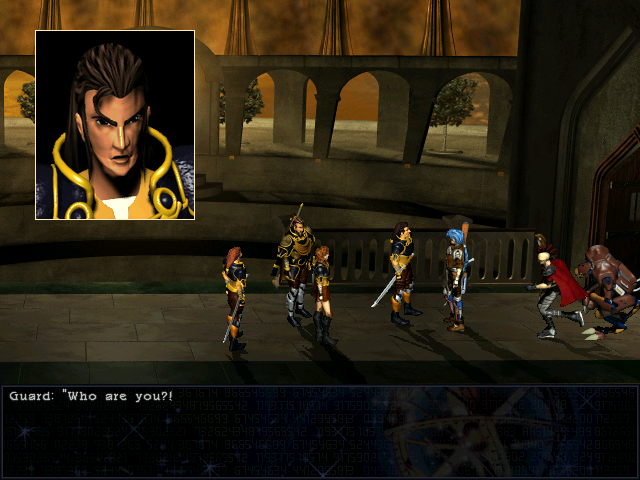
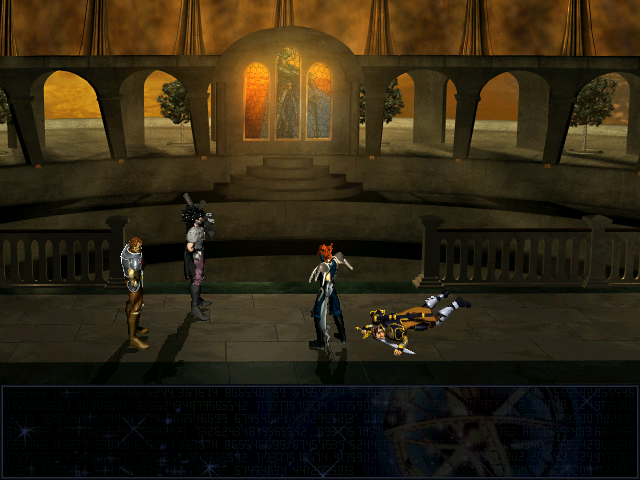
And with that, they're gone, leaving Bowman to face Dugan and his goons.
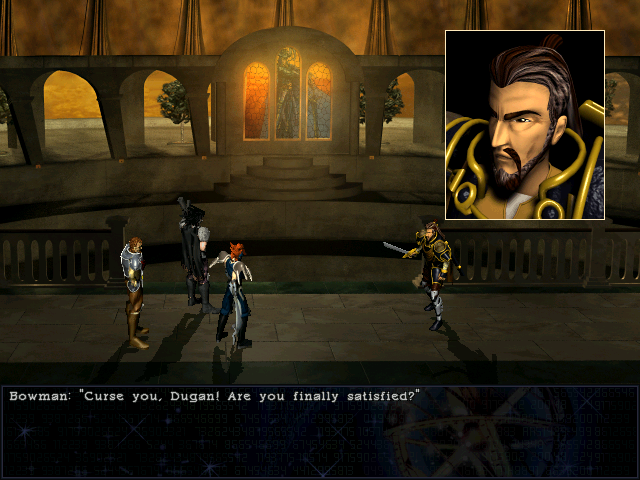
 Cut him down!
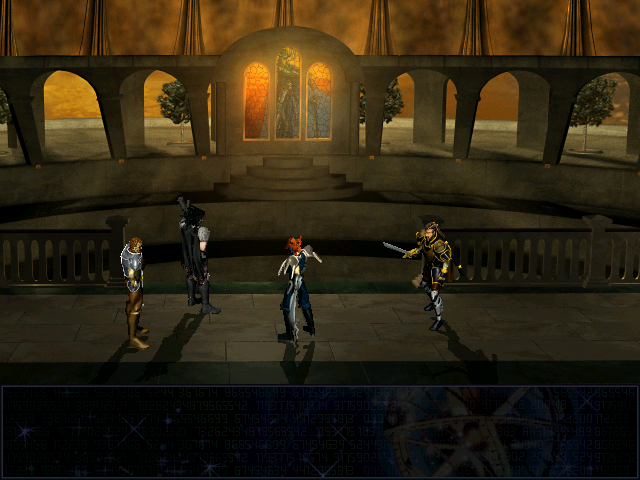
The redheaded bounty hunter seems unsure about this order.
What are you waiting for? Follow my orders!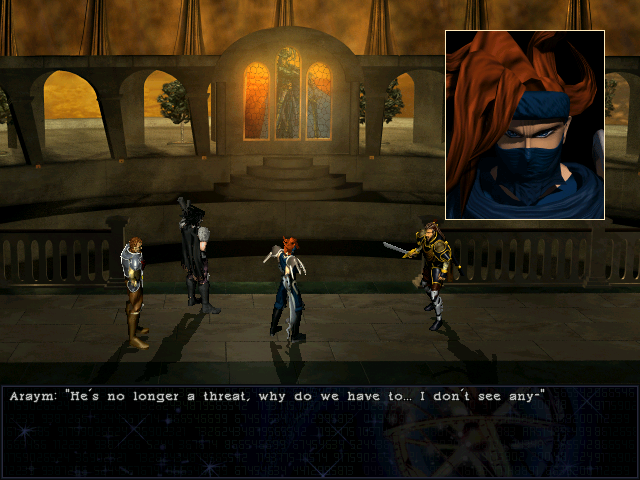
This is the most poorly voice-acted line in the entire game.
Because I pay you good money, dog! Now do as I say!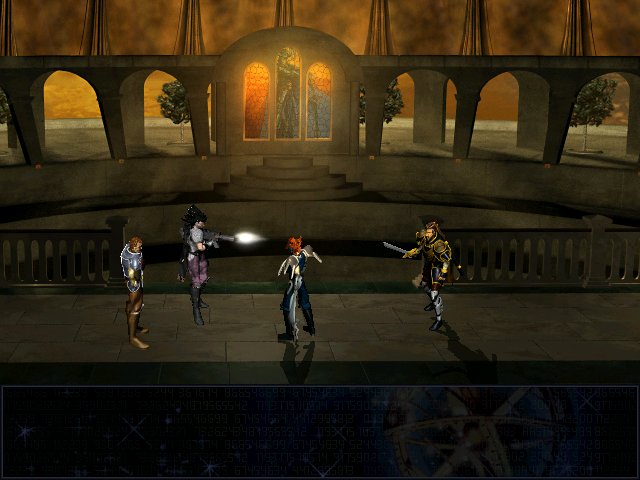
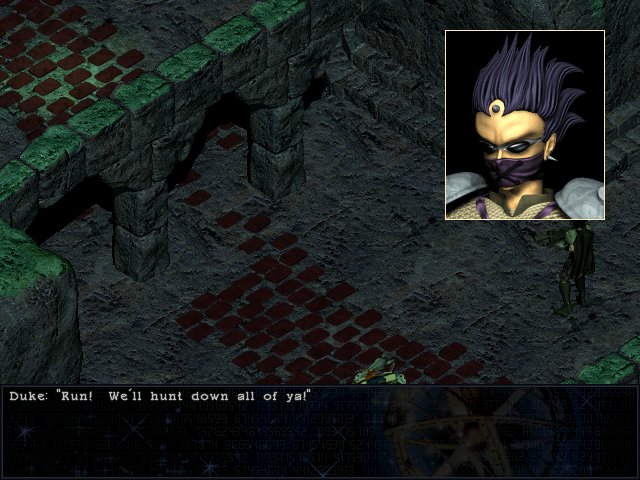
 Don't ever question me again. Now, find the others...hunt them down and bring me their bodies!
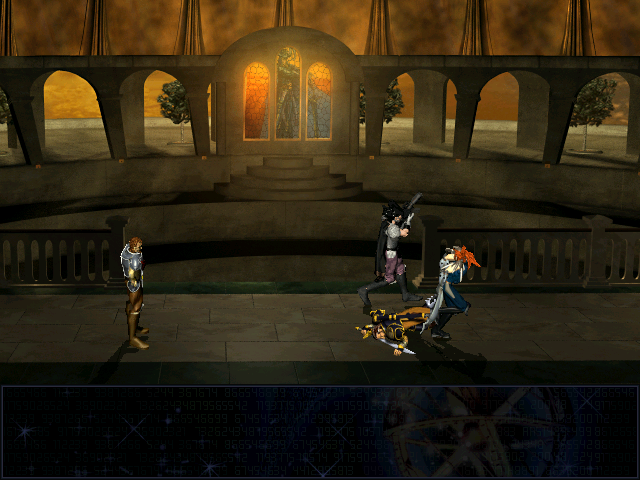
The bounty hunters run off.
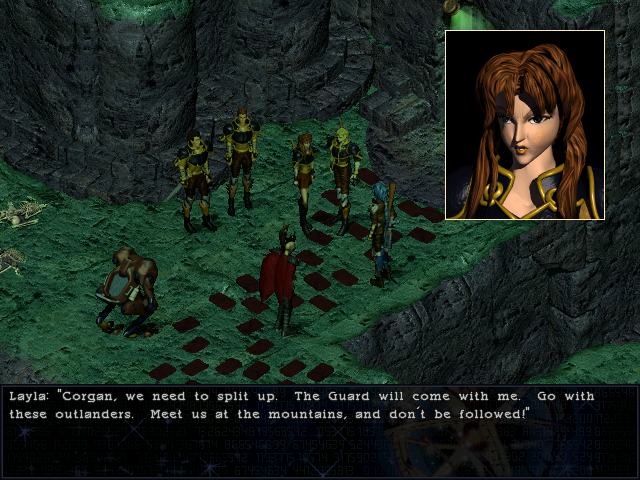
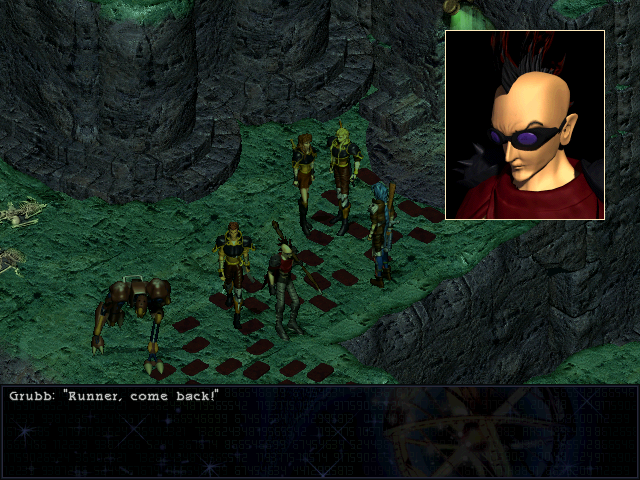
A quick strategy meeting occurs back in the catacombs. As Team Layla depart, Runner runs after them.
 Grubb, we have to get out of here! But- Corgan... Yes? Take care of yourself. And you...
And she vanishes, leaving just Corgan, Maya, and Grubb.
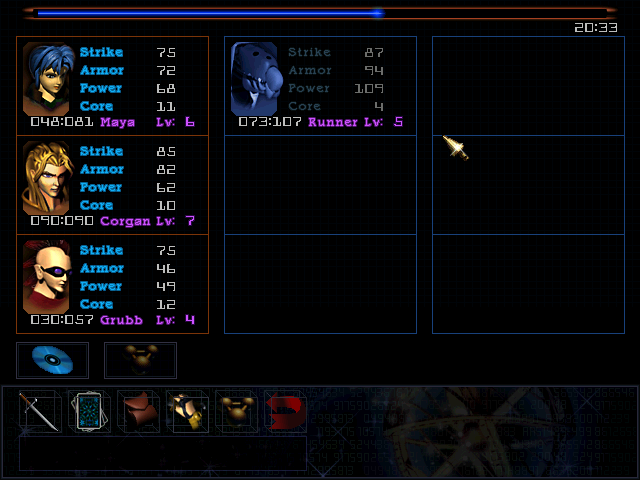
Corgan has joined the party!

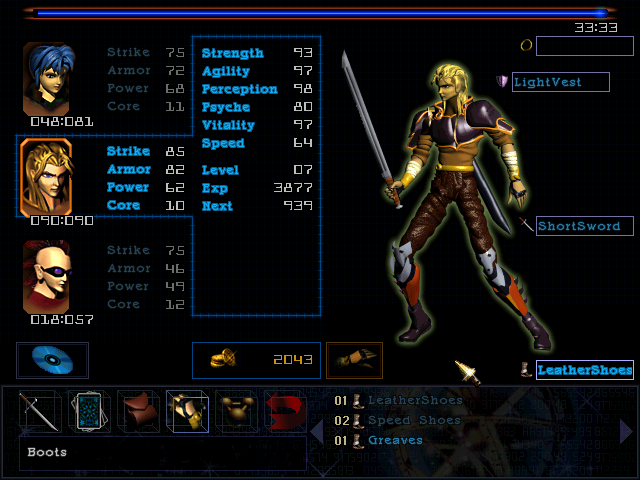
Corgan is pretty close to Maya, stat-wise - a bit better at hitting, a bit worse at casting, but overall a well-balanced character with no major weaknesses. He uses swords, and doesn't have an option slots - he learns all of his abilities from experience.

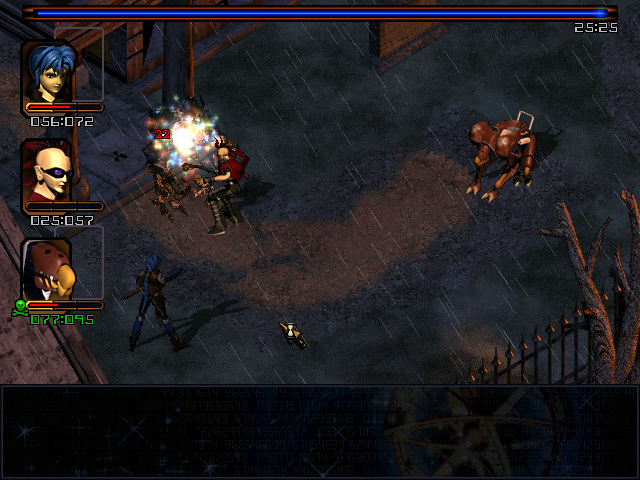
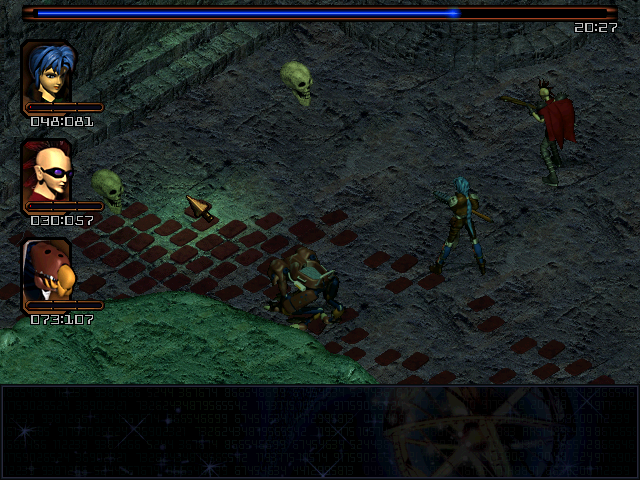
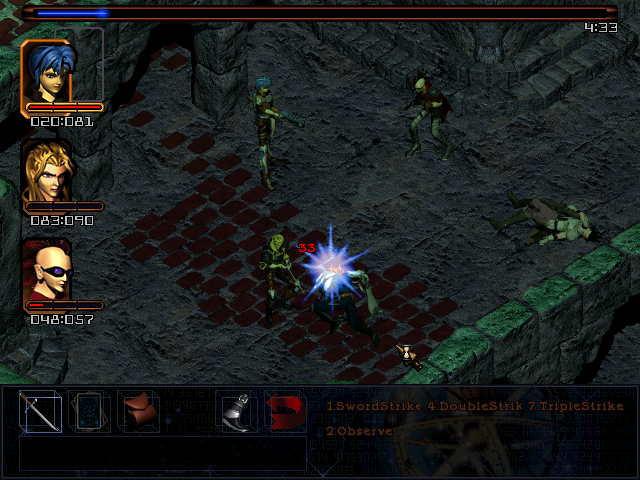
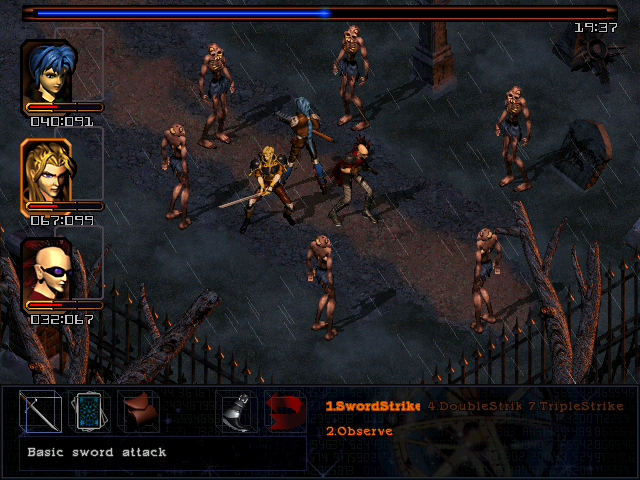
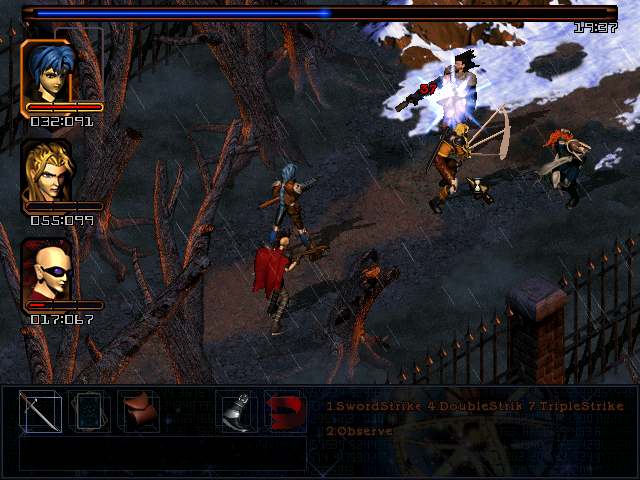
He starts off with a single ability, Observe, which is this game's Scan-equivalent. Let's try it out on some zombies (who have conveniently respawned while we were in the cathedral).
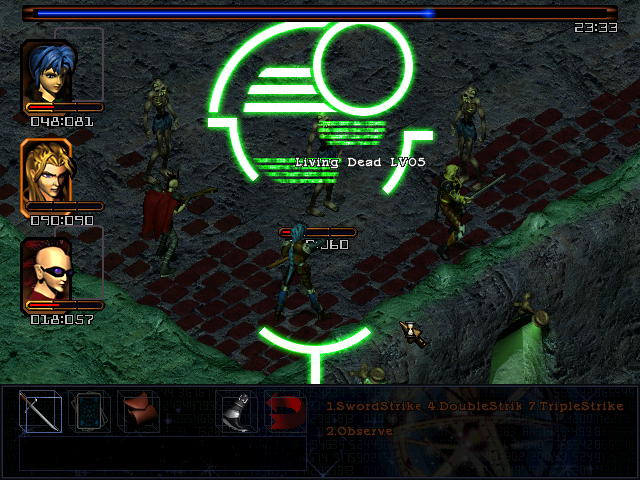
Observe tells us the target's name and level when cast, and gives us a view of their HP and action bar for the next several minutes, too. Against bosses it's less useful - it won't display level or time bar, and HP will display as "---". It will, however, turn red when the boss is at critical health - which can be very helpful in a few fights.
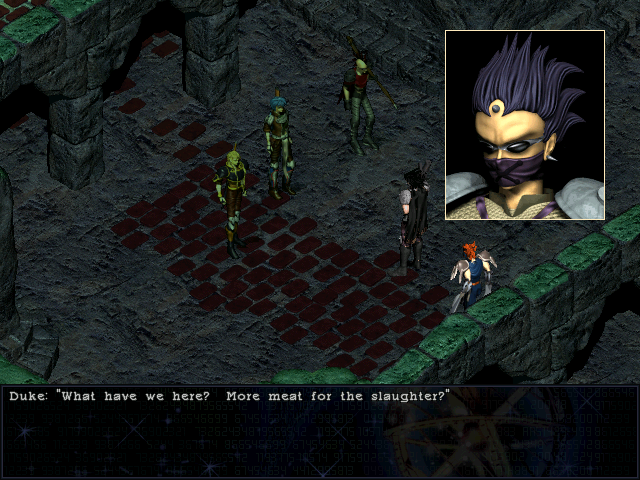
 Oh right, Duke, perhaps they'll put up more of a fight than their leader! Damn you!
As we leave, we find out that Duke and Araym have somehow made it ahead of us, which means it is on.
Boss Fight: Araym & Duke 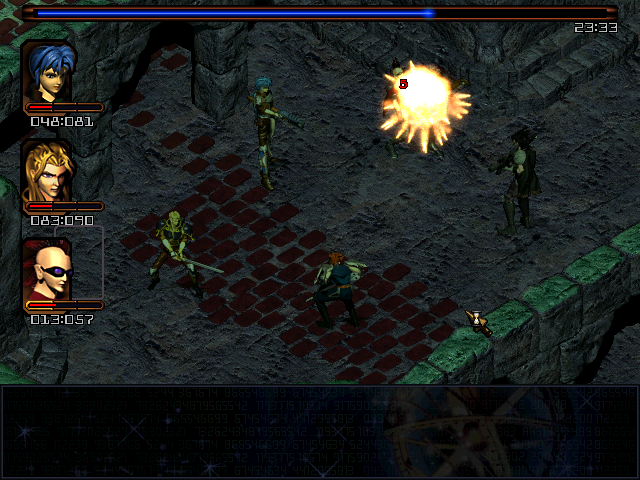
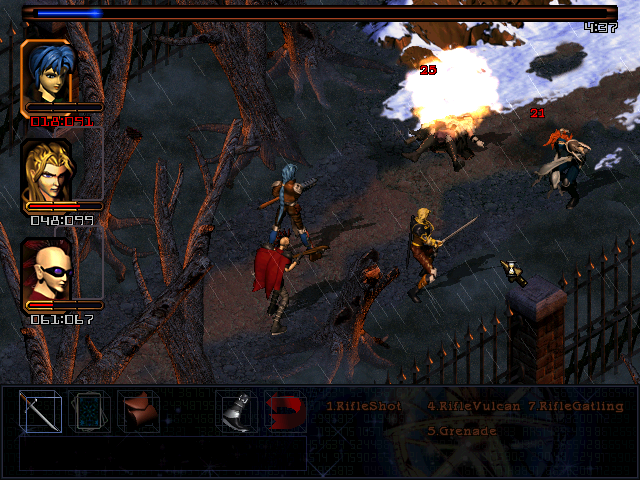
Duke has his gun, but almost never uses it, preferring to attack with grenades. Fortunately the party is too widely spaced for this to be very dangerous.

Araym, meanwhile, fires his arms at us (they return to him afterwards). There is in fact an explanation for this, which we'll learn later, but if you're impatient: he lost his arms in a military demolitions accident and opted to have them replaced with remote controlled combat drones rather than weaksauce prosthetics .
I have everyone focus on Duke, partly because he's a bigger threat with his rapid-fire grenade use, but mostly because he's a massive prick.
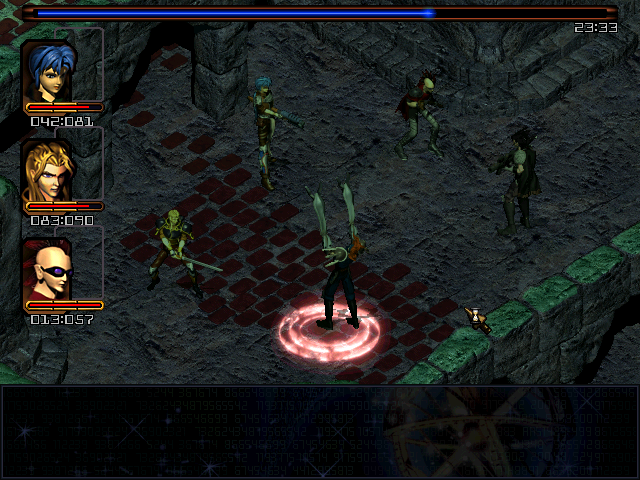
Grubb finishes him off with Geo Strike, cast from our newly acquired Earth card.
After that, it's just a matter of hitting Araym until he falls over, then running the hell away.
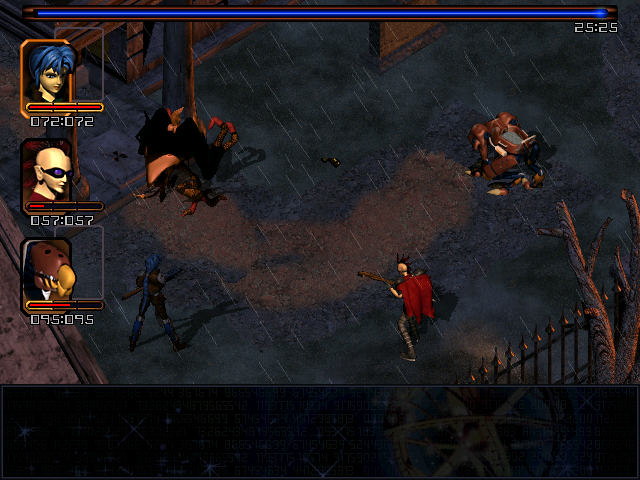
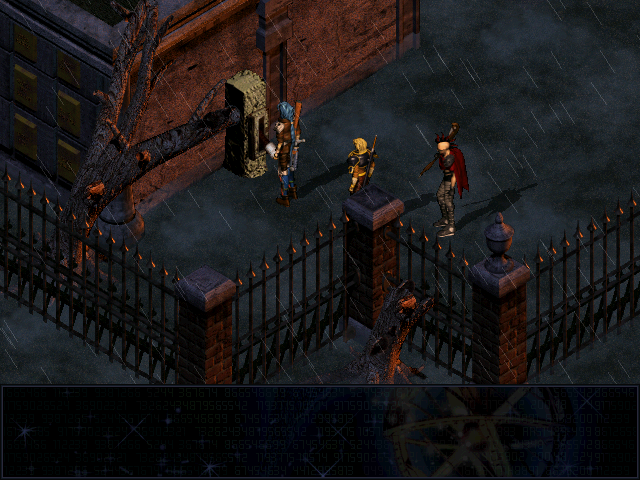
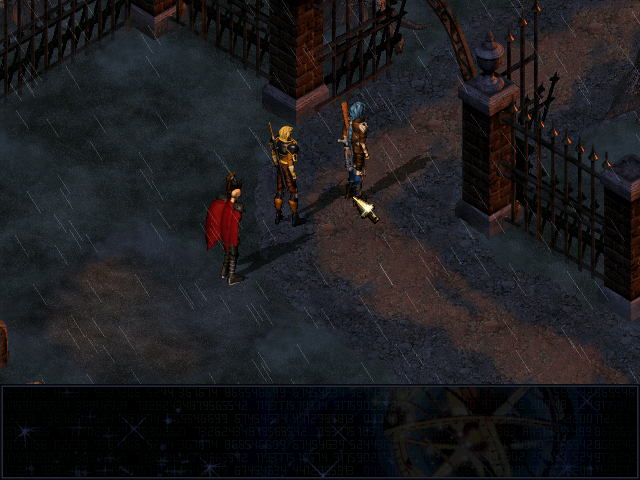
We flee to the graveyard entrance, then to the locked gates we saw earlier.
 Why? It's crawling with the undead. Maybe this isn't the greatest of ideas. I thought you didn't believe in curses? No time for arguments! Make haste! Well? You first! In you go, wuss boy!
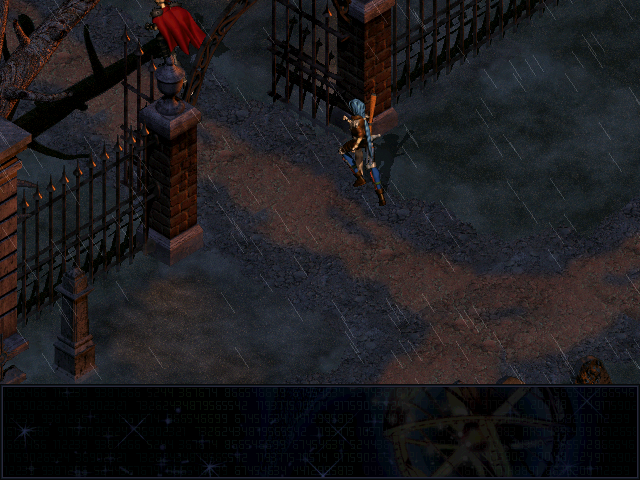
The gates inexplicably close (and lock) behind us as we enter the graveyard.
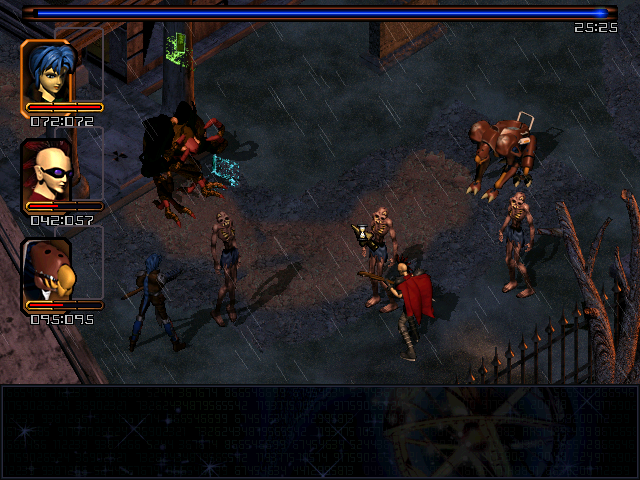
It looks like a straightforward run to the mountains. If we try, however, we find out that not only are these gates locked too, but there's a welcoming party.
The Ghost opens the fight by throwing a fireball at Corgan, but the rest is fairly uneventful. I take out the ghost first, then two of the zombies. I worry for a moment that Maya might actually take damage, as one of the zombies gets a bit close to her, but then things get weird.
The zombies decide not to attack until they are standing in the same spot as Maya, and are easily dispatched.
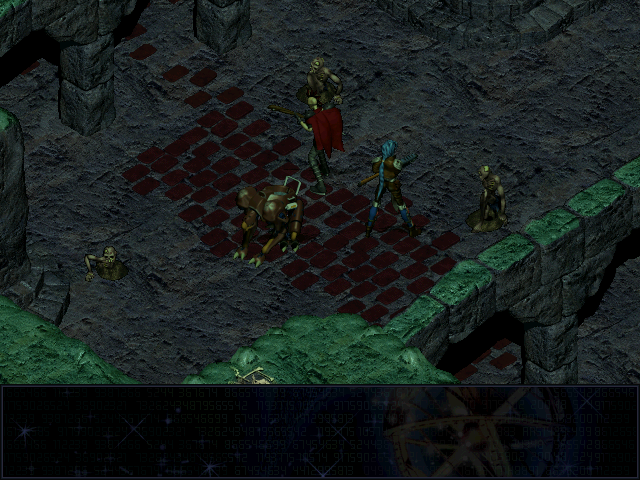
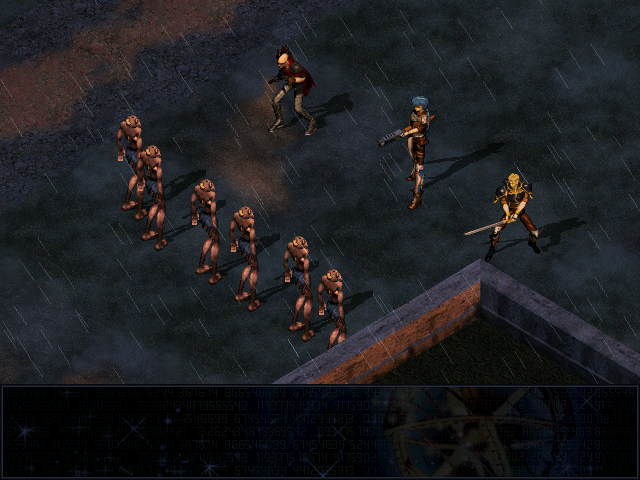
With the gates locked, there's not much to be done except explore the graveyard. Circling clockwise around it (and killing some zombies) finds us a chest, but it has guards.
Four of these guys could seriously mess us up, given how tightly packed the party is, and I'm getting fed up with fighting things in the graveyard, so I decide to give peace a chance and offer them lunch instead.
Healing items damage the undead? How horrible! I could never have predicted this!
With peace failed, I decide to fill them all with bread, and manage to drop three of them before they can even act..
The last one gets off a single fireball before it, too, falls. The chest contains assorted restorative items.
Continuing around the graveyard finds us this lever, which unlocks the gate.
On the way back to the gate, though, we're jumped by six zombies. You can, I think, imagine how unpleasant this fight is.
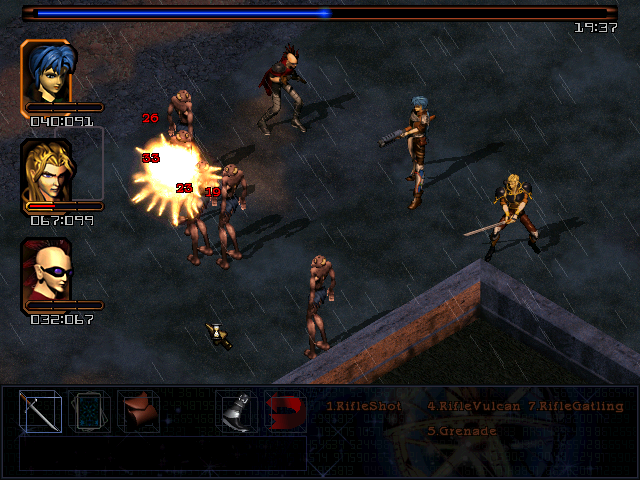
Even the liberal use of grenades doesn't stop the pain.
Wandering around will also result in this fight, where the zombies surround you. Despite this, it's not hard to complete it without taking damage.
Fortunately, Septerra Core doesn't use random encounters; you can't see the zombies before they burst out of the ground, but once you take them out, they're gone until you leave the area.
With all the treasure secured and all the zombies dismantled, it's off to the mountains.
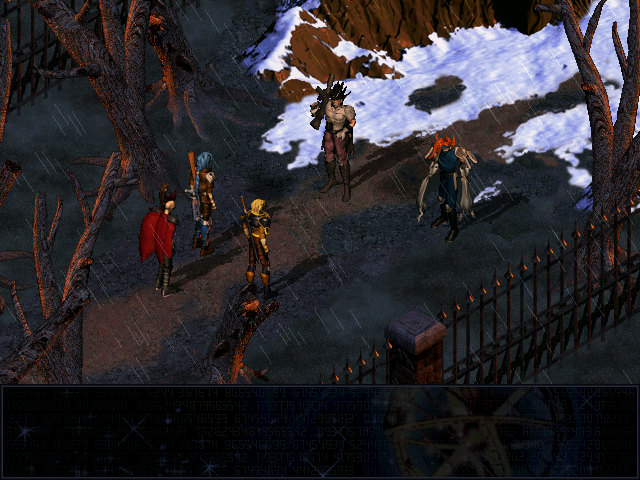
But first, sudden bossfight repeat!
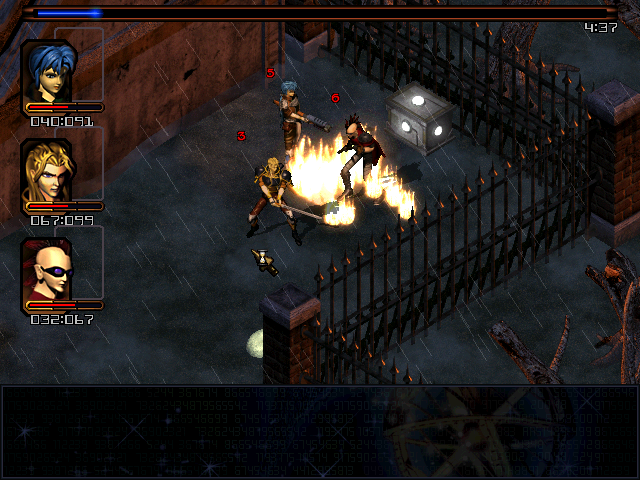
 Face your death with honor! Your kind has no honor! Boss Fight: Araym & Duke (Reprise)
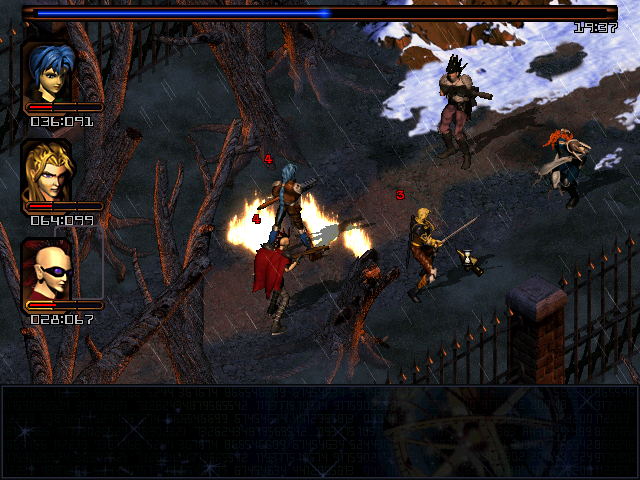
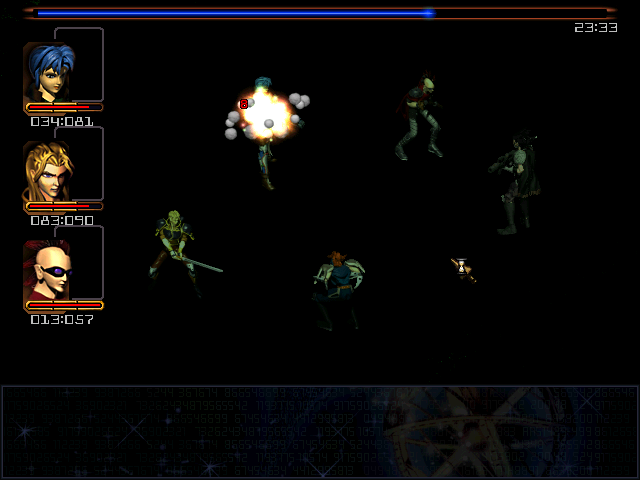
The fight's a bit harder this time. Duke is still explosives-happy, and this time his grenades hit the entire party.
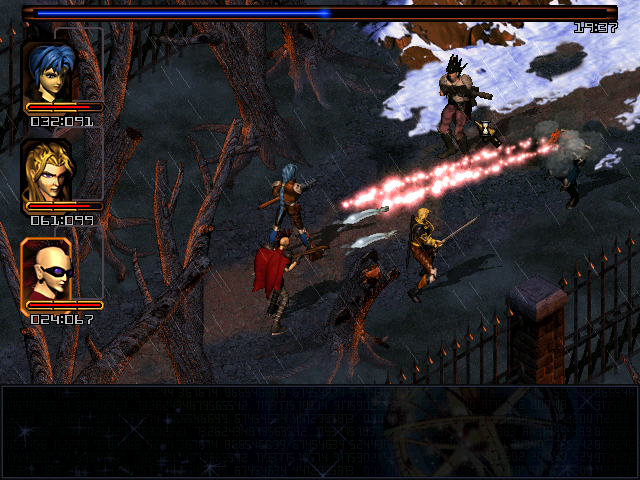
Furthermore, with the party arranged like this, Araym can now hit Corgan and Grubb at the same time - like Runner's beam, his arms hit everything in a straight line.
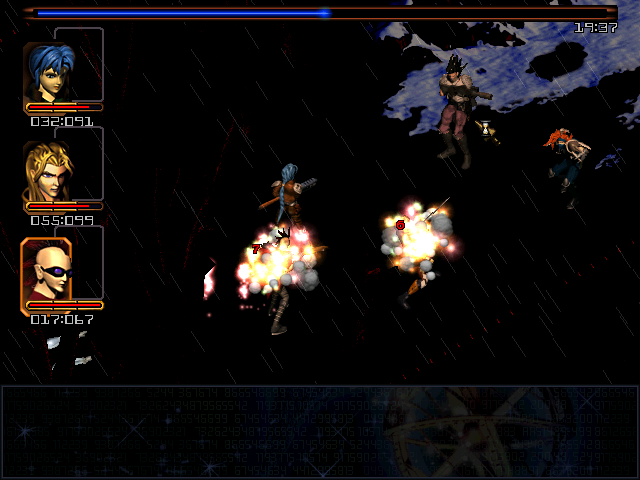
Once again, I focus on Duke first, eventually dropping him with one of Maya's grenades. For all that this fight is harder than the first, that doesn't actually make it hard, and unless you're really worn down from the zombies you can just hammer on them until they go down, with no real strategy.

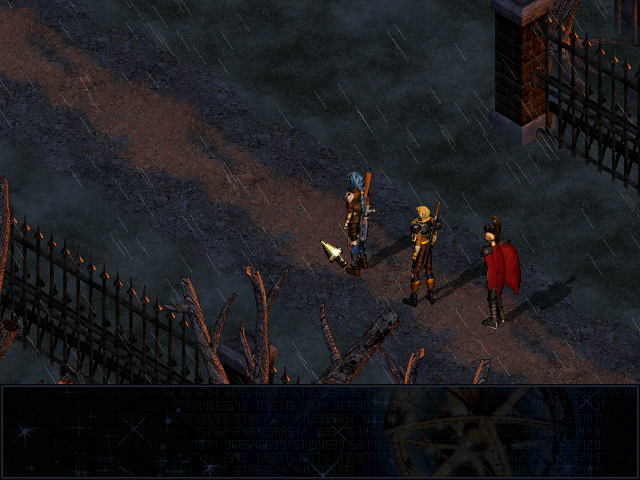
Araym finally falls, prompting everyone's favourite snack food, post-fight conversation.
Kill them! Why are you holding back? This is wrong, Duke.Araym decides that perhaps killing people for money is not the most virtuous of careers. The party takes this opportunity to escape.
Let's get out of here.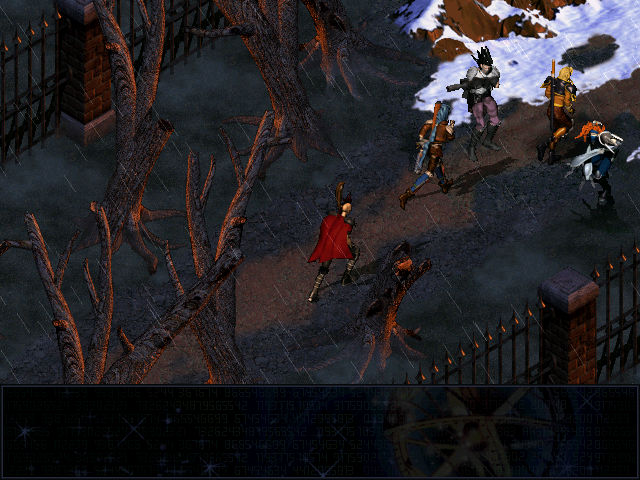
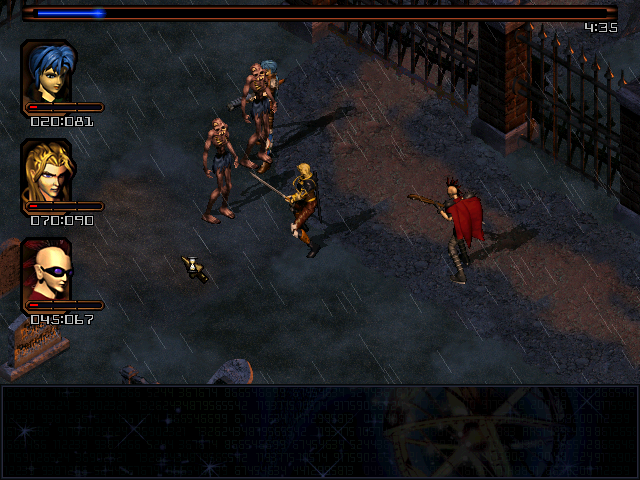
Fortunately, the heavily armed mercenaries are too focused on their argument to react to their targets running right between them.
...you'll live to regret this, Araym. If you ever show your face in the Bazaar again, I'll have your head!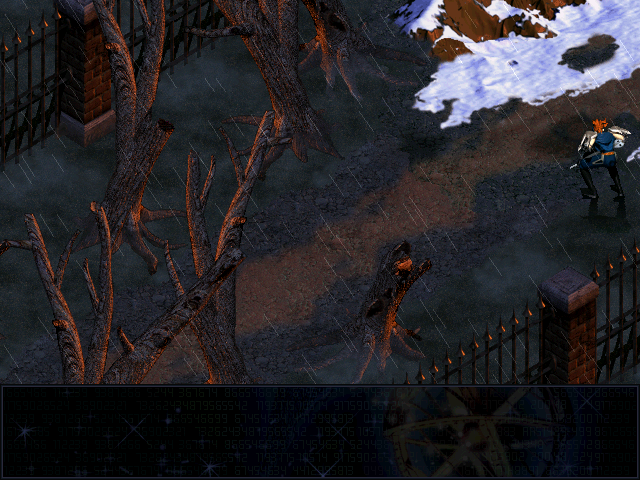
And with that, he jumps the fence and is gone, leaving our heroes to escape and Araym to ponder the morality of his actions.
Next update: every carnivore above the snowline tries to eat us.