Part 23: Sidequest Roundup
MJ12 posted:
Quick poll if you were given the chance to cut your forearms off and replace them with rocket propelled attack drones would you do so and why?
To be fair, he didn't cut them off; he lost them in a demolitions accident and then decided that normal prosthetics were boring.
quote:
Also I see that JRPG villain competence is in full swing right now.
Connor? Oh my god you haven't seen anything yet. Doskias is refreshingly competent, but Connor more than makes up for him.
And now your regularly scheduled update.
23: Sidequest Roundup
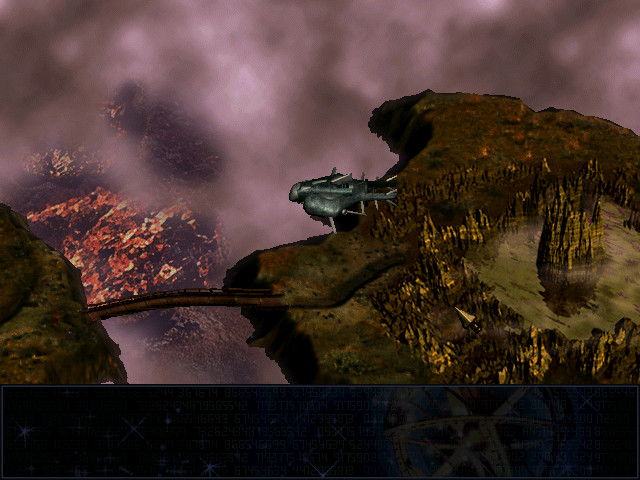
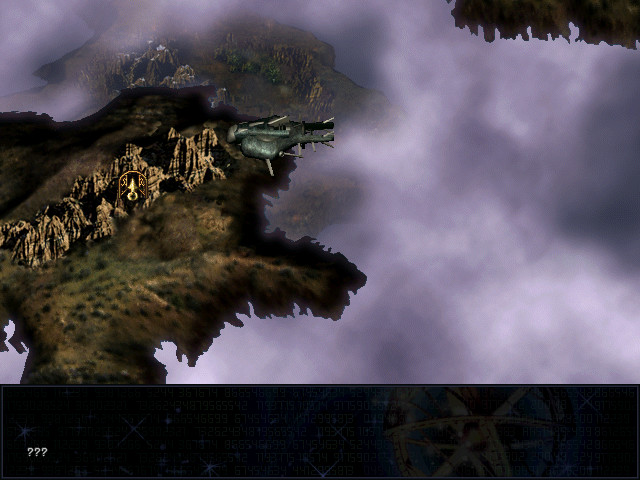
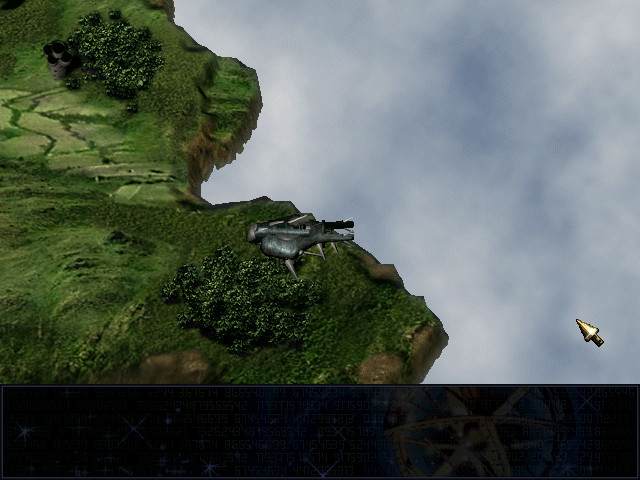
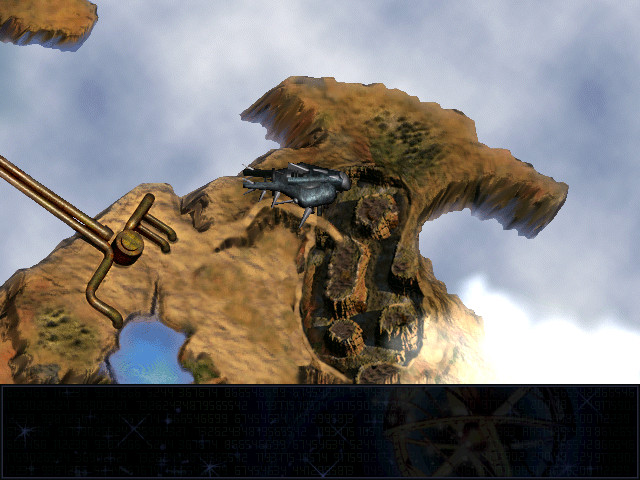
This is where the game starts to pick up speed: when we get the flying pirate ship crewed by robots. Or possibly cyborgs. Either way, it's pretty sweet.

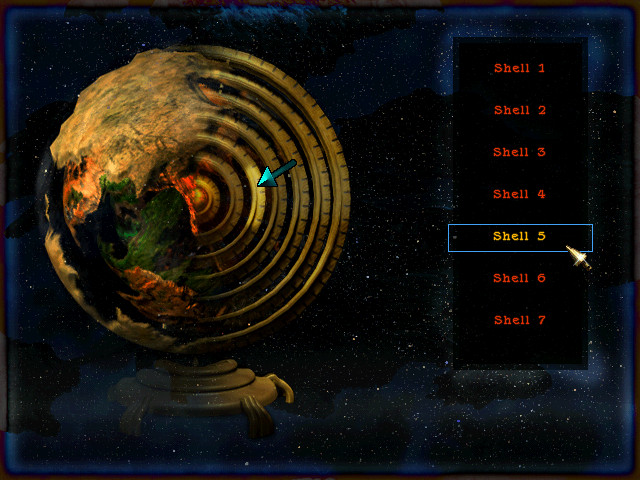
We can now travel to any shell at will. Additionally, we're automatically healed whenever we board the ship, and can change party members freely while aboard.
Plot-wise, it's pretty clear that what we're meant to do is go to Shell 1 and enlist the aid of the other Chosen against Doskias, but now that we can fly a lot of previously-inaccessible areas are open to us - which means, of course, side quests and bonus items.
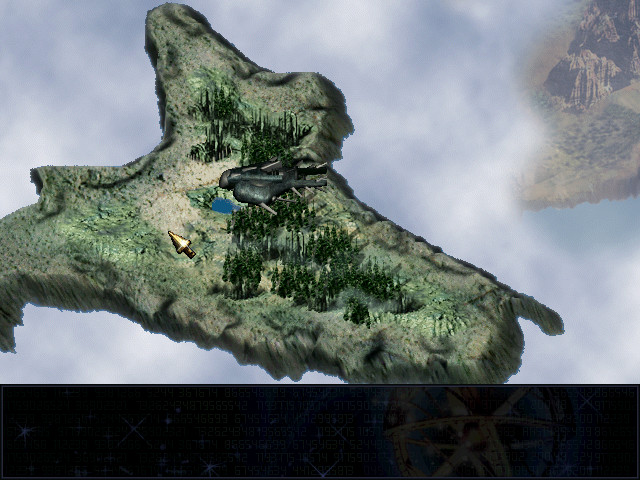
First order of business, this little forested area south of the mountains on Shell 6. The chest contains a Touchstone - an accessory that increases earned experience and can only be equipped by Maya.
She's never taking it off.
There's nothing else we can do on Shells 6 or 7 at the moment - although rest assured we will be back later - so let's work our way upwards.
Southwest of Ankara is this small mountain range. The barrel contains a MindBarrier - an accessory that confers immunity to Berserk.
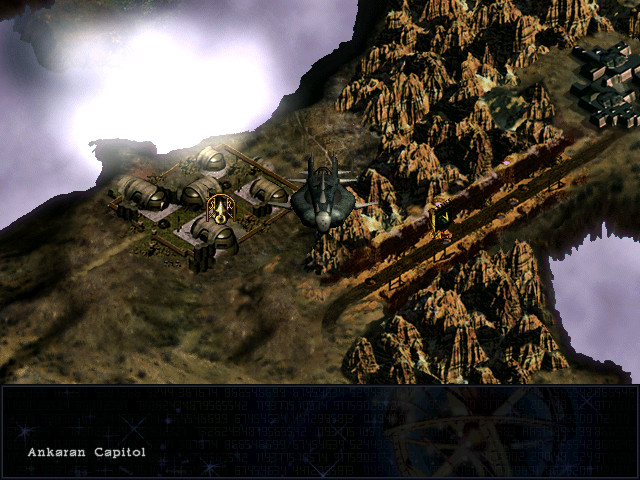
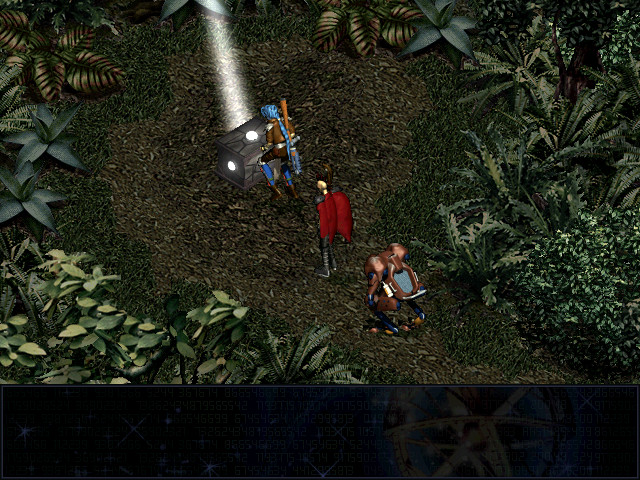
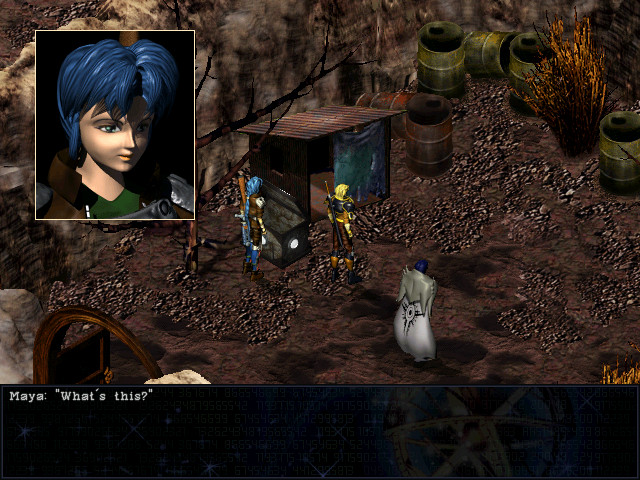
Heading northeast takes us to the capitol.
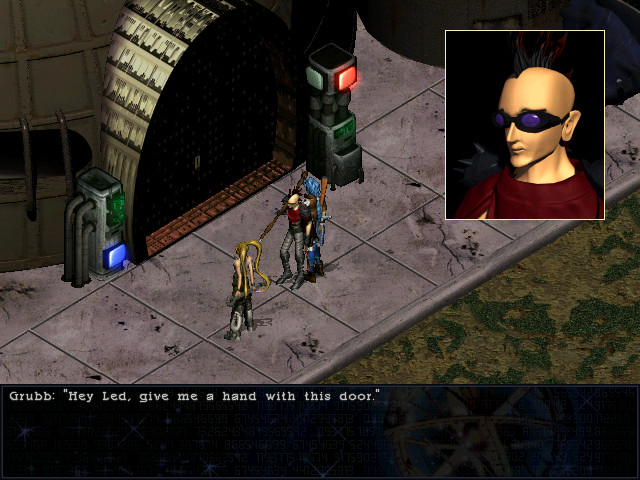
They fiddle with it briefly, and it springs open.
 It won't stay open forever.
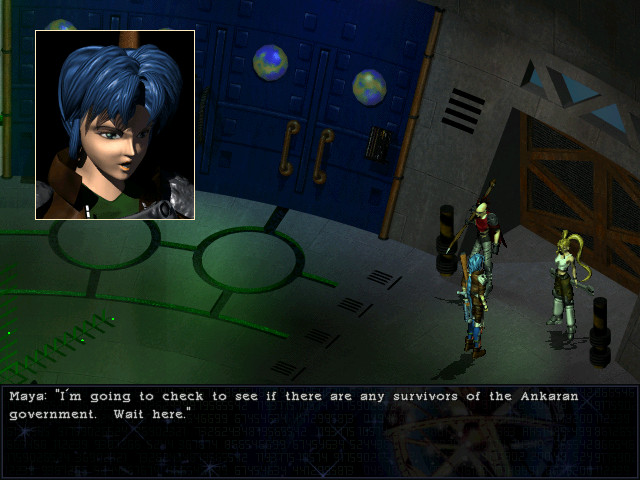 Hey Grubb. Um...Do you, you know, have a girlfriend?
 What? Hey, there's some cool stuff stashed here. Looks like some cool gadgets.
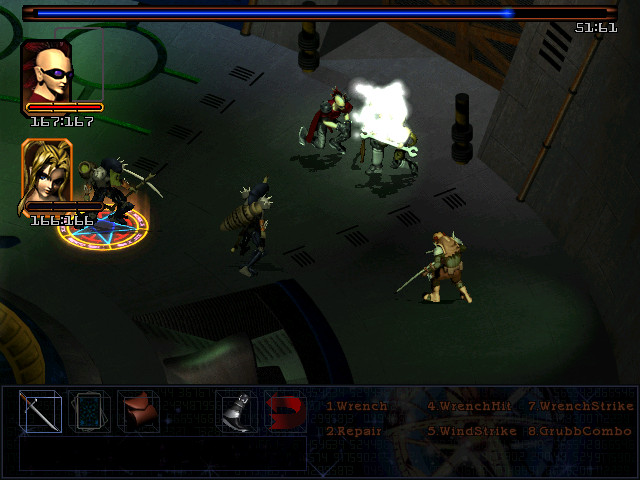
And that's when some ruffians emerge from the shadows.
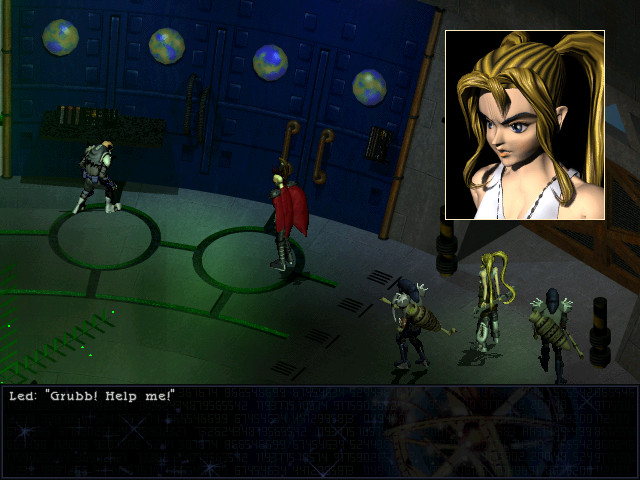 But- the gadget-
At this point, you have a choice: help Led, or grab the device. If you choose the latter, you get a decent but not exceptional Core Engine. If you choose the former, however...
Hey, what's this?


Hey, Grubb has one too!
Aaaw

Not bad at all.
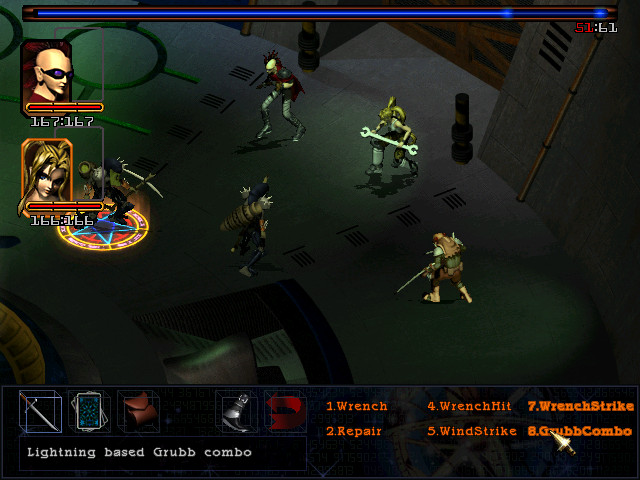
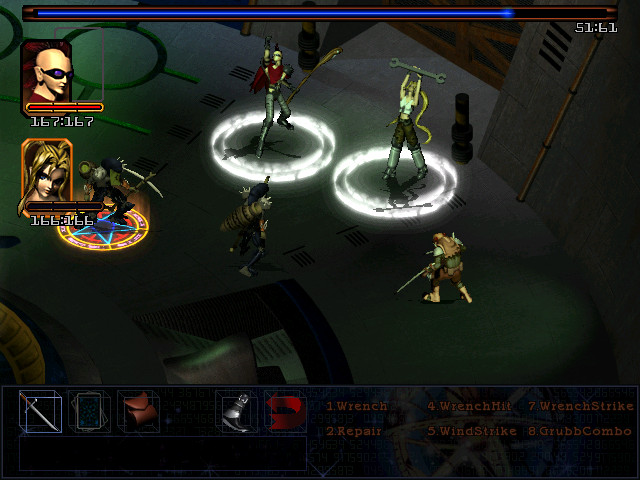
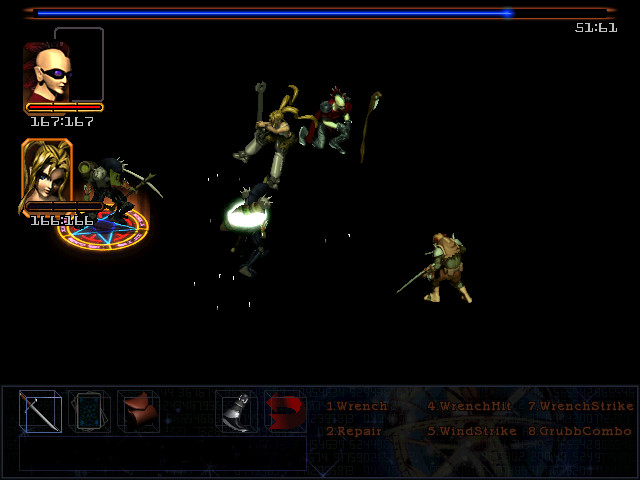
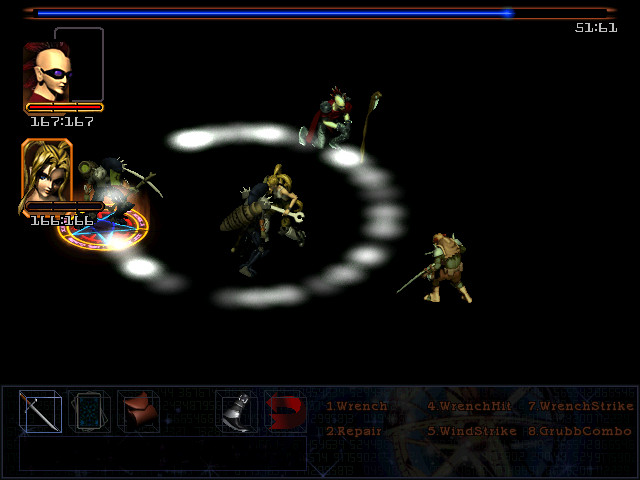
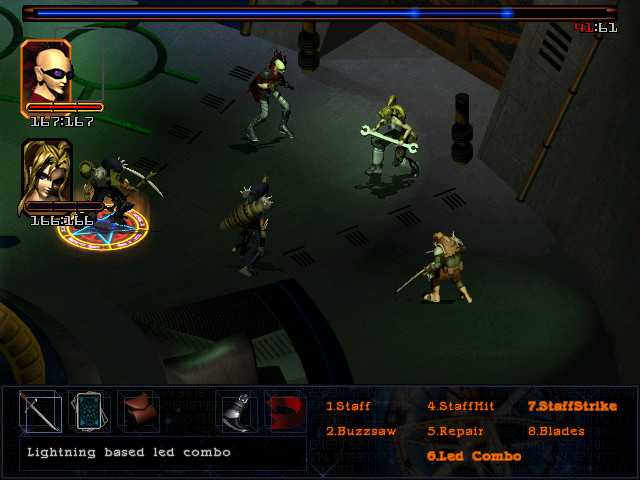
In addition to GrubbCombo, Led's gained enough levels to pick up a new ability.
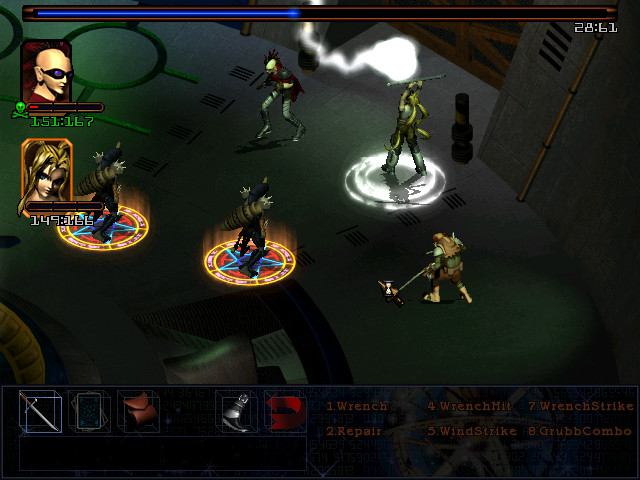
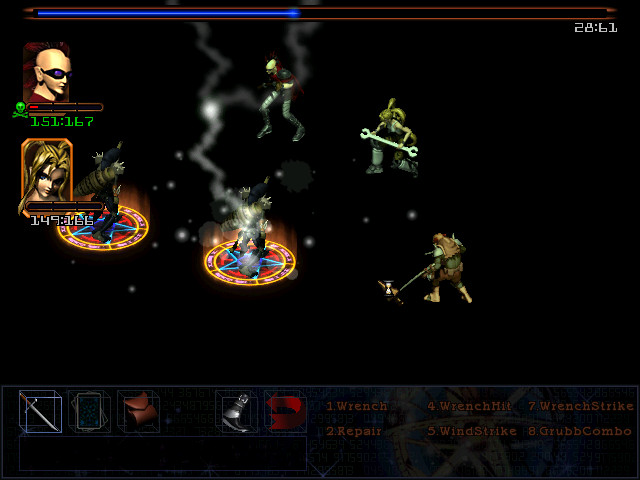
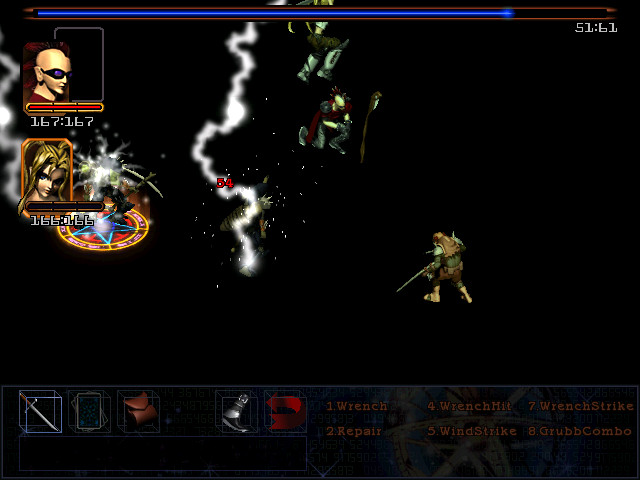
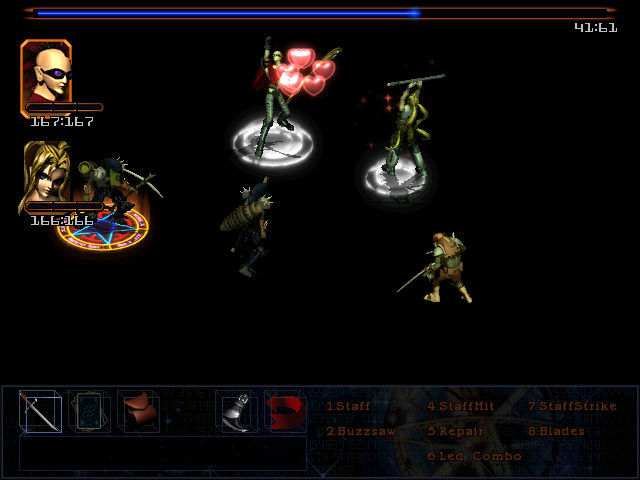
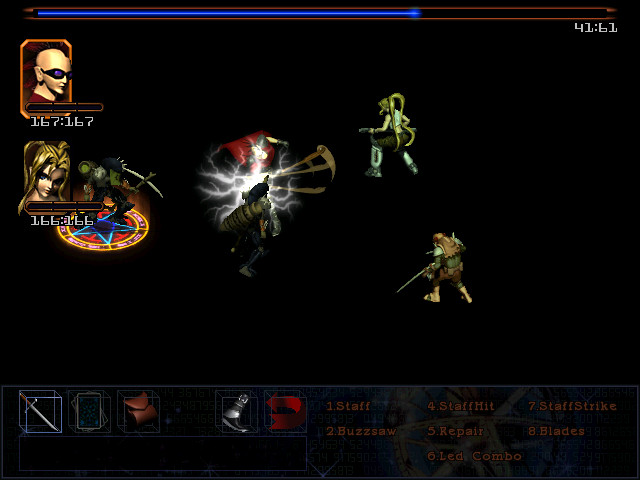
Sadly, while all of these abilities are visually impressive - and LedCombo is pretty much
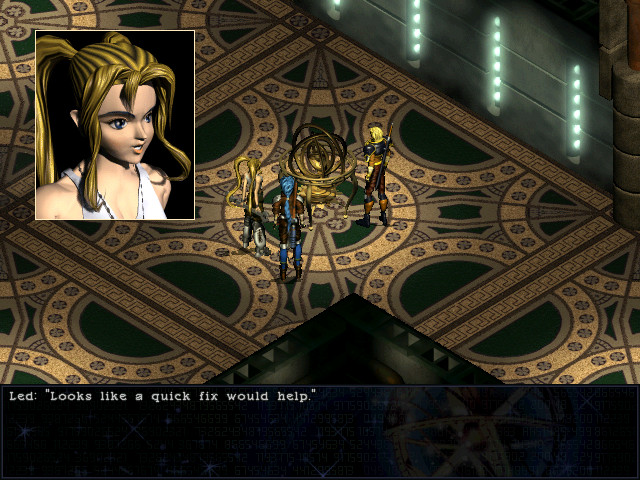
in a can - none of them are terribly effective; in the end the fight is won by Led and Grubb spamming Hellfire. Are you okay?! Yeah...I think so. Thanks Grubb. I knew you cared about me. I -uh...I guess it shows huh? I like you too.Finally. This doesn't really change the course of the game, but it's nice that you could help them out - and god knows they need it, given that Led is too insecure to say much of anything and Grubb is the living incarnation of
 when it comes to relationships.
 Are you guys ready to go? Yep!
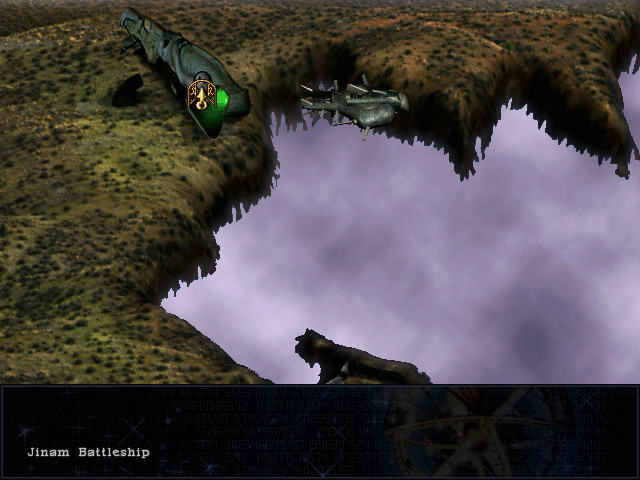
Continuing across the shell, we return to the wreck of the Tiamat, with Lobo in the party.
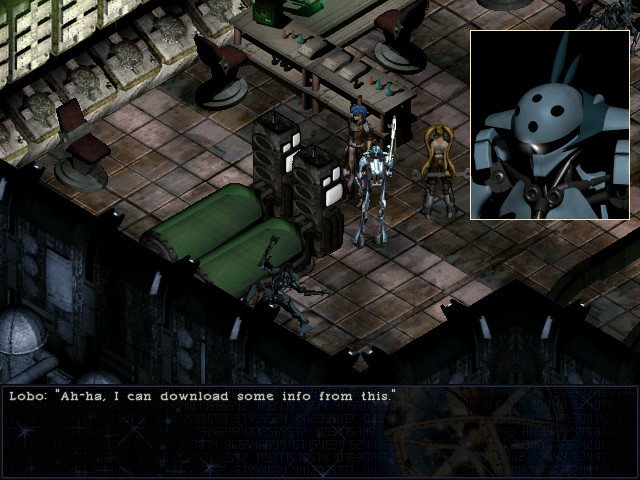
First stop is this Jinam medical computer. Grubb theorized many updates ago that it was designed for Jinam combat cyborgs to interface with, and he's right.
 Interesting. I downloaded a cure for the plague that Jinam forces used against the Ankarans. I can use that to heal anyone affected by it.
We don't know anyone afflicted by the plague, but we probably will someday.
Next stop, the high security door we couldn't open last time.
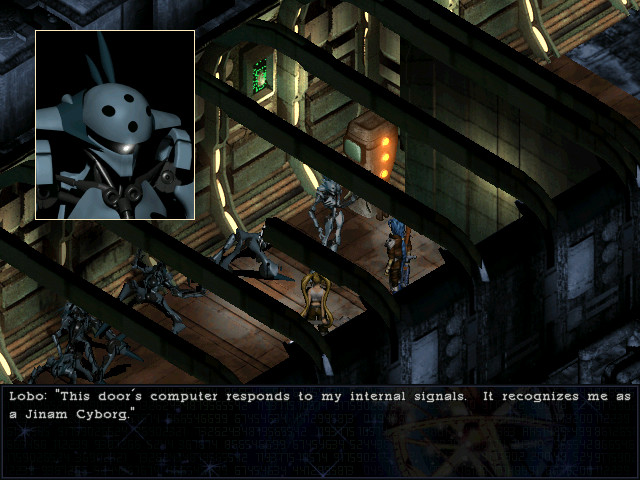 Can you open it? I think so.
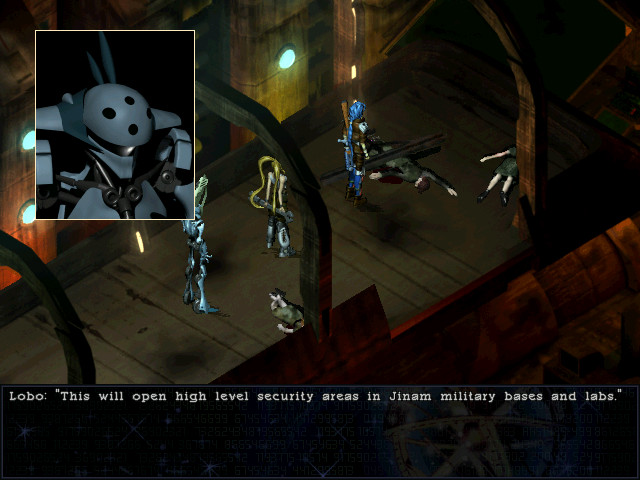
On the body we find a Jinam Security Pass, which does exactly what Lobo says it does. Like the cure, that won't be useful until later.
That's all for Shell 5.
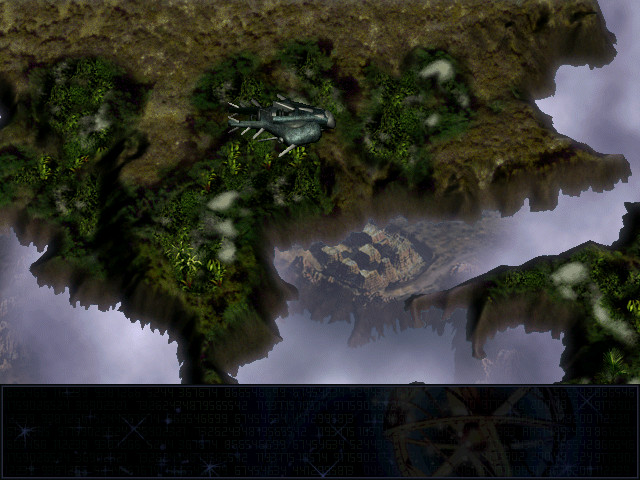
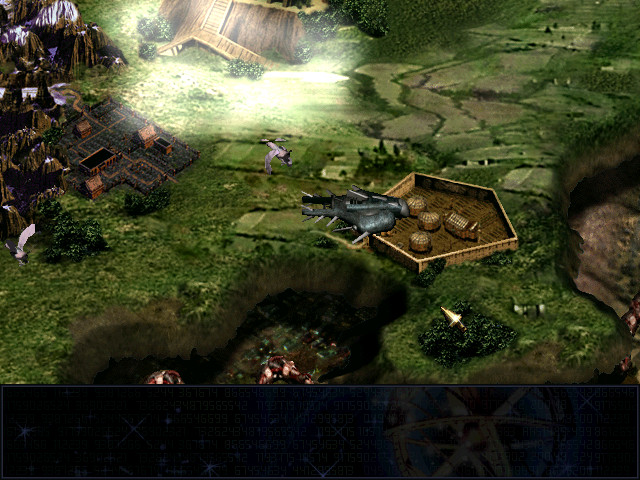
Moving upwards to Shell 4, we find an overgrown city south of the World Bazaar - but there's no clear landing site, so we have to leave it be.
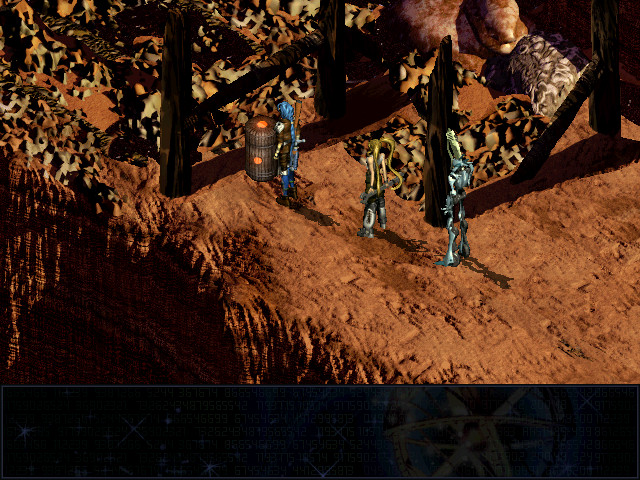
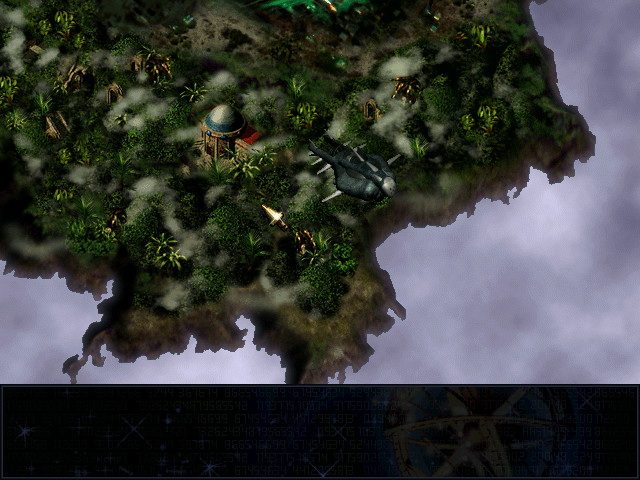
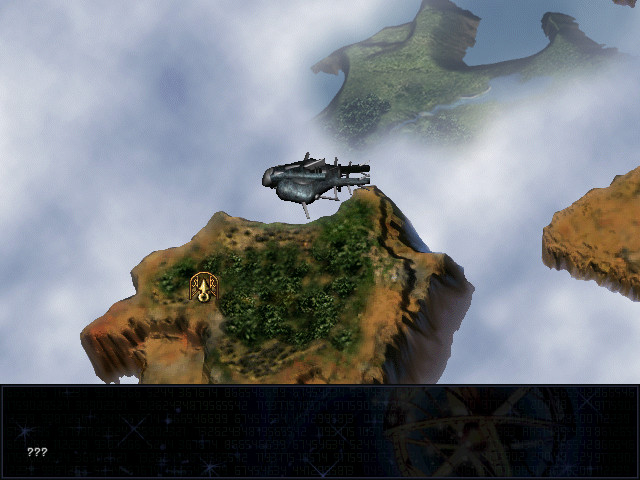
North of the World Bazaar is this jungle area, and while it doesn't even show up as "???" we can land there if we click on it.
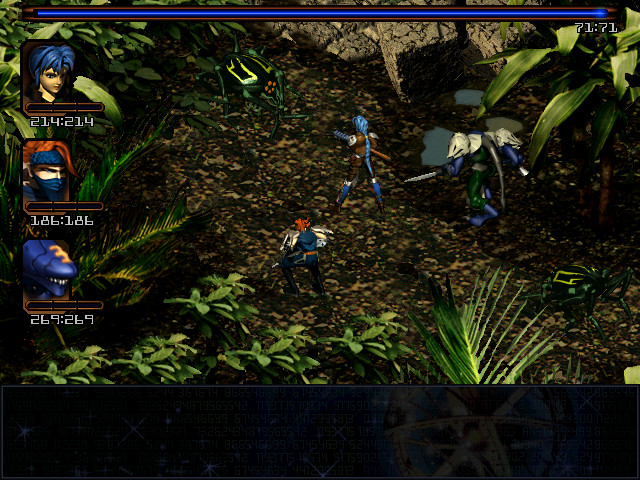
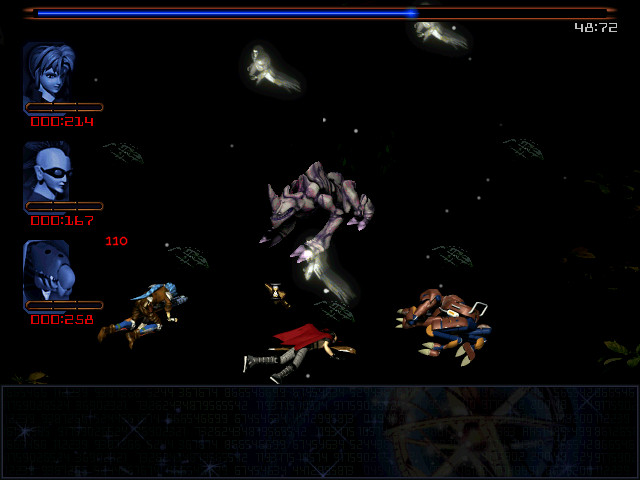
Unfortunately, it's inhabited.
And the inhabitants really don't like intruders.
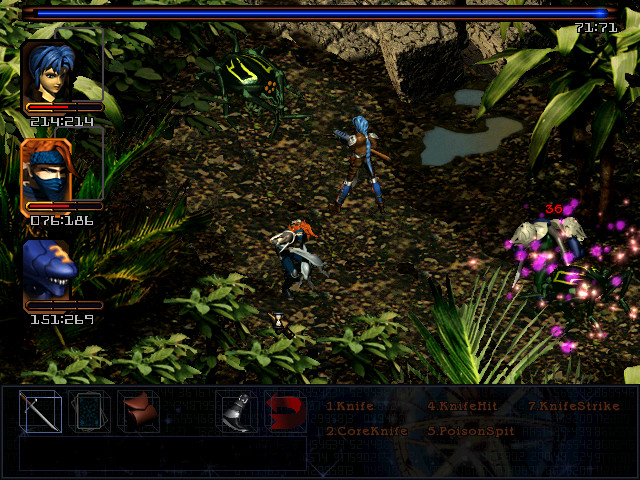
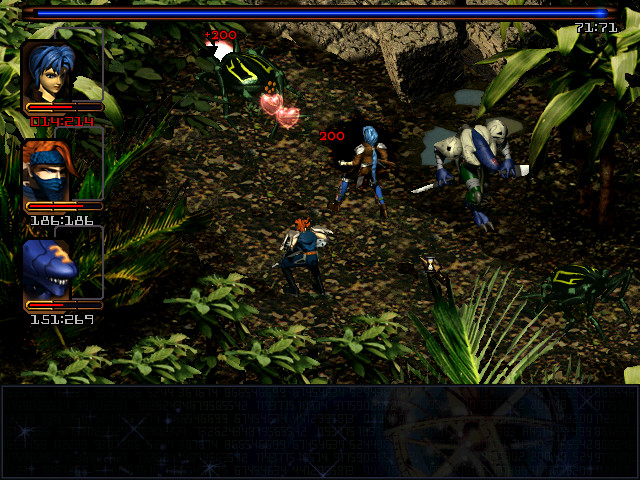
It's possible to win this fight right now, if you're lucky. Get your barriers up as soon as the fight starts, keep everyone healed, and basically treat it like a boss fight. If you're unlucky, however...
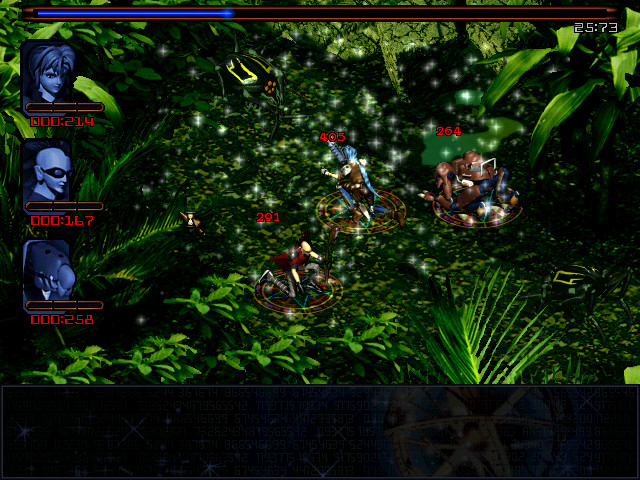
...this happens. And yes, those damage numbers are with barriers up.
The item they're guarding isn't that great anyways; we'll come back later.
Finally, west of the Bazaar entrance is this little room. The chest can't be opened when you first enter.
Look around, however, and you'll find a glowing light you can click. When you do so, it'll turn off and another one will light up.
Repeat this a few times and you can take the Enkidu Bell. It's an accessory that provides a small boost to spell power - 10% or so. For now, items that boost Core directly, like the Power Token, are more attractive; as our casters grow in power, however, the Enkidu Bell becomes more and more effective.
Moving up again, we're on Shell 3. There's an understandable temptation at this point to take on the Death Tree again - after all, we should be able to at least complete the third battle now, right?
Wrong.
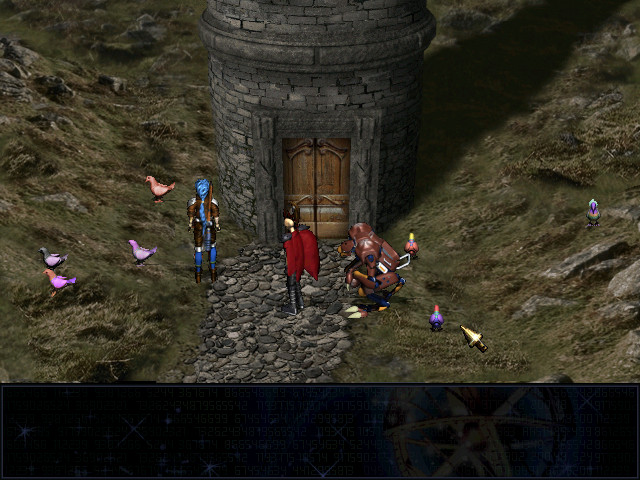
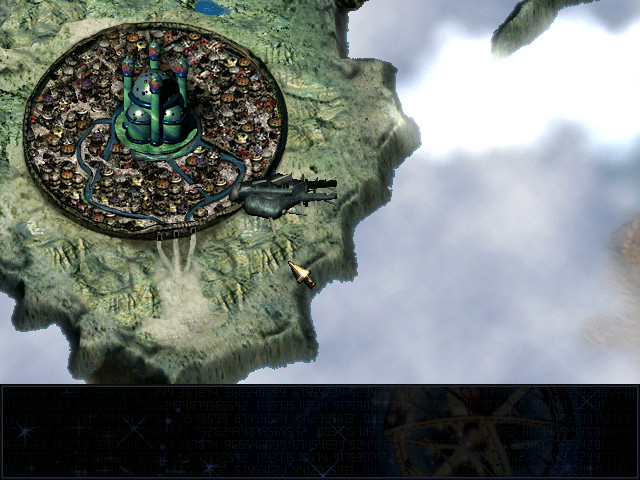
Rewinding time slightly so that that didn't happen, we can see where all the birds have been going - the '???' tower.
Finally, we can visit South Farm.
There's a lot of very nice new hardware for sale, which I won't buy just yet. We can also take the secret passage to the library, since Corgan is in the party - remember the globe there that Grubb mentioned would need "a much bigger wrench"?
 There, good as new.
 Thank you. That globe has been broken for many years. Please take this in gratitude.
And he hands us a Soul Stone. We've got five now, which is probably more than we'll ever need given my tendency to hoard them.
Sadly, we can't do anything more here; we still can't get into the city proper, and while we can visit Layla the resistance is going nowhere yet - and she agrees with Selina: our best bet is to head to Shell 1 and enlist the aid of the other Chosen against Doskias.
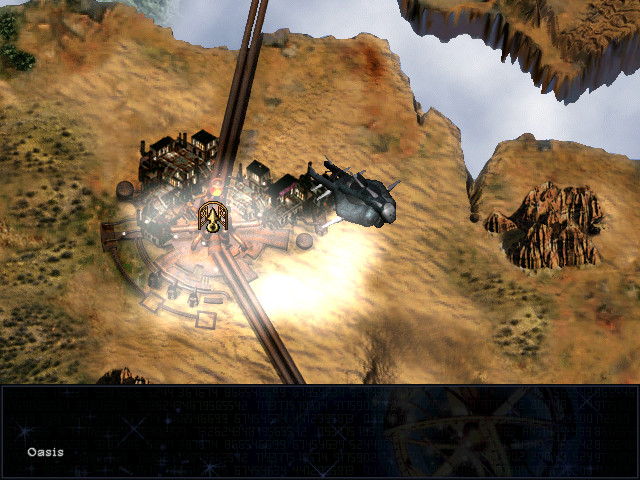
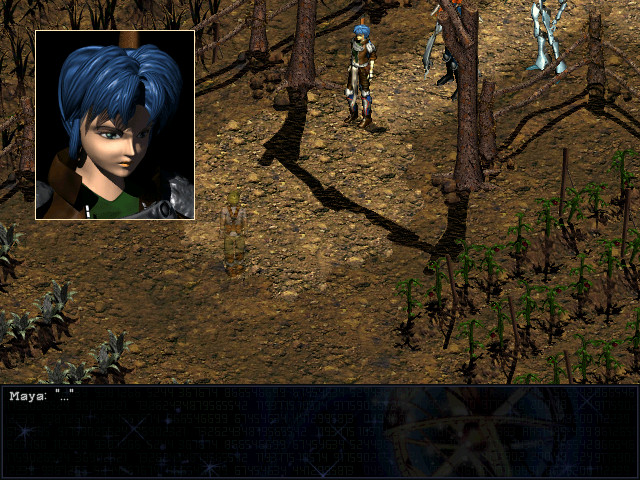
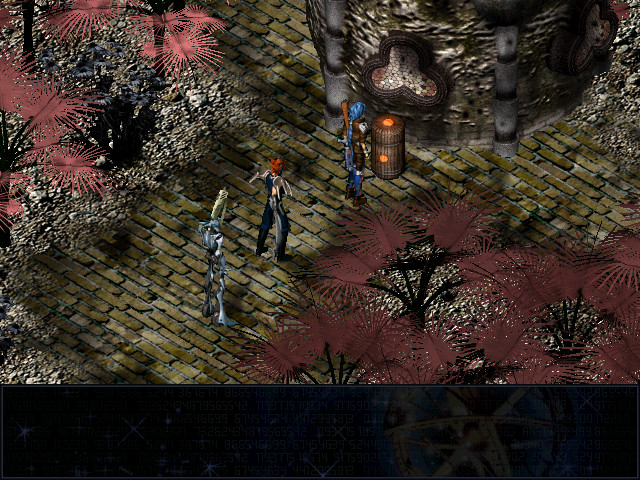
So that brings us upwards again, to Shell 2 and Maya's hometown.
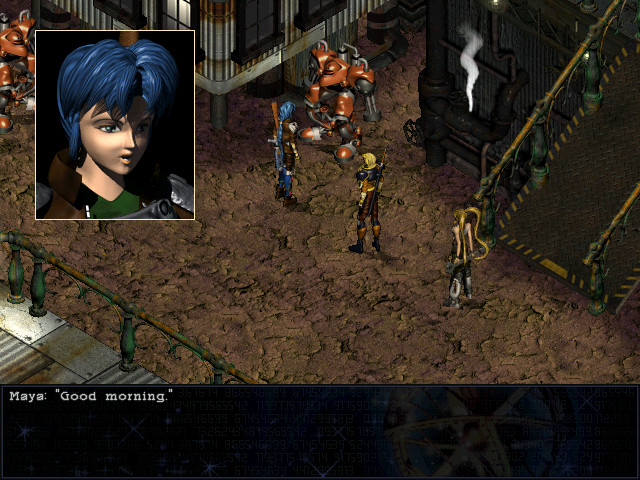
 Move along! Don't you recognize me? Citizen of Oasis, female, Maya. Now get back to work!
 Who's your master? The Mayor of Oasis. What? Grubb built the workbots. That's WAR-bot. These guys are built well...But they need to learn some manners.
Warbots? And are those miniguns on their arms? What the hell is going on here? Grubb's going to be extra pissed when he finds out; let's quickly run outside and put him in the party...
Master override sequence THX 1138. Interfering with a Warbot is a serious offense. 'Warbot'? Move along, or you'll be put under arrest.Looks like Mayor has finally realized his dream of having his very own fanatically loyal, overgunned police force. In retrospect, Grubb left his lab way back at the start of the game with his computer logged in and displaying complete warbot schematics, so this isn't hugely surprising. In any case, there's not a lot we can do here right how; the Smelting Works and Junk Heap are guarded by more Warbots, and while we can talk to Uncle, doing so causes Maya to bring up information she doesn't actually know yet. Specifically, that Doskias's experimentation with the lenses has caused the Core to become unstable.
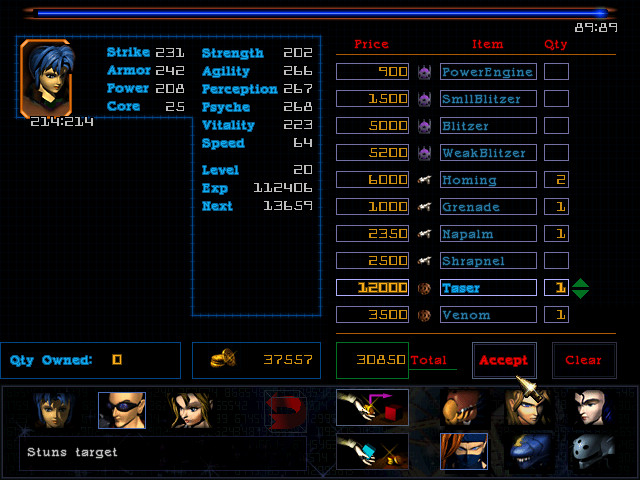
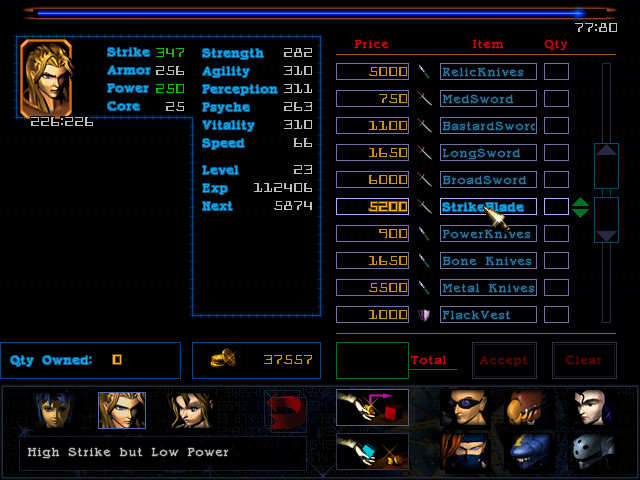
We can, however, check out The Stockpile and see what new hardware they have in stock, and oh boy is it a treat. Homing missile scatterpacks for Maya and Runner, grenade and napalm launchers for Lobo, a taser upgrade for Grubb, and a taser and deadly toxins for Araym. Christmas comes early. The core engines are nothing to sneeze at either, but I'm running kind of low on cash, so they can wait.
We're not done on Shell 2, though. West of Azziz's Temple is this place.
In this abandoned farm, the ghost of a boy constantly relives the last few moments of his life, falling into the well over and over again. You may recall a book about this in the Wind City library.
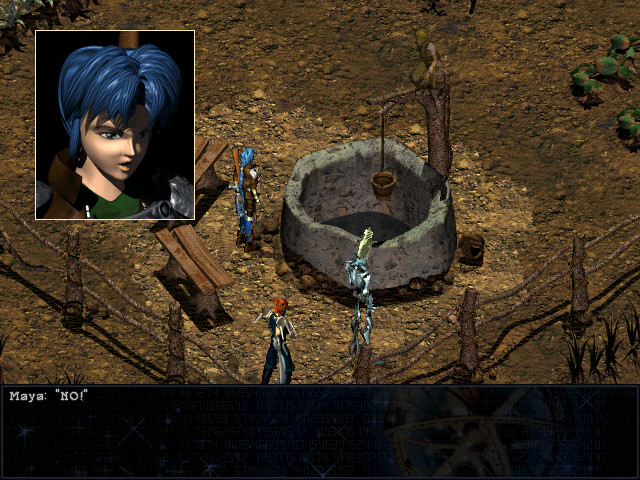
The idea here is to sneak clockwise around the farm, hugging the outer fence, until Maya is in place to intercept the ghost as he runs towards the well.
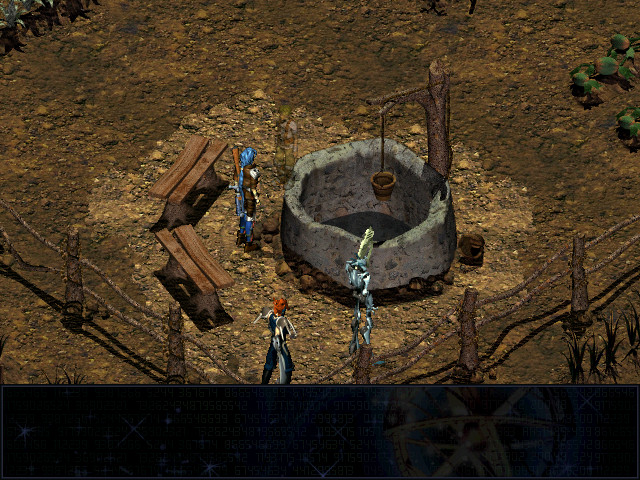
If she does, he hands her something and fades away. It's a Holy Water - an accessory that seriously reduces damage from undead.
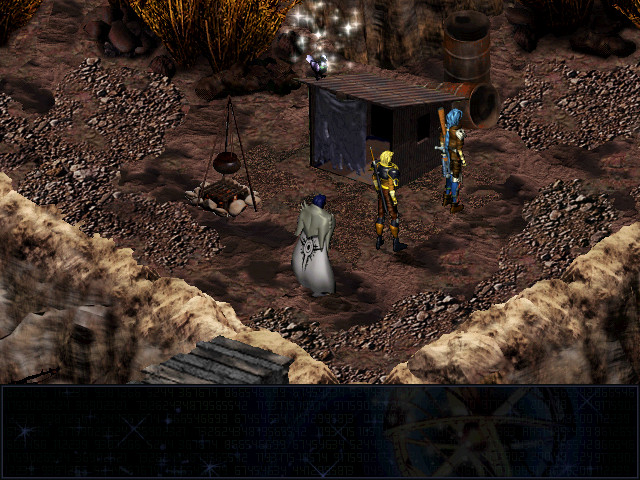
There's two more things to do on Shell 2, both of them in Outlaw Canyon.
This bird is the first. There's only two left now, and we're perhaps halfway through the game, or a bit less, so we should be done this quest soon, right? Well, not really, but every bit of progress is encouraging.
The other order of business is this door that we couldn't open last time we were here.
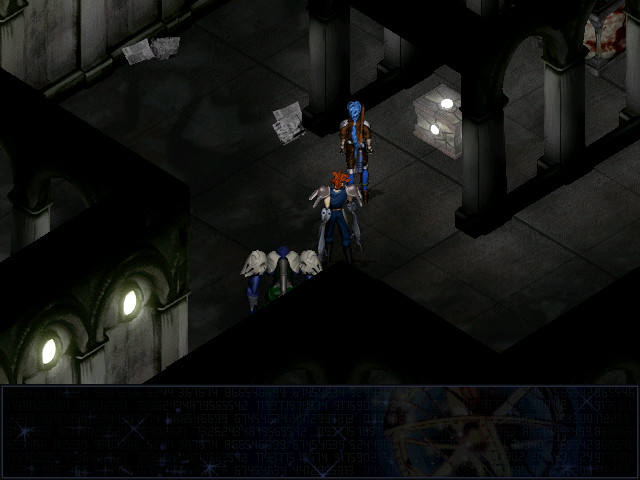
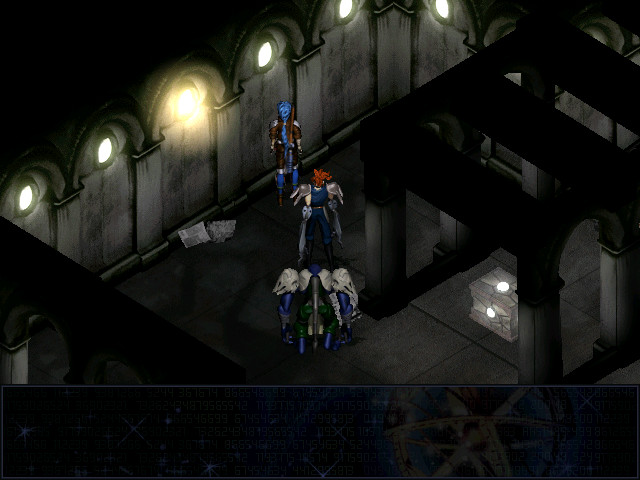
 This is the secret entrance to a Bounty Hunter hideout. I hired several from here for the invasion of Wind City.
The door swings open.
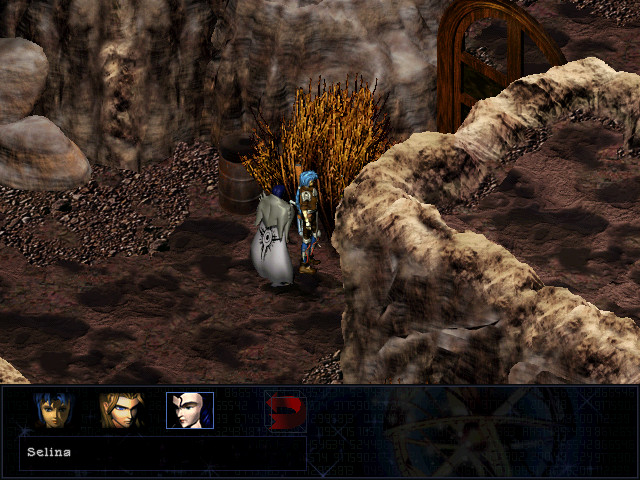
 Selina? How did you get in here? We did your job, now leave us alone! You'll get none of our loot! We don't want to fight-
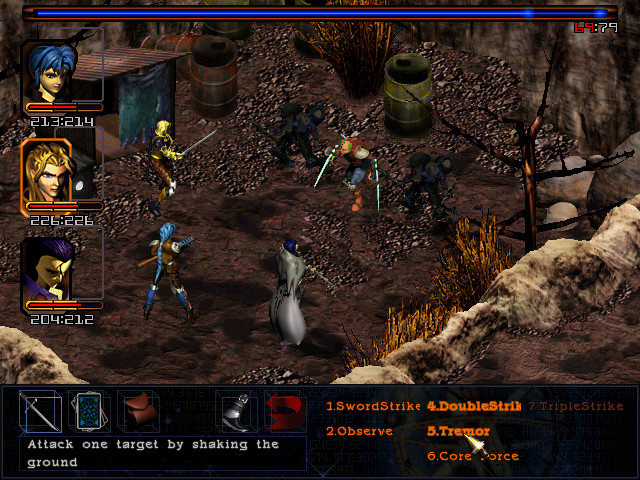
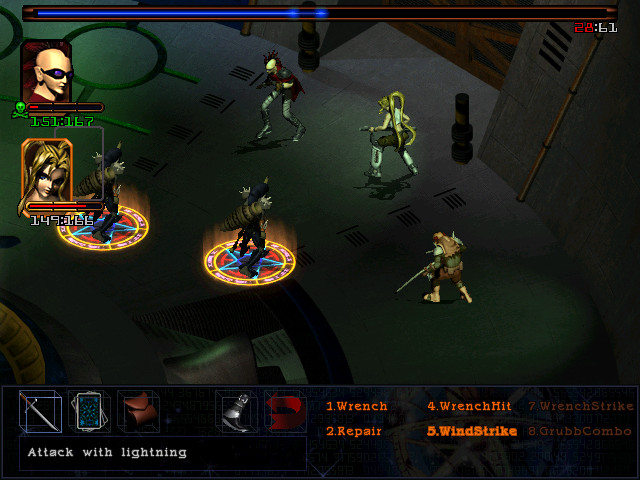
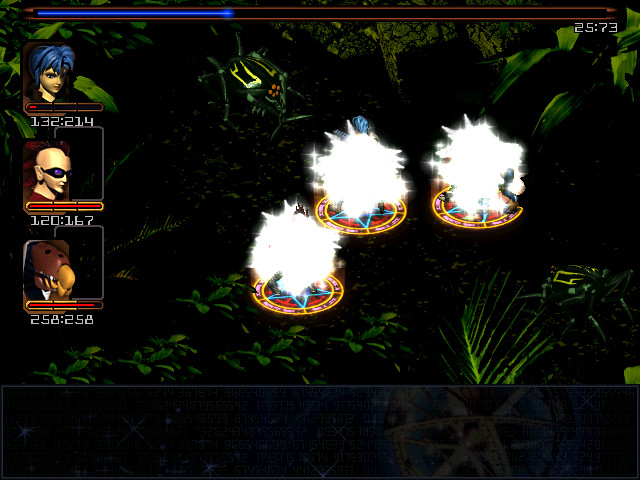
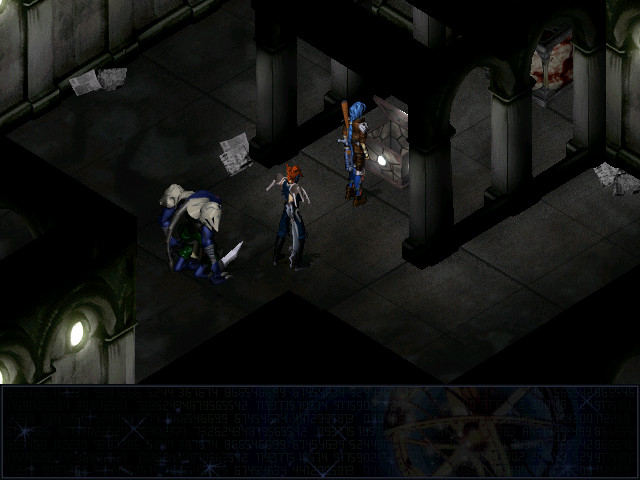
Corgan, like Led, has learned a new attack. Let's try it out.
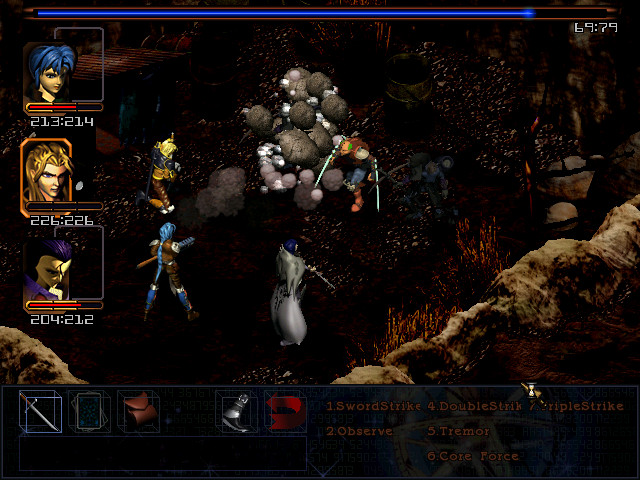
When the rocks fall away there's nothing left of the guy. This leaves two left over for Maya to test her new homing missile package on.
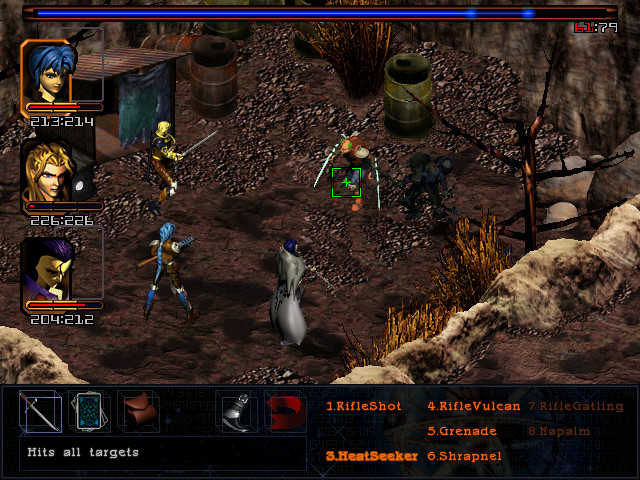
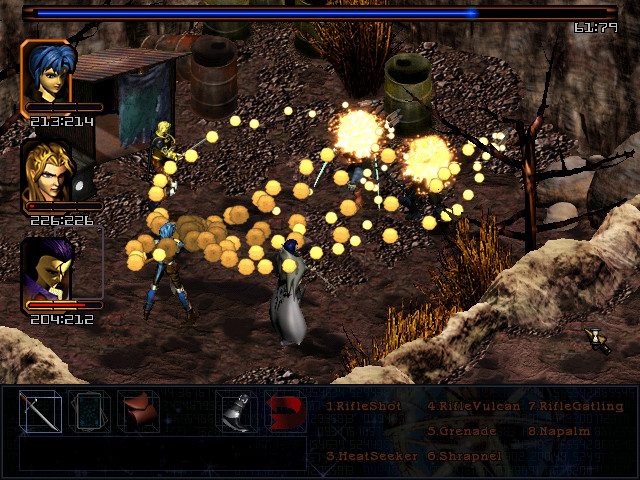
Oh yes. The damage isn't as good as her normal attack, but it's a tier 1 ability, is relatively cheap at 8 Core, and it hits everything. It's great for clearing out large groups of weaker enemies and unlike Grenade/Shrapnel/Napalm it doesn't require them to be close together.
Also, it looks really cool.
The loot is...the Armstrong Seal! Corgan mentioned this much earlier; it was responsible for negating the Curse of Draxx in Armstrong, but was stolen during the sacking of that city by Chosen and mercenary forces.
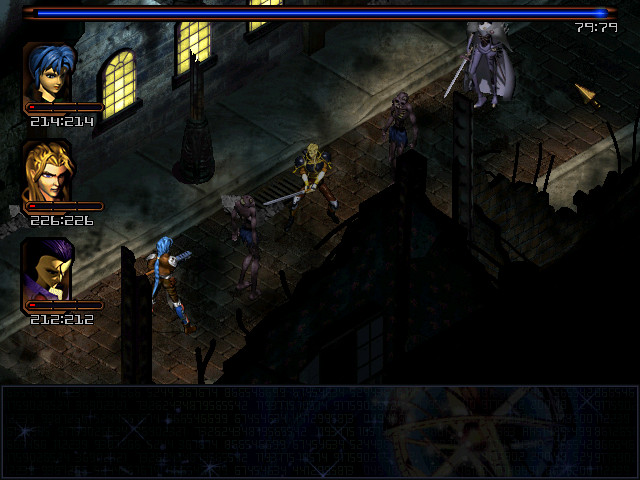
Which means there's nothing for it but to return it to its rightful place. With the Seal gone, however, Armstrong has been overrun by zombies.
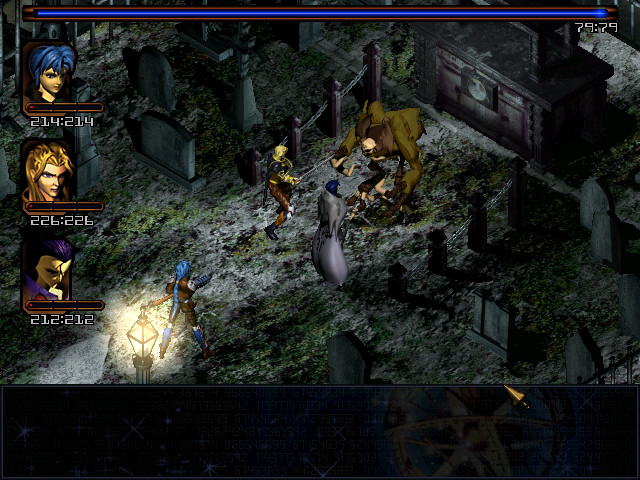
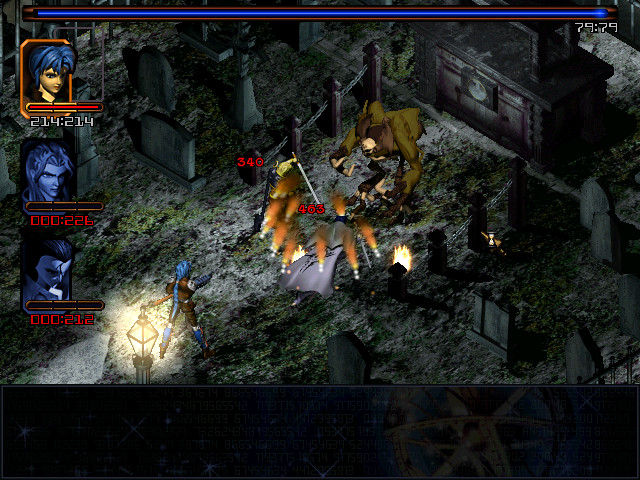
And this guy is waiting for us at the graveyard. He's not Draxx, despite being a palette-swap of his statue, but he is pretty nasty.

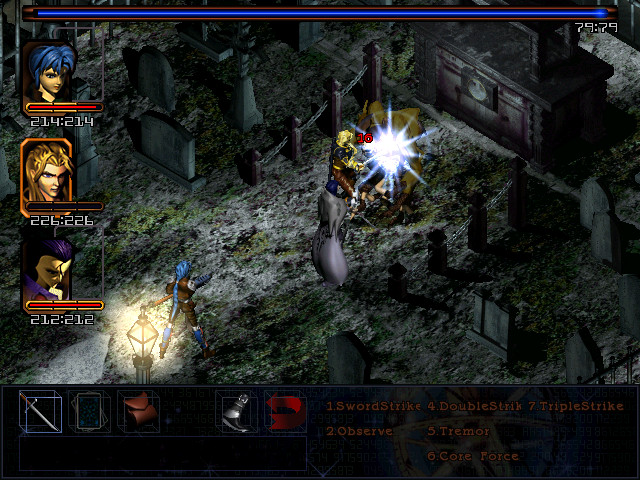
Corgan gets the first blow...to almost no effect.
The counterattack only fails to be a game over because Maya is standing so far to the rear. At this point it's pretty clear I can't beat it legitimately, but fortunately, I don't have to.
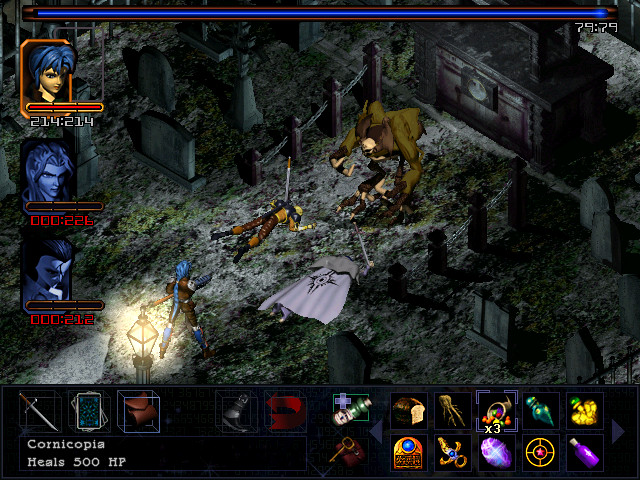
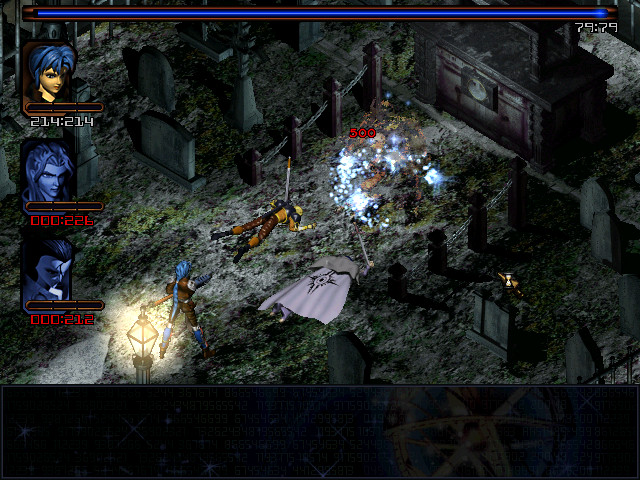
I was probably meant to come back here and finish the quest much later, but what the hell.
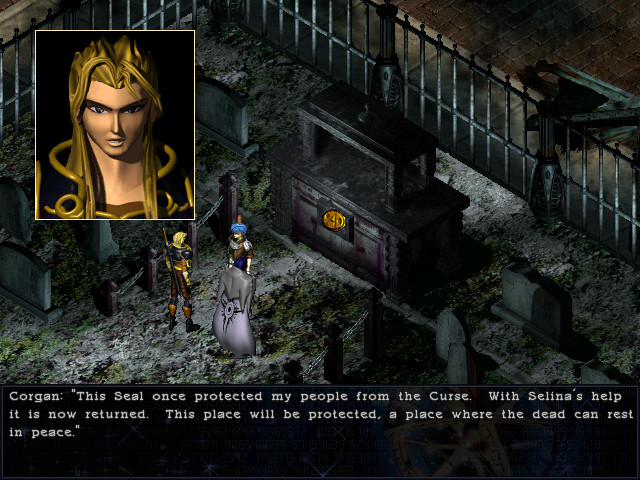 I hope that this is a first step toward reconciling our differences, Corgan. I misjudged you, Selina. I may not like you, but I'll respect your sword as it walks by my side from this day forward. Perhaps in time, this town will flourish once again.
Well, that may not have been as
as the Grubb/Led subplot, nor has it gotten us any flashy new attacks. However, it has done something: Corgan will no longer randomly attack Selina in battle. They're hardly best friends, but it's now possible to take them places without worrying that Corgan will have one of his...episodes.And now, all that's left is Shell 1.
West of the Chosen city is an ornamental lake, which contains a barrel, which contains a Luck Charm. It increases the gold earned after battles, and like the Touchstone, is only usable by Maya - which means it's never getting used, because the Touchstone is staying equipped until the end of the game.
And that's that. With several loose ends tied up, the next update will see us venturing into the Chosen capital itself. Do not be fooled by its tranquil appearance; there will be rather a lot of violence. Vote your hearts out on who you want to see venture into this wretched hive of aristocracy!