Part 31: Doomsday Device: Round 2
31: Doomsday Device: Round 2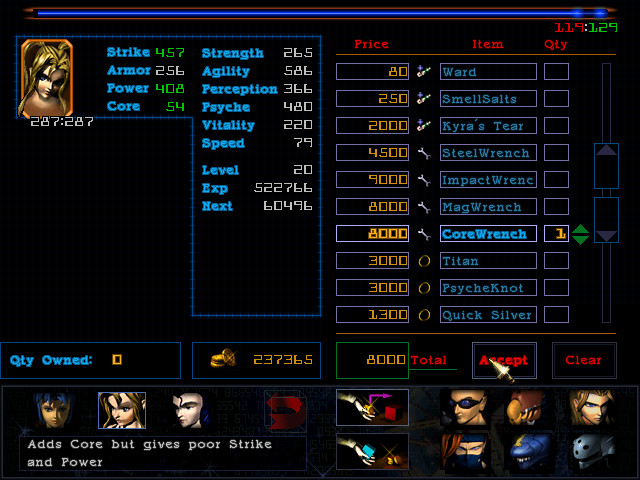
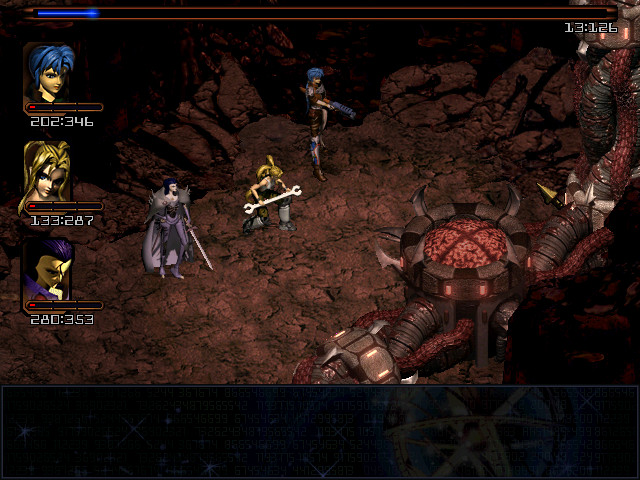
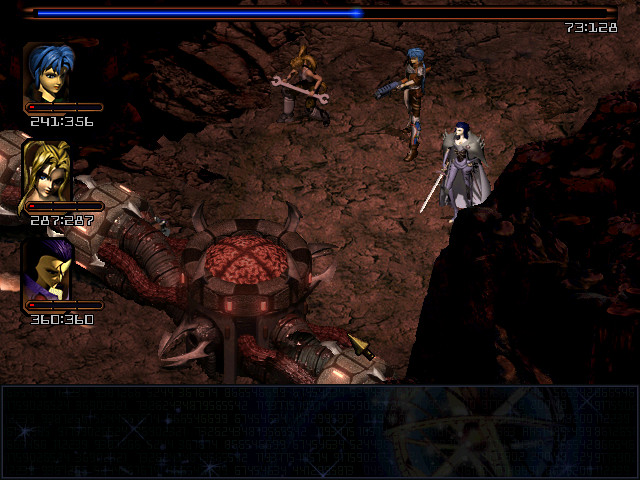
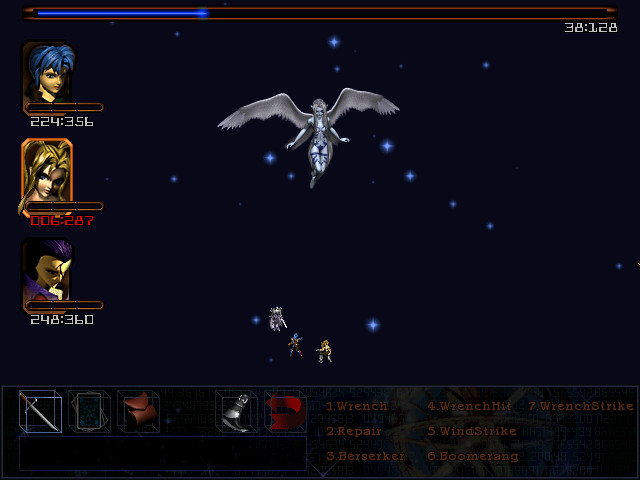
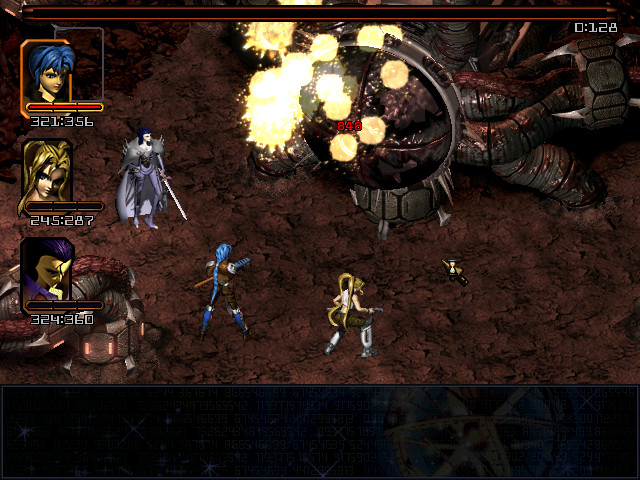
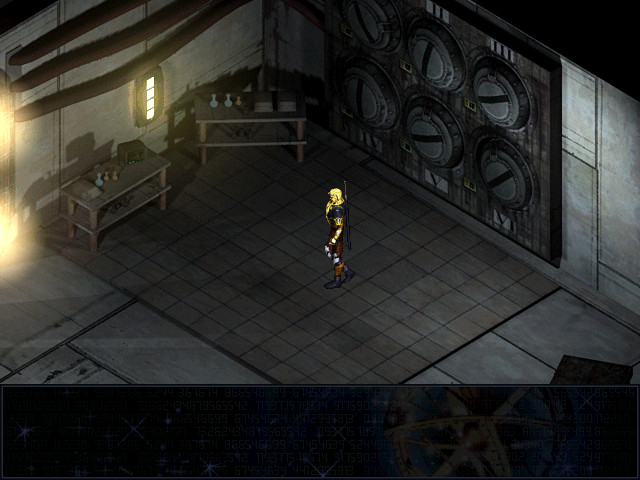
The winning party is Maya, Led, & Selina! It's been a while since I've used Led or Selina, so we stop off in Wind City to get some hardware for them.
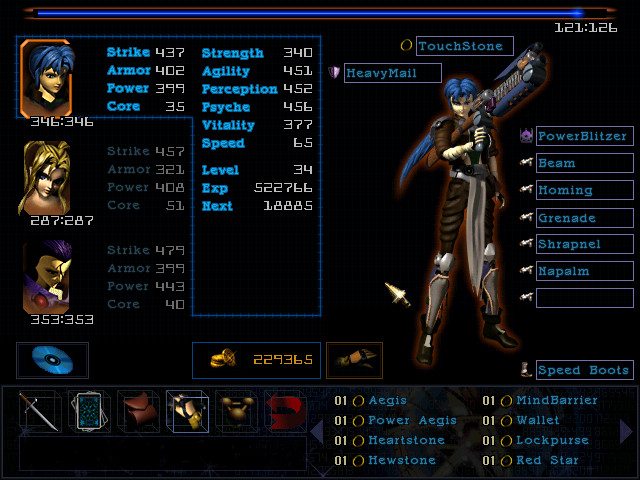
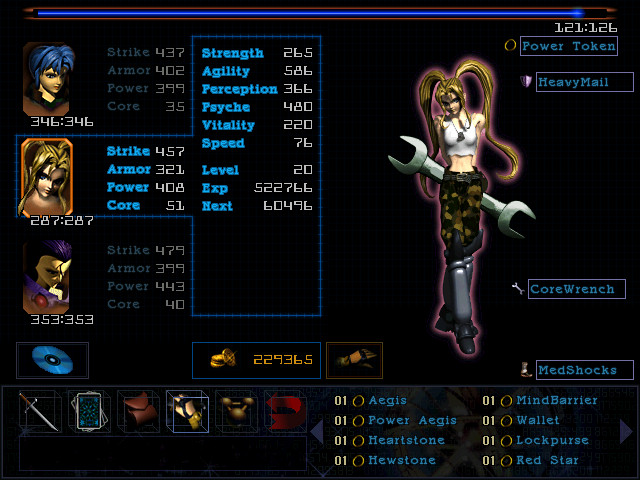
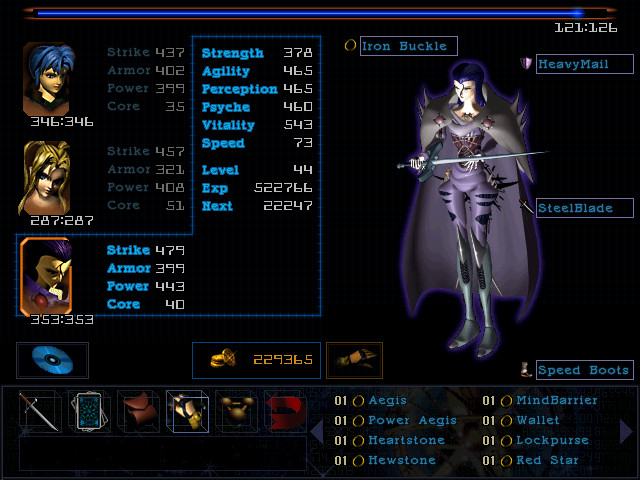
Fully equipped, the party looks...pretty beastly, actually. I may have been harshing on Led unfairly earlier; Maya has 14 levels on her and Selina 24, and even without her new wrench she can out-cast both of them. She also hits harder than Maya and is the fastest character in the party. Her only real drawback is that with 321 armour and 287 hitpoints, she's also the squishiest.
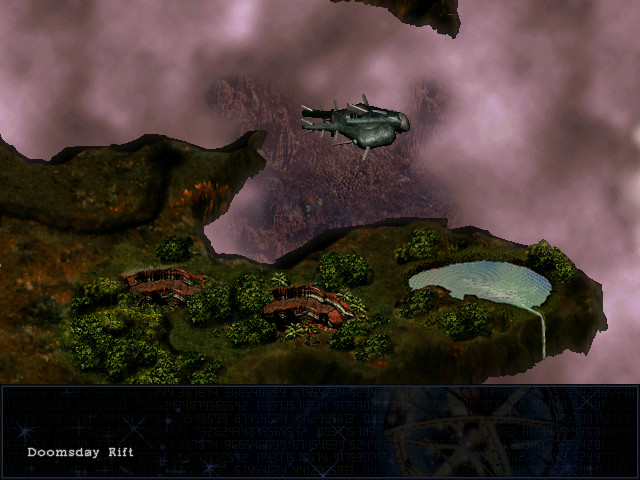
Down on Shell 6, a gaping fissure has appeared north of Pranno.
The area around it is inhabited by rock helgak and thunder cats, but Led's new wrench and Selina's new sword make short work of them. Even here on the surface, the ground is shaking frequently as the Device grows.
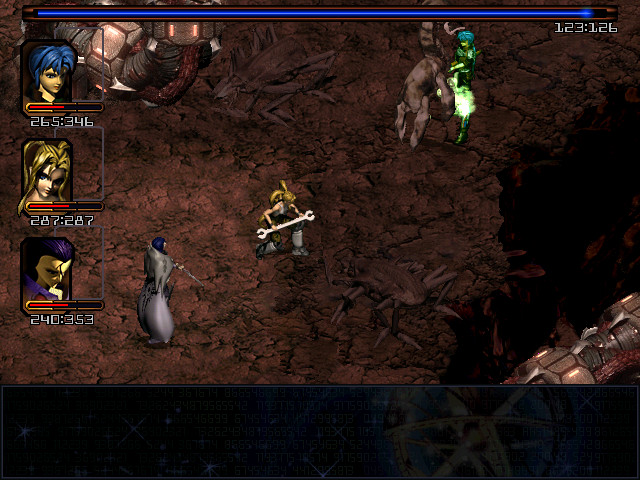
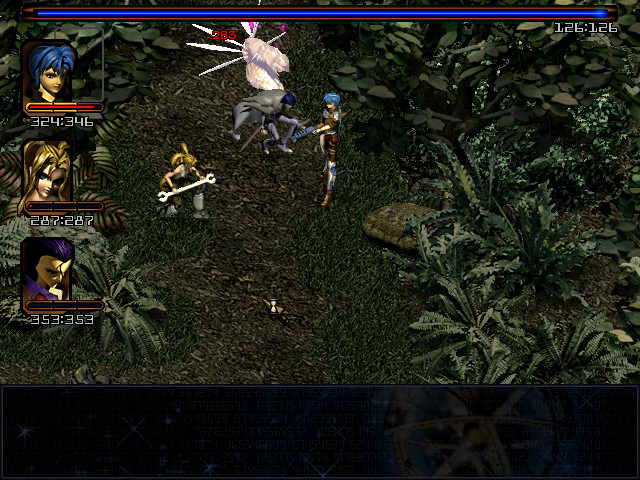
Underground, we get more helgak and some giant chitinous things. None of them last long with the new weapons, but they aren't the real threat.
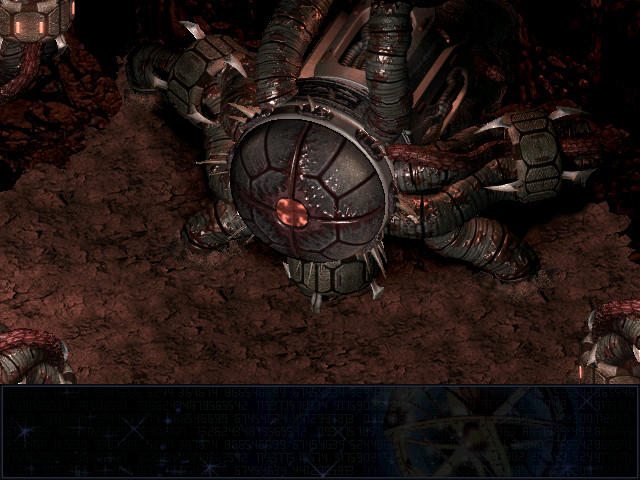
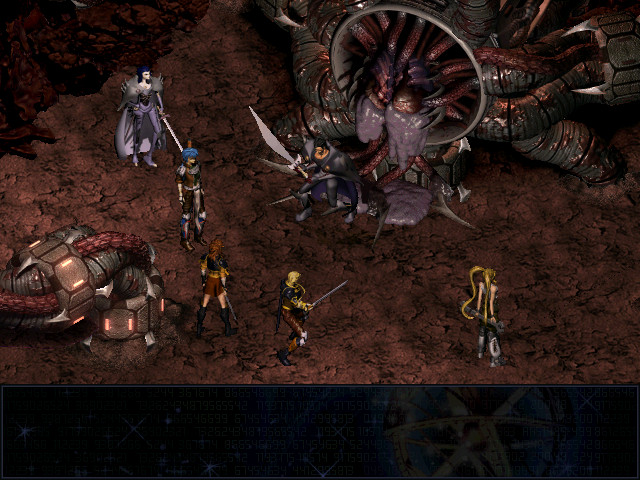
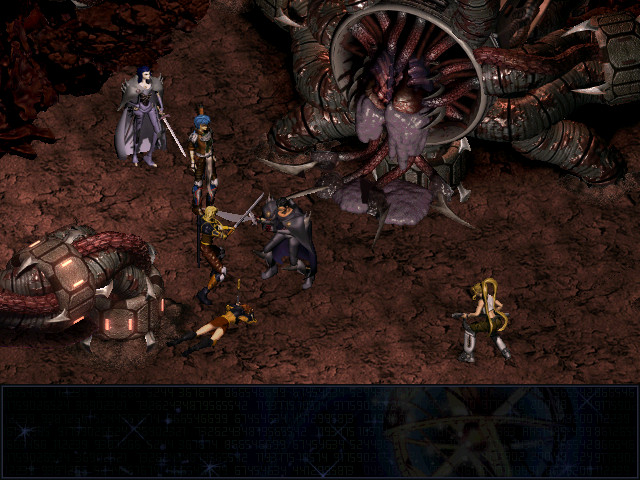
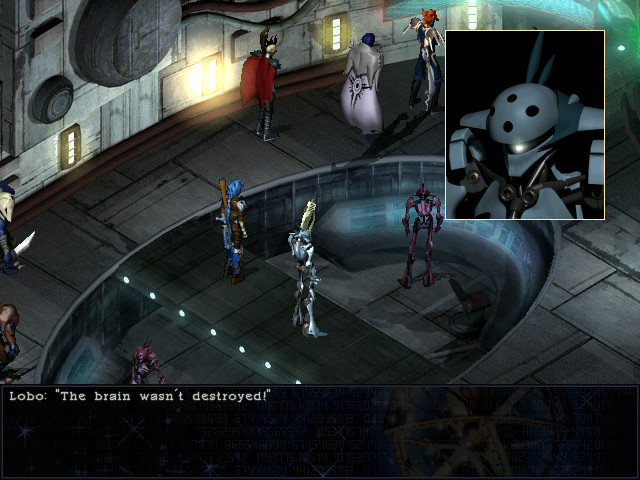
This is.
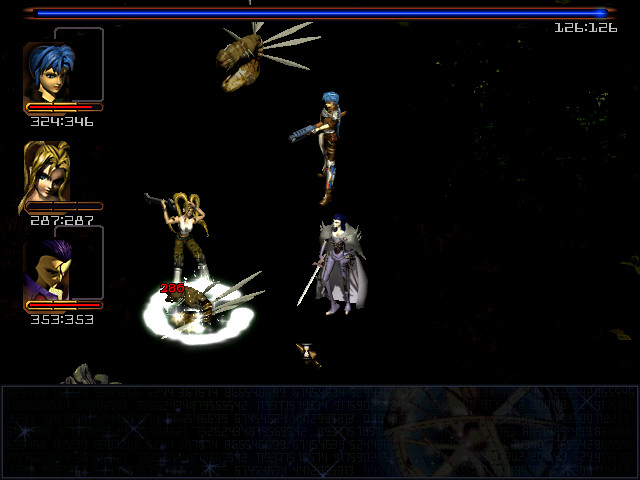
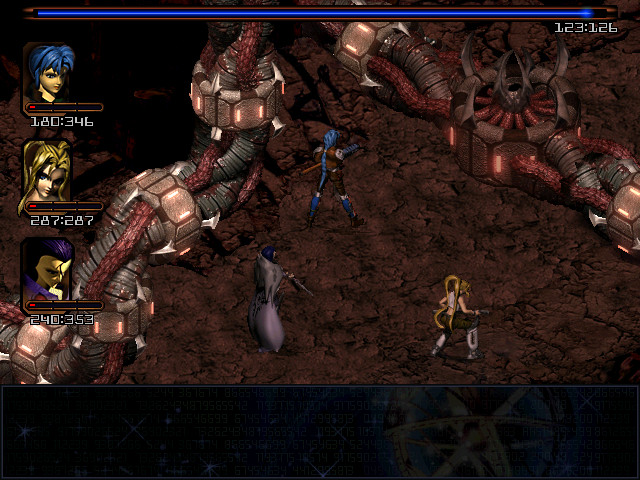
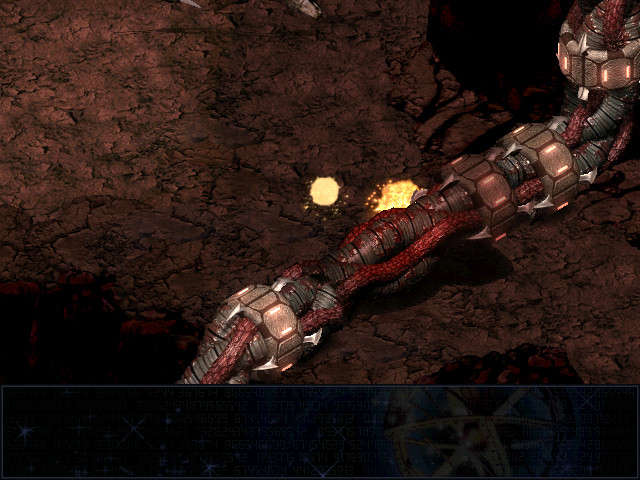
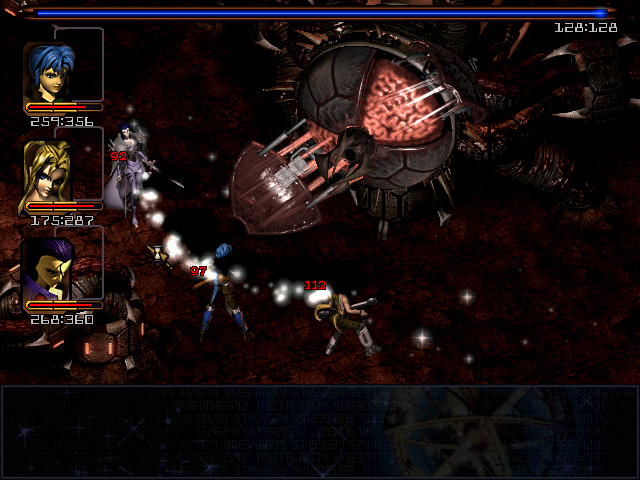
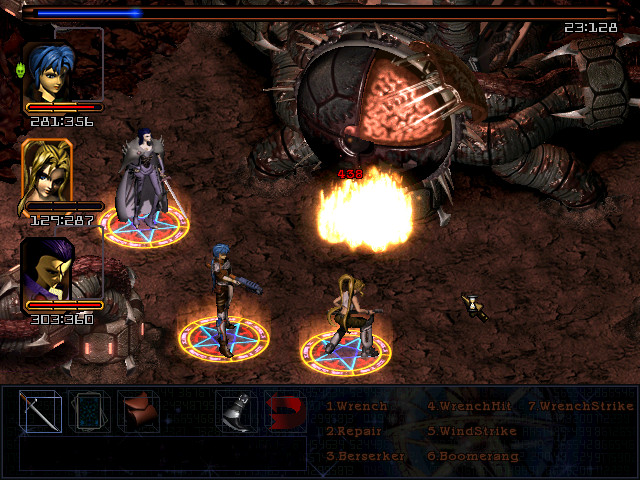
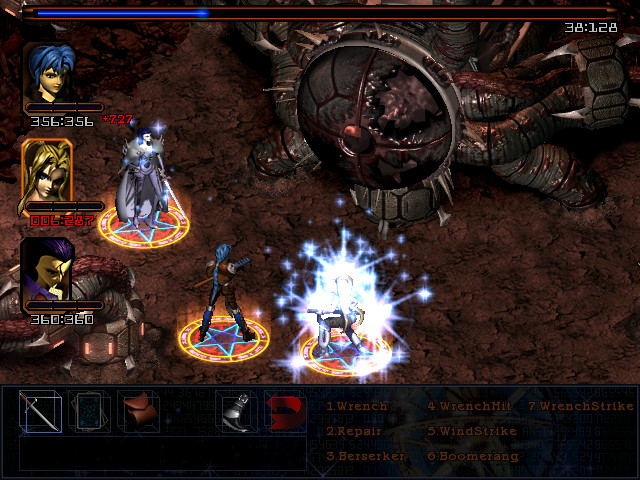
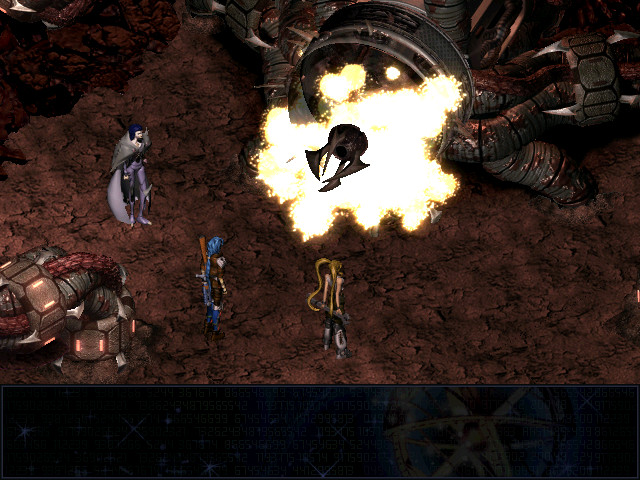
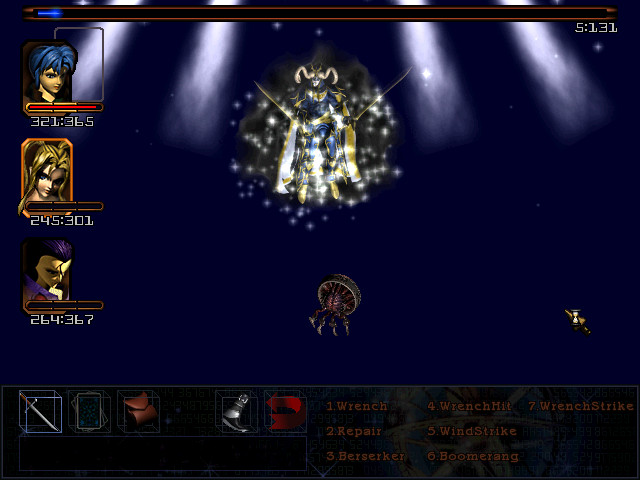
The doomsday rift is filled with these biomechanical tentacles. We have to blast through some of them to explore the rift, but we can only do that at these points - which are miniboss fights.

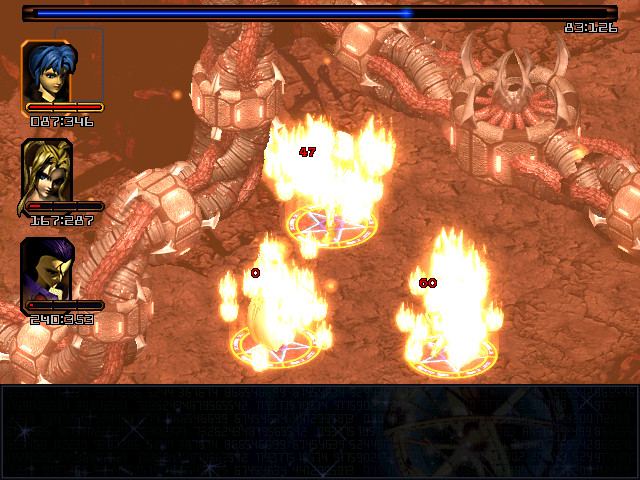
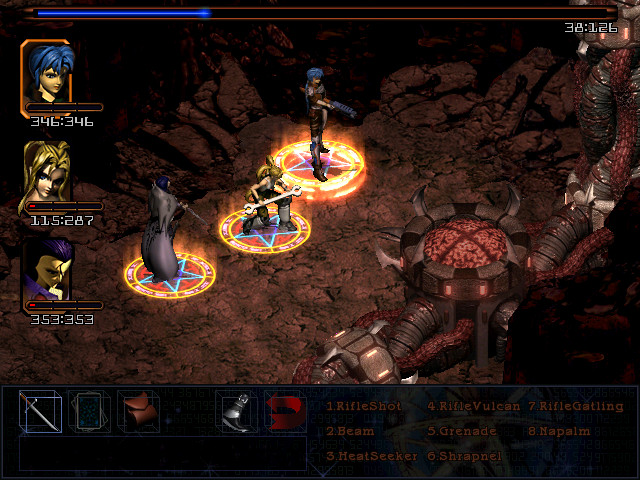
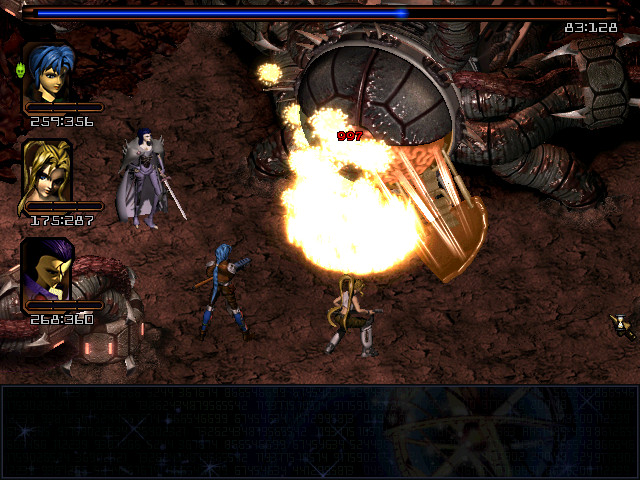
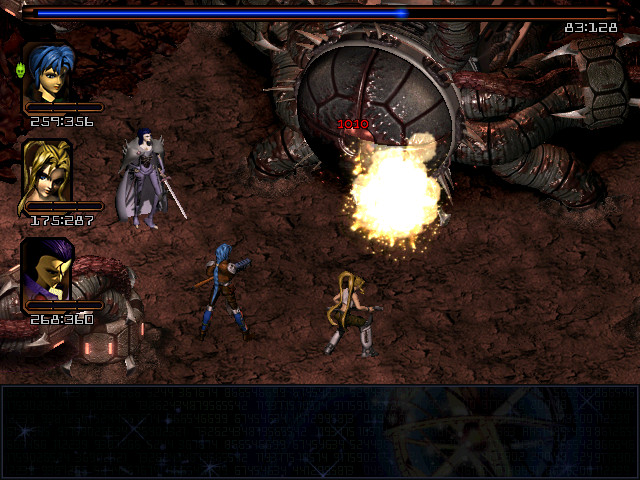
Step one is always to cast Flame Barrier (All), because the doomsday tentacles attack primarily with fire.
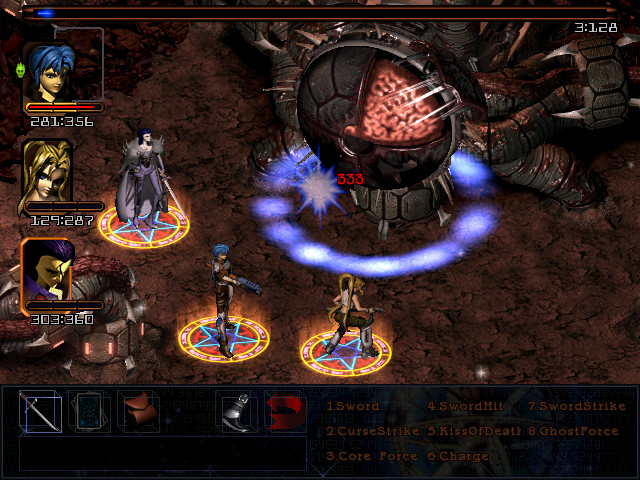
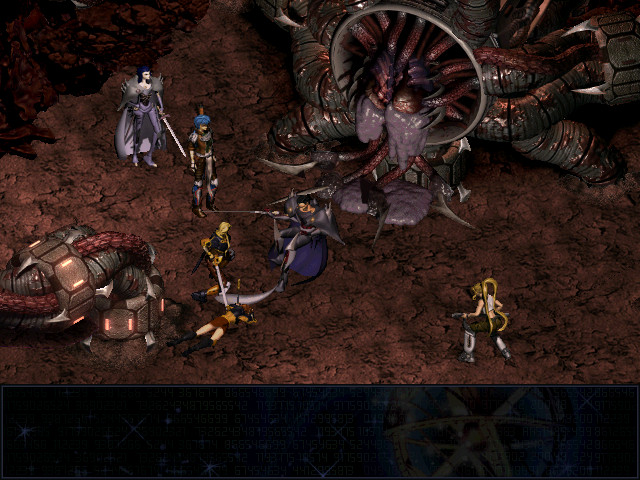
They have 1000 hitpoints, so they don't last all that long under heavy attacks.
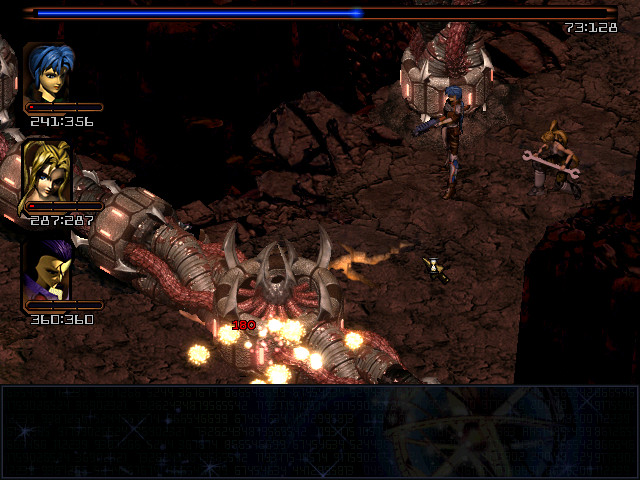
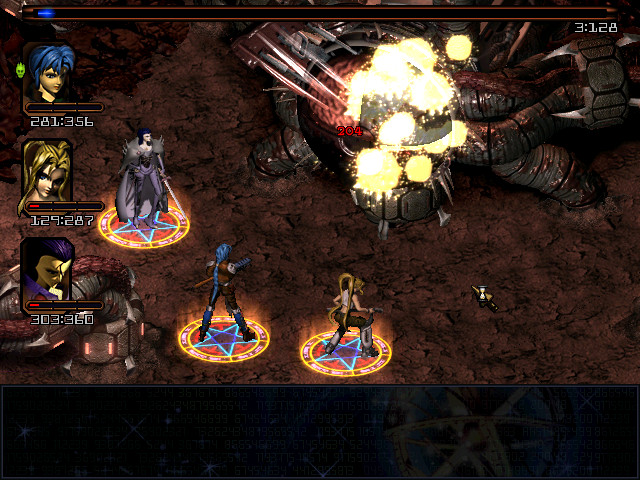
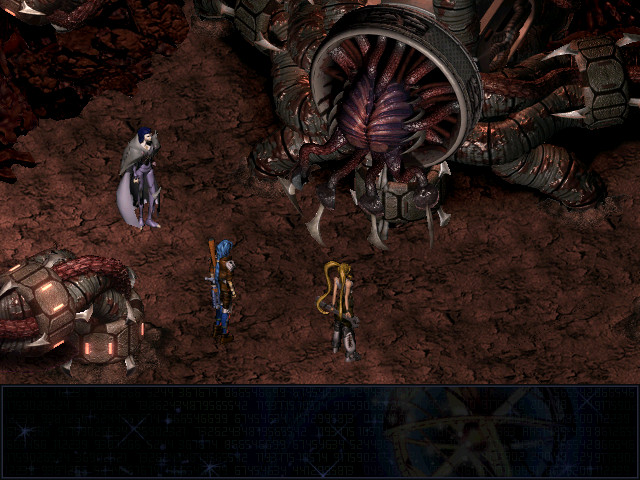
Anyways, the goal is to explore the rift, clearing tentacles and helgak out of our way, until we find this thing. Don't get excited; it's not the brain itself.

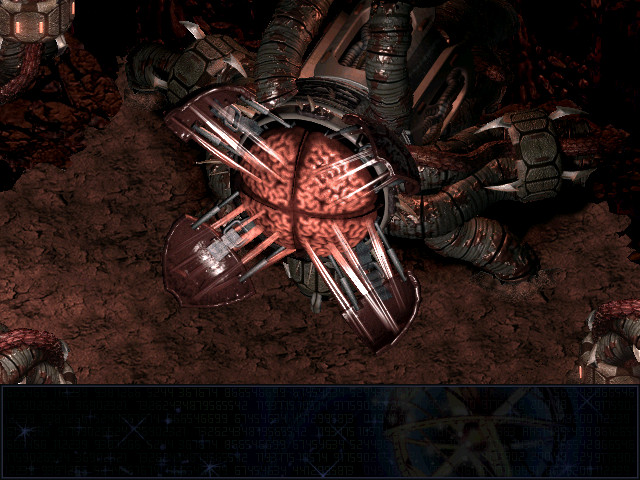
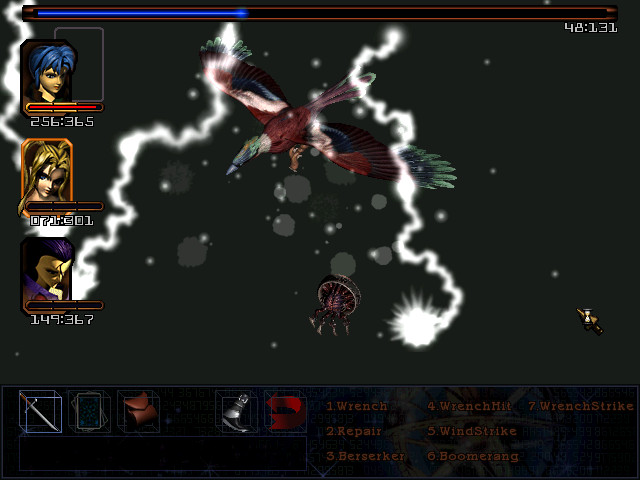
It mostly uses a beam attack. Note that I haven't cast barrier yet.
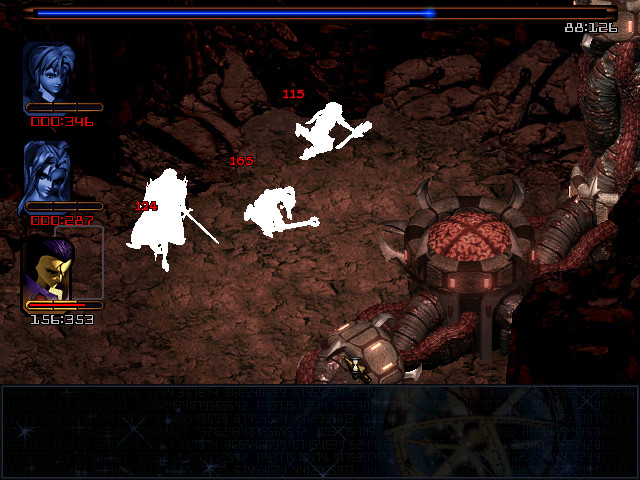
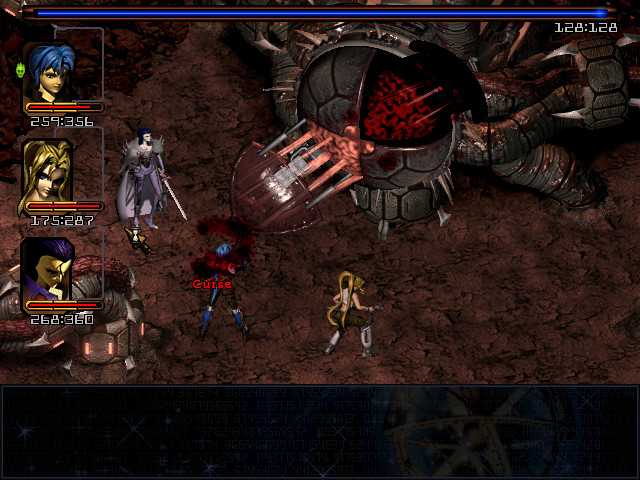
And it punishes me for it, using its powerful and hard-to-screenshot wave of darkness attack to kill Maya and Led outright.
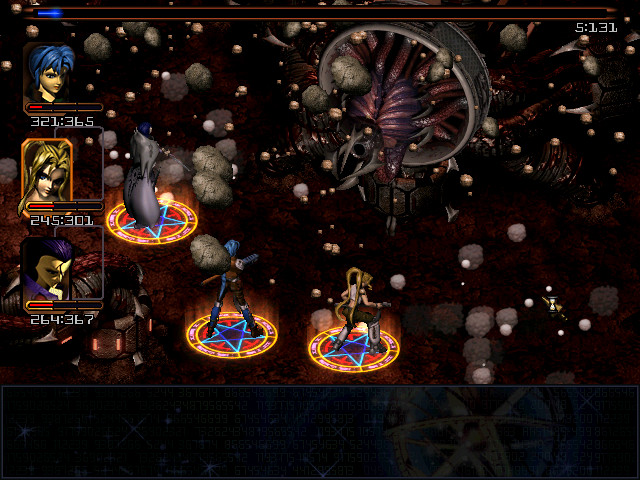
A handful of healing items later, I decide to play it safe, casting Barrier All on the party and Slow on the sub-brain.
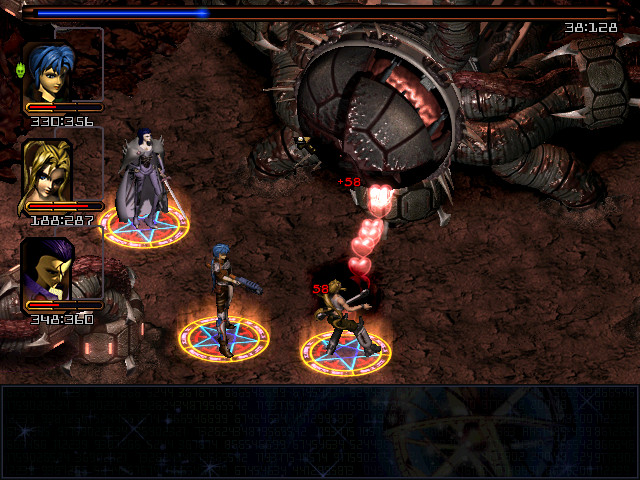
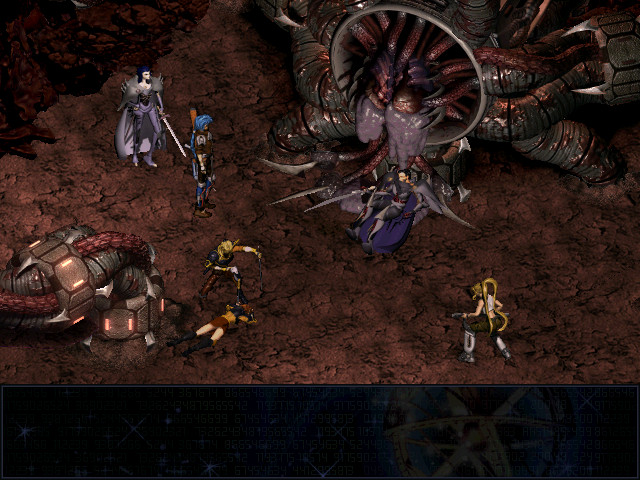
It's not much more durable than the normal tentacles, it just hits a lot harder. And now that it's dead...
...an otherwise unassailable tentacle blocking the exit melts away as well.
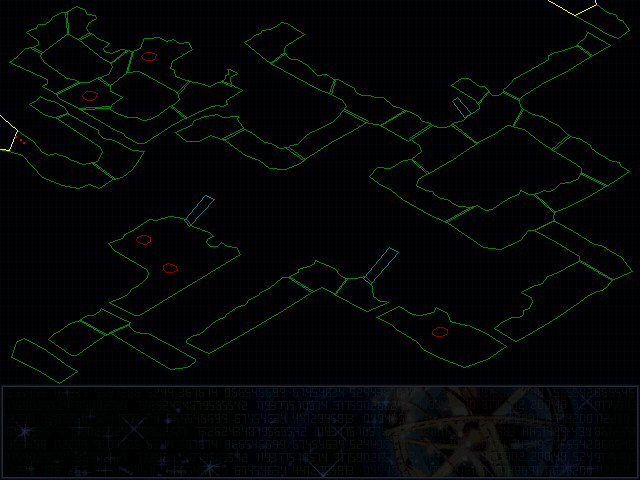
The next area is the same idea - kill sub-brain to open exit, proceed to next area - writ much larger. You basically have two choices concerning how to approach it.
The lower path is a gauntlet of tentacles.
The upper path is a gauntlet of Chosen troops and helgak. Note that in either case you'll end up fighting at least a few tentacles as well as the sub-brain.
Kill brain, open path.
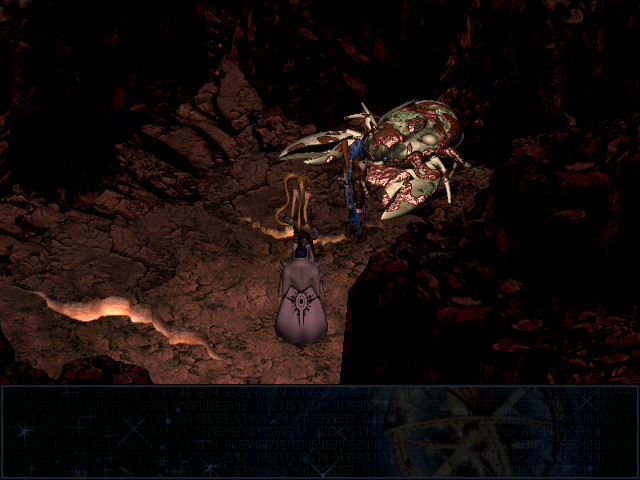
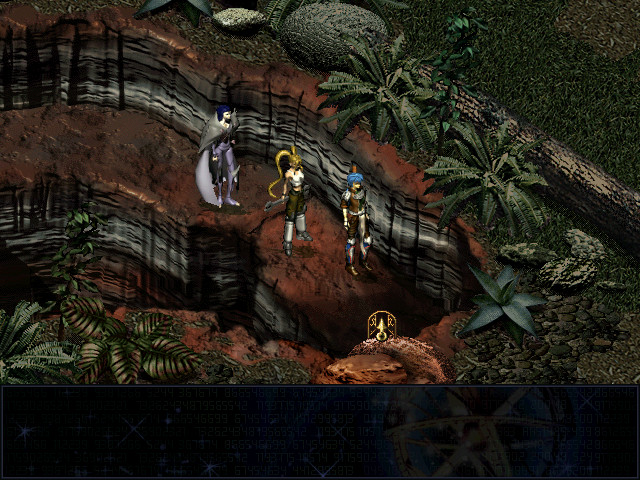
Don't forget to check the north edge of the map for this dead crab - the shell can be salvaged as armour.
The next area is just a straight (ok, zig-zagging) path with the occasional squad of Chosen troops and/or Doomsday tentacle dropped into your path, and really isn't worth screenshotting at this point.
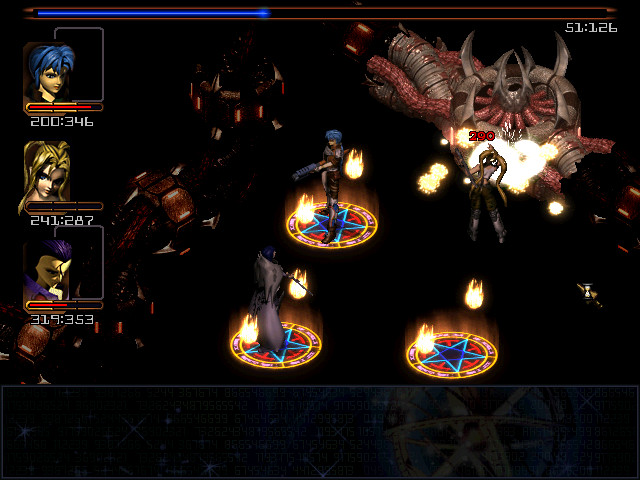
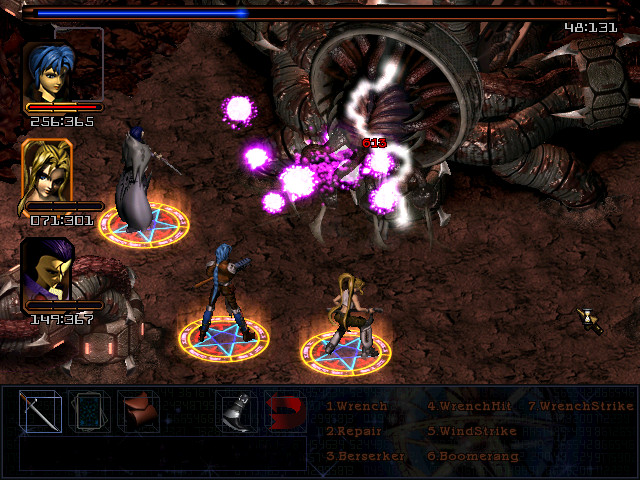
At the end of it, however, we find the Brain.
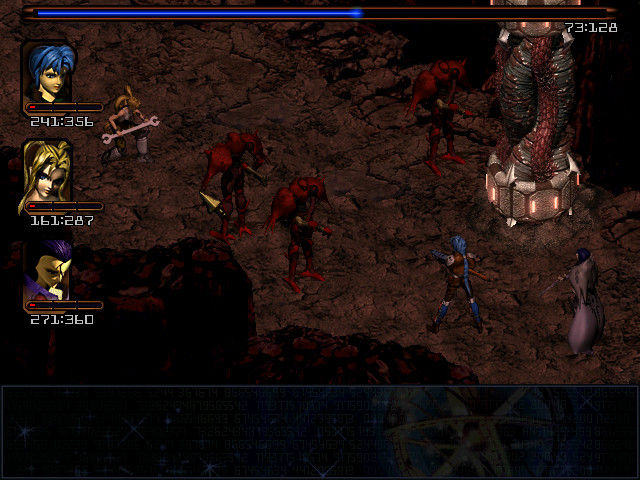
As the battle progresses, the Brain will open individual panels at random, while constantly attacking with energy waves. Sections that aren't open can't be damaged (or even targeted).
After staying open for a while, a section will use some attack - in this case, Curse - and then close back up again.
During the practice run for this, it opened all four panels at once and I was able to kill it with a single attack. Of course, now that I'm recording, I'm lucky to get two at a time.
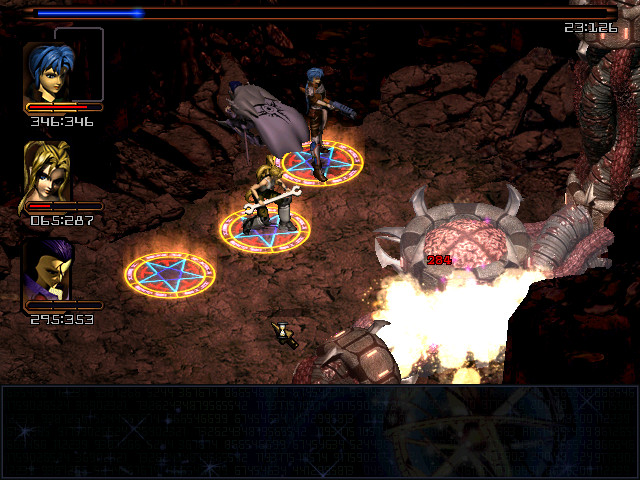
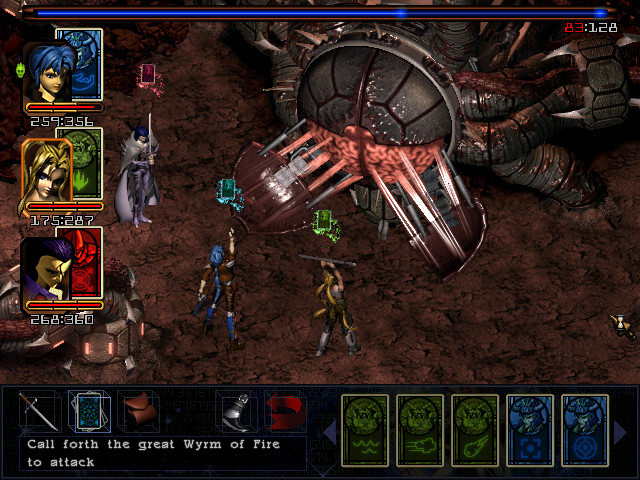
 The Led/Selina powerhouse delivers the first four-digit attack of the LP, and toasts two brain segments with one attack.
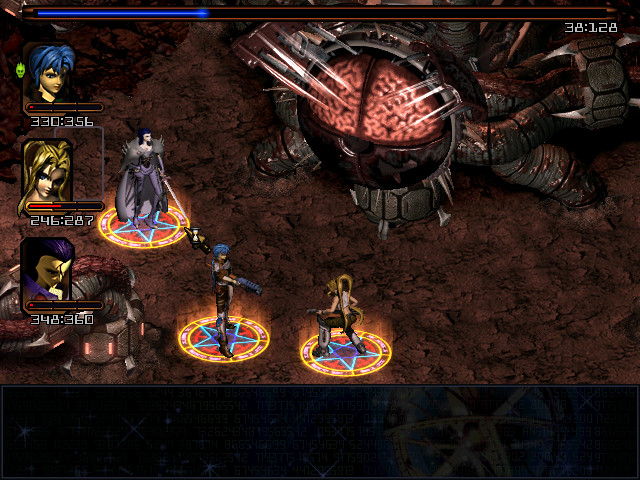
This would be a perfect chance to finish it if everyone weren't still recovering from Summon Fire All and Barrier All.

Haste and Drain Life. Along with Curse, those are the only moves I've ever seen it use.
It really is worthwhile to combine cards; Fire and Summon here used individually can't quite take it out.
It falls to Maya to do that.
With Led taking a pounding and Maya and Selina down a fair bit of health as well, I decide I can afford to be spendthrift with my Core.
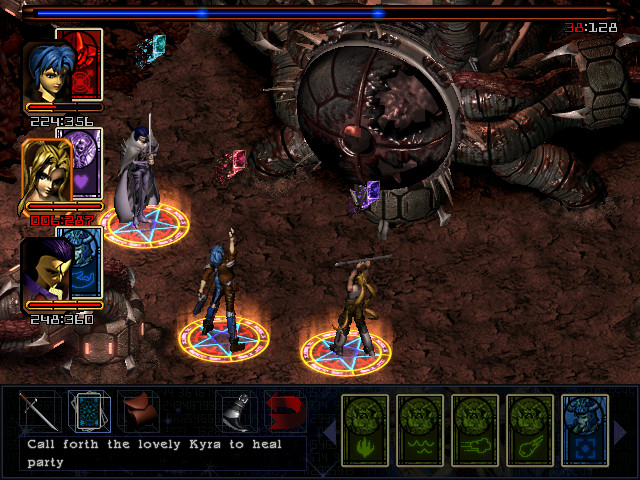
Summon Kyra is still the healing and anti-undead choice.
The final section opens.
And boom! Mission accomplished, let's go home.
Or not.

This behaves pretty much like a sub-brain, attacking mostly with energy waves and beams and the occasional whole-party earth attack. It's just much more durable.
It's no match for Led and Selina, though.
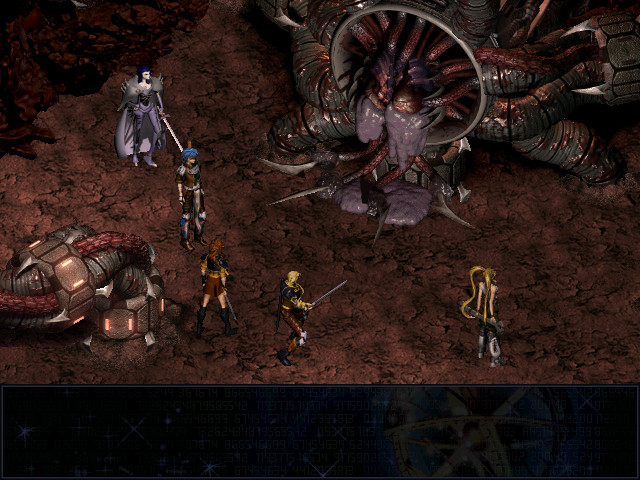
No sooner has the brain exploded than Corgan and Layla show up.
Closely followed by Balcaam!
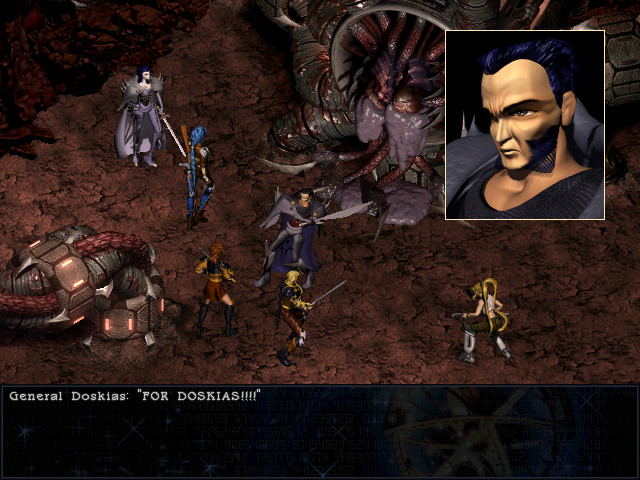
 I won't let you stop Doskias's plan!
 Stand down, Balcaam! We defeated you once, we'll do it again. I'll defend the brain to the death to prove my worthiness to Doskias!
 You've gone mad!
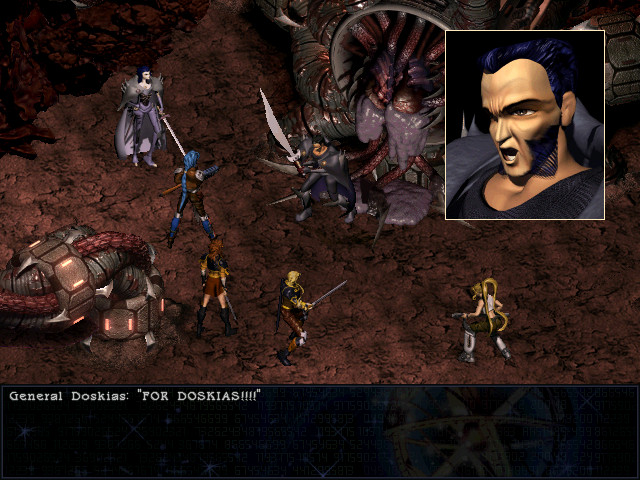

The gravity of Layla being struck down is somewhat undermined by one of Balcaam's lines apparently being spoken by Doskias.
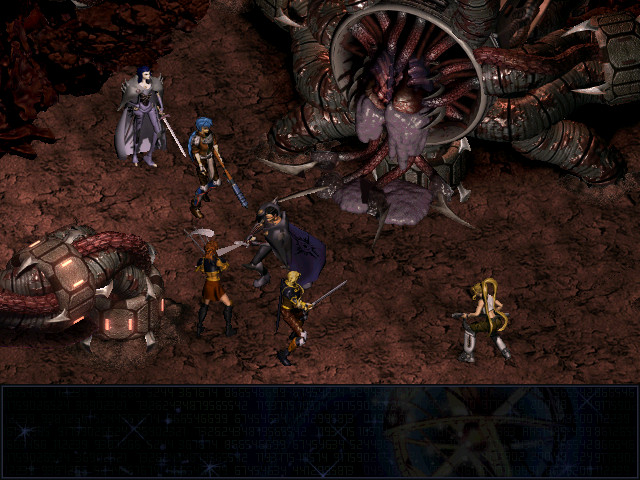
Corgan has a brief duel with Balcaam, which ends very unpleasantly for the Chosen officer, and then kneels by Layla's side...just as the earth starts to shake much more strongly than before.
It's too late! We have to get out of here!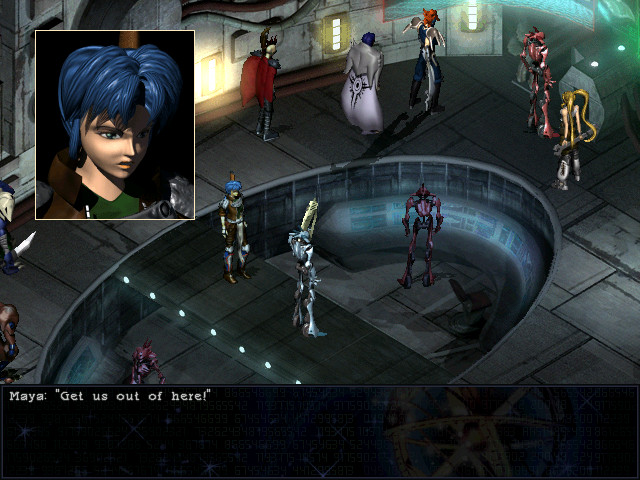
 Pranno Rises - Viddler
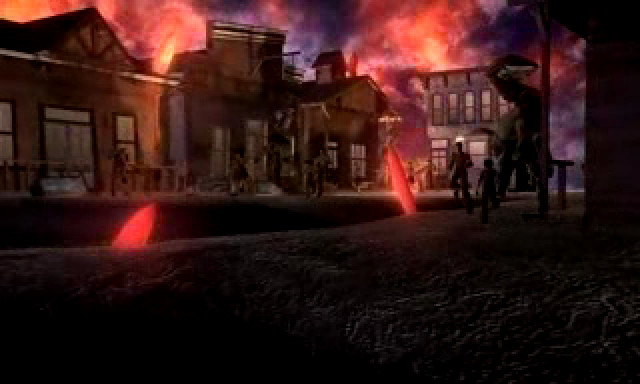
The population of Pranno panics as the Doomsday Device's tentacles begin to rise out of the ground.
The screams begin to die down as the gravitational field they exert takes its toll, and the land rises.
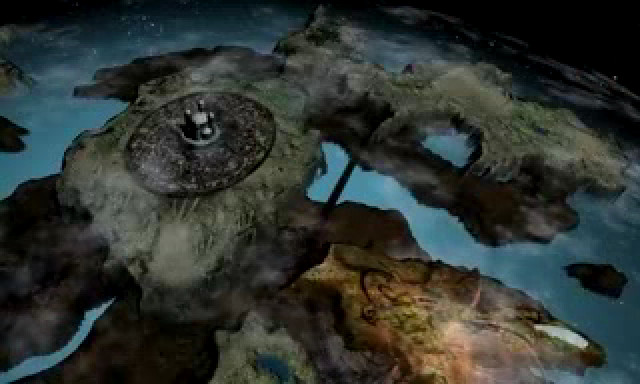
Pranno completes its upwards fall...
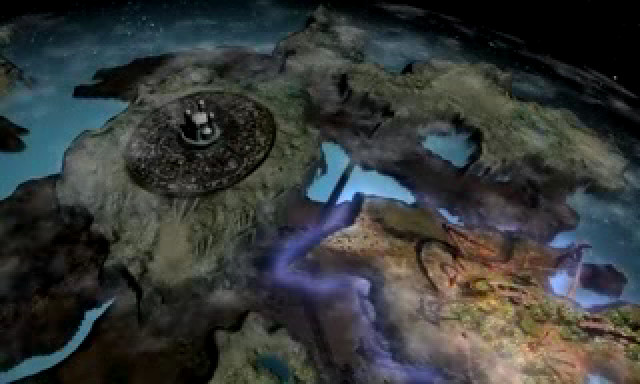
..and settles into place next to the Chosen capitol.
 Balcaam stopped us, but I don't think we could have killed the brain anyway...
 He threw his life away for his master. Where's Corgan? He took Layla to the cryo chamber.
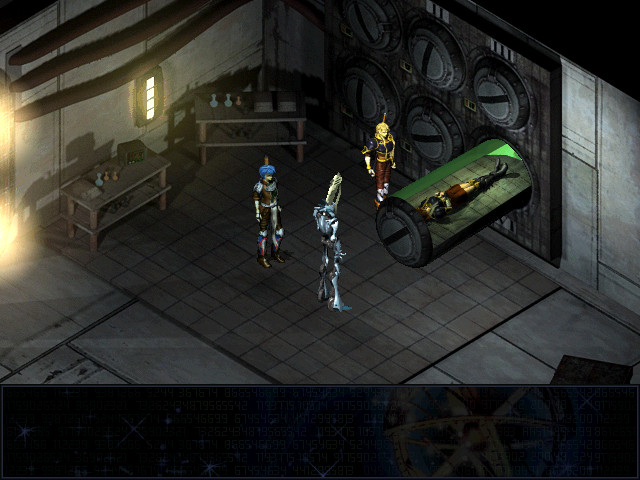
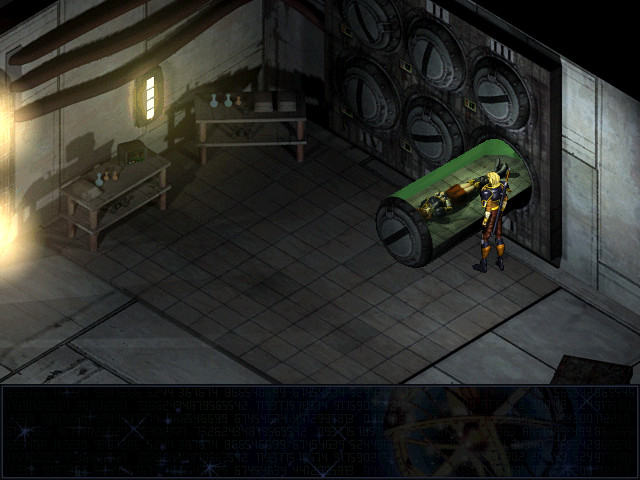
 There's nothing you can do for her... This chamber will keep her alive. But for what? She can't be healed, Corgan. You don't know that! Will she be safe in there? Yes, she should be. Those chambers were used by the human crew of this ship for carrying the wounded back home.
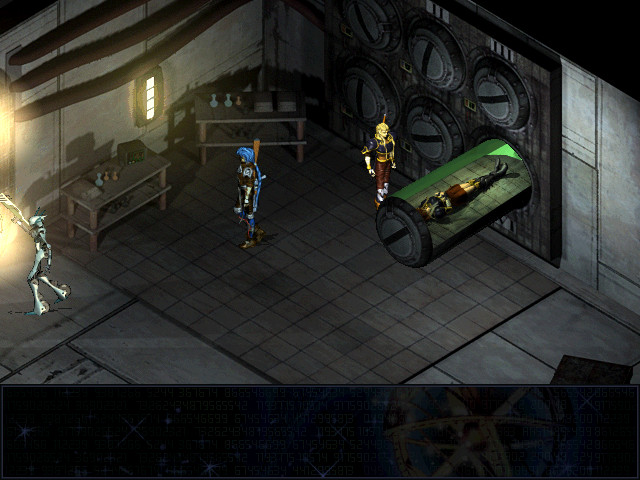
Corgan walks away...
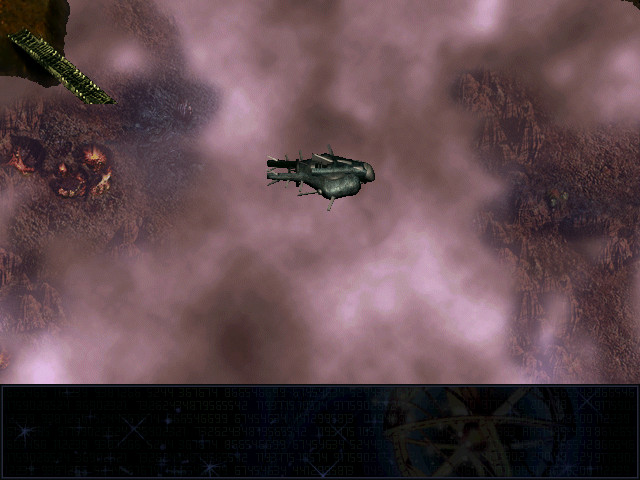
...and we're left floating in the empty air where the town of Pranno once stood.