Part 38: The Lost City
38: The Lost City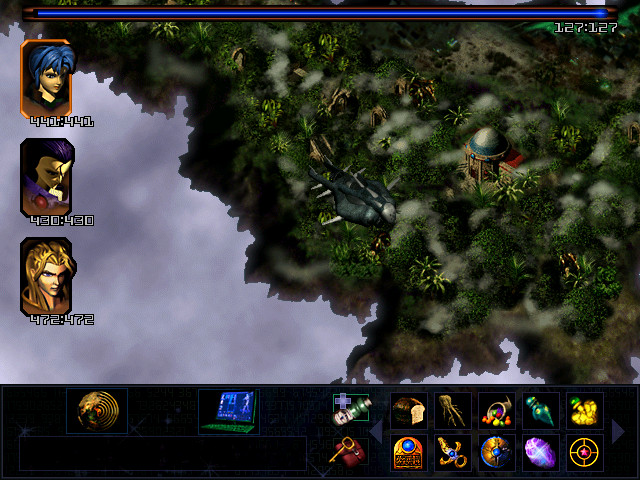
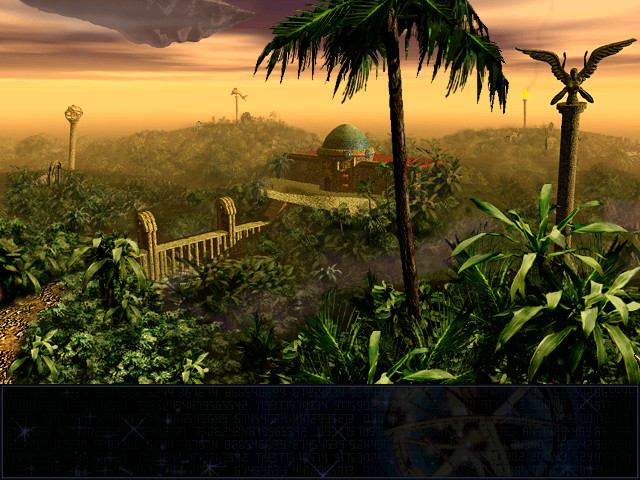
Behold Babylon, the lost city of Marduk, deep within the jungles of Shell 4. Marduk's legendary Daemon Swords lie within.
Unfortunately, it's not that easy. The trees are too dense to permit landing, or something, so we have to go in on foot.
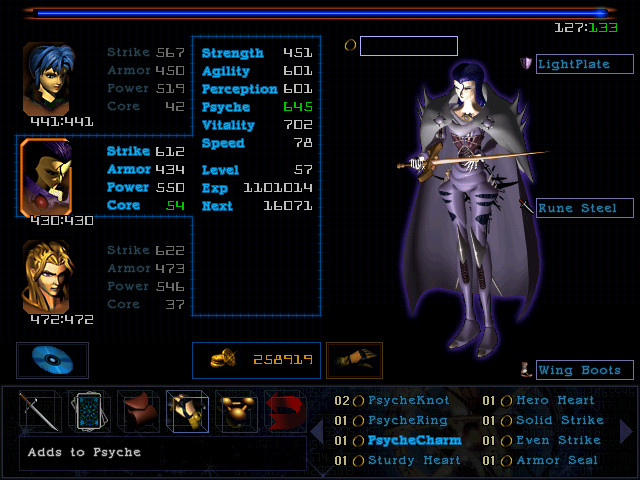
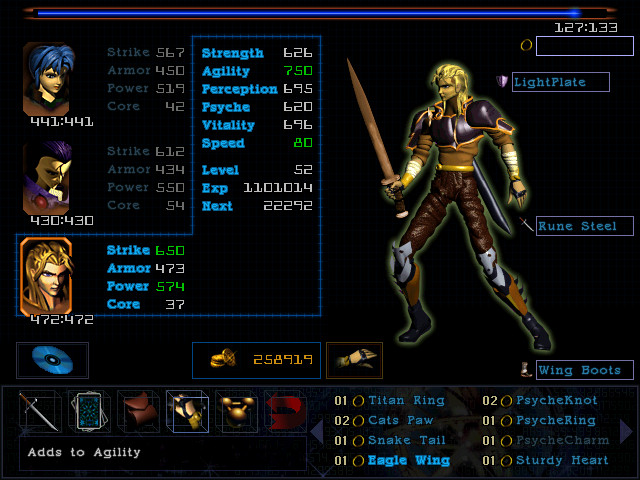
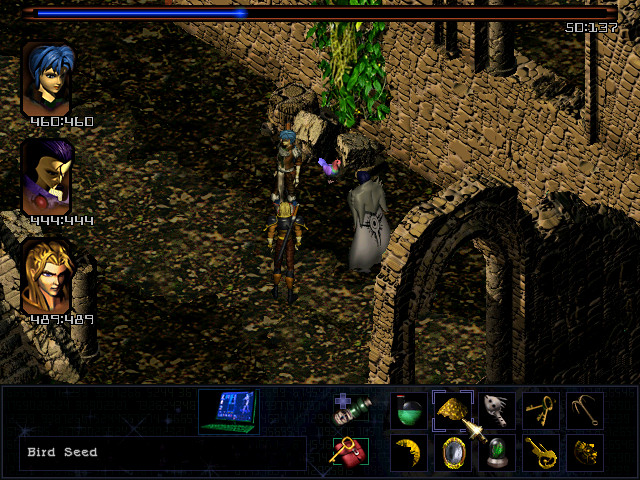
First, we stop off at the World Bazaar to get new armour for Selina and Corgan, and at Wind City to get new weapons, the Rune Steel swords. Sure, they'll be obsolete once we're done here, but it's not like money is a concern.
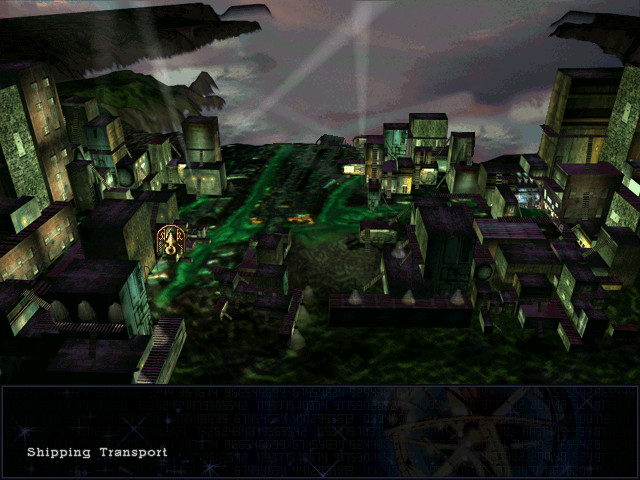
Once we have the gear, our goal is the Shell 4 sewers, conveniently located at the shipping docks. You may recall an earlier trip through these to get a Healing Herb for the Watchers.
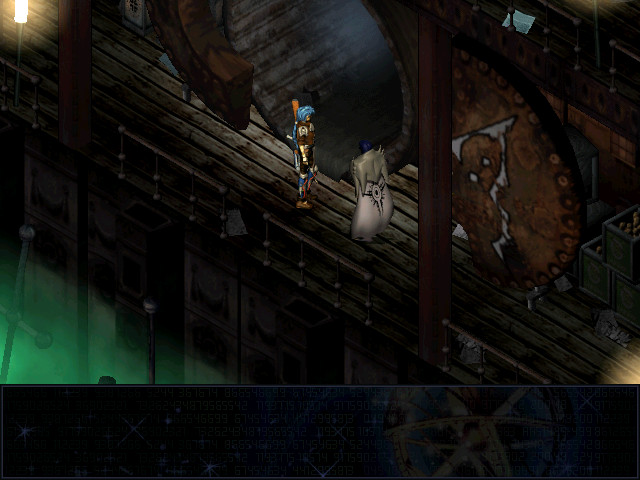
They haven't changed at all, letting us out into the Shell 4 jungles.

Granted, these enemies are a bit obsolete now - but nonetheless the new swords are very nice.
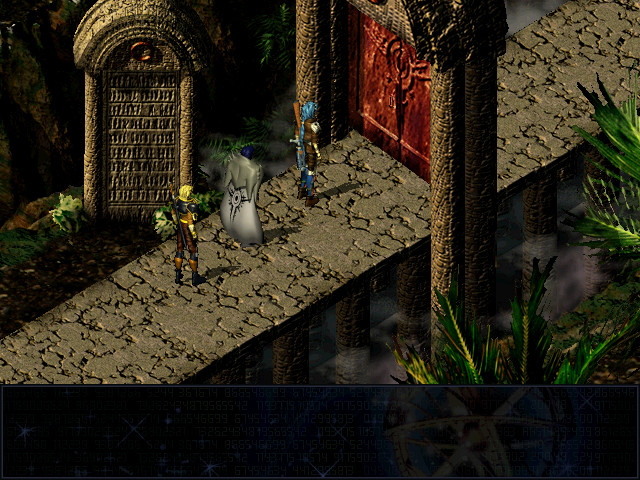
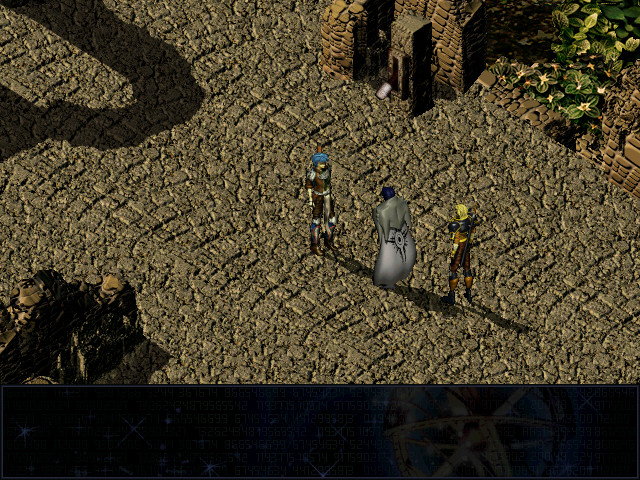
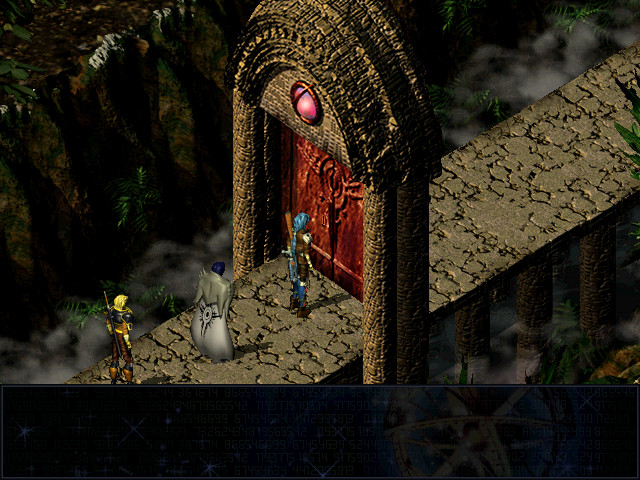
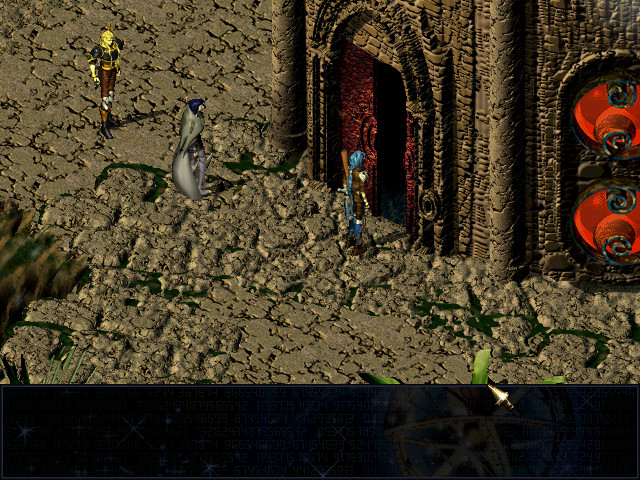
Back to where we got the Optic Vine and the Lens Leaf. This time, however, we're not interested in the plant life, but in this hole in the wall.
 I can't see anything through this hole.
It seems like Selina and Corgan together would be ideal for this trip - Selina comes from a culture that be traced directly back to Marduk's people, and is proud of it, whereas Corgan is a member of a military order with a strong tradition of studying Marduk's teachings and history.
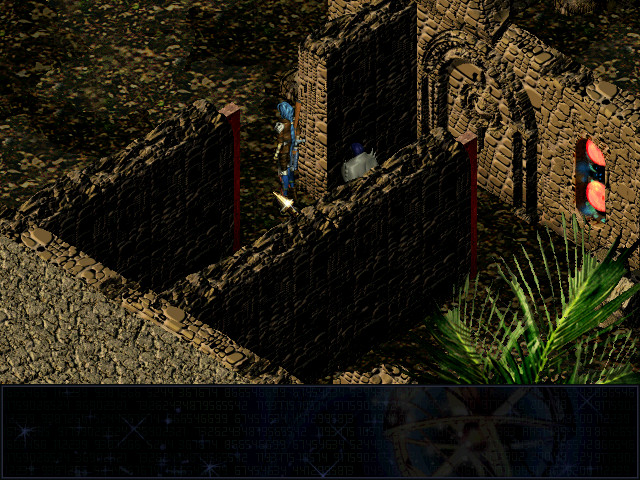
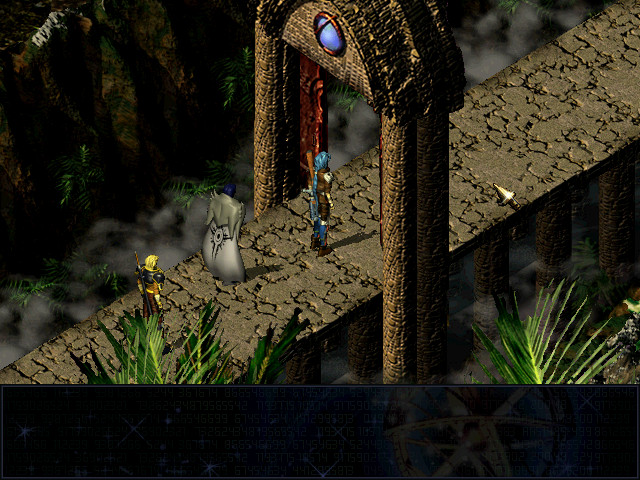
 These structures look like the ancient workings of Marduk's people.
 This wall looks like the ancient structures of Marduk's city.
In practice, however, what this means is that examining anything gets you the same commentary from both, phrased in two slightly different ways.
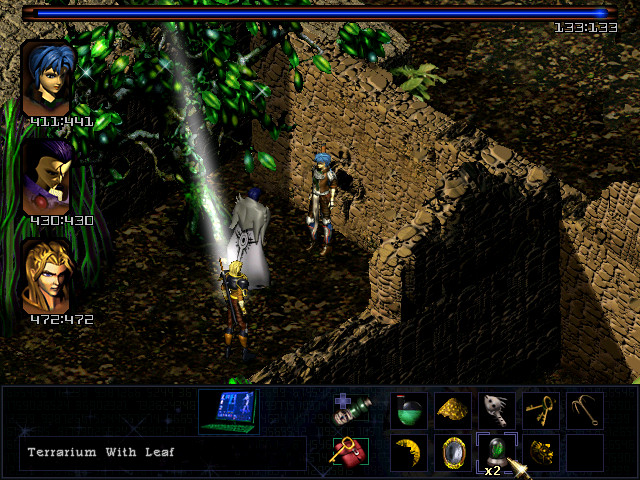
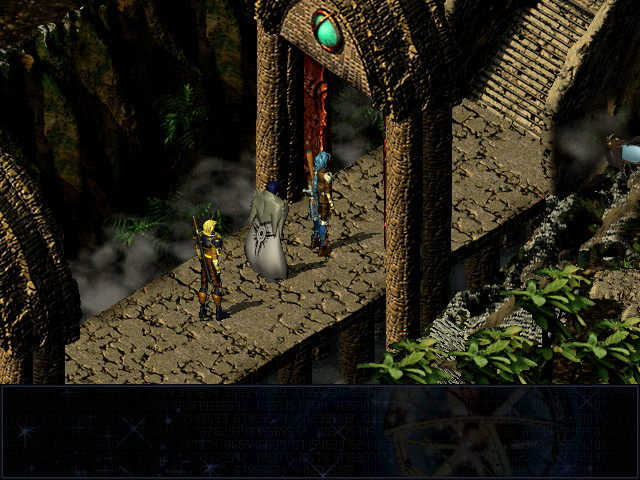
Remember this? Yeah, we didn't need to pick it up earlier, we could have just brought a terrarium on this trip.
")
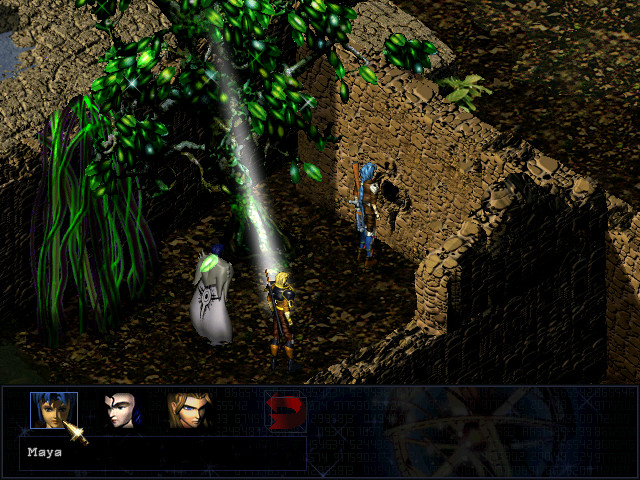
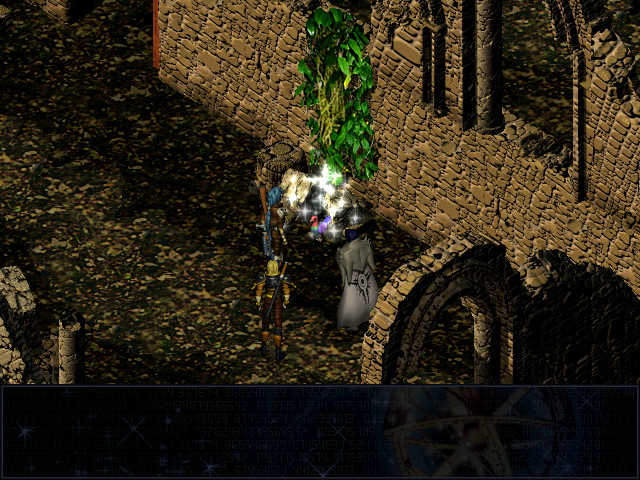
Anyways, we stuff it into the hole.
It fits fine.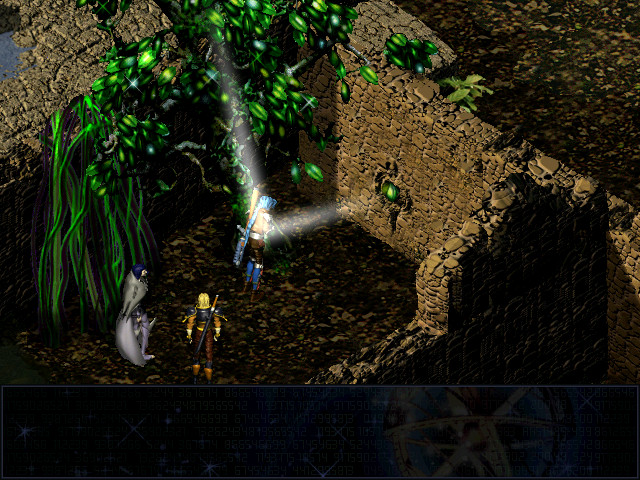
Now, use Kyra's Mirror to reflect the light, and...
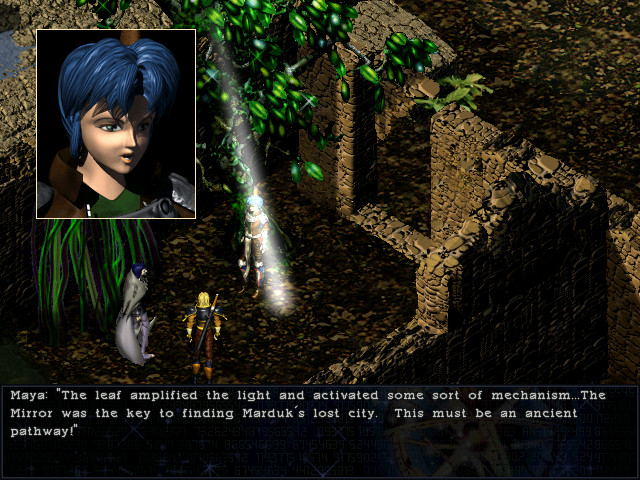
For extra credit, explain why the party could (or could not) have used an ordinary mirror.
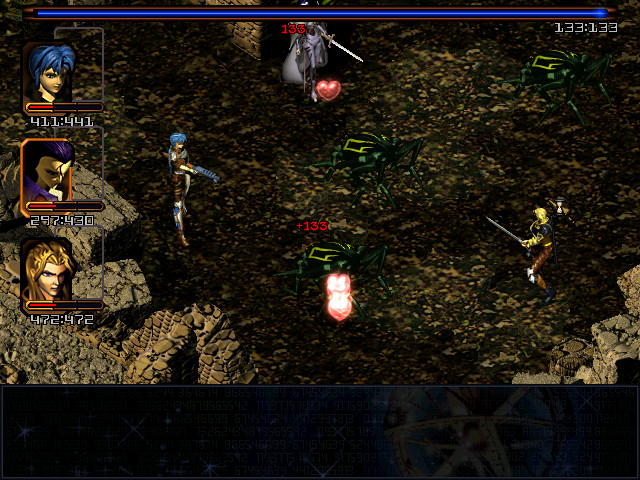
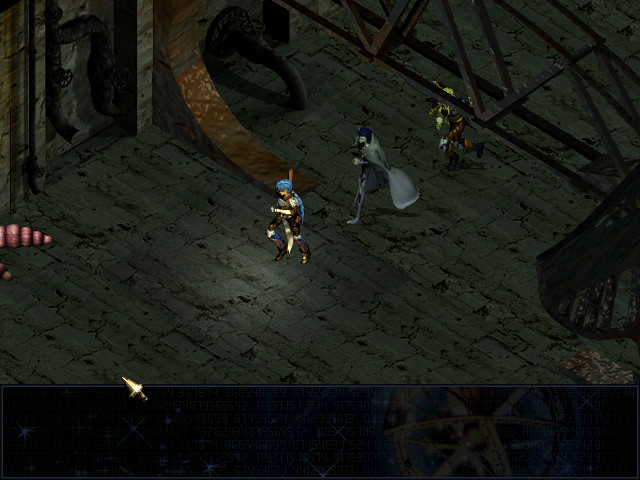
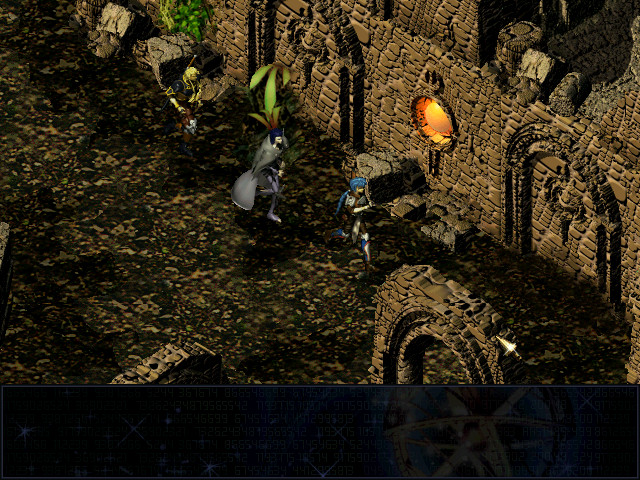
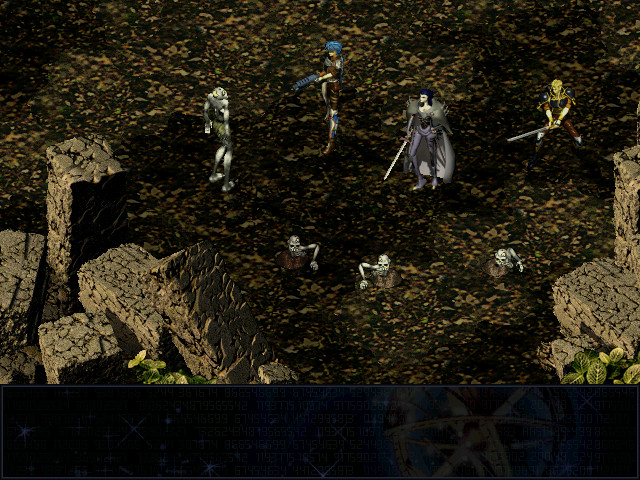
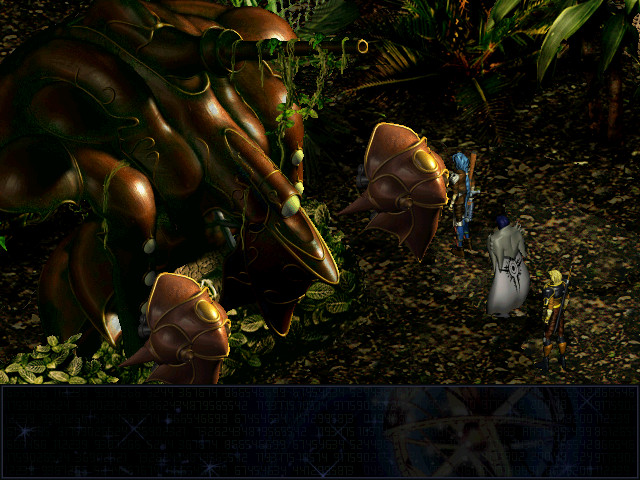
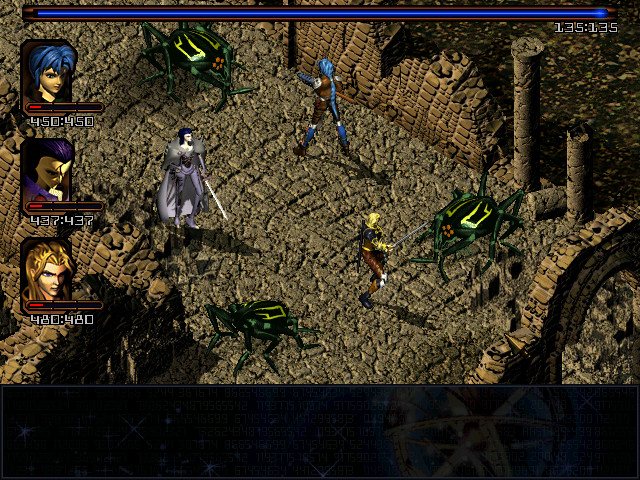
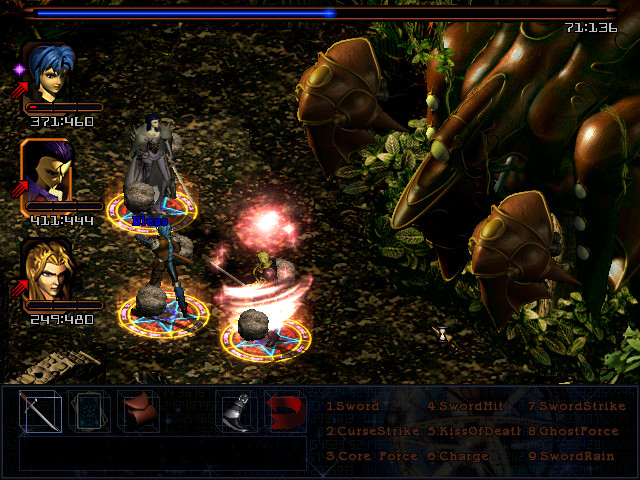
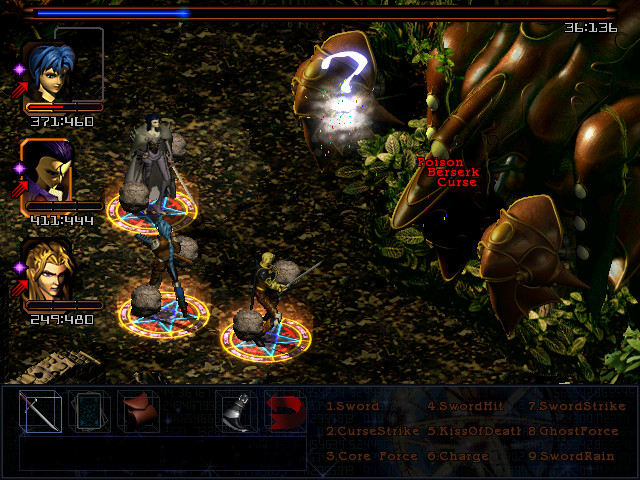
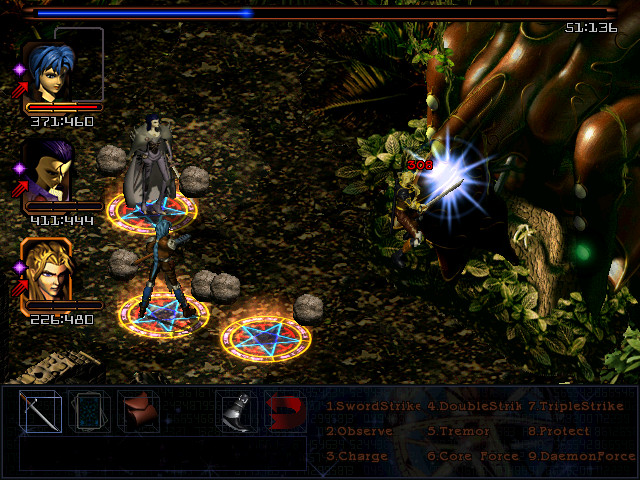
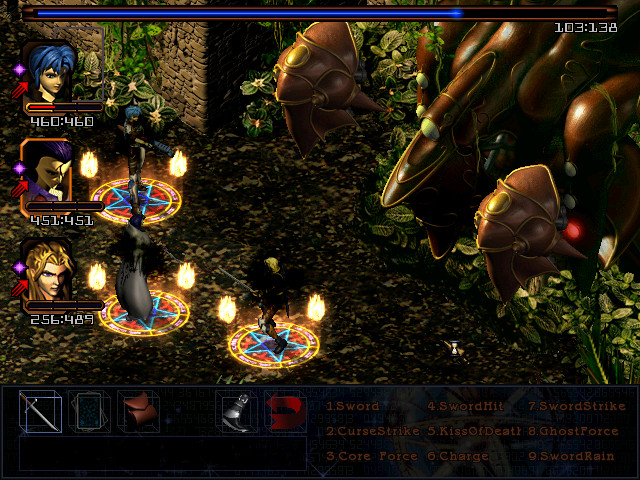
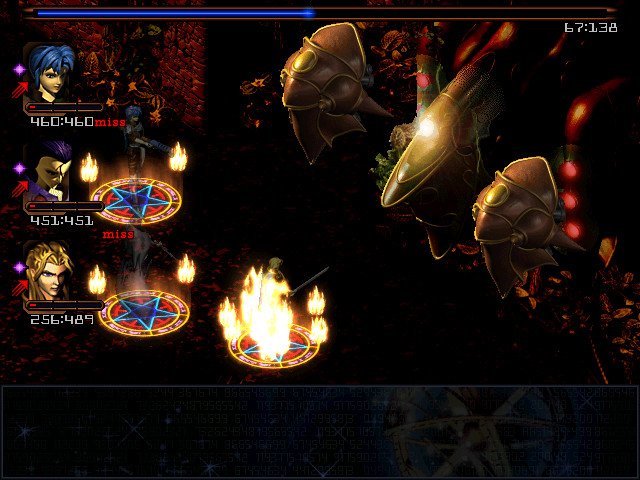
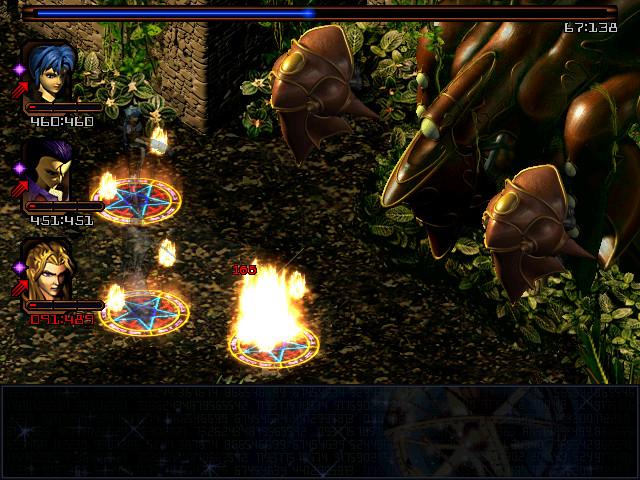
The path consists of crumbling ruins inhabited mostly by these asshole beetles and their 130-damage life drain attacks.
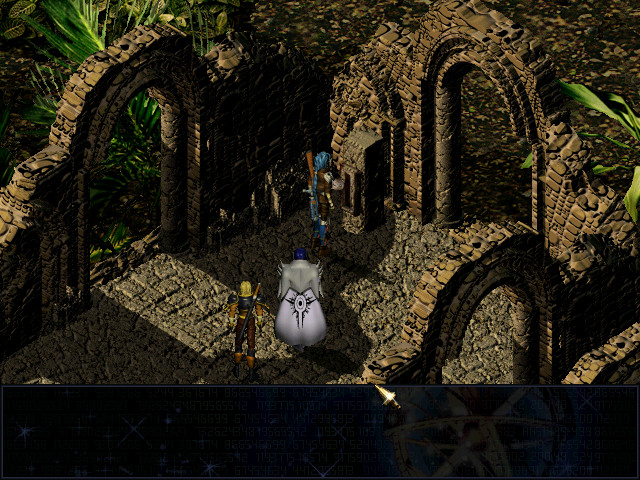
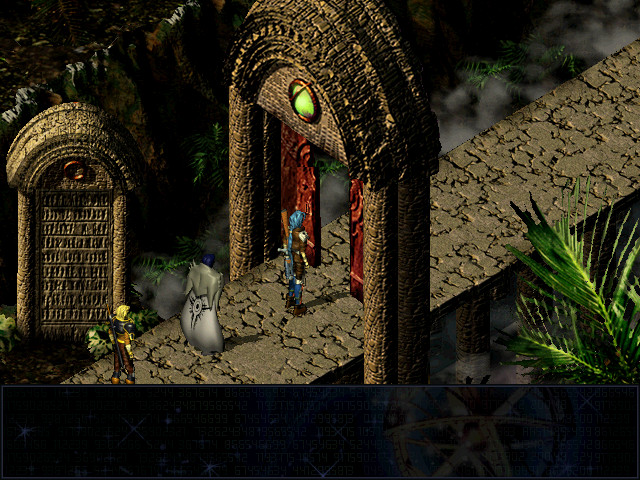
At the end, we find the temple proper.
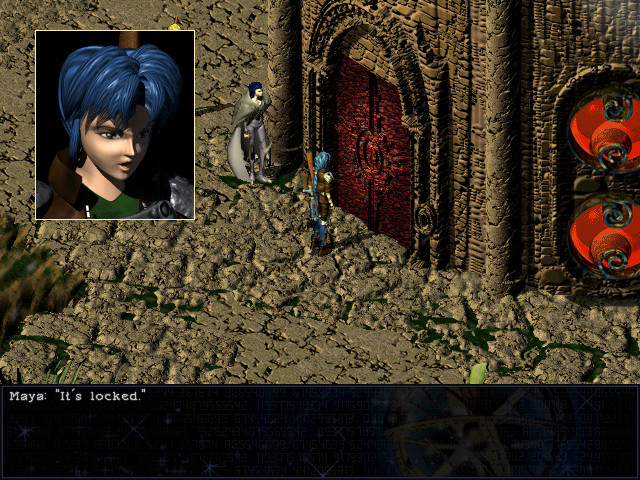
The central temple is locked up tight. All we can do is examine the tablet to the left.
It says, 'the path to salvation is through trials of the elements. The devout walk this path. Water, Earth, Air and Fire.'
Well, let's take its advice. Water temple first.
In the heyday of this city, I imagine this was a huge, impressive temple devoted to lifegiving water, where the populace could come to meditate. Today, however, it is only a crumbling ruin.
Where once the devout walked these halls, now the temple is inhabited only by undead and feral beasts.
Also, there are fucking levers, because this is Septerra Core.
Two of them, to be precise, opening these two doors, behind which we find...
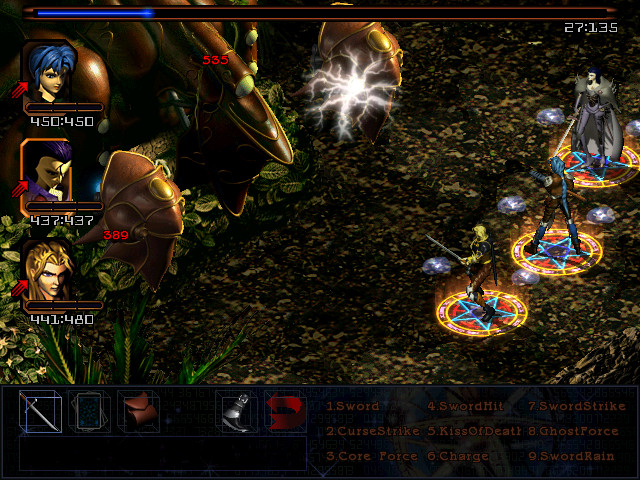
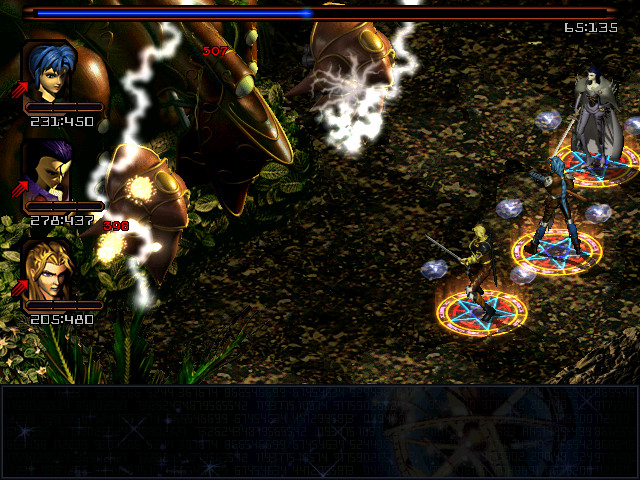
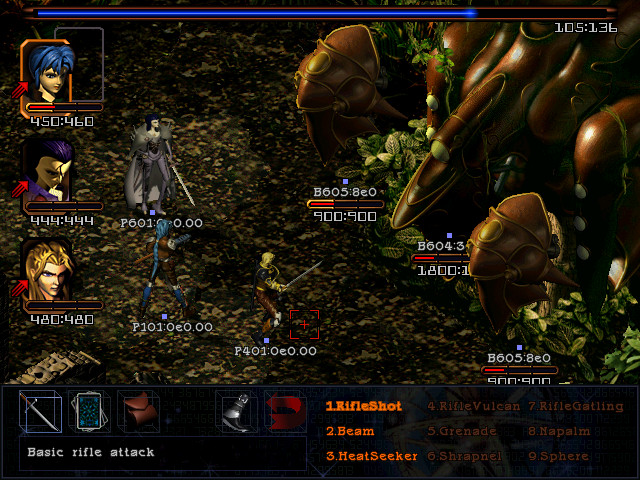
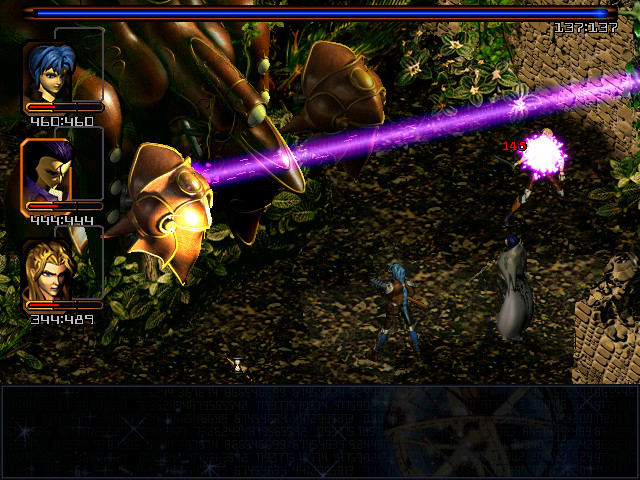
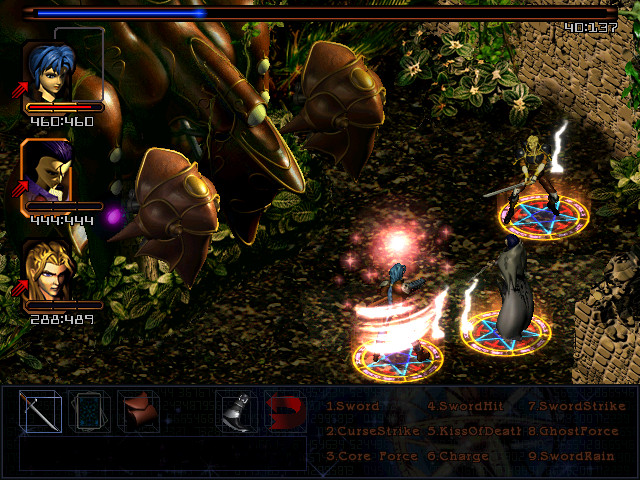
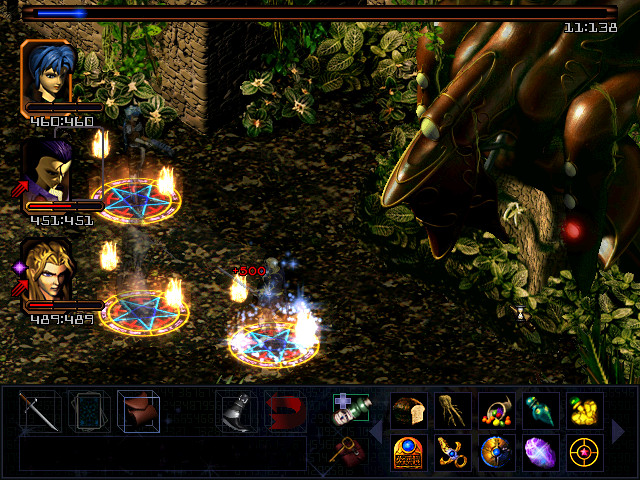
The Water Sentinel.
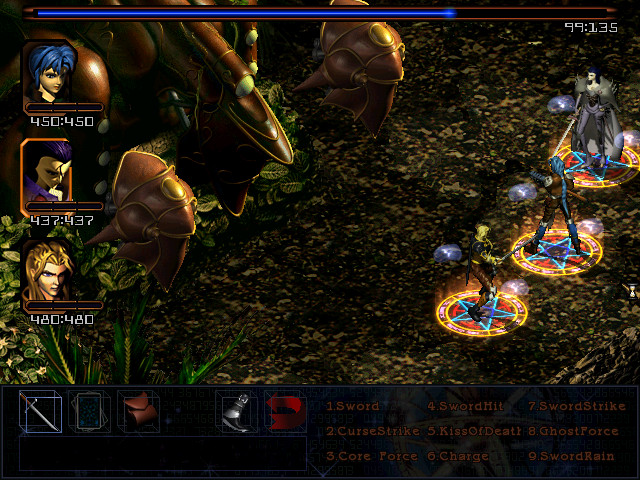
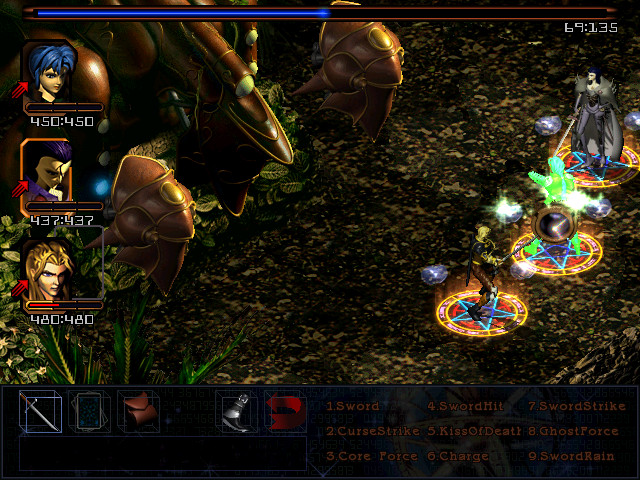
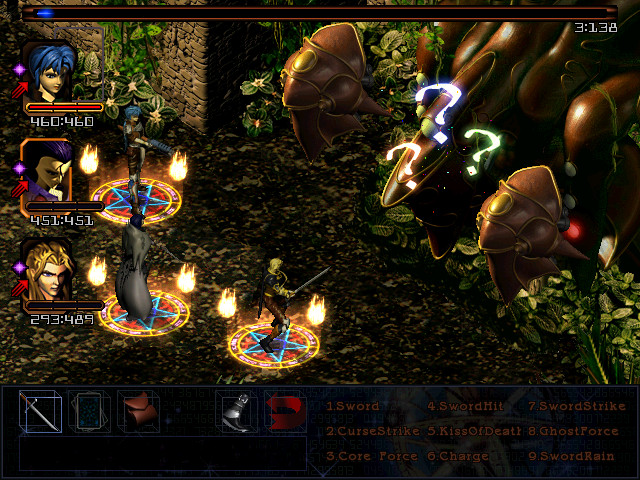
Examining it pulls us into combat. First priority is a Water Barrier, second is a Haste. It spends those turns charging up.
The two pods hovering beside it are seperate enemies, and will heal the Sentinel periodically, as well as ramming party members or lashing them with energy beams.
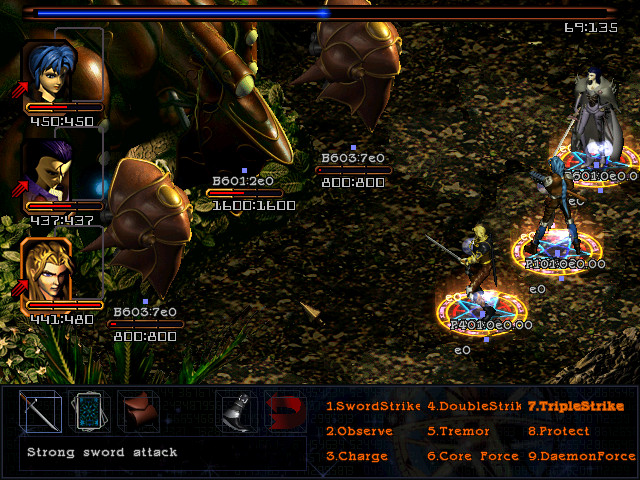
Incidentally, here's what their health looks like. With 1600HP, and 800 on each pod, it won't go down easily.
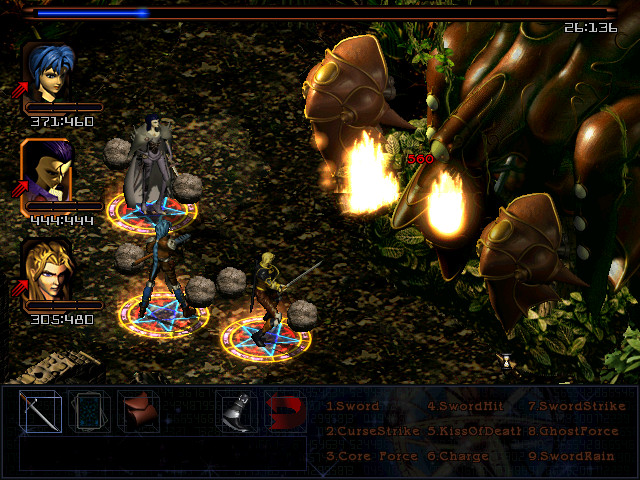
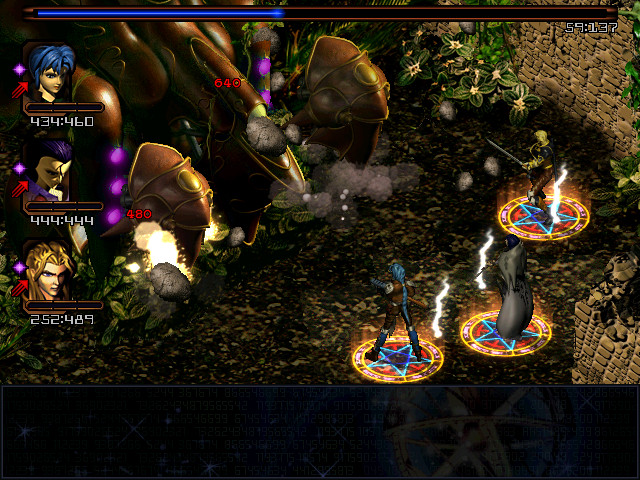
Magic will carry the day here. The elemental circle of Earth -> Air -> Water -> Fire -> Earth we learned back on our first visit to shell 3 still holds, so Air is the weapon of choice.
That may not look too impressive for something that exploits the boss's weakness, but let's compare it to our favourite kills-everything four-digit-damage attack spell, Black Hole.
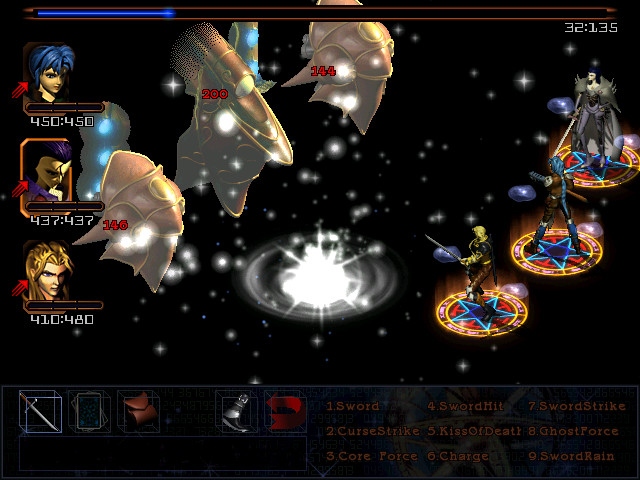
Yeah.
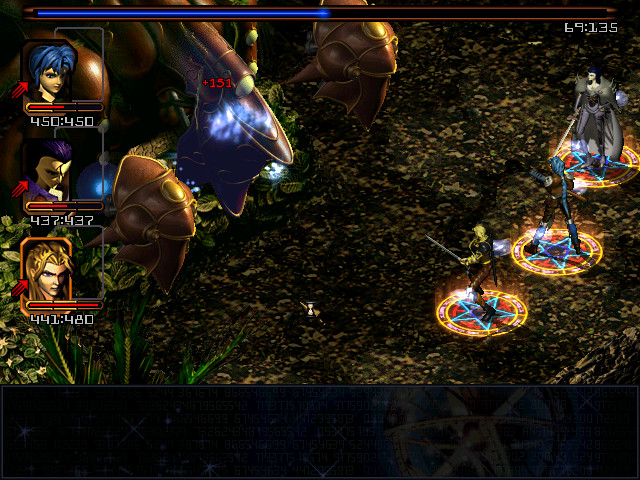
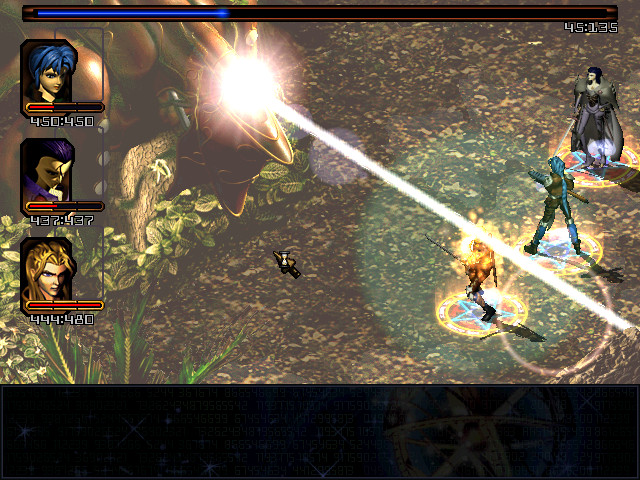
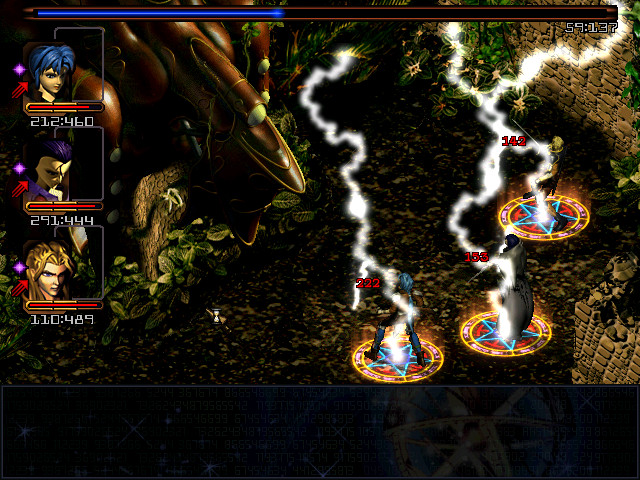
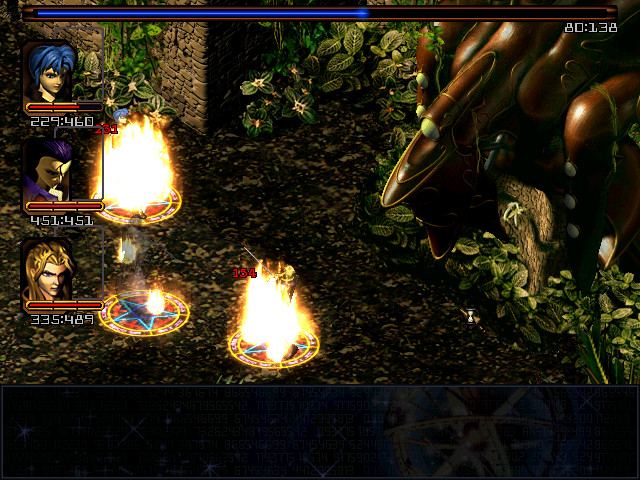
The Sentinel replies with the attack it's been charging up all this time...
...doing a lot of damage. This is with the barriers up, remember; without them there's a good chance it would have instantly killed the entire party.
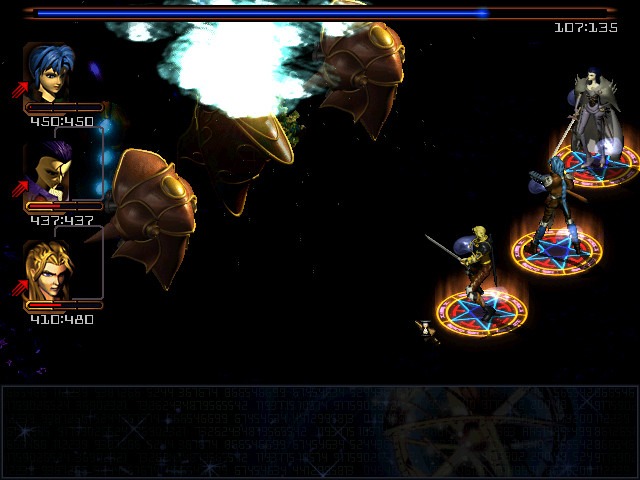
The next casting of Simurgh takes out the side pods.
The Sentinel starts attacking directly, now that it can't rely on the pods to attack while it charges up, but it's pretty low on health now...
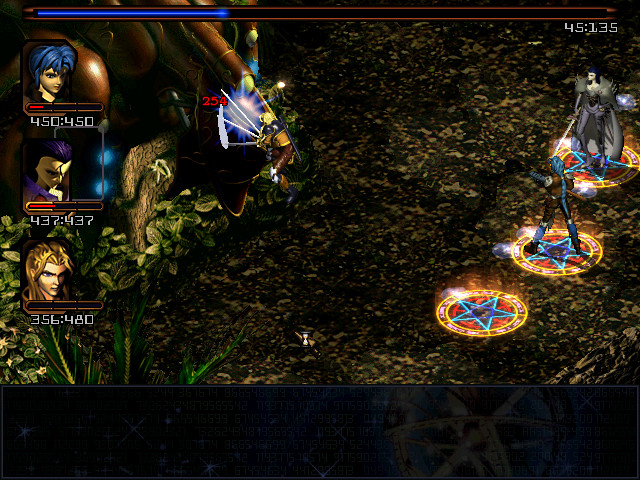
...and Corgan finishes it off.
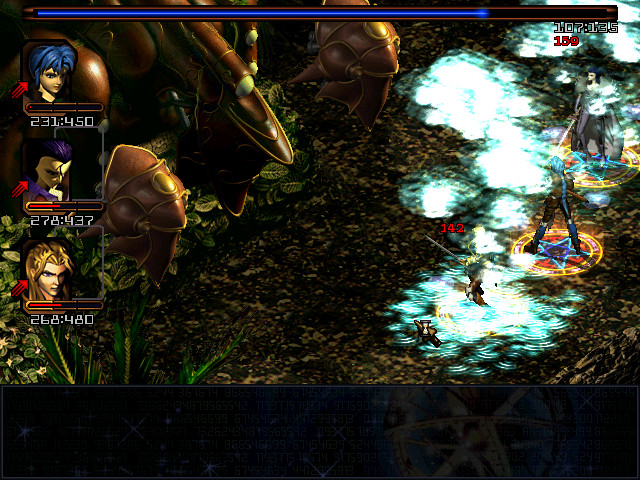
 These are the ancient Sentinels of Babylon, left to protect the city. These are the great defense Sentinels of Babylon. They were built to protect the city's great wealth from those who would take it.
We get a Temple Key for our efforts.
We also get a lot of barriers sliding into place, ensuring that we have to leave the Water Temple by going the long way around.

Next up, the Earth Temple!
No elementally-themed enemies apart from the bosses, sadly. It's beetles all the way down.
More levers here. At least this temple doesn't change shape on the way out.
Behold the Earth Sentinel! Note that it has a bit more health than the Water one - the order given on the tablet is also the order of increasing difficulty.
As this one is Earth, its elemental weakness is Fire.
For this one, I try a little experiment. I Bless the entire party...
...and then I hit the boss with Dogo's Madness, which - to my shock - partially connects.

That is a significant damage boost, and with the help of the poison it's just enough to finish off the side pods.

A normal casting of Fire and some physical attacks finish it off, and we claim another Temple Key.

The air temple is next.
Apart from a general increase in enemy difficulty, it's unremarkable. The same ruins-and-levers deal.
The fight against the Air Sentinel gets off to a shaky start with Corgan taking a beam to the face before I get the barriers up.
Same deal as last time - Air Barrier, Haste, Bless, Dogo's Madness.
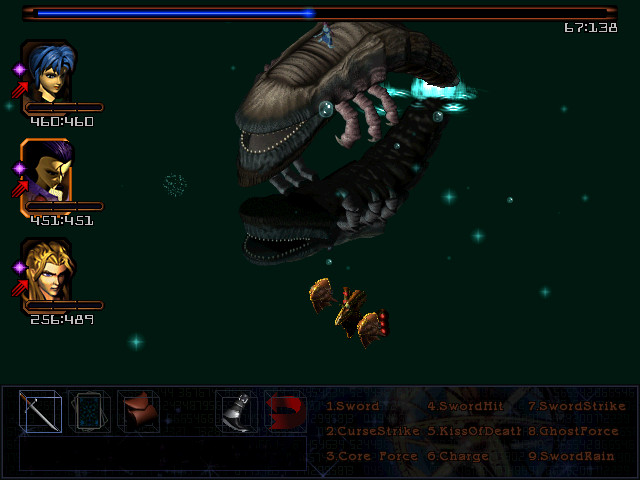
Then I go to town on it with Summon Humbaba.
It gets to pull out its ultimate attack. As before, it hurts, but as before, the barrier blunts it enough to keep everyone alive.

Last up is the Fire Temple.
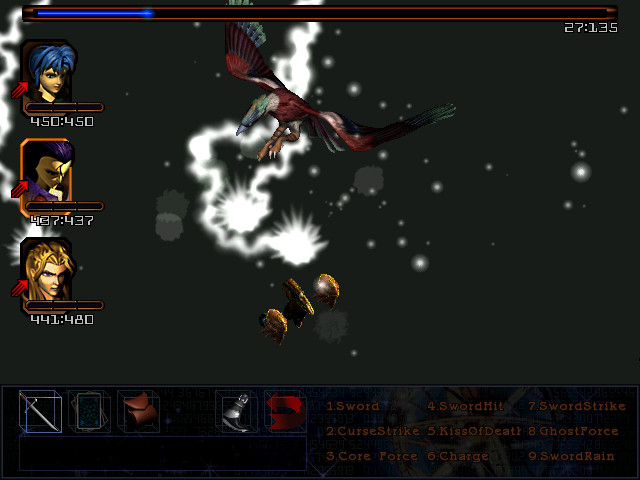
Which comes with a chirping little bonus - the tenth and final bird.

 Fly away, little birdy! We'll see what the point of that was soon enough.
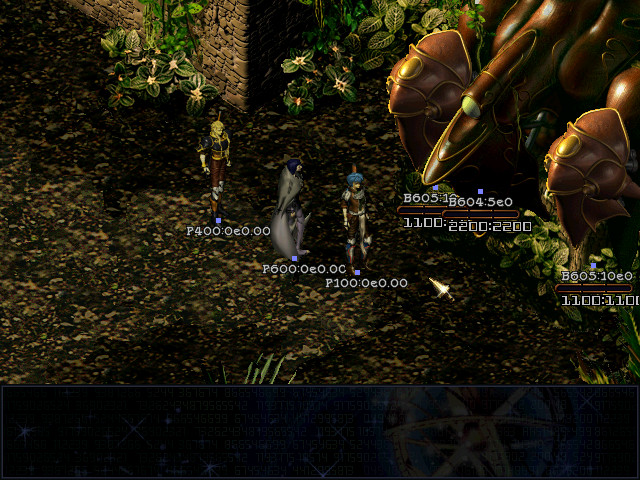
Interestingly, the show-stats code works even outside of combat, letting us see what we're up against before attacking. The Fire Sentinel, as the last of them, is also the toughest.
Fire Barrier, Haste, Bless, Madness.
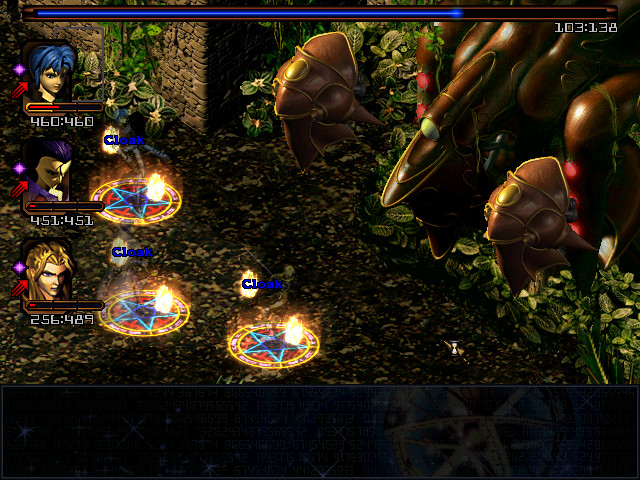
And Cloak. I don't think I've shown this card off before; it behaves equivalently to the Cloak ability the ninja enemies have, massively reducing the chance any enemy has to hit. (We can also combine it with Mirror to strip cloaks from enemies.)
Now it's just a matter of hammering on it with Summon Sedna.
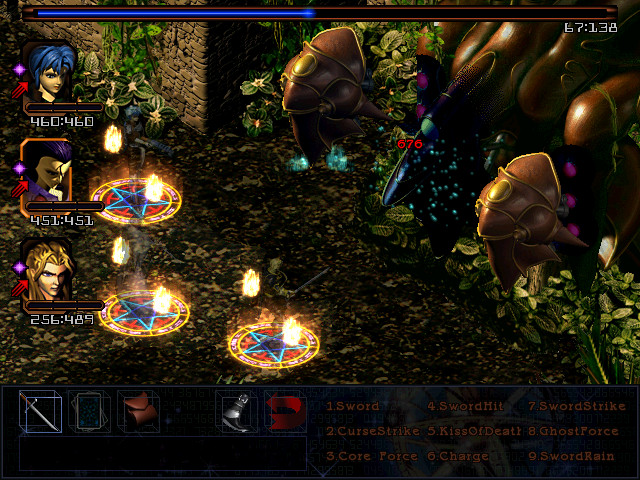
Cloak pays off! Mostly. Corgan is looking a little crispy...
...and here's where I remember that Cloak affects friendly actions, too.
Fortunately, items can never miss.
Maya and Corgan lose their cloaks just in time for the Sentinel's next attack. Fortunately, that was also its last.

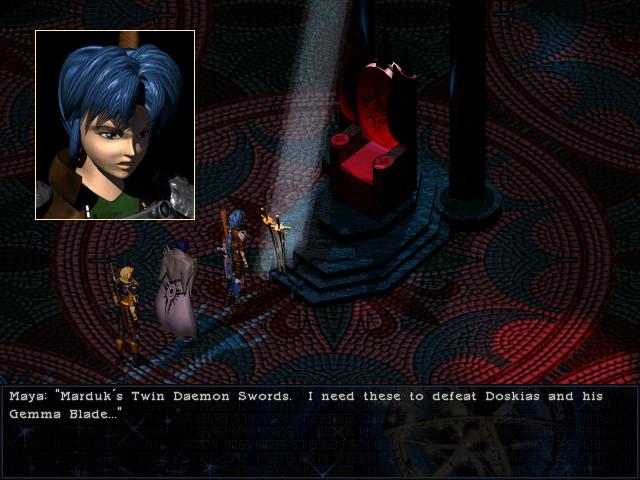
Keys in hand, it's time to return to the central temple.
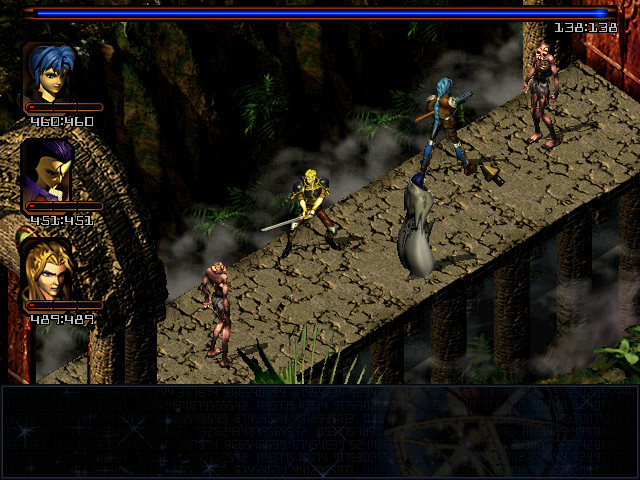
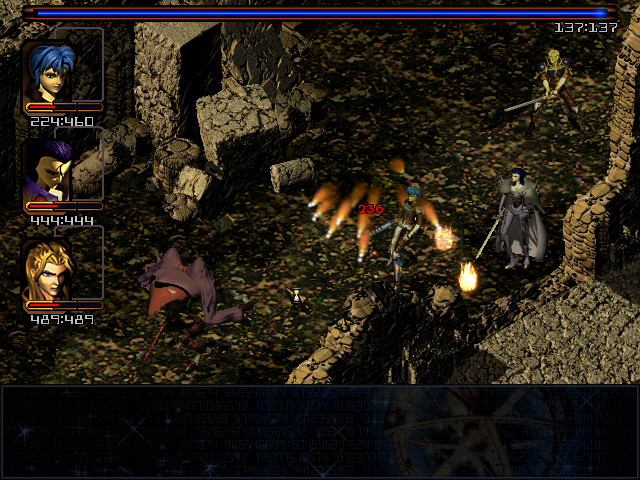
There are zombies even here.

Three more doors later, we arrive at the temple proper.
 This looks like some sort of royal seal. Marduk's Royal Seal. It is very similar to the Holy Chosen Emperor's Seal. It is said that one must possess the seal of the ancients to activate the city of Babylon.
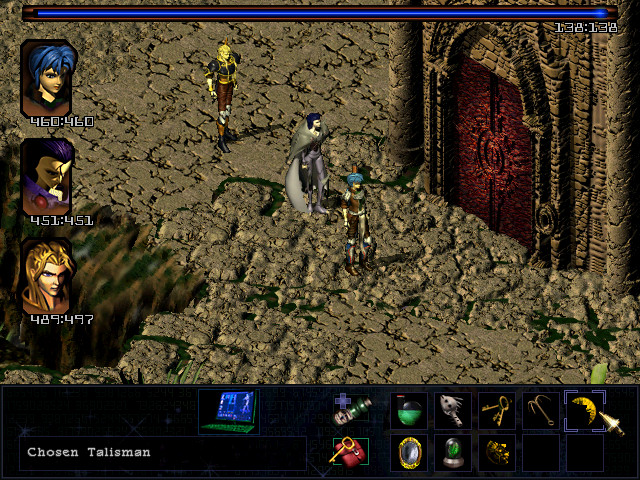
We take the Chosen Talisman we picked up in the ruins on Shell 6...
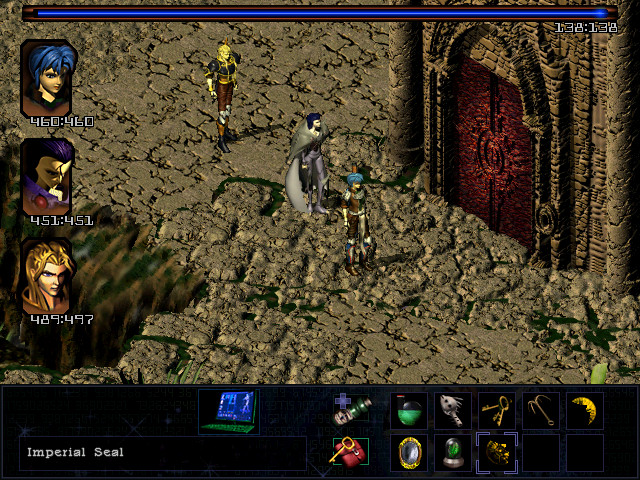
...combine it with the Imperial Seal that we took from Alisa...
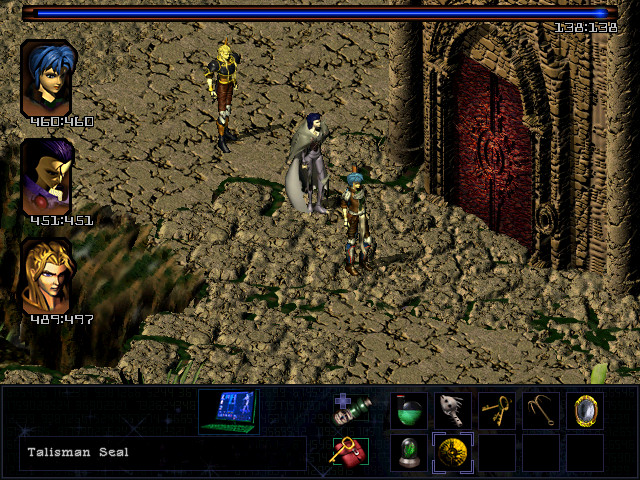
...and get the Talisman Seal, bearing Marduk's symbol.
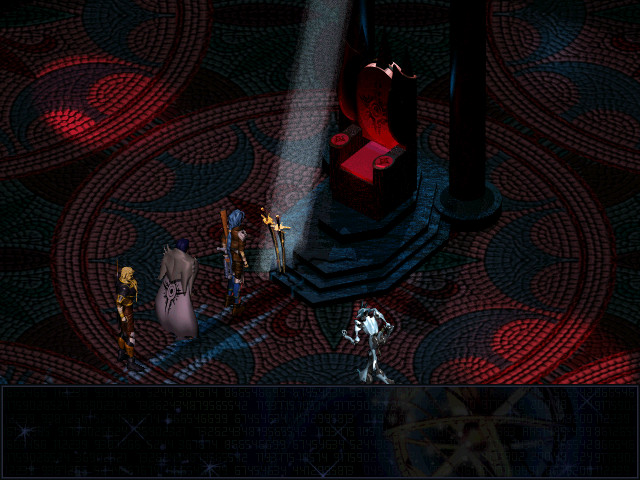
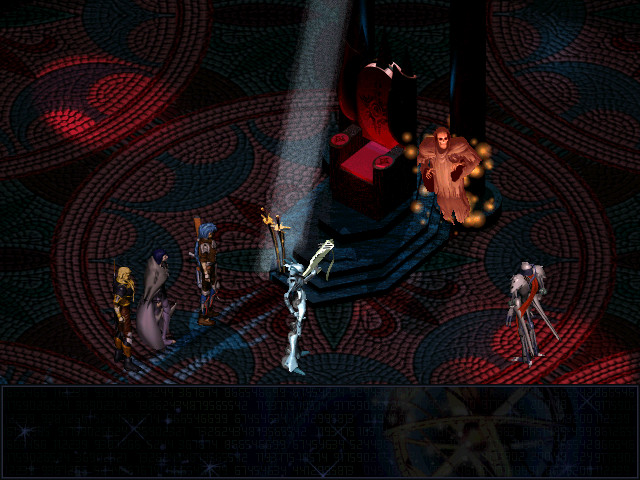
Presented with it, the doors open.
 Maya! I tracked Connor here and tried to stop him. But I lost him!
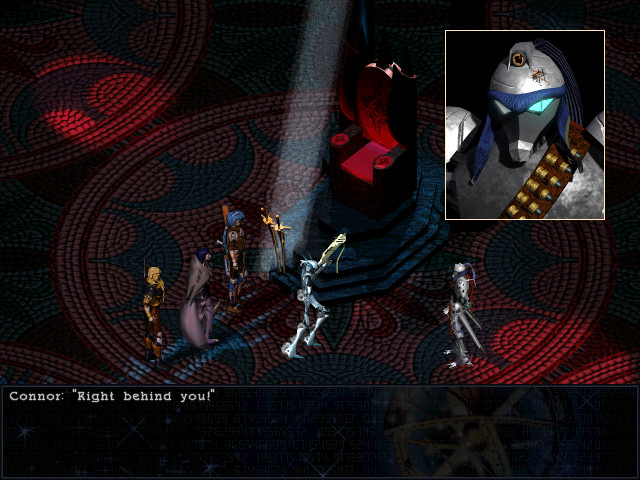 Connor!?!
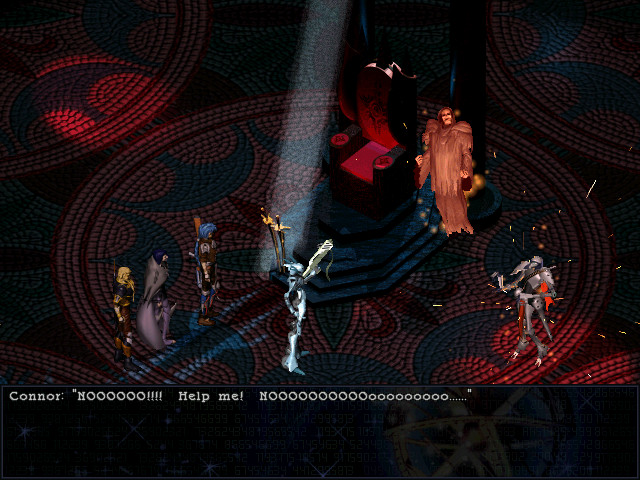
 I knew the Mirror would lead to Marduk's lost treasures! Give them to me! No! We need these to save the world! Nonsense. Hand them over or I start firing! Look Connor, we can't fight inside the temple! Layla said- Enough! I'm not joking, Connor! Shut up and hand over the swords!
Connor goes for his weapon.
This turns out to be a really bad idea.
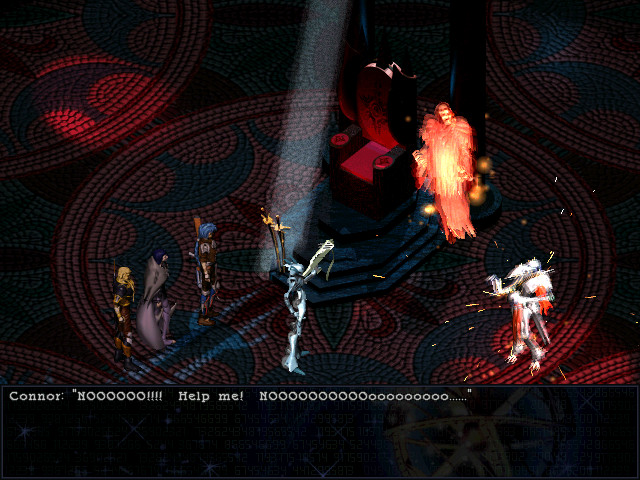

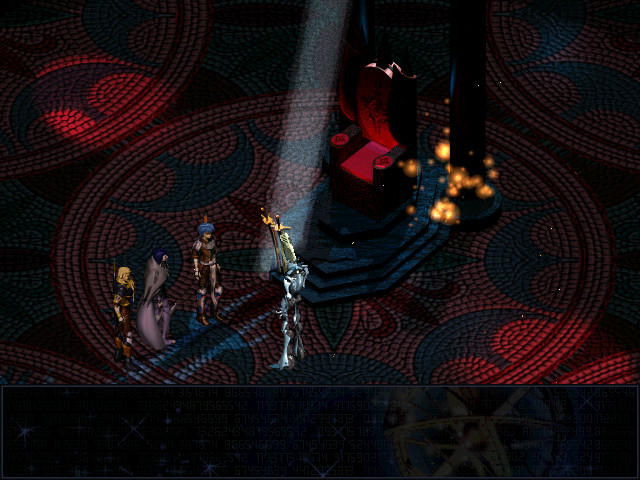 I tried to warn him... It was his own fault. Let's get out of here.
We take the swords and leave, and Marduk's temple is, once again, abandoned.
Next time: We save the world.