Part 109: In Kato's Footsteps
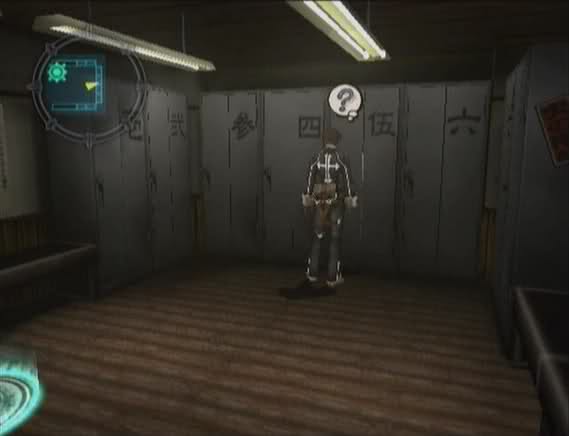
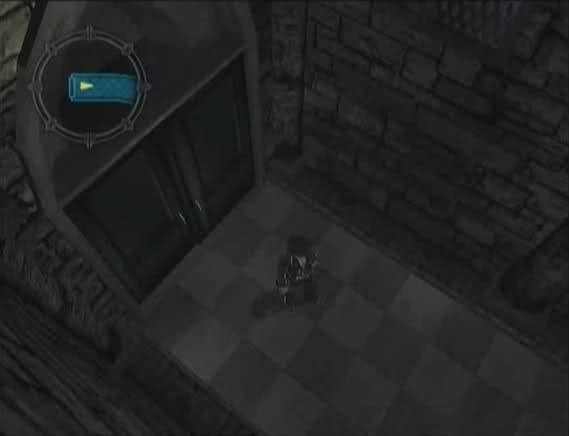
We need to go to Europe, but first we're going back to Kamiyashiki. Something in the locker room has changed.
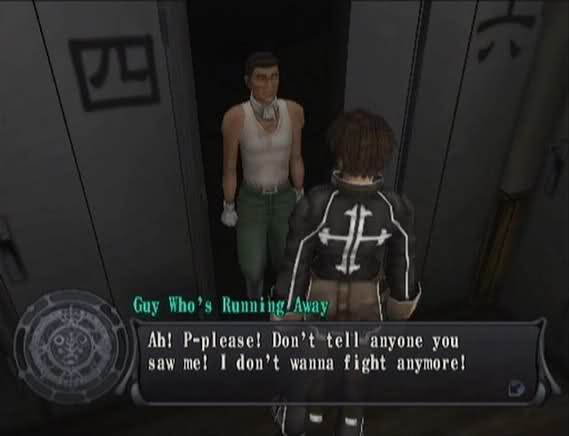
There's now a guy here, trying to recapture his memories of high school.
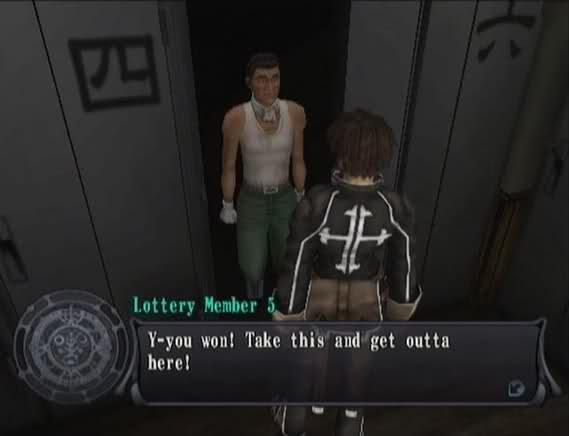
Lottery Member 5: If you promise not to tell, you can do the lottery, okay? So keep your mouth shut, right?!
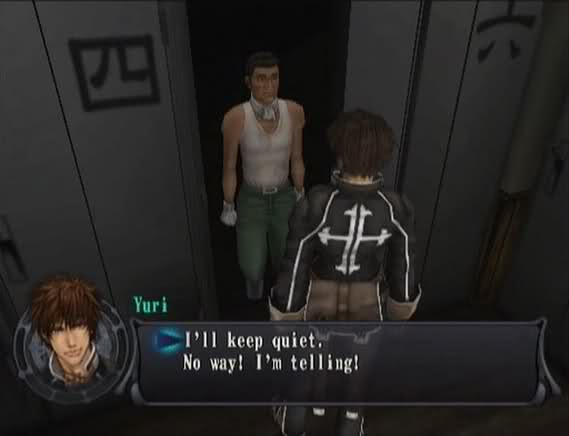
Eh, why not.
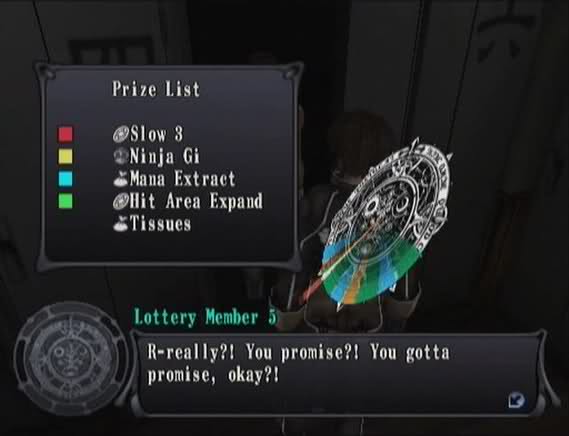
This guy has a Reverse Ring, and the red is divided into two narrow slivers.
We get Slow 3 for landing on the red.
Lottery Member 5: H-hurry up! Close the door! Remember, not a word to anyone, okay?!

Meanwhile, a new area has opened up in Scotland. You would think we'd need to go to Roger's house first, but nope, our goal is here.
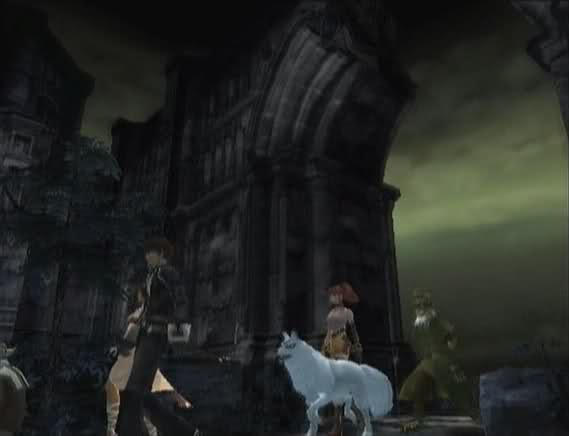
Cheerful place.
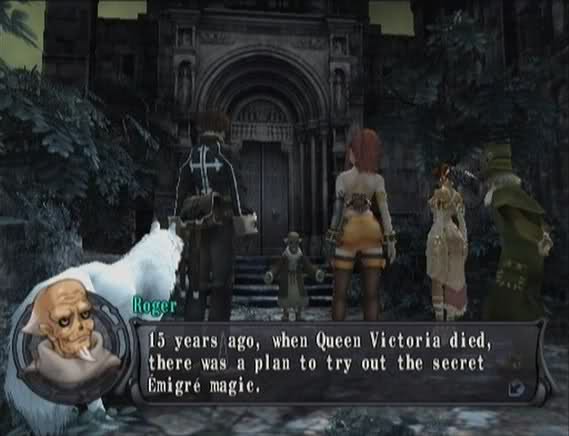
Roger stops everyone in the courtyard.
 But the all-important book was seized by the Vatican, and the plan couldn't be put into effect...
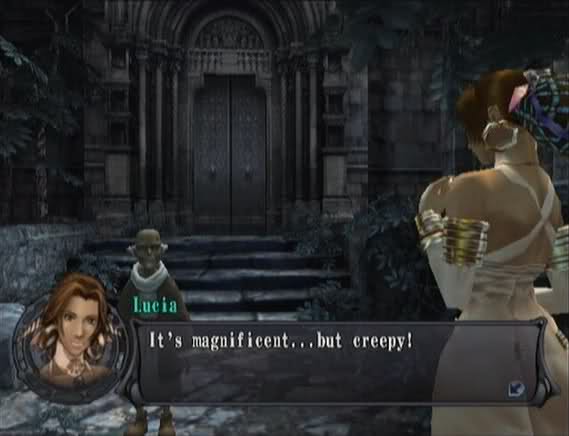 This was the queen's secret villa.
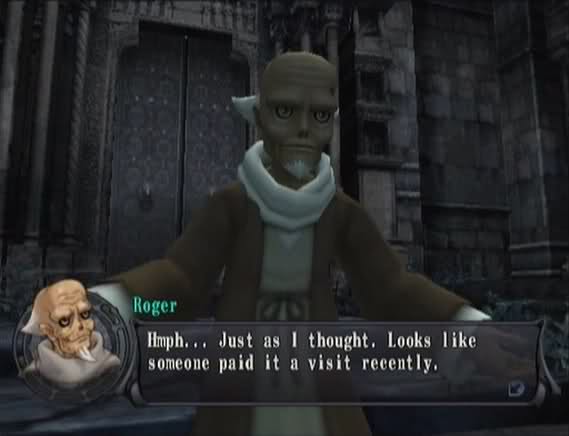
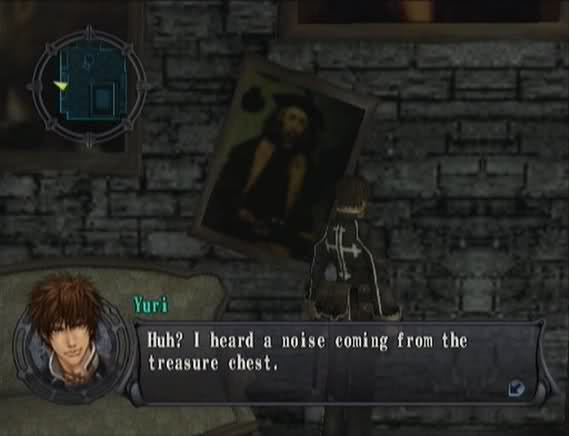
 Someone else besides us? Here? Yes. Someone else came for the tools needed to perform the magic.
 You mean Special Agent Kato?
 It's gotta be. When I first met him in Southampton, he must've been on his way here. Okay, this is as far as I'm going. I'll be waiting for you all in the airship. Be extra careful! Deep inside, there's a stone called the Moon Crystal. That's what you're after. Got it! The Moon Crystal!
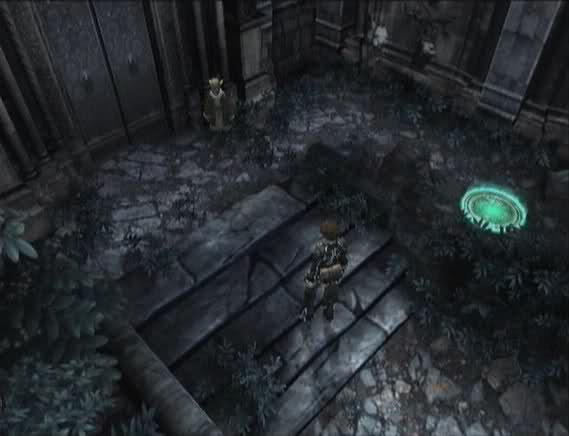
Despite what Roger said about the airship, he actually hangs out right by the door. He'll heal the party's HP and MP if we talk to him.
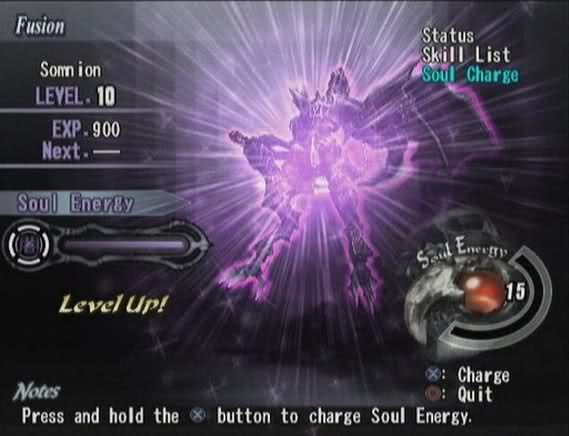
Before I went in, I got Somnion to level 10.

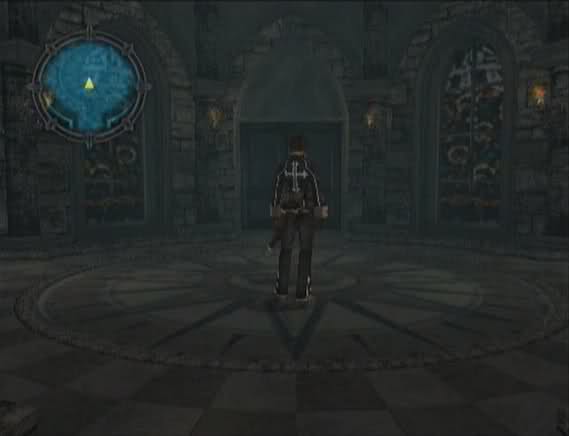
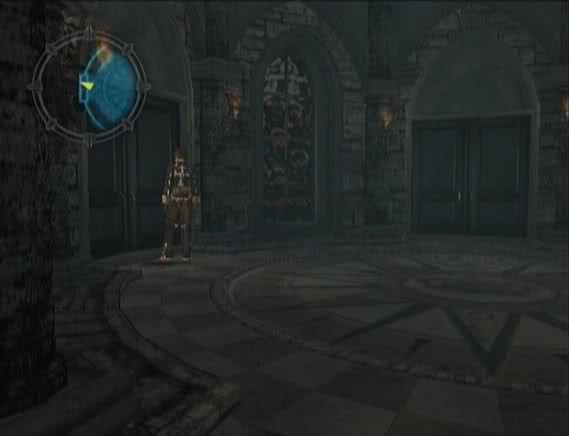
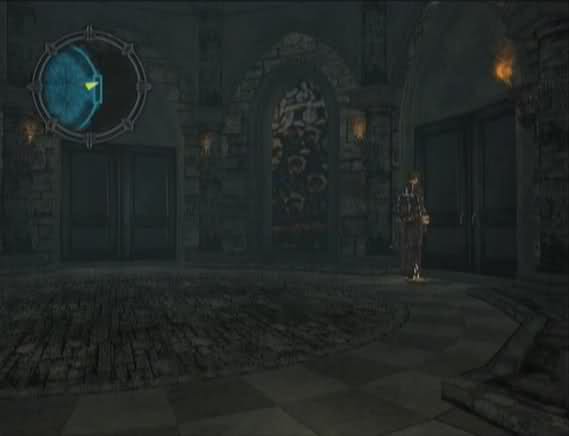
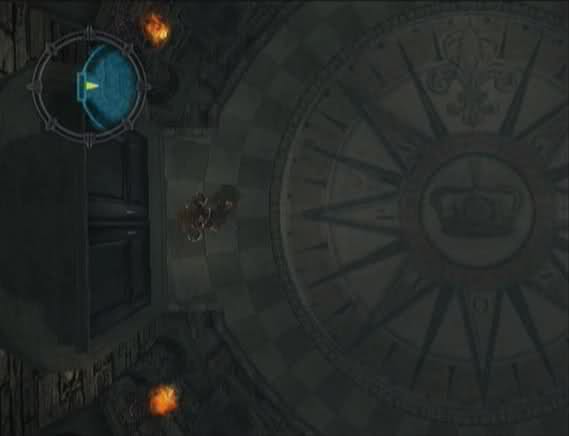
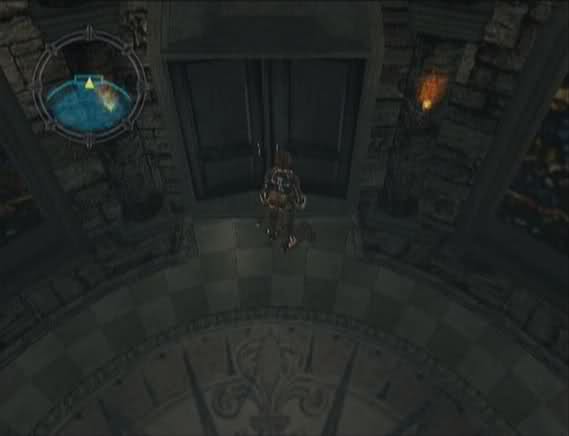
The entrance opened up into a circular room. Circles are somewhat of a theme here.

The layout here is very simple. We start out in the room farthest south. There are three enemies wandering around: Bethlehem, Graffias and Morgan. They seem to always come in a group of three (one of each monster) and the encounter rate in this dungeon is really low. They don't pose much of a threat.
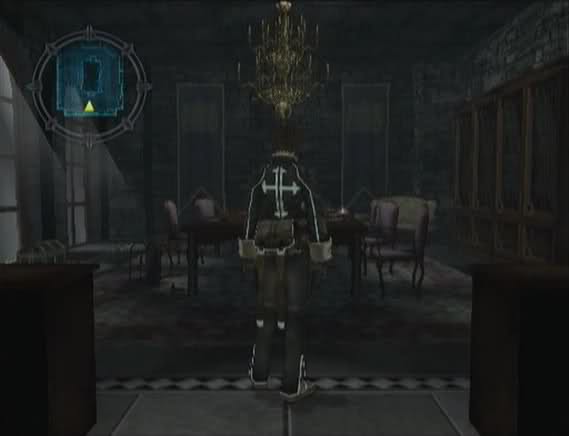
The door to the north leads to a dining room.
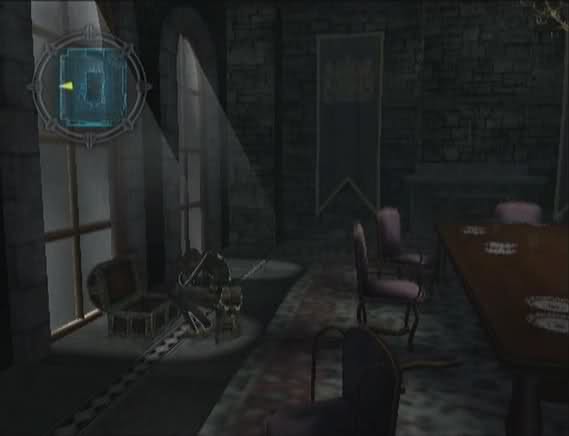
The chest has a Thera Extract. The fireplace has a slot to put something in, but we don't have whatever it is yet.
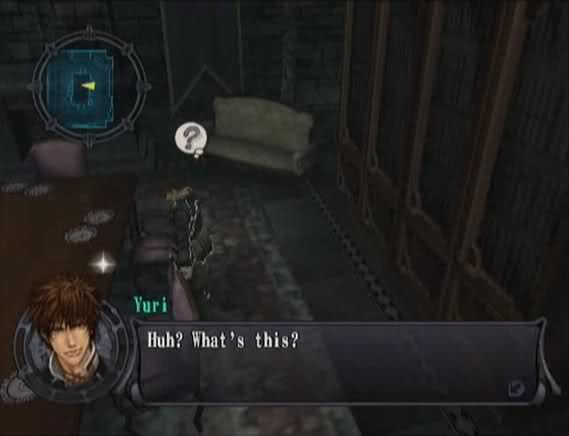
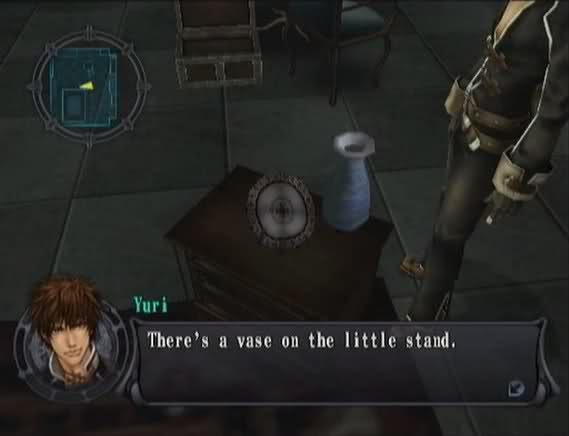
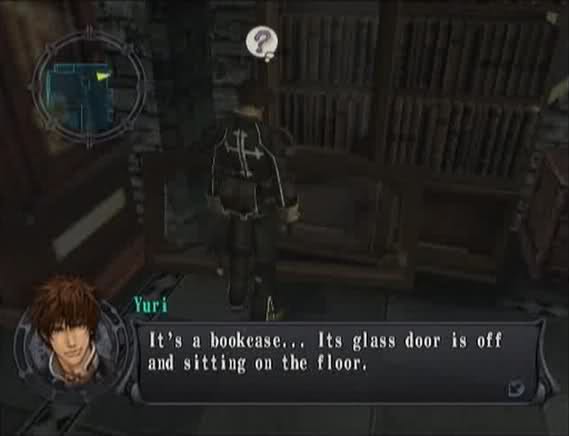
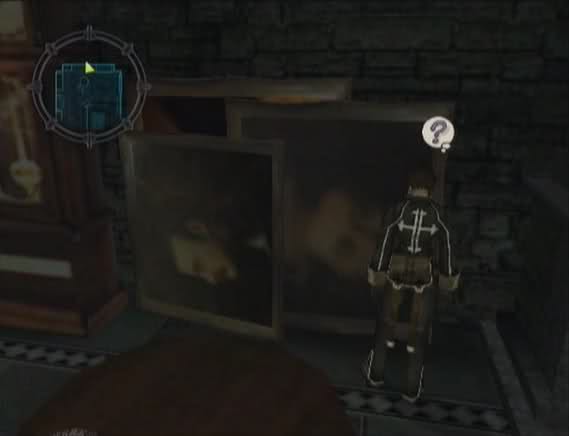
There's something on the table we can pick up, though.
It's a chess piece. This one's a knight.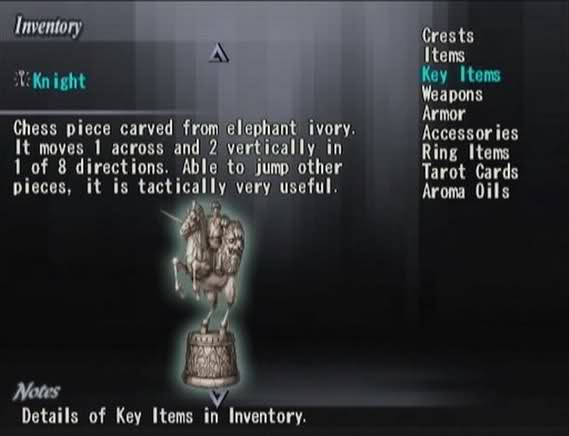
So, the theme here is chess. Unfortunately, this isn't the piece we need for the fireplace. We'll have to come back later.
Going back to the starting room, we take the door to the left.
This leads to a long hall that curves to the north.
Eventually, we come to another circular room. This one has a chest with a Hit Area Expand.
Let's check out the room on the right.
It's a bedroom. There's a chest in the middle with the Pawn chess piece.
The clock has a hidden Lottery Ticket.
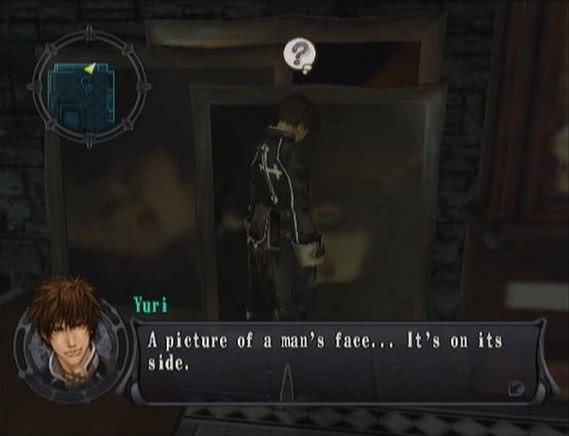
We can also look at various objects around the room. This will be important later.
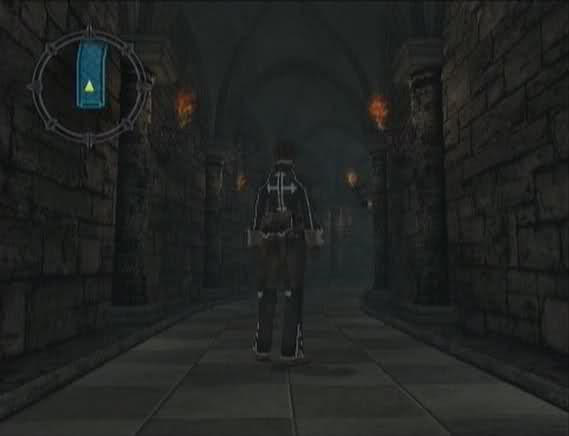
Going back to the circular room and taking the north door leads us to another hall, this one curving to the right.
Another circular room. There are doors to the north and south, but they're both locked. The only way to go is a door to the east.
Yet another hallway.
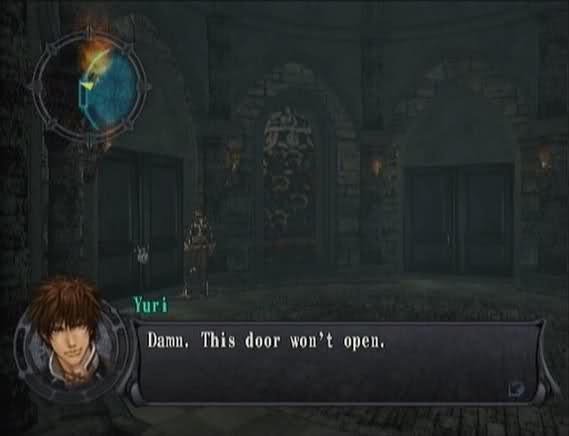
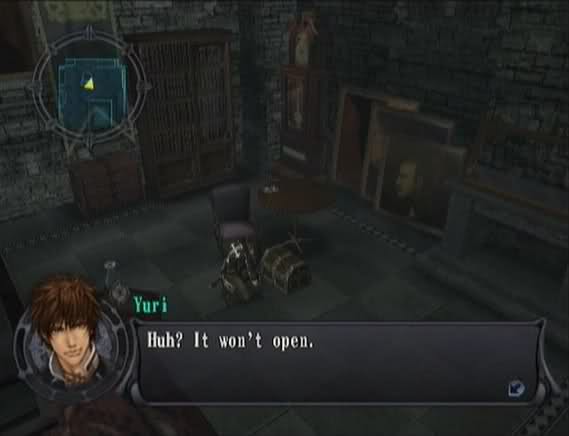
This room also has a locked door.
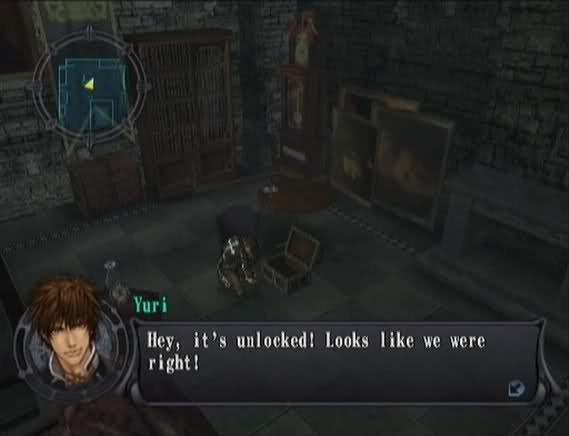
There's a depression on the lock. We must have to insert something. I bet inserting the pawn would unlock the door.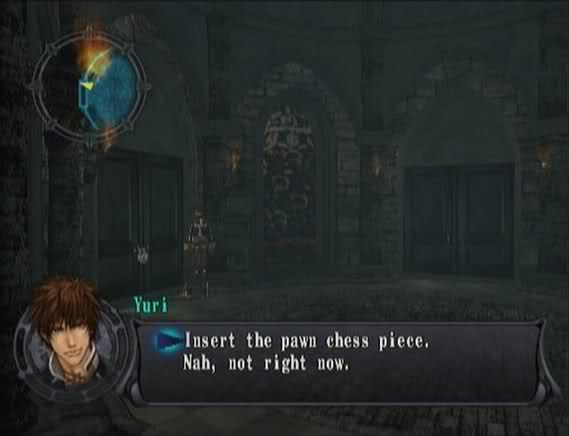
This time, we can actually get somewhere.
Hey, I think it unlocked.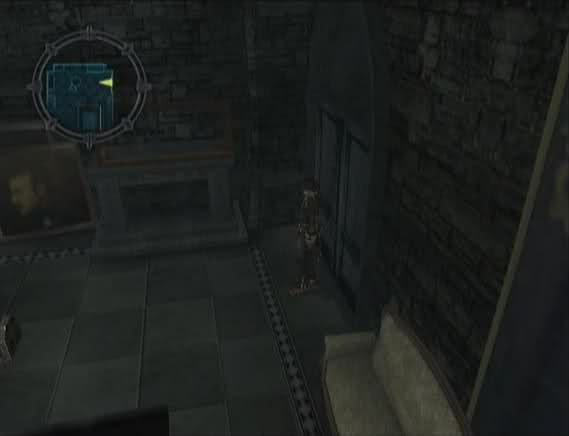
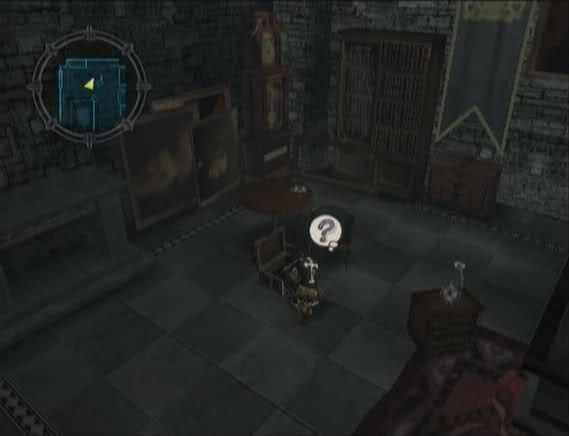
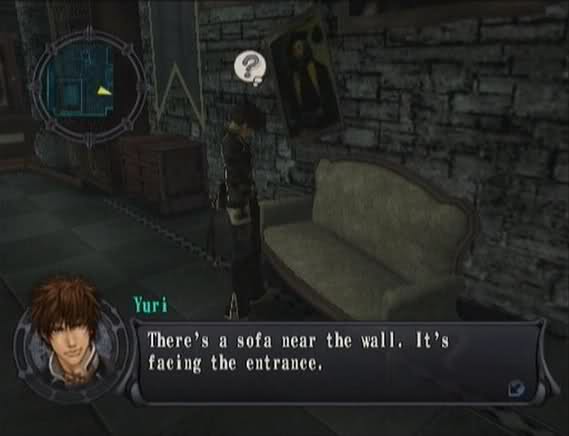
This room is a (nearly) mirror image of the bedroom on the other side of the villa.
But the chest in the middle of this room is locked.
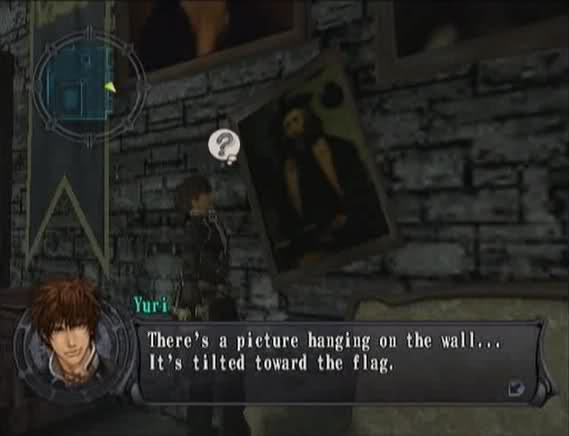
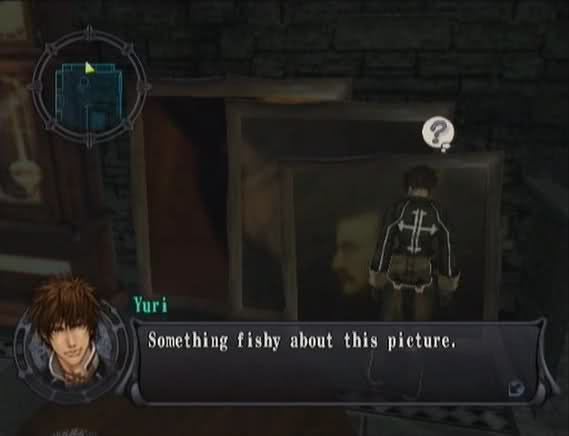
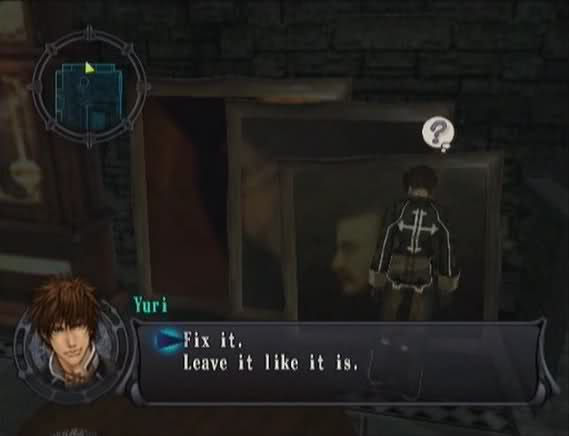
Hold on. There's something written on the lid. "Rectify the differences between the two rooms." I wonder what that means? This room is an exact reflection of that other room. There must be some kind of trick to it.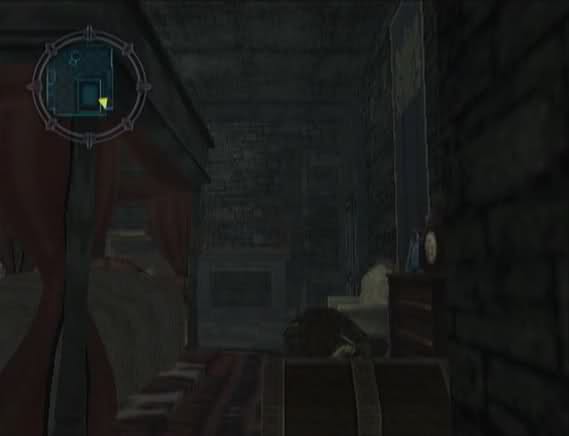
Well, that chest might not open, but there's another one in the corner with a Seal of Force. Now, about that puzzle...
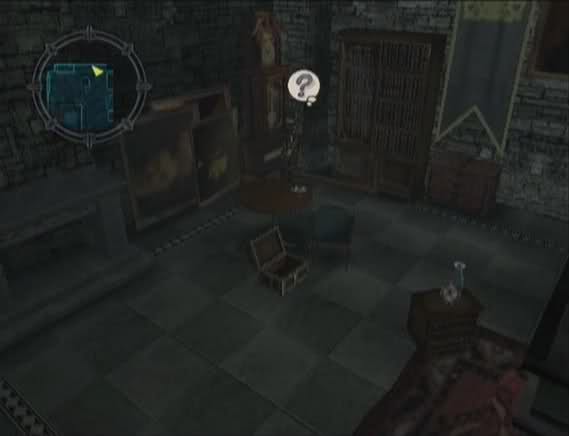
Remember all the objects we could examine in the other room?
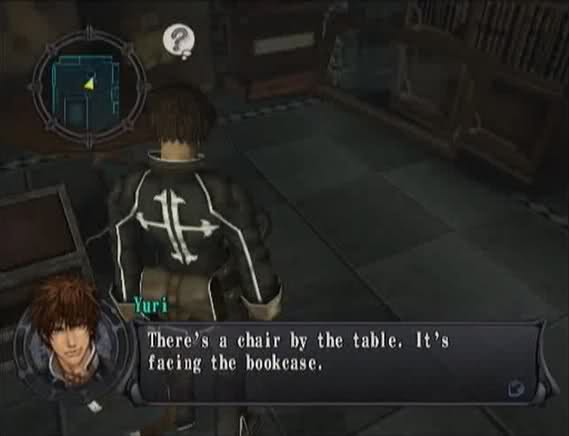
We have to arrange the objects in this room so they match their counterparts.
Like so. Now, as far as I know, the arrangement of the furniture in both rooms is randomized, so it can take a little bit of trial and error before everything is in the right place.
Once everything matches, we hear a "click".
As a reward, we get the Queen chess piece.
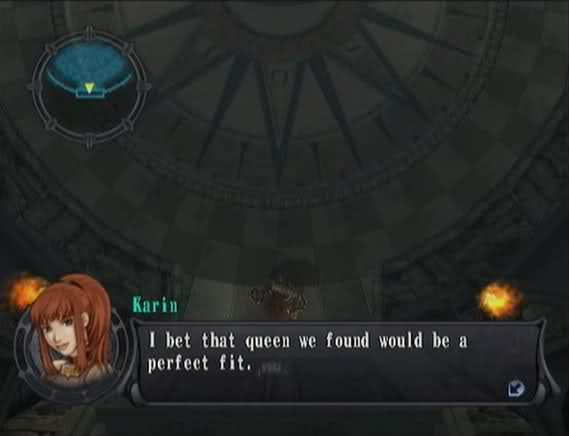
We take the queen to the south door of the north chamber.
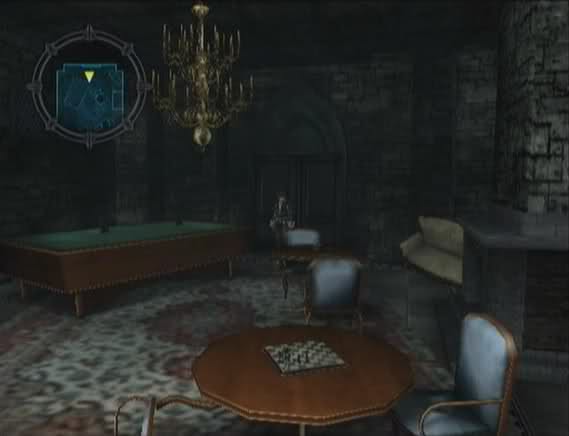
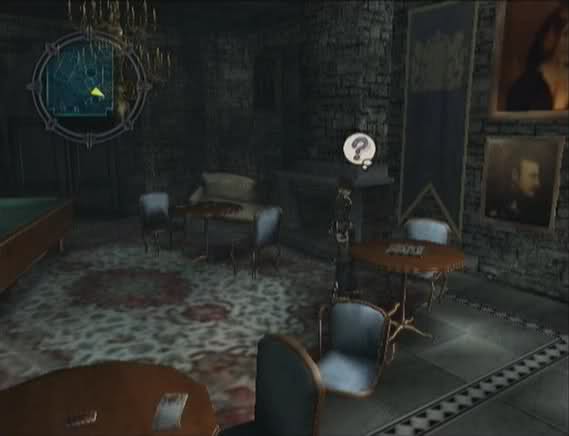
Looks like we found the parlor.
There's a chessboard set up on one of the tables.
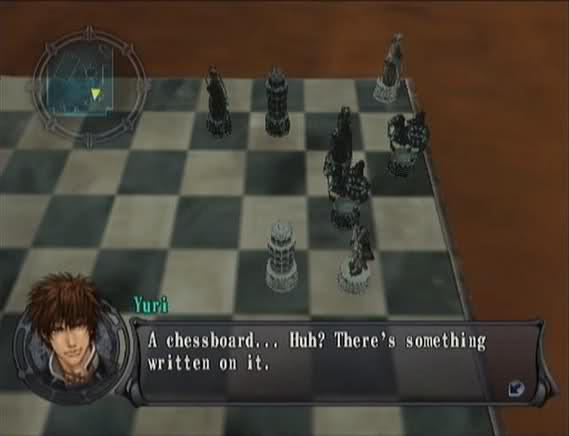 "The knight rescues the white king." What's that mean? Hmm. I think we have to put that knight we found on the chessboard. Wait just a minute! I don't know the first thing about chess!
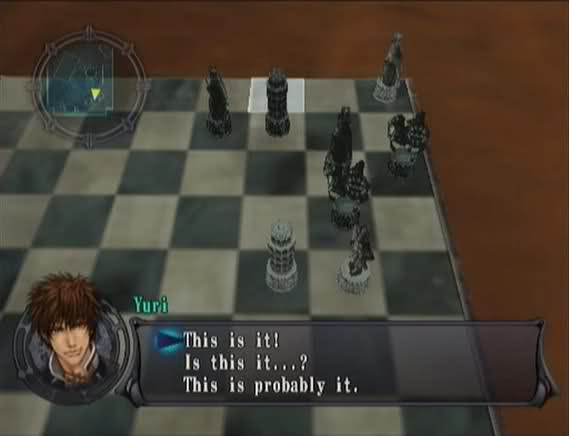
Hmm...no.

Guess again.
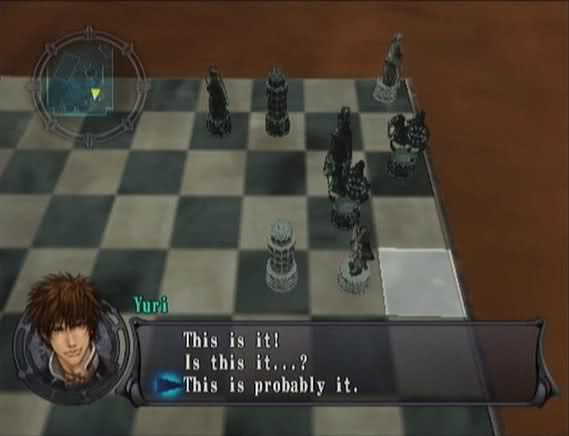
There we go.
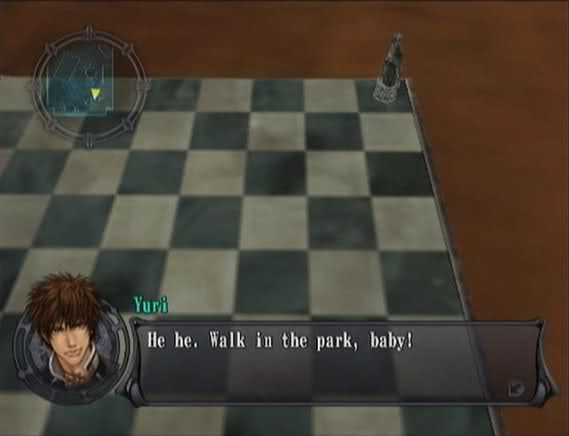
If you pick the right spot, all the other chess pieces disappear and Yuri pockets the King.
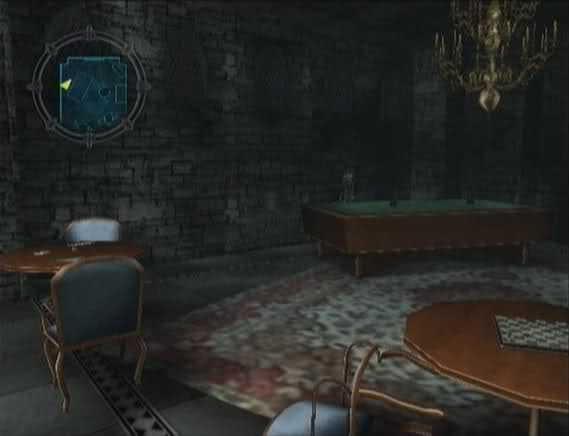
There's also a chest behind the pool table with a Flamberge for Karin.
Now, we have to take go all the way back to the dining room. Along the way, we pick up a Paralysis 3 from the passage between the eastern and southern rooms.
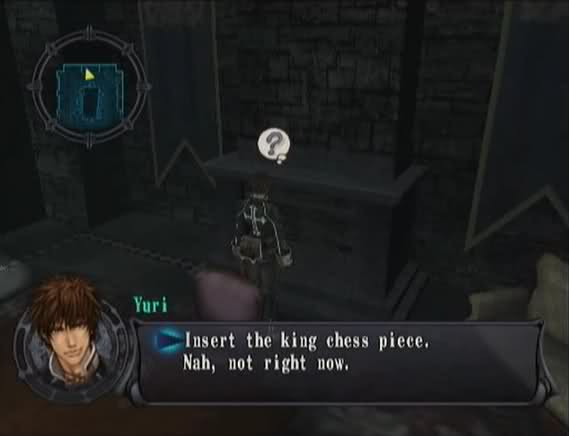
Once there, we examine the fireplace. Inserting the chess piece unlocks the northern-most door.
...Huh? I think I heard something off in the distance. That must've been some kind of release mechanism. Let's go back and check!A short trek later...

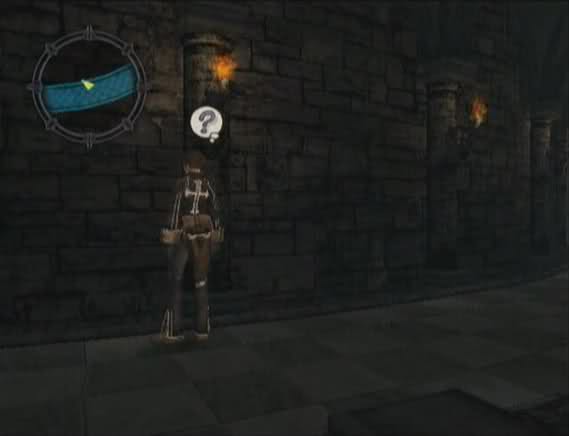
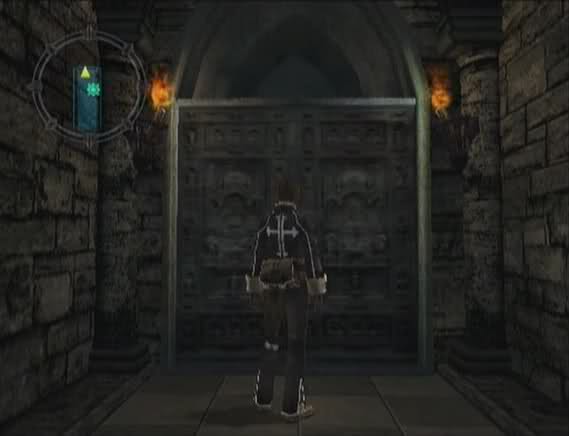
The door opens on a long hallway with another door and a Save Point at the end.
I wonder who maintains the torches in these kind of places. Are the monsters afraid of the dark or something?
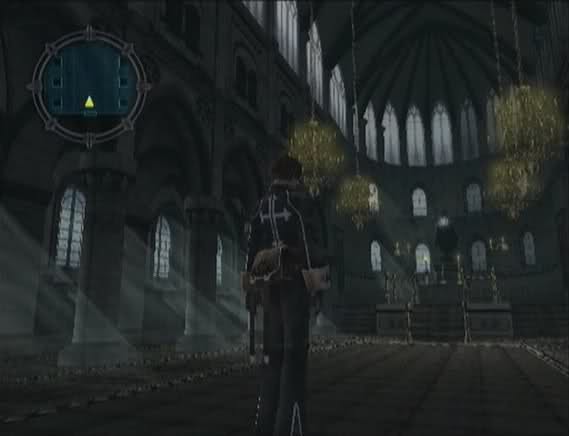
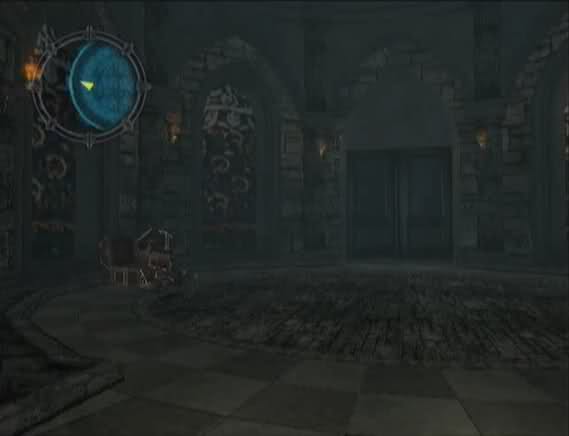
Ah, looks like we found the chapel.
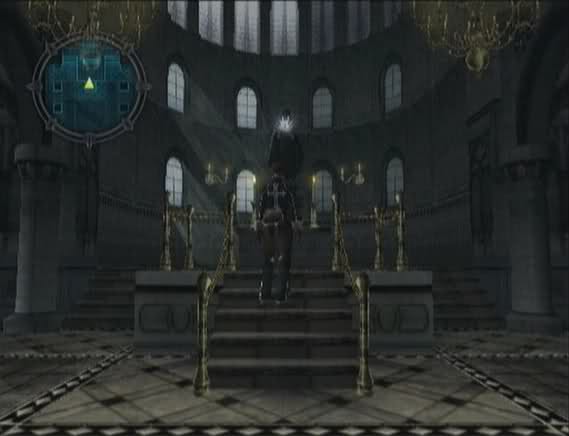
Our goal is being held by a statue behind the altar.
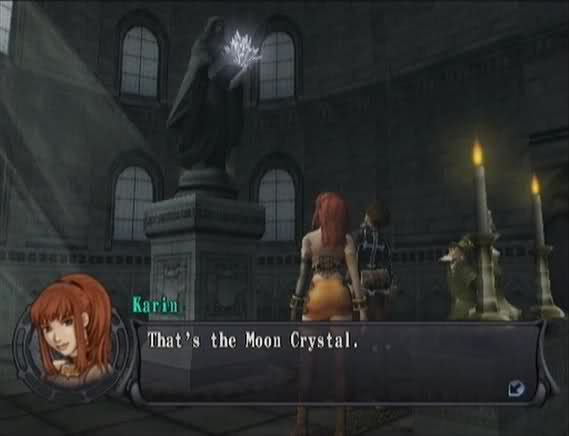
It's so pretty.
 Let's grab it and get out. Hold your horses! We should use caution here. Aw, c'mon! What're you getting yourself all worked up about? It'll be fine.
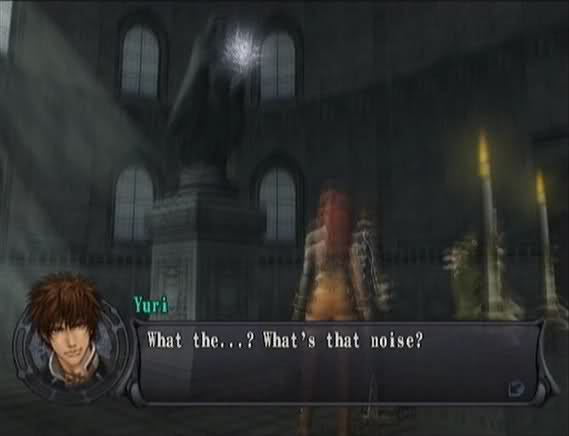
Just as Yuri says that, the entire building starts shaking.
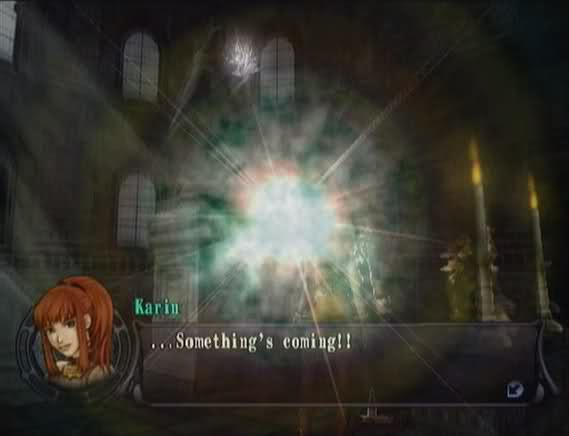
Boss fight!
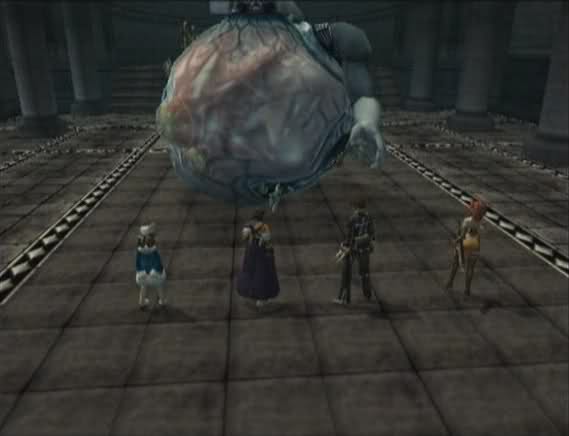
The boss here is called King Tamakos. We have to defeat him to get the crystal, and we need the crystal because that's what Roger is going to use to power the ritual. (If you'll remember, the people who tried before used lives, which had the unfortunate side-effect of producing a huge amount of Malice.)
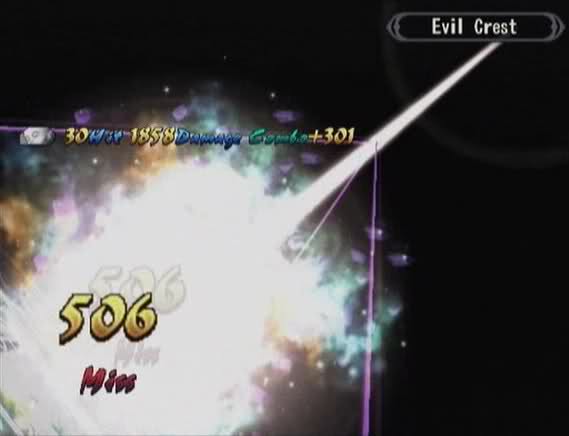
He's a pretty standard boss for the most part, except for one thing.
And that one thing is the reason why I brought Anastasia along: his Spirit Ward skill.
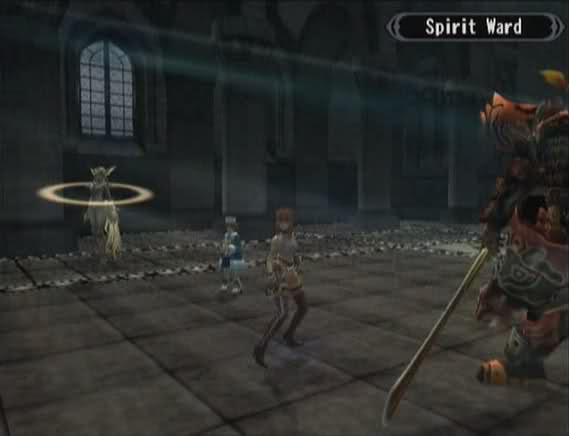
Spirit Ward does one thing, and one thing only.

It kicks its target out of the battle with no way to get them back.
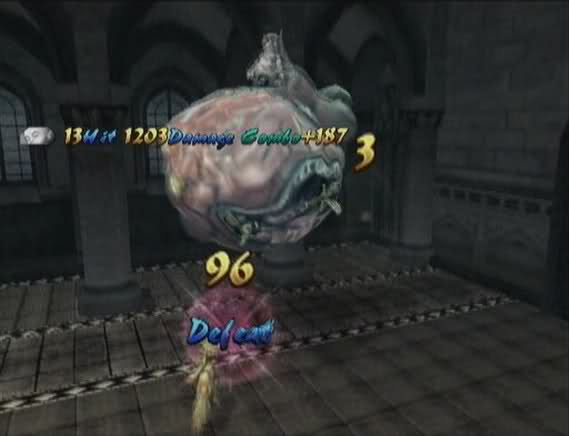
Luckily, he usually doesn't do this until he's low on health and, as a result, tends to only get a chance to kick out one character, so it won't hurt you too much.
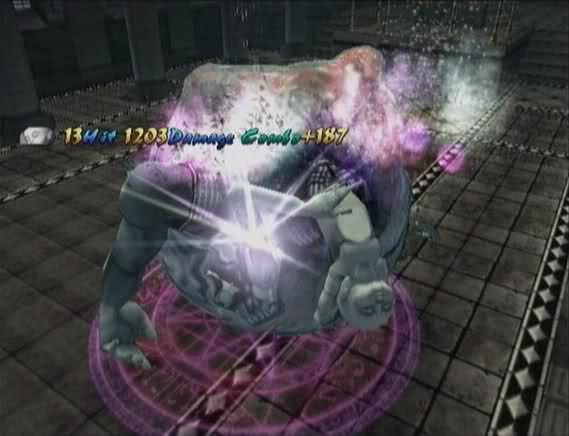
And down he goes.
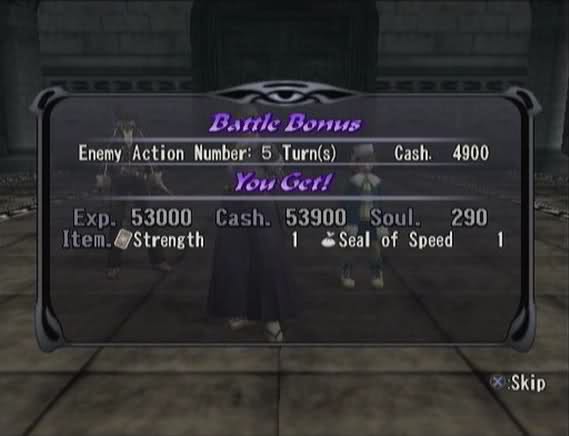
We get the Strength Tarot as a reward.


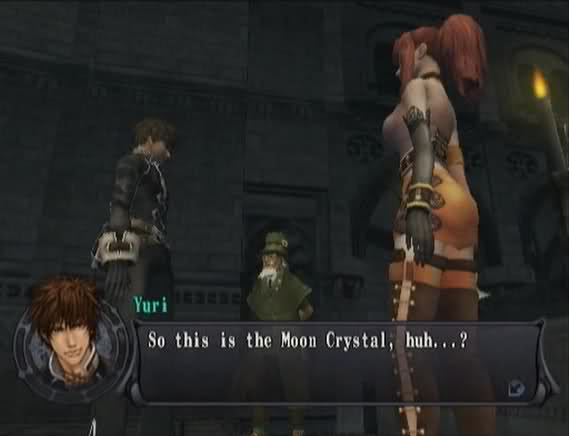
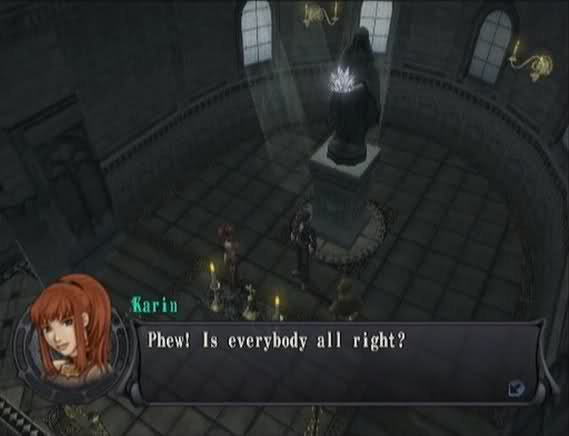 Well, looks like we managed to take care of it. ...Okay, Yuri. You're up. ...Yeah.
And Yuri grabs the Moon Crystal.
 We got what we came for. Now all we have to do is get back to Roger. .........