Part 41: Blitzing Off
Part 41 - Blitzing Off
Previously, in Shadowrun: Dragonfall...
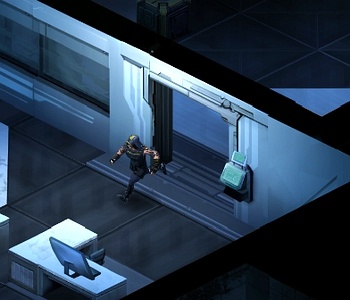
 Hey, Blitz? Open the door.
 Huh? What do you mean, chief?
 The vault door, idiot. There's no way to open it from in here. You *did* account for that, didn't you?
 Oops.
Oops.We now return to Shadowrun: Dragonfall.
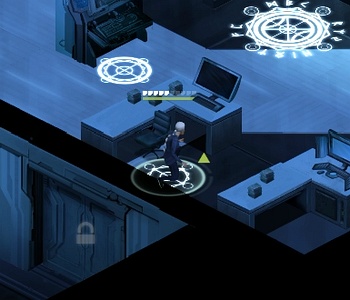
"Oops"? I, uh... I think that I might've missed that detail when I planned this run through. Lemme get this straight, Blitz. You planned how to get us *into* the vault in excruciating detail, but you didn't bother figuring out how to get us back *out* again?Yeah, the details of this plan have been pretty excruciating alright.
Easy there, chief! Just... just cool your jets and let me get to work on this. I'll figure something out, don't you worry.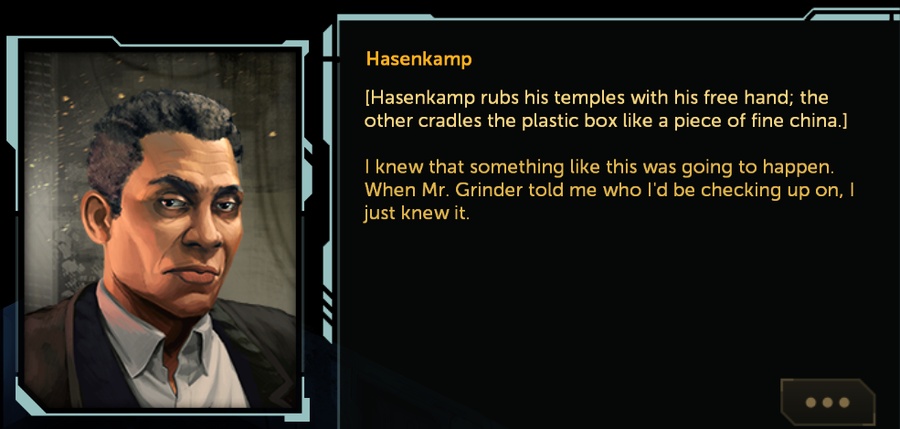 Well, we all make mistakes. What's important is how we handle them. Right, Blitz? Uh, right, chief! And boy, am I gonna handle this one! Just you wait and see. Give me two seconds, and I'll have you out of there. One. Two.
[There is a long pause. Finally, Blitz speaks again. His voice is strained.]
All right, chief. I think that I can see how to get you out of there. You give me the go-ahead, and I'm gonna try something. But, uh... there's a catch. I hesitate to ask.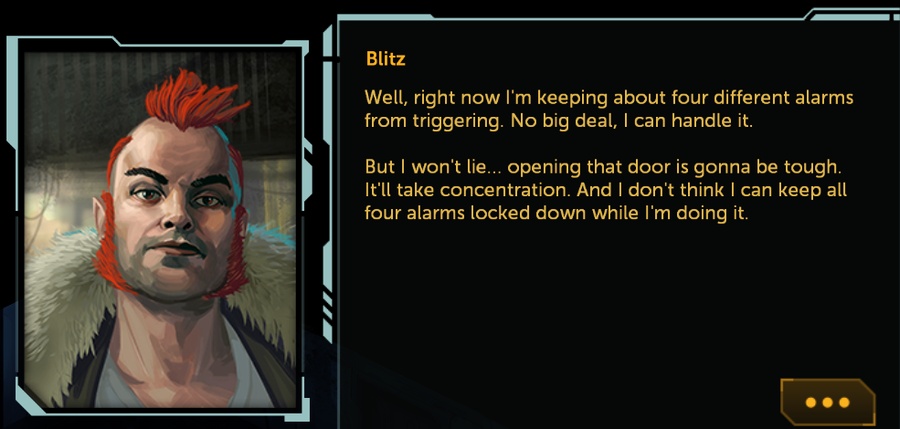 So you're telling us that in order to open the door, you're going to have to set off the alarm. Do I have that right? Well, technically, *you* set off the alarm when you stepped into the vault. All I'm doing is keeping the signals locked down so that they can't get out. And I *might* be able to release the lock fast enough to to catch the alarms before they sound. But I can't guarantee it. How reassuring.
Another Decking check rears its head here, this one more consequential than the cable plugging from earlier. Had we the appropriate skill, we could resolve this situation with zero fuss:
quote:
[The door slides open with a hiss. No alarm sounds.]
But since we don't, well...
All right, Blitz. Go ahead and do your thing... I believe in you. Done and done, chief. Nicely done, Bl--
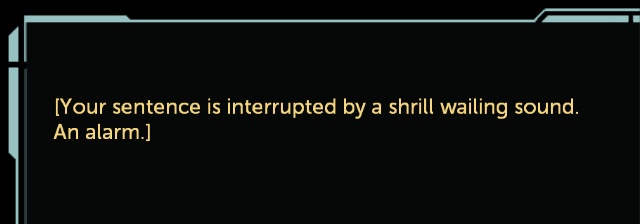
...let's face it, some things were simply meant to be.
That's our cue to leave. Yeah. Can't say I didn't warn you. You'd better get out of there... that alarm is going off in both meat space *and* the Matrix. Reinforcements are on the way. You don't wanna be there when they get here. That's an understatement. Let's get the hell out of here.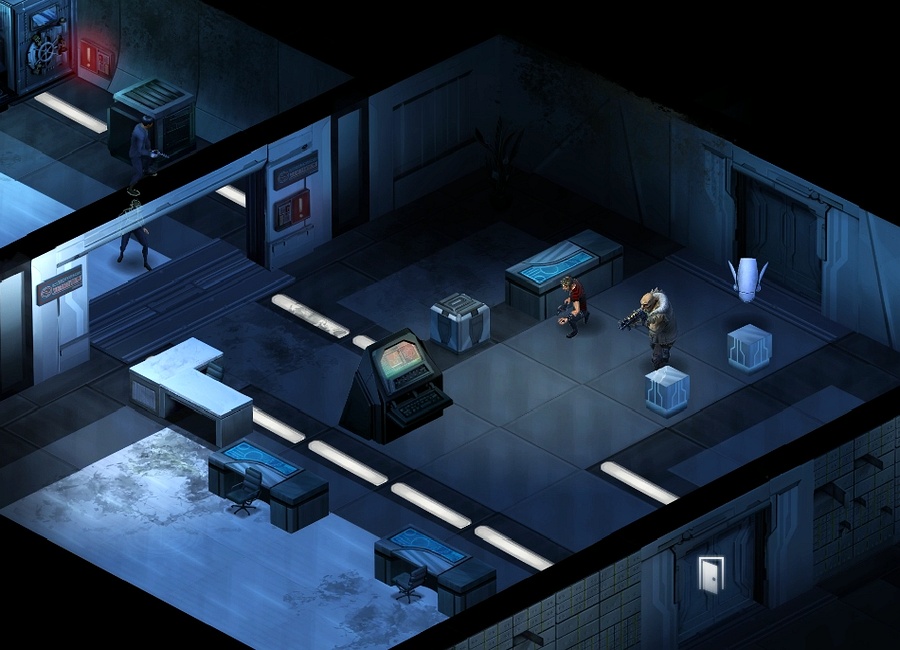
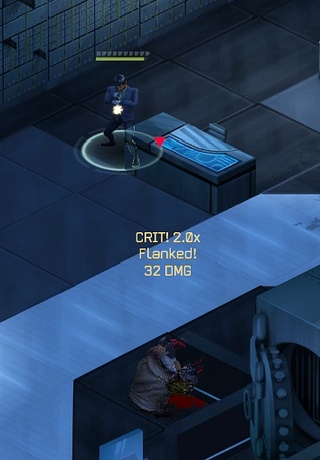
We don't manage to even step out of the vault proper before the first set of guards descend on us like sharks armed with guns and robots. As you might expect, passing the Decking check from before would skip this particular fight.
NEW MUSIC:

.jpg)
(Pretty much the combat version of Du Heist, and our first character theme since Dietrich never ended up getting one. Which, I might add, is a damn travesty. Also intentional or not, Blitz's theme being reserved for when things go wrong on this run is undeniably fitting. A fairly simple track but I personally like it quite a bit.)
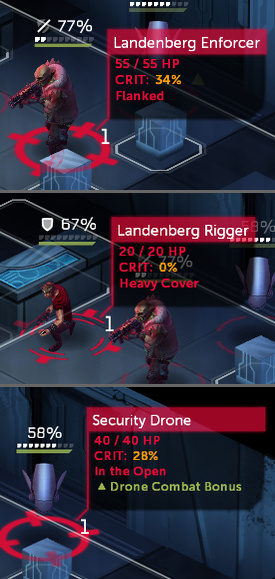
If nothing else, the weakest link of this loser chain is immediately obvious. Like believe me, I can sympathize with the idea of neglecting Body in order to pump up those sweet drone bonuses, but 20 HP and zero armor in this day and age is pretty bold.
Shoutout to this Heavy Leyline which is precisely one tile too far to reach in one turn without some kind of movement boost. Don't think I didn't notice, HBS.
At least Hasenkamp's hydraulic jack lets him get right in the thick of it since unlike us, he can take bullets for days and grenades for at least an hour or two as well. His laser designator is functionally identical to Deckers' Mark Target except it has a 2-turn cooldown and costs 0 AP. It's a pretty powerful effect too, seemingly up to +25% chance of being hit though it seems to vary a little.
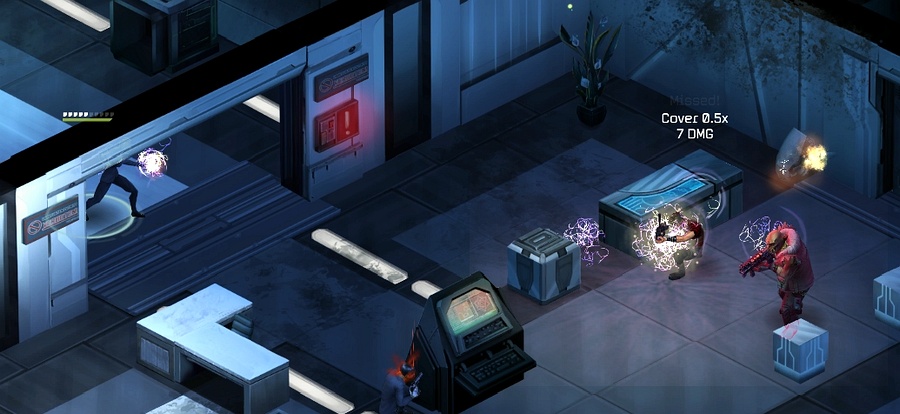
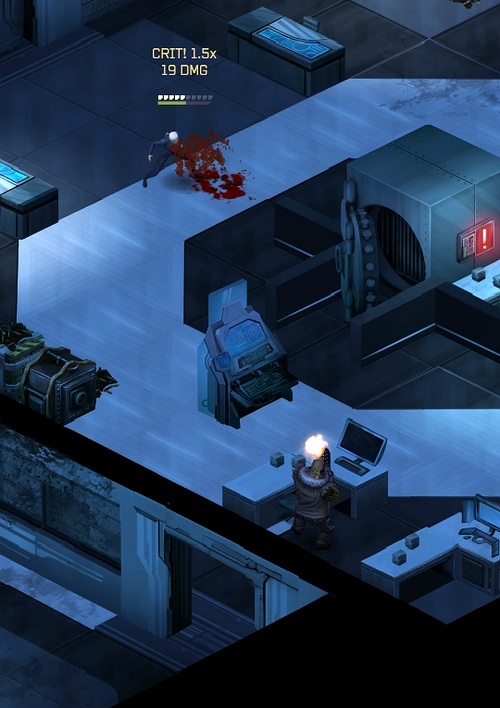
The Rigger's sheer frailty makes this fight pretty easy overall. As soon as he goes down the drone goes with him like a pokémon with a suicide pact, leaving only the Enforcer.
As always, against only one enemy the only difficult part is deciding whether we want them to die blind or drooling. Sometimes both if we want to send a message.
Sorry pal, but that's both mages and life for you — sometimes they just ain't fair.
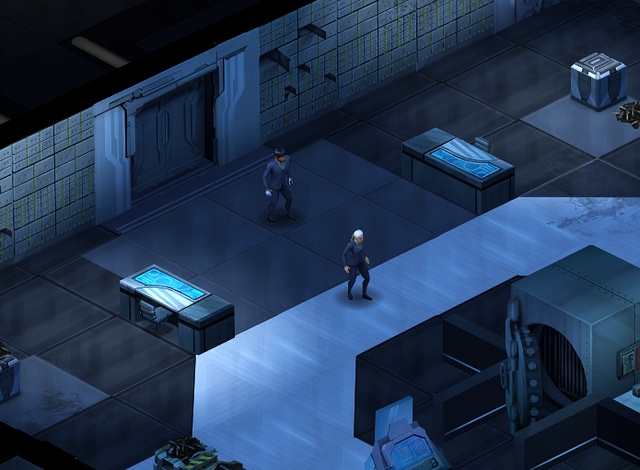
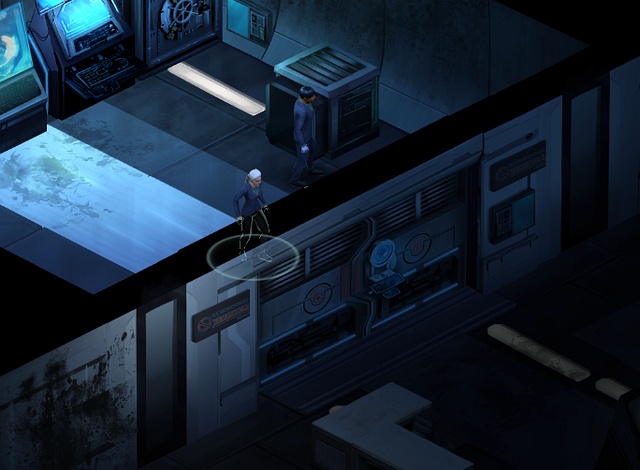
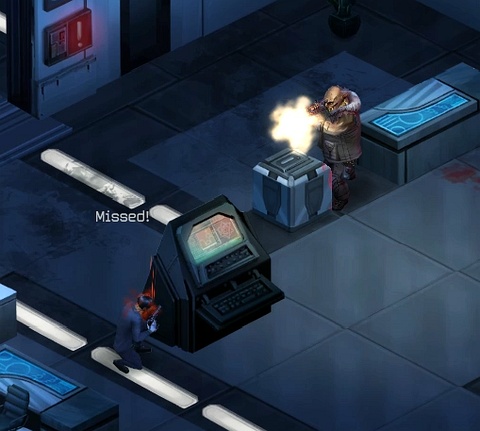
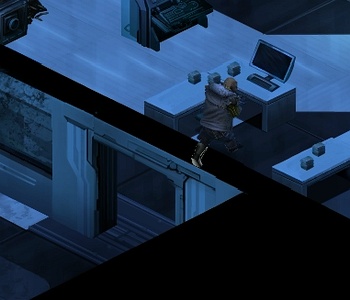
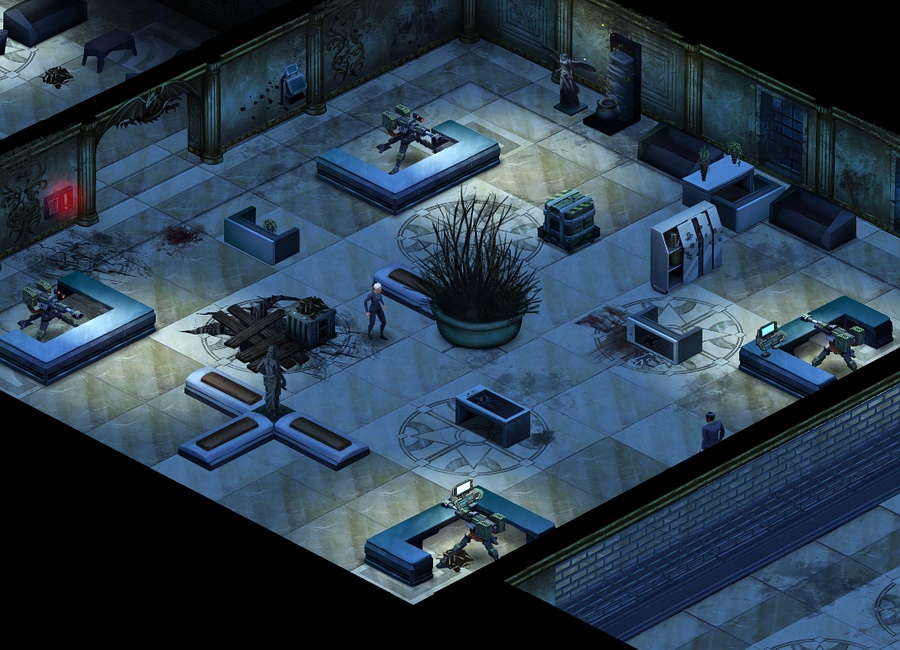
We move on to the larger room where we saw the two security guards with poor peripheral vision earlier, but as soon as we enter...
 Blitz, I'm detecting a pattern here. Uh, yeah, chief... I'm getting right on it... What a goddamned train wreck.
That's not so bad all things considered, with Blitz at the helm we could very well be wrecking an entire train station by now.
 Okay, chief! I've figured out how to get you out of there! You're gonna have to release a couple of locks. You can find the controls in the rooms to the north and south of your current position... but in order to get to those locks, I'm gonna have to hold the doors open for you. Keep talking.
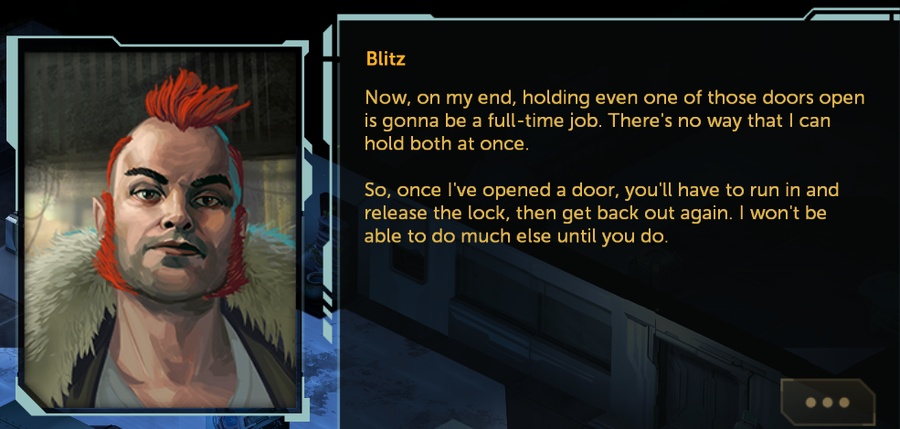 You hold a door open. We run in, release the lock, and get out again. Do that twice, once for each door. That's right. Once we've released both locks, you need to get out of there as quickly as possible. I'll lock the place down behind you. Oh, and, uh, chief... you're about to have some more company in there. [He readies his weapon.] Wonderful.
Once again, deckers get an extra option here:
quote:
[Hasenkamp glances down at the plastic box in his arm, then nods.]
What exactly this means in practice we'll get to in a moment.
The "company" Blitz mentions takes shape in the form of the two guards from earlier who have apparently taken off their blinders and now rush in from their rooms to the north and south. Too bad they also make sure to close the doors behind them, would've made this section a lot simpler otherwise.
Oh, and there's no skipping this fight, all a decker can do is make it a bit easier.
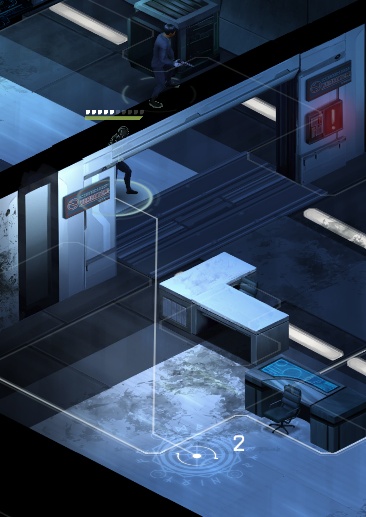
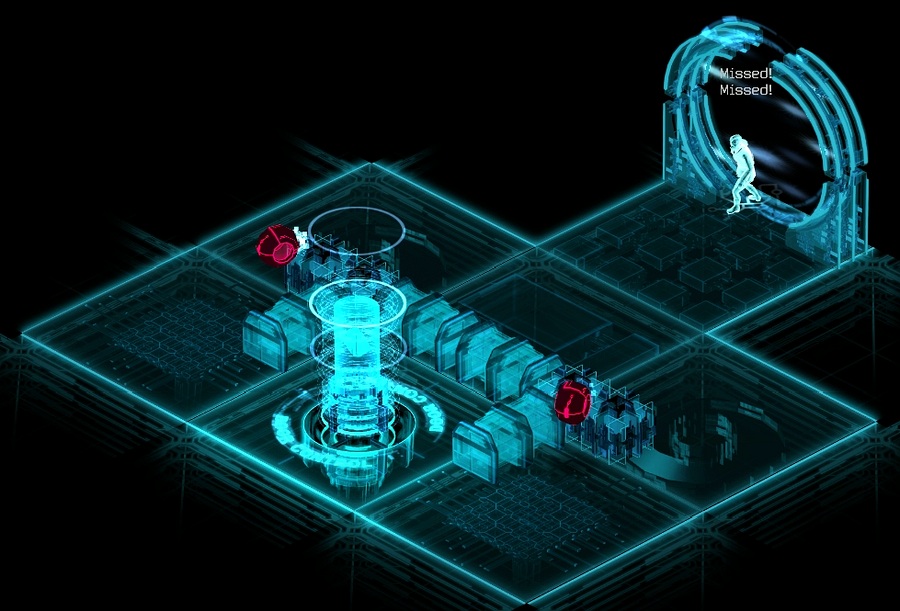
At this point we switch over to Blitz who finds himself a subject of some nasty cyberharassment.
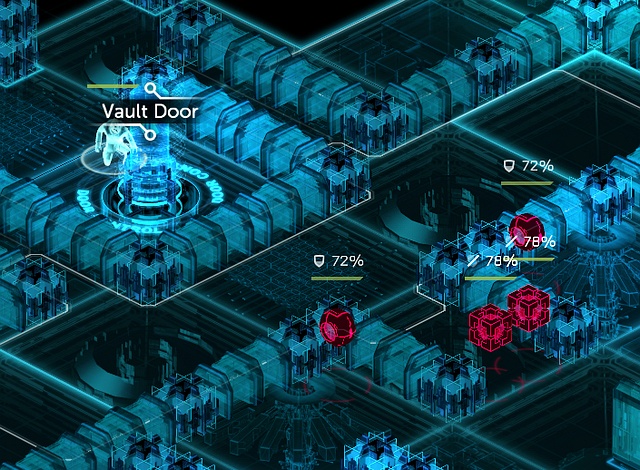
So, we're now fighting on two fronts simultaneously and Blitz's goal in the Matrix is to reach those southern and northern door nodes he couldn't interact with earlier. The ones behind those two arcways to the north and south, in case you forgot. He'll then have to hold each door open to allow the on-site team to enter the two rooms the guards ran in from and operate the consoles behind each of them. Operating them both will open the main door forward. Not as complex as it sounds, really.
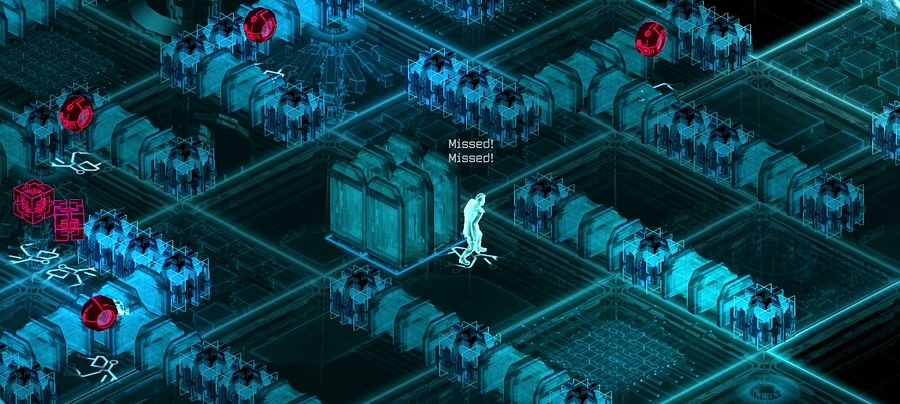
Now there are two ways to go about reaching the nodes, you can either hunker down and fight off the IC like a brave cyberwarrior...
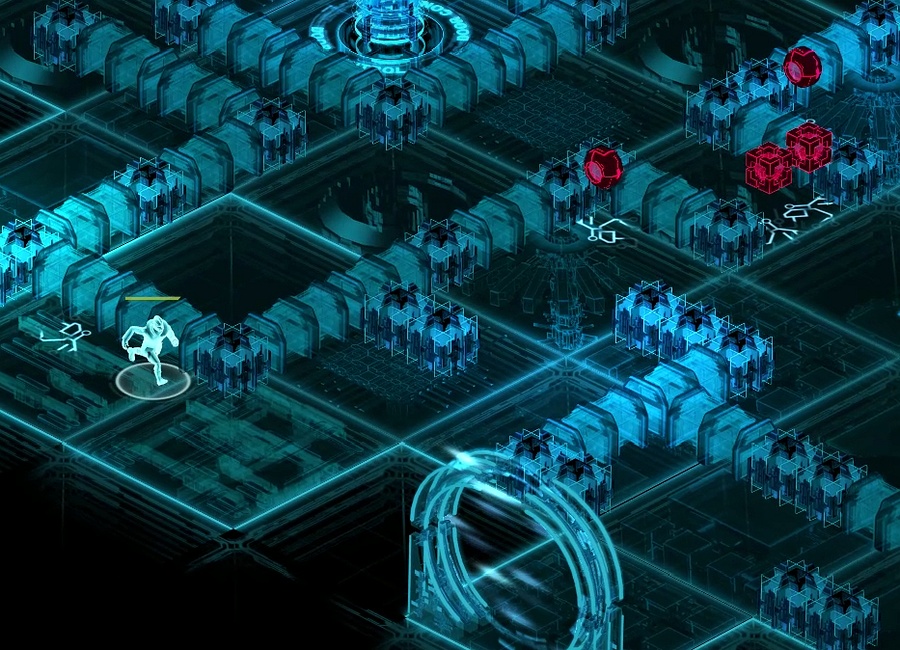
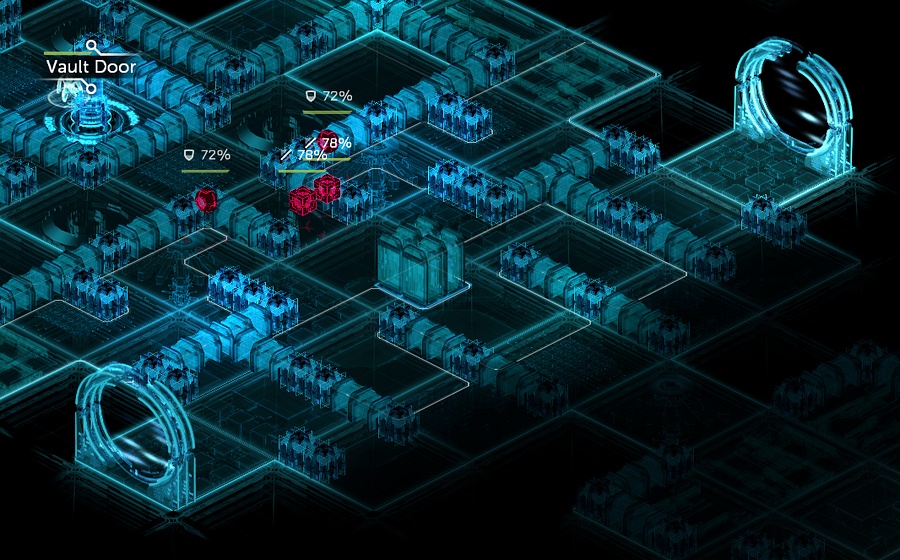
...or you can ignore them and try to make a run for the arcways which is probably more Blitz-like. You probably want to have the Fairlight Excalibur for this approach though, this Matrix section does not mess around and only having 3 AP instead of 4 would make it a bit riskier.
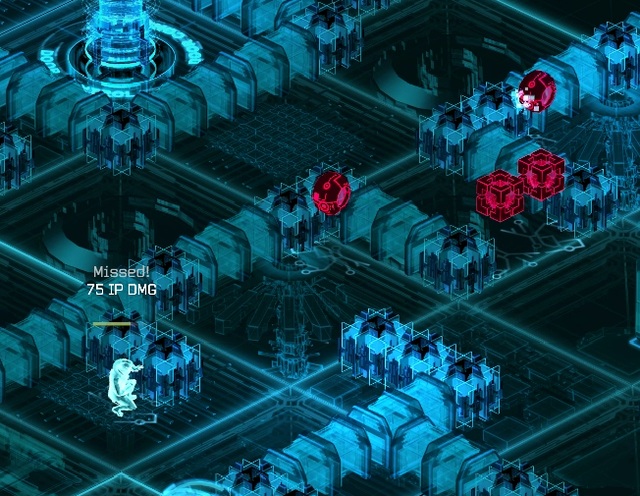
Even with the Excalibur, Blitz only has 225 IP which means it takes exactly three hits to kill him, though he does at least have a self-heal.
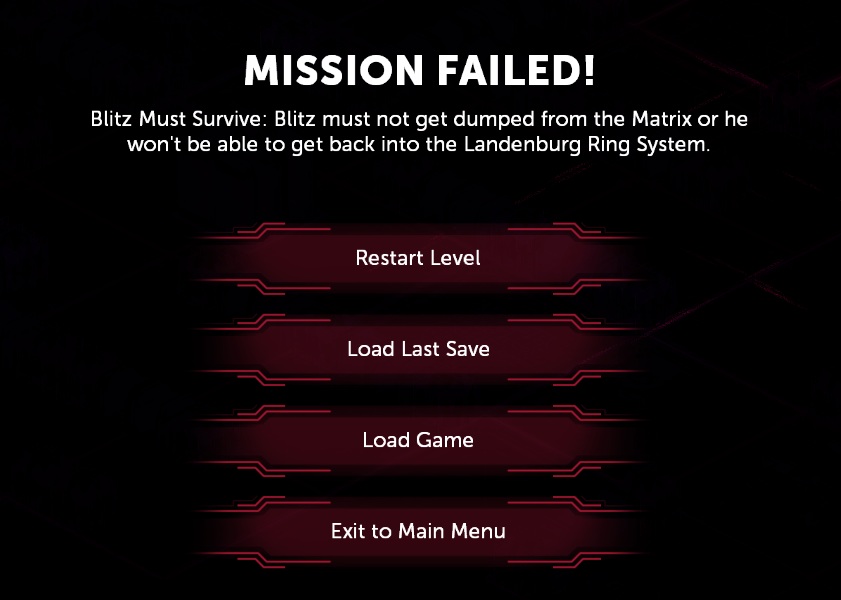
Unlike in a normal run, Blitz running out of cyberhealth leads to an immediate game over. This is one of the tougher Matrix sections in the series, the one mercy being that the normal alarm system is disabled which means you at least don't have to deal with any Black IC or other such surprises.
Also they couldn't really get the spelling of Landenberg right consistently, there was one instance of "Landberg" earlier as well. Overall there are relatively few spelling errors in this game, something that can't be said of the next installment.
By the way, getting close to one of the arcways spawns two more IC in the room. If you opted to go for evasive maneuvers then you'd best stick to that plan and keep moving.
Of course there are more IC in the node rooms themselves. Blitz used his last AP to enter the room which gives them a couple of free shots at his uncovered cyberass, so with some bad luck this attempt could've ended right here. Fortunately they're pretty inaccurate which is helped by the Excalibur's high avoidance rating.
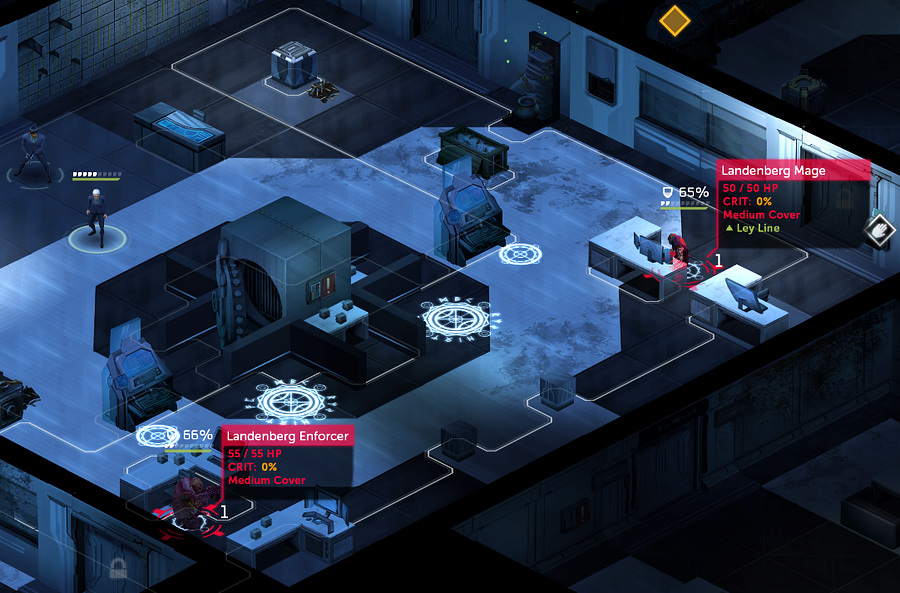
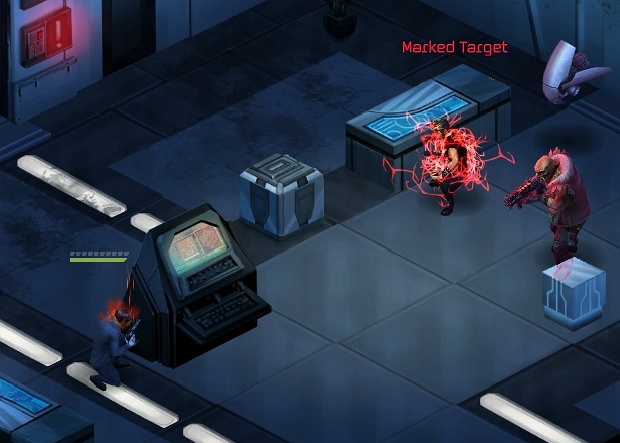
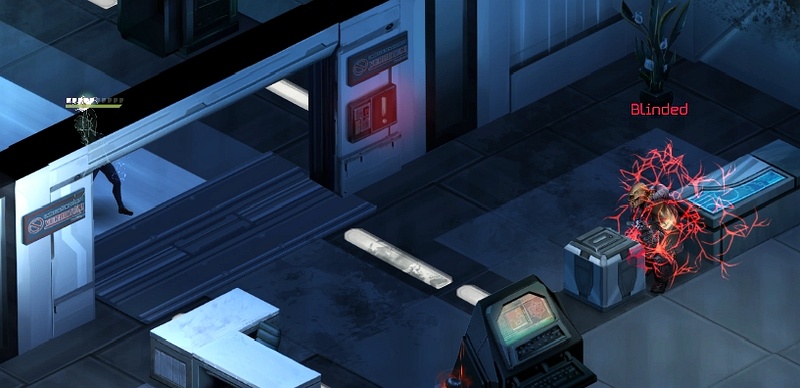
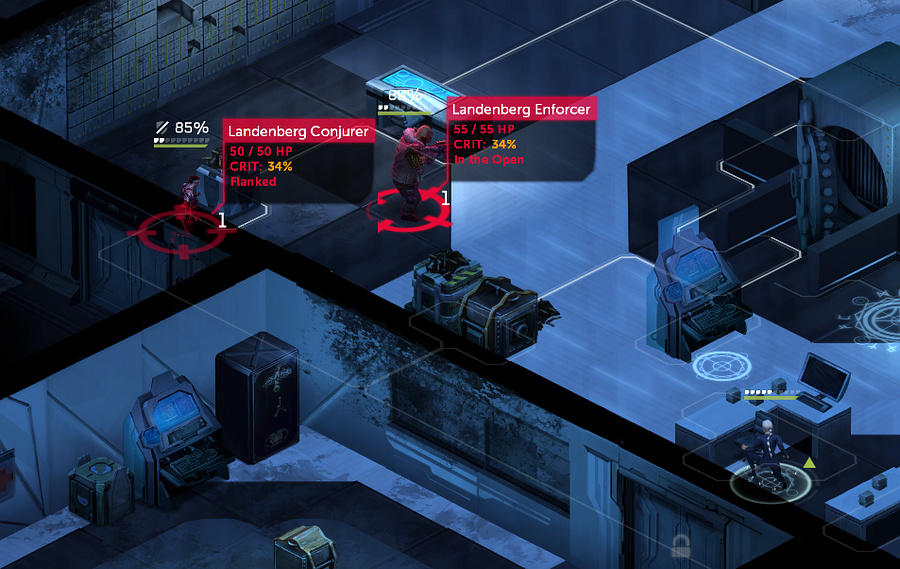
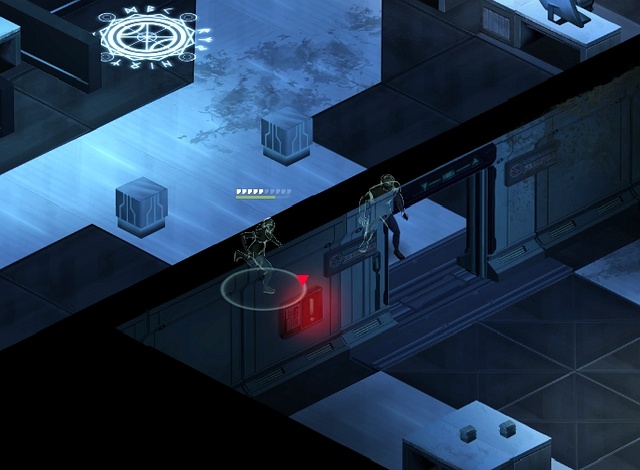
In the real world, we have a Mage and an Enforcer to deal with in this room positively lit up with Leylines. On the very right edge you can see an interaction icon next to the northern door — that is what a decker with Decking 5 could use to open the door in Blitz's stead, meaning he could freely ignore the other node.
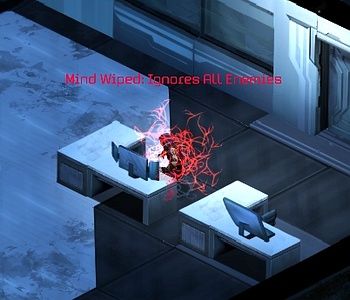
We'll just go ahead and remove the pesky spellcaster before he starts melting our armor and healing his buddy and all that unpleasant business mages are capable of. Blind and Mind Wipe only have 89% chance to land instead of the usual 99% thanks to his high Willpower, which... probably says a lot about the balancing of those spells.
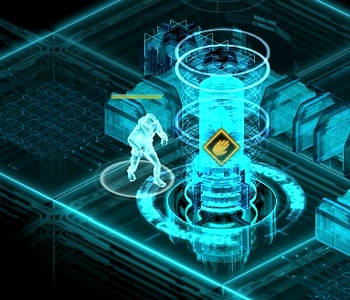
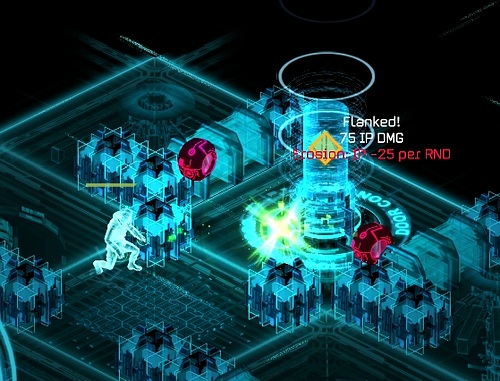
In the meantime Blitz has finished clearing up the pair of IC and reaches the door node.
I've accessed the door controls. Say when, and I'll force it for you! Once it's open, you've got to get in there and release the southern lock from the control panel. We're ready! Force it!You can tell him to wait but there's no real reason to do so as no IC will appear in the node rooms.
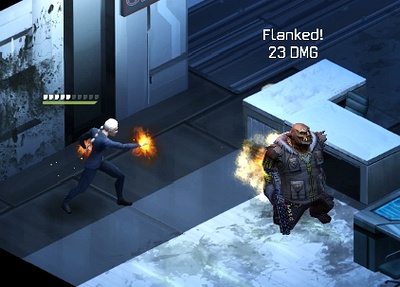
As advertised, the south door opens while the nearby Enforcer gives us some encouragement to keep moving.
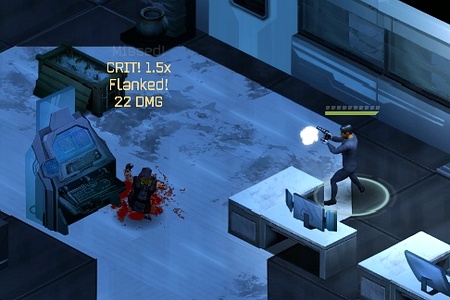
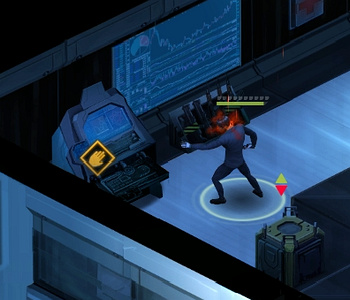
On his end, Hasenkamp takes out the Mage right before he manages to come back to his senses and starts causing trouble.
While doing our best to avoid further shotgun-inflicted workplace injuries, we duck into the southern room and release the first lockdown console. No checks or choices anything here, just press & go.
We also pick up an Advanced Medkit from the medical cabinet on the wall and patch up the extra air holes we were given.
With our business in the room concluded, we quickly dash out and Blitz releases the door behind us. One more to go.
At the same time Hasenkamp brings the Enforcer down with a crit almost on par with our Flamethrower III. The Ruger Super Warhawk is the highest damage handgun in the game, though it being a revolver means you can't use Chain Shot or the two-hit ability Double Tap with it.
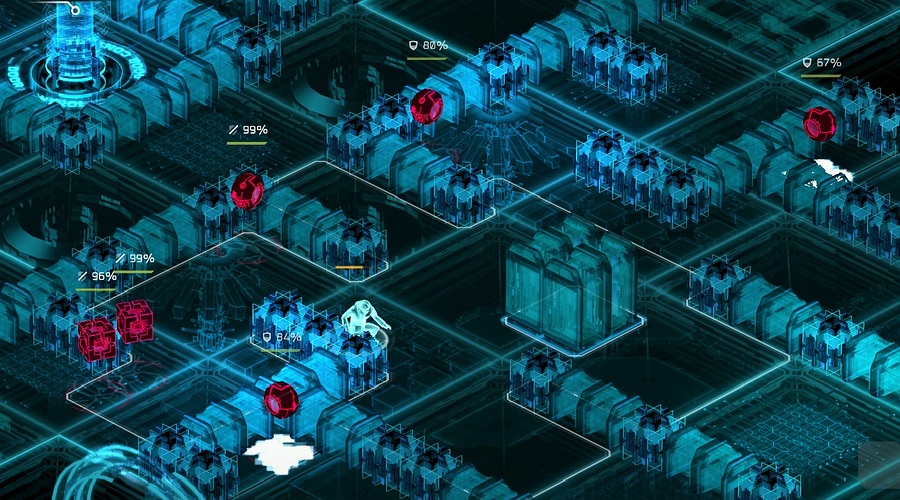
Meanwhile in cyberspace Blitz takes refuge behind the central room's large... whatever that is... on his way to the north node, successfully dodging hits from the two IC who still have a bead on him. I'm not sure what the hit chances of IC are with Blitz's high stats and the Excalibur, but he does an admirable job avoiding hits throughout.
After reaching the northern room he repeats his previous IC-busting routine for a second time, safeguard his own IP so proficiently it'd make Disney envious. Blitz might not be much of a planner but he really is a good decker! Just don't ever admit that to his face.
 All right, chief! I've reached the door controls. Ready to force it open on your mark! Do it!
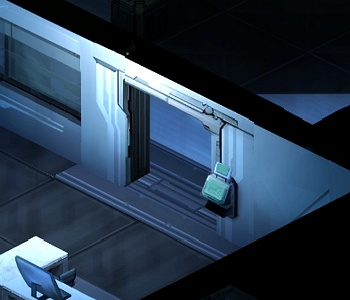
Even as the door pops open...
...more Landenbergians make their way into the room. Good thing these guys learned their strategies from Knight-Errant because their paper riggers aside they're all pretty tough.
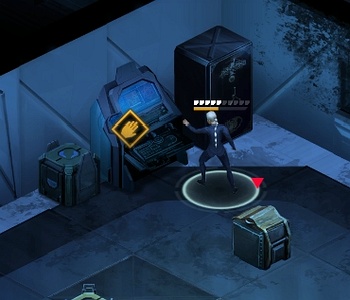
While we keep the newcomers occupied, Hasenkamp uses his super-legs to quickly sprint into the northern room, releasing the second lockdown console.
That's done it, chief! Bail on out of there - once you've both made it into the next room, I'll lock the door behind you. That should buy you a few seconds, at least! We're on it.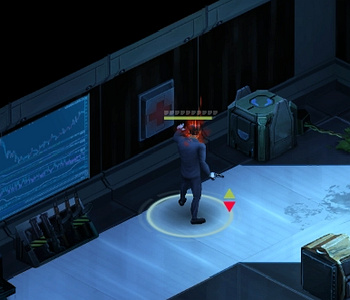
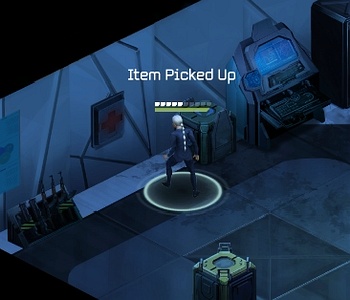
Also just like in the southern room, there's an Advanced Medkit on the wall of the northern one.
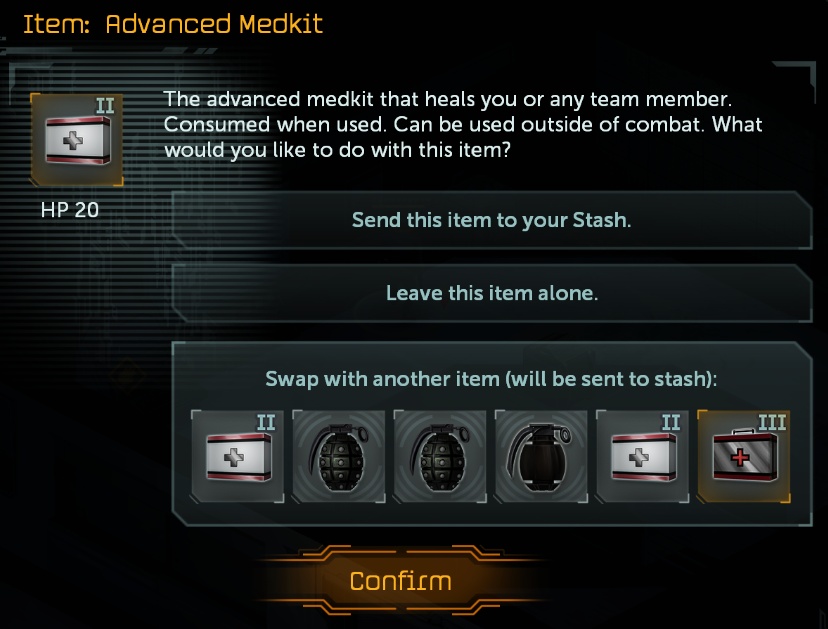
Using a party member with full inventory to pick up an item lets you send an existing item from their inventory to your stash. Doubt Hasenkamp will miss one Premium Medkit, a guy named Meat Grinder is sure to provide his employees with good insurance.
Time to get out of here. Incidentally if you kill the Conjurer and Enforcer as well, they'll next be followed by a Rigger + Captain pair and then by a Guard + Grenadier pair after which you can take all the time you like. There's zero benefit to fighting them though, so we won't.
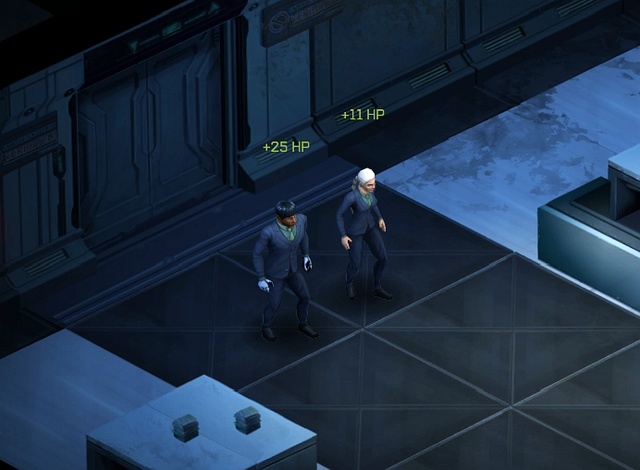
Ah, soothing end-of-combat healing. Check out those sweet matching suits by the way.
 Thank God for that. I hate to admit it, Blitz, but you did good back there. Hey, thanks, Hasenkamp. Uh, yeah, you too. Now, you two ready to get out of there? Do you even have to ask? All right. Let's see what we can do about that...
[There is a long pause. Then Blitz's voice crackles out of your PDA's speakers.]
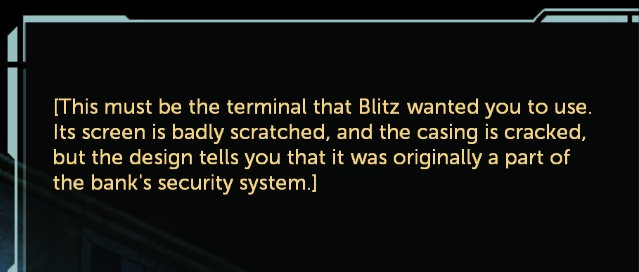
Uh... head for the front door this time, though. Not the alley. Wha-- Just go with me on this, chief. The door that you came in through is no good. You want to go out the front. There's a terminal that I'll need you to access... one more button to press. Do that, and we're home free. I still don't see why--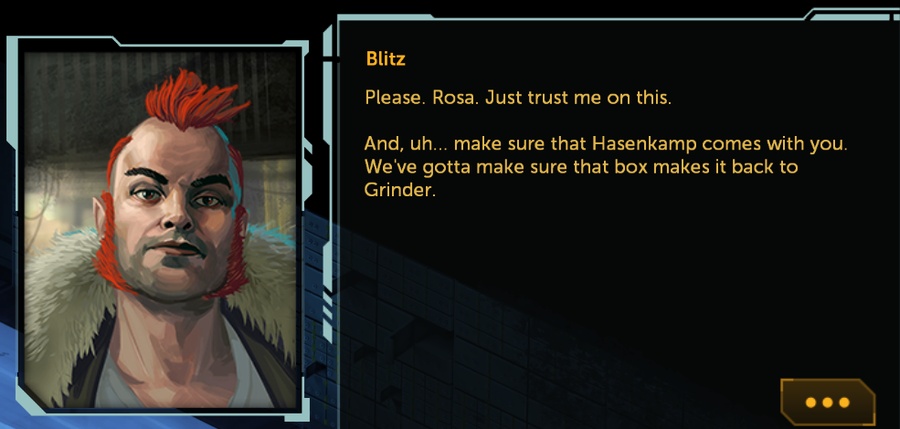
...Did he just call us by name? There's something fundamentally wrong about that, it's like a cat suddenly letting out a bark exactly once and then never again.

Guess he's serious, so front door it is. The way there is now unlocked at least. And in case you're wondering, there's nothing to see in the back door area, that exit simply can't be interacted with.
Four heavy-duty gun turrets are installed here which is more than a little disqueting. There's something familiar about this setup too...
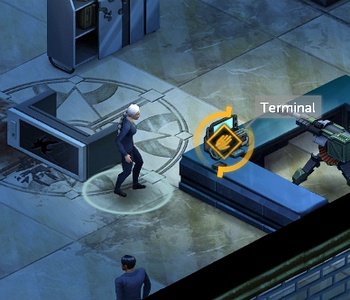
Only one thing we can interact with here.
 Come on, let's get this show on the road. We're almost out of this godforsaken place.
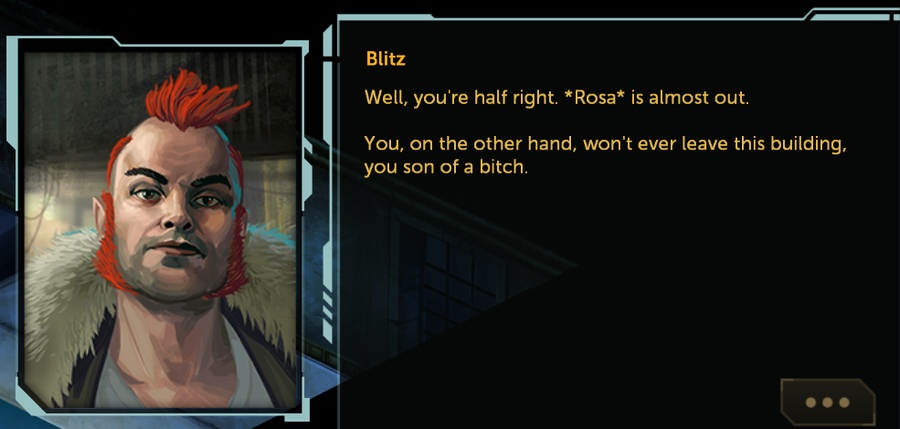
Whoa, what's this all of a sudden?
Blitz, what the hell-- Shut up and listen, chief. Hasenkamp is planning on screwing you. I've had a bot digging up intel on the man ever since you stepped into that building together. And let me tell you, he is NOT trustworthy. [Hasenkamp sneers.] Says the man who ratted out his own gang. To hell with this. I'm leaving. I wouldn't, if I were you. Rosa there can kill you with the press of a button. I can? ...Well, more accurately, she can give me control of those autoturrets with the press of a button. And then *I* can kill you.[Hasenkamp stops. Looks you in the eye.]
But she wouldn't do that, would she?Not entirely sure what prompted all this, but it would appear like Hasenkamp has gotten outplayed by Blitz of all people which is an unexpected turn of events indeed. We're given the option to slam the button right away, but let's at least hear Blitz's reasoning first. Hasenkamp has been kind of a pain in the neck this whole time, but if we killed people just for that then there wouldn't have been anyone to send us on this miserable run to begin with.
That all depends on what Blitz has to tell me.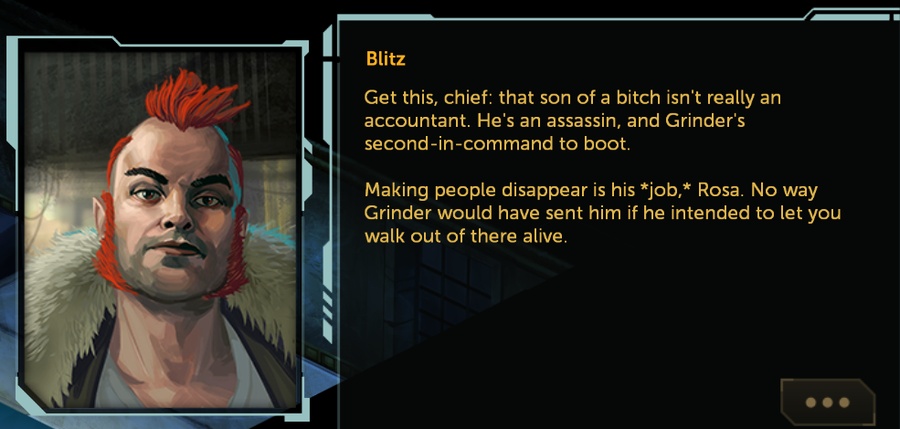
Guess that's not particularly surprising all things considered, guy certainly has the hardware for the job and he put down those guards pretty damn effectively. Nothing wrong with a bit of assassination work here and there, we all gotta make a living somehow after all, but being on the target list ourselves would certainly change things.
That true, Hasenkamp? The bit about my place in Mr. Grinder's organization? Sure. But the part about me killing you...? No. I intend to walk out that door, give the box to Mr. Grinder, and go home to my family. Like I said. Why the lie? Why tell me you're an accountant?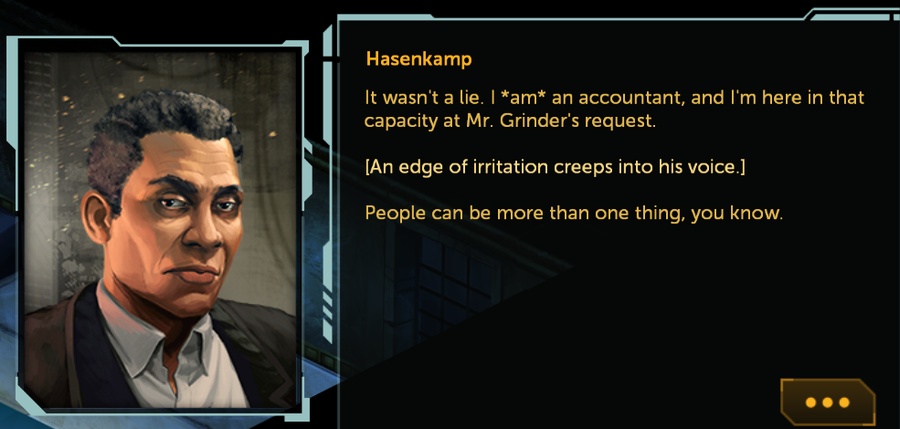 Don't let him sweet-talk you, chief. Push the button and let me blow him away! Rosa. Listen to me. Your pal is a thief, and a killer, and a rat. You push that button, and I'll die, sure. But Mr. Grinder is waiting for me, and he's waiting for this box. And you don't want the kind of trouble that's gonna come your way if I don't get it to him. By all rights, that box should be ours, chief. This was *our* run. Grinder can't have the money *and* the box. That's just... unfair.
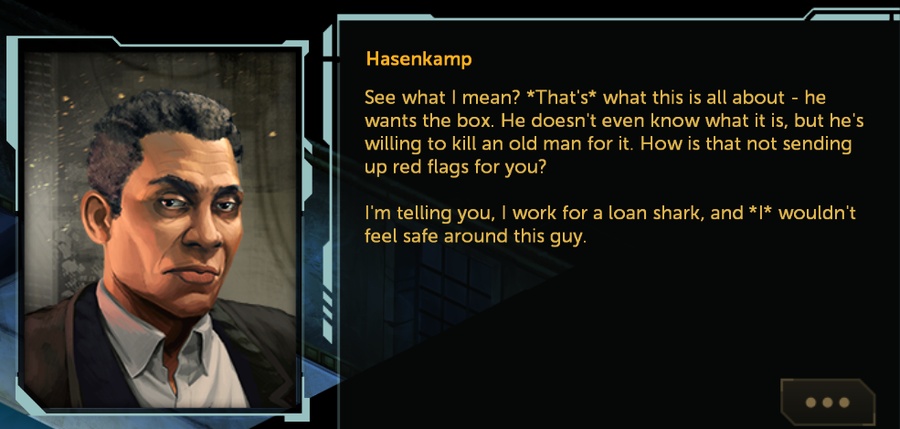
It seems we have some choices to make, but we'll leave making them for next time. Based on everything we know though, who is ultimately in the wrong here? What's the real deal behind Hasenkamp and tonight's events? And what's with that damn box anyway?
(Please note that this is not a vote and obviously if you've done this mission before then shush)