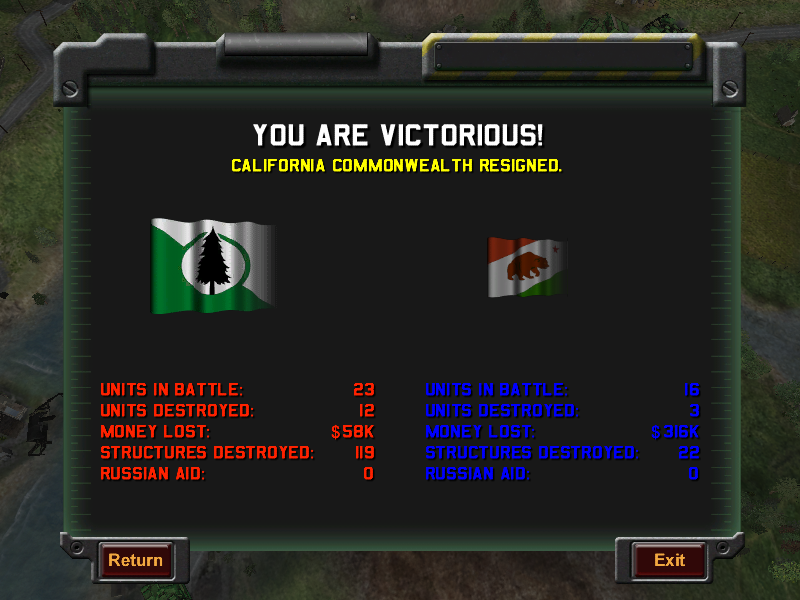
Part 4
Right, here comes more of the Battle for Northern California.

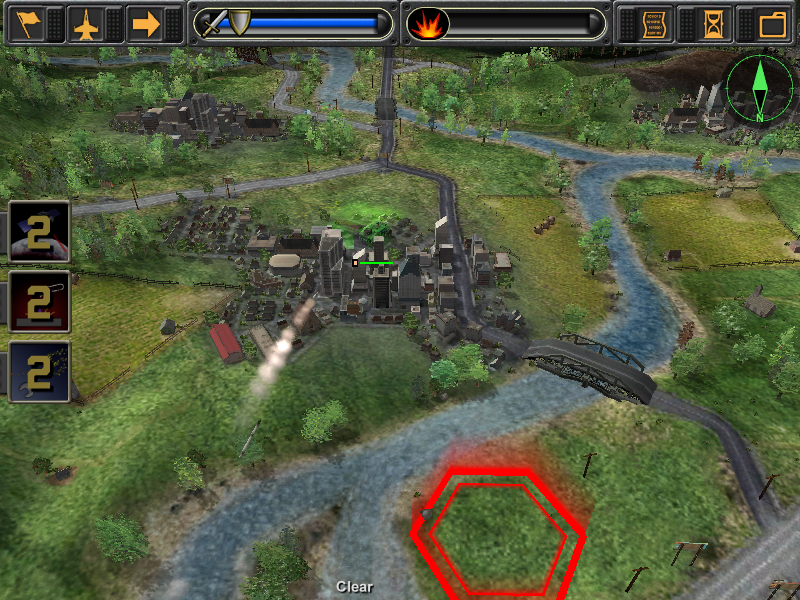
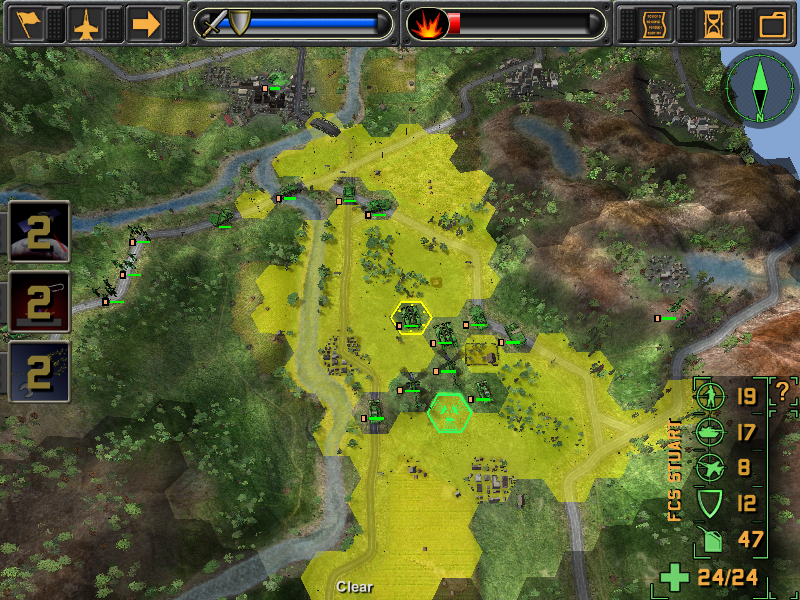
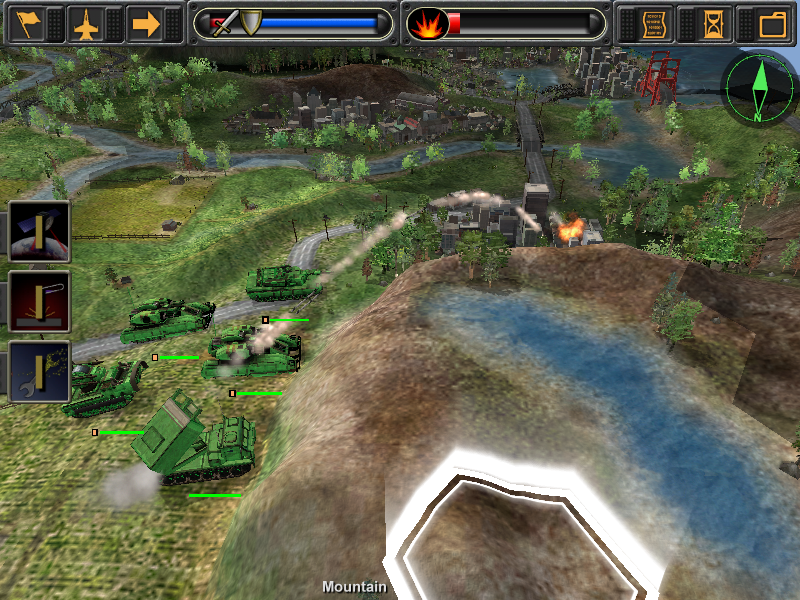
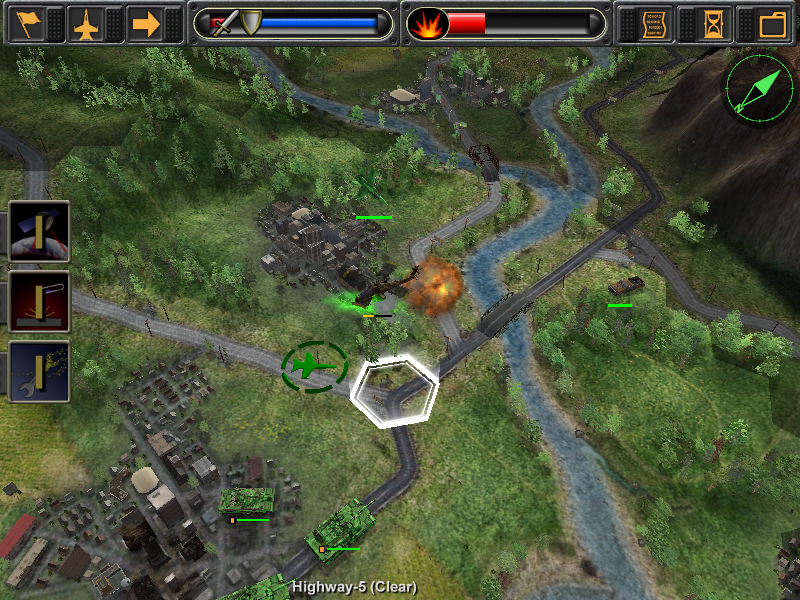
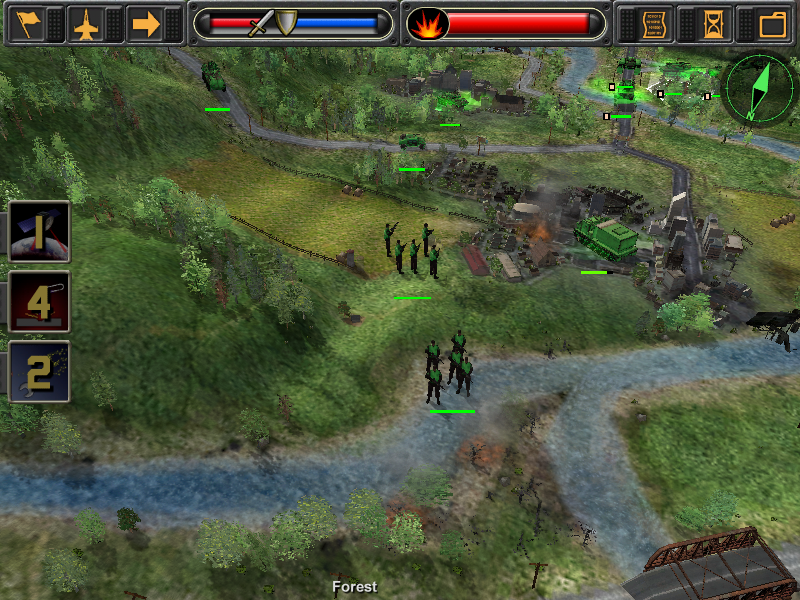
This first picture shows the center of my army and a special power in use. Note the faded green eye above that hummer, and the fact that my 'power' timer for the satellite will take another two turns before I can use it again. Since hummers make excellent scouts, the bonus sight range should do the world some good.
Note, that I've taken a MERL rocket artillery and medium tank from the airbase defense force and moved them as close to Sacramento as their moment range would allow in one turn.
Equally, I move the satellite-enhanced hummer, abusing how fast those things move on roads, straight into Sacramento. The thing can see pretty damned far on its own, but with that extra little bonus I can determine that the California Republic and its hideous orange colour scheme are hiding out in San Francisco - San Francisco is a great city to have under your control, since having it means you just need any other city in the game to win.
My plan, at this stage, is to move the bulk of the army straight there and reinforce Sacramento with my airbase garrisons.
After clearing out the city of brotherly love, I'd win - whereas if I ignored San Francisco I would have to take almost every other city on the map to match its point value. And hold them too.
Artillery can shoot a lot farther than they can see. That hummer can spot for it.
I don't feel bad about this because the California Republic stole our land, deported our citizens, and then took up shop in our homes.
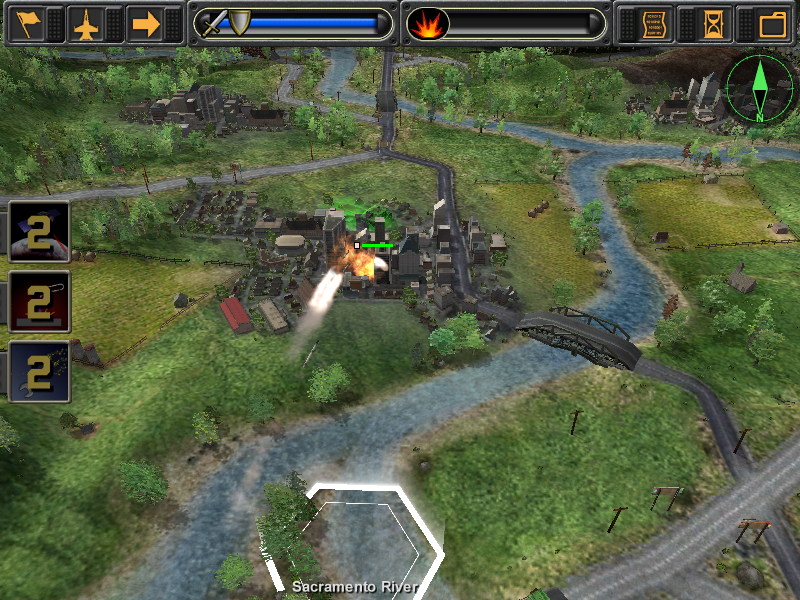
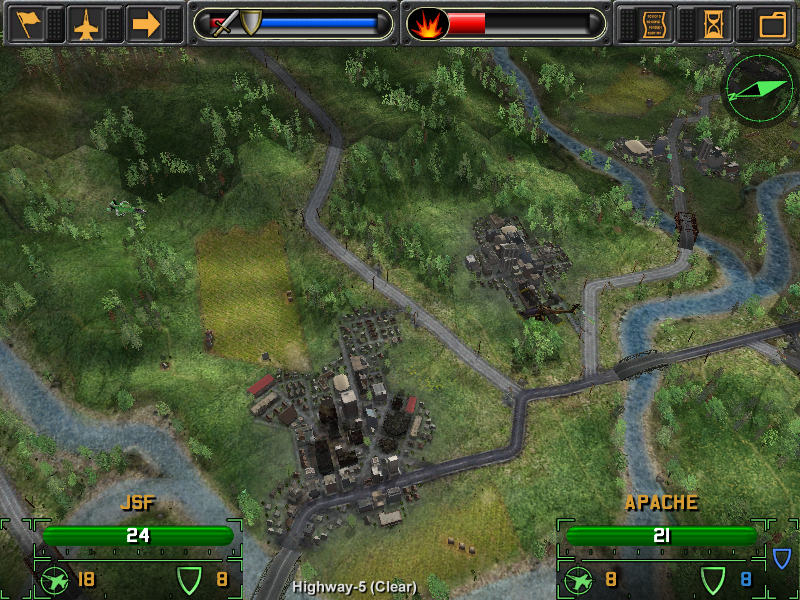
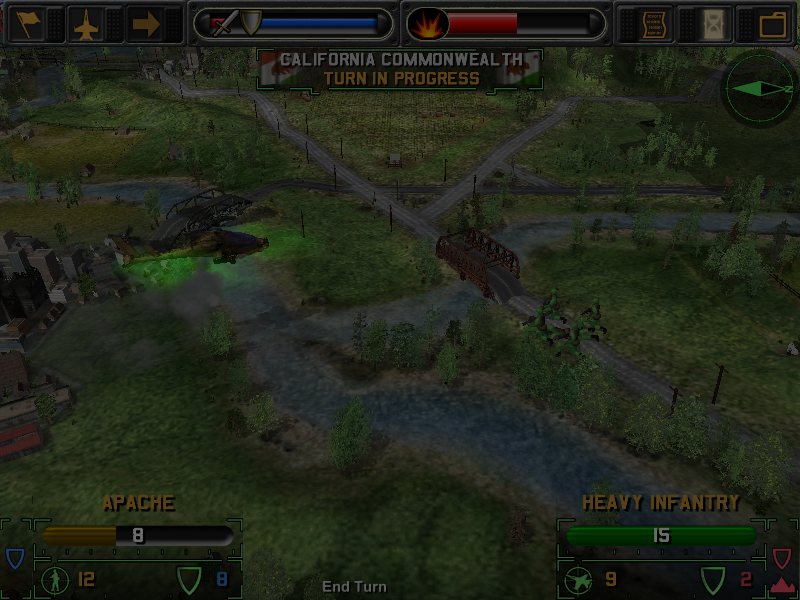
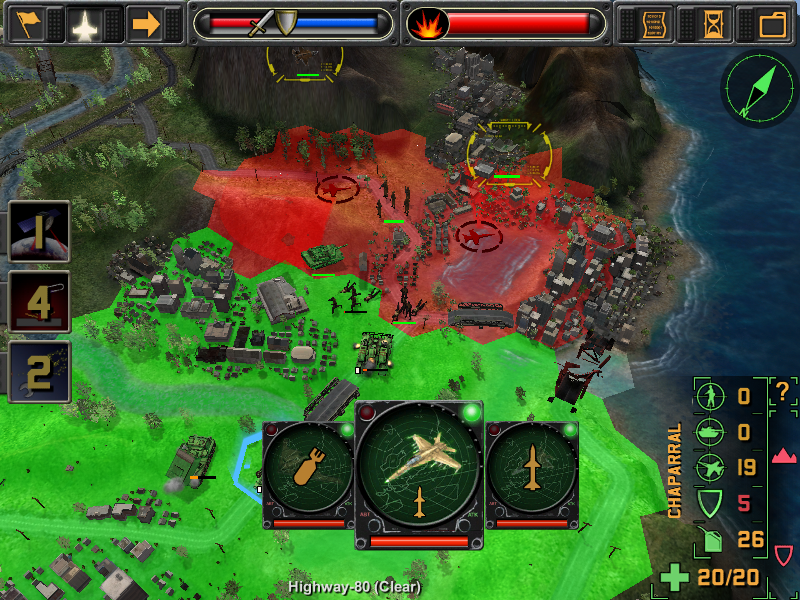
Here's a better view of what's going on; the main forces are going to swing through I-21, and head right, which should bring them along the valley into San Fransisco.
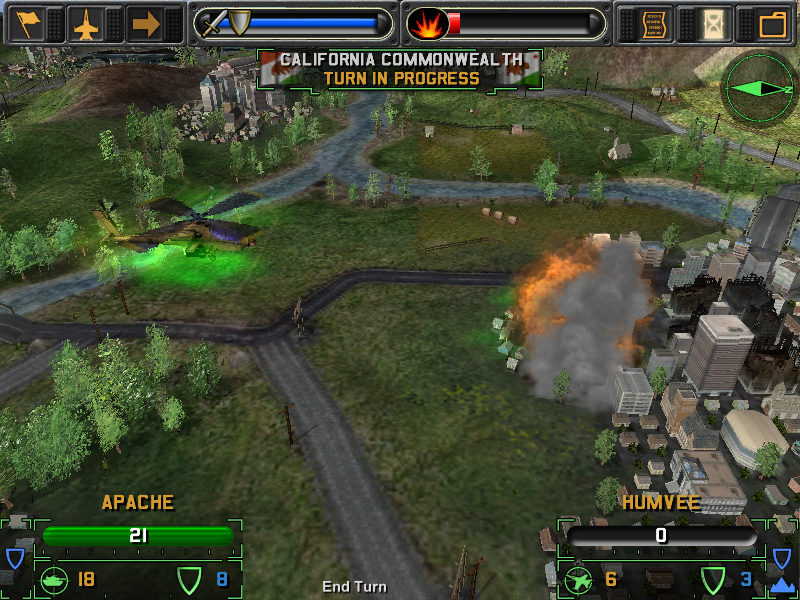
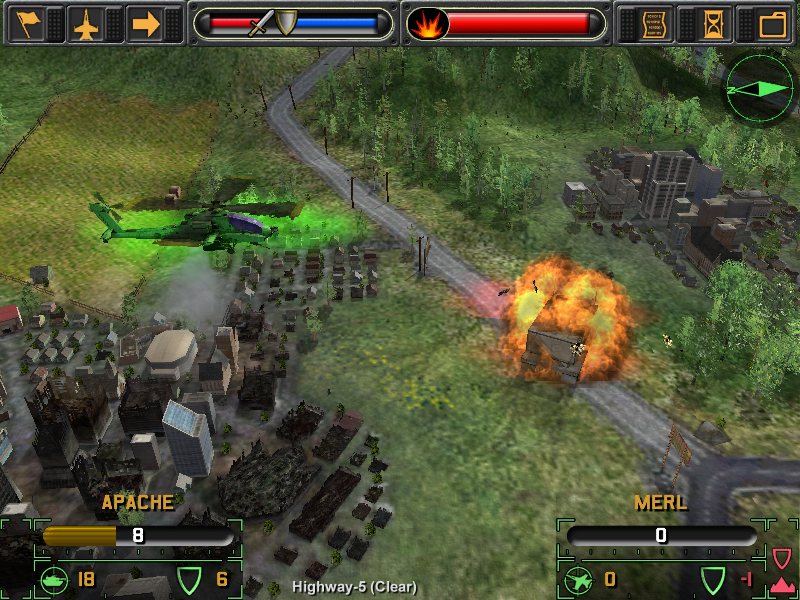
Not everything is coming up peaches, however, and an Apache Gunship stumbles across the scouts in Sacramento and takes it out without sustaining any damage in return. Most units have really, really lousy anti-air defense and will die to helicopters in two turns at the maximum.
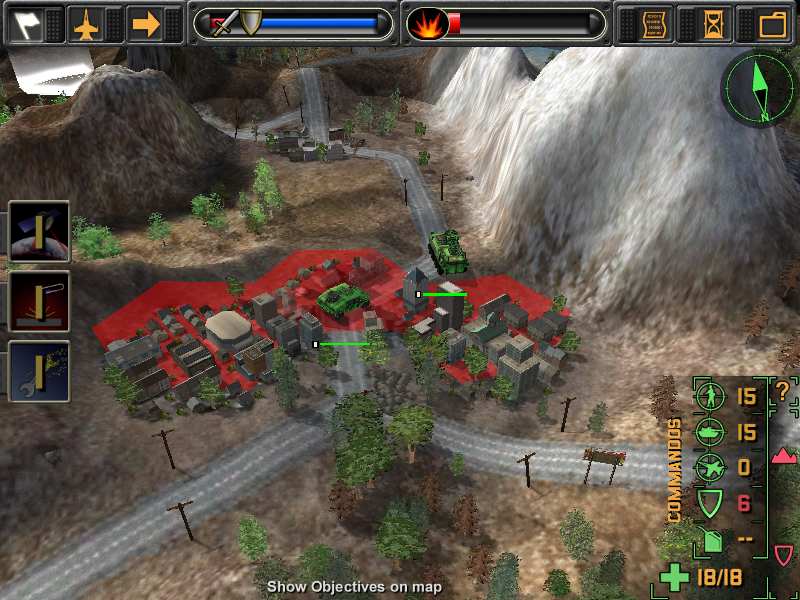
The Reno taskforce seized the objective, turning it blood red. We choose not to shoot up Reno, mainly because we're liberal enough to like gambling and whores.
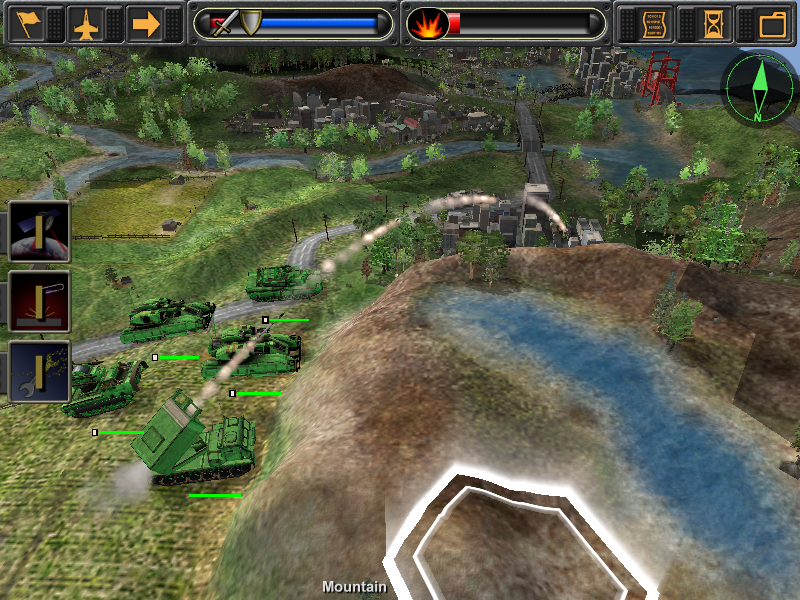
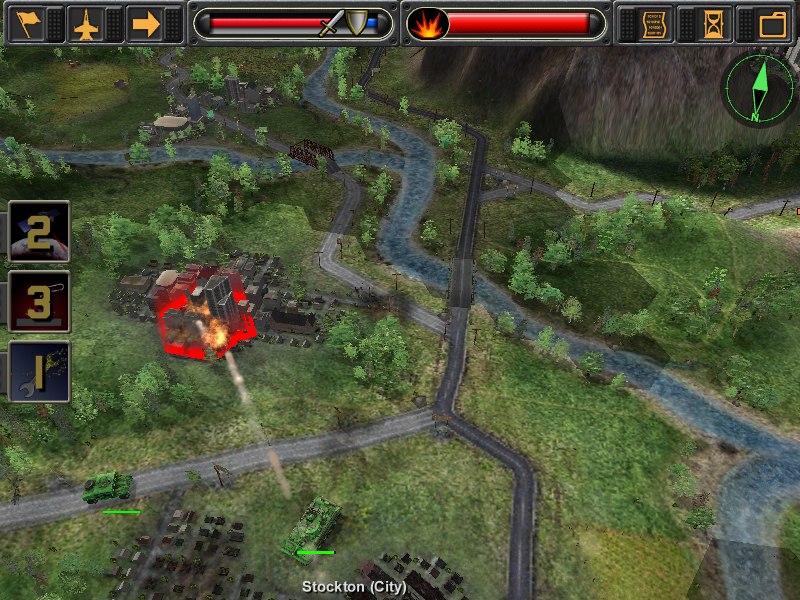
In an effort to drive up collateral damage and dislodge any hidden enemies, I begin artillery bombardment of Vallejo.
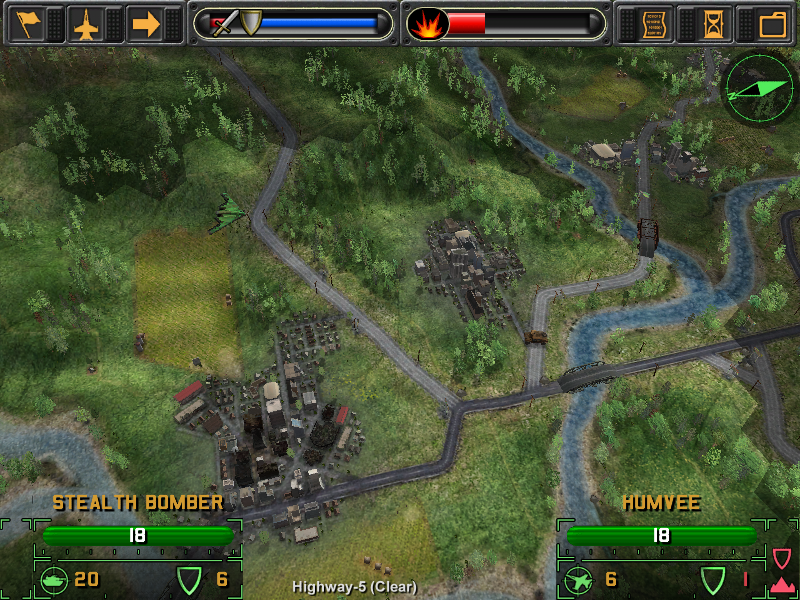
I do something a little bit on the risky side. Since AA units are fairly slow, as far as things go, I decide to risk hitting that enemy Apache with my jet fighters. The picture didn't turn out very well, but rest assured there was all sorts of violence as the Joint Strike Fighter launched a few missiles into the apache.
The JSF also noticed an enemy scout on its attack run. Since no AA fire came to the Apache's assistance, I decide to take out the scout. But how?
I apologize if this is all a little hard to see, it's just that the Holy Green of Pacifica doesn't exactly show up so well against the lush greenery of many maps; this will be less and less of an issue soon, since we're surrounded by dull old plains on one side and dull old deserts on the other.

This next image shows a mistake:
I wanted to click the JSF airstrike on the Apache, but missed thanks to the 3D and ended up setting the fighter on a patrol route instead. When you click you do such a thing, however, the jetfighter patrols a few hexes around the focal point and will automatically target any air units that attack anything in your area.
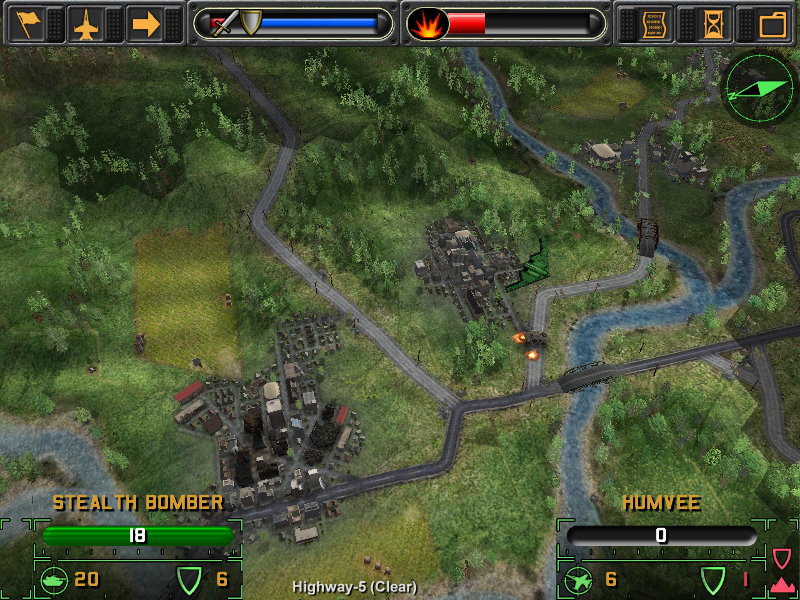
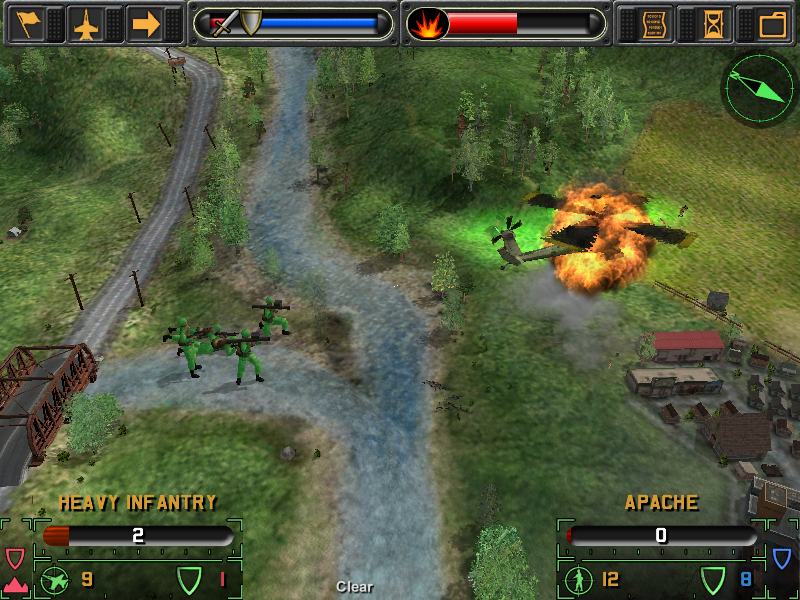
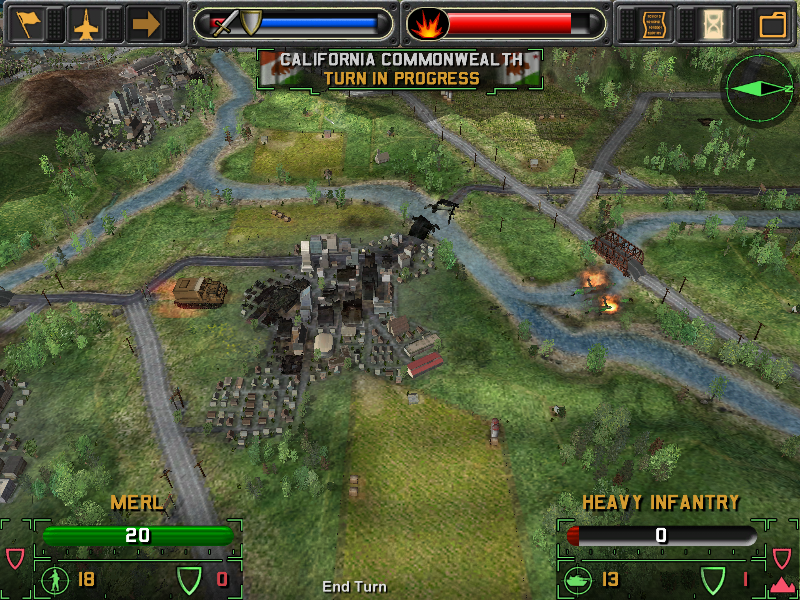
Heavy Infantry are the only infantry that can hurt vehicles and aircraft reliably, so I move up the ones on Highway 5 (they were near the airbase), and have them attack the helicopter. The AI is not stupid and will retreat its best units if it has to, and any unit that survives can be repaired and fight you at a later date.
Taking out a chopper, permanently, is a good way to make sure I won't be bothered by them again. The chopper survived, sadly, with very little damage being done to it.

Well, I failed at my prediction as well because the very next turn the AI decides to use that very same chopper to attack my infantry. Perhaps the computer realized that, even if it tried to retreat, the Joint Strike Fighters would have tagged it on my next turn?
I don't recall what happened to that bridge along Interstate 21, but it broke at some point; this can be a blessing and a curse, since no two units can share the same hex, taking down a bridge can really, really bog down an enemy advance as each unit would have to find a separate chunk of river, drive into it, wait a turn, then drive out of it. Needless to say, any unit stuck in a river takes a massive penalties to its defense. If you want to rape your opponent, make them get stuck in a bridge and come to you.
This is my philosophy.
My philosophy didn't prepare me for being on the wrong side of the broken, bridge, however. My forces still managed to get across later before serious enemy reinforcement could hamper them.
Which doesn't matter, since my heavy infantry managed to down it in the end:
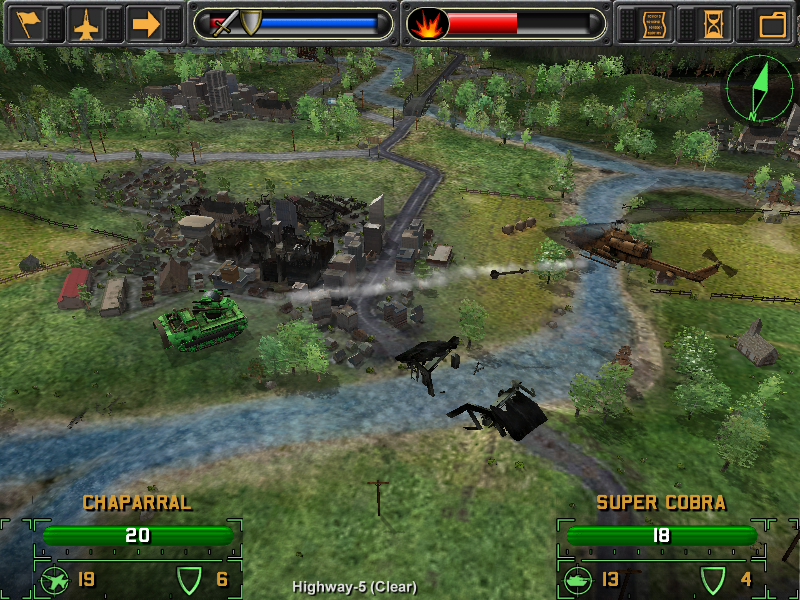
Maybe it thought it was going to win, because it sent yet another helicopter to Sacramento. This one went down, really fast, to my chaparral. Either way, I'm actually surprised to see how badly the enemy wants to seize Sacramento, and decide that I should reinforce the small forces there with half of the "main army" that was going to go to San Francisco.
The California Republic sends YET ANOTHER one of its Super Cobras, based somewhere in San Francisco itself, to give my MERL trouble just North of the city - while I'm not happy about that, my wanton disregard of human life and bombardment of that nearby city accomplished what I wanted it to.
At this stage, I think I might have downed 80% of its airfleet in one battle, depending on how many of them the California Republic purchased (it still hadn't attacked anyone so I was attacking its full force).
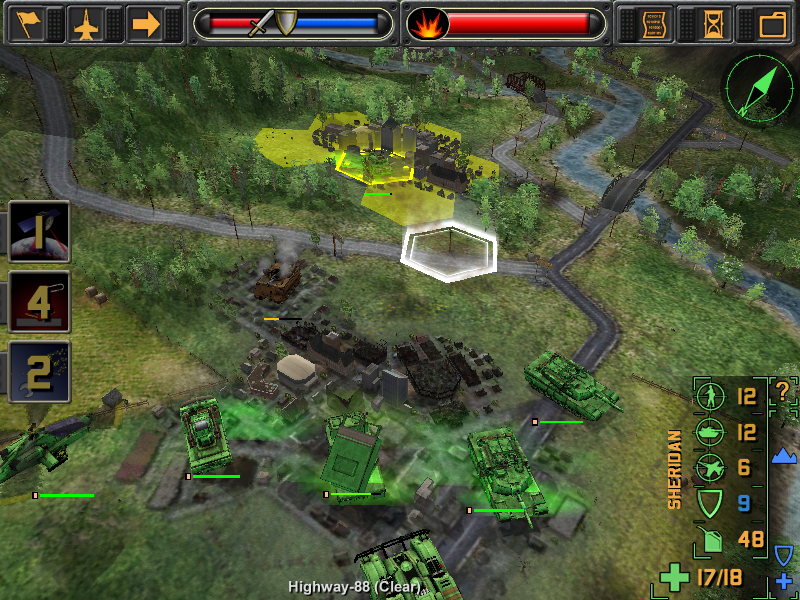
Given the damage done to that MERL, North of San Francisco, I decide to send along some support and prepare for the invasion. If you look closely at Sacramento in this picture, you can notice that an enemy partisan and hummer have contested my control of the place.
I'm not happy about doing it,
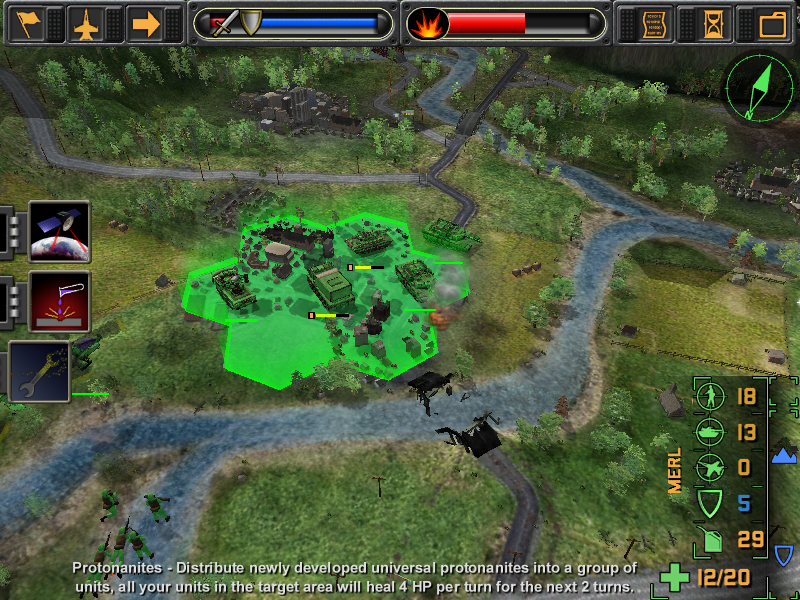
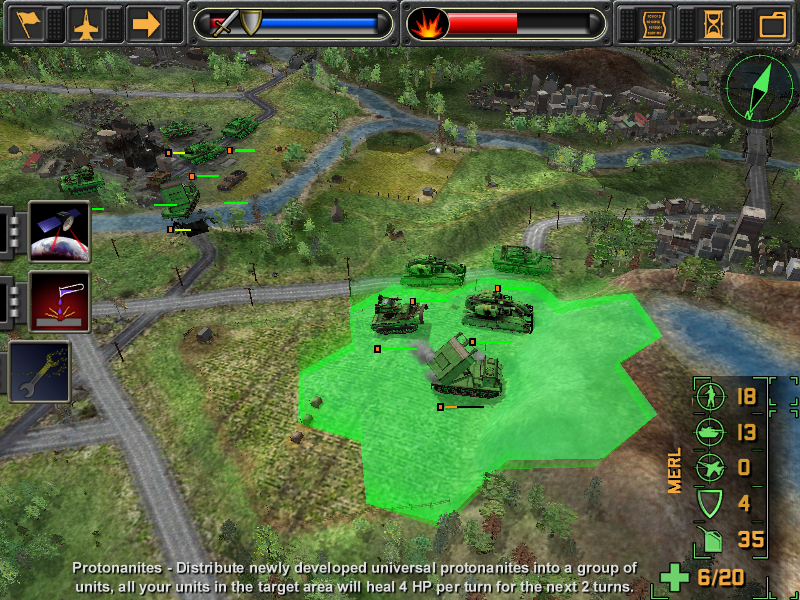
My PROTONANITES are available and are a happy way to heal up vehicles, so I unleash the swarm on the guys in Sacramento - this should fix them a little bit, and any fixing we do now is fixing I don't have to pay for on the map screen. Equally, if you just let your units sit idle (no movement or combat), they regain a portion of their health and fuel each turn.
My forces discover an enemy Bradley, just to the South of Sacramento and I use my MERL to obliterate it from afar. I could have attacked it with any number of tanks or helicopters, but I didn't want to risk retaliatory fire when I could easily take it out from beyond its range.
You should also note, if you're confused about why units seem to be appearing and disappearing at random in my screenshots, that everything "but the two combatants" disappears during any combat between units. Hence, there are actually some guys surrounding that MERL in Sacramento in the other screenshots, just not now.

I had put my satellite special ability on that helicopter, causing me to be able to see an artillery piece and some infantry. Since I don't want to gain too many good points, I throw down my corrosion on it and then target it with a spare apache:

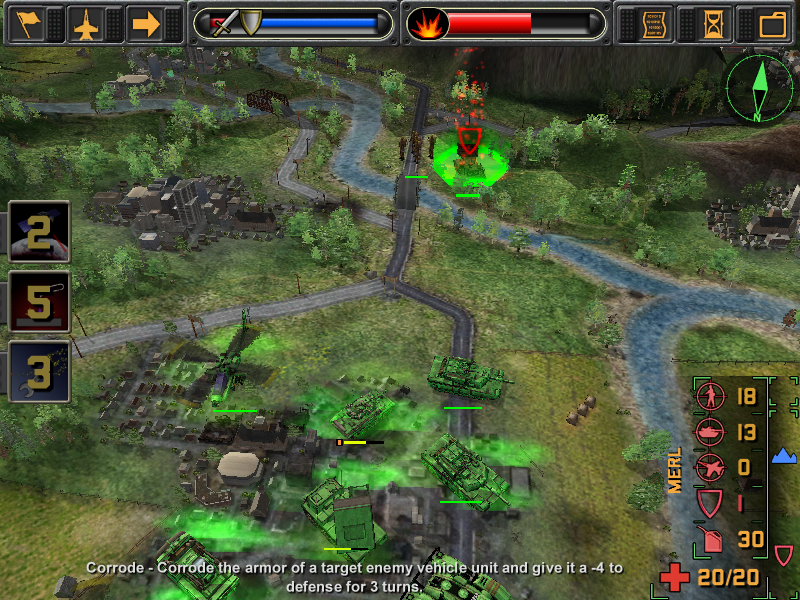
Easy as pie. Corrosion really rapes the target vehicles defenses, making even AA guns easy to kill with a single helicopter valley. Oh, one game mechanic that I figured I ought to mention here is that if you can kill a unit before in the first volley, it doesn't get to shoot back at you.

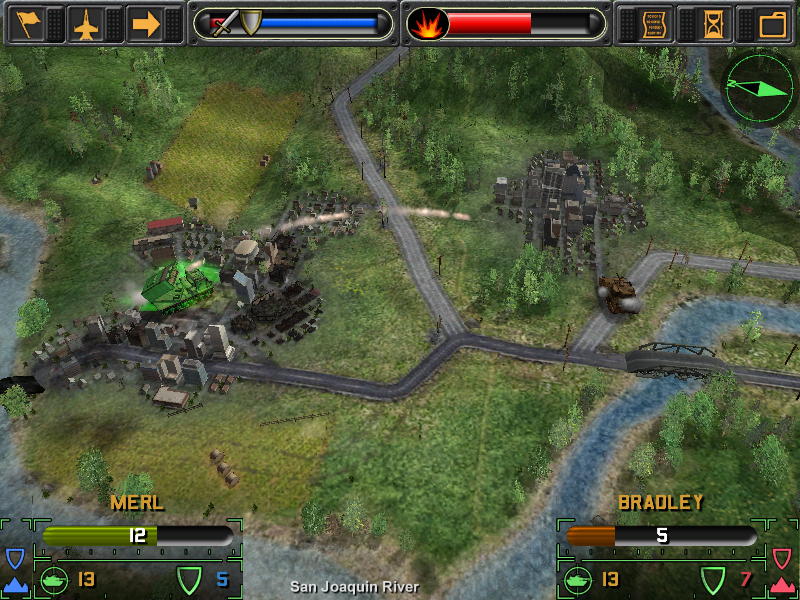
Right, the forces down by Vallejo haven't met any resistance since that Supercobra, so I start sending them down to the air plane factory in Oakland. My damaged MERL, being safely out of range of any enemy units (and with an FCS Stuart blocking the bridge), decides to bombard Oakland randomly. I'm careful not to actually hit that precious, precious factory.
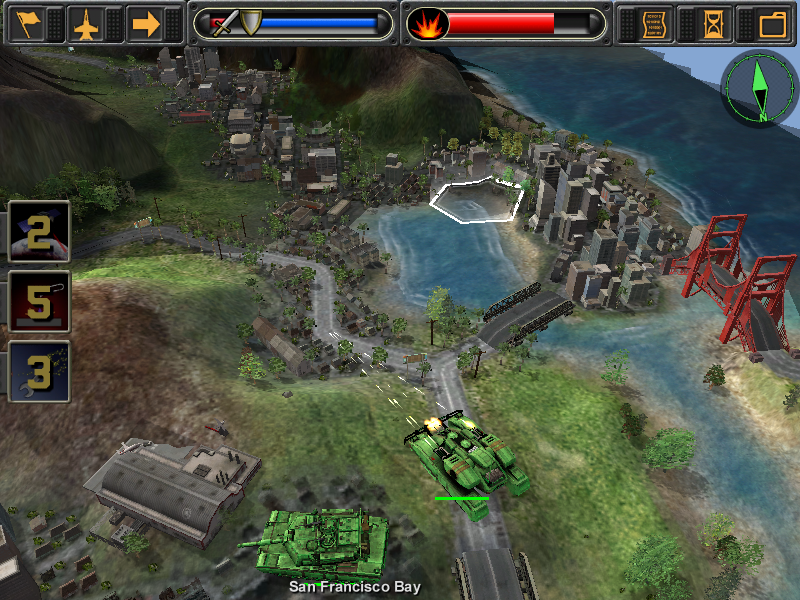
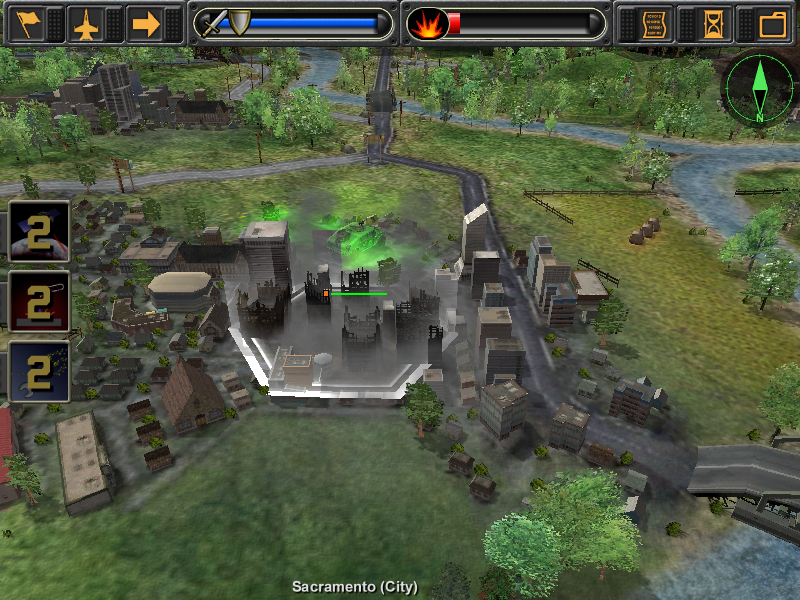
My FCS Stuart opens fire with all three turrets on the deadliest enemy of all, San Francisco suburbanites. Notice how full my red bar is getting? I'm going for the evil powers since nobody really voted for any alignment in the thread.

With nothing else to do with it, I use my stealth bombers to annihilate the Golden Gate Bridge. Now, most regions come with one or two distinct landmarks - I mentioned the Statue of Liberty before. These don't do anything for the people who own them, but destroying them gives you a huge collateral damage penalty. If you're being evil about your conquests, that might make your time easier, but accidentally destroying one if you're trying to be good can take a few turns to recover from.
The Golden Gate Bridge counts as a 'bridge,' not a landmark, so I don't take too much of a penalty from trashing it. My main goal, against California, is to punish them for driving out our refugees.
That corroded enemy MERL bombards my poor heavy infantry unit, removing them from the game.
The California Republic also manages to sneak a vulcan cannon near Sacramento, and tears the living Hell out of my poor satellite-upgraded Apache. The Apache survives the attack, but with very little life left I'm forced to retreat it the next turn.

My rampage in Oakland has provoked the people of the California Republic to dispatch their tanks against me. Their antiquated M60s do better against our Stuarts than they would against most other tanks, given that we've got slightly less armour and less tank-killer power. We still outclass it, though.
Back in Sacramento, our Sherridan medium tank is being attacked by the local engineering regiment. Not much of a threat there, except in numbers.
Battle of Sacramento continues. Before retreating the Apache away to the North and safety of Reno, I use it to bombard another corroded MERL.
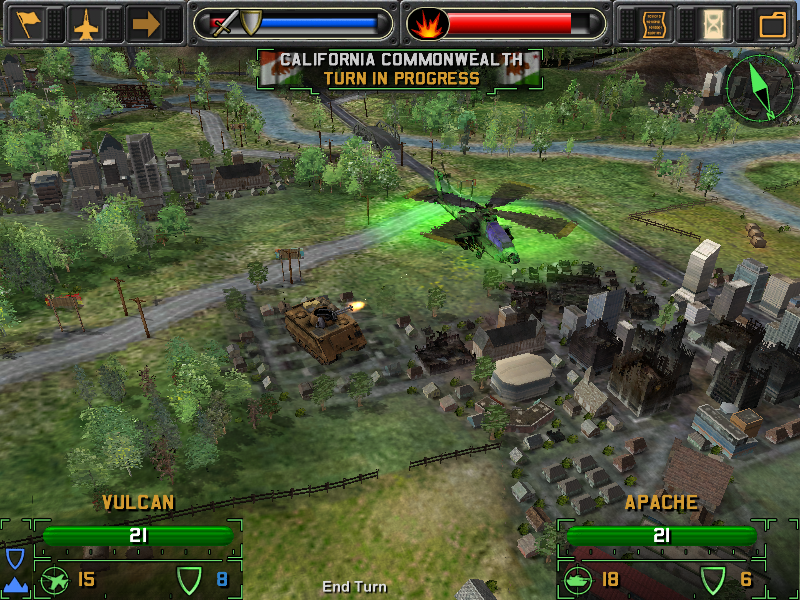
Now here's a better image with what I was talking about before. Here's my about to call down an airstrike on the fellows in the San Francisco suburbs - see that red patrol zone from the enemy fighters? If I were to deploy to there, or move a chopper into there, both of them would attack and I would definitely lose my vehicle.

After dealing with the M60 and some infantry, my Stuart is all but destroyed and I'm forced to retreat it and call in some distraction so it doesn't get chased. I position my anti air unit in San Francisco proper and launch at the JSF to make it go away.
Unfortunately I don't kill it, but the next turn the air cover buggers right off.
I use the rest of my forces to mop up Sacramento, push them South, and swing them West into the sea to reinforce what was left of my army in Oakland/San Francisco - don't worry about the MERL or Stuart, they both got pulled back to Vallejo to recover. The spare chaparral is not so lucky.
I've collected my stragglers from the mountain terrain, as well as the infantry, and begin raising Sacramento in earnest. From the burning ruins, we target Stockton with our artillery.
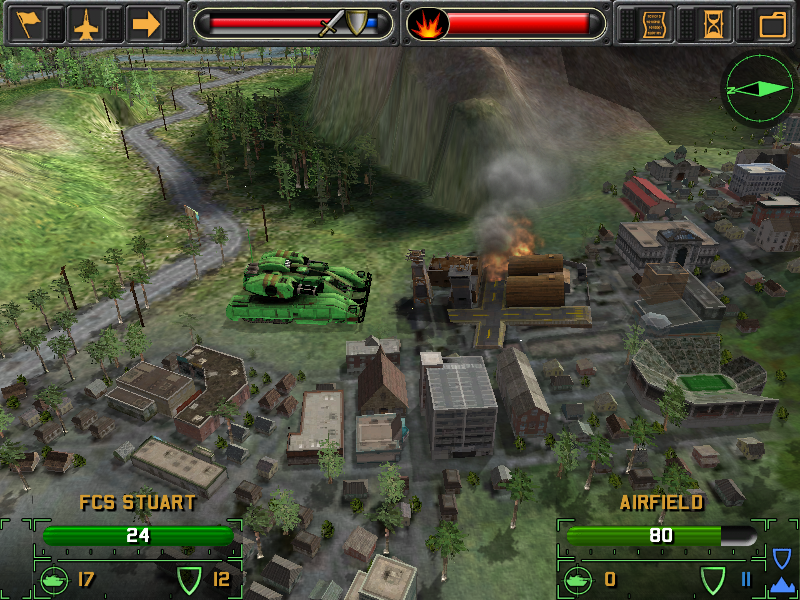
That being said, the forces that had moved from Sacramento, through Stockton, then towards the side of San Francisco, discover an airbase. Our speedy Stuart arrives first and manages, luckily, to score some pretty significant damage against it. With the rest of the side army coming up behind it, and probably capable of destroying its defenseless-against-ground-units ass in a single go, the California Republic wisely opts for....