Part 13: Svadhisthana ~ The Second Movement

Before we run off to our real destination here, we'll take a quick detour to stop off at Ajna's vendor since it doesn't require entering the dungeon proper to get to.
It's still not quite as convenient as Svadhisthana's since we need to run through part of a dungeon to get to it, but hey, it's nice for the moment.
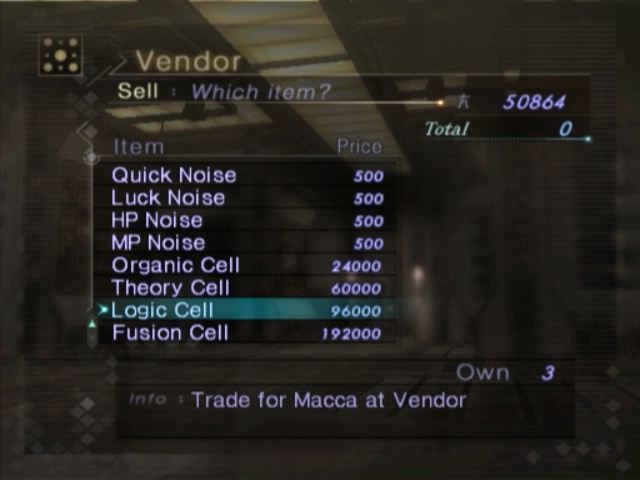
We, uh, have a lot of decent cells to get rid of. 1 Fusion, 3 Logic, 2 Theory and 2 Organic. That adds up to, um, well let's put it this way. Beforehand, we had barely 50k left. After?
Just shy of 700. That's pretty damn spiffy, but still nowhere near good enough. A decent chunk for the moment, though.

At least the proceeds push us over the penultimate item barrier and let us nab two of the best items we can buy. Graven Image is just a straight upgrade over the Shard; it's a free ST Diarama so there's no reason to not buy it. Chakra Elixir is an infinite Chakra Drop but we're not buying it at the moment.
Selling the Graven Shard and buying the Image immediately though!
Now that we've done that, we can head back down into the Samsara Tunnels for our next objective. We could have done everything we're about to before even fighting Cerberus since the only requirement is having the Red Key.
Much like before, we need to head to the beginning of the Samsara Tunnels but its not just for a Field Hunt this time around.
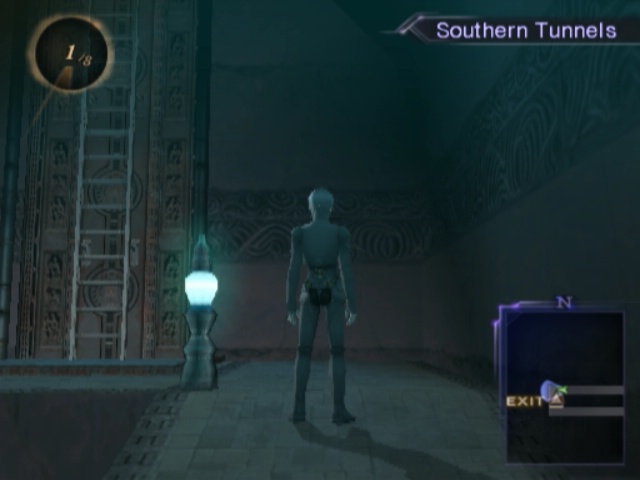
No, we're going to run all the way back to the entrance of the Tunnels and exit back to Svadhisthana. There are two red walls we can deal with at the moment, but we'll leave the one at Co-Ordinate 136 for later since either way...
 Hideout of the Chickens
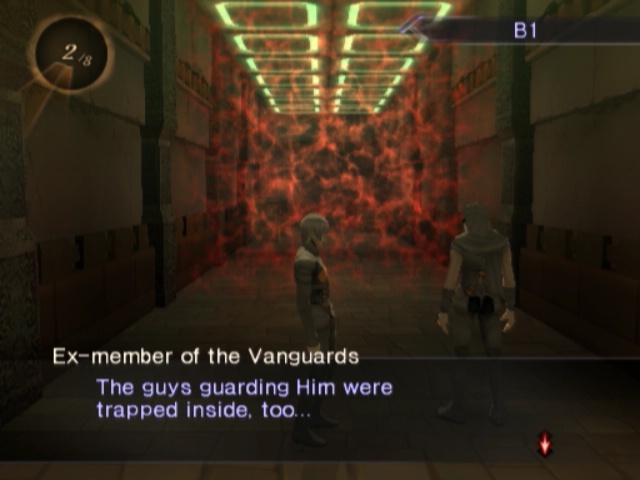
We need to pass by the red wall at Svadhisthana's basement anyway so we might as well deal with it first.

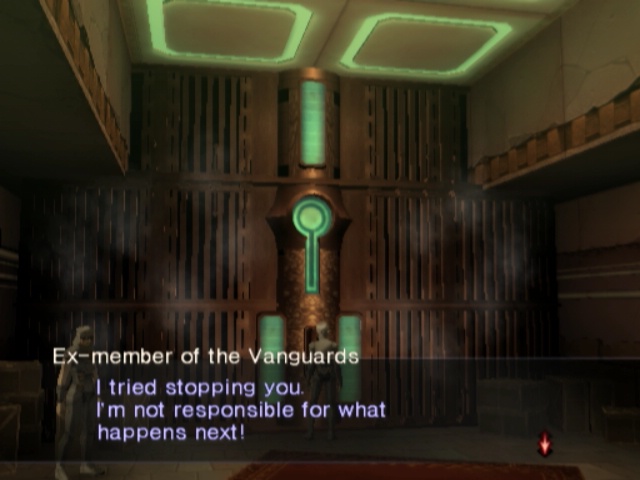
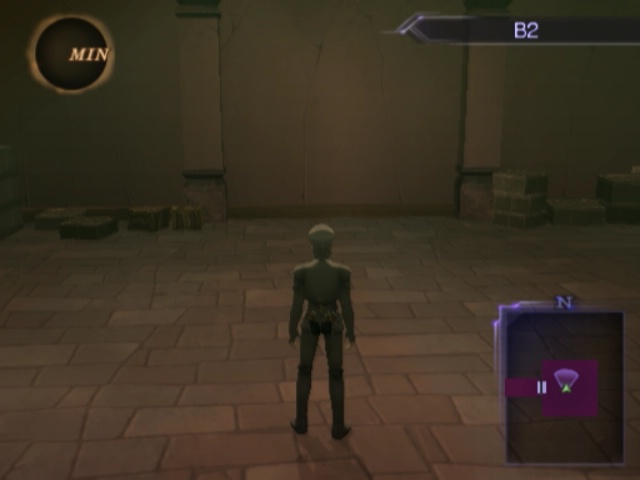
Past the wall, there's an entire second half of Svadhisthana which is completely optional. Some guy's been locked up down here and apparently lost his marbles.

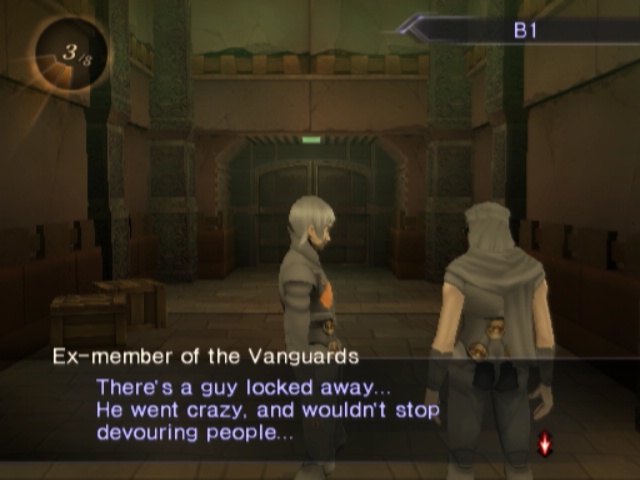
The door the former Vanguard is facing leads to a platform looking into that guy's room. We can see a gold item container peeking through the railing but nothing else.

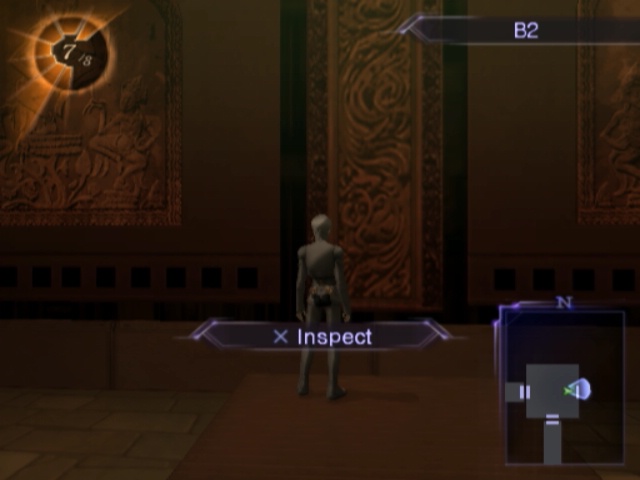
As cool as it would be, we can't just jump over the rail and see what's that about. So, we gotta go the long way around; that wall in front of us is blocking the apparent way towards the right room. Conveniently, there's a switch right there.
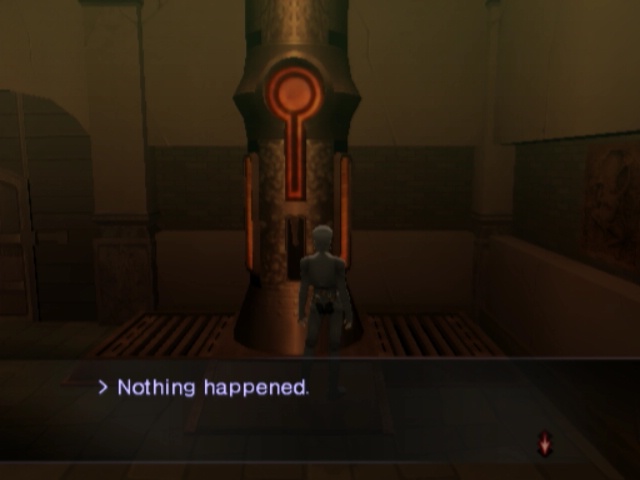
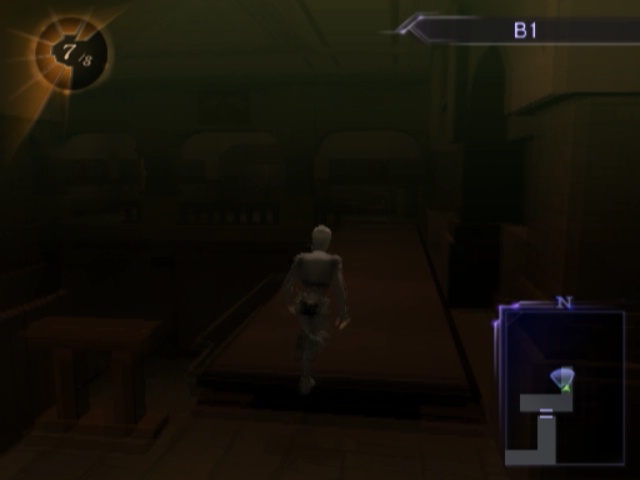
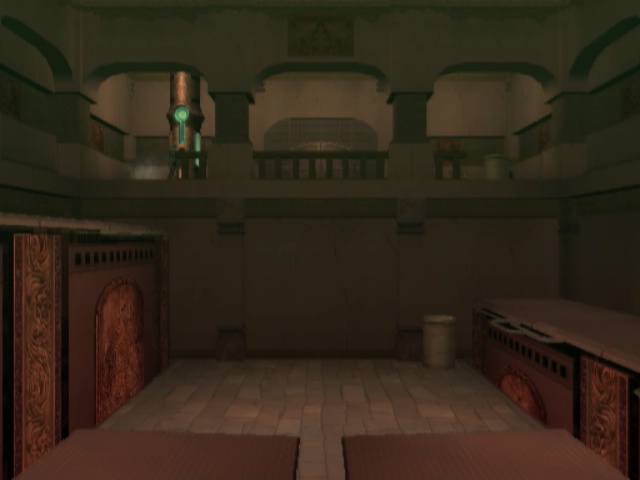
...Oh.

Power's been cut, so we'll have to go and restore it somehow.
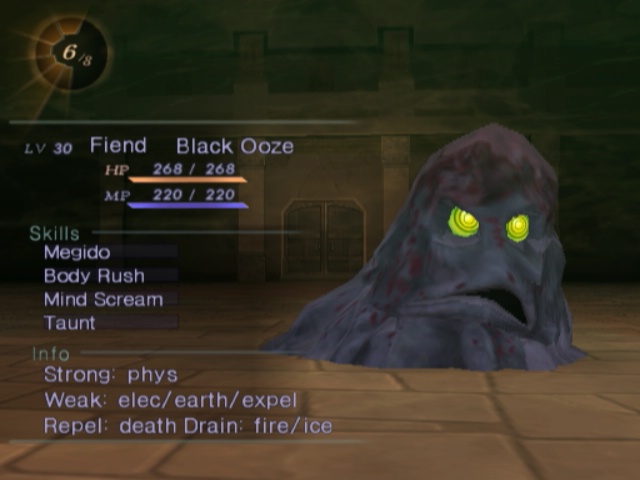
Oh right, for the most part at the moment Black Oozes are really the only thing we run into and they're not a threat at all. Only other things we can find right now are Taowns, the occasional Thoth and, uh, Blobs.
As in, yes, the dudes from the first Manipura excursion. The enemies here are eclectic as all hell.

We can't get past the wall yet, but we can still do something down this ladder. Might as well get it out of the way now.
There's a sideroom here with a red wall at the end of it. Not sure why that's there since we need to get past a red wall to get here.
The detour to the left leads to an empty room.
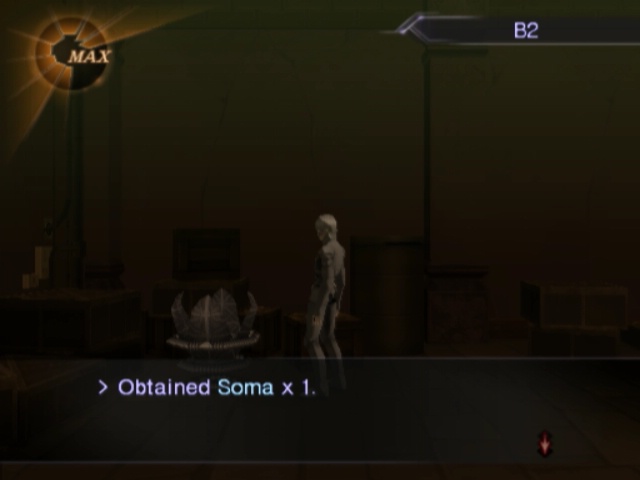
Past the wall, we can grab a Soma (
 ) and a Theory Cell.
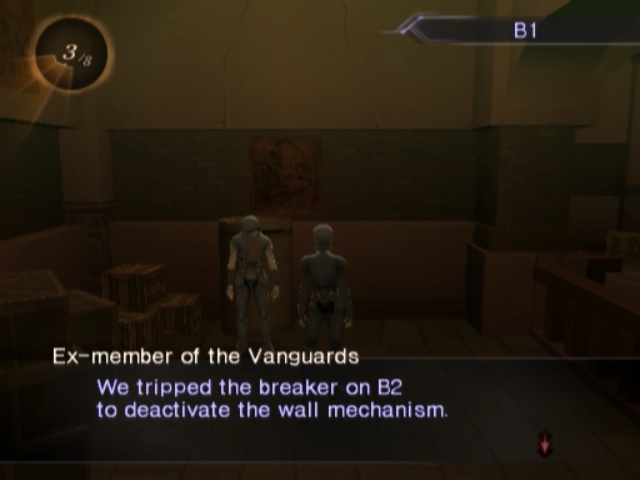
Back upstairs and following the rather linear path, we find this guy. Now we know what to look for if we ever want to restore power.
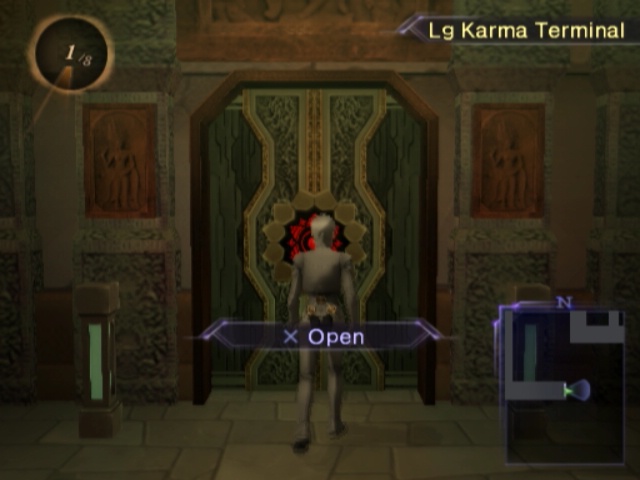
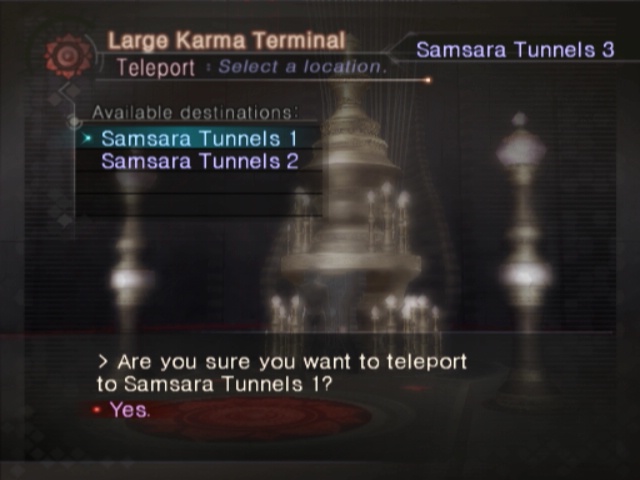
Through a door next to him, we can find a minor split in the path. The eastern route leads to a Large Karma Terminal. How generous!
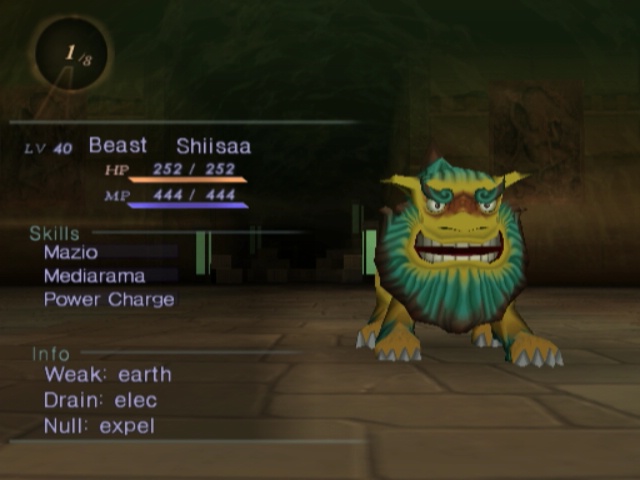
Another new enemy pops up now. Shiisaas are just another "weak enemy that gets ruined by Earth spells." What makes these guys difference is that they can come in packs of 5.
It doesn't help them.

Back on the main route, we come to another split in the road immediately. The north path just leads to another room overlooking a small area. Pretty sure this one just looms over the Soma and Theory Cell; nothing else in it.
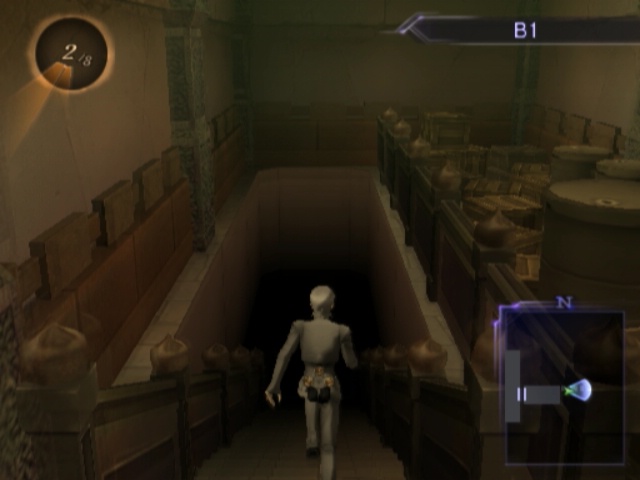
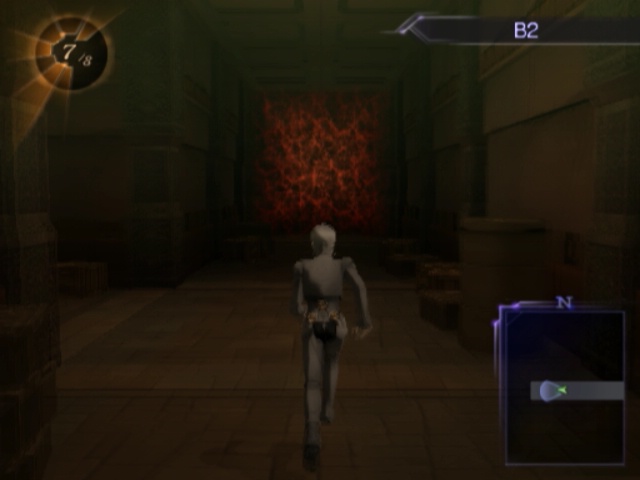
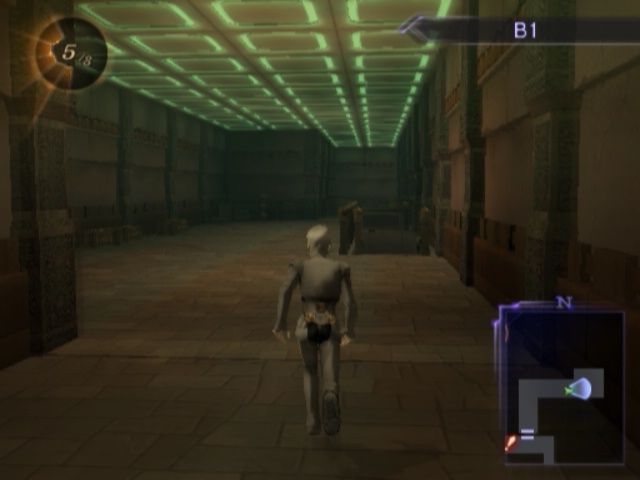
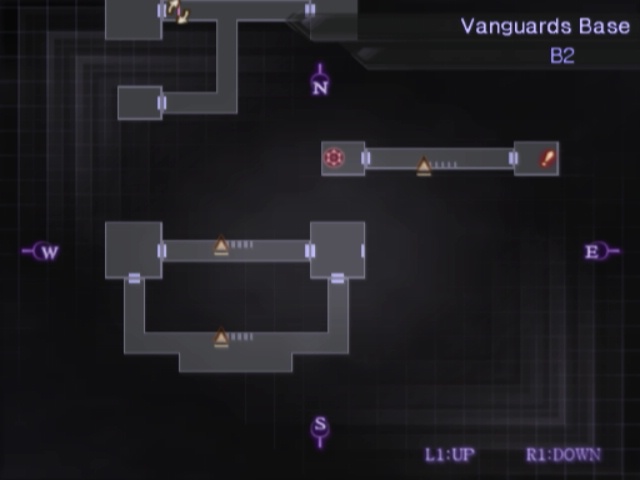
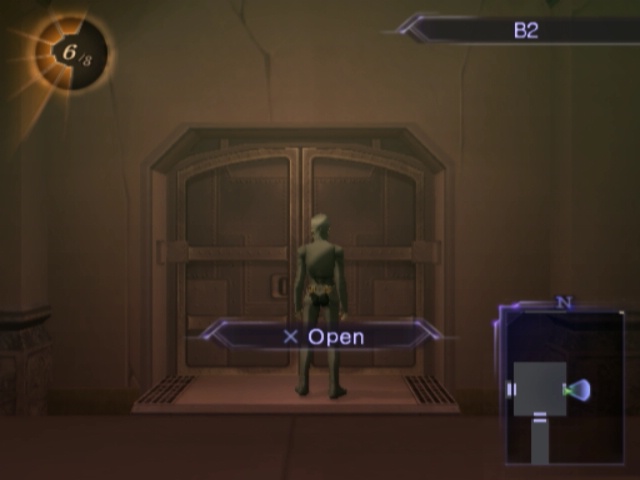
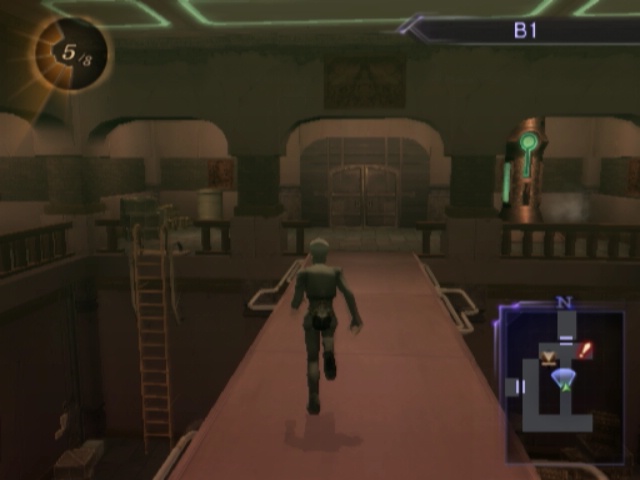
The south branch is a rather linear path but with the added bonus of leading down to B2 at the end of it. Just what we wanted!
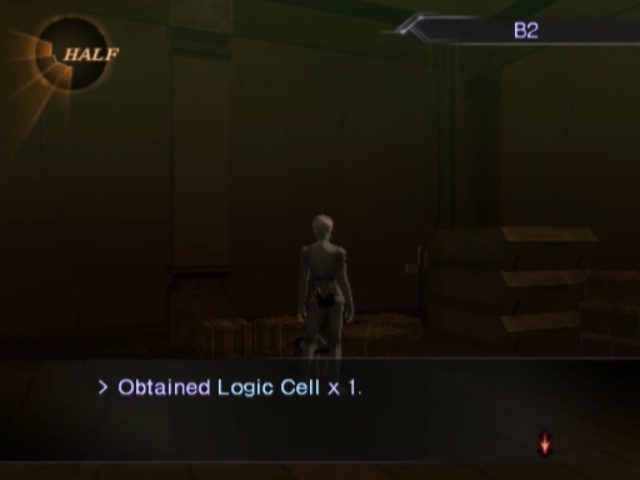
Immediately after going down the stairs, we can run behind them to find a room (of course) and this one leads to both a Logic Cell and a way forward.
There's also a door directly in front of the stairs that also leads to the same area but lacks loot. For now.
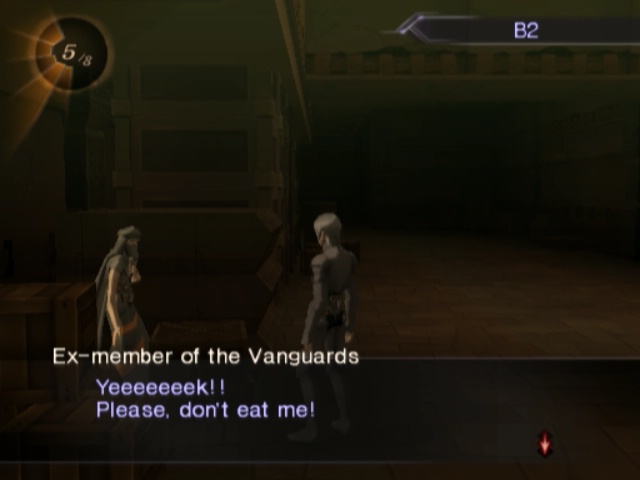
Near a different staircase leading upwards, we find another former vanguard. She's hiding behind a mini-barracade of crates and is scared out of her mind.
Before we head up those stairs, we'll just compete the loop and see that there's a wall blocking a door here. The door to the west just leads to the stairs we originally came down.
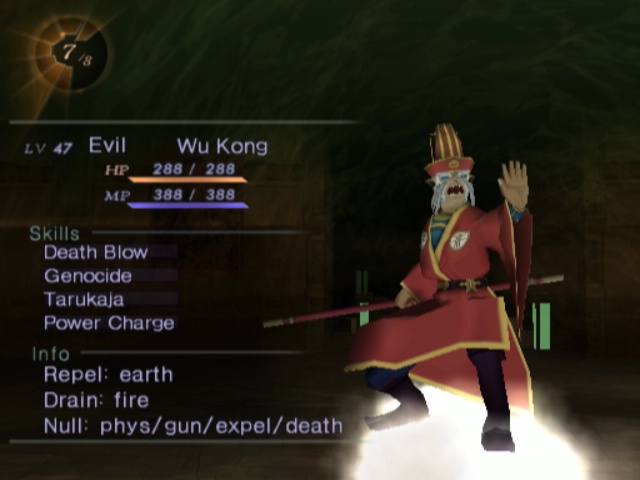
...Also these guys start turning up now. Wu Kongs are pretty nasty sons of bitches since we have no good way of dealing with them right now.
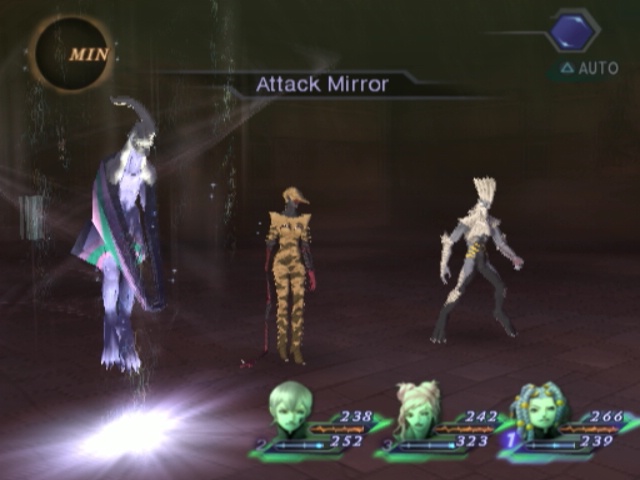
Since we have some that are never getting used otherwise, they're a good thing to use Attack Mirrors on though.
But only on their second turns! Their first one is always buffing.
Thankfully, they get spooked quite easily at this point and become delicious.
A group of 3 Wu Kongs is pretty common and sometimes has a group of generics act as reinforcements (2 Shiisas, a Taown and a Thoth). They give pretty good Macca for the fight but its a bit of a pain to deal with.
We'll head back and go up the stairs by the scared lady Vanguard. There's a small area behind the stairs but it has nothing in it so dead ahead it is. Here, we run over the wall blocking that door and past another switch that doesn't work.
This brings us to yet another set of stairs leading down but with an obvious area past it on this floor.
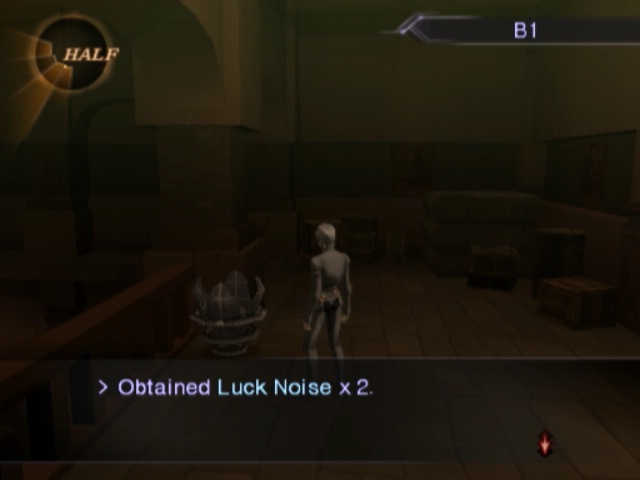
Running past them for the moment, since that lets us pick 2 more Luck Noises and a Great Chakra.
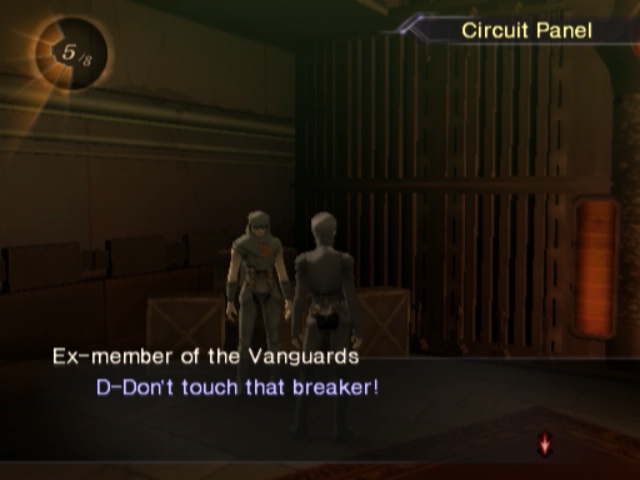
So now we head back to the stairs we just skipped past. Down them is a small corridor with a door behind it and ahead of it. The one behind it is a room with a Small Karma Terminal in (to help with the backtracking) and this guy. He doesn't want us to flip the breaker so we won't. See ya, guy!
....Wait a minute.
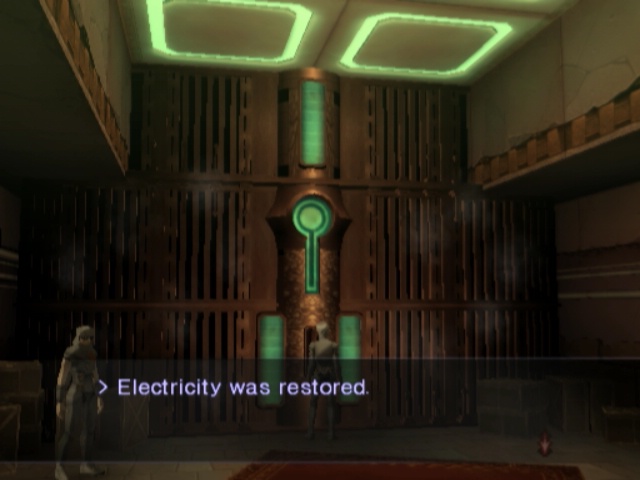
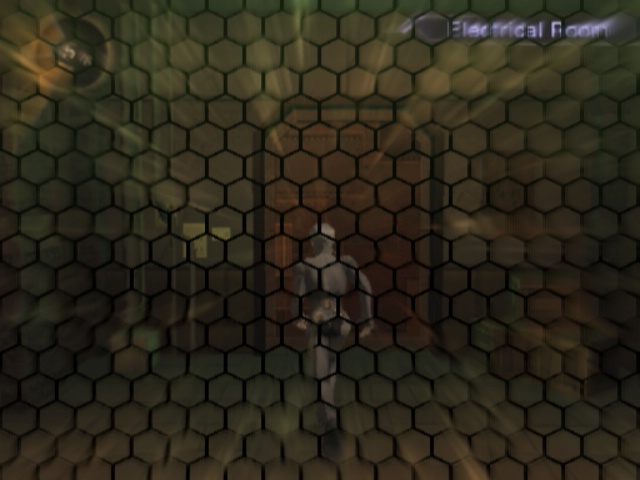
Yeah, not falling for that. We'll restore the power to the area and make it not dark. It also lets us move walls again. Hurray!
I guess whoever's down here really is kind of a big deal if... wait, no. Nameless NPCs get spooked from anything looking menacingly at them. That doesn't prove anything.
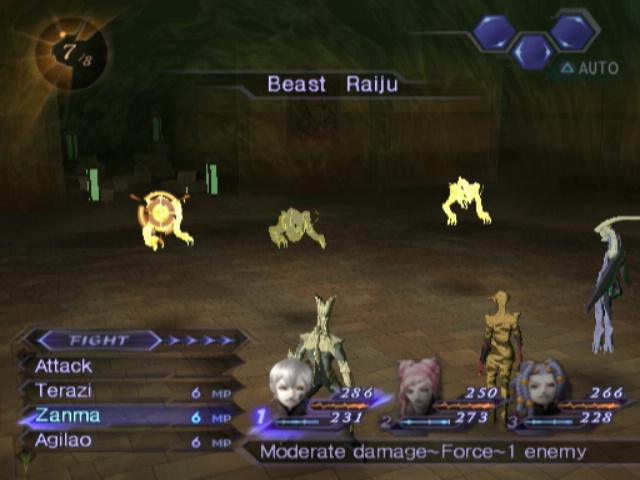
Surprised it took these guys this long to turn up. Raijus are, very obviously, electric aligned. So we hit them with force spells and they die.
Since we're going to run around the old fashioned way, we pass the switch here too first. It's in our best interests to flip this one too because it lets us get access to another new area!
Yeah, that room with 3 doors coming out of it. We can't use the left one now but we can use the right.
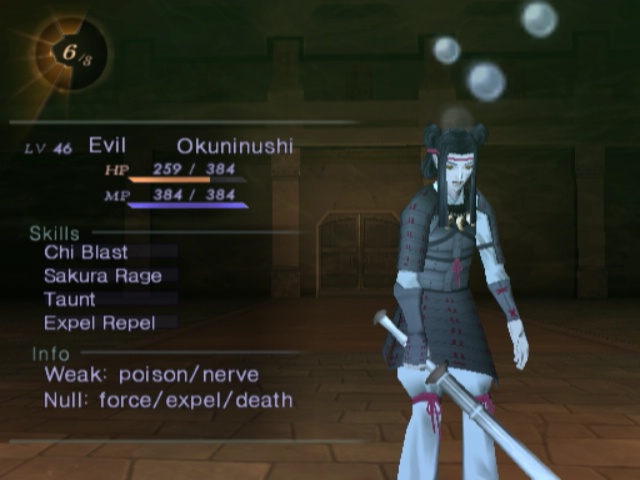
On the way there, we run into an Okuninushi at last. These guys are basically just Cu Chulainn mk.2 so we hit them with Sleep and have some lunch.
With nothing else to stop us now, we get to the new room and enter it to find the...
 Svadhisthana Field Hunt
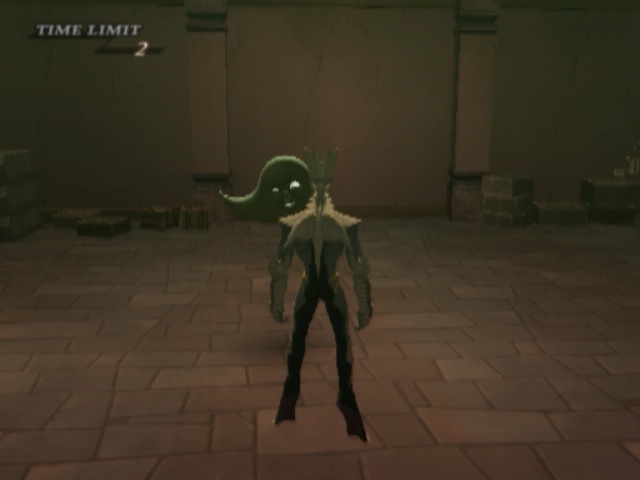
Svadhistana's field hunt is weird. It's incredibly easy but tries to make you think its harder than it is. You have 60 seconds to deal with it but that is honestly incredibly generous and it gives us our last mitama. Which, uh, is more the penultimate one really.
Also the orbs in the last room are arranged in an "M" shape. That's a cute thing.
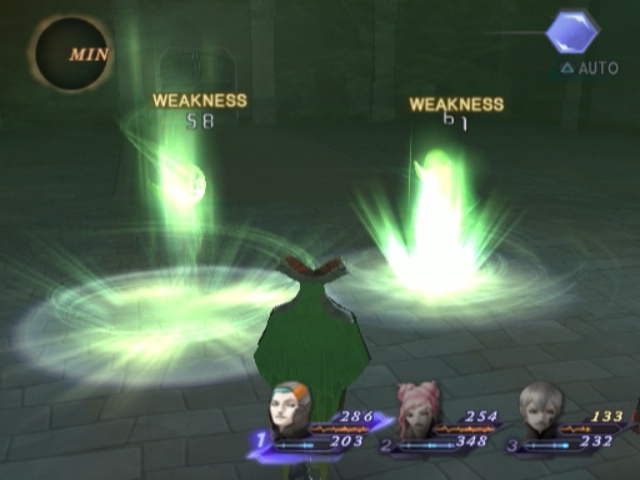
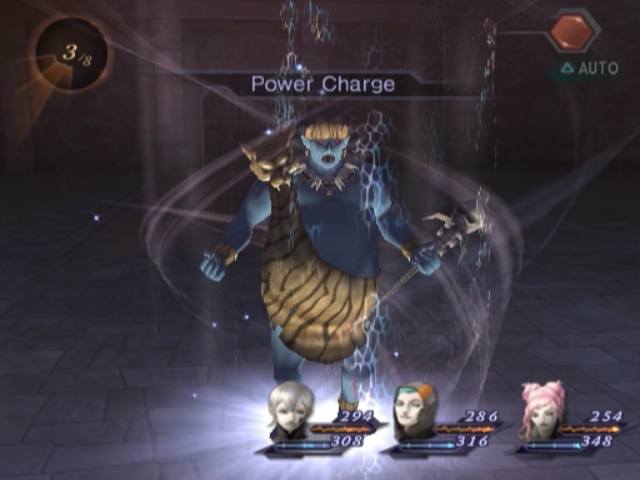
Anyway, Kusi Mitamas! They're weak to force. This is mostly just for show now since they're shittier than Saki Mitamas and at this point we have one of the best hunt combos.
Power Charge -> Taunt -> [weakness] -> Insatiable. It cuts through Mitamas like nothing else.
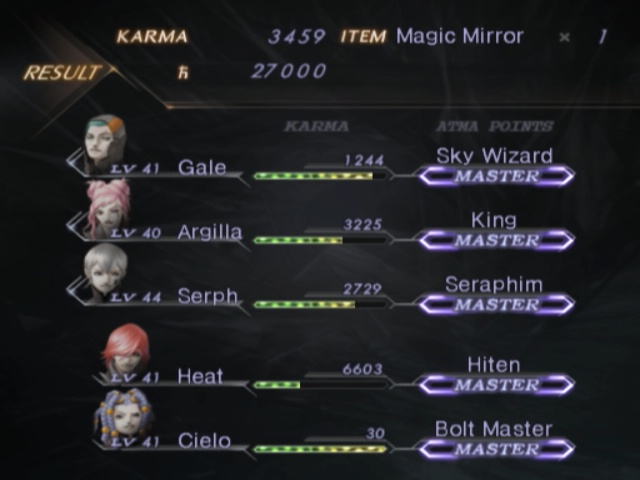
Kusis are better than Nigis but worse than Sakis. They give decent Karma and okay-ish Macca and can drop Magic Mirrors.
So, we'll be sticking with Sakis if we ever need to repeat these unless we want a Dekaja Rock for some reason.
Also, and this is a really weird thing, but this field hunt area is sort of glitched. This big room where the Mitama appears in that is the seemingly ideal spot for mindlessly running in a circle to wait out the solar noise cycles?
It has random encounters. It's the only room in this field hunt that does. It's the only room in ANY field hunt that does.
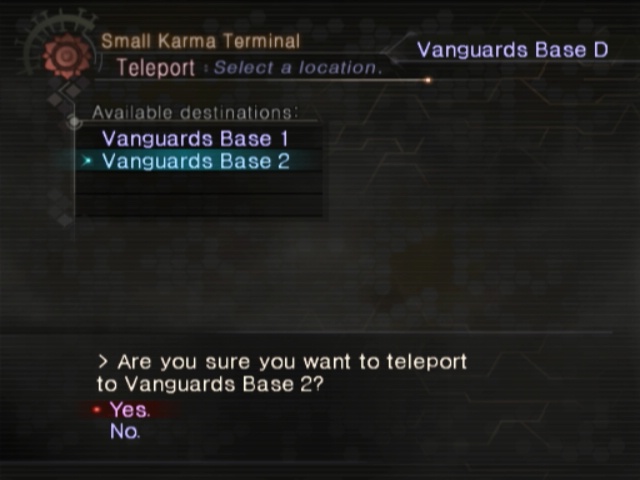
Ah well, that done we'll warp back to the large terminal now and see what all this fuss is even about.
The large terminal 2 is the closest terminal period to our destination, and its a bit of a trek. Not too long, but...
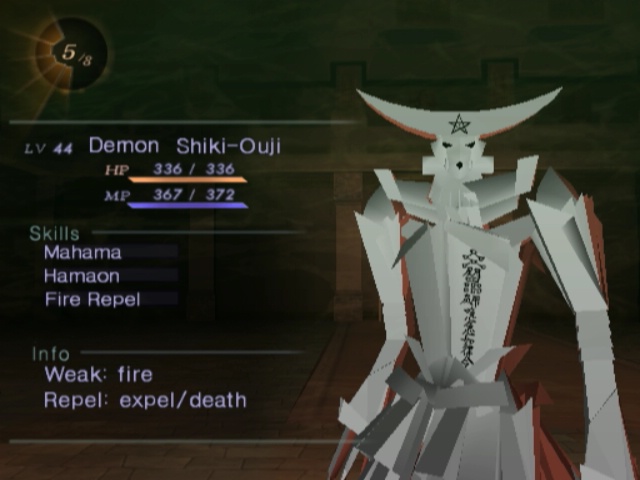
More than long enough to finally run into a Shiki-Ouji. Weird design but they can't really kill you on their own if they start spamming their spells a lot. Not that it matters since they burn easily and drop before they can do anything.
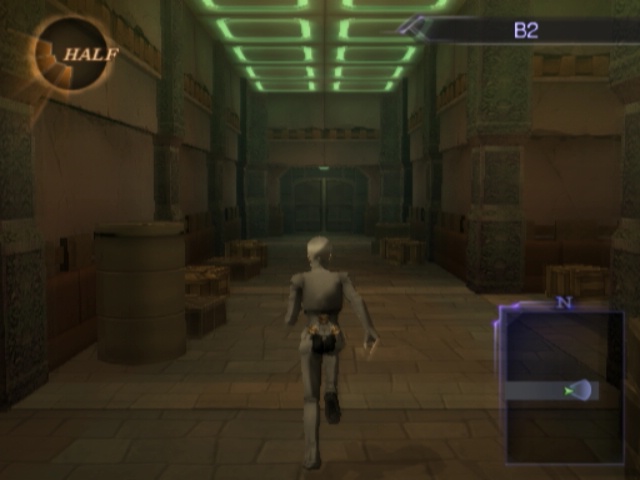
With the wall down, we can find the one last part of Svadhisthana we haven't been to yet. That door at the end of this path is our destination but we'll take a detour around the corner first.
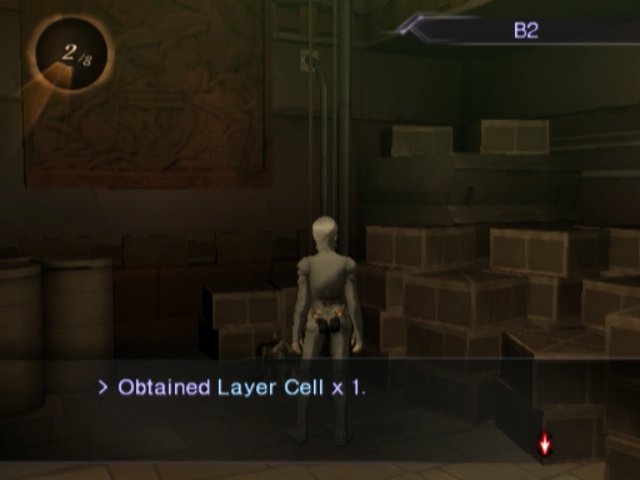
...It, um, it's worth it. Layer Cells are the only finite cell and for good reason. They're the best of the best. The top class. They give well over 200k at minimum noise and almost 400k at maximum.
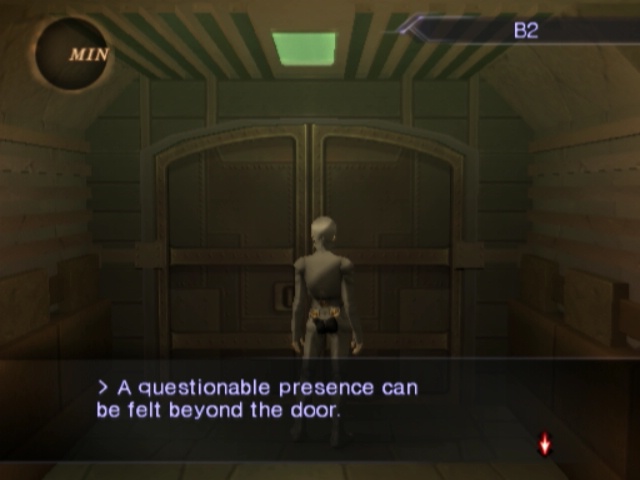
So, uh, yeah that's pretty good! Speaking of which, let's see just who it is that's been kept down here the entire time.
Big Battle ~ Prelude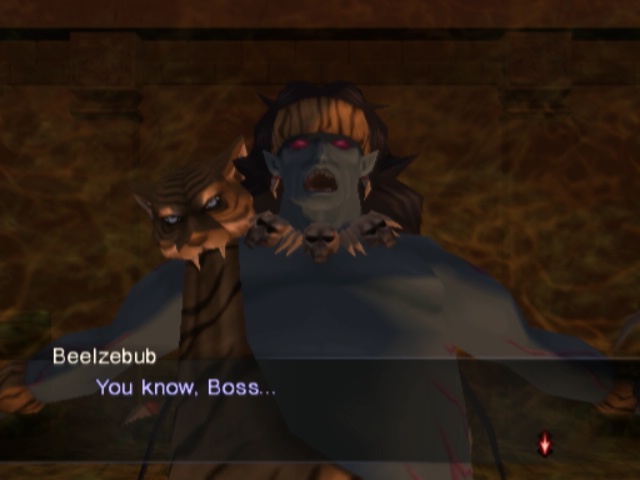
 Shouldn't there be absolute laws over the Junkyard? We should only be subject to the laws of nature.
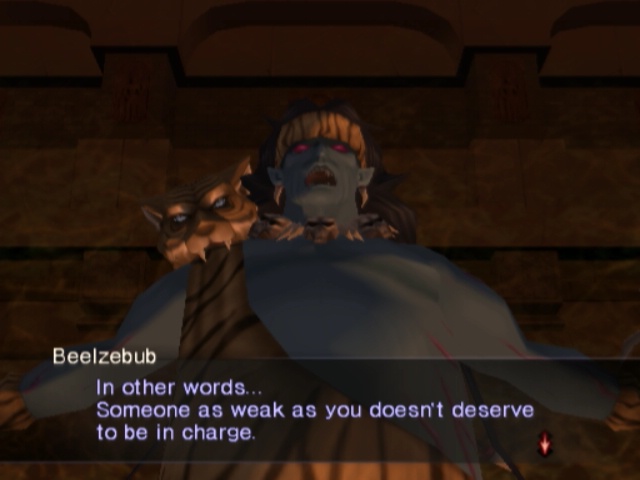
Well, I'm sorry you feel that way Baal...
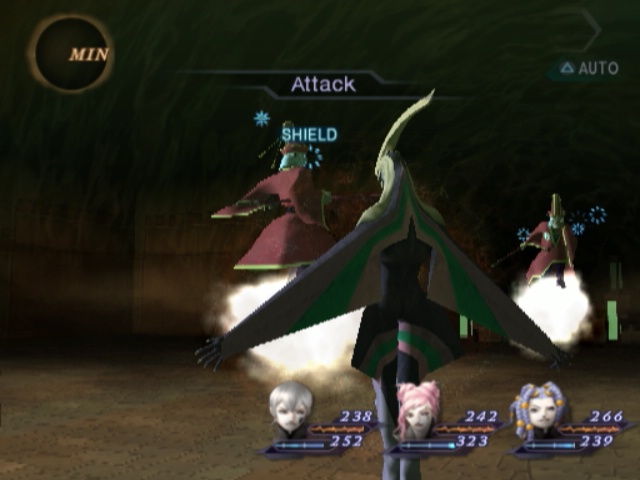
Optional Boss: Fiend Beelzebub
Because now I'm going to have to kick your ass.
Hunting ~ Compulsion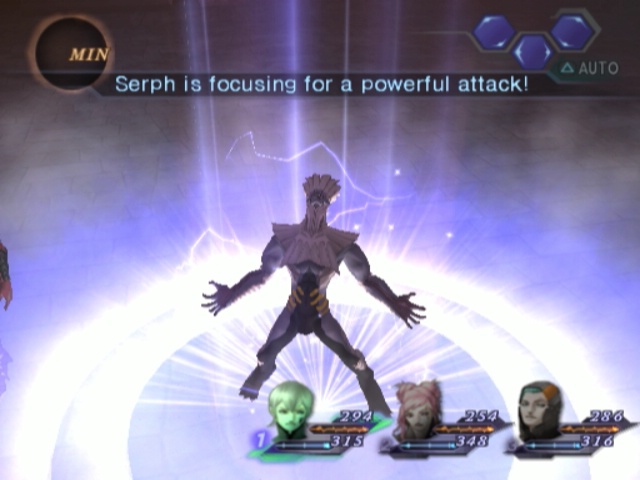
So, Baal's not really all that dangerous to us. He's immune to everything except physical and fire. But...
Even with his defence completely in the shitter, fire spells don't deal much damage. And he's neutral to them.
So physicals it is then. Sounds like a good time to use Heat right? Wrong! Heat will merely job to this guy.
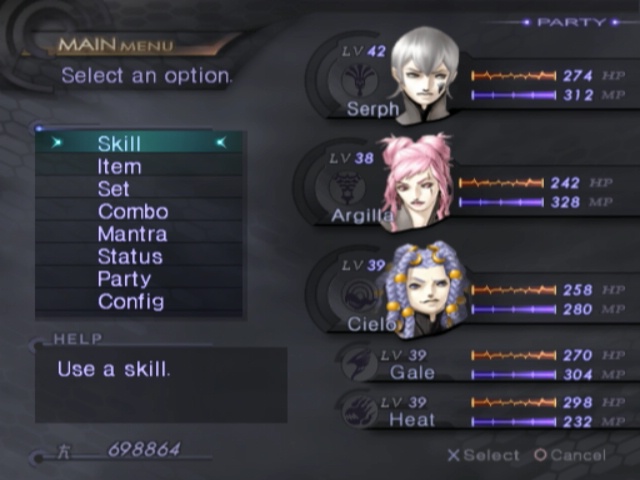
Serph has Power Charge here so he's going to ruin Beelzebub's day.
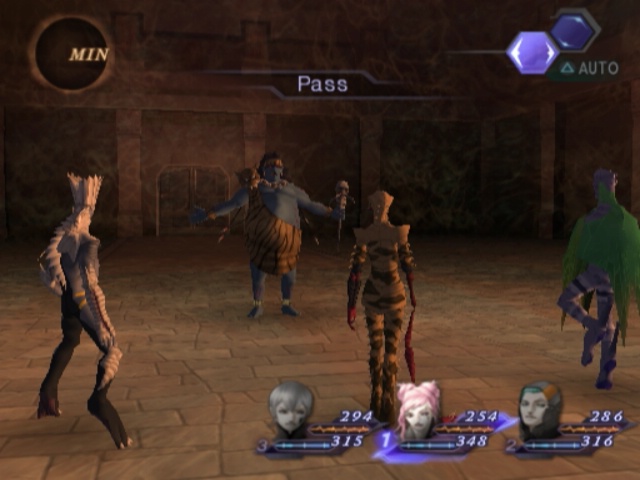
Sadly, Argilla is mostly just here to stand around and look pretty. She's packing every healing spell I could give her along with Tarunda and Void Expel (you'll see) but won't be doing much but passing her turns for now. We can't just bring two people either because we need a third turn. It's just not hers for the most part.
Also she doesn't have Mutual Karma yet still so even if I wanted to bench her I kind of can't.
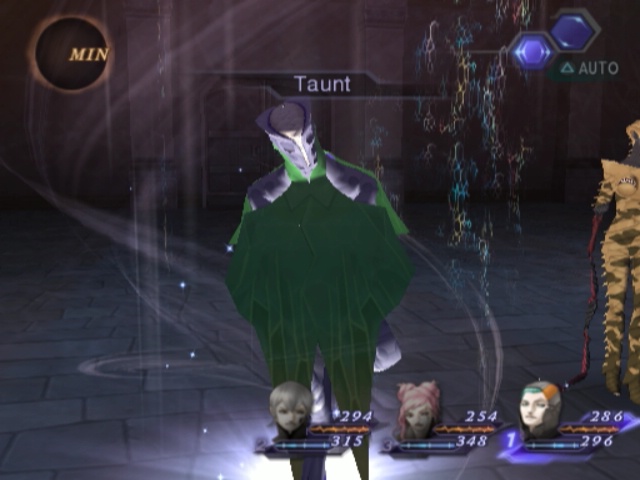
Gale seems to have fallen into a buffing niche during boss fights. He's pretty much an anti-boss staple for the moment.
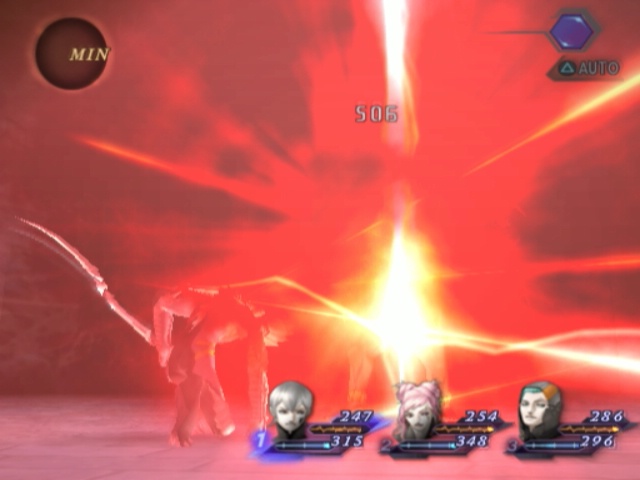
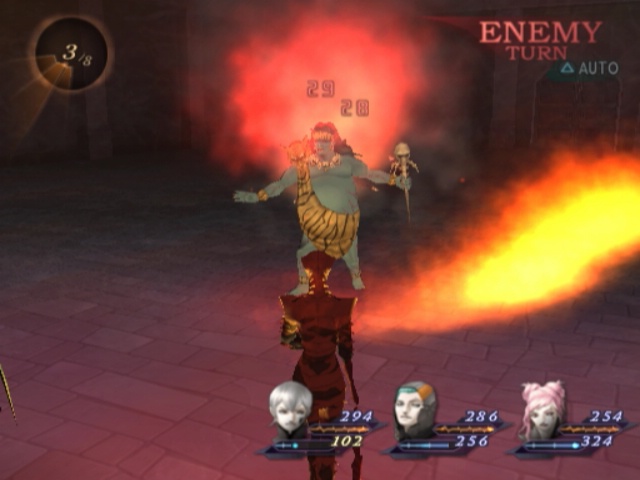
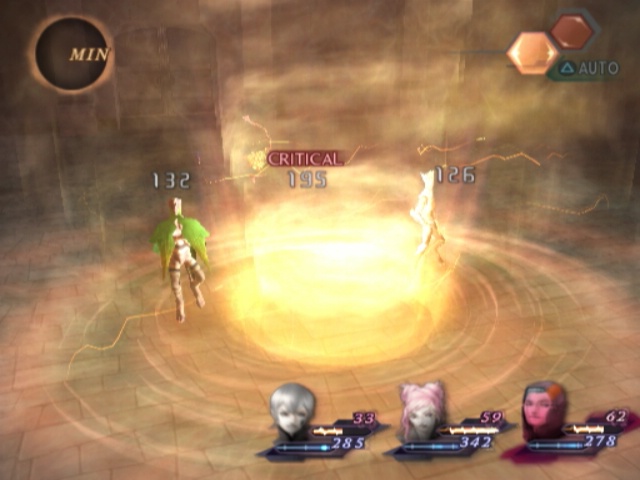
A Power Charge's Hell Fang with only one Taunt deals 506 damage or so. That's not too bad, but its not quite good enough either. He has 6000 or so (6200 at the absolute most) so while this is nice and good it's not efficient enough. Thankfully, adding a couple Tarukajas can push it upto around 1000 easily. Closer to 2k on a crit.

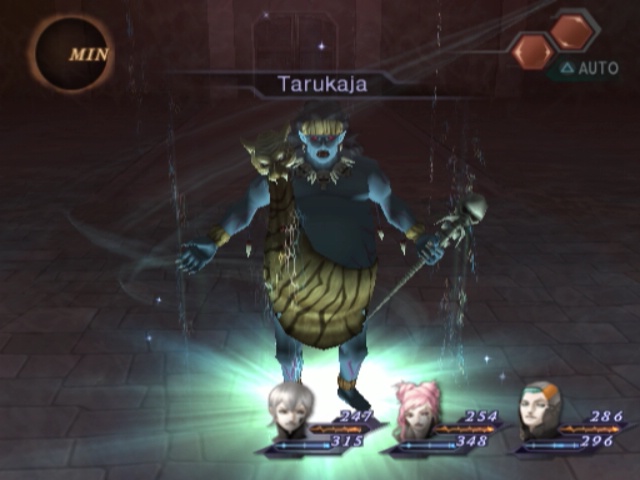
Baal likes to spend his turns buffing too. During this first part of the fight he's quite fond of throwing down a Tarukaja and following it up with a regular Attack.
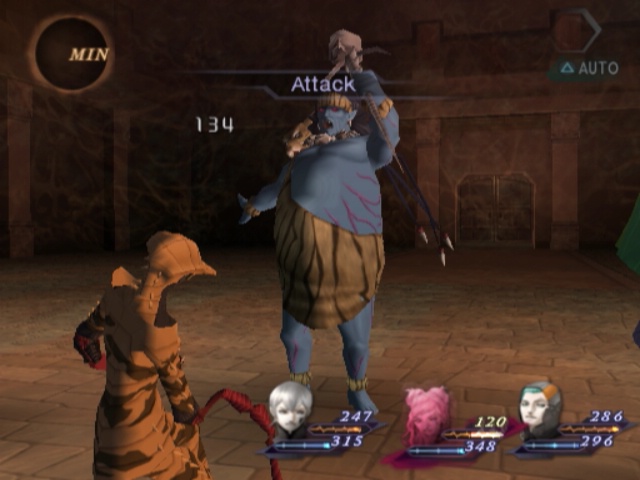
And if he gets to do that, it can hurt quite a bit. At least with the Taunt in play too. But because we have Power Charge, we also have Void Phys. That helps things out a lot.
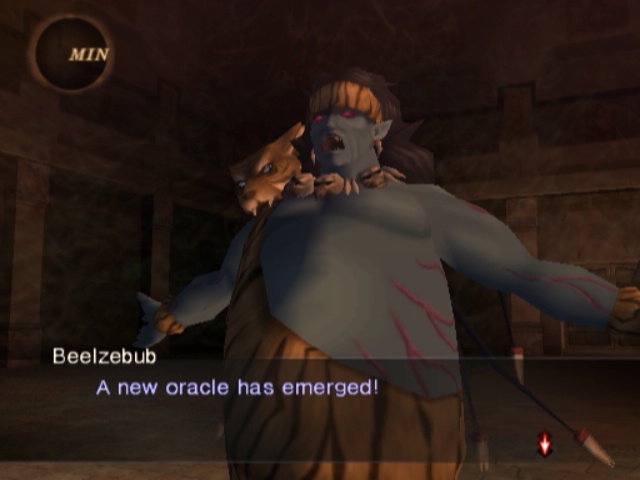
Once he's lost 1000 HP, the first phase of the fight ends and we get to the real bulk of the battle. He signals it with this line of dialog and his opening move here is always the same.
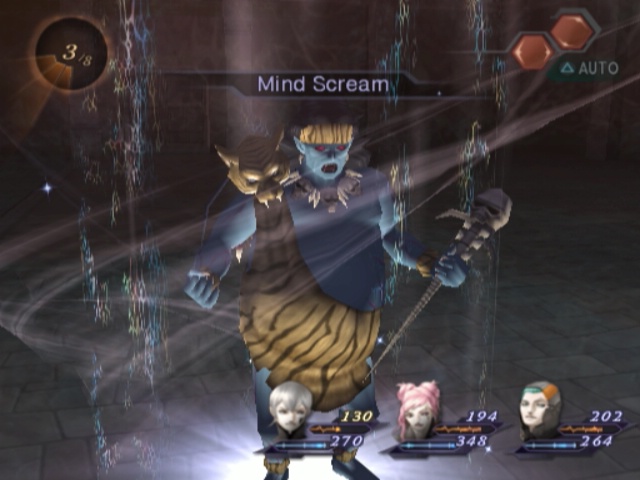
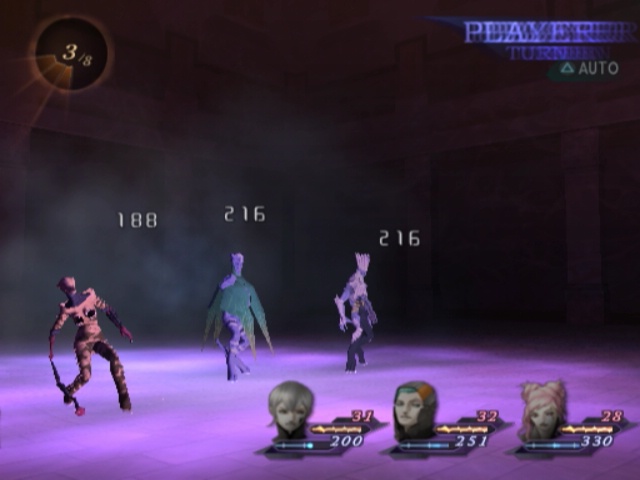
He just throws out a Mind Scream which is kind of a problem at times. It deals physical elemental damage and can inflict Stun.
Even without the Stun, it's pretty potent.
Fortunately! It's always his first move at this stage of the fight. That means it's super predictable.
Attack Mirror it is then.
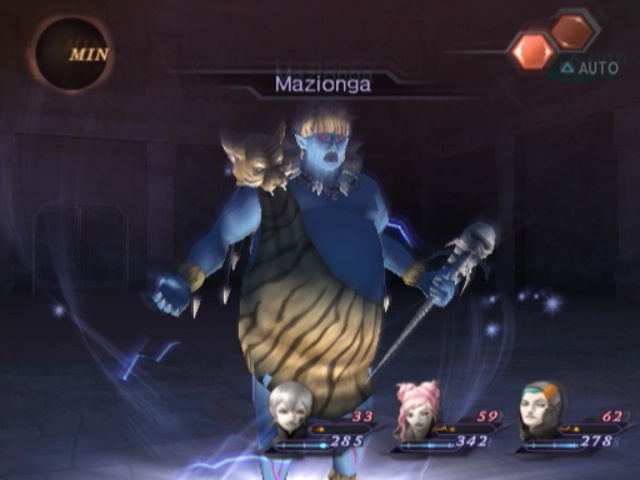
In both parts of the fight, he has access to Mazionga but no other elemental spells. He prefers using it in the first section since he get nastier tricks in the second.
Of course, his second phase is remarkably more predictable than the first. Unless you get a buff to +4 or he gets debuffed to -4 he settles into a nice pattern now.
There's also something else that can completely fuck with his AI scripting but I have no idea what it is. I somehow made it happen but, well, you'll see.
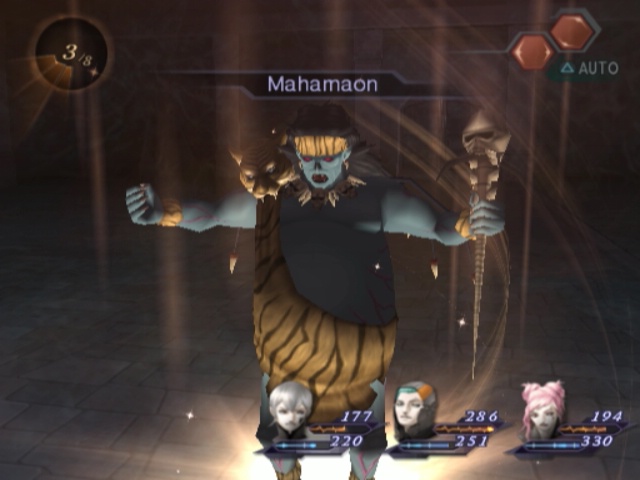
Assuming he's playing like normal, he likes to throw out Mahamaons (hence the Void Expel).
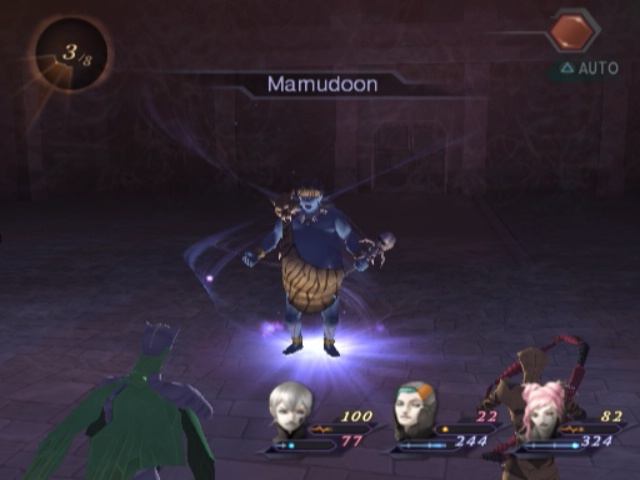
If that gets off without a hitch, he loves following it up with Mamudoon. He won't always do that (sometimes favouring a regular attack instead) but he does it more often than not.
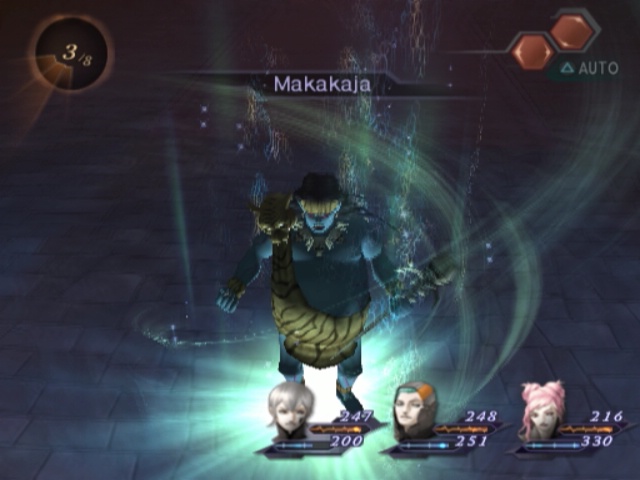
After that little ditty, he quite likes a very nasty encore. He'll use Makakaja to buff his spells attack power (thankfully this is also predictable so Makanda beforehand and you get an edge).
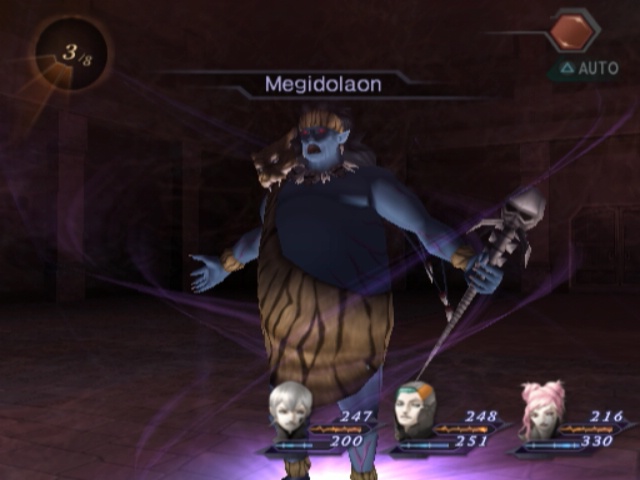
He will always follow that Makakaja with Megidolaon.
As you would expect from the third tier Almighty spell, this will fuck you up if you let it. If you buff your defence and debuff his magic though you can get it to sub-100 damage which is adorable.
He likes to follow this up with the Mahamaon/Mamudoon combo leading to a nice and predictable order.
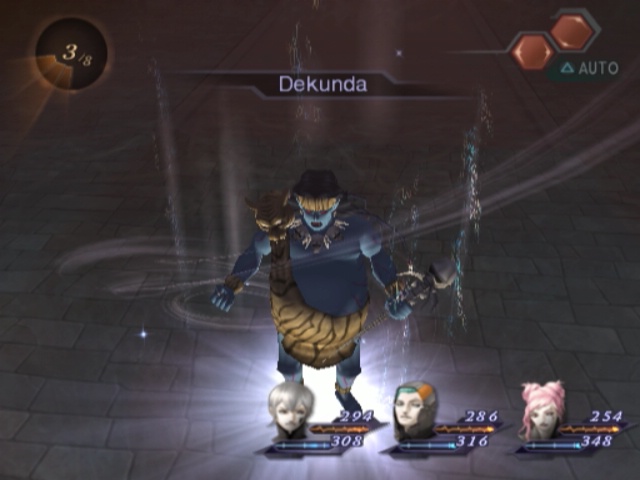
But! Whenever you get a +4 or a -4 scenario, he drops stuff to get rid of that instead. Since this interrupts his AI scripting, he can do all sorts after this. Like another Mind Scream, follow the De- with another Megidolaon* or even...
Throw out a Power Charge of his own. No Mind Charge though and since he likes magic more in the second phase this isn't that big of a deal.
*Since I mentioned it before, there is a way you can get him right and proper pissed off at you. Like all good (optional) bosses from this point on, he can get super mad for seemingly arbitrary reasons and when that happens you're fucked. He just throws out Megidolaon after Megidolaon. If you have any buffs or debuffs in play, even if they are only +/-1 then he removes them and then drops the Megidolaon.
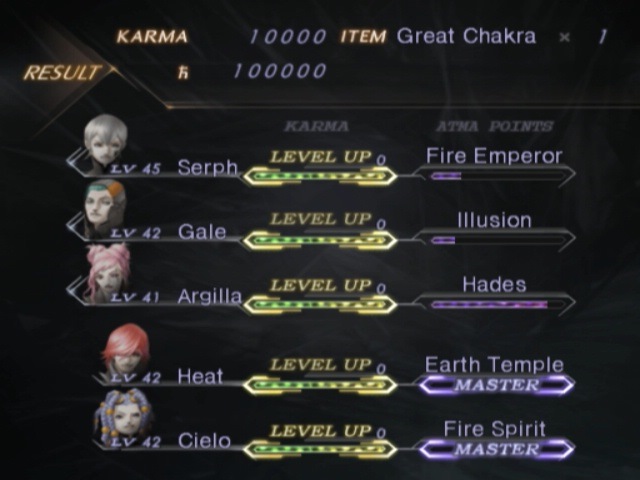
But assuming you manage to avoid that (and it's really easy to do here at least) he'll go down like a chump pretty easily. Only reason Serph even dropped in the video at all is because I overestimated how good my defence was by the thinnest of margins. Go figure.
Hideout of the Chickens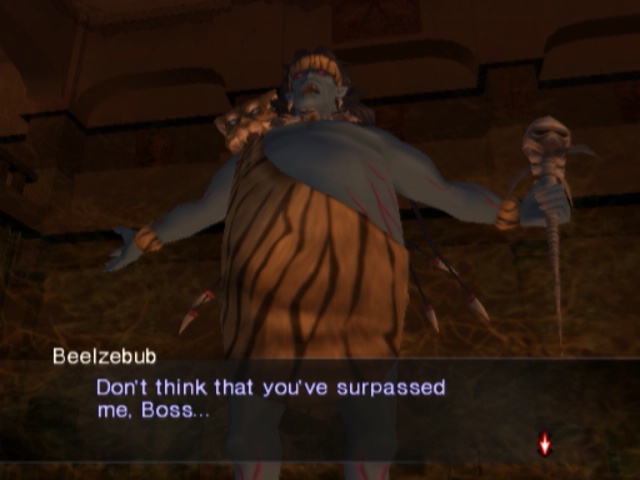 I... I'll devour others to grow strong... When next we meet, you will fall!
So, yeah, we're not quite done with Beelzebub juuust yet. We won't see him again for a little while though.
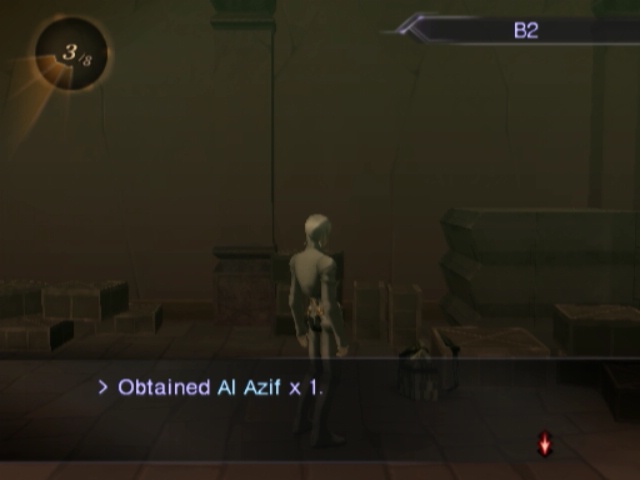
Our reward for beating him right now, though, is... the Necronomicon.
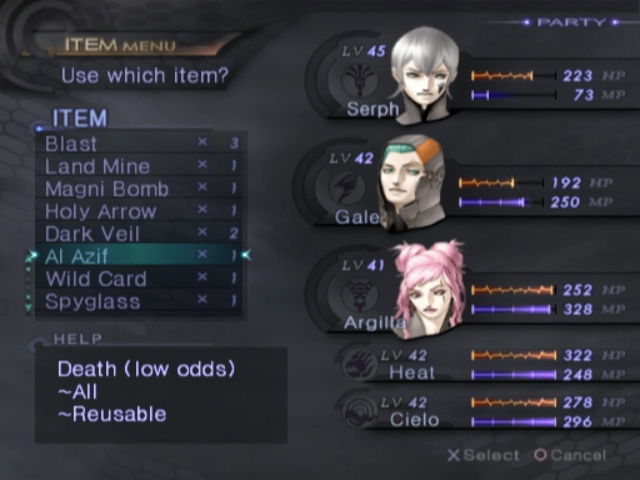
It's actually not that great at this point. It's a free, infinite Mamudo which is nice in like one small area and that's basically it.
All that's left to do now is the red wall at Co-Ordinate 136 but we can deal with what little lies behind there later. Aside from that (which is too much of a detour right now) we're out of sidetrips for the time being. So, let's go back to Ajna. We've left Varin waiting long enough!