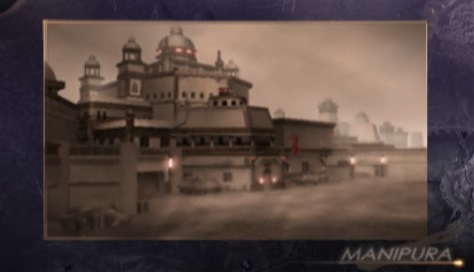
Part 15: Samsara Tunnels ~ The Second Movement
So, we could go to Sahasrara and finally do that whole "Nirvana" thing.
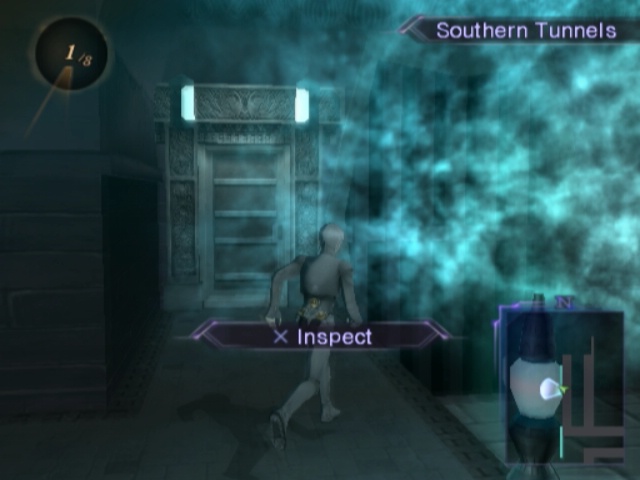
Or we could go this door over at the far edge of Manipura. I prefer this option.
Now that we've beaten Varin, a new area opens up here. Well, beating Varin is only half of what makes this particular one open up...
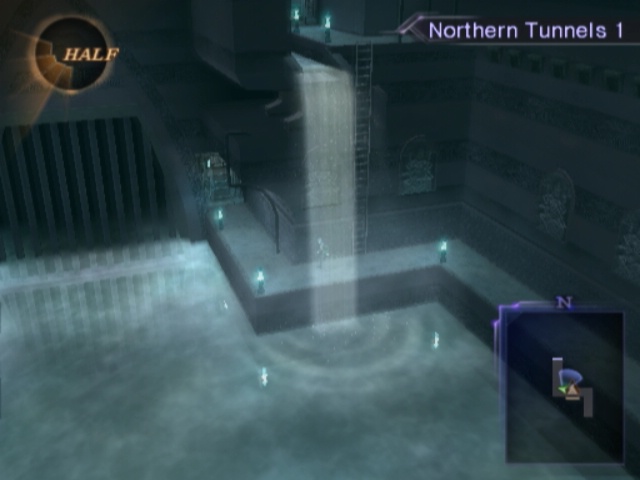
 River of Samsara
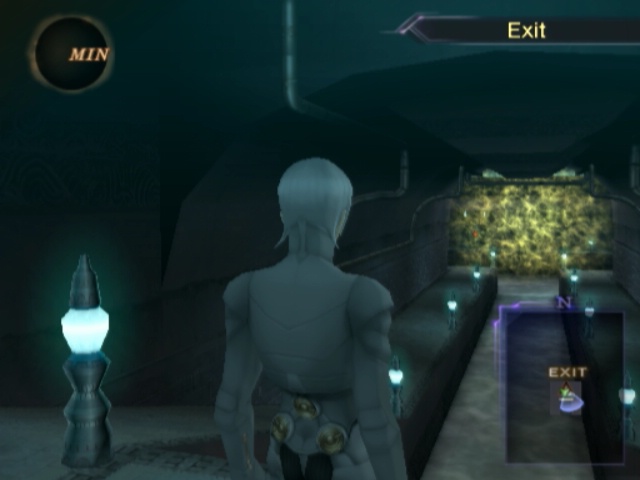
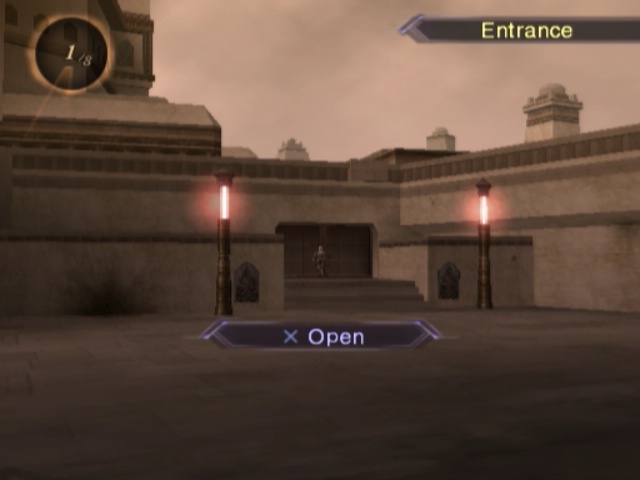
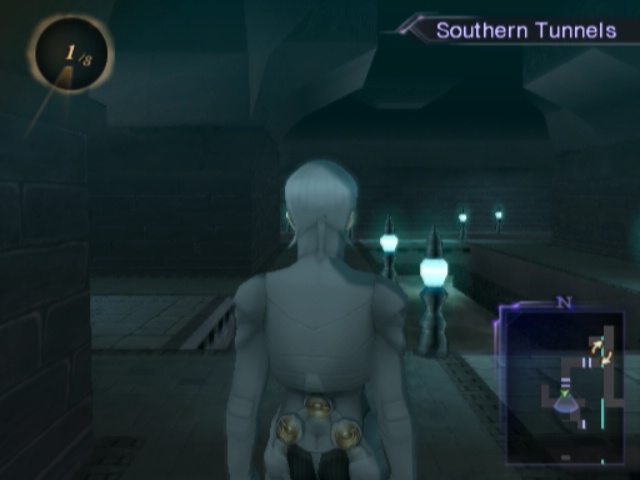
Either way, we couldn't get past the entrance without the yellow key. In this case, though, that's a moot point; you can't get this area to even appear without having it.
And, yes, our big, major optional dungeon is just a second part of the Samsara Tunnels. Which is fair enough I guess; not many other places it could really be. We know the tunnels run under the entire Junkyard but only got to see part of that before.
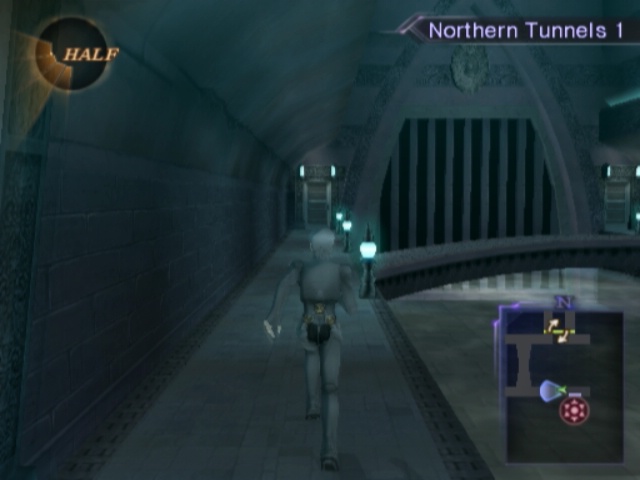
After we get past the yellow wall, there's a small diversion with two doors. We'll tackle the one on the right first.
Hunting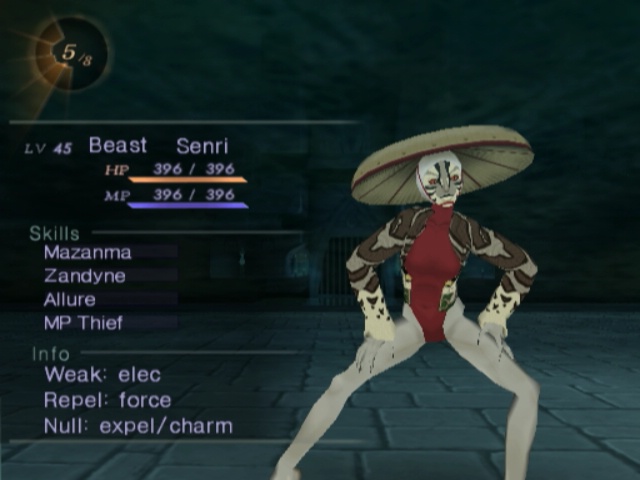
There's lots of new dudes down in this part of the sewers. Senris are Nekomata's bigger, meaner sisters. Or they would be but we hit them with electric spells and they die.
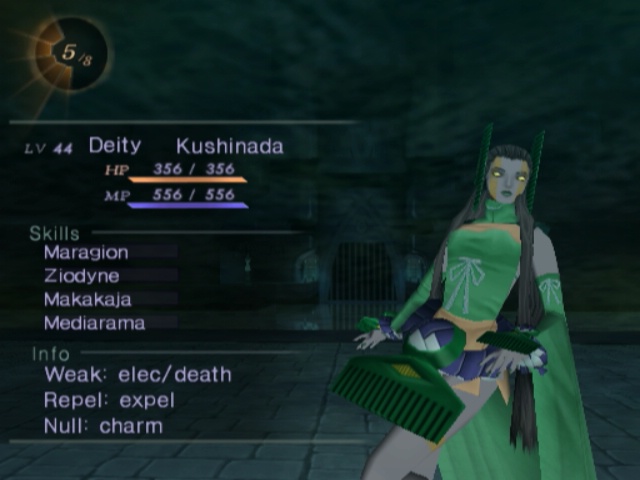
They also have a tendency to come paired with Kushinadas who are equally weak to electric spells. They also have a bonus weakness to death and we just got the Al Azif not that long ago...
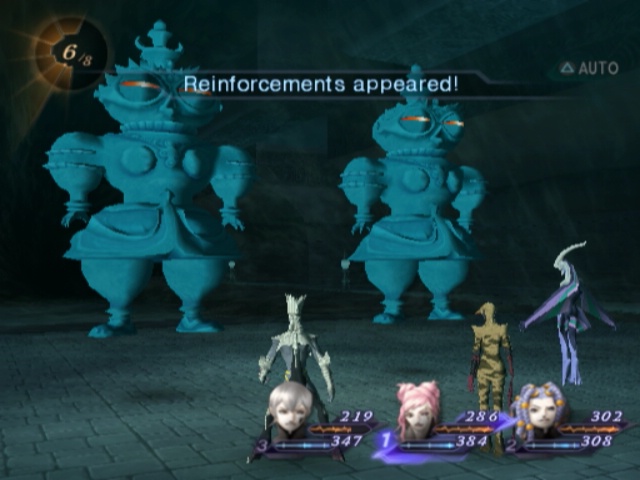
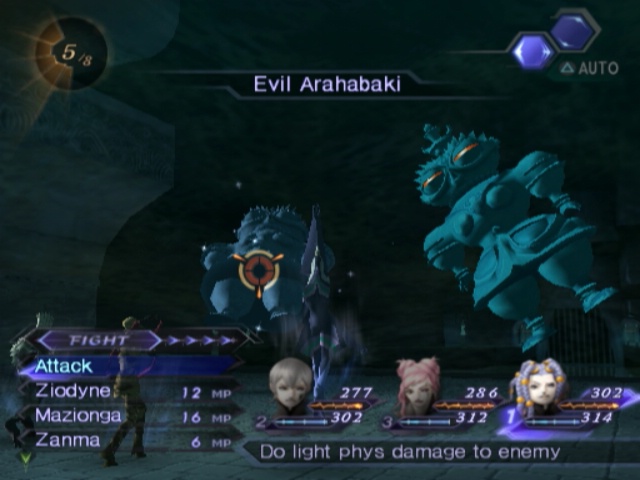
What makes fights down here really dangerous, though, is this. Every single encounter has a chance of giving us reinforcements. And it's always the same reinforcements.
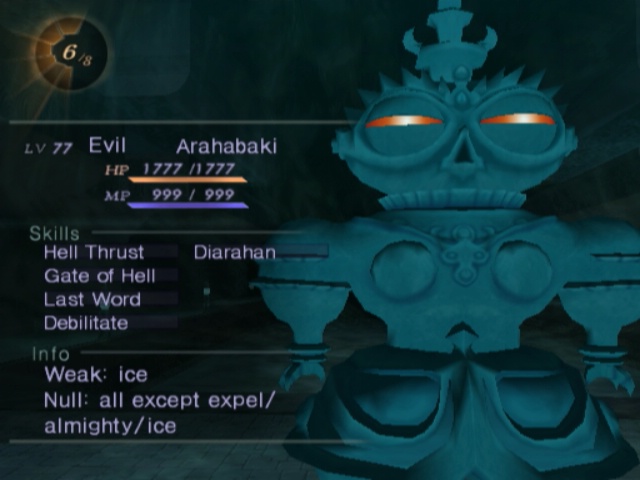
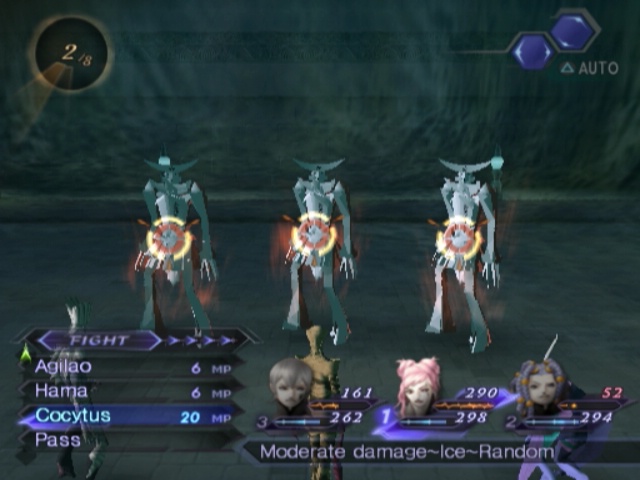
Arahabakis are potentially lethal in a fair fight. Thankfully, they don't get a fair fight. You only ever run into them as reinforcements in this area so that gives us an advantage already. We always get first strike against reinforcements and they have a weakness to Ice spells.
Ice spells like Cocytus. Which has a high freeze chance. And these guys have basically no Vitality. Argilla's crits deal over 600 damage! Argilla's! They're not immune to Physicals normally for fun.
Their attacks are pretty troublesome to deal with, but they die super easy and drop both Fusion Cells AND Vital Noise. Gonna see a lot of them if you care about fillin' out that Mantra grid then.
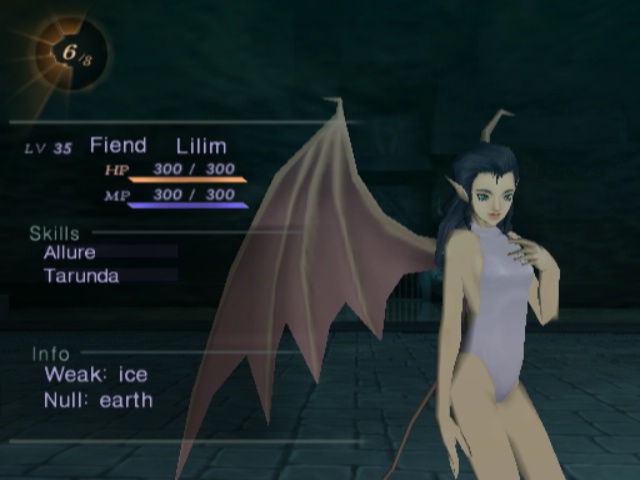
Much less interesting are Lilims who also run around in this area. They're on the rarer end of things though, which is fine because they're worthless.
River of Samsara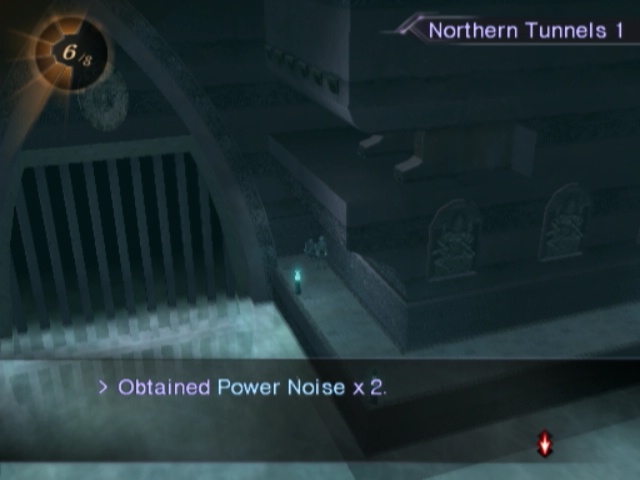
Now then, at the end of the very short branch we find a container with two Power Noise in it. I still haven't even used any of this stuff. Maybe I should sometime soon.
...Eh, nah.
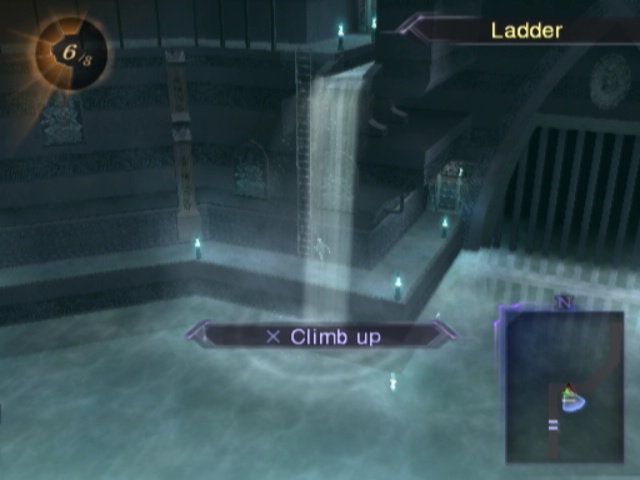
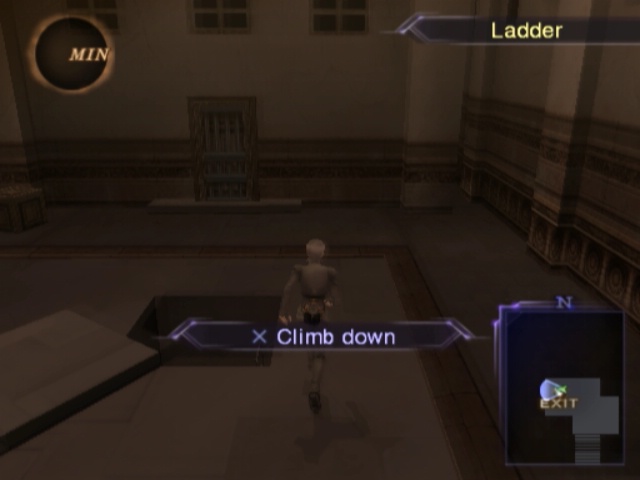
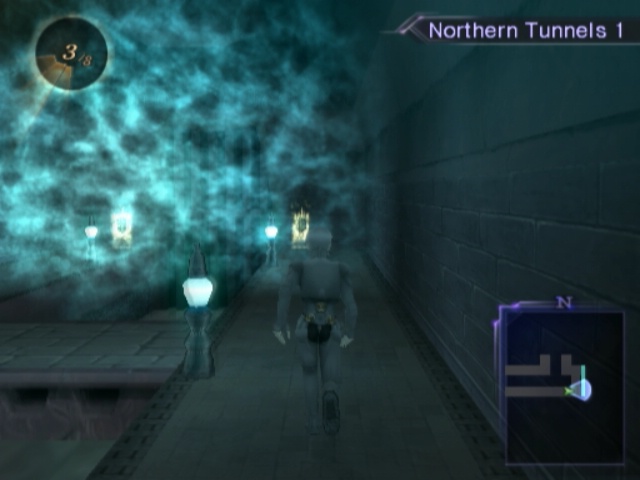
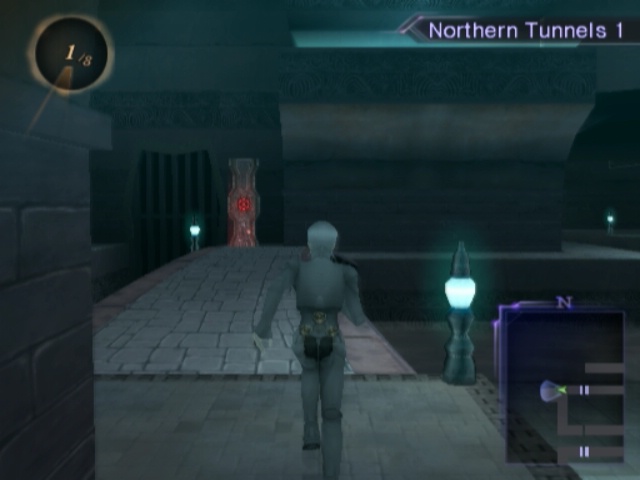
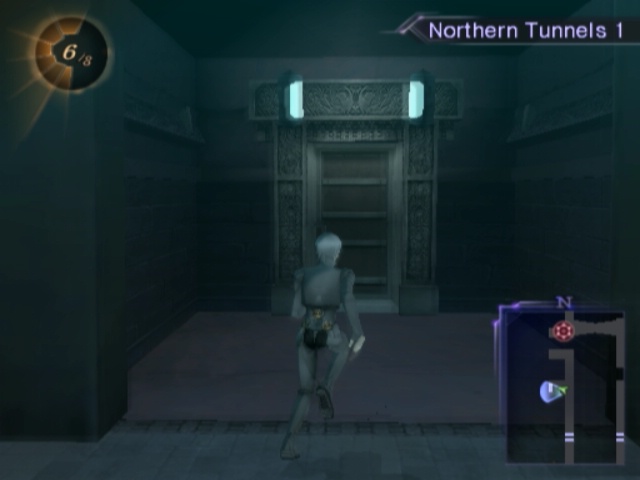
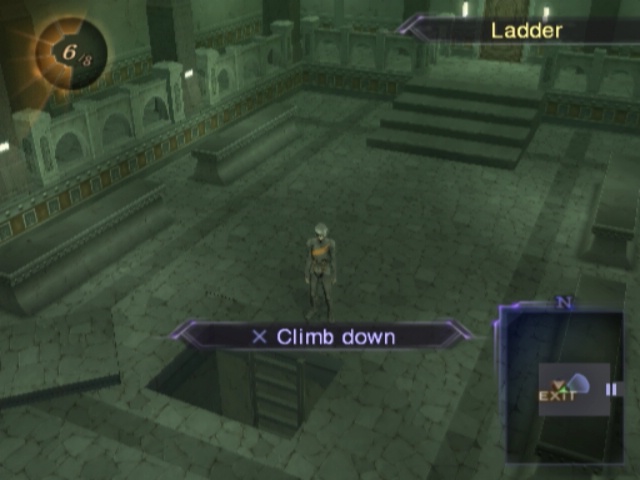
Back over past the left door from the entrance, we find progress. The door on this floor just leads to a boring ol' dead end so we'll climb up the ladder and go through the door there.
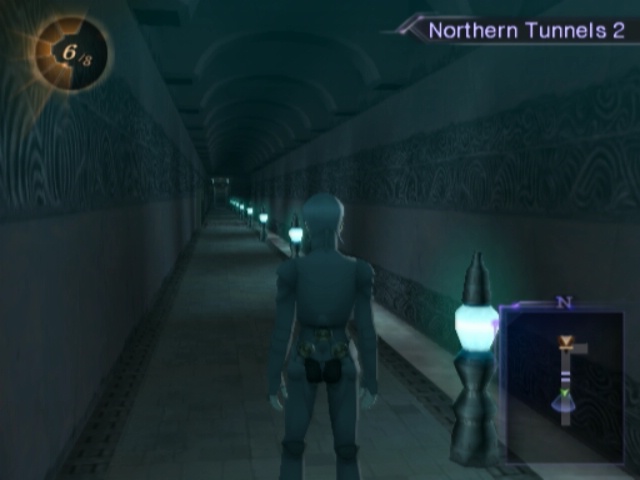
Now THIS place is special. This one hallway is the most important hallway in the dungeon.
The only enemy here is Titania. Sadly, there aren't guaranteed reinforcements here either but it's a high chance...
That makes it very, very good for the Macca. Not directly, though. No, Macca earned scales a little based on how fast you kill things (bonus for the first round) AND actually drops a little once you get too high a level.
Titanias and Arahabakis both drop pretty good cells. This "Titania Hallway" is THE money-grinding area if you care at all about that.
I don't (right now) so we'll just sprint past this place then.
That door to the north is progress, but to the south...
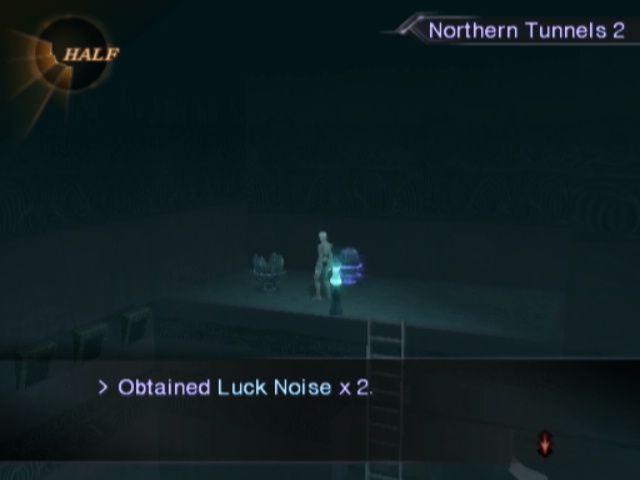
We can find a couple more Luck Noises. Guess I'll just stick them in the pile for the moment.
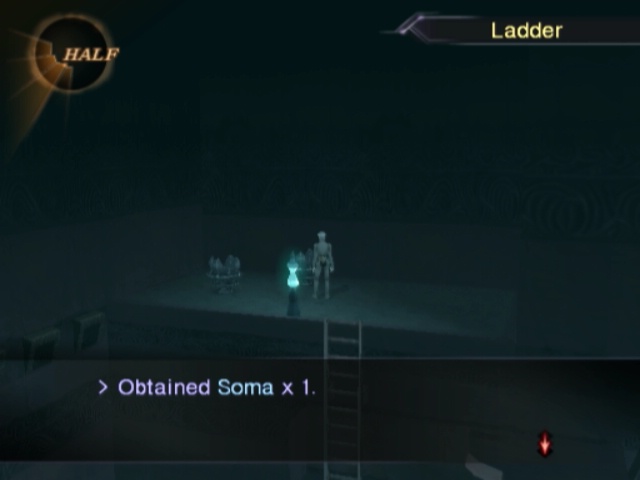
And another Soma for good measure. One of these days, I'm going to get into a situation where I actually need these.
Maybe.
...Also, there are Succubuses here for some reason. No, they are not changed one iota from Anahata. And they're super-super rare too. I don't even know any more.
Past the northern door, we come immediately to the most pointless blue wall. You could just skip this one and lose nothing of value.
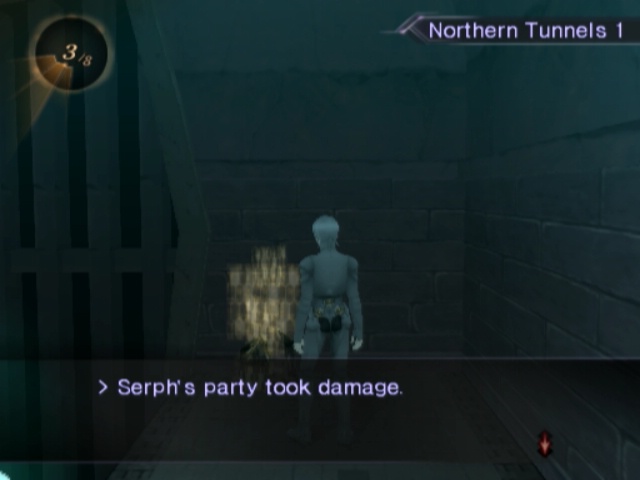
Frankly, you would be better off to just not even bother. Only two golden containers past it. One of which deals damage. No ailments though, thankfully.
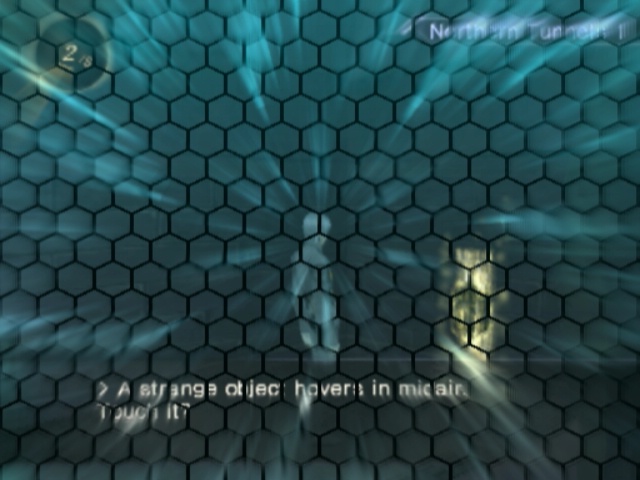
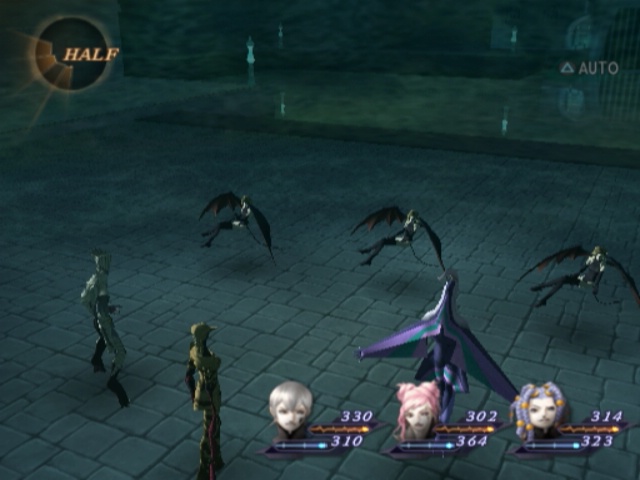
The other is the requisite monster-in-a-box battle.
...Against three Shiki-Oujis. That's an actual step back for once!
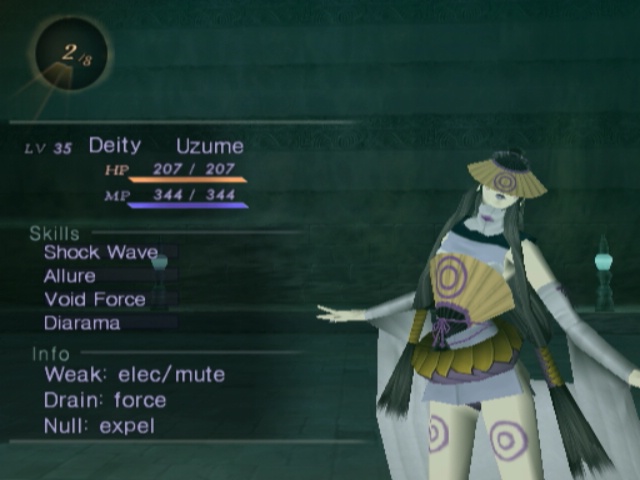
Couple other new demons turn up with Kushinada every now and then too. Ame-no-Uzume's the weaker of the two being just Kushinada but with a Mute weakness instead of Death. Whatever.
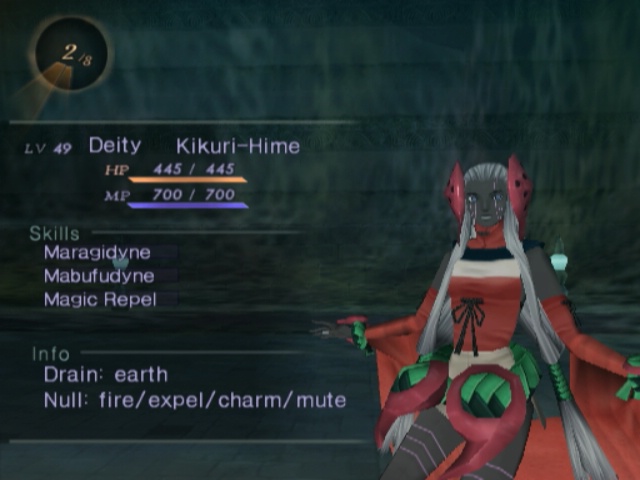
Kikuri-Hime's more threatening but only just. No weakness and Magic Repel makes for something mildly annoying to fight.
Mostly because she takes three hits to kill instead of two.
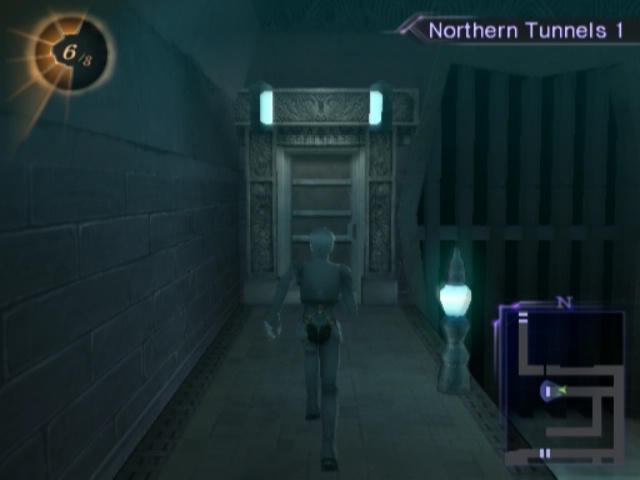
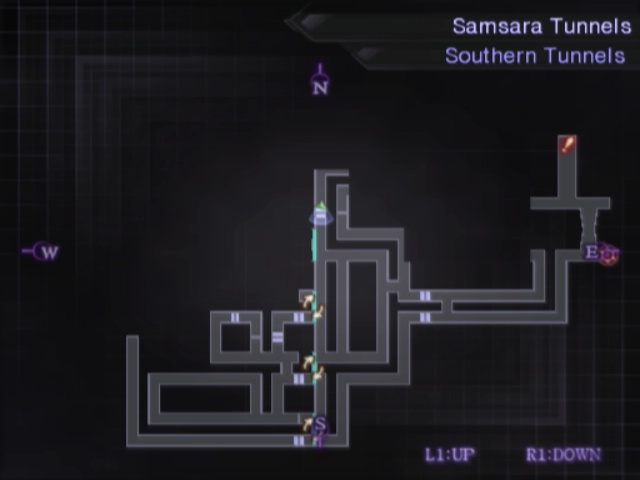
Following the path around from the blue wall leads to a small karma terminal along with the road to progress.
But if we instead opt to go a little more north from the blue wall, we come to another door that leads back to the same room.
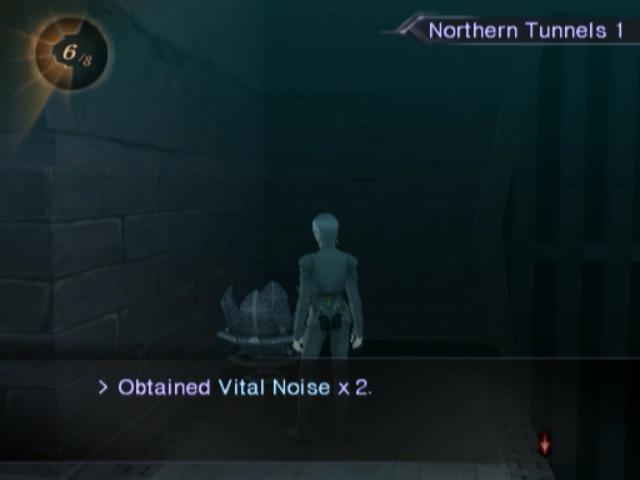
Main difference is that this one lets us grab some free Vital Noise.
Back on the main path, we come to another room like the one before. We'll skip past the ladder for the moment, though.
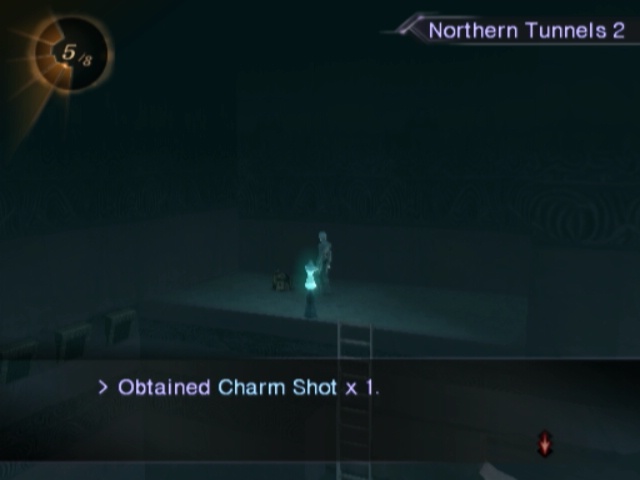
Mostly to climb a different ladder further down the path. Charm Shot is, of course, a bullet that can inflict Charm. Not quite as good as it is in most other SMT games but I guess it has its uses.
The ladder back near the door leads to another hallway but with more than just Titanias in it so no one cares. It also ends up leading around to this door here.
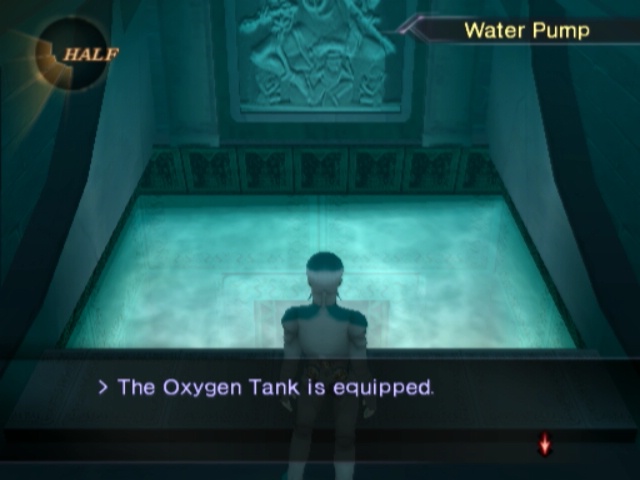
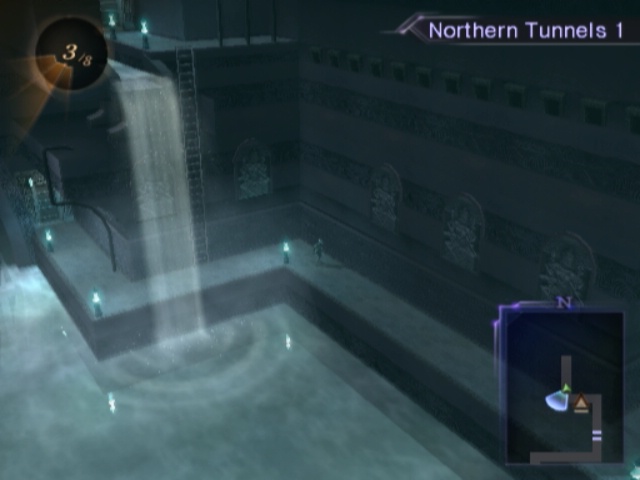
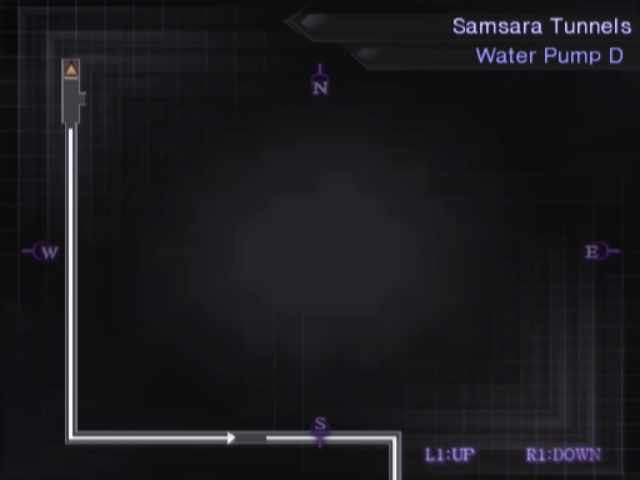
This in turn leads to the only underwater segment in this place. This particular water pump bit is, by far, the hardest one of the lot and requires a lot of fiddly bits and flipping switches and...
hahaha no just hold up and the one bit you CAN enter just spits you out at the end
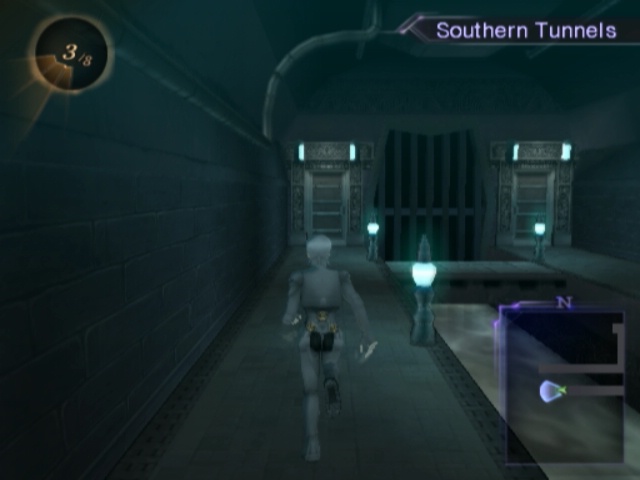
The second half of this area is way more convoluted than the first, much to its detriment and my annoyance. We'll take the left door here first.
Hunting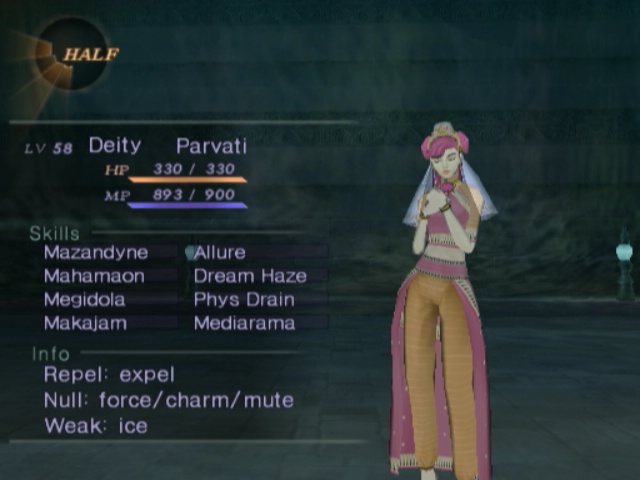
Second half of the area brings with it a couple new demons. Parvatis are up first and that Ice weakness makes them boringly simple.
They can drop Wild Bombs which would be nice if we ever needed itemised Megidola. We don't so they're unnecessary.
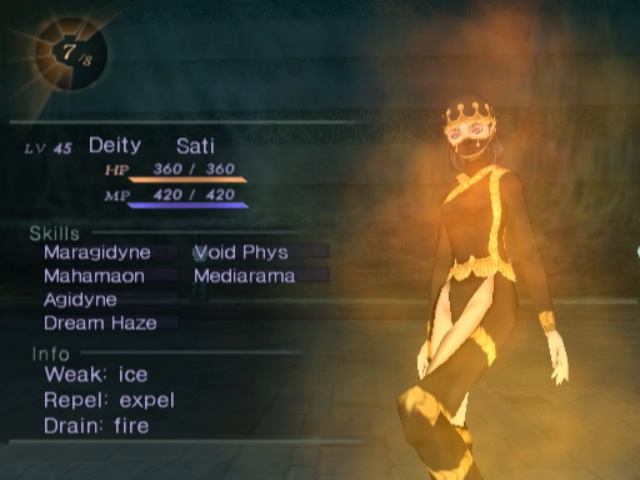
Also get a couple Satis who are equally weak to Ice. Only thing interesting about these ladies are that they could have turned up in Ajna but just didn't for some reason.
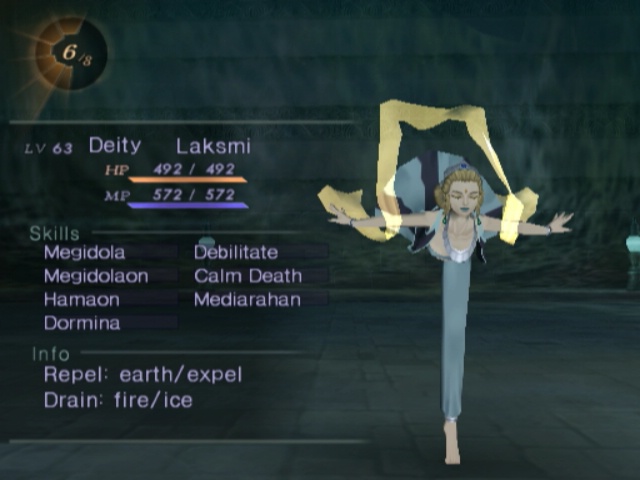
And lastly, we have Lakshmi. She has no weaknesses, can combine Dormina and Calm Death and drains our main offense for this area. She's pretty dull beyond that but, hey, points for trying.
River of Samsara
Following the route from the left door brings us to the bottom-most blue wall in a room full of the bloody things.
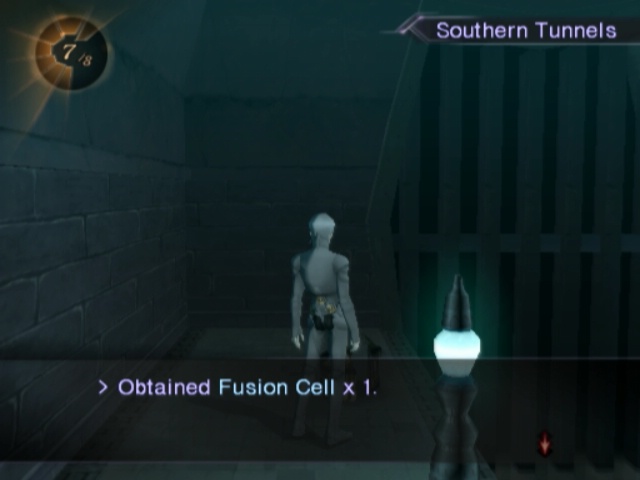
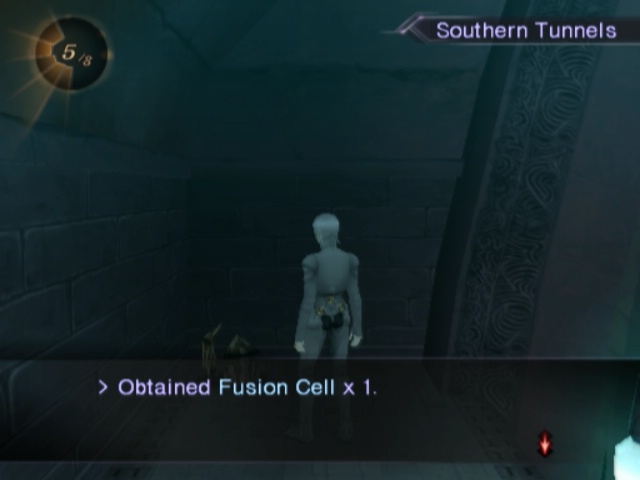
It leads to another short hallway with a Fusion Cell at the end of it.
Doubling back and taking the right door is when things get... complicated. We want to skip the first blue wall we come to, and open this one instead.
This leads us to a confusing mess of a room. That door to the south puts us by the blue wall we skipped over. The difference is, from here we can get rid of it AND get something for our troubles.
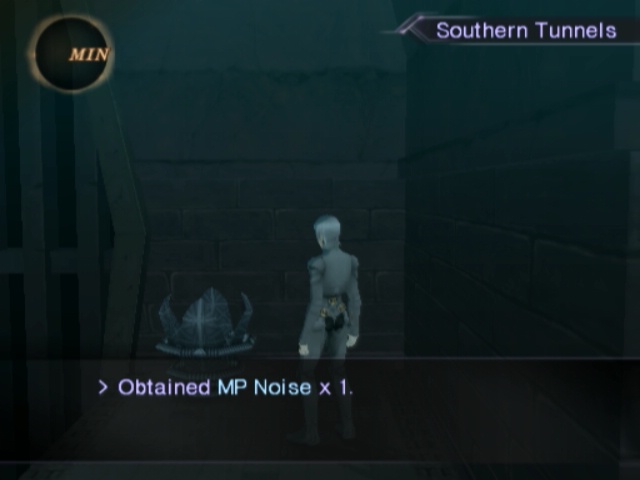
Granted, it's just MP Noise but that's better than nothing.
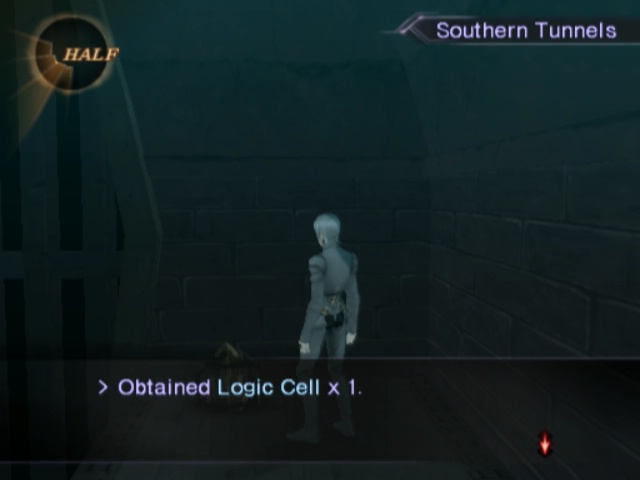
To get to this Logic Cell, we have to run back to the entrance of the room before the MP Noise. From there, we just run a little more westward and loop around to it.
Really, this area just seems convoluted and a mess when running around it because of all the paths looping back onto themselves and seeing all the other paths and its just a visual nightmare. When you think it through clearly it's not that confusing but holy shit is it a mess on paper.
Also there's an area due north of the final blue wall that just loops around to another Logic Cell.
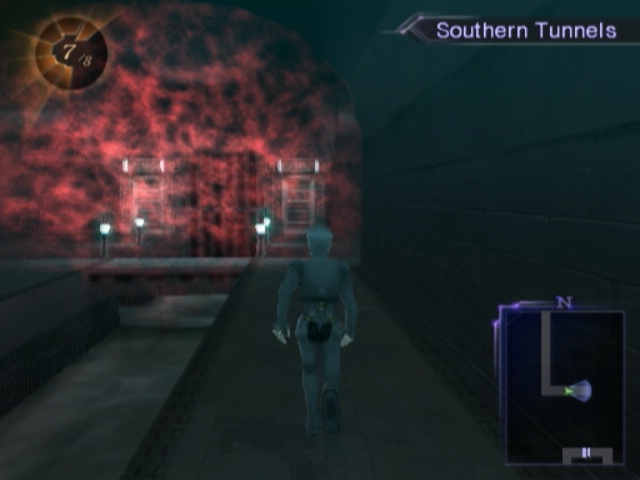
Speaking of the final blue wall, breakin' that down and entering the door on its right side brings us around to this red wall here. The left door leads to, uh, nothing.
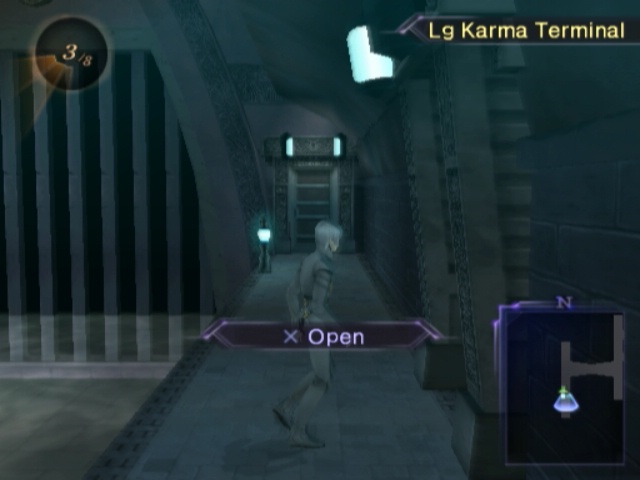
Past the red wall is an area that mirrors the entrance reasonably well. There's no ladder, of course, but there is a large karma terminal and a door due south.
Once we open this door, we'll finally deal with what we came here to do.
BUT FIRST!

Since there's a large terminal there, it makes warping back a cinch so we'll warp out and sell all these cells we picked up. That pushes us over 1.2 million macca easy.
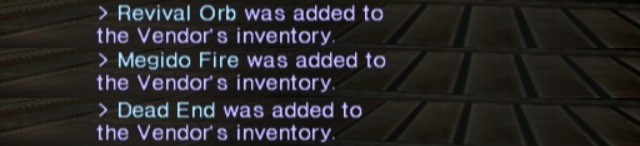
It also unlocks the final three items for the Vendor! Megido Fire is the worst of the lot, being a free infinite Wild Card.
Y'know, the item we got waaaaaaaaay back at Manipura and never needed? Because all it does is regular Megido? Yeah fuck that.
Dead Ends are the only bullet worth buying, and either second or third best depending on how you compare it to the Forged Shot (and whether or not you use your gun against non-Omoikane things). This one has the third highest damage output but inflicts Stone.

Revival Orb fuckin' owns though. Infinite Samarecarms/Revival Gems! No reason to not immediately buy this thing.
Now then, where were we?
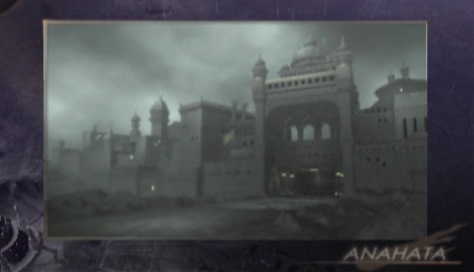
Ah, right. Going to Anahata.
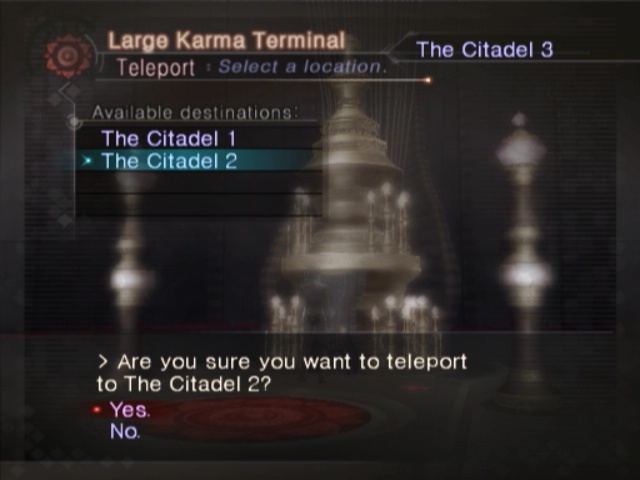
This is just a brief detour through the main building. We immediately duck into any terminal and warp to Citadel 2.
This drops us off on the path that led to Mick's room before we fought Turdak and a billion Ikusas. The one sideroom in there has this area open up now. This one DOES open when we beat Ravana regardless of anything else.
River of Samsara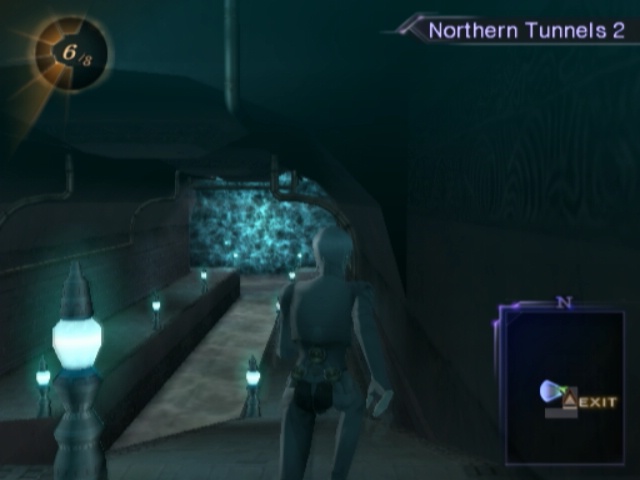
Like at Manipura, the entrance here is gated off by a wall but its just the Blue one this time around.
Enemy-wise, it's mostly just a lot of the old Brutes dudes from Ajna. Occasional Naga from the ship too, but those are few and far between.
Later enemies are like Lakshmi and Parvati and shit from the other Samsara Tunnel area but nothing new...
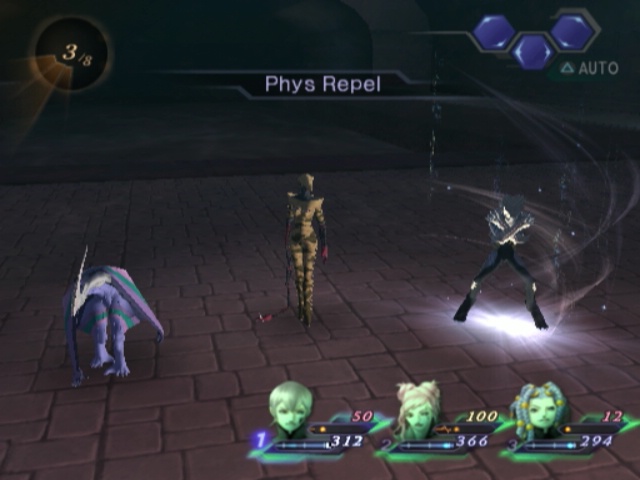
Except this. These big guys are awesome.
They're also one of the two reasons I got Phys Repel in the first place.
Because they mainly use Physical attacks and this scares them ~99% of the time.
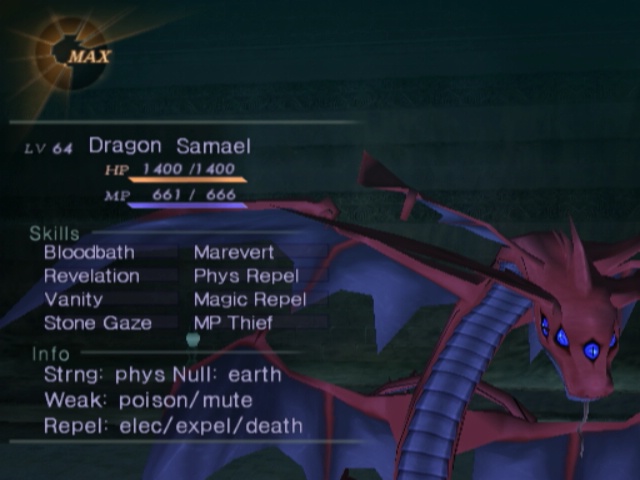
Samaels DO have their own weaknesses, but they're annoying to deal with. Stopping their attacks spooks 'em way faster so we do that.
We want 'em spooked because these bad boys are THE AP pinatas of the game... but only if you eat them. Killin' em normally makes them give you fuck all. Like Arahabaki, they can appear in any fight in this place. Most people on the internet bitch and moan about these dudes being too hard and recommend running. Yeah, no, fuck that. Samaels, again like Arahabaki, are colossal pushovers.
I also swear to God there's an area somewhere down here where you can run into them normally and absolutely nothing else, but I never stumbled upon it and nothing on the internet corroborates this so maybe my memory is just shite.
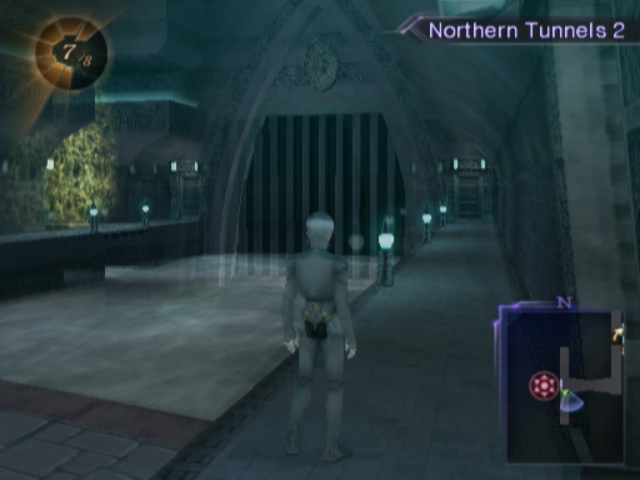
Anyway, from the large terminal at the entrance here, just by panning the camera around we can see a yellow wall pretty close by.
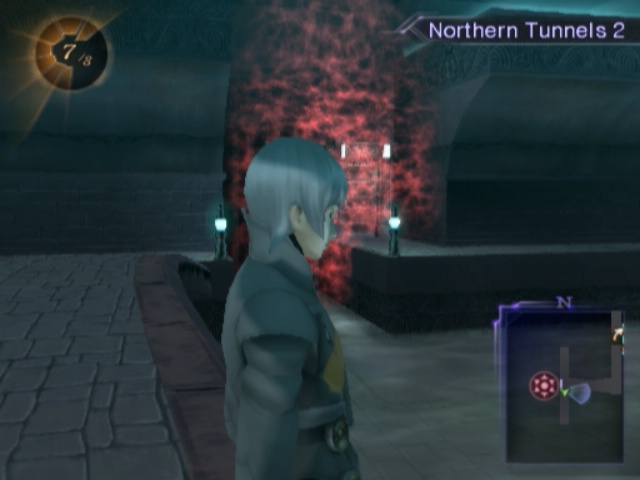
And a red wall directly opposite the terminal.
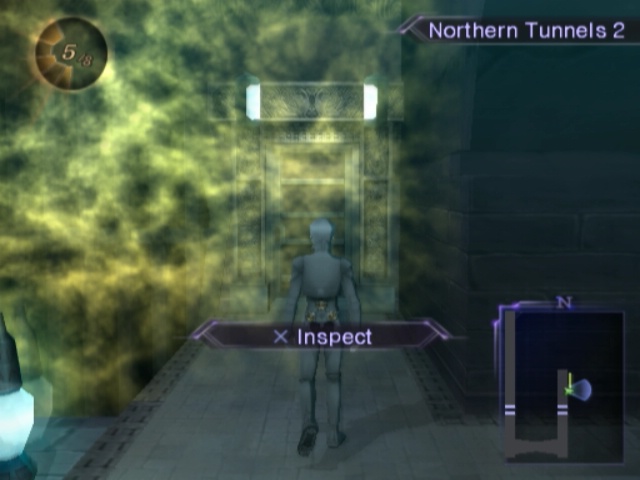
Fortunately, they're a low closer than they even look in the first place. That door to the south just leads to a small walkway that loops around to the walls.
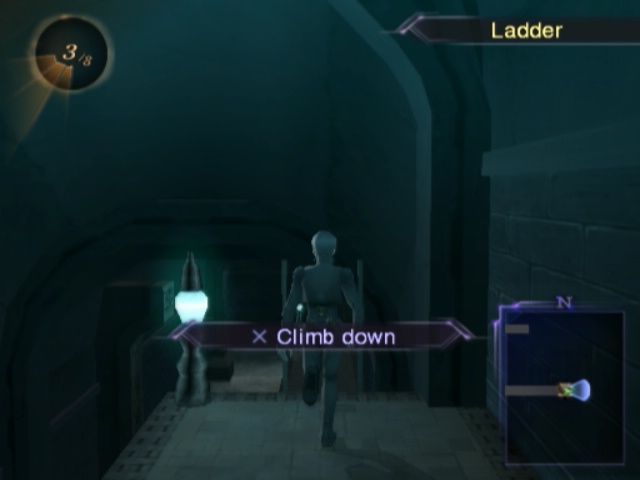
The yellow wall's closest so we'll go past there first. It leads to another one of those silly things where there's a bunch of ladders in rapid succession.
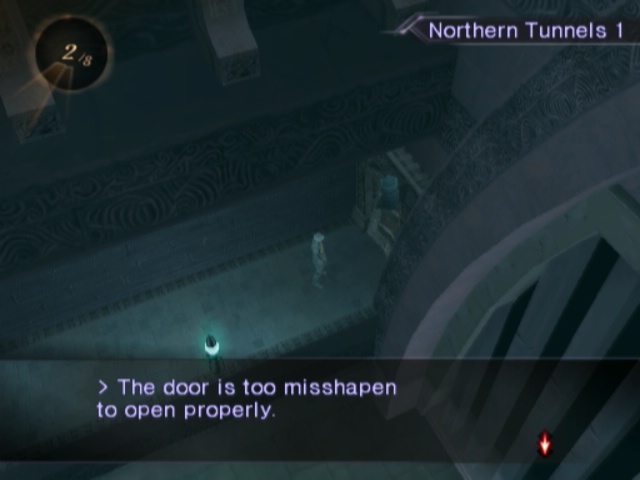
It drops us off at a door that's been pretty thoroughly fucked up. Man if this door was working, we could skip to the end of this place already.
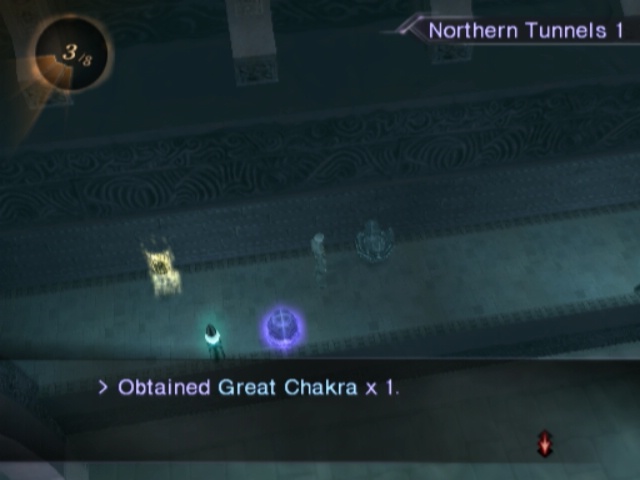
In the same room, very close by, there's a whole bunch of items to pick up. And by "whole bunch" I mean one Great Chakra, 2 Magic Noise and a Logic Cell.
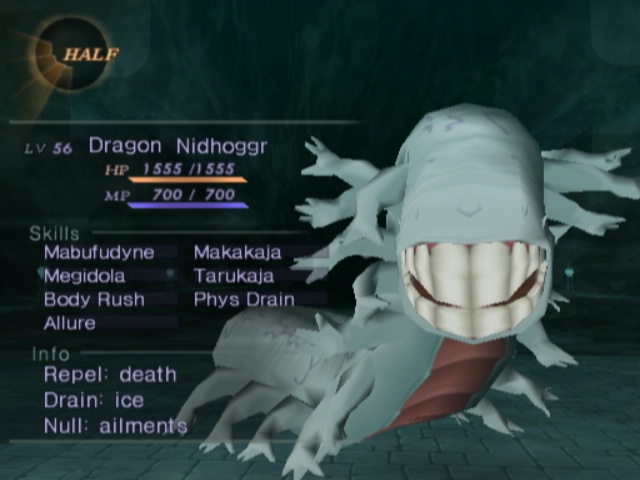
Oh, and some of Ajna's miniboss crew turn up here as proper fights as well. Mainly Nidhoggrs who come alone and are actually kind of annoying to fight because they have a lot of HP and no weaknesses. Hard to spook too, if only because they have a giant moveset thats hard to predict. These guys are the ones to run from, not because they're hard though. But because they're not worth the hassle.
Anywho, the area immediately past the red wall is more of the same. A slightly longer hallway but still has ladders-in-a-row.
Once we come out of that hallway, there's a very hard to miss gold container which contains this place's requisite battle.
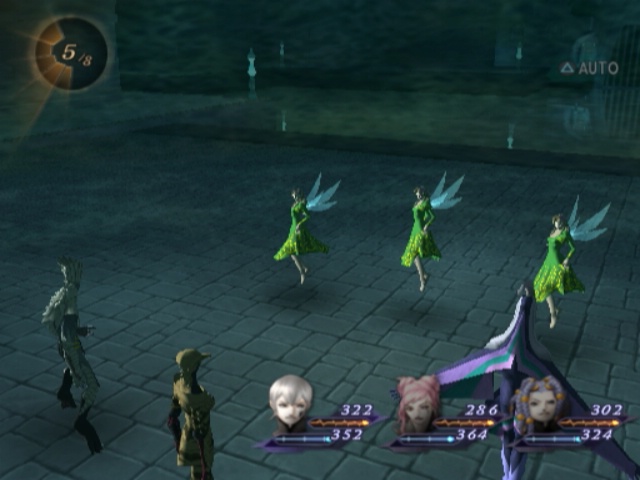
Hunting ~ Rare Devil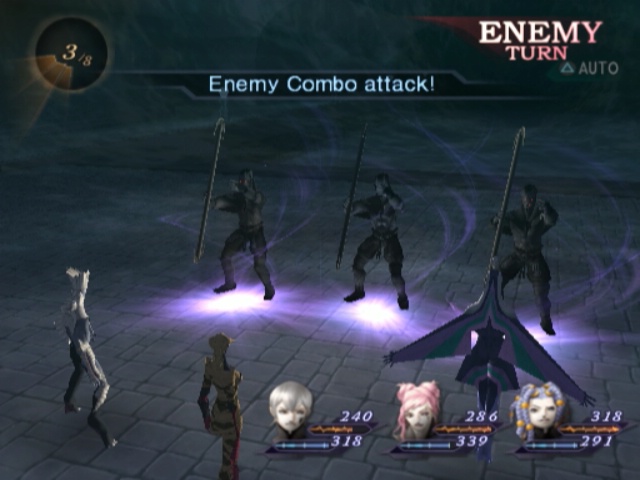
And it's quite a nasty one, in comparison to before. Enemy demons here do all of one thing...
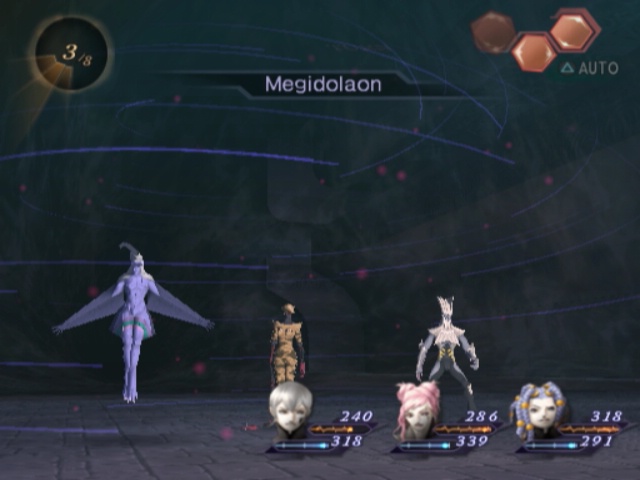
Every turn, they drop combo-Megidolaons.
Sounds like it should hurt a fair bit from that, huh?

N-not really. Kind of underwhelming, honestly!
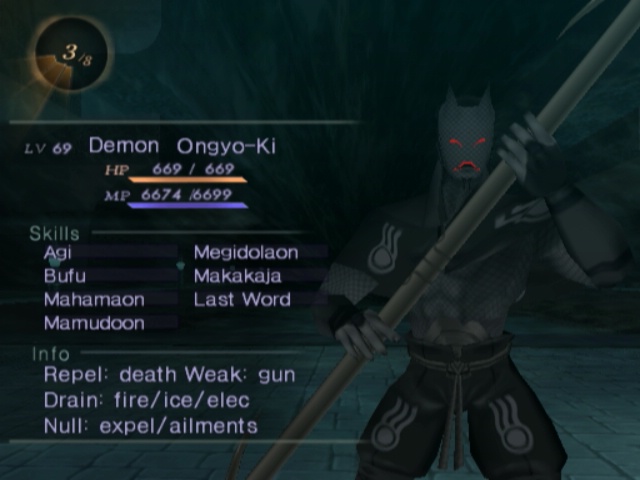
Ongyo-Kis are kinda weird, though. Only weak to bullets, are insanely rare outside of this forced encounter and can cast Megidolaon on their own but only do it via combo.

Also, goddamn, does the Forged Shot eat through these guys like its nothin'.
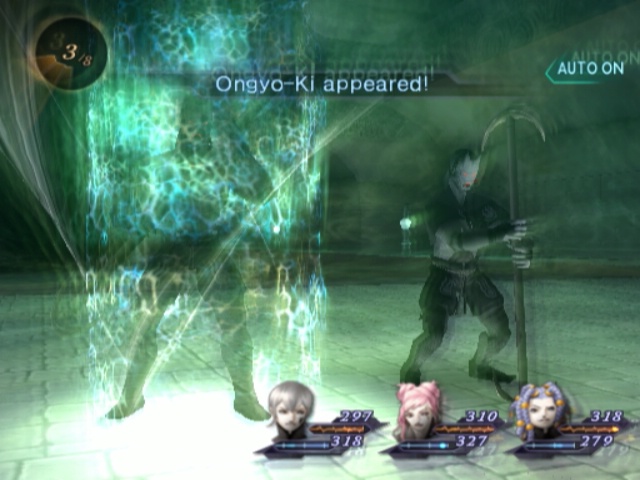
Also-also, once you get them down to just one they spawn in more. The general internet populace seems to suggest letting that happen a fair bit in this one scripted fight.
For once I actually kind of agree. Kind of.
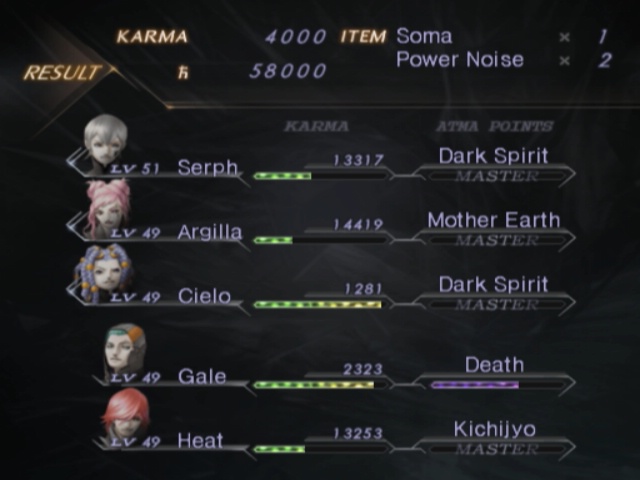
See, Ongyo-Kis are what drop Power Noises (getting 2 here was insanely good luck). Only, they drop them rarely. Outside of this one scripted fight, they only appear in exactly one place. As really rare reinforcements. To a rare encounter. Or actually on their own. As an even rarer encounter.
That makes this the best opportunity to farm Power Noise if you think you need them.
Or you could just stuff dudes full of every other stat noise so that they need to max Strength via level ups. That's easier to manage.
please dont farm power noise its not worth it
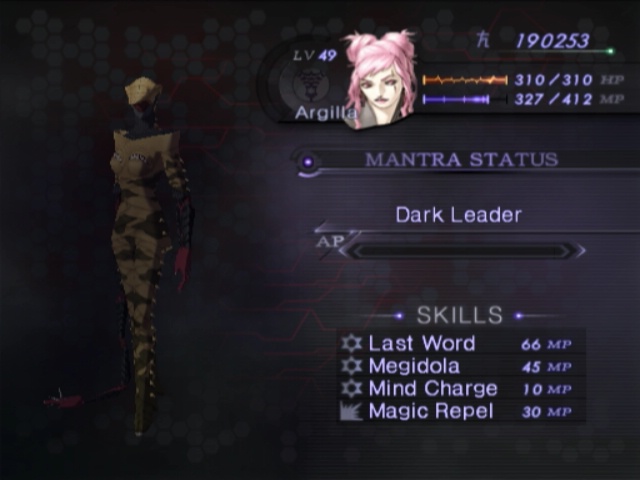
Also, because Argilla has mastered Mother Earth that means she has a Ma-dyne spell. That also lets her get Dark Leader which costs 700k but has some neat stuff. Mostly you only want it on its own merits for Mind Charge though (Magic Repel is not that good!). What comes after it is waaaaaaaay better. Still, not going to buy it right now because shit man thats expensive.
Also it has Megidola. For no effort at all. Megido required you to beat up King Frost.
I don't "get" the Mantra grid sometimes.

Right by the gold container, is this place's one foray into the Water Pump section.
River of Samsara ~ Second Movement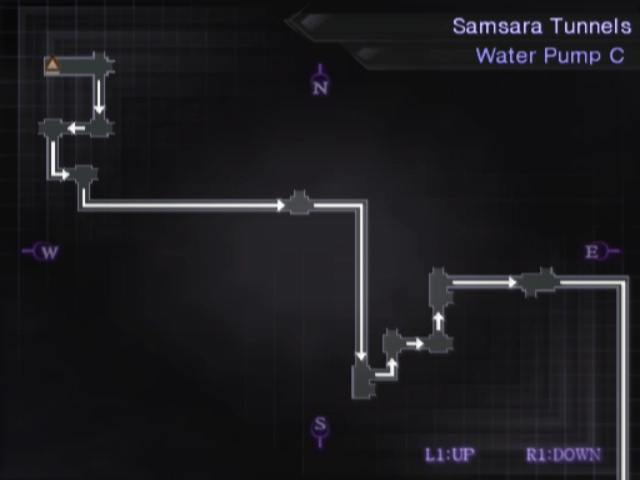
Now THIS one is a confusing mess if you don't know the right route through here. Thankfully, I made notes of it in advance and was able to beeline through it with minimal fuss

But holy shit is this one The Bad One. There's no valve moving or switch flipping or anything like that. It's just a nasty maze where one false move completely fucks you over and there's little you can do to fix that.
River of Samsara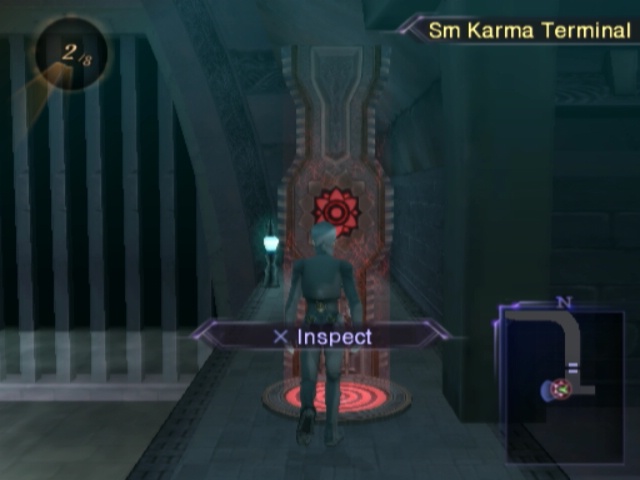
At least there's not particularly much left after we finish that area. Spinning right from the entrance lets us get to another small karma terminal.
Going left...

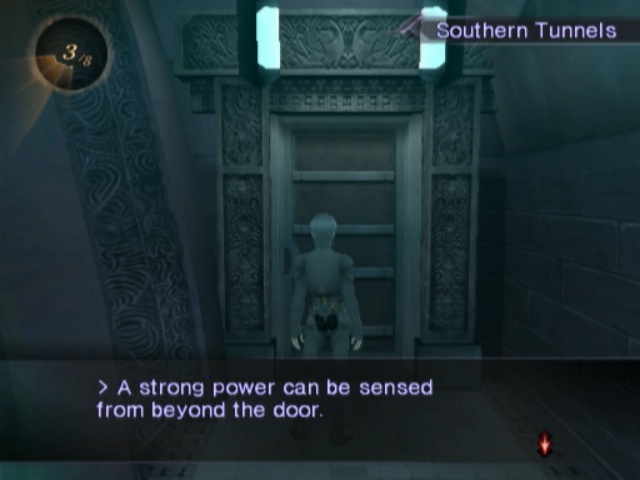
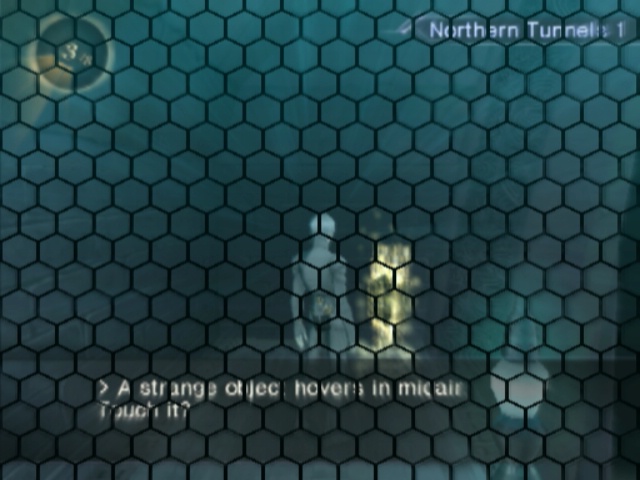
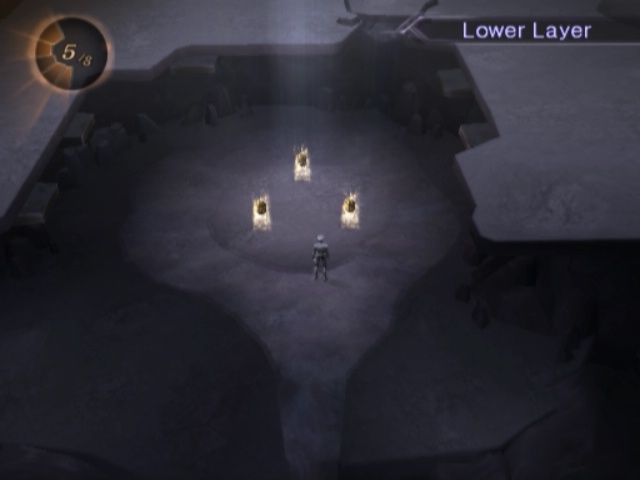
...uh, hi.
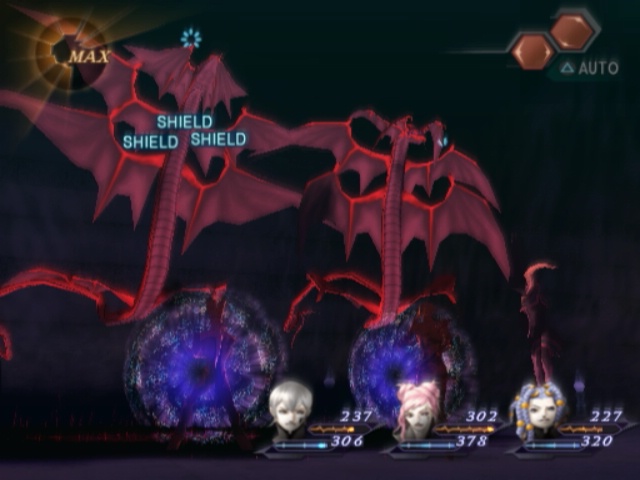
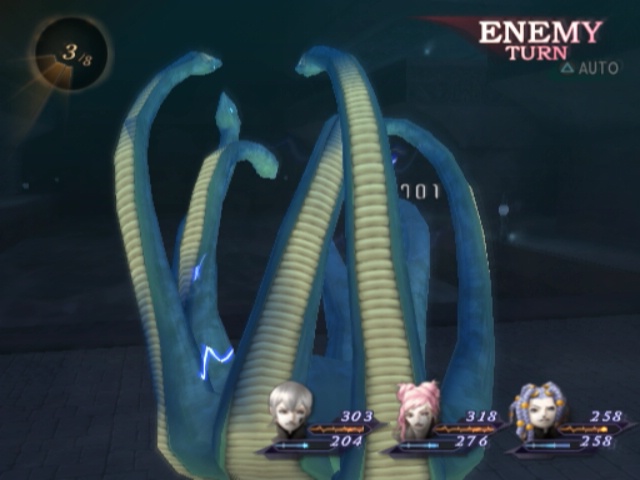
Big Battle ~ Prelude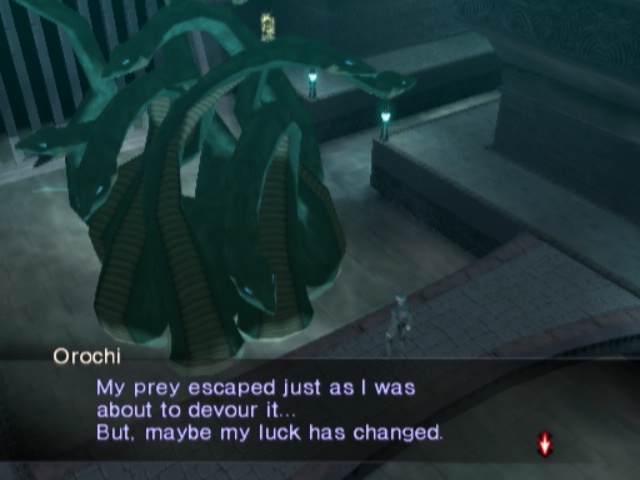
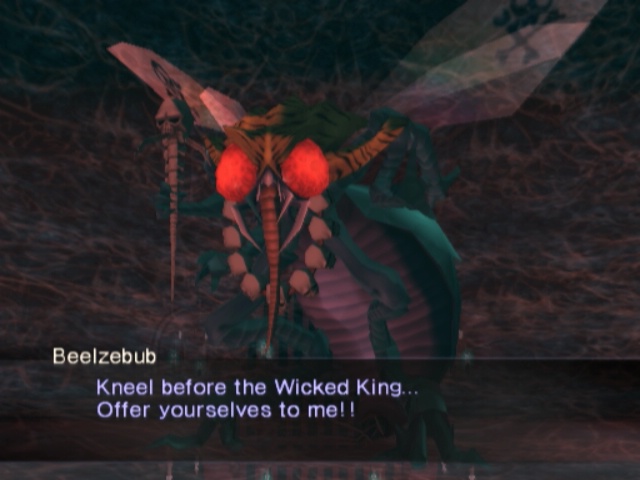
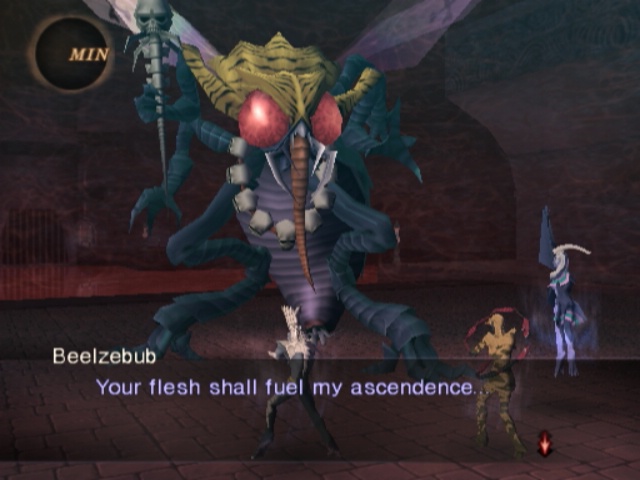
 You look delicious. It must be my lucky day, afterall. I'll repay my good fortune by devouring you immediately!
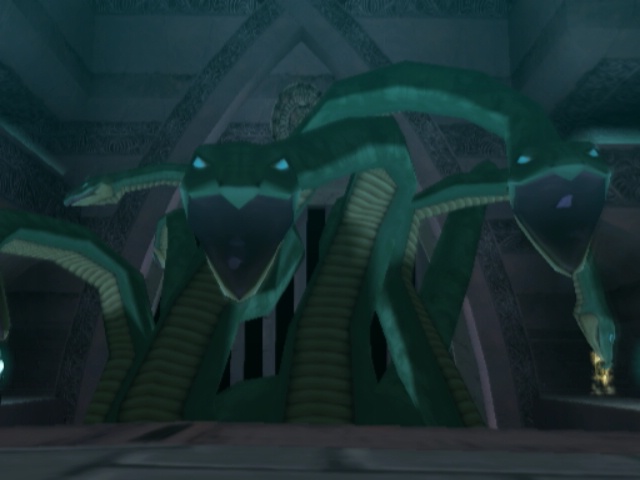
yeah, not happening
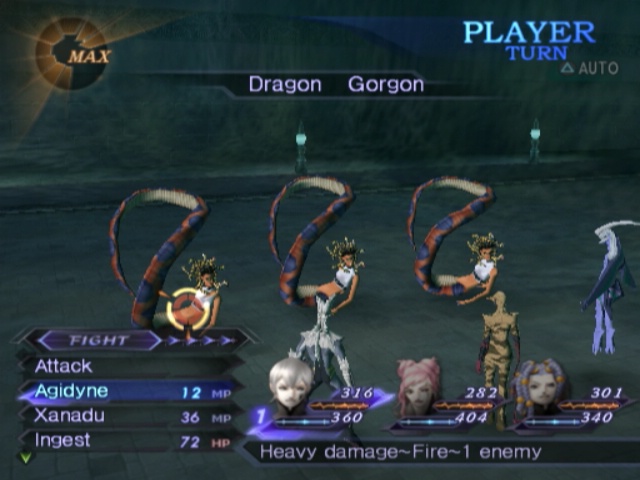
 Optional Boss: Dragon Yamata No Orochi Hunting ~ Compulsion
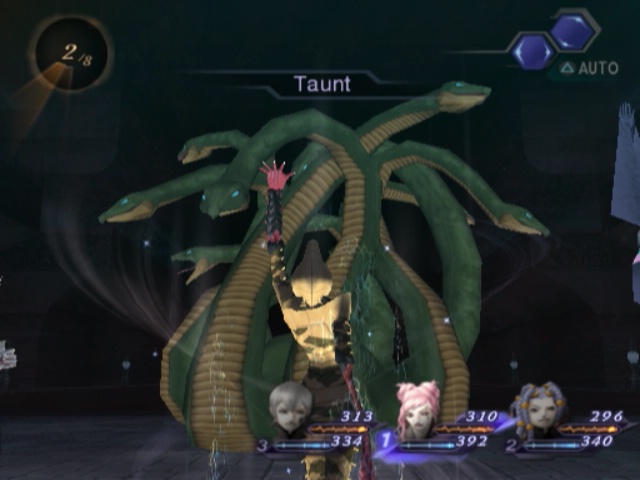
So, the Orochi is... really, really fucking easy. At least he is if you have one particular skill. But we'll get to that in a moment.
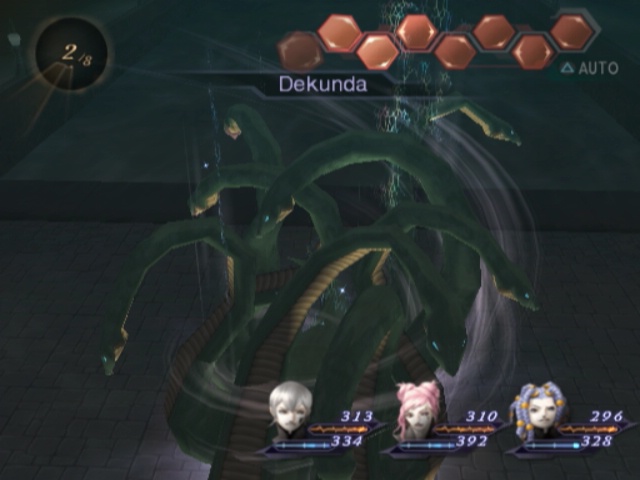
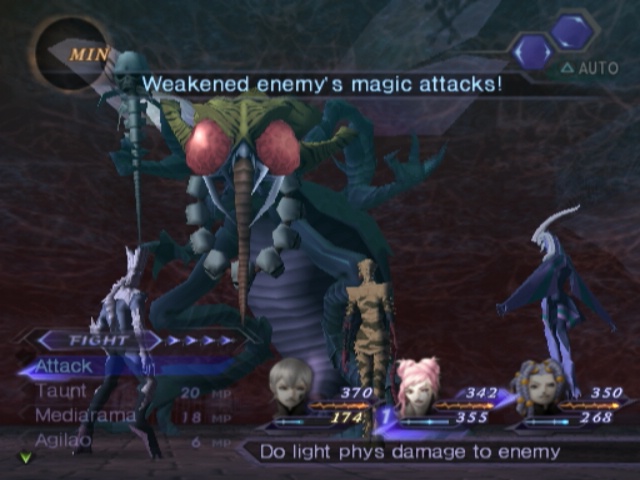
So long as you buff or debuff even once, he immediately gets rid of it. This is actually a secret good thing!
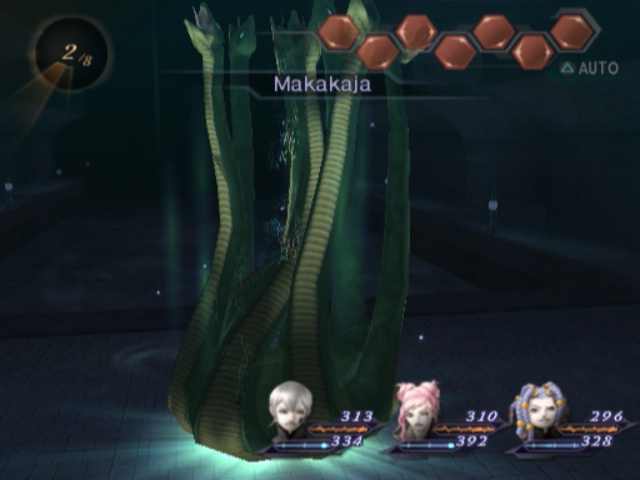
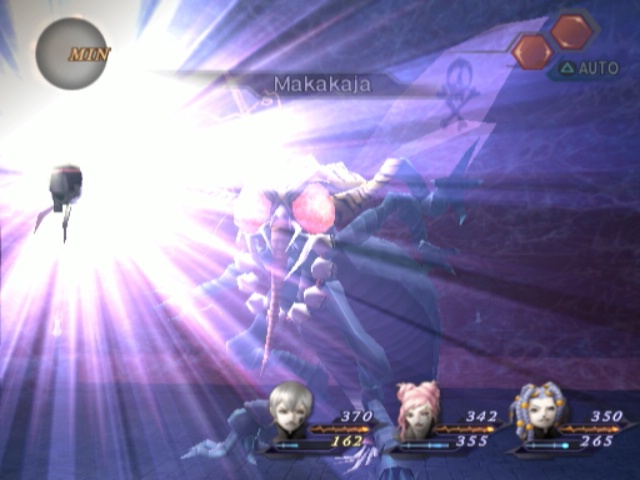
See, the Orochi is the most predictable enemy ever. He has a very stict pattern. He always begins his turns with Dekunda and Dekaja if applicable. He then goes into his normal turn order tricks. Which consists of throwing out 4 Makakajas.
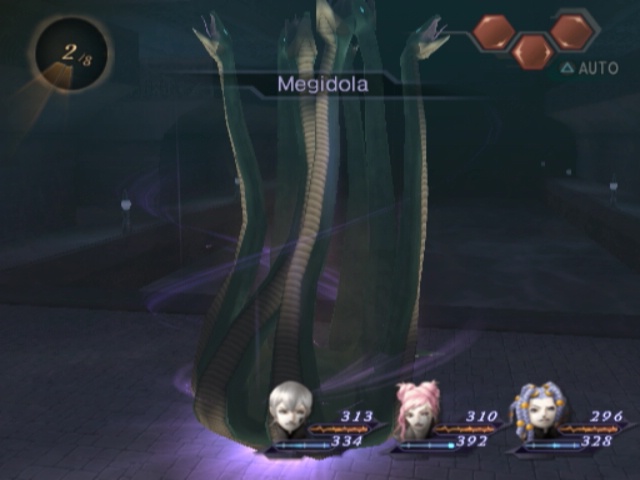
He then drops a Megidola. This hurts a fair bit with the 4 kajas but its not too bad.
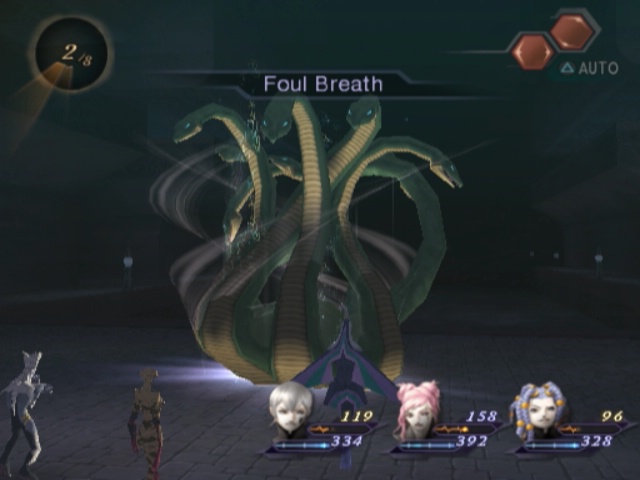
Next, he throws out a Foul Breath. He does this with all of his remaining turns.
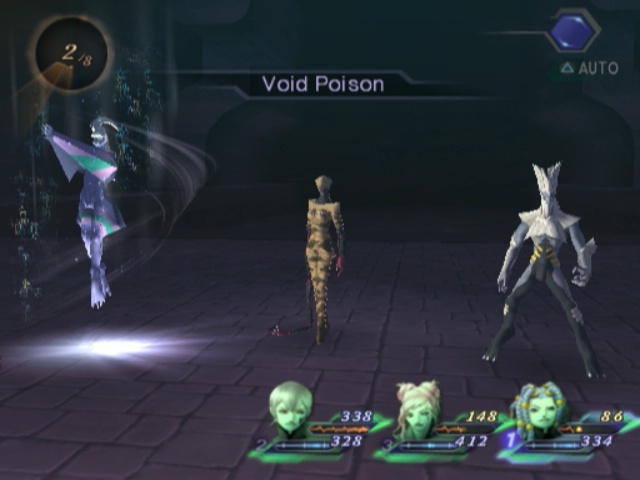
If you have Void Poison, his Foul Breaths are a non-issue because they are Poison elemental. How nice! You don't need Null Poison but I used it in the video anyway to save a little time and get an extra hit in. And also because, well, I had it just in case. So long as you have decent HP, it's really a non-issue though.
If you don't have even Void Poison... how did you get this far in? Like, seriously? It's not required for anything, and this is basically the only time it's ever getting used, but you should've picked it up by now. When buying cheap mantras you still don't have if nothing else.
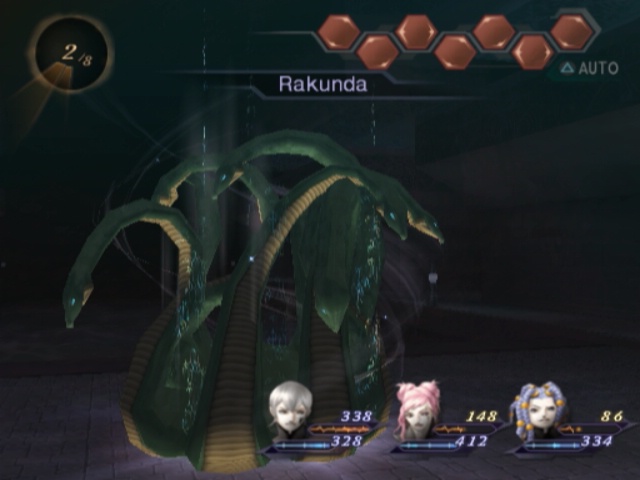
This changes slightly in his second turn... but only if you don't Dekaja him. If his Makakajas are still in play, he throws out 4 Rakundas. This is Bad News.
Megidola in that scenario really fucking hurts christ ouch.
Thankfully, if you do Dekaja him, then something as simple as Media will make you unkillable here.
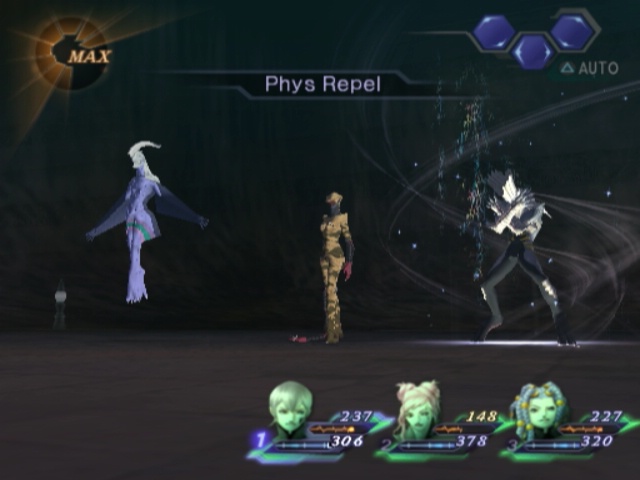
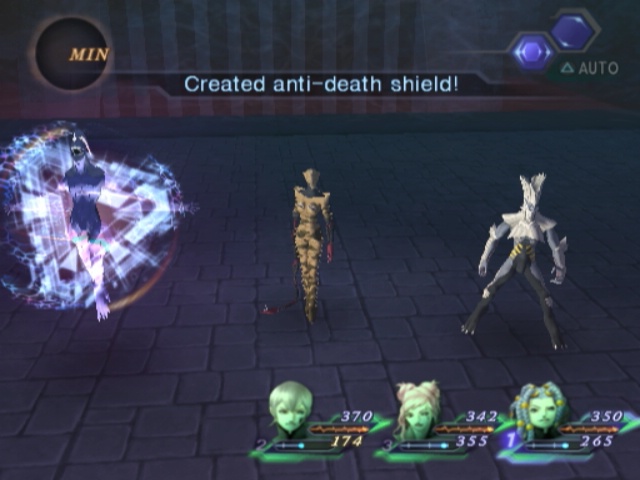
After his second round, have someone cast Phys Repel or Drain. Good job, you win. Only catch is, it has to be Repel or Drain because, in case you missed it earlier, he gets 8 actions a turn. Void is nowhere near good enough.
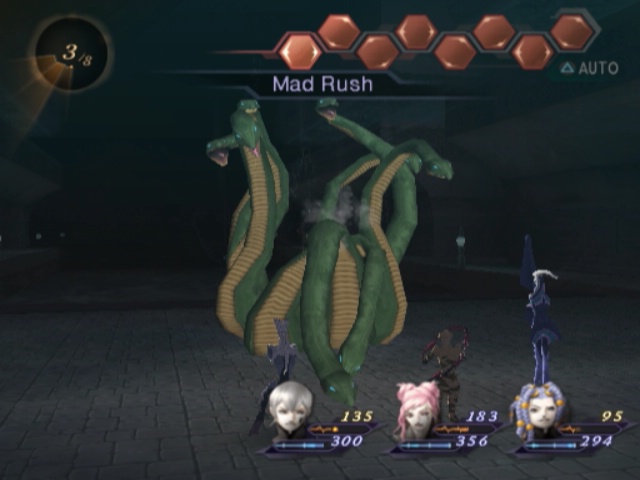
From Orochi's third turn onwards, he runs out of SP. And has functionally no way of recovering it (he does have MP Thief but he'll basically never use it). As a result, he only ever drops Mad Rush from this point onwards.
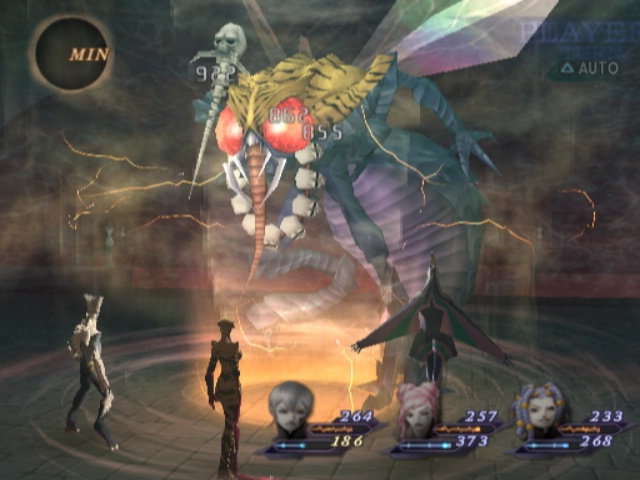
Damage-wise, he can only be hurt by Electric and Ice attacks. He's flatout immune to everything else.
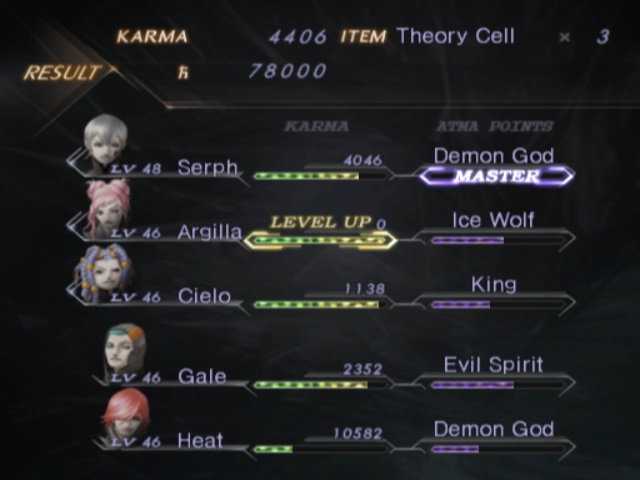
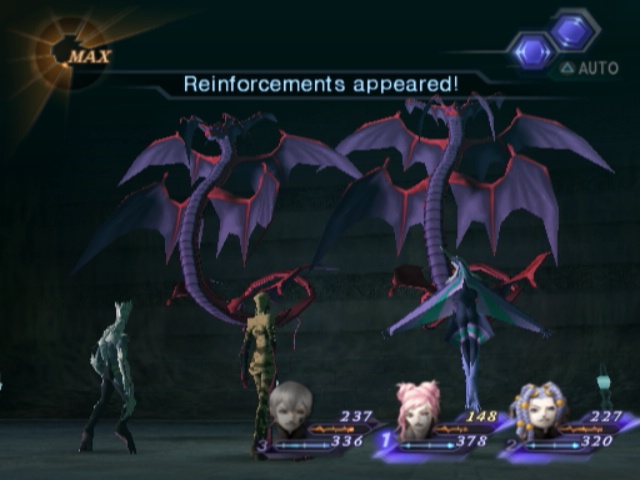
BONUS ROUND!
He shocks pretty easily, as witnessed in this very image.
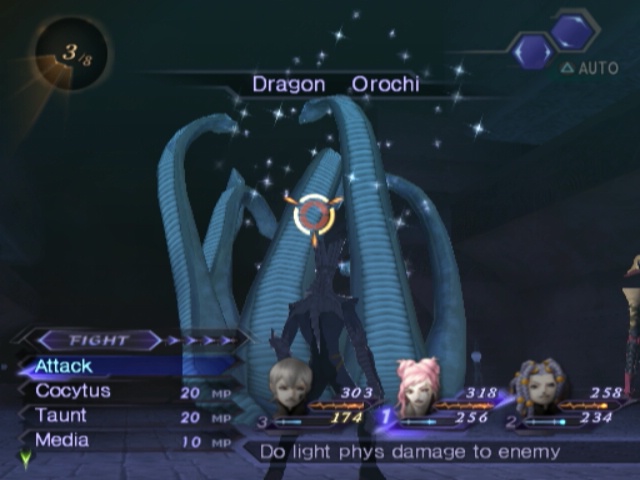
Because he's not immune to Ice, he also gets frozen quite often too. Which stops his immunity to Physicals.
And since he has around 5600 HP, it lasts no time when you actually attack the guy.

The Orochi is fuckin' bad and a giant disappointment, yo. At least he gives 50k Karma and 300,000 Macca. A decent chunk of AP too!
River of Samsara
After kickin' his ass, we can loop around a little area and get a Fusion Cell for our trouble. That's nice but it's not our main reward.
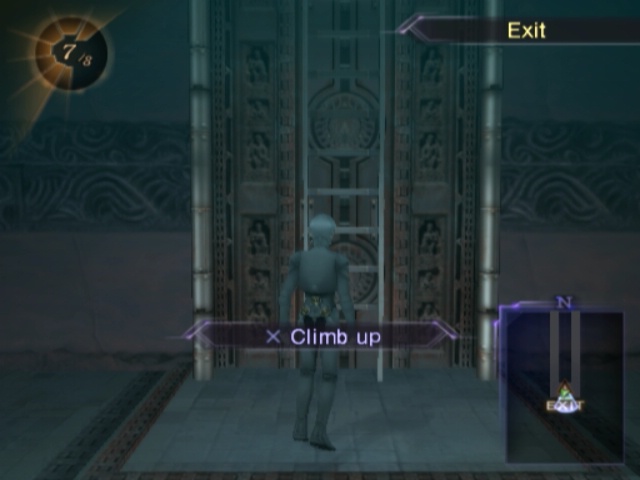
No, with the Orochi beaten, we can climb up from here and find our way into...
Sweet Home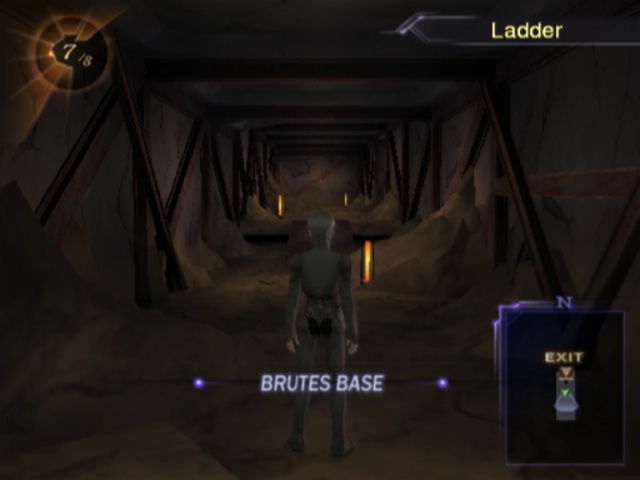
Ajna's basement. Well, more like Ajna's basement's basement. This puts us in a very small, very linear area that only has stairs leading upwards in it and basicaly nothing else right now.
Not even random encounters.
We can climb all the way from B4 to the... third floor... without any hassle. It's all very samey and boring.
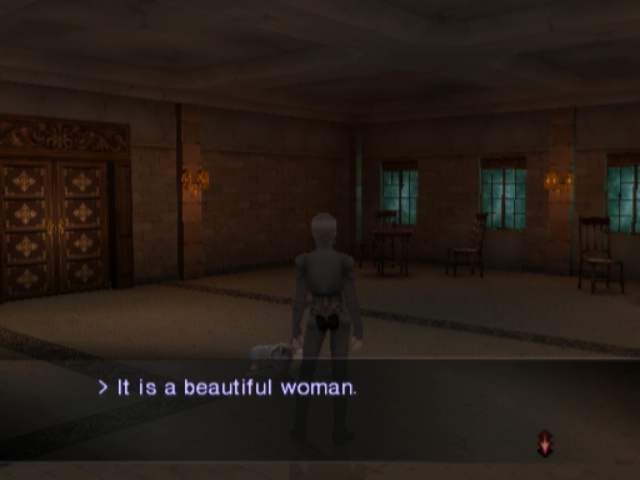
Even the third floor is a linear hallway with no branches or loot until this lady at the end.
> She is not breathing... She is dead.
> There's something in her hand.
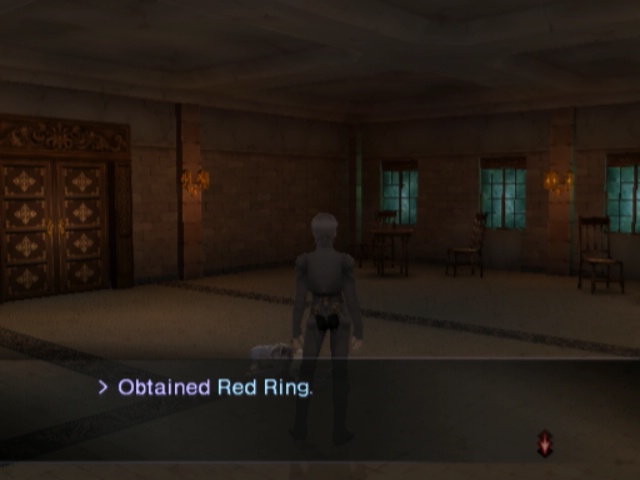
To say Orochi apparently attacked her and she fled, she got a longass way away before dying. The Red Ring on its own doesn't do anything for us. It doesn't give us any new mantras, doesn't do anything in combat and hell at the moment it doesn't do anything at all.
also this lady ran the wrong way

Through that door is a dead end with a Layer Cell in it.
But this is all well and good, but its not really why we're here. The Red Ring could've waited til it was necessary to bother with, but what we're really interested in is...
The one enemy you can fight on the 3F of Ajna.
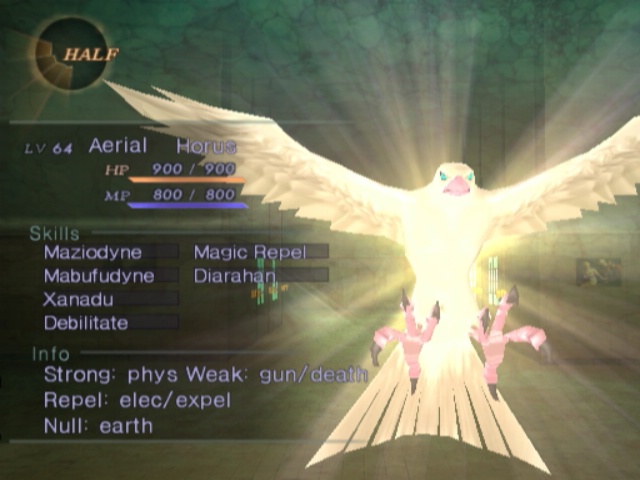
Horus is a magnificant bird who comes all on his lonesome. He's the only enemy you can encounter here and he's weak to instant death.
Also guns but that one is irrelevant. You don't eat Horus. You murder him.

Sometimes when you murder him, a second one comes along to be murdered instantly too.
Horus drops Magic Noise. He drops it quite often.
Only problem is getting back here after we leave is fuckin' slow and tedious. There's no large terminal by where Orochi was, so we gotta run through all the sewers again to get here.
So I guess if you really want that Magic Noise, grab all of it in one trip. I didn't bother because I don't really care right now. I could've farmed it just to make Heat not dogshit terrible but what comes next will do that just as well...
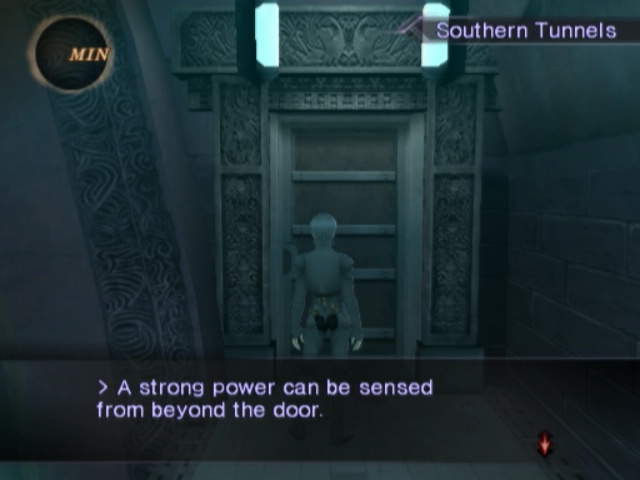
Because we CAN warp right to the end of the Manipura section of the Samsara Tunnels, and we have some unfinished business here.
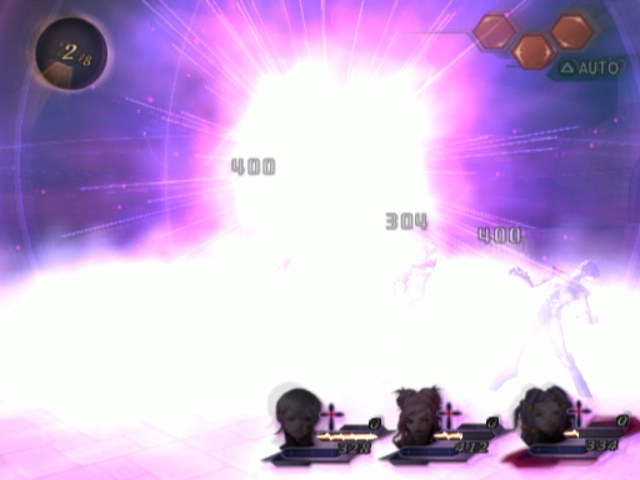
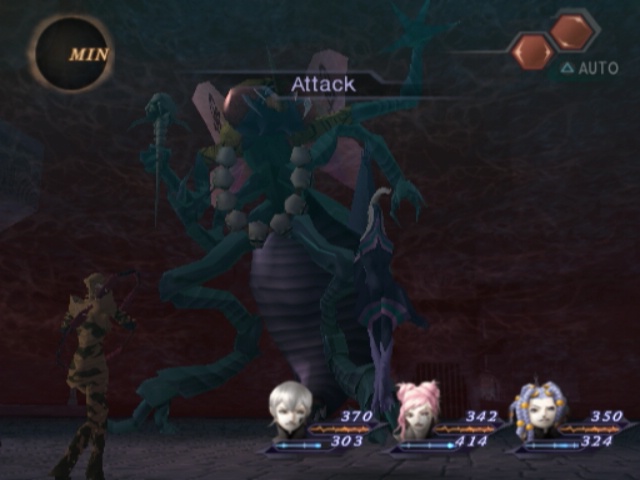
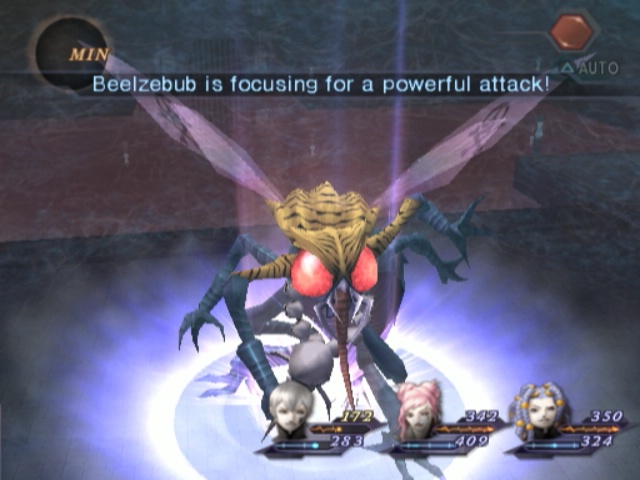
Big Battle ~ Prelude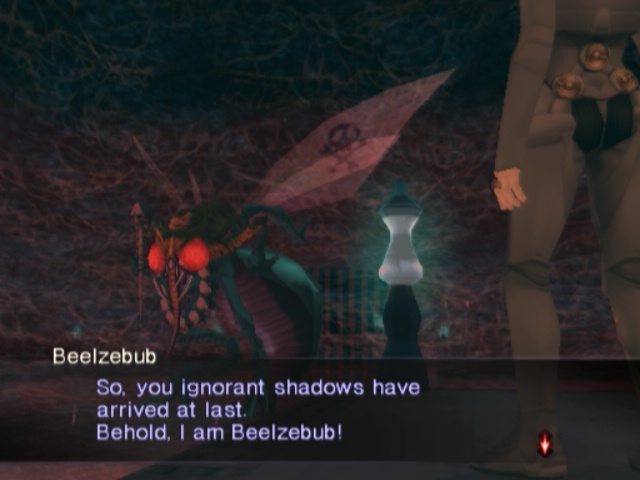
 Now is the time to rise out of purgatory and cover the present world with terror and corruption.
Yeah, so in case you can't tell now: the requirements for getting the Manipura Waterways to open are beating Beelzebub at Svadhisthana and beating Ravana at Ajna. Both need doin' for this guy.
Y'know, I think I'll pass on that one.
And instead, I'll just kick your ass. Again.
Fiend Beelzebub (Round 2)let me say upfront: this is a BAD run of this fight. i should probably redo it because i make a ton of obvious mistakes!
Big BattleSo, Beelzebub 2 is "really, really hard" and "you absolutely definitely must have this one particular passive to win."
yeah bullshit i dont need no stinkin' null death or debilitate
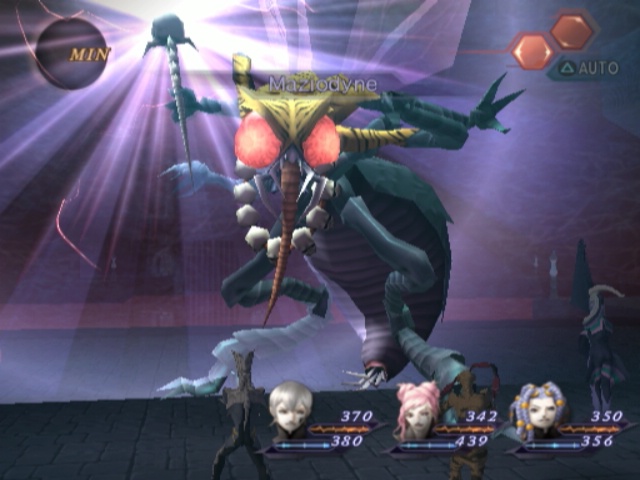
At the start of the fight, Beelzebub is just as predictable as Orochi was. He does the same thing in the same order every single time. His first move is always Maziodyne.
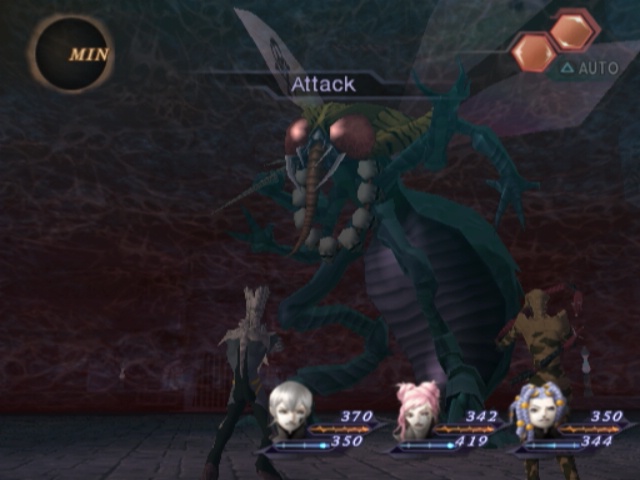
Whether you block that or not, his second move is always a regular Attack.

His third, again regardless of the sucess of the attack, is Mazandyne.
Then he punches you again. And it swings back around to Maziodyne and repeats.
Aside from this, his defences are the same as before i.e. immune to everything but attacks and fire.
Like before, at an incredibly predictable moment Beelzebub changes gears. Unlike before, it's after he loses 4000 HP.
Because thats when he's down a quarter. He has a fuckin' astounding 16000 at max.
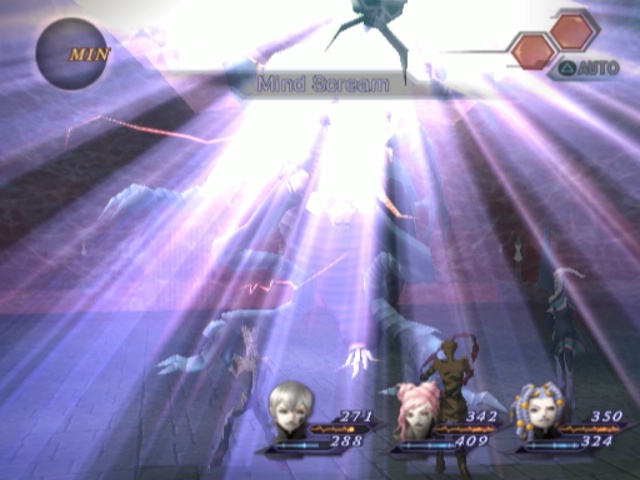
Also like before, his first move after his dialogue bit is Mind Scream.
It's always Mind Scream. Again.
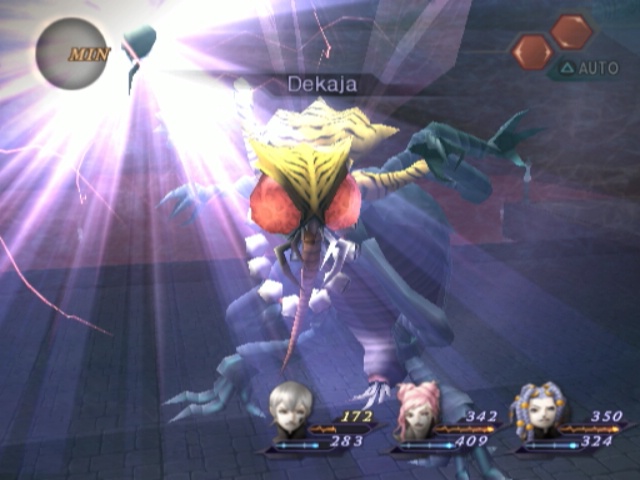
Thankfully, the second 12000 HP of this fight are really fun (but still secretly easy). He varies shit up a lot and becomes quite hard to predict. Mostly. He'll still Dekaja/kunda whenever any of them get to 4 but he can also do it before then if he feels like it.
He also has a nice tendency to follow it up with a Power Charge. That's actually a very good thing if you Taunt him twice in the first phase and don't Dekaja him until after this.
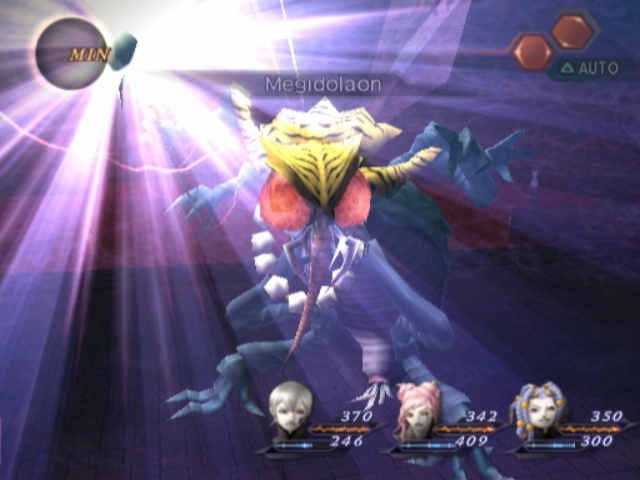
Unlike before, he can Megidolaon whenever he jolly well feels like it but it's still not all that threatening.
Seriously, look at this. Granted this is at +3 defence but his magic is still wholly intact. No excuse.
Anyway, if he's at +4 attack and Power Charged, his Mind Screams fuckin' cut through 3000 of his own HP like its nothing.
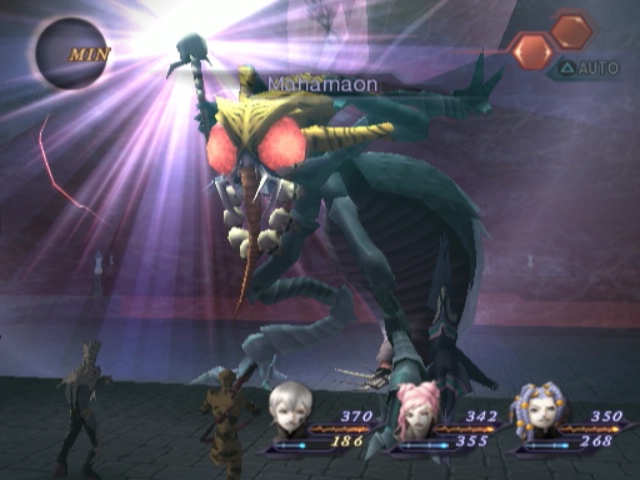
Like before, whenever he uses Mahamaon that's a signal for your benefit. Beelzebub really likes telegraphing things with Mahamaon.
Like before, this is when you want to Makanda him. Also be healed up reasonably well just in case.
You also "absolutely totally" must have Null Death for this bit. Which is untrue. Void Death works just as well.
See, come his turn he Makakajas. This is what the Makanda mostly is for. Just negating this, but getting 2 Makandas in makes it deal less damage than it would.
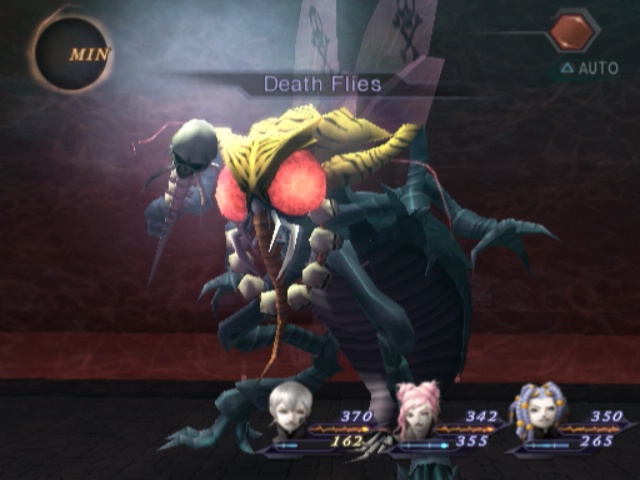
Whenever he Mahamaons, the next turn is always Makakaja > Death Flies. And Death Flies is his unique supermove that deals almighty elemental damage. It also has a high chance of inflicting instant death.
Hence the Void Death.
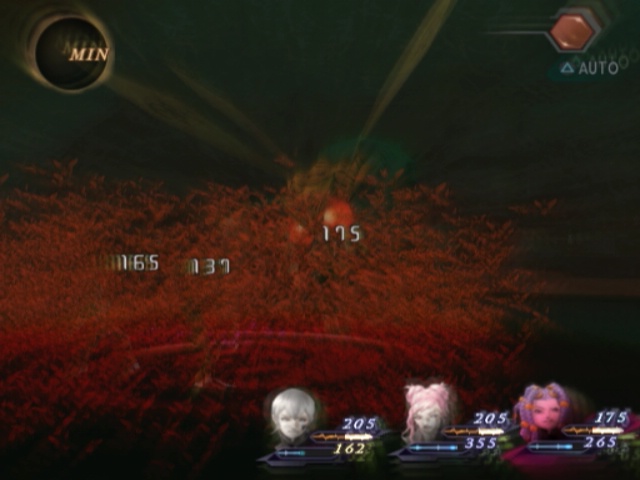
oh wow that damage is a lot

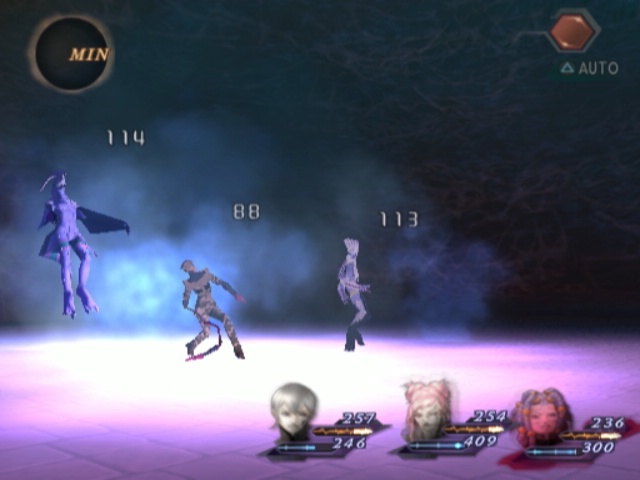
Also at this stage, even if his Mind Scream does hit us it's... really, really underwhelming.

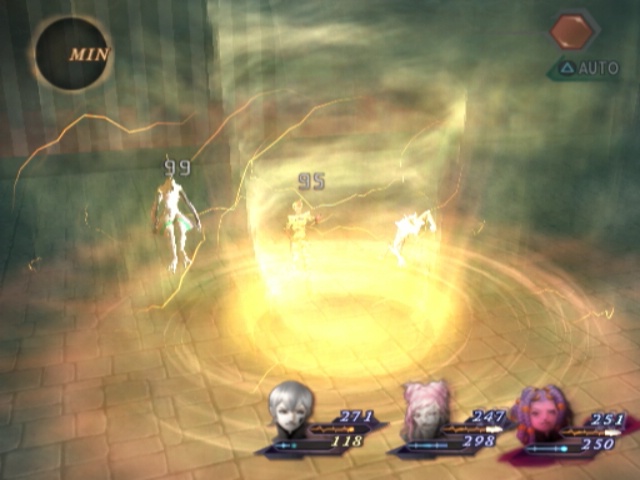
And he was kind enough to kill himself too. I was actually kinda hoping he would kill Argilla here instead so I would have to redo the fight though. The only reason Serph and Cielo are dead here is because I'm a fuckin' moron who did dumb shit way too much.
But, eh, I'll take it.
FOR NOW.
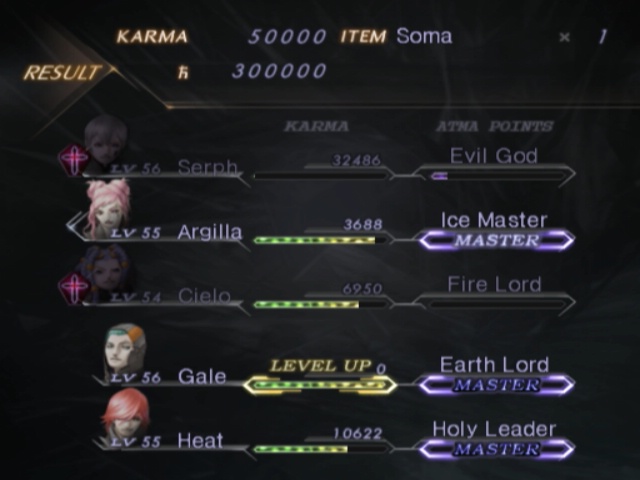
The actual battle rewards are all the same as they were for Orochi. 50,000 Karma, 300k Macca, a Soma and I'm pretty sure about the same amount of AP too but that one's harder to say for sure.
River of Samsara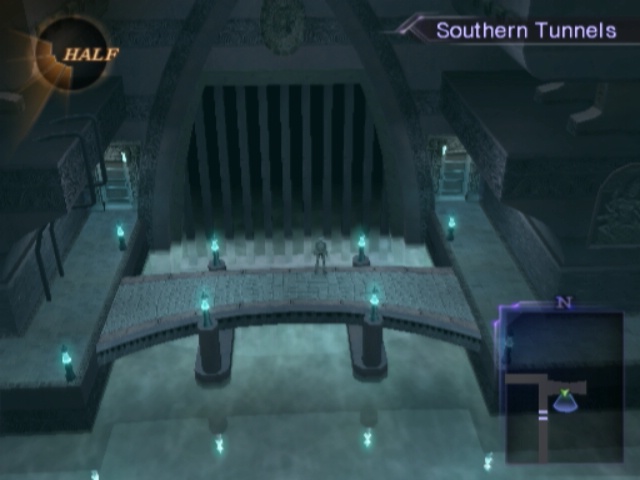
Anywho, Beelzebub beaten we... get a little more dungeon to run through first. Uh, okay. Left door comes first here.
That lets us pick up a Fusion Cell. Thankfully there's more for our benefit past the right door!
Like with Orochi, there's a ladder just down here but this one...
Muladhara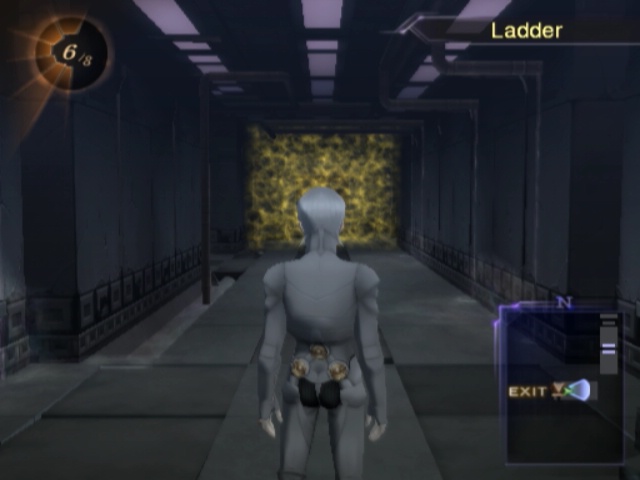
Drops us off in OUR basement. This answers what was behind that one door we never could open, at least. It was locked from this side and I guess for good reason too.
Since past that yellow wall are some items that would be super overpowered if we could get 'em after Co-Ordinate 136!
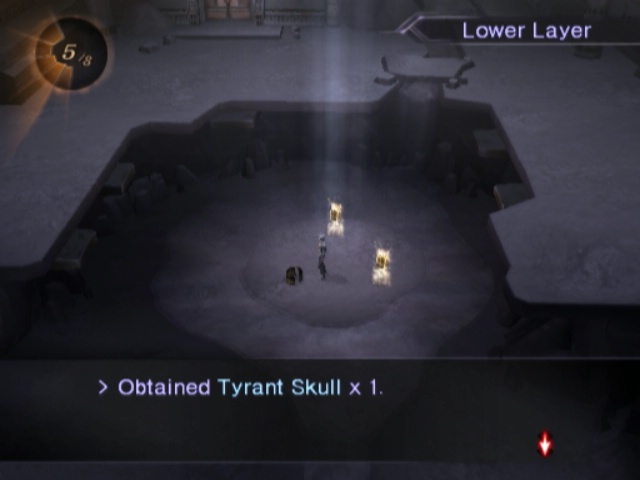
This one's just a key item. It does something VERY nice when we put it to use.
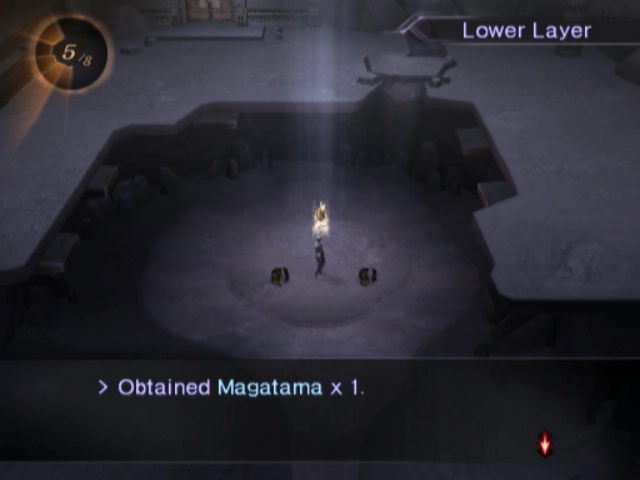
This beauty is... the best bullet in the game. No, really.
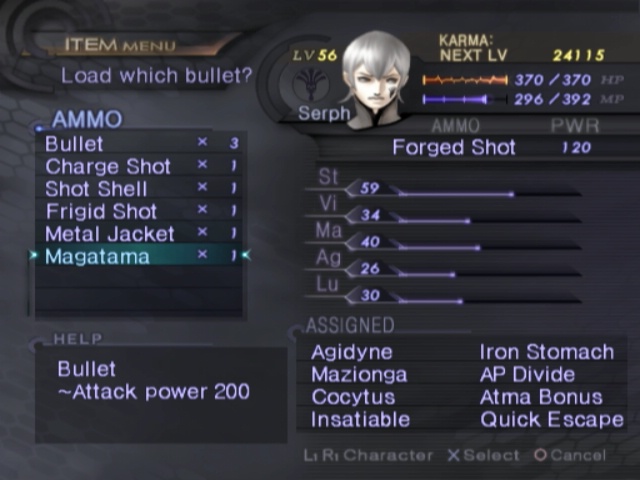
It doesn't do anything special, but it has the highest attack power by a considerable margin. Appropriately, then, this is the only one we get.
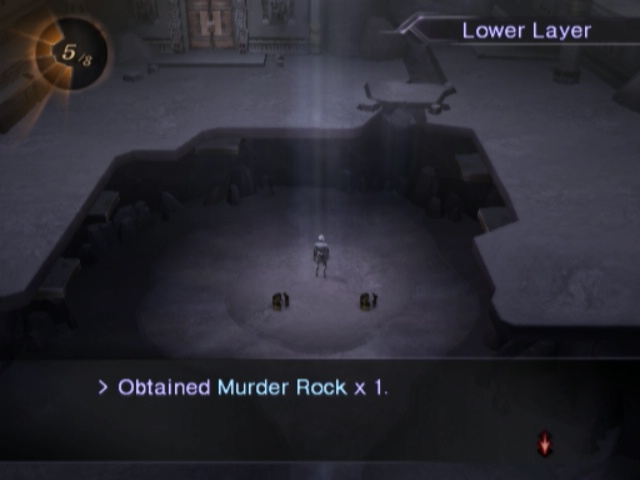
Last item is the Murder Rock. Sadly, we did not just pick up a DVD copy of a weird Italian musical from the 80s.
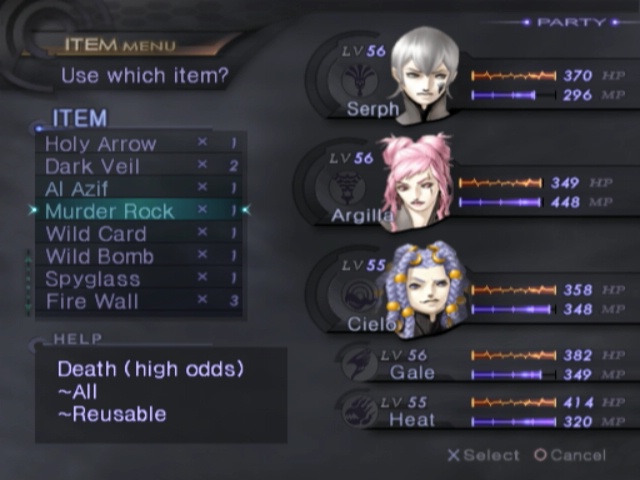
Instead, we picked up free, infinite Mamudoons. It definitely lives up to its name, I gotta say.
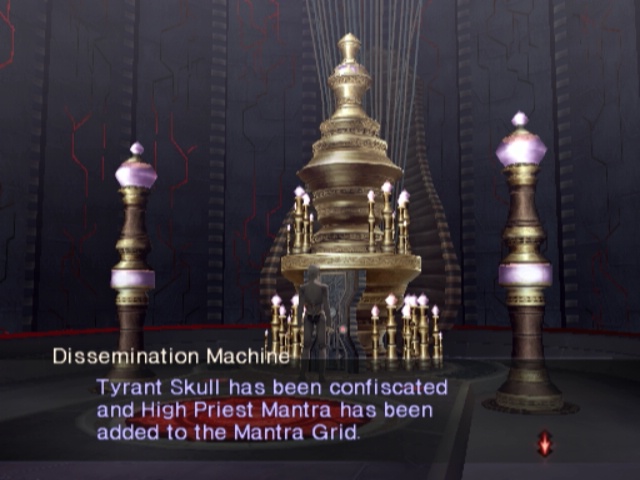
So, the Tyrant Skull gives us our second optional boss mantra.
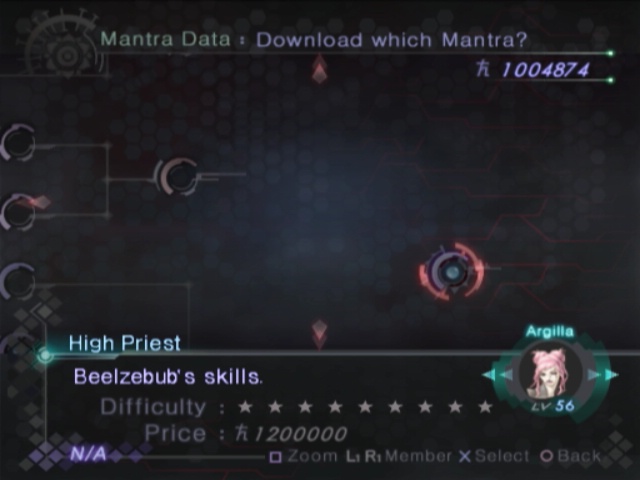
And, um, it's really, really expensive. 1.2 million macca is quite a lot. We've had it before, though, and are nearly at it again.
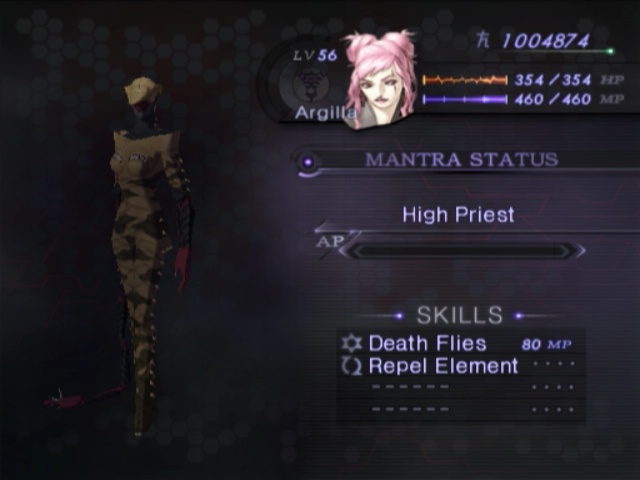
It's worth the price though. Death Flies is super-super good and Repel Element ALONE is worth the price of this thing. Sadly can't afford it right now but if I could I would buy it for Argilla or Heat first. Argilla gets the superawesome offense but Heat becomes usable again.
Remember way, way back to when we first got access to Mantras. Remember how I said beelining down peoples opposite elemental paths was a dumb idea. This is ONE of the reasons why. Getting this one mantra does the job just as well. And costs less money. And grants full protection not just regular resistance.
For reference, doing it the "proper" way and going down the opposite elemental paths actually costs more money. It's 2 million per person that way, and that just deals with 1 element. This is 1.2 million and deals with all of five of the "main" ones.
Fire, Ice, Force, Electric AND Earth. All innately repelled by this thing. This is why Magic Repel is not that good. Sadly, it doesn't work for Ailments so its not useful for Cielo... but we'll deal with his in due time.
Speaking of time, we're out of optional bosses to kick the shit out of again! So, next time we'll go to Sahasrara and finally reach Nirvana.
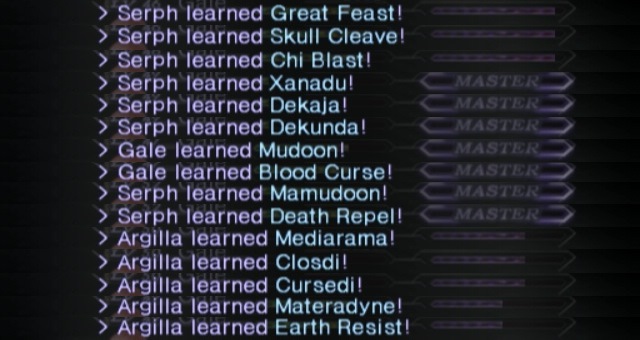
Aside from the obvious two, there's no real super-major standouts this time around. Great Feast's the best that isn't Dekaja/kunda since it's the fatal hunt skill that hits every enemy so of course you want that for Samaels. Skull Cleave deals a decent chunk of damage to 1 enemy based on the user's remaining HP. Chi Blast hits every enemy for middling damage but has a high Critical chance.
Xanadu is the only really good Expel spell. Unlike the Hama line this one CAN kill things! It just deals a decent chunk of damage. Death Repel is bad and worthless. Nothing that uses death spells is affected by them enough for it to ever be worth using. Closdi cures mute and the Ma-dynes come with their respective elemental resist as a passive. None of them are worth ever caring about. It supercedes the weakness with resistance to one element. You can just, y'know, get better versions in several places.
...And, actually, if I can be frank here: Dekaja as a spell is not that great! Dekaja Rocks are easy to come by and do the same thing. That has the added bonus of not taking up a skill slot and not requiring you to grind out Mantras to get it either. Dekunda, on the other hand, only has combos as an alternative. How disappointing!