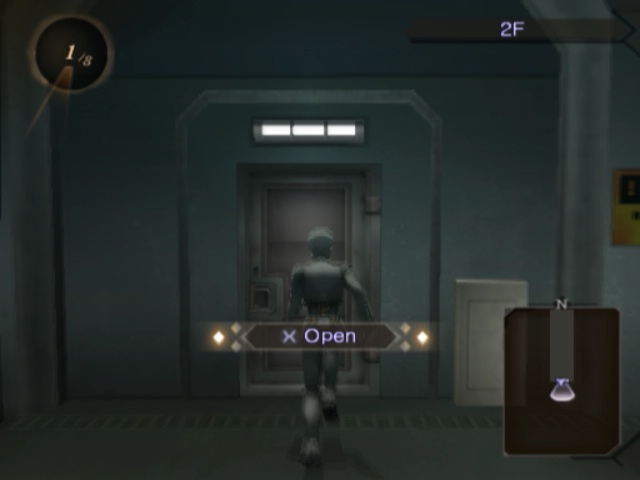
Part 24: Underwater Cable
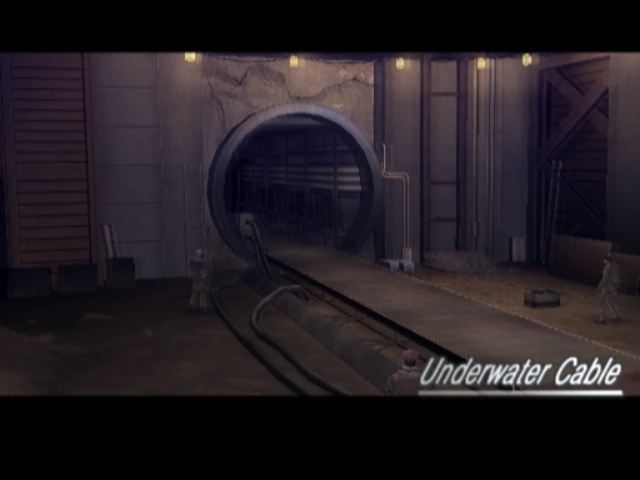
So, the Underwater Cable is our next dungeon and it might just be my least favourite one thus far. It's not the longest or the hardest or anything like that, but... well, we'll get to that eventually.
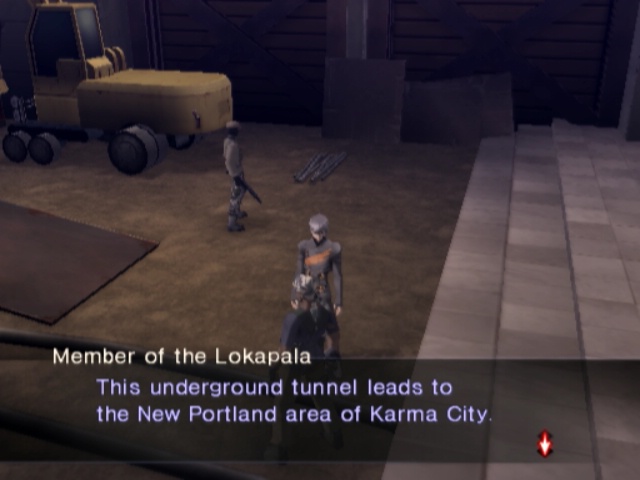
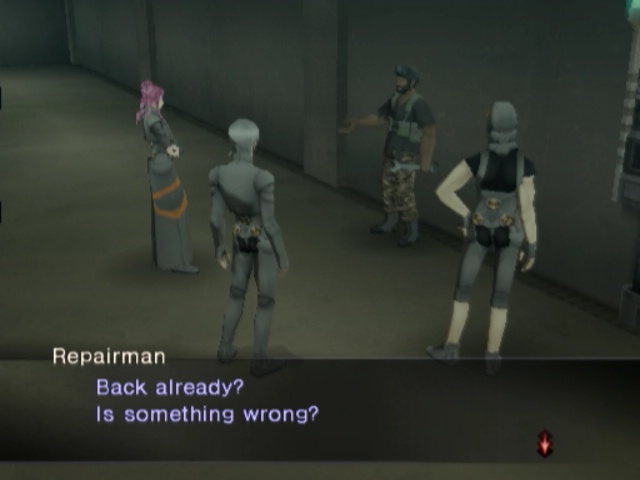
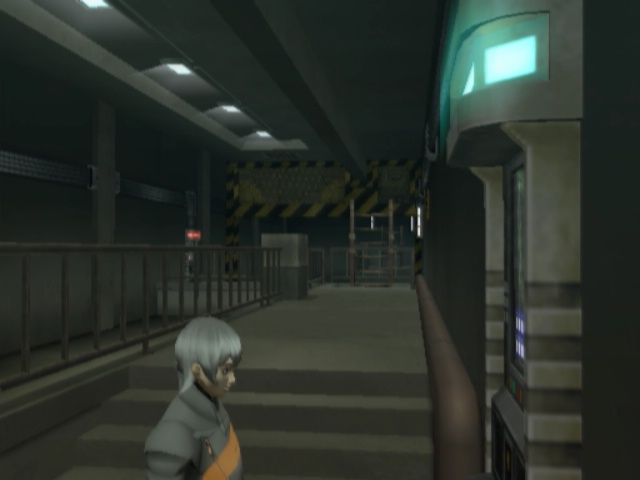
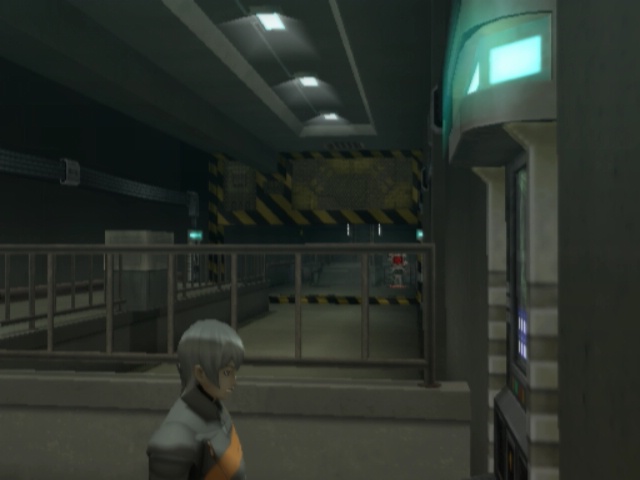
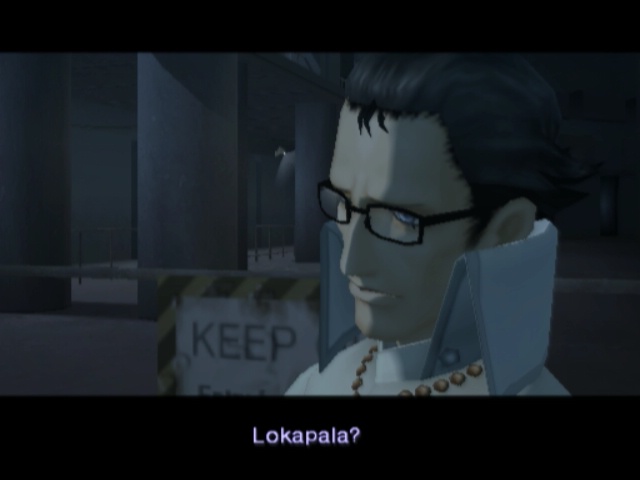
This is a good time to talk to a couple of the Lokapala dudes too, since they're all hanging out here as well.
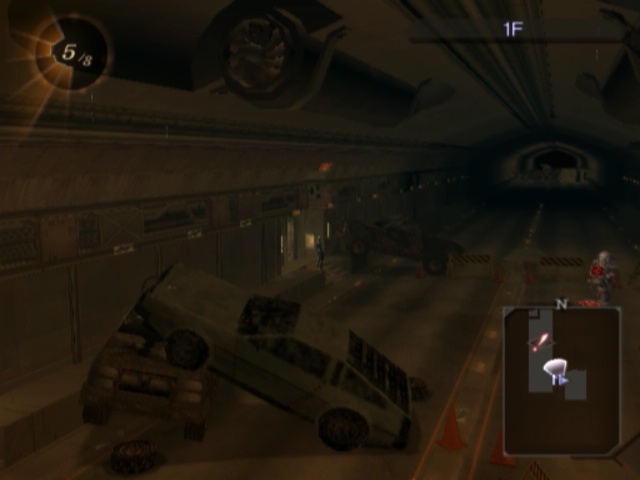
 We dug it out of an old passageway that had collasped.
 Some sections have collapsed because of car accidents and things... So, you'll need to travel along maintenance and cable pathways to bypass certain areas.
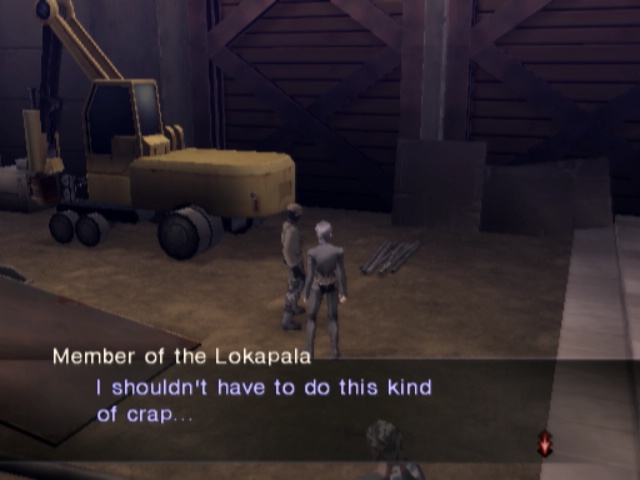
 I graduated from college, you know.
 Which Tribe is that? Are you making fun of me because I went to community college? You aren't just automatically accepted because you went to high school, you know!
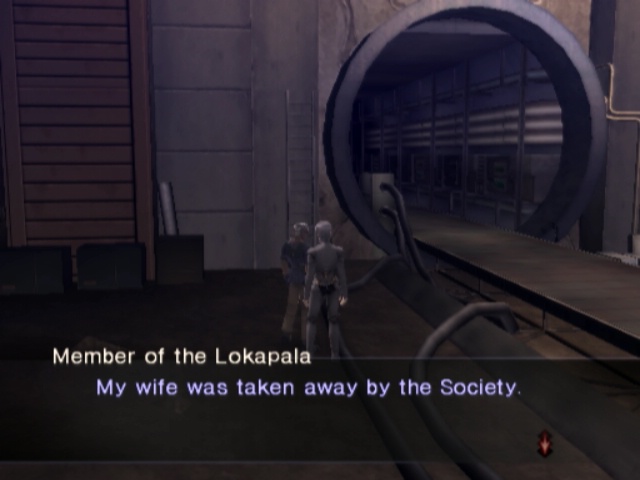
 ...Help her before something terrible happens!
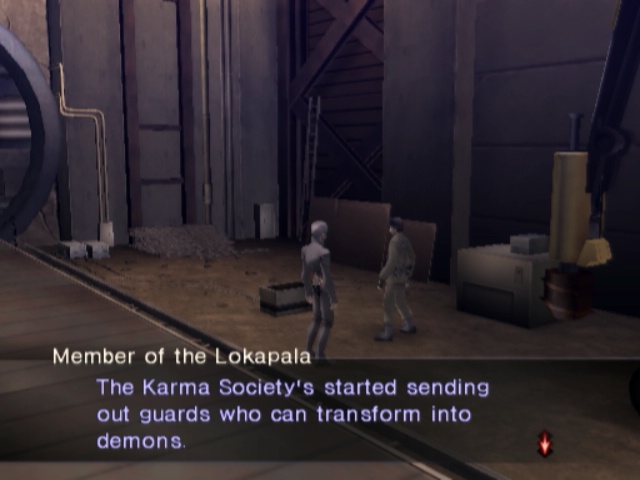 You guys have the demon virus too, don't you? I know it's not contagious through human contact or anything, but... Don't get too close.
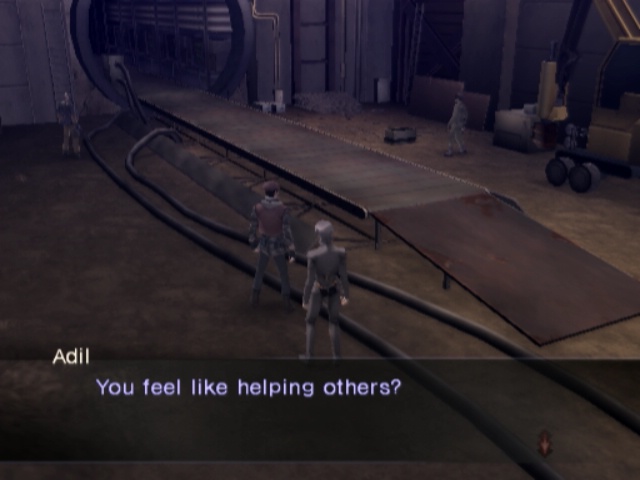
 Tch...AI don't have emotions.
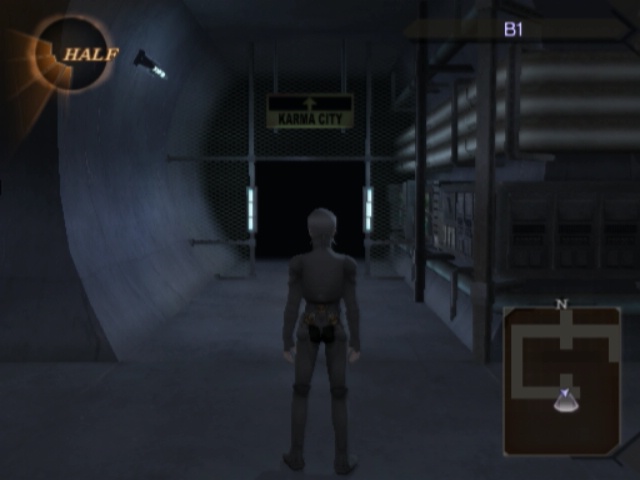
 Road to Sodom
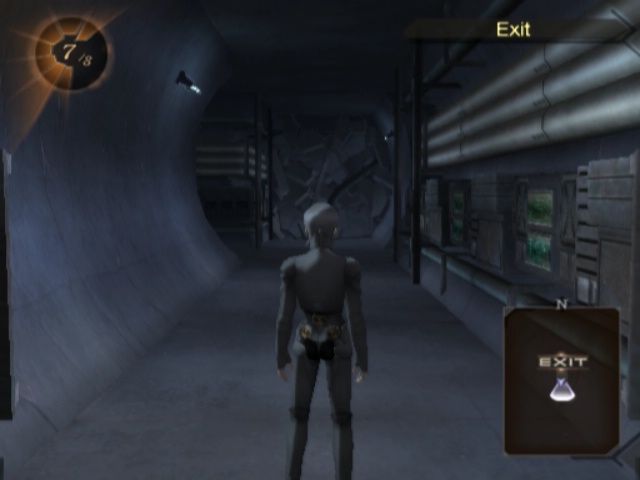
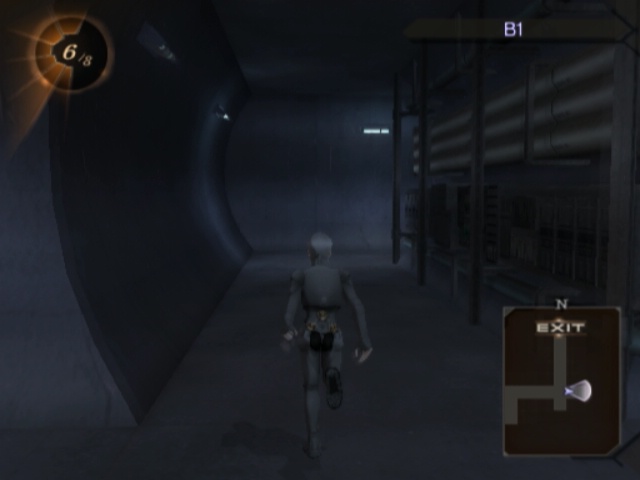
Okay, so the dungeon itself is a mess with lots of turns that lead to nothing but dead ends.
We want to go west here to progress, so we'll go east instead first.
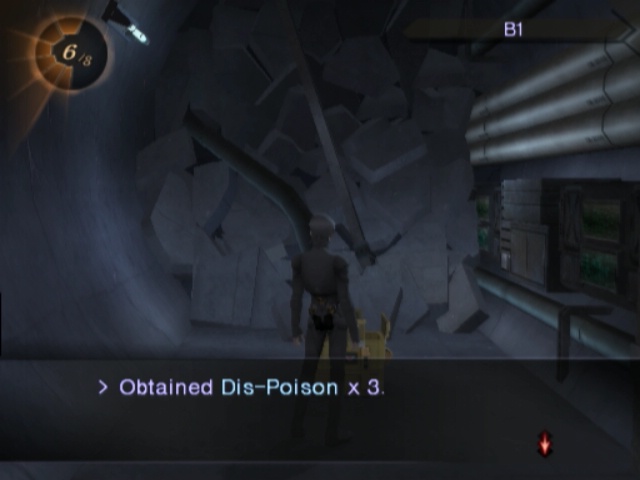
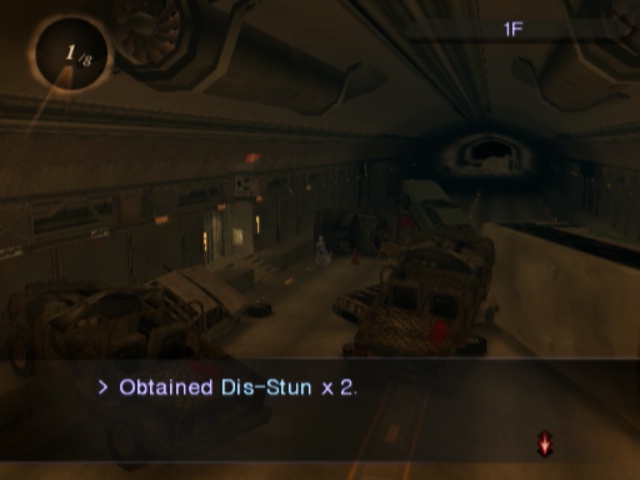
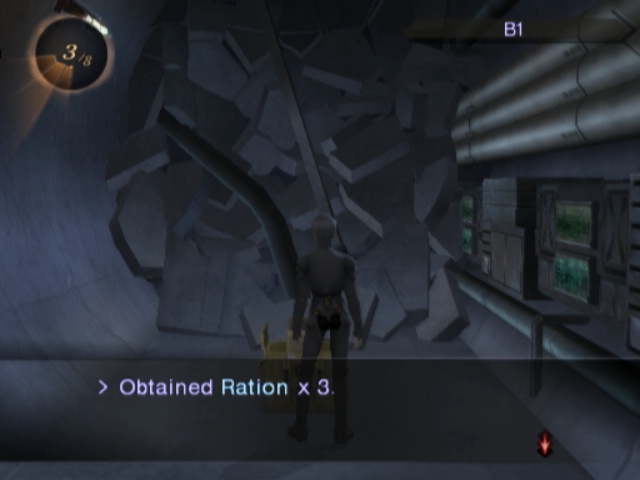
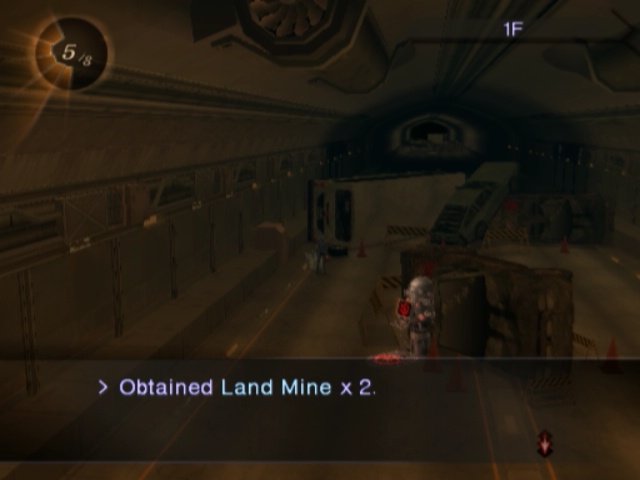
This leads to a bunch of Dis-Poisons, which I'm sure will be useful sometime ever.
After that, we continute on the main road and... have to go south to progress but we'll go east again instead.
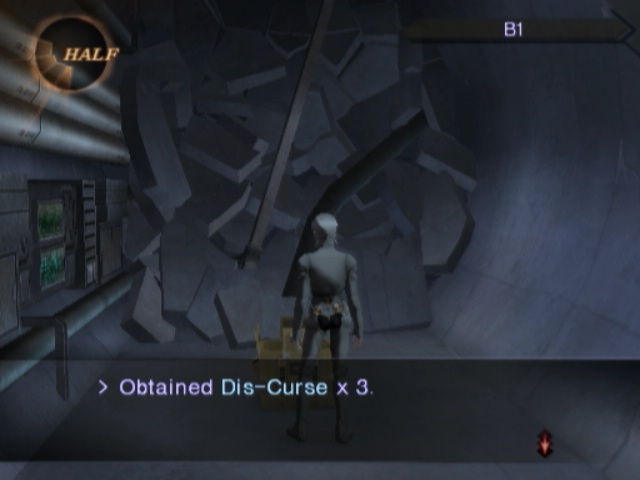
This time we get a bunch of Dis-Curses, which I'm sure will be useful maybe one time ever.
Back on the main road again, this time we ignore this turn entirely and take a harder to see one further to the south.
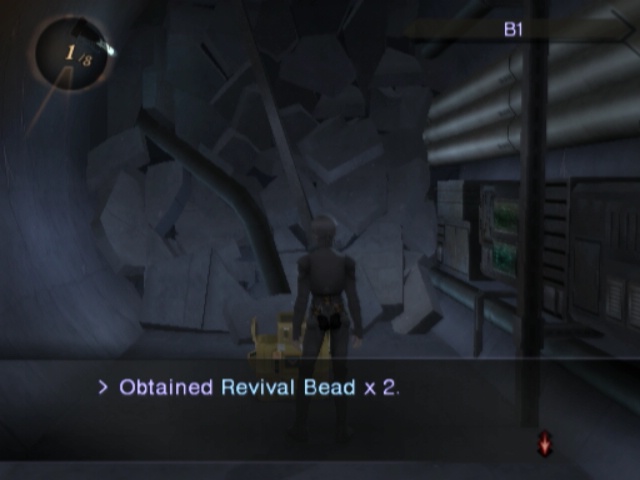
A couple Revival Beads will be nice, I'm sure.
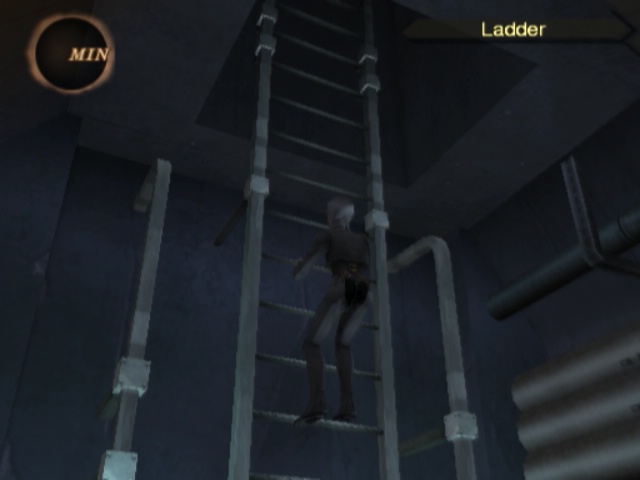
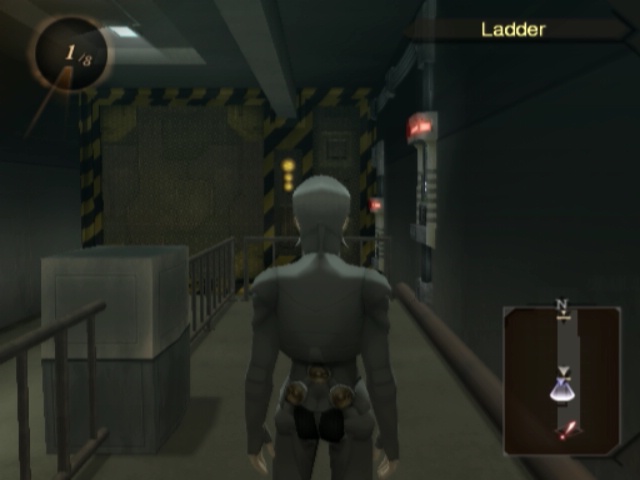
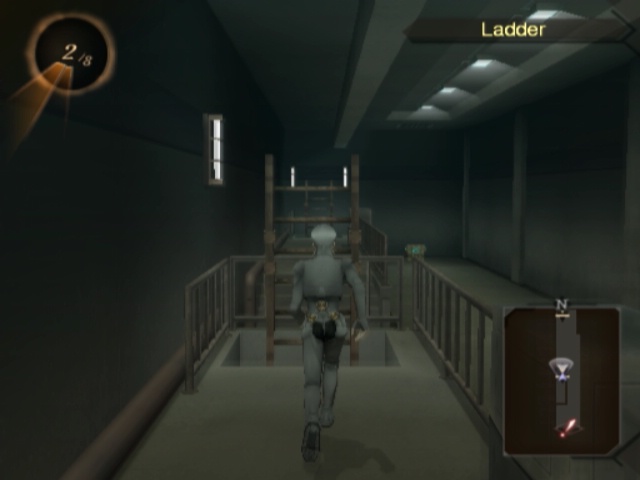
After that, we just double back, and head on up the ladder we bypassed mere moments beforehand.
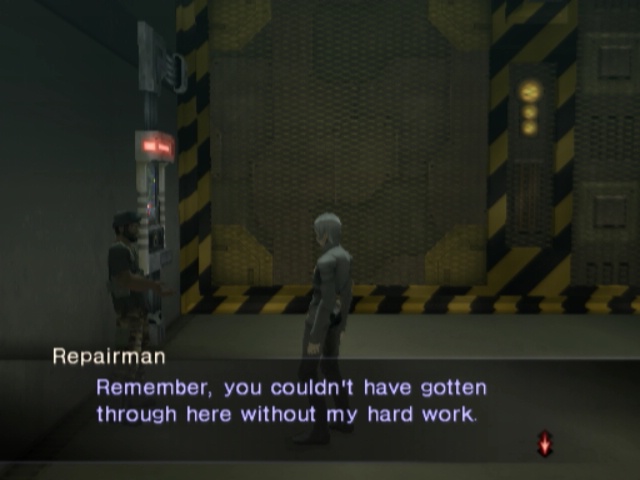
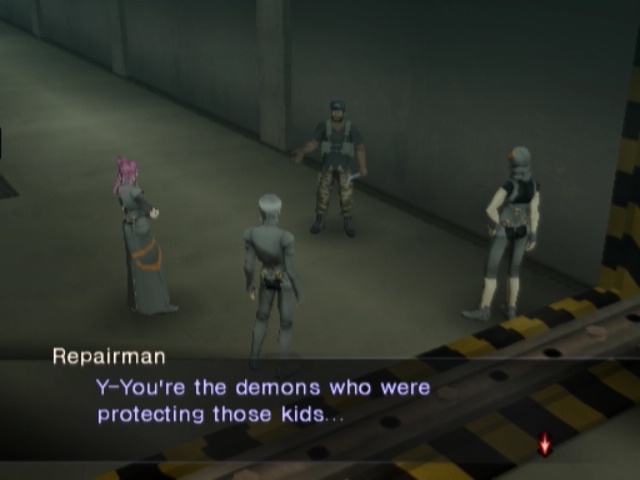
This brings us nicely to the first giant shutter we couldn't get passed were it not for Repairman here.
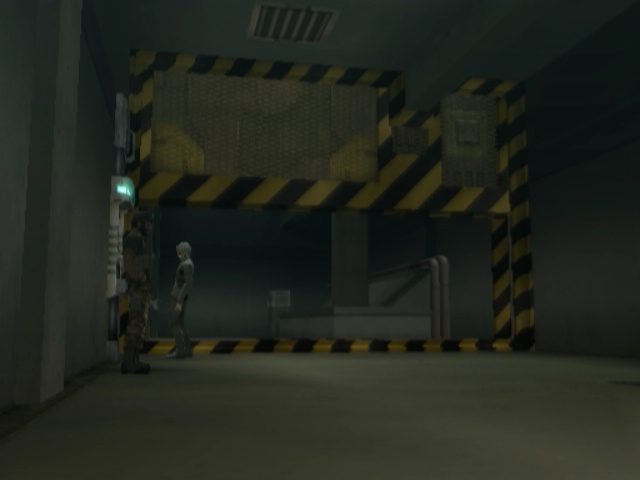
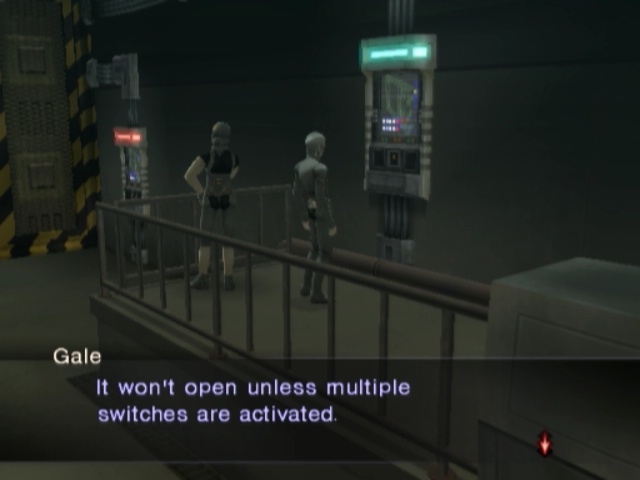
Needless to say, we still have to open the damn thing ourselves manually before we can move on.
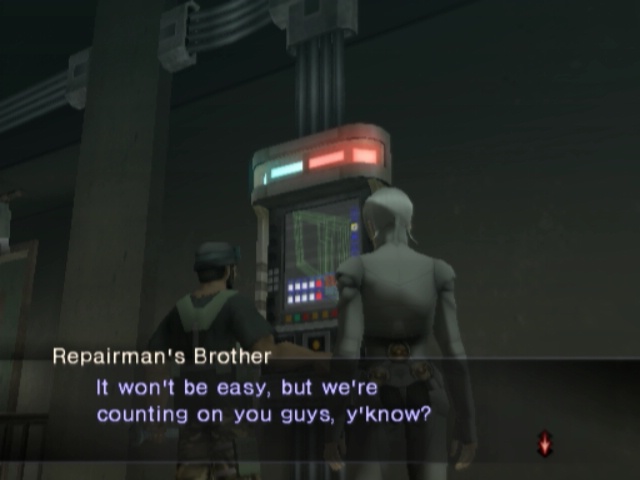
 There's gonna be more switches as you continue on. You need to activate them to proceed. My little bro should be around here somewhere... So just let him know if you have any trouble.
And once we actually do carry on...
 The Karma Society Has The Love Inside You Died?
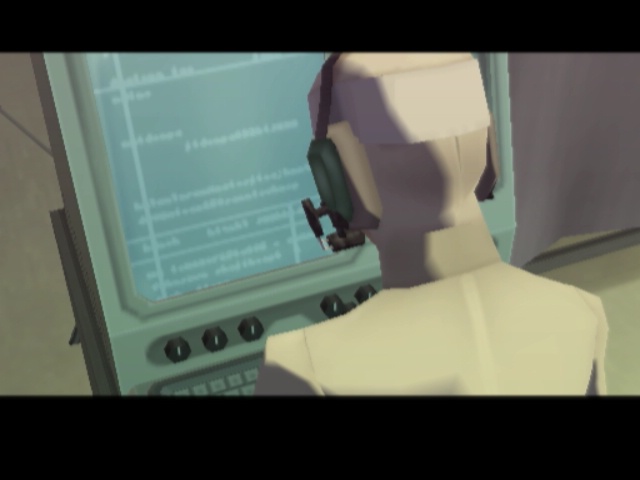
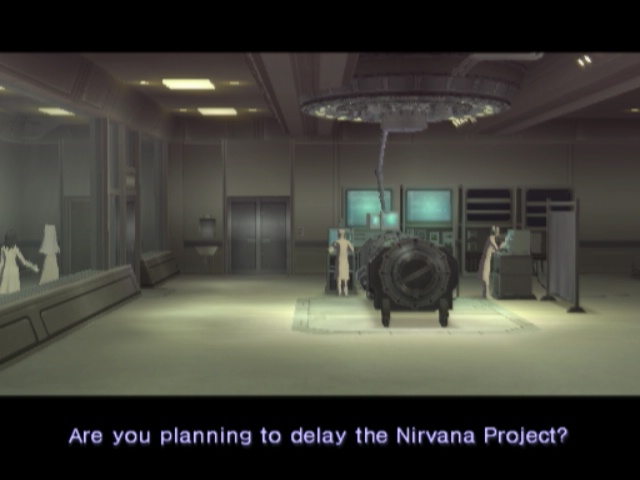
We get to see a little of just what exactly the Karma Society people are up to.
And it apparently includes monitoring someone inside a tube.

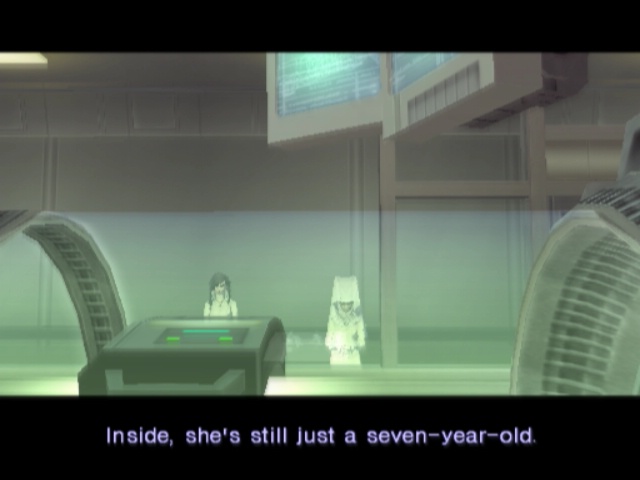
Said someone is Sera. Of course it is.
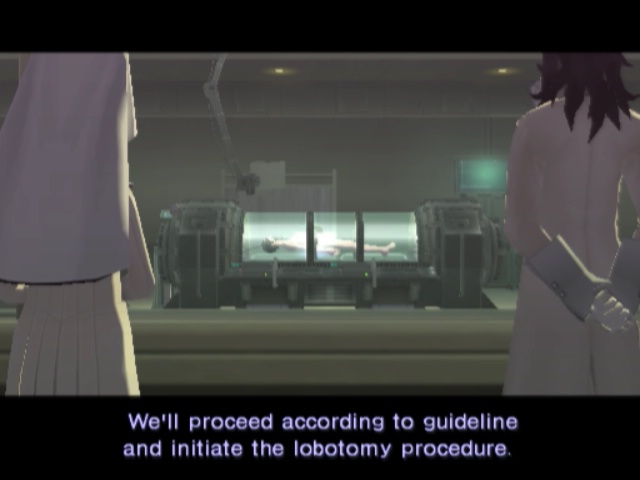
also damn angel is cold...
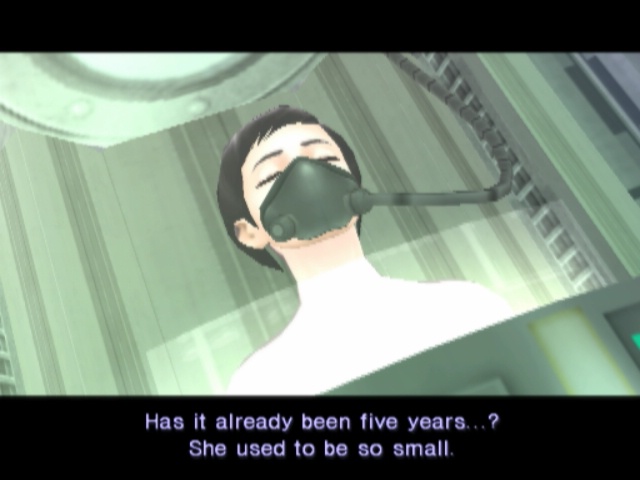
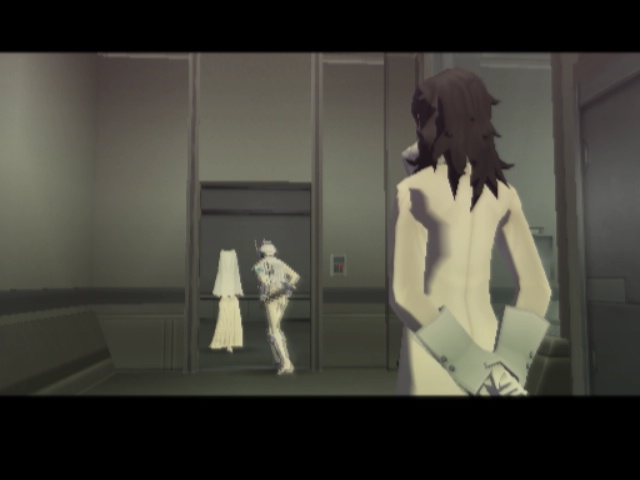
 Jenna, have you lost your heart?
 Do you hate her... or are you jealous?
 We begin to worry as we grow old. ...Like me. I'm concerned because you've been acting as if you hate everything.
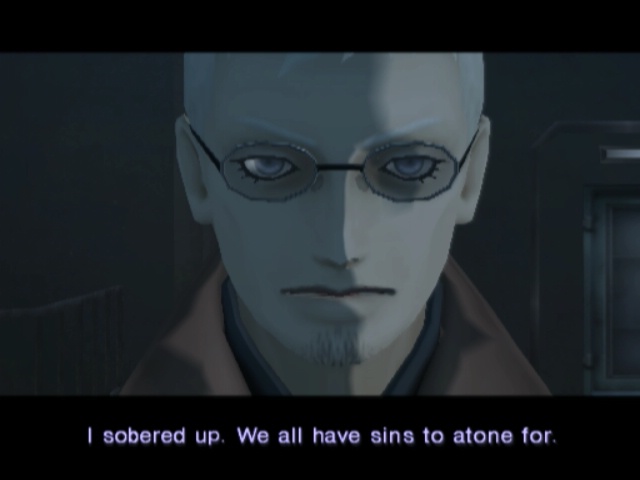
 I admit I've changed. However, I haven't forsaken humanity yet. Silence
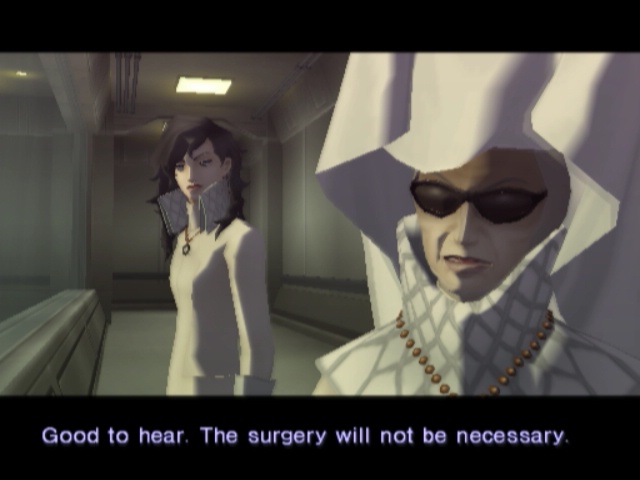
 Ma'am, there you are.
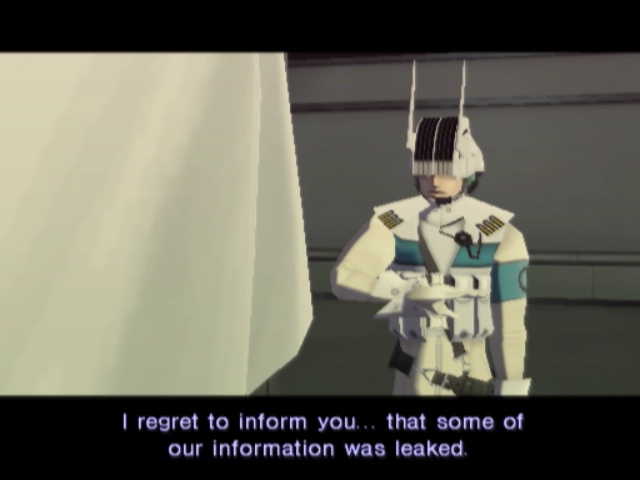 How did this happen? How much information was compromised? We're investigating now.
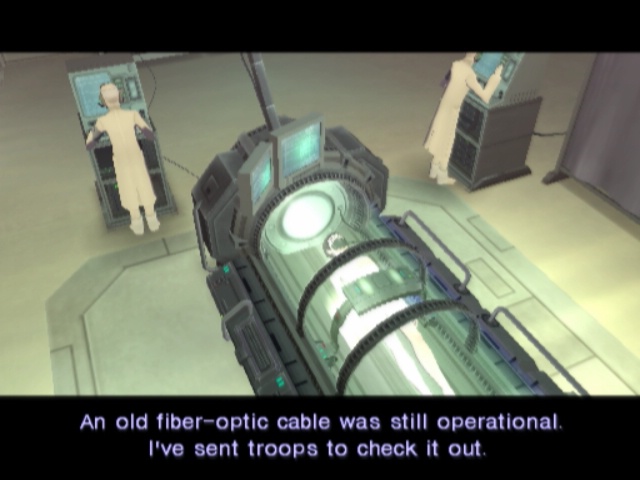 We're trying our best to determine suspects.
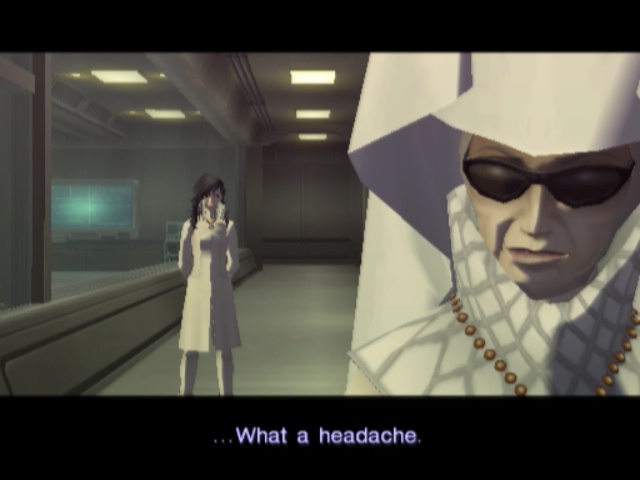
 And... Why would be operation be necessary? End The Road to Sodom
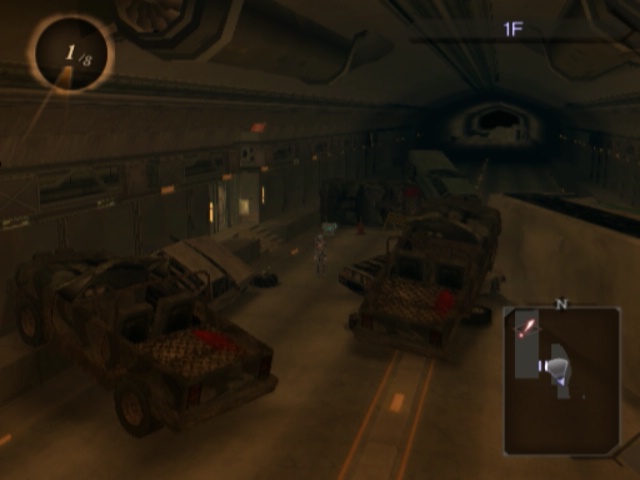
That sort of came out of nowhere, but now that it's done we can carry on an- hang on. Serph walked right passed that box without opening it.
...Eh. I can see why, now. But with that making it three different status restoratives before we ever get a single fight, can't help but think the game is hinting at something. Very, very heavy handedly.

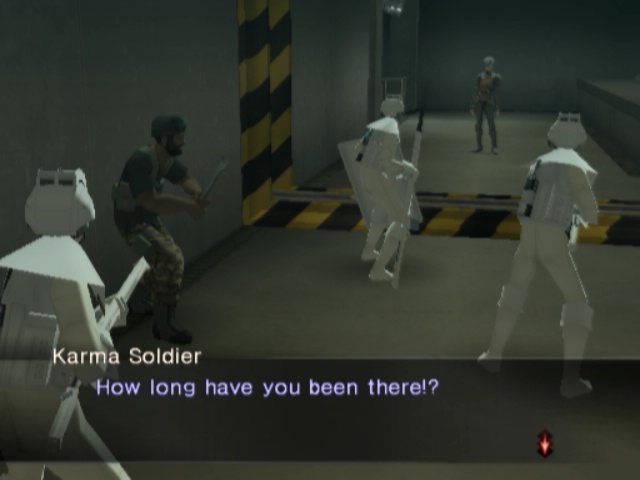
 The Karma Society...
 How is that possible? The Society isn't suppose to know about this tunnel...
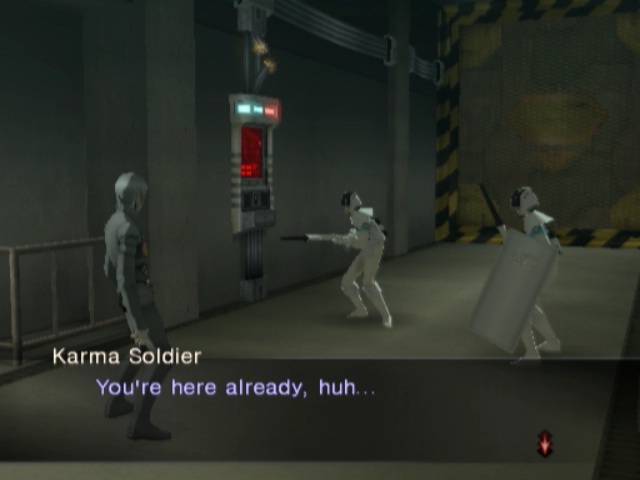
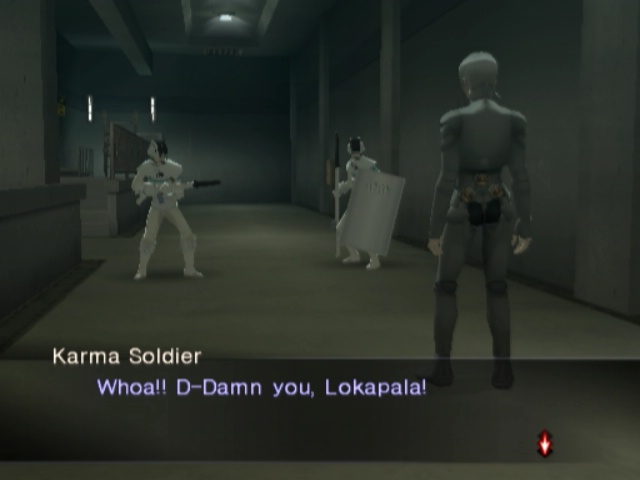 We don't know when you made this tunnel, but you ain't getting into Karma City! Heroic Battle
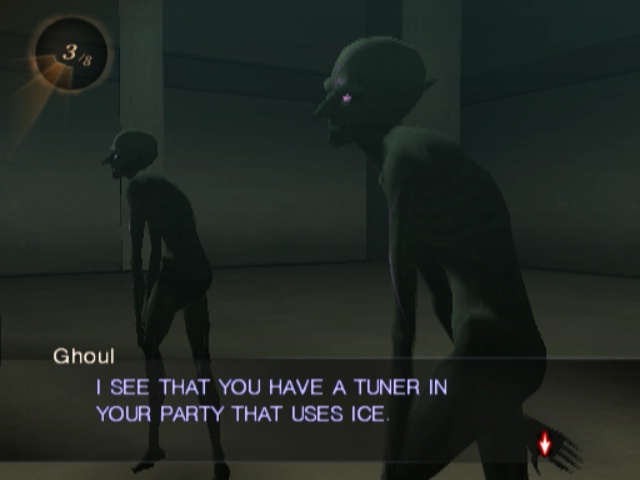

 ICE HAS NO EFFECT ON ME WHATSOEVER. GIVE IT UP!
It's cute that he says that like it matters.

We two-shot them regardless, and the fight is over very quickly.
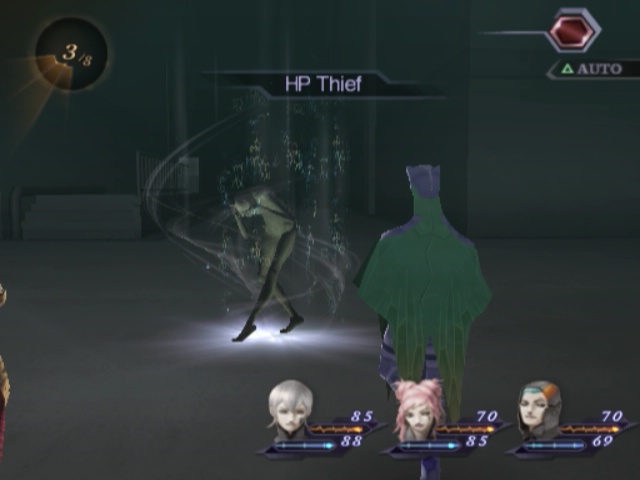
Ice immunity aside, the only "interesting" thing about Ghouls is that they cast HP Thief sometimes. Whatever.
The Road to Sodom ~ The Second Movement
Them beaten, we pry a couple rings off. The Hee-Ho ring is a bonus from beating King Frost in DDS1. Like the Ghoul said, whoever wears it gets an immunity to Ice. The Power Ring just boosts Strength.
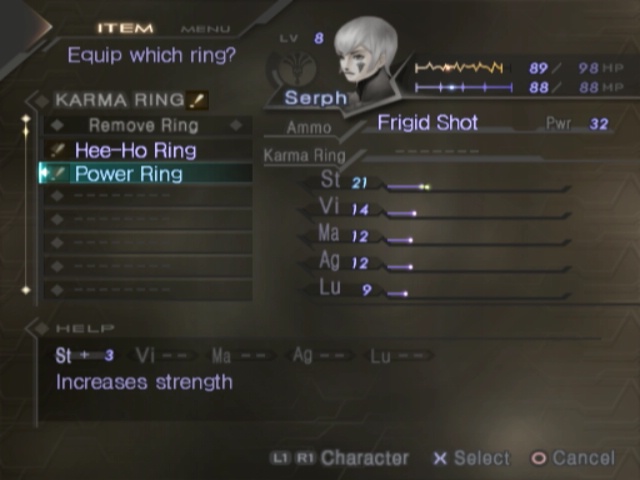
Granted, it does it pretty well! This ain't coming off Serph for a while.
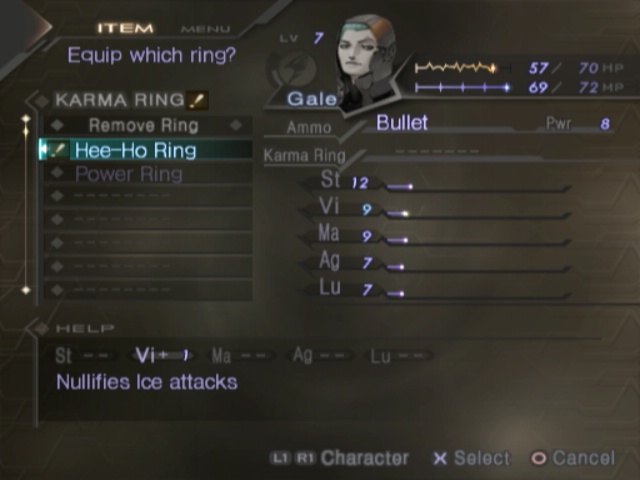
The +1 Vit from the Hee-Ho ring is nice but not really important. The Ice immunity matters way more, and I'm giving it to Gale for now since Argilla barely gets scratched by Ice anyway.
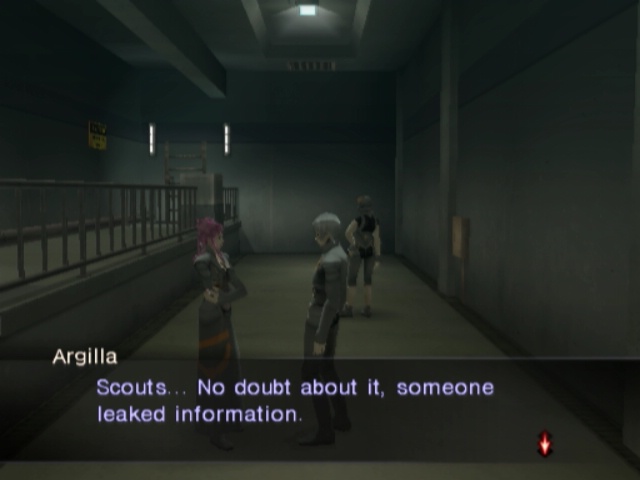
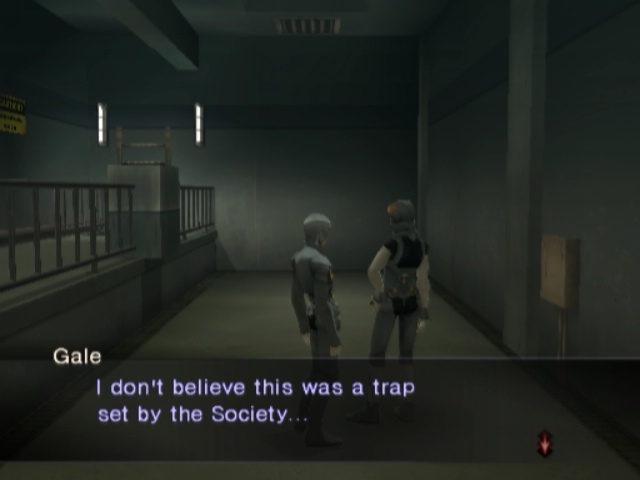 If it were an ambush, they would have planned it more effectively.
Yeah, so the Society are swarming this place now because we came here. Welp. Let's just carry on like normal and clear 'em out...
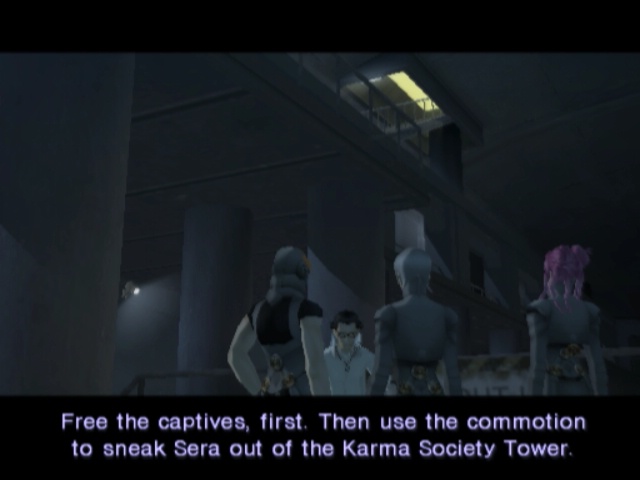
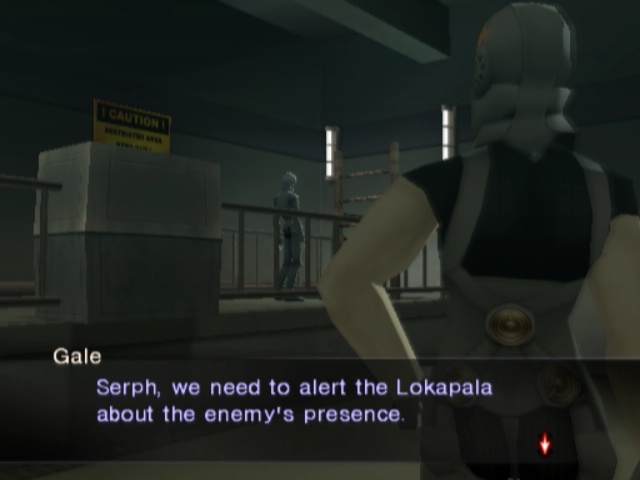 I'm worried about Fred, but the others will need an escape route as well. Let us speak with the repairman.
Is what I'd like to say, but we get stopped if we try and go down the ladder. At least it's only a couple screens back to the Repairman.
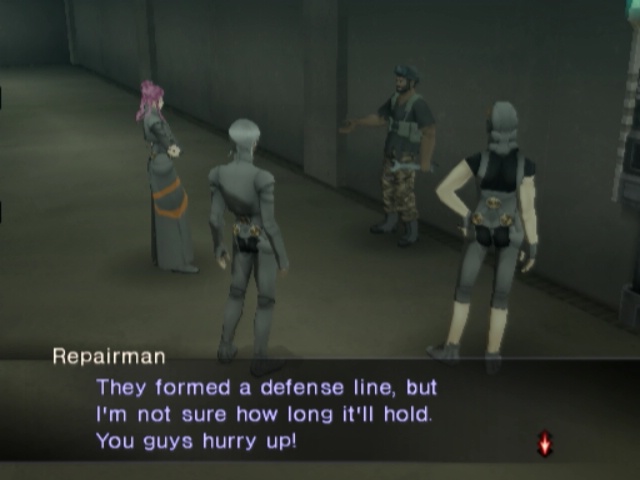
 I can't bear the thought of those kids being devoured. If you do not set up defenses, the Society will devour everyone. Are you serious!? Dammit!
 fade to black...
 And... Help my little bro, okay? ...if he's still alive...
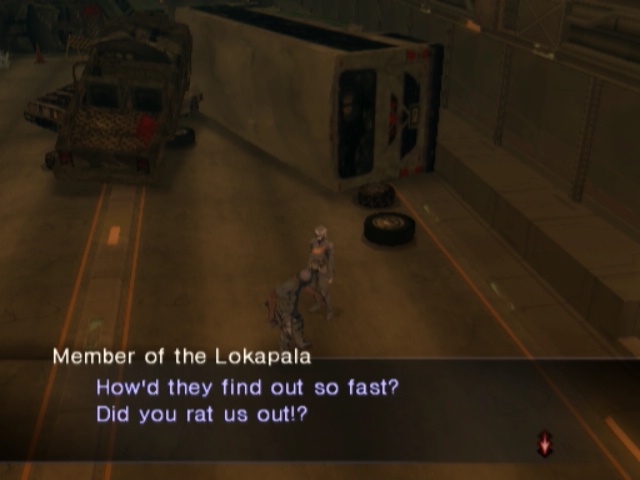
Yeah, okay, not bothering talking to the Lokapala dudes who have occupied the tunnels now. We could even backtrack back to town and talk to everyone there since all the dialogue has changed.


....Moving on, we come to the first small terminal here and progress is to the south once again. We'll head north first, though.

Plants are basically just Cells with a different name. The only real difference between them is that Solar Noise has no effect on the sell price this time around.
Battle for Survival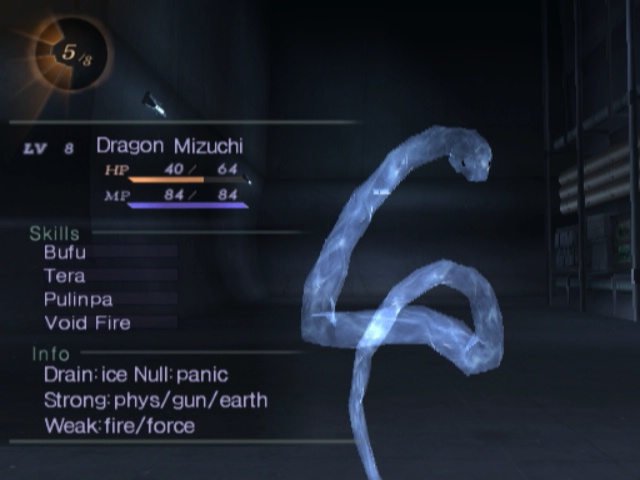
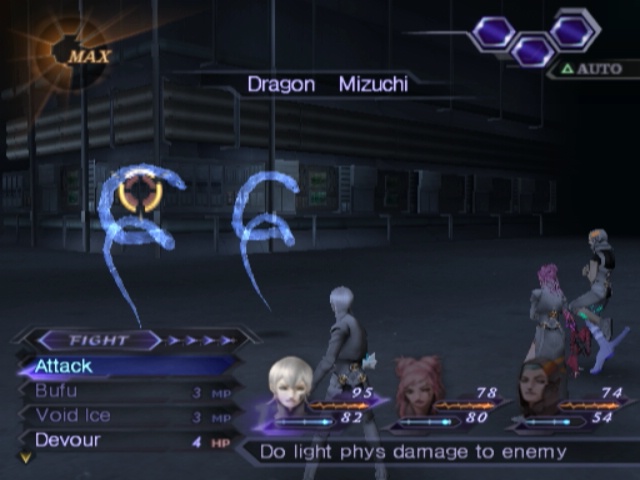
Also random encounters start now. Mizuchis are infinitely less threatening than their DDS1 counterparts. We stab them once, Gale follows up with a Zan and they're dead.
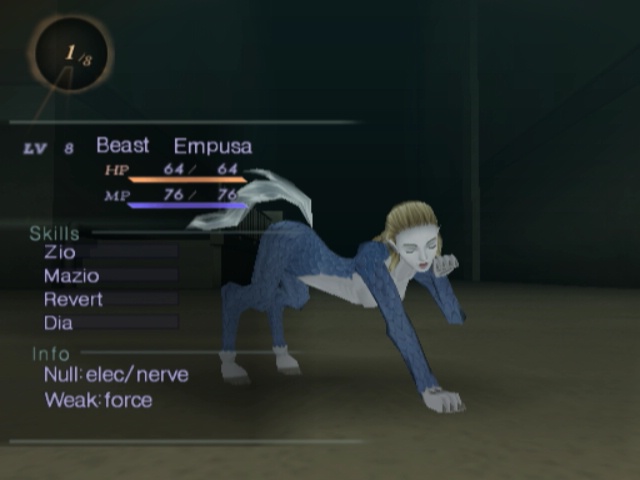
Empusas SEEM more threatening this time around, but they're dealt with the same way as above.
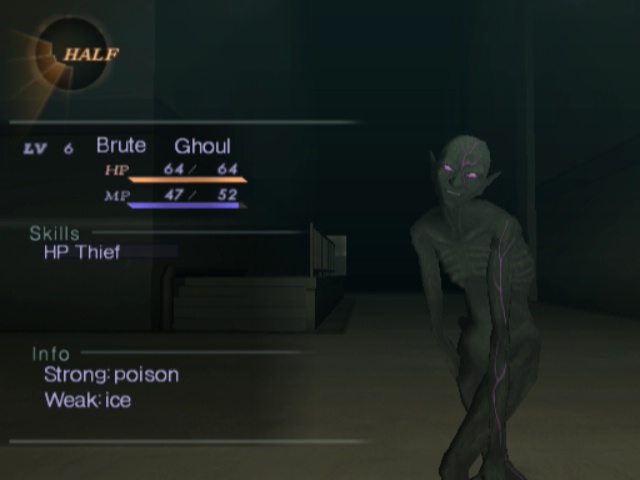
Also Ghouls... weak to Ice. That explains the ring. Same method as above, but replace Zan with Bufu and maybe sometimes they get oneshotted by it.
The Road to Sodom ~ The Second Movement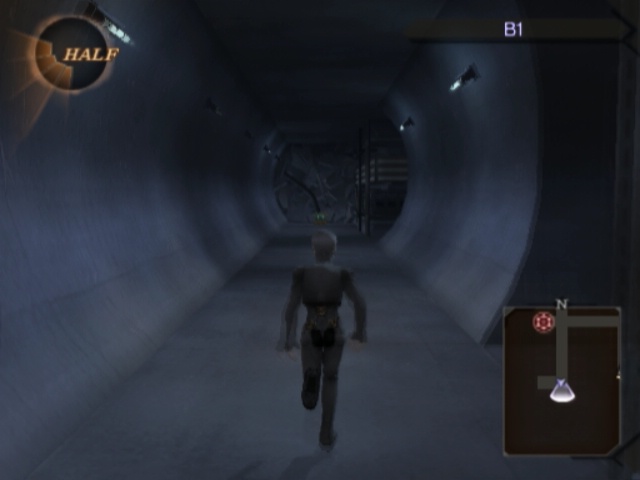
Anyway, back on the main route we get a couple of detours but I see a chest at the far end so we'll go grab that first.
...Well it saves some MP I guess. Since we need to head back now anyway, might as well take both turns as we get to 'em.
The first one leads us to this. Two switches and a shutter? I wonder what we need to do here...
Yeah, this isn't much of a surprise at all. We have no way of getting to that second switch from here so now we gotta backtrack a little more.
And there's an easy to miss chest when we get back to this room too. If it weren't for being able to see it from here, it'd be even easier to miss.
Unsurprisingly, the other fork in the corridor we were just in leads right back to there.
The item container wasn't too impressive but better than a couple Rations or Dis-Curses at least.
Second switch flipped, the shutter opens and we can continue onwards.
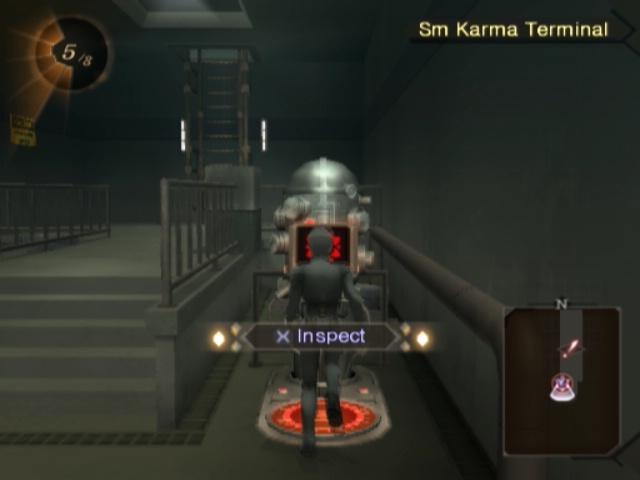
Surprisingly this relatively open area has no forced encounter in it. It does, however, have our second small karma terminal.
And a gold container we can see but have no way of getting to right now.
Continuing onwards, we come to...

Uh... okay, one of these ways is obviously progress. Guess we'll go north first since we've slowly been moving south the entire time so far.
Madness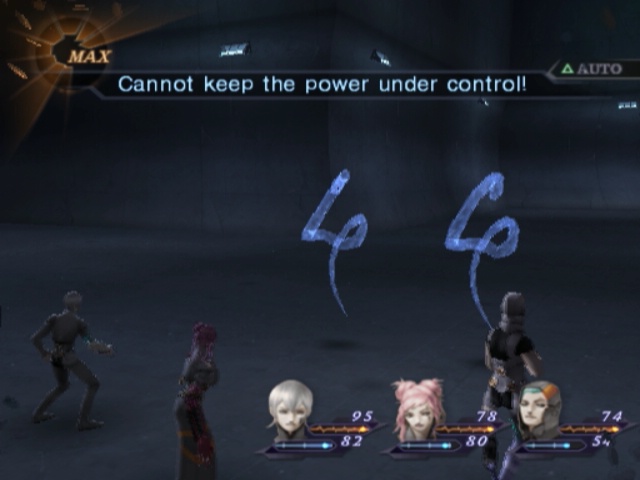
Yes, now HERE'S a nice new mechanic.

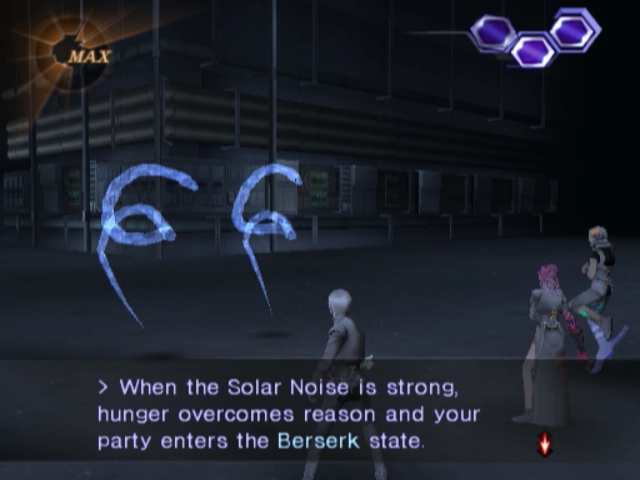
Berserk is a fantastic state to be in. It has some drawbacks but...
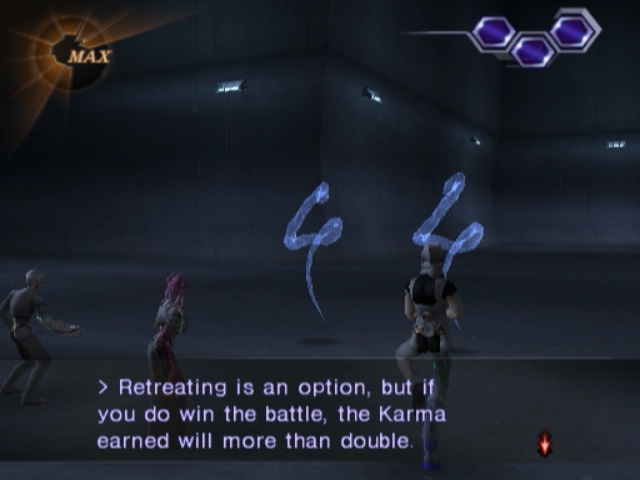
Who can say no to double EXP?
Downsides are we can only smack dudes with physicals. No spells allowed. We also received more damage than normal and miss a little more often (enough to be noticable but not so much as to be aggravating).
...On the other hand, we get guaranteed criticals with every hit. And our attacks have Pierce capability, so we ignore resistances entirely.

Also it looks really, really good too.
The Road to Sodom ~ The Second Movement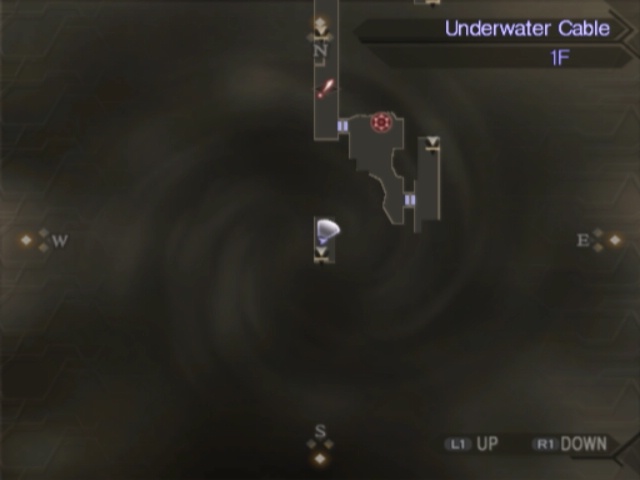
Anyway, once we get done with that small, relatively linear area we come out very near to the small terminal. Hmm...
Unsurprisingly, it leads to the golden container from before but there's a normal one here too.
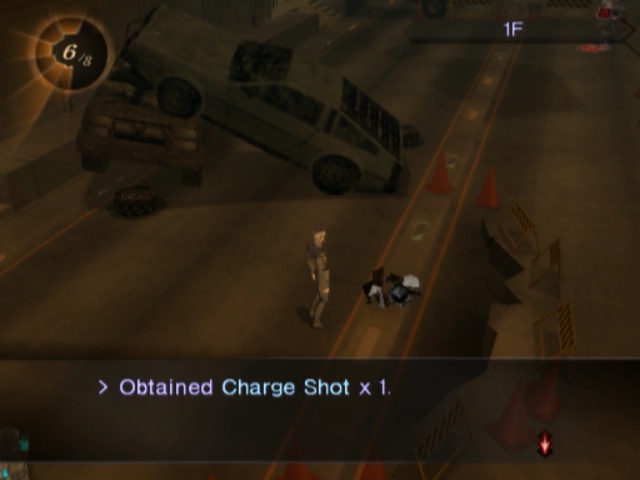
Hey, it's our requisite new bullet from the dungeon.
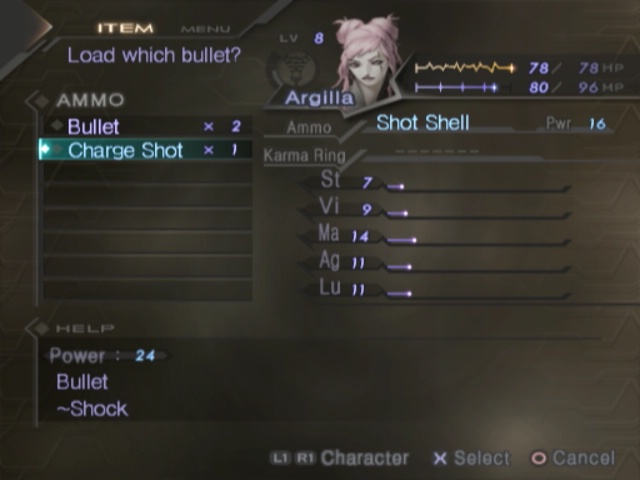
Just a shame it's not actually as good as the Freeze Shot we got from Adil.
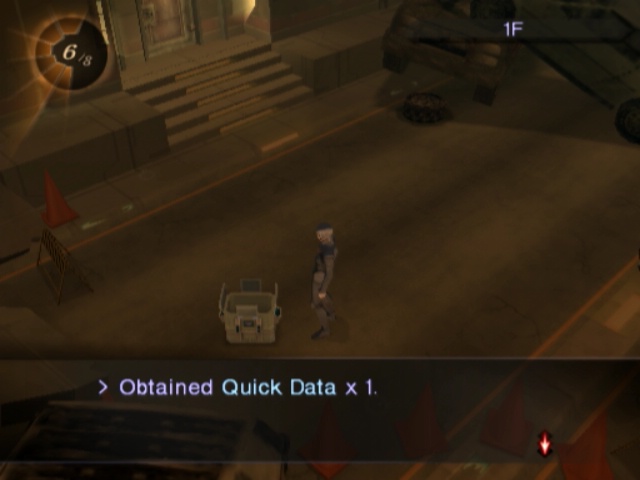
The regular container contains Quick
Battle for Survival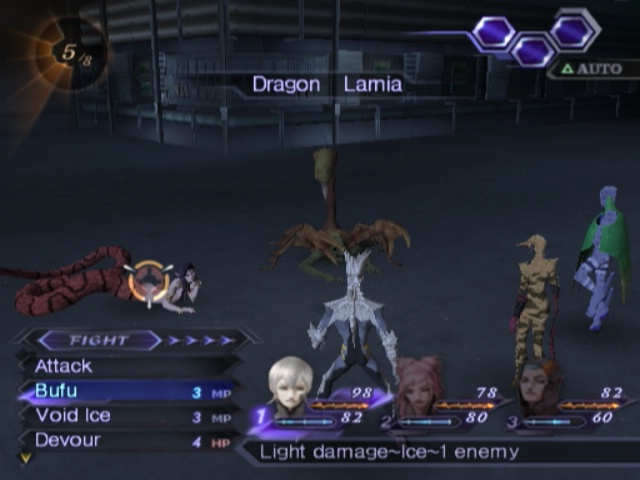
Doubling back to the previous crossroads, and we get a couple new enemies. Lamias and much, much smaller Pabilsags than the one from before.
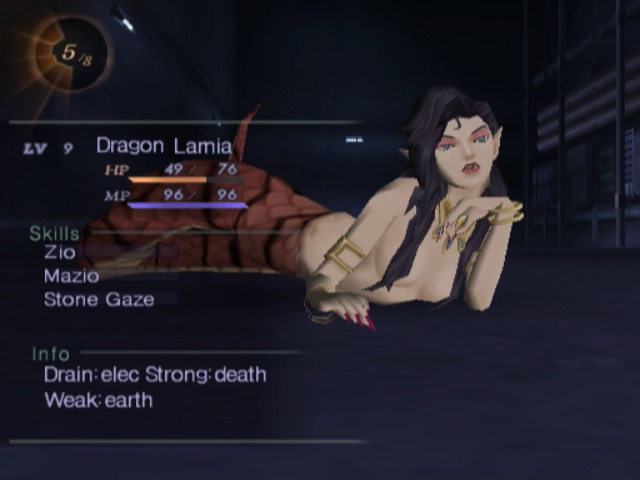
Lamias are actually sort of threatening, since they can petrify us and like to spam Mazio. Granted this just makes them a relative threat since that's using Gale's weakness and they drop in two hits like everthing else but still.
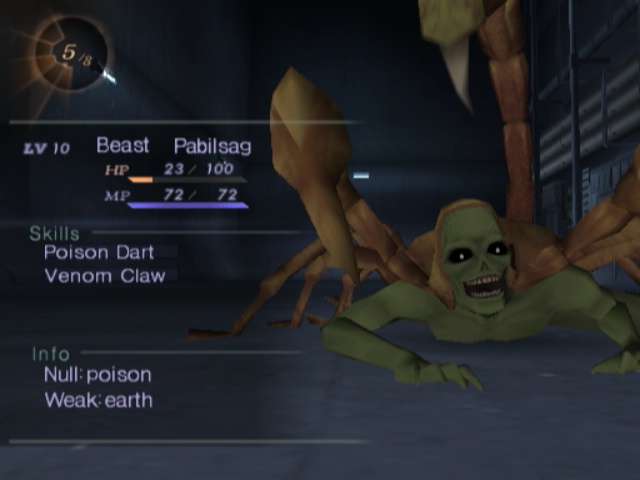
Pabilsag is same as before but with less HP and an Earth weakness. Dude just really loves poison.
The Road to Sodom ~ The Second Movement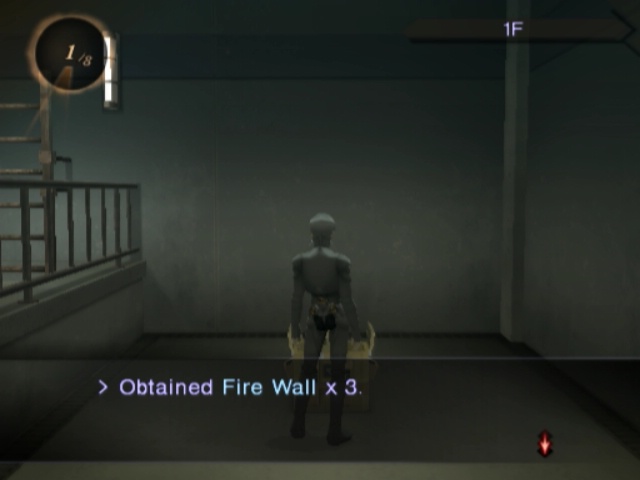
Back by the southern ladder, we can grab a bunch of Fire Walls. They just throw up a Void Fire for the turn. Nice but nothing amazing.
Down the ladder, we just follow the path around and then take the turn here.
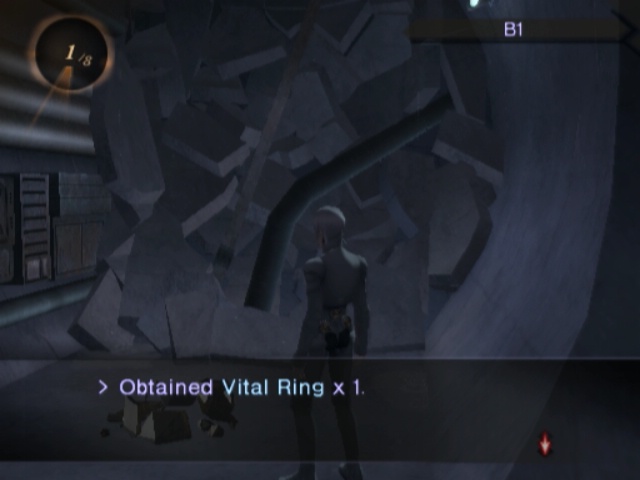
The Vital Ring just increases Vitality by 3. Since she has no ring, this one goes to Argilla.
Heading south just leads us to our third small terminal and the way forwa- wait. I see that item container there.
And it's just Matera in item form. Might actually be useful sometime soon... eh, nahhhh.
 Well, this is as far as you go. Surrender or die! Heroic Battle
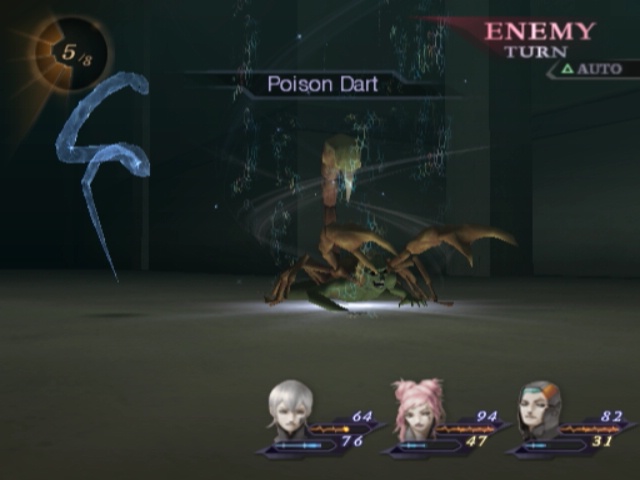
It's a Mizuchi and a Pabilsag. The only reason they get A turn is because they get the first one. They don't get a second one.
The Road to Sodom ~ The Second Movement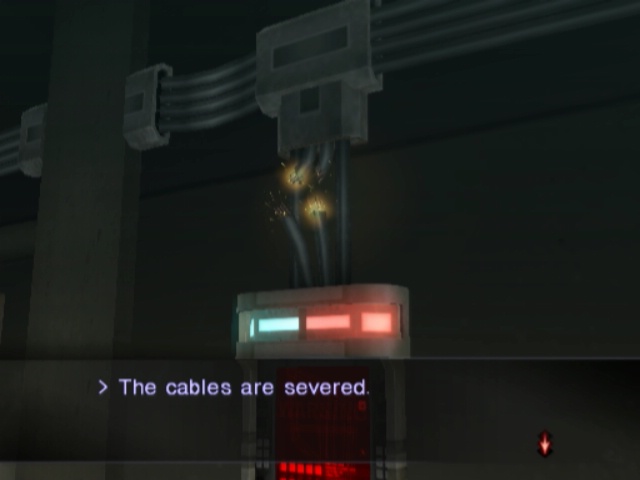 Those soldiers must have done this. There's nothing we can do. We should return to the repairman.
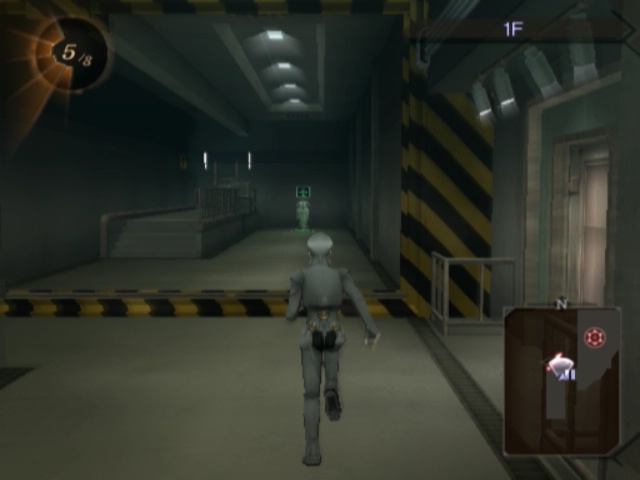
Oh boy, so now we get to backtrack allllllll the way back to the beginning of the dungeon!
...It's not quite as long as it sounds, but it's still way too goddamn long. Let's skip doing that for now, though. I see a ladder and the first actual Life Terminal ahead.

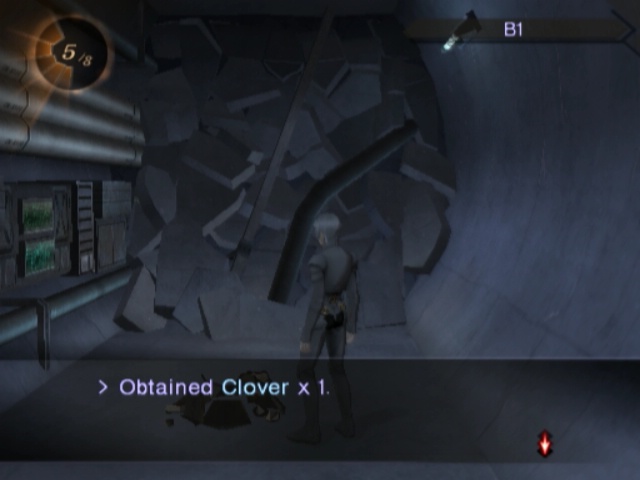
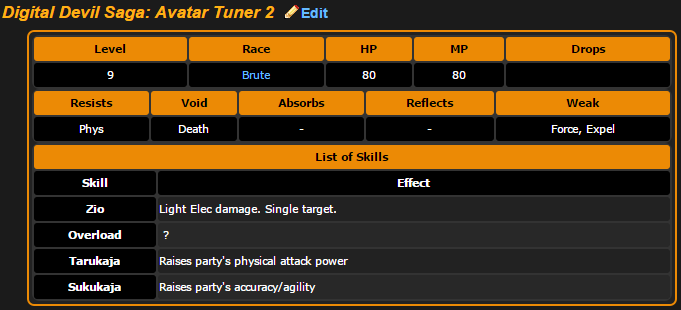
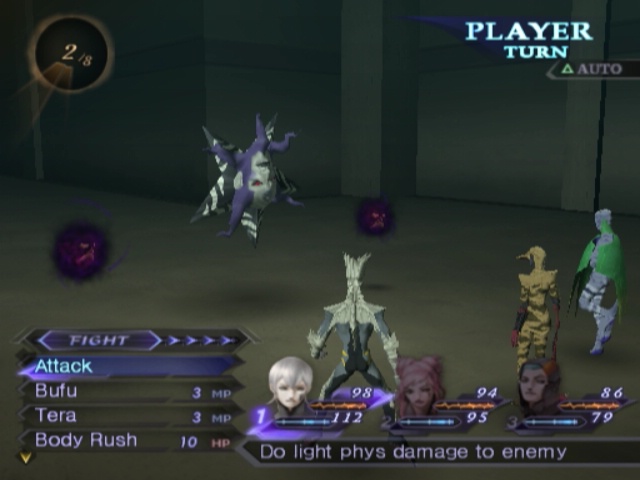
Taking the ladder down, we get to a fight with two Kaiwan but we don't get to see what they can do. Berserk means they drop in one shot each.
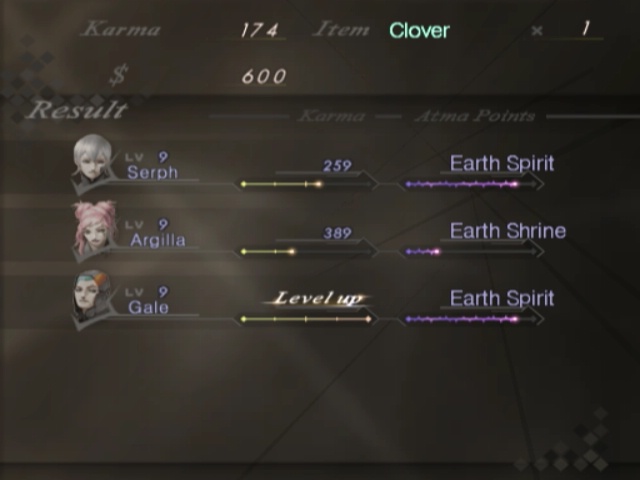
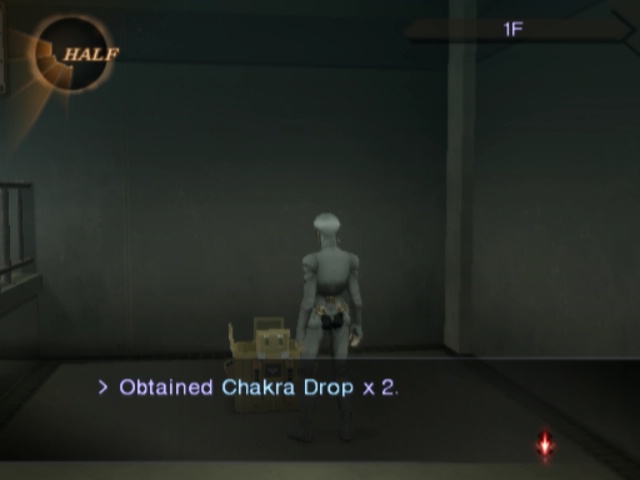
Speaking of drops, at least they're kind enough to drop Clover for us.
Following the tunnel through to its end, we get a small room with a shutter in it. No switch here either. I guess it's for... easier backtracking or something? But it doesn't lead anywhere we've been to before and there's no other way here.
Battle for Survival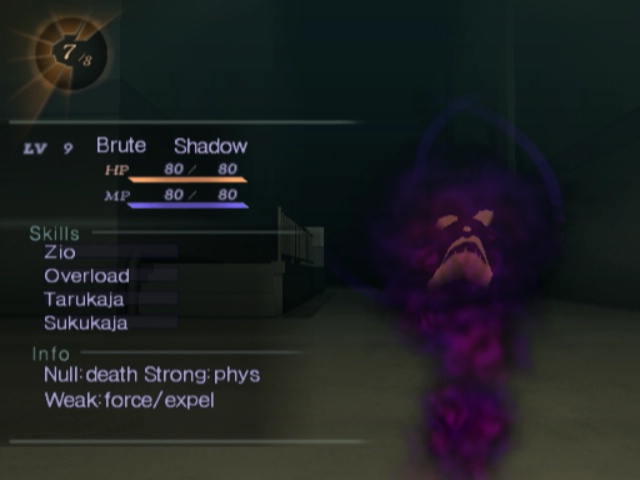
Anyway, more new enemies now! Shadows are kind of annoying in that they can spam Sukukaja and become untouchable but don't really bother with that. I have absoutely no earthly clue what Overload does since I've never them use it. Thankfully, the MegaTen wiki has the best description of its effect I've found:
That really helps clarify it. Thanks, MegaTen Wiki!
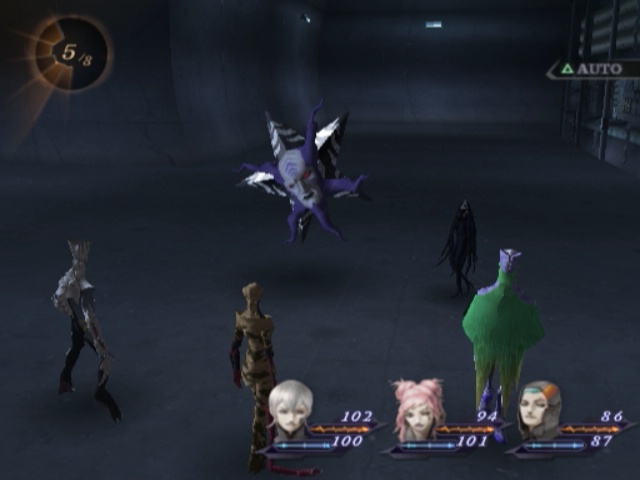
Anyway, Kaiwan decides to turn up again and he brings Yomotsu-Shikome with him.
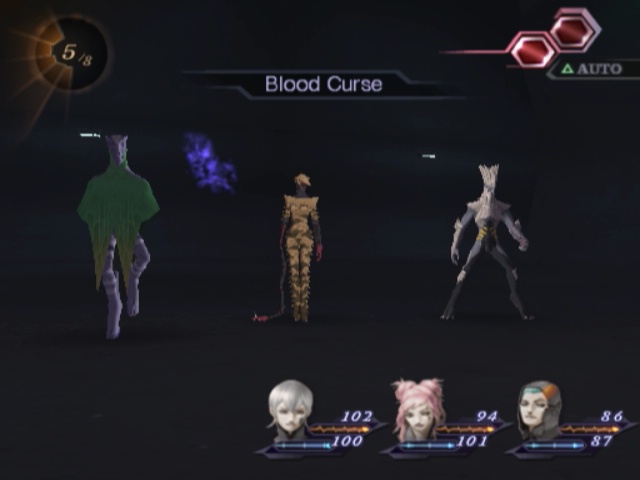
They can actually cast Blood Curse as, uh, a combo spell. This is so unbelievably non-threatening its astounding.
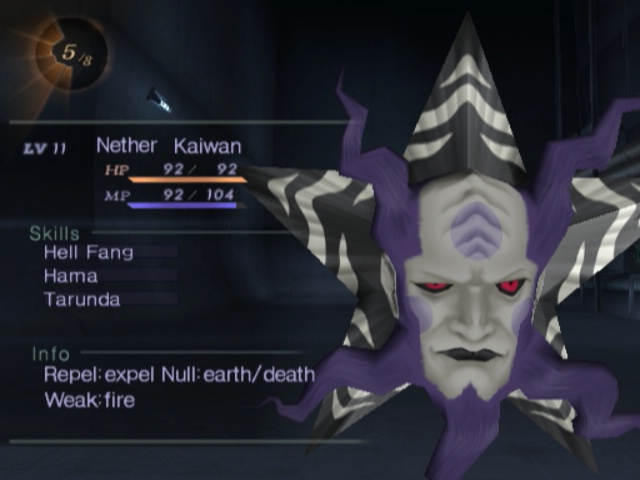
Kaiwan's only weak to Fire which we can't cast yet. Oh, sure, we could easily have Agi by now on at least one person but I have other ideas in mind anyway.
Despite that he still drops in 2-3 hits.
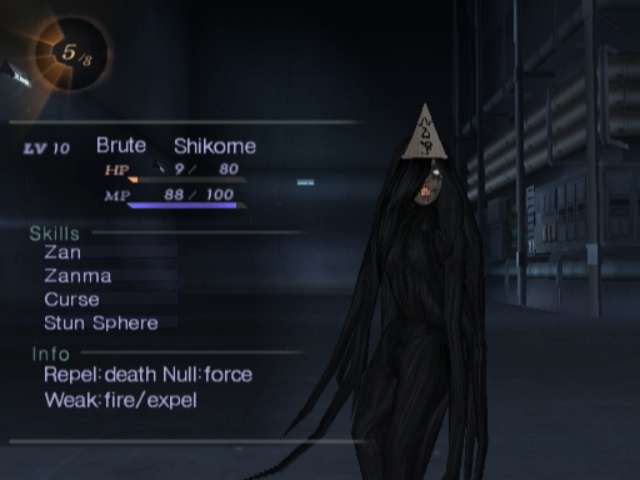
Yomotsu-Shikome is kind of the same scenario. Weaknesses we can't hit, not really a threat, dies in 3 hits max.
Anyway, backtracking!
Thankfully, we don't actually go back the whole way. Once we get halfway there...
The Road to Sodom ~ The Second Movement
This is the closest thing to a threatening fight the game has thrown at us in these fixed encounters so far. Still not a threat, mind. Serph passes, Argilla+Gale combo to use Mazan twice (the Shadows narrowly survive one). Fight over.
 Are you the repairman's brother? Oh, so you've met my big bro. I take care of this back area. I was making my rounds when those soldiers came barging in. You go on. I'm takin' off... This is no joke. Even if we wanted to, we can't go much further. What? The wiring's been cut? Dammit... Okay, take me over there. I'll see what I can do.
Thankfully this isn't an escort mission, but we DO have to manually backtrack all the way back to where we just came from.
ughhhhh

~fade to black~
 I don't wanna cause too much trouble. I'm heading back now. You guys be careful.
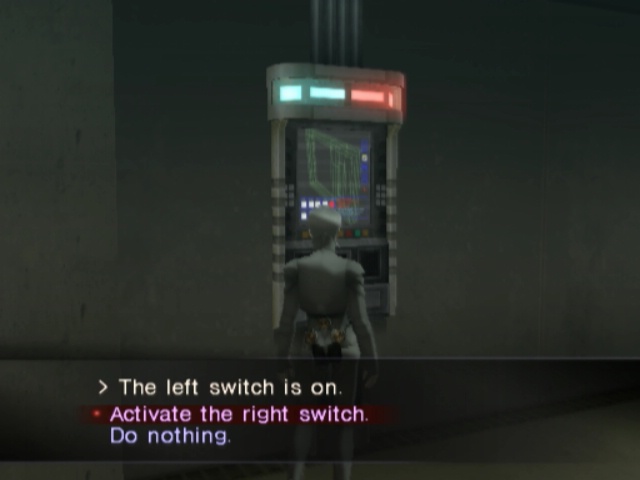
Now we can flip this switch and continue onwards. Granted doing so does close the shutter leading to the Life Terminal but this is the only switch in the whole dungeon that does this. No puzzles done with it or anything.
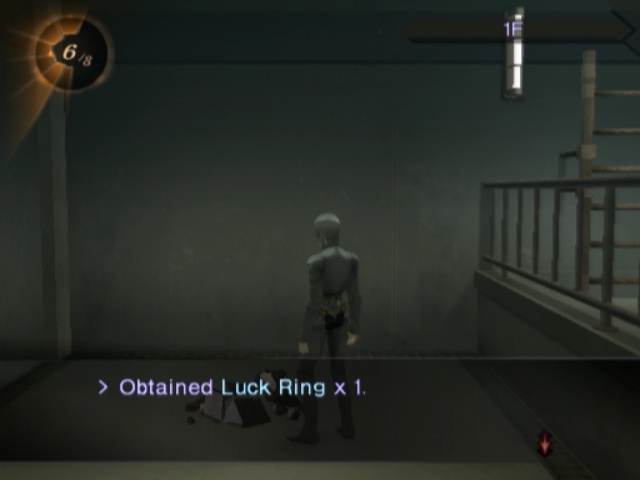
We do so, grab the Luck Ring (no prizes for guessing what it does and that I won't be using it) and then carry on down another ladder.
East leads onwards, but there's loot over to the south so we'll grab that first.
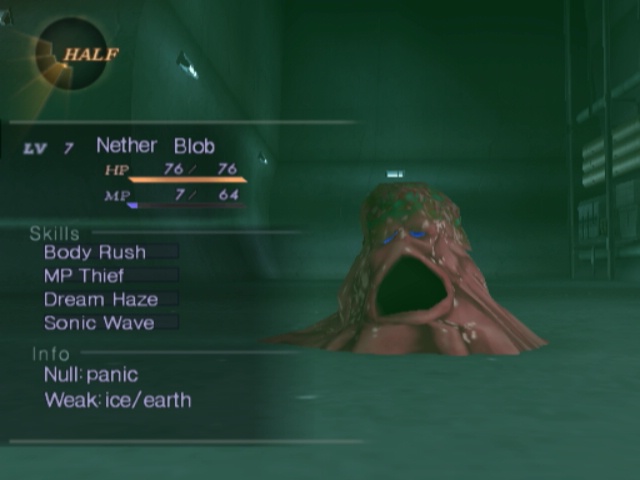
Last new enemy in the dungeon and it's a Blob. Strangely worthless compared to its orginal incarnation. No resistance to Physical and doesn't use MP Thief to cleverly hit you with a Dyne you weren't expecting?
D-. See me after class.
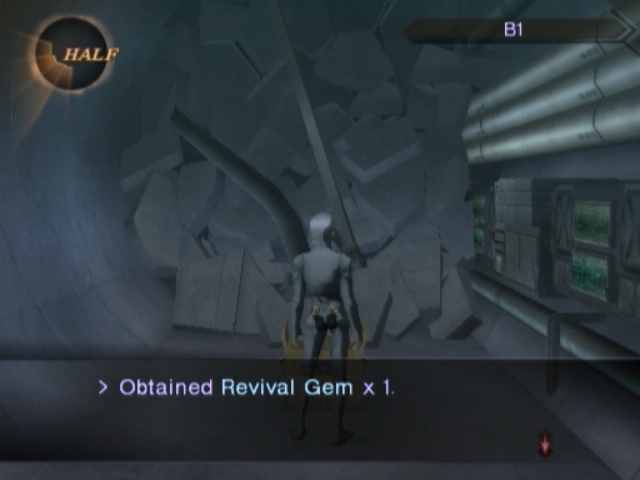
And we just get a single Revival Gem for our problem.
That in hand, we carry on the main path and come to another shutter with two switches in front of it. I also see that shutter from before on the minimap, so I guess we open it from here and it lets us get easy access to the Life Terminal then.
...Or not. Since we can't get to the switch from here either. So what are we suppo- oh no. Please tell me this isn't going where it looks like it's going.
Unfortunately, yes, flipping both switches here opens the shutter over past that barrier and does nothing for the one on this side. So now we get to backtrack. Again.
Upon doing so, we get to flip the switch over there now, and that one opens the shutter we were just at.
aaaaaaaaaaaaaaaaaaaaa
i would rather have a teleporter maze than a dungeon with this much forced backtracking in it again thanks
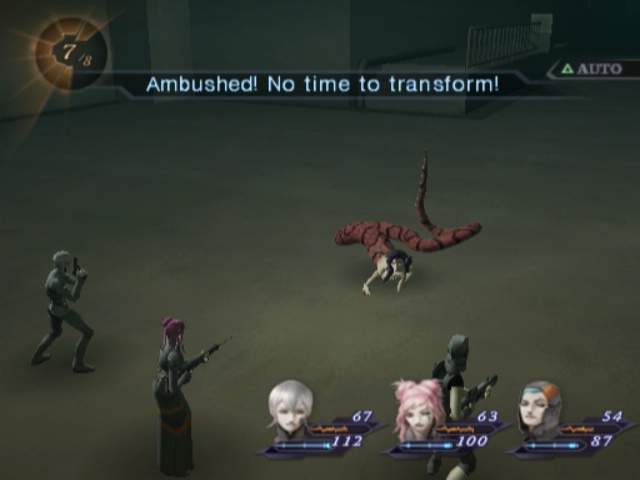
On the way back, we finally get Ambushed and the transformation thing happens like before. Sadly it does not come with a slightly altered battle theme this time around.
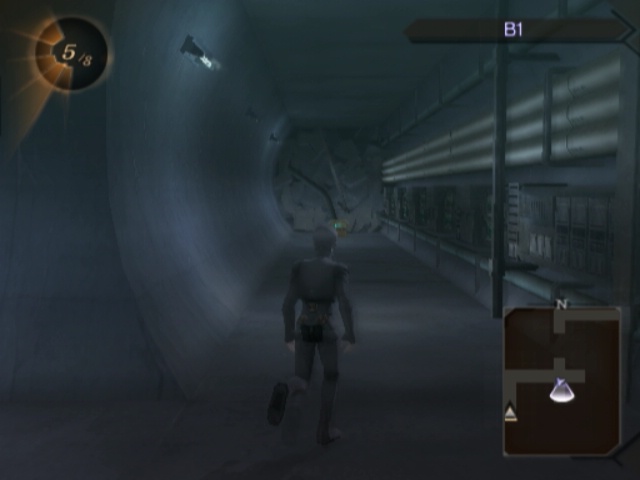
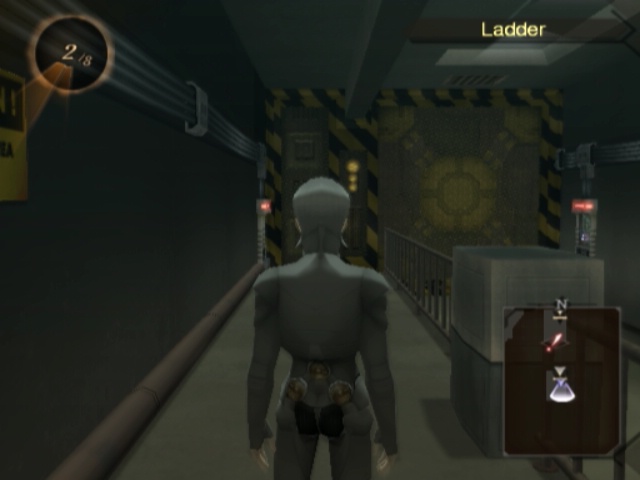
After finally finishing that new backtracking segment, we get to another small terminal and a ladder on the ground floor that actually leads UP for once.
Epic Battle ~ Prelude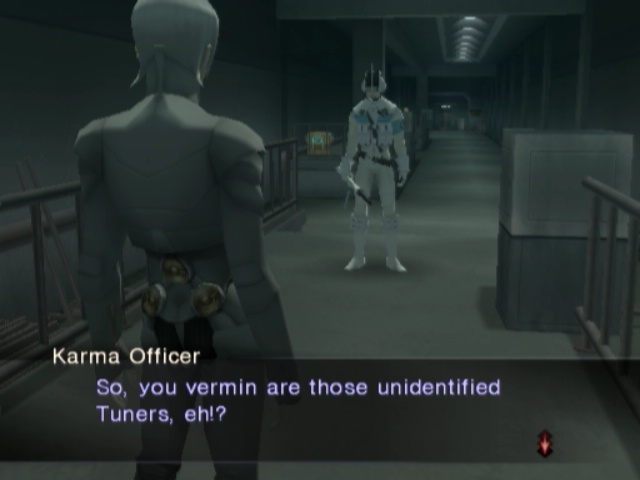
 Y-Your outfits... That... That isn't possible!
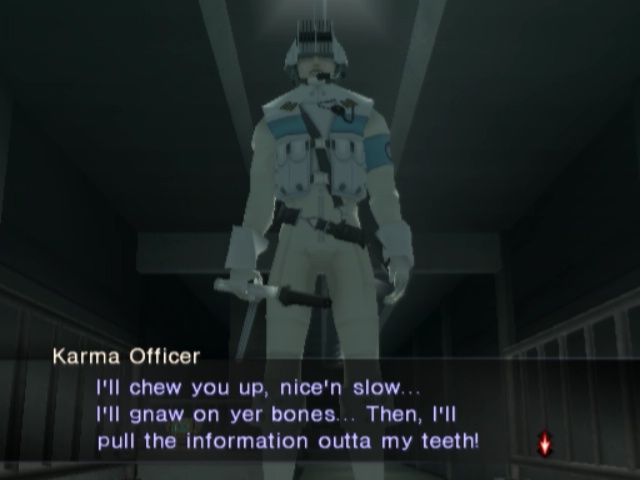
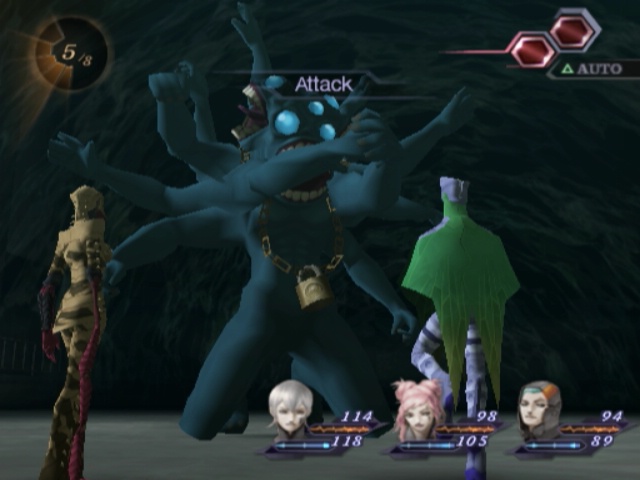
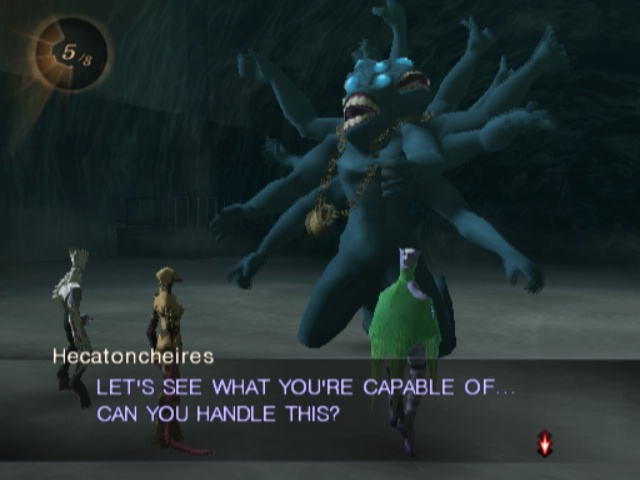
Hey, look it's boss time. Sorta.
Boss: Yaksa Hecatoncheires Epic Battle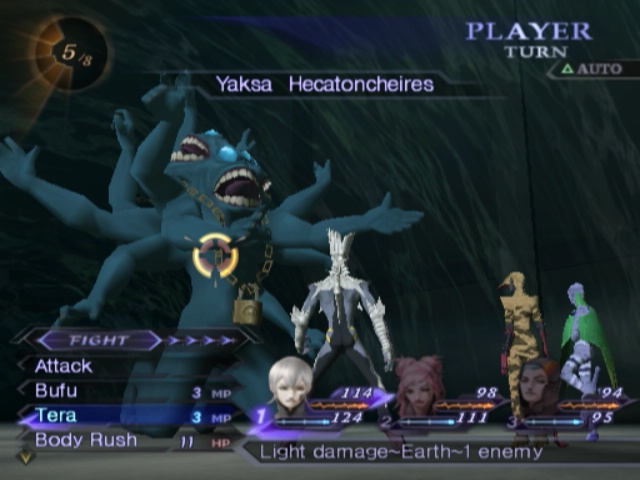
Well, the game calls it a boss fight. I disagree. Dude's a colossal joke.
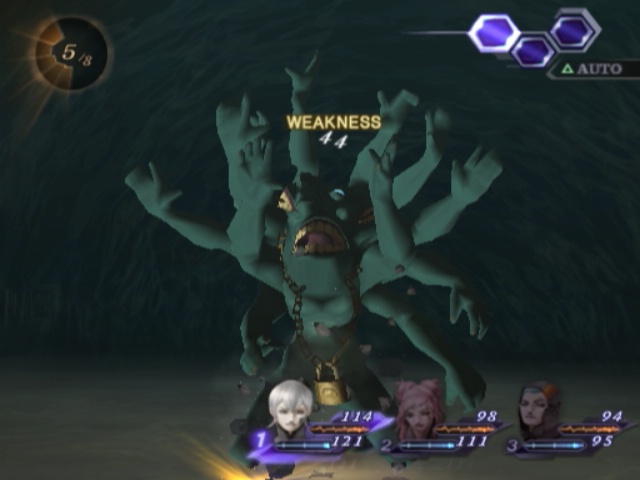
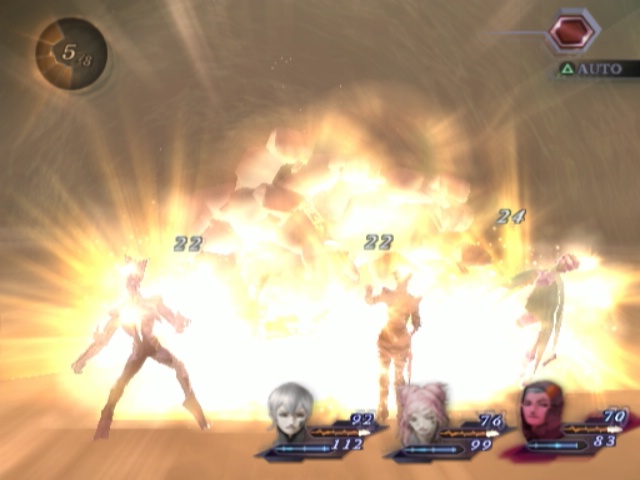
He's weak to Earth which doesn't really hurt him that much, especially when you realise he has 1000HP. On the other hand, the entire party has Tera so we're getting six actions a turn.
Unsurprisingly, Hecatoncheires is very Physical oriented. Moreso than even Vetala was.
but thats still pretty lazy having two phys bosses in a row
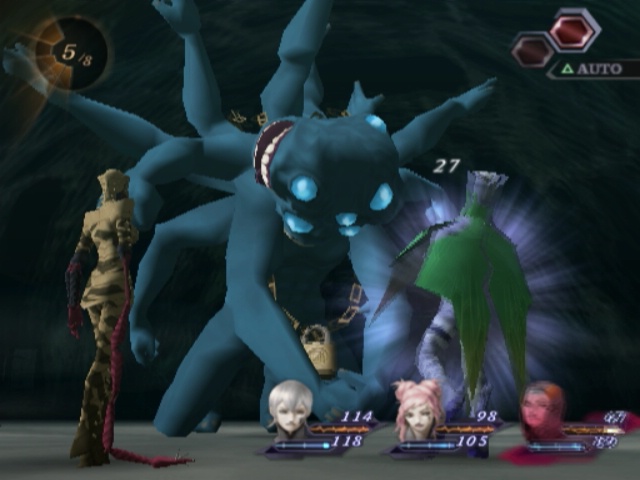
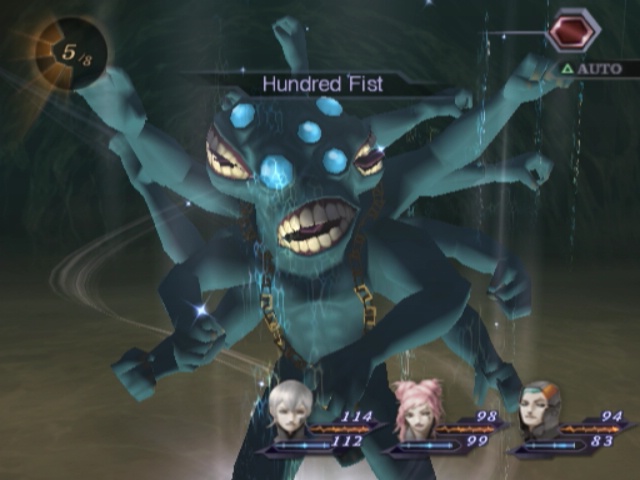
...Uh, never mind. Dude does not hit hard at all.
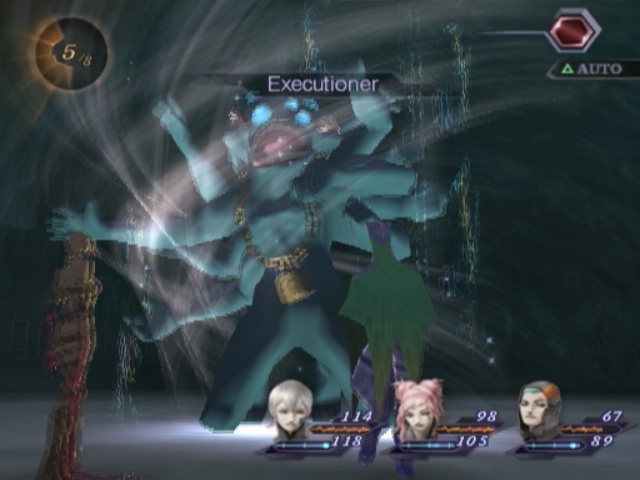
Ah. That, uh, yeah, that'll do it. Executioner's had a damned good track record of being incredibly threatening and murderising dudes quite fast.
Admittedly, every single time a boss has used it the results were less than impressive. This remains the case here.
Remember, the only reason Gale has sub-half HP right now is because he got hit both times. This would be even more unimpressive if he split the damage and hit someone else.
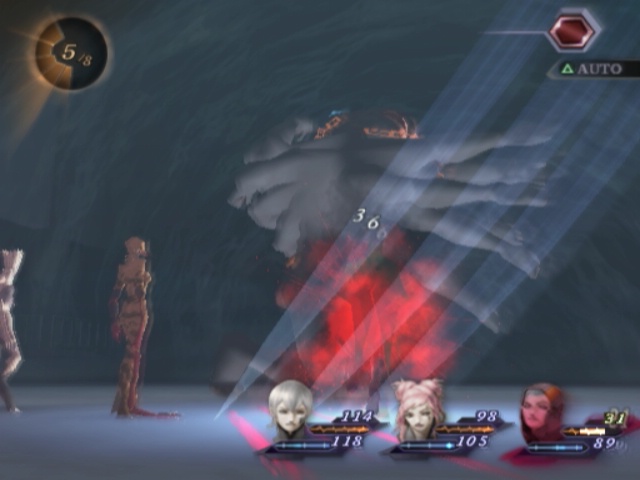
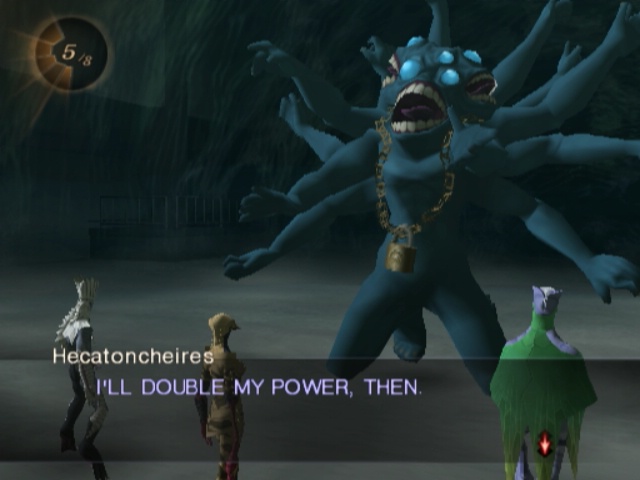
After losing about a third of his health, he switches things up a little and adds a new move to his repertoire.
It's quite appropriate for a Hecatoncheires, I think. It actually looks and sounds appropriately threatening and problematic...
So of course its damage output is WORSE than a regular attack. And using it takes up both of his press turns.
After he falls below around 500HP, he decides to kick things up a notch and invisibly gets buffed a decent chunk.
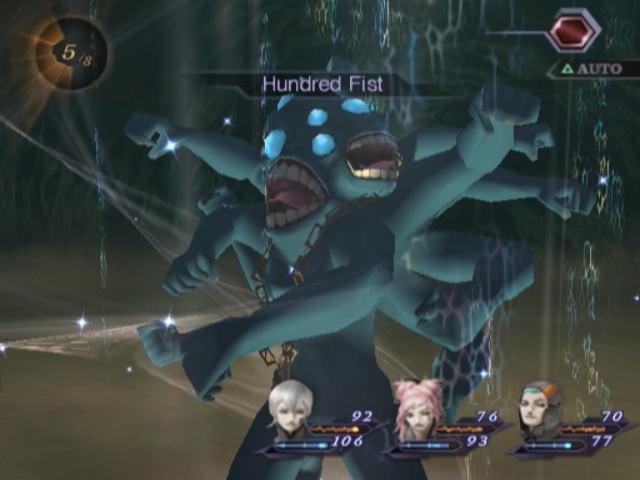
He still prioritises Hundred Fist above all else, of course.
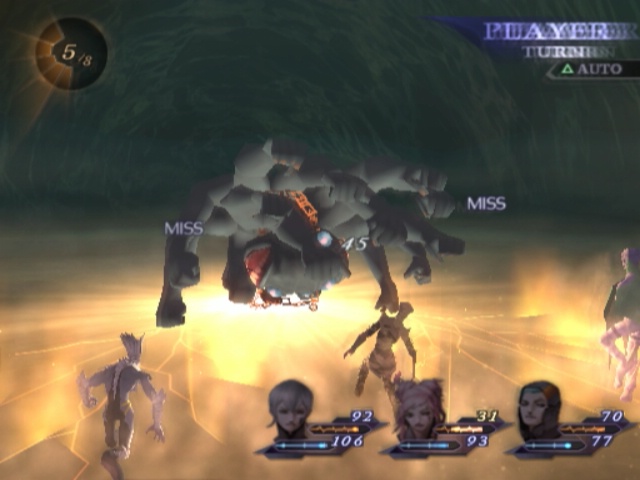
The damage has actually gotten not-terrible as far as our current HP totals are concerned. Except, uh, wow his accuracy is awful. Gale and Serph don't exactly have great Agility.
He CAN buff himself further, I think when he hits critical (but he doesn't skip to it), to go triple base power which sounds threatening and a big deal...
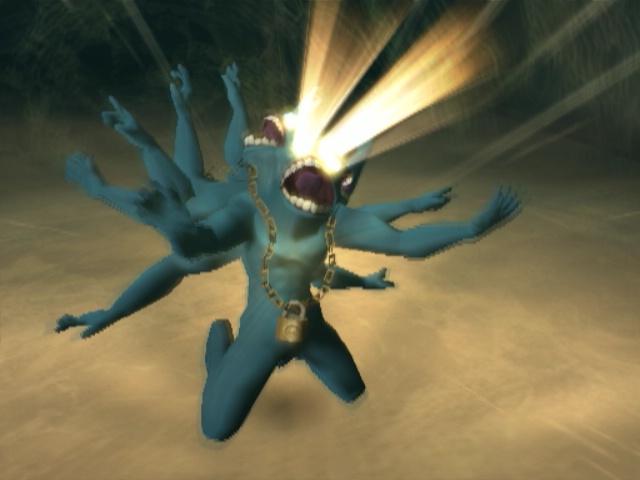
But I've never seen it happen since he always dies after hitting double damage. He also lasted all of three (of his) turns and died in 1 minute 39 seconds.
...The exact same amount of time it took to beat Vasuki in DDS1.
HARD. MODE.
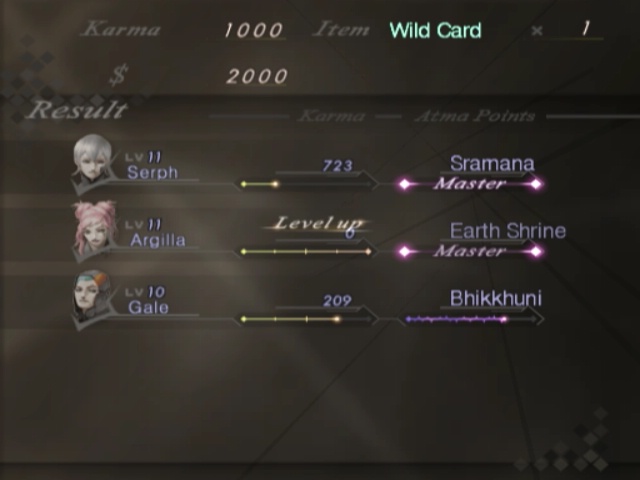
He can also counter if you try and actually hit him physically, but why would you do that. That's dumb. The Karma is nice though. 1000 for an easy fight isn't to be sneezed at.
in conclusion a bad "boss" for a bad dungeon
End The Road to Sodom ~ The Second Movement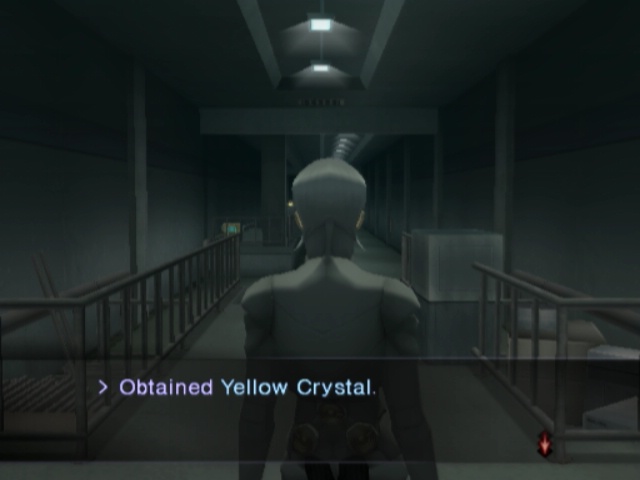
This is quite nice, though. It's the first item we can use to customise our Rings and give them extra effects.
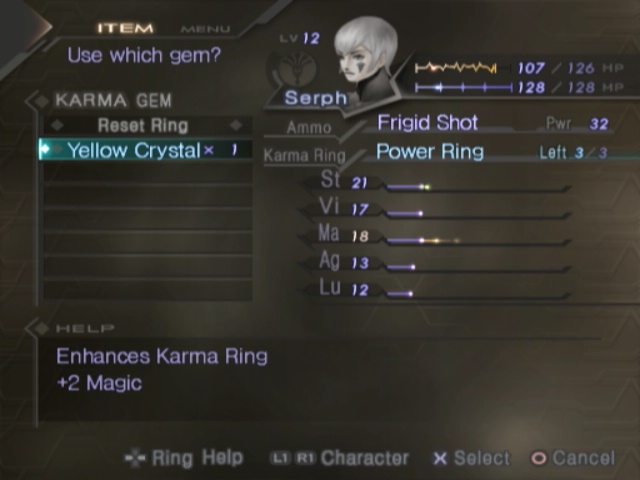
The Yellow Crystal adds an extra +2 Magic effect. All well and good and would turn Serph into a decent hybrid attacker, make Argilla even more ridiculous or have Gale be helpful with spells when Zan isn't a weakness.
Or we could, y'know, not. Once it's on a ring, the item is gone. Sure, there's a reset ring option there, but that just removes the effect and explicitly destroys the crystal.
So, holding onto it for now.
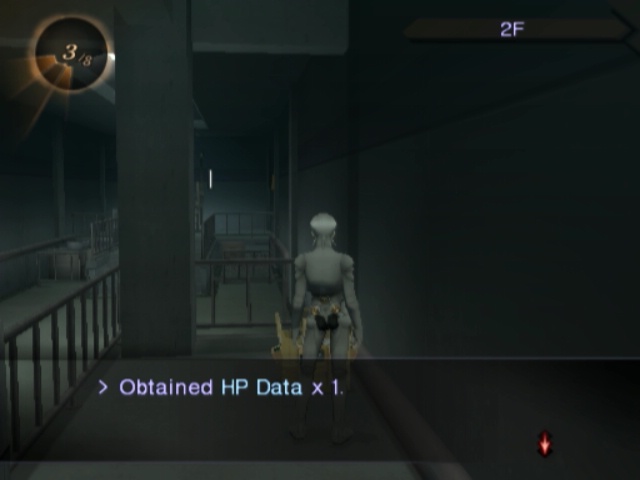
You may have seen an item container behind the Hecatoncheires dude before. It's just some HP Data. Kinda disappointingly lame, honestly.
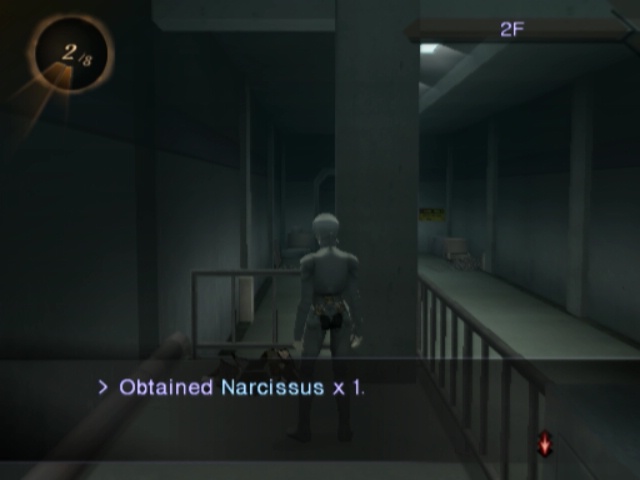
There's also a Narcissus flower a little further in.
And with that, we're finally done with this terrible, terrible dungeon.
The Mole Betrayer
 What took you so long?
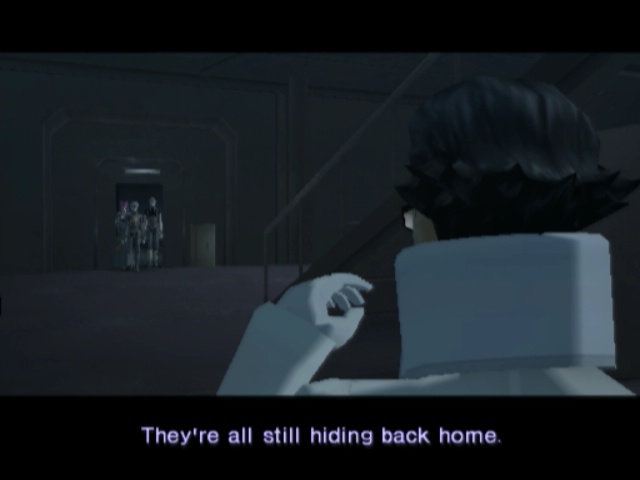
 You could say we're here on their behalf. What's wrong?
 Whatever... They know about the tunnel. What? There's no time. Where is Sera?
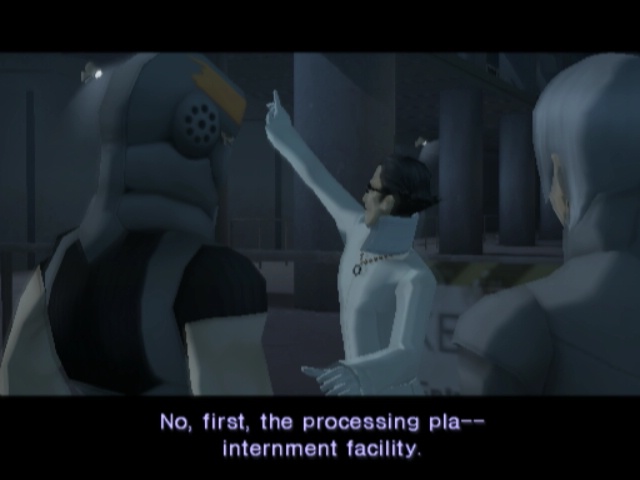
 Who's going to lead the captives? Aren't they all civillians? They'd just get themsevles killed. Silence
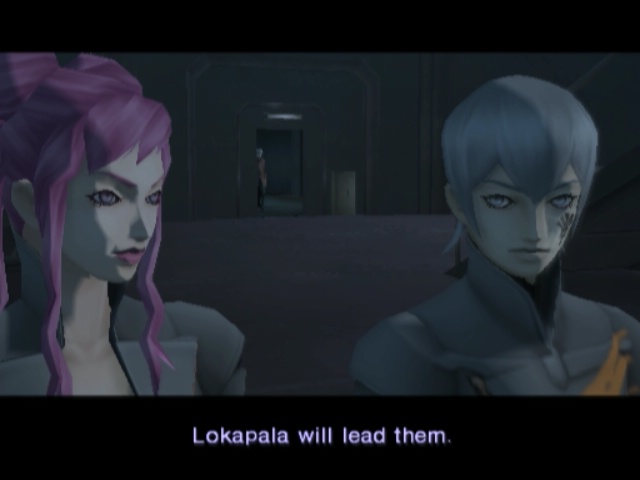
Hey, it's Roland!
...Wait, what's he doing here?
 Cielo!
Roland has... an Atma brand now?! He definitely didn't have that before. I guess that proves he CAN turn people into demons.
 Why the sudden change of plans?
 Fred gets pretty convincing once honor is involved.
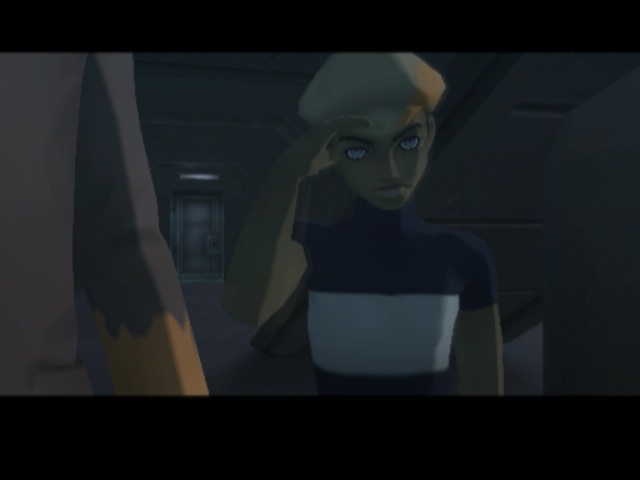
 Oh please...
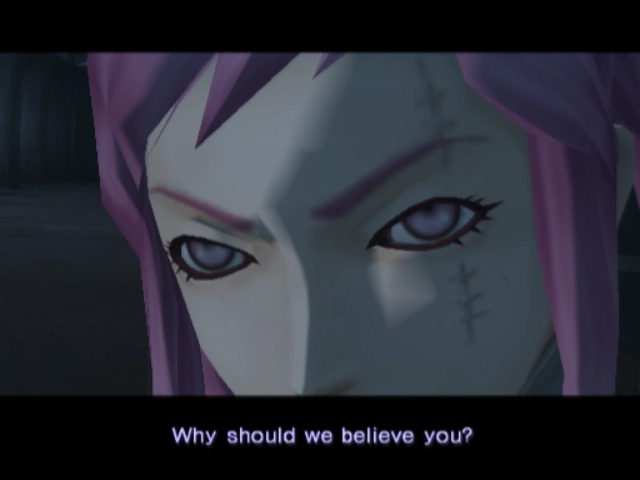 How do we know you're not just selling us out? Action speaks louder than words...
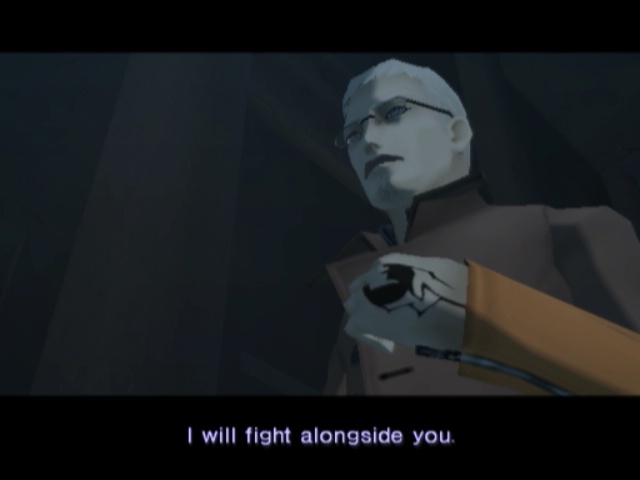 If I fail you somehow, you can kill me Acceptable. Go on, you need to hurry up! End
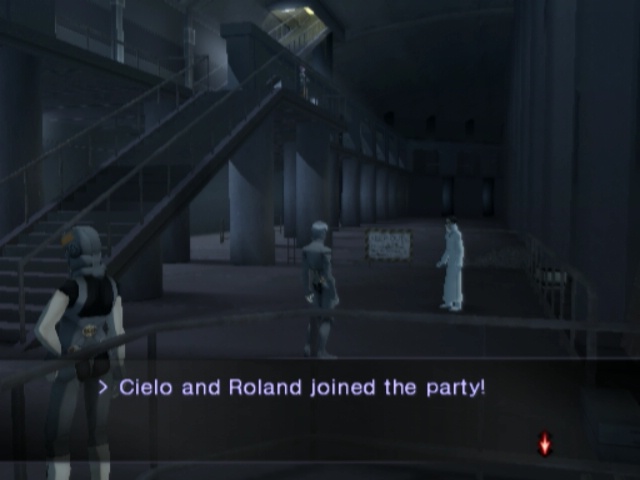
Aww, yeah. We got the gang mostly back together now. Still need to find Heat but we have Roland as our fifth until then I guess. Or maybe we'll have six later or something.
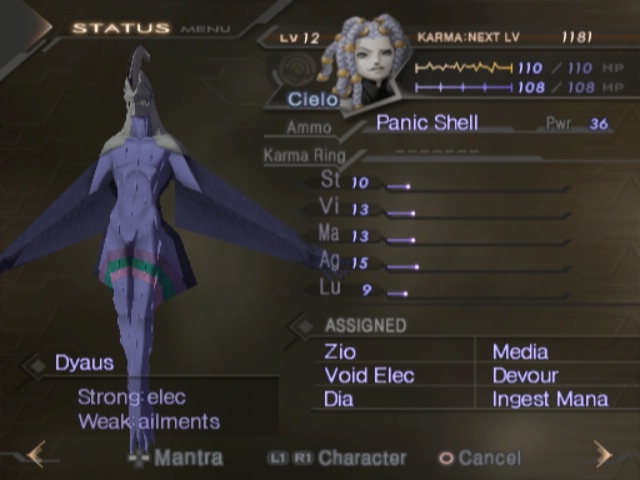
Cielo doesn't seem quite as impressive as when he first joined before, but rememeber this is only after the second dungeon here whereas there it was around the halfway mark. Plus he comes with Media which is great for healing right now.
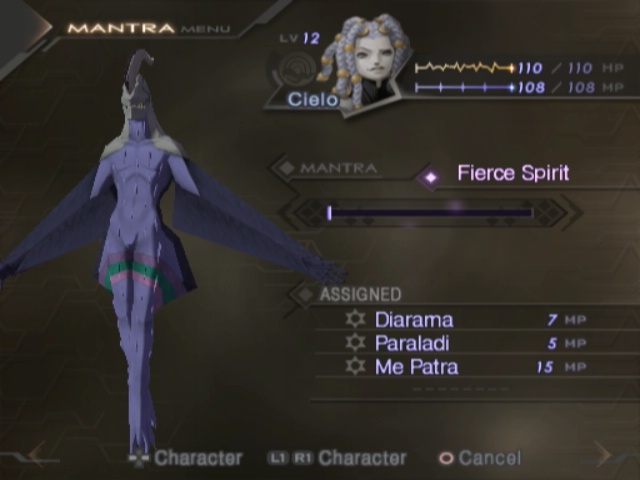
...And his initial mantra comes with Diarama which is major overkill at this stage.
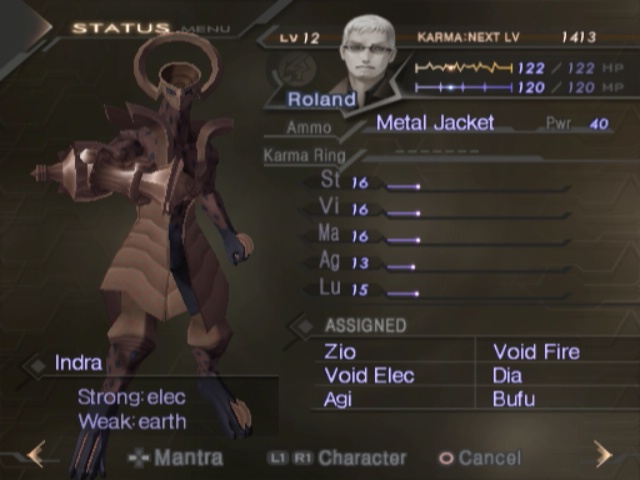
Roland's pretty cool. I like Roland. He seems a bit too balanced right now, but his initial stat spread covers his initial skill setup pretty nicely. Decent magic to keep up with hitting weaknesses effectively and can throw out a good attack so unlike Argilla he's not completely worthless if he doesn't have the right spell.
The "internment facility" is, unsurprisingly, our next dungeon so I guess next time we'll be taking Roland out to see how well he can actually fight in practice and bringing Cielo too so he can stretch his wings.
More importantly, it's because Roland and Cielo are cool and I like them.