Part 2: Semester 2 - Comparative Ancient Religion

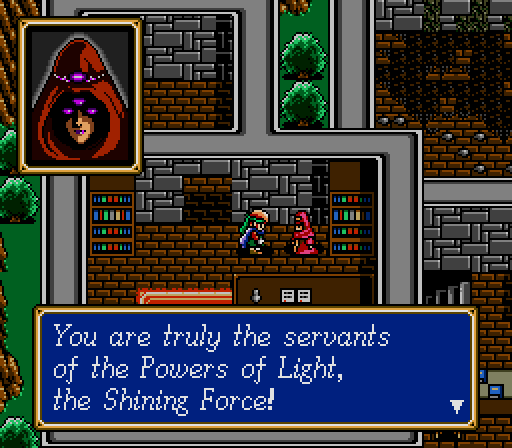
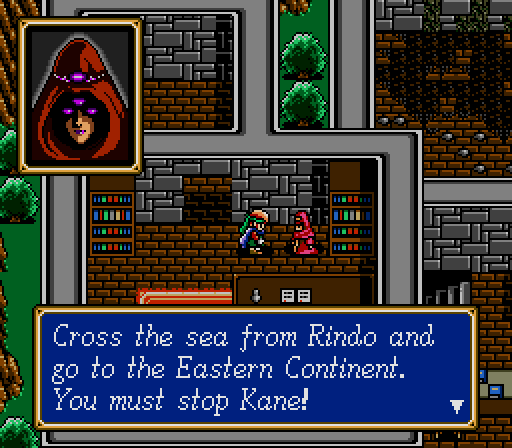
Last time on Shining Force Bare Minimum, we got recruited to save the world and ditched all our friends to do it. Now we're in an unfamiliar country with a couple of complete strangers for companions.
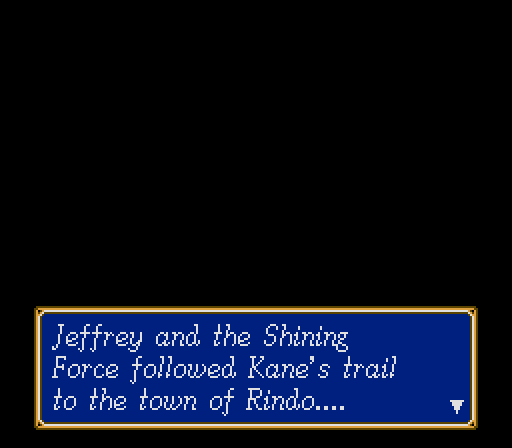

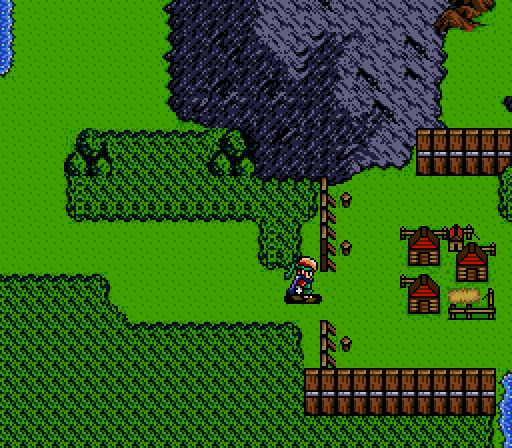
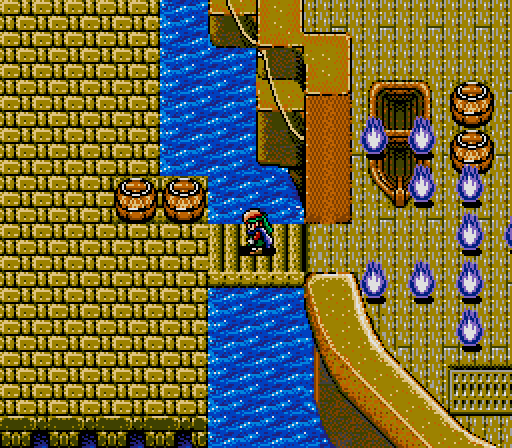
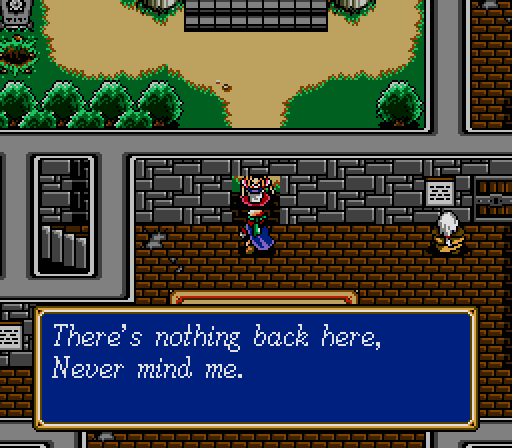
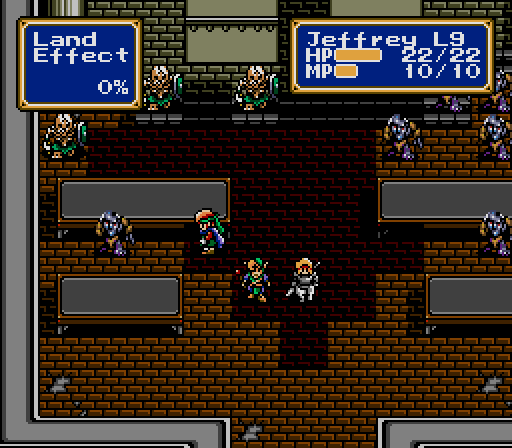
For some reason, we start the chapter outside of town, even though the fence won't let us go anywhere else.
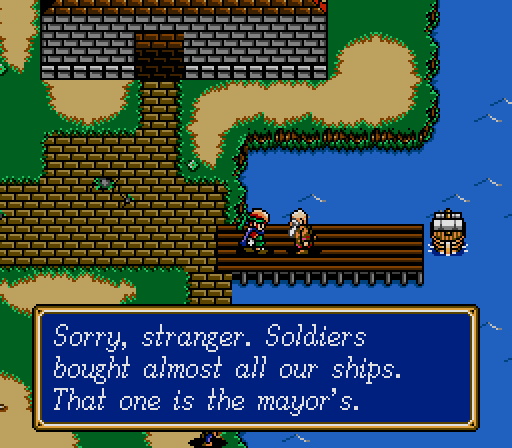
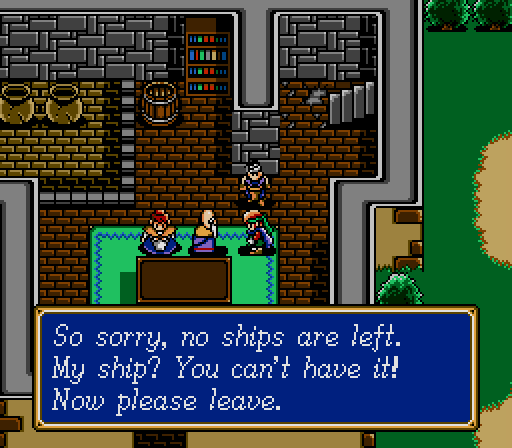
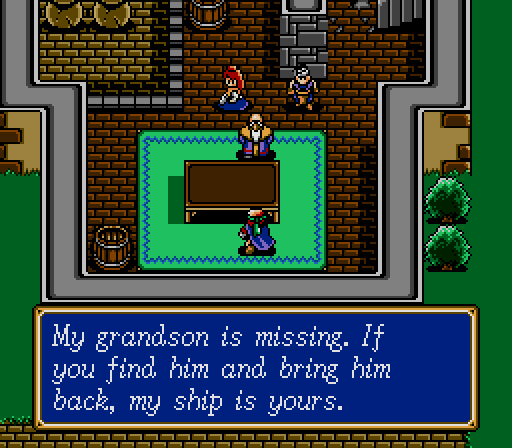
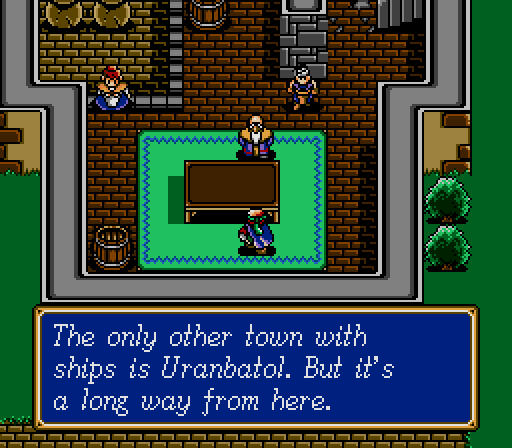
We've currently got two goals -- first, find a ship to take us across the ocean to Runefaust, and second, to find Princess Anri and tell her she's been promoted to Queen. We're not having any luck with the first objective here.
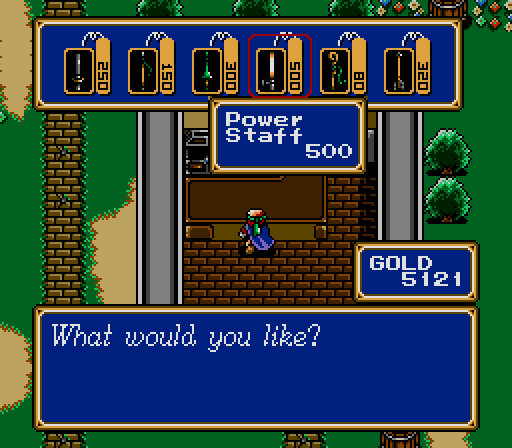
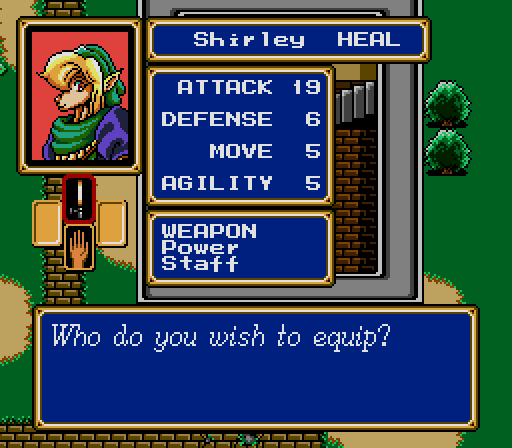
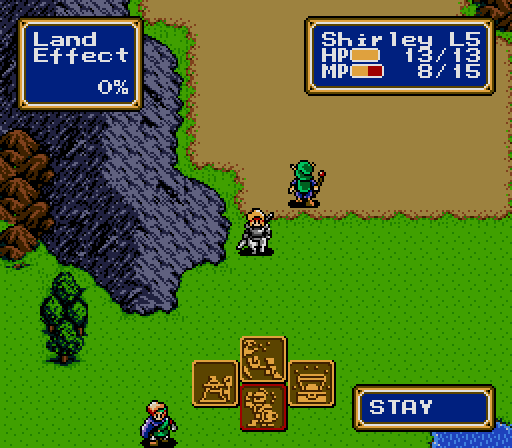
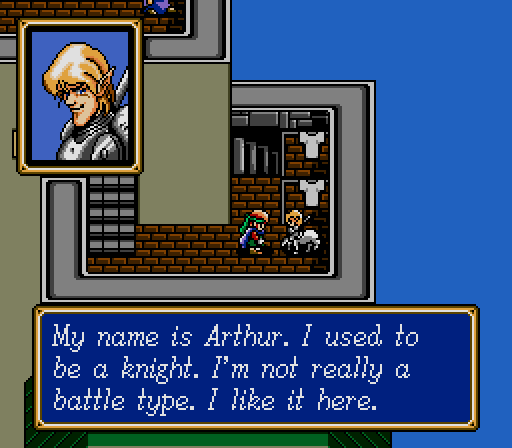
What Rindo lacks in helpful NPCs, though, it makes up for with a weapon upgrade for Shirley. The Power Staff makes her attack power better than Britta's and almost as good as Jeffrey's, and this is the last time in the entire game this will be anywhere near true.
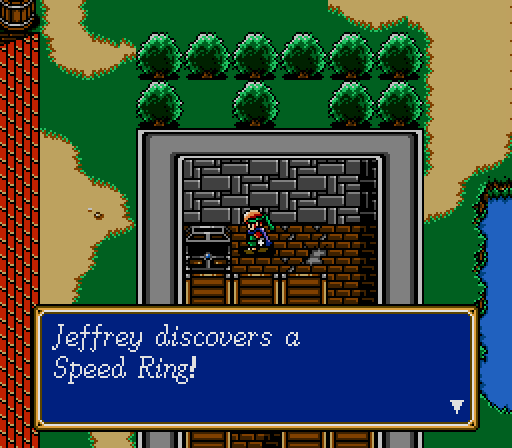
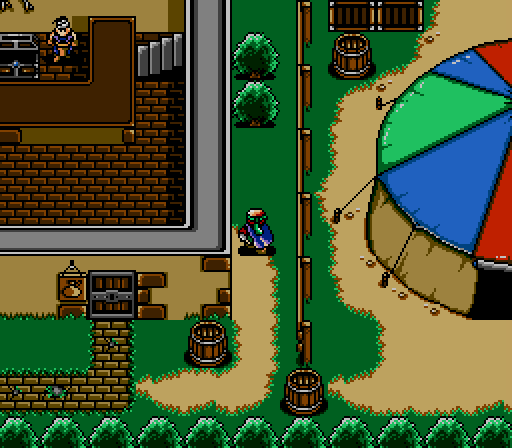
There's also a Speed Ring, which goes to Shirley to get her Agility up near everyone else's, and a ratman getting hot and heavy in somebody's living room, whom we'll tactfully avoid. Time to leave town and find the fence conveniently open.
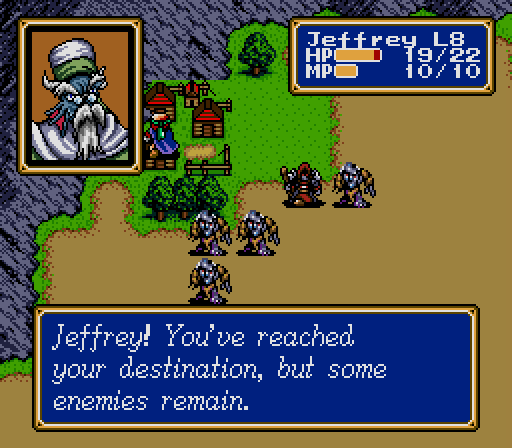
Battle 5
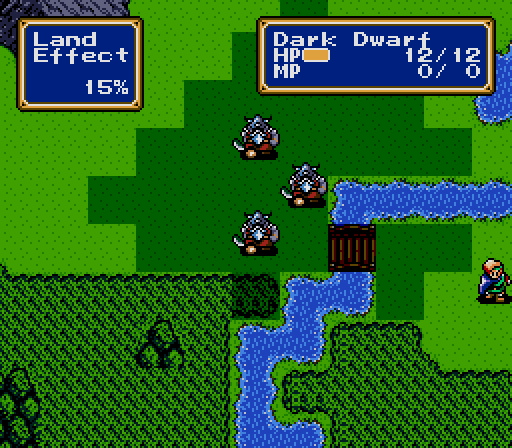
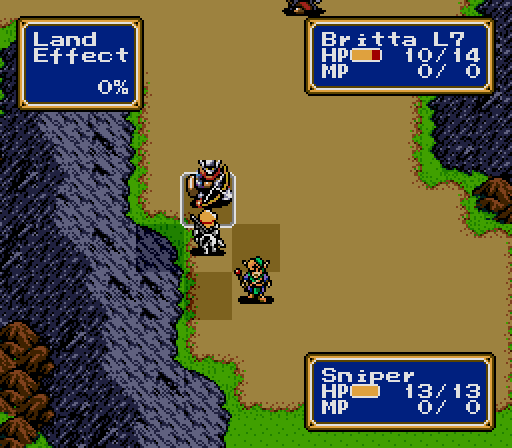
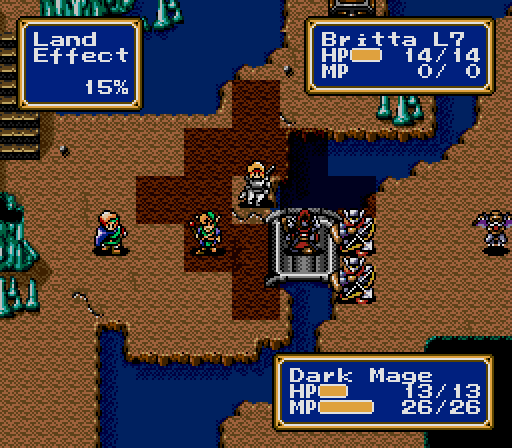
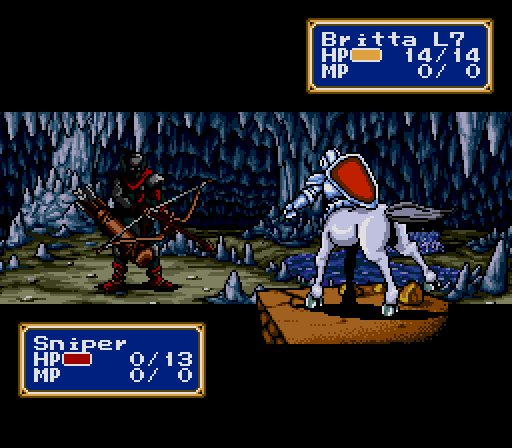
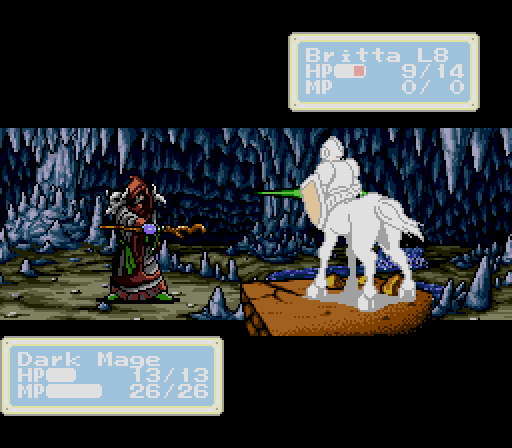
This battle plays a couple of asshole moves with its terrain. There's a chokepoint at a bridge guarded by Dark Dwarves, and not having much ranged damage will hinder us here.
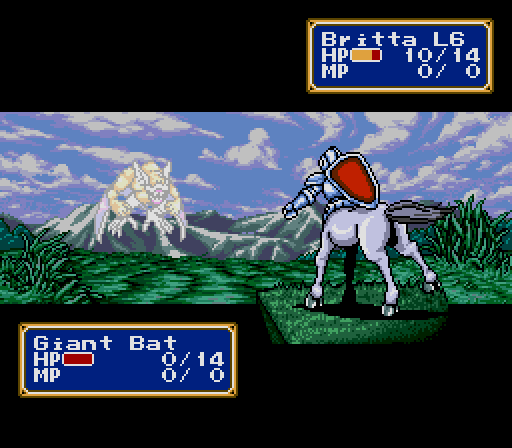
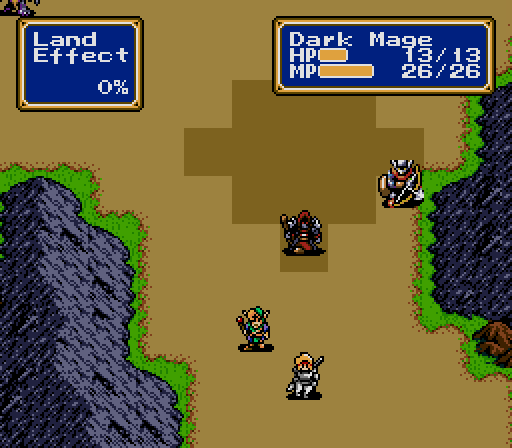
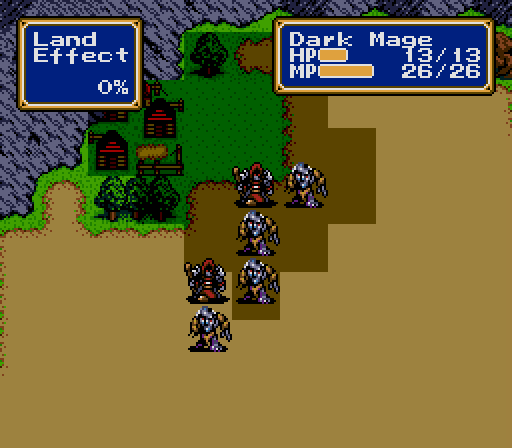
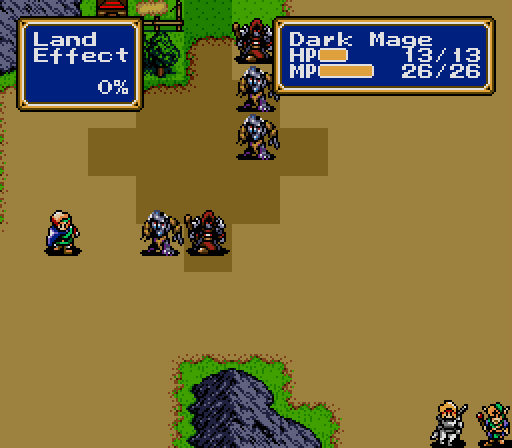
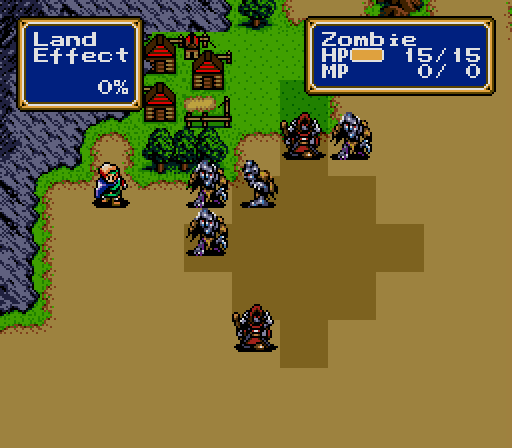
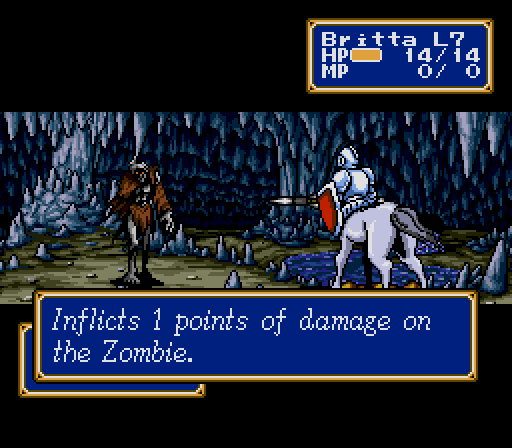
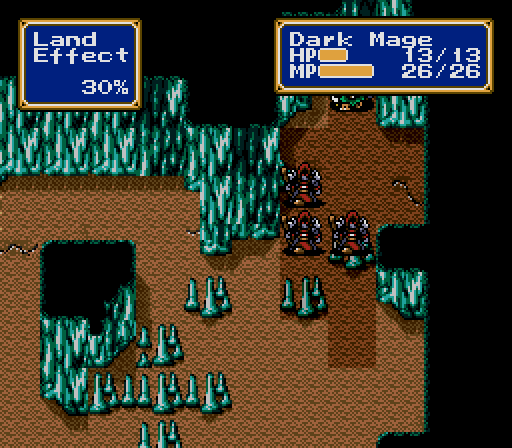
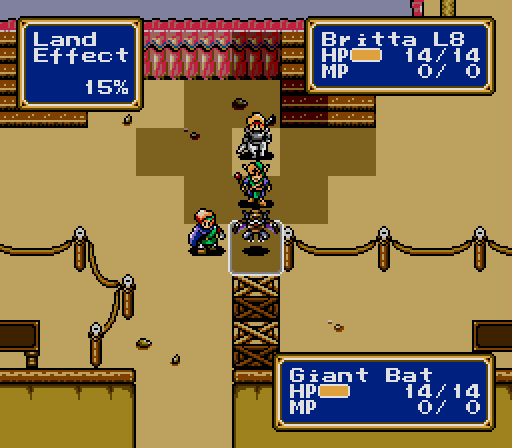
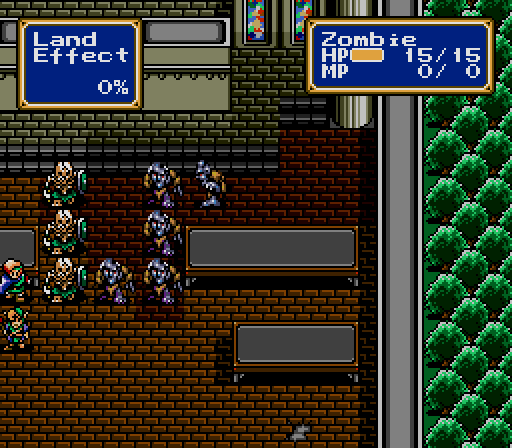
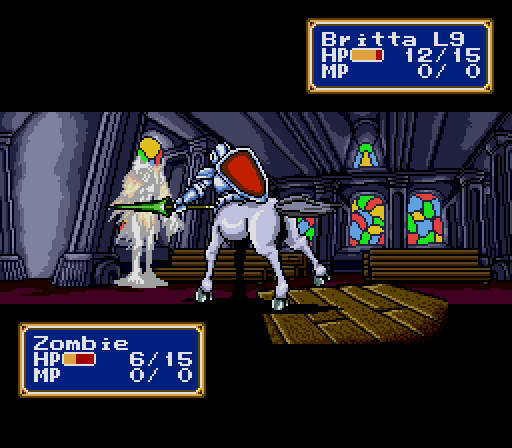
In the center of the map are some Giant Bats, who will charge us once we cross the bridge, and two Snipers and a Dark Mage waiting for us in the desert pass. Finally, the objective is guarded by two more Mages, and four Zombies, a nasty new enemy type.
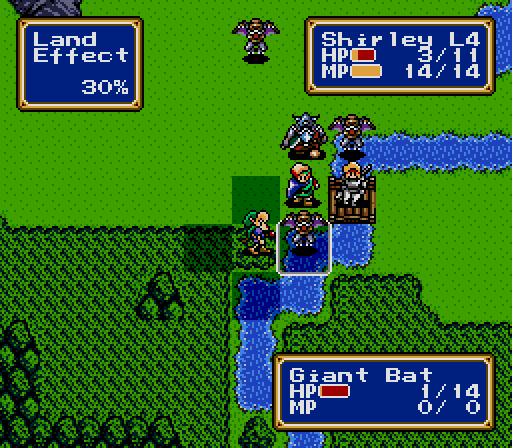
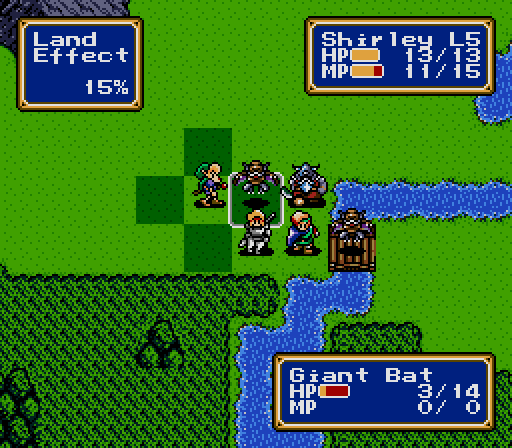
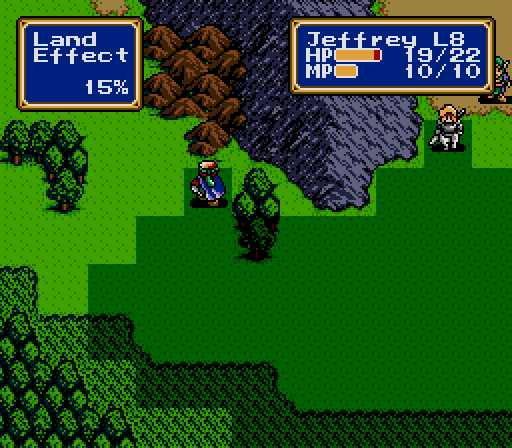
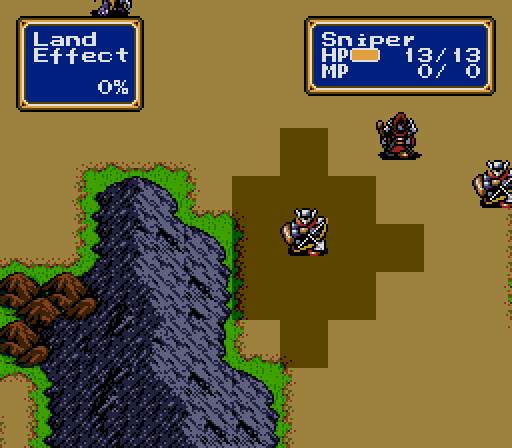
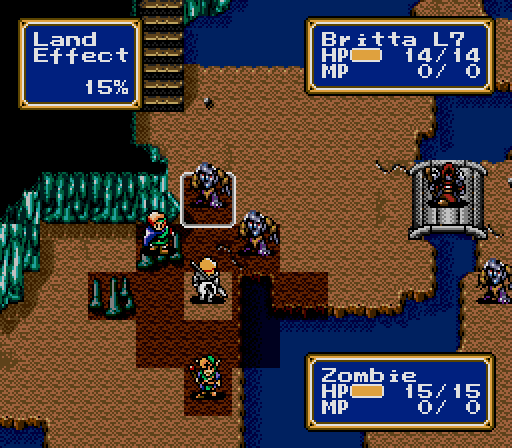
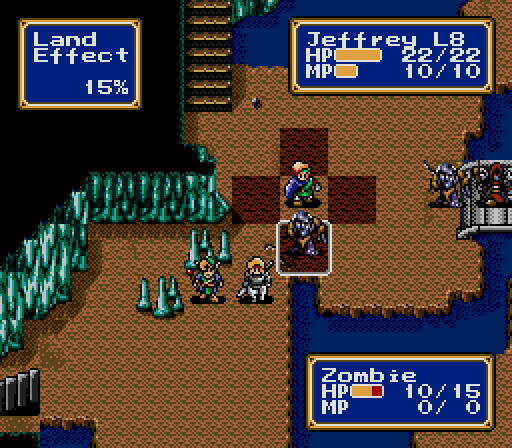
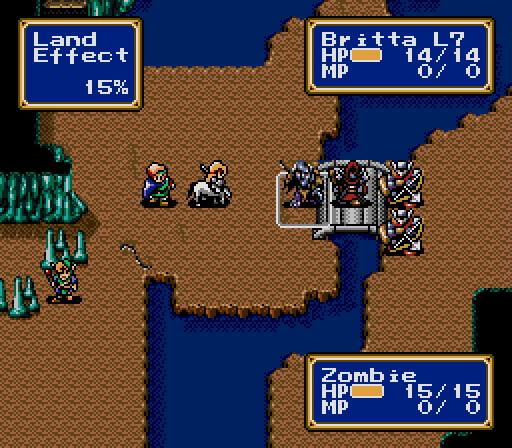
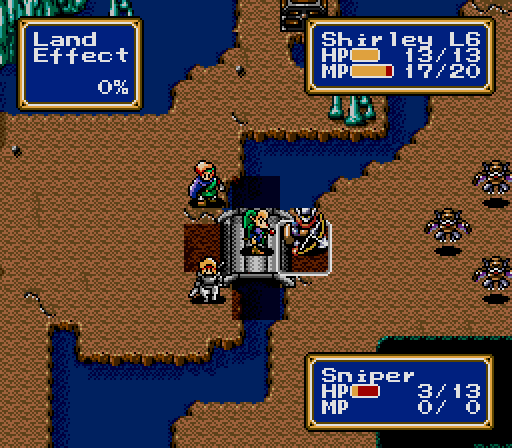
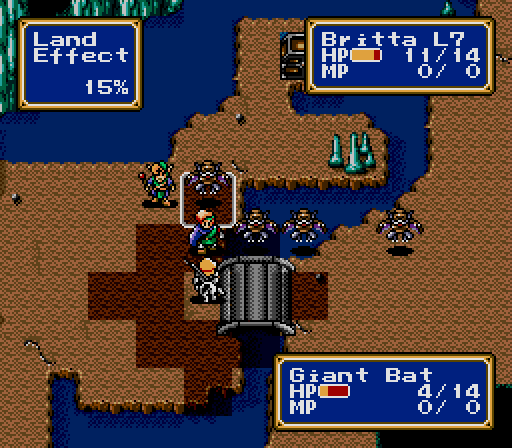
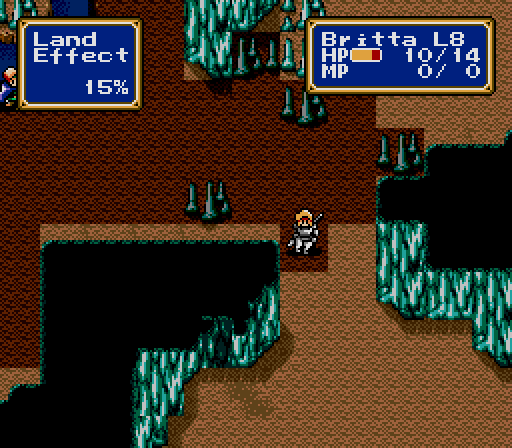
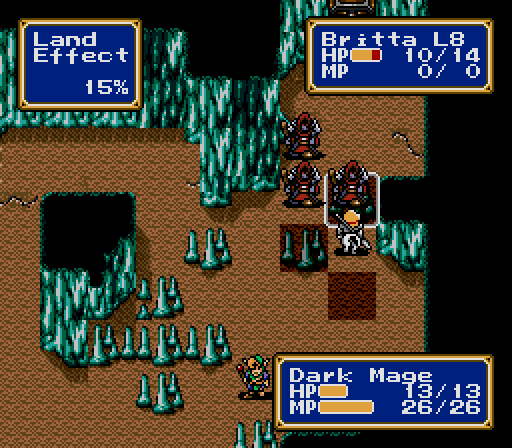
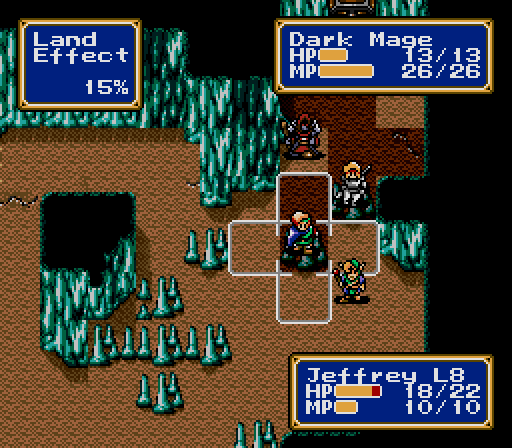
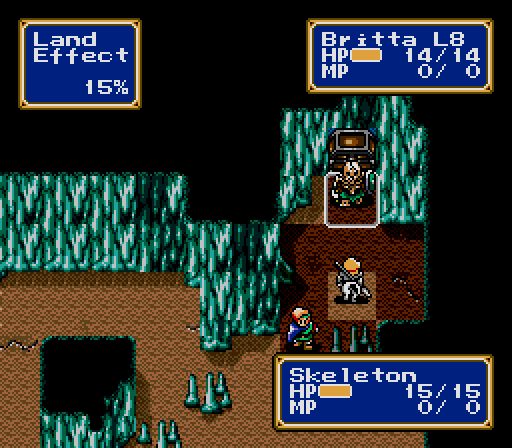
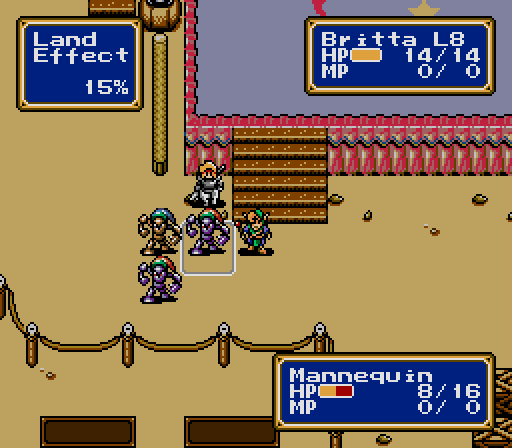
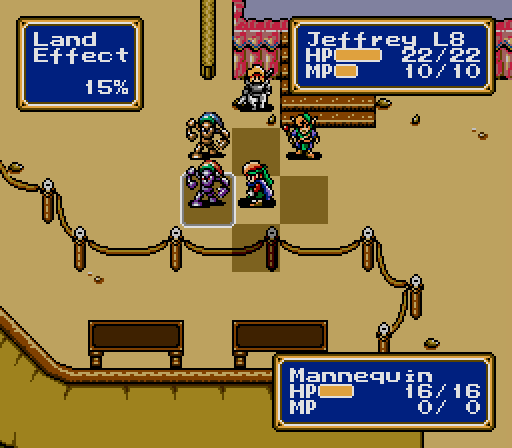
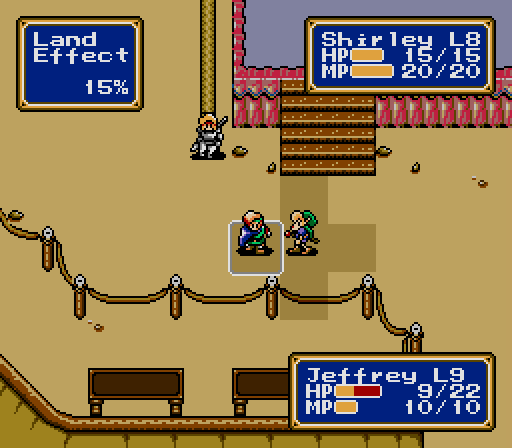
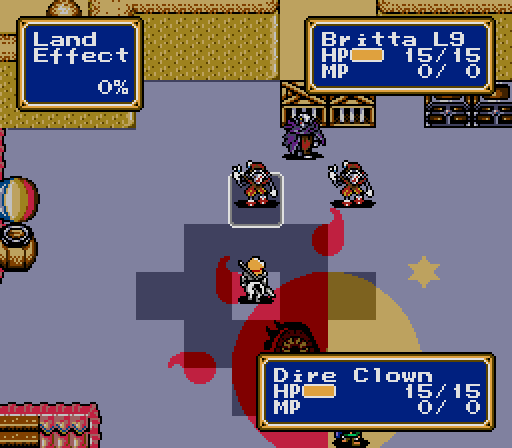
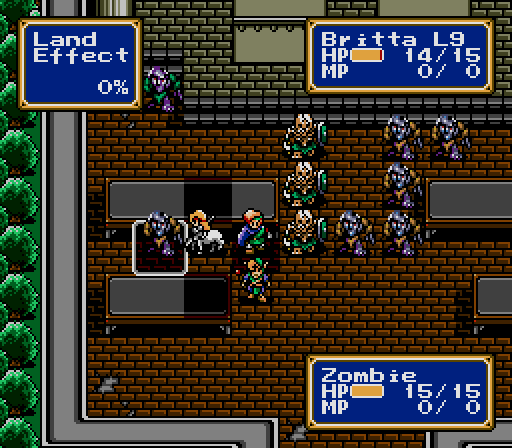
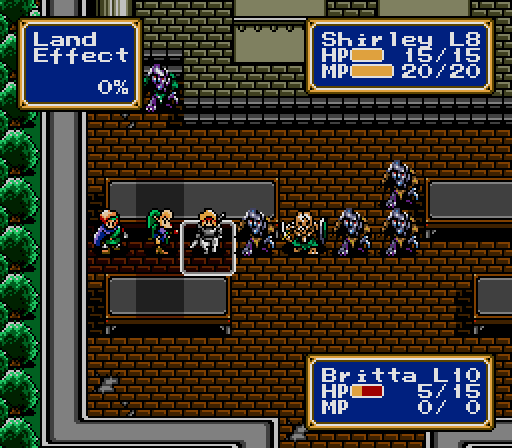
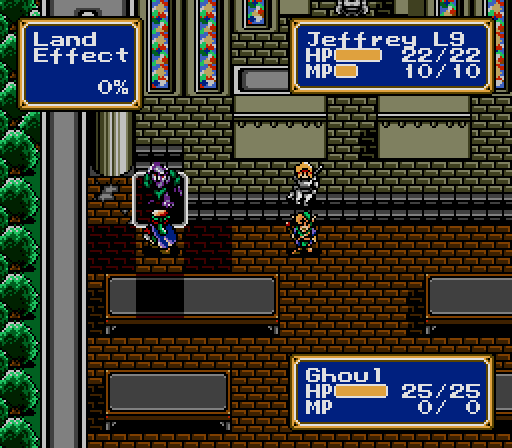
Study Guide - Land Effect
A lot of guides for this game confuse Land Effect, that box in the upper-left corner during battle, with rough terrain, the thing that reduces characters' movement over mountains and such. They're actually two different things, and the way they're different is why this map is such a pain.
Certain types of terrain will reduce a character's movement speed to one-half or one-third, depending on that character's race. But there's no terrain that reduces movement by 15% or 30%, the values commonly seen listed for Land Effect. Rather, Land Effect is a defensive bonus you can get for occupying terrain with cover in it. This is why desert is one of the worst terrains to fight in: it slows pretty much everybody, making it hard to outmaneuver enemies, and it provides no cover, ensuring that the enemy will do full damage to you when they catch you.
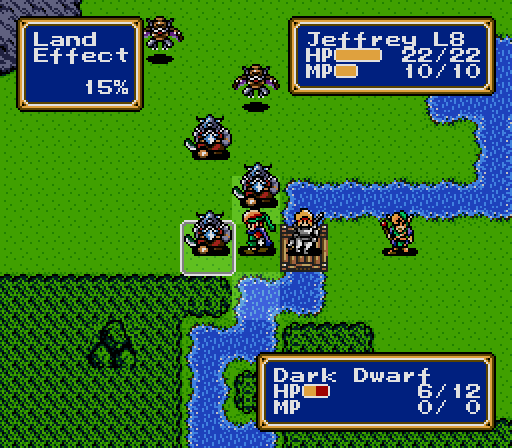
The main objective is to break through the chokepoint so Shirley can get some melee time, but with only two characters who can attack each turn, it's slow going.
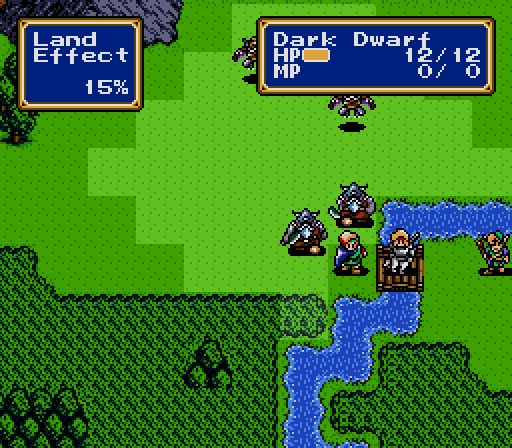
Taking out one Dwarf just causes another to take its place, and taking it out just leaves room for the Giant Bats who've reached us by then.

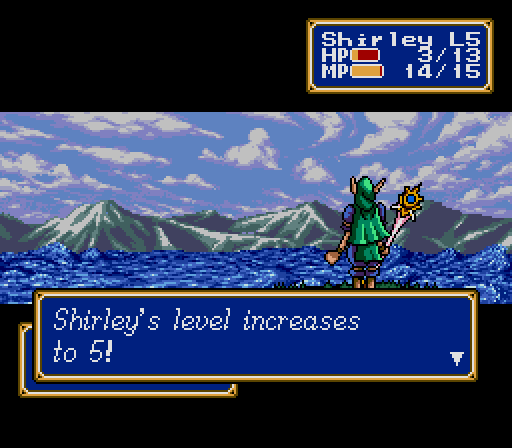
Finally Shirley can make it through and start working on some of the Bats. Her Defense is still pretty low, but she should be able to handle herself one-on-one.

Then the fun begins.
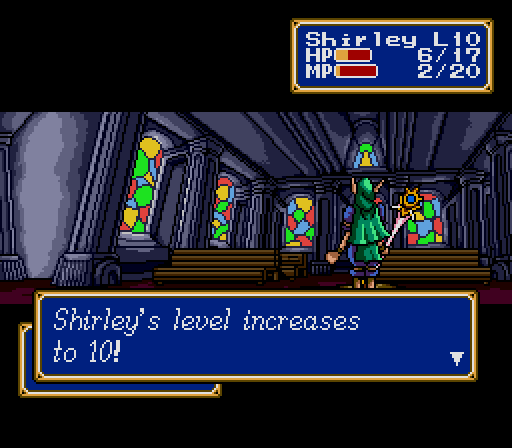
(Shirley gains 1 ATK, 1 DEF, 1 SPD, 2 HP, 1 MP, and HEAL 2)
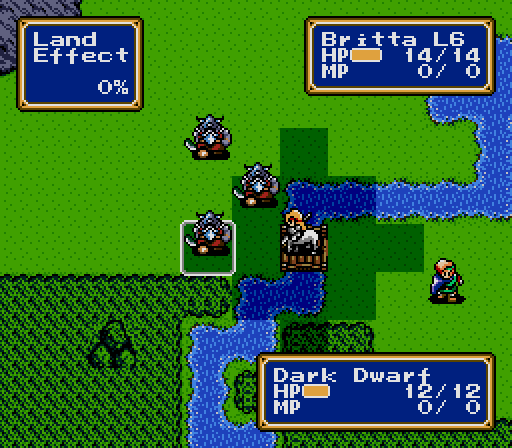
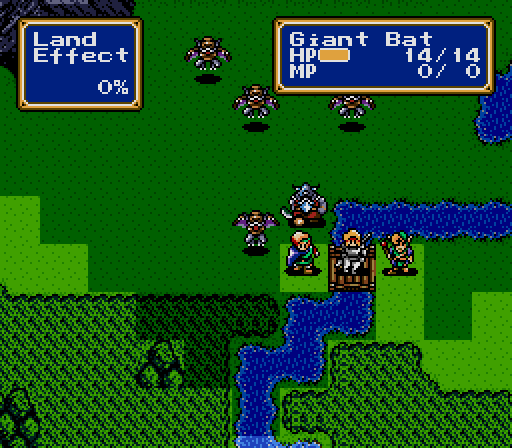
As long as Britta and Jeffrey are around to take the hits, this part of the fight is not dangerous. It is annoying while Bats still live, though.
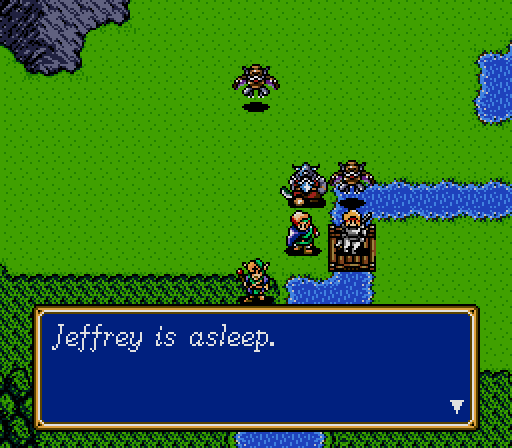
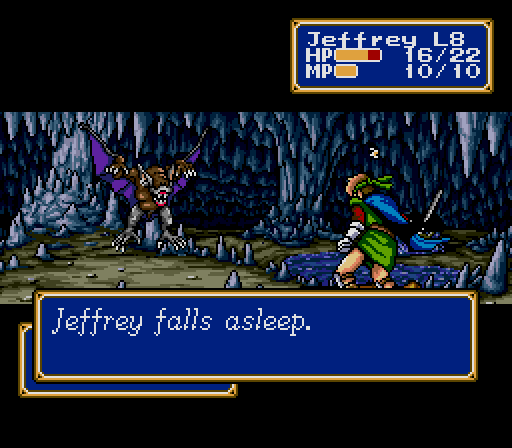
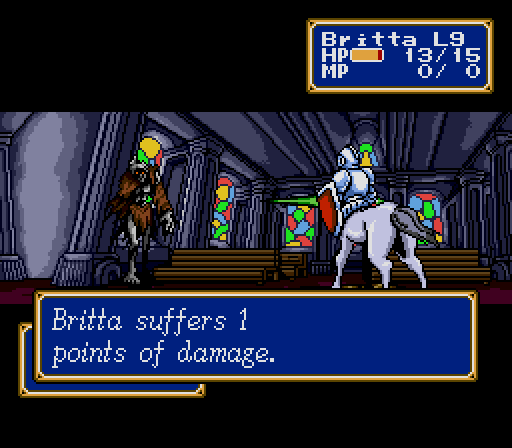
This is the worst message to see, because it means that the sleeping character will miss this turn and the next turn at the very least.
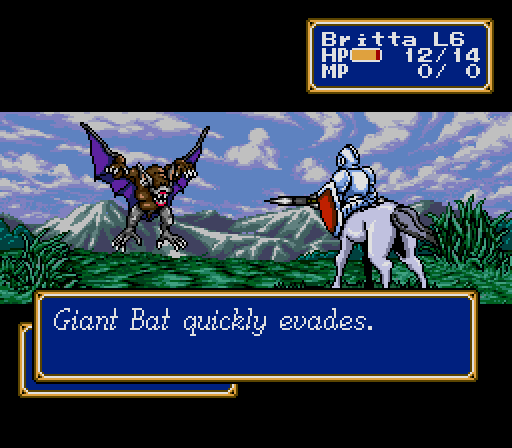
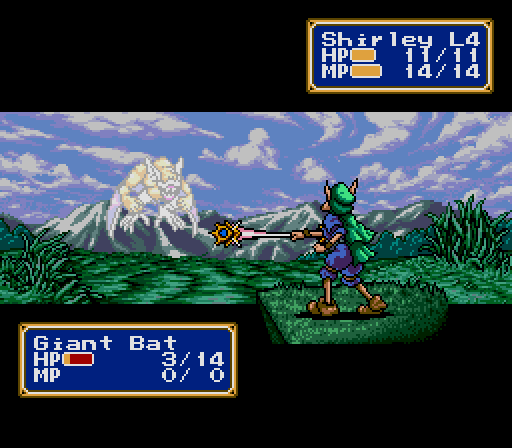
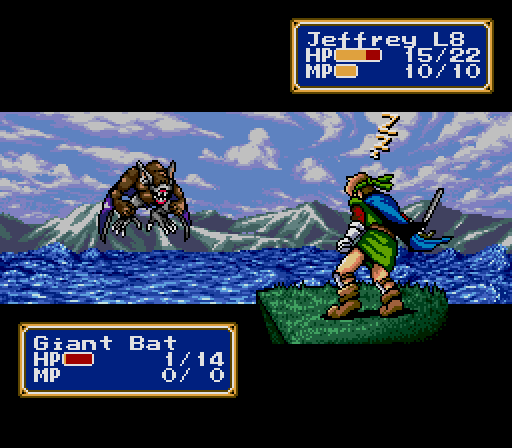
It always seemed to me that thrown weapons like the Spear were more accurate against flying enemies, which is why I always switched to it when fighting Bats, but they just evaded all over the place this time around.
The only attacker left is Shirley, and there's a Bat on the bridge where she can't reach it.
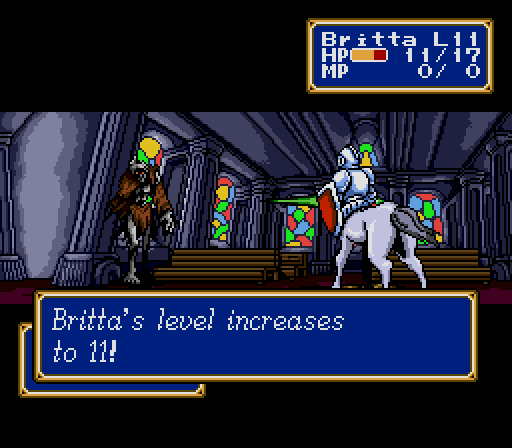
(Britta gains 1 ATK, 4 DEF)
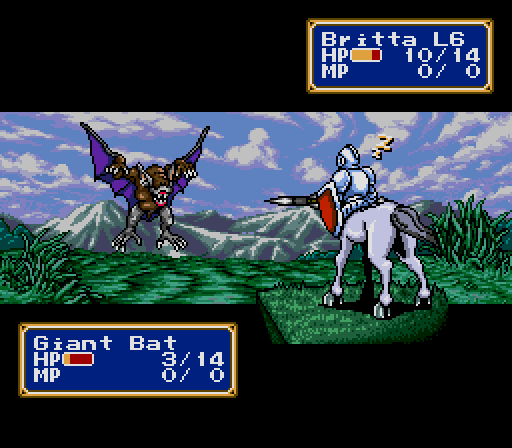
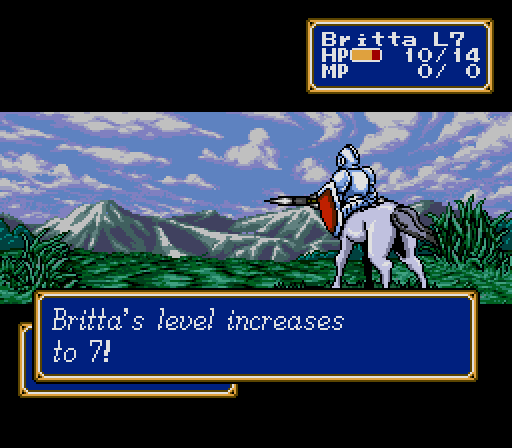
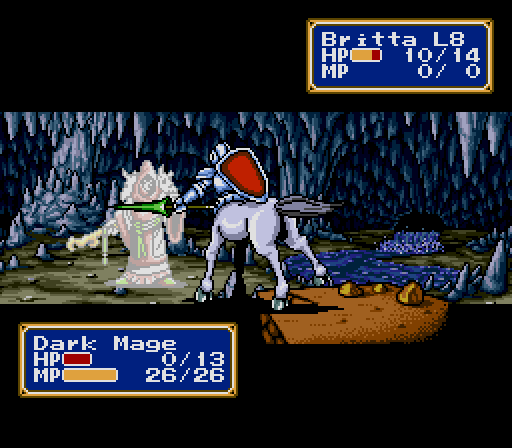
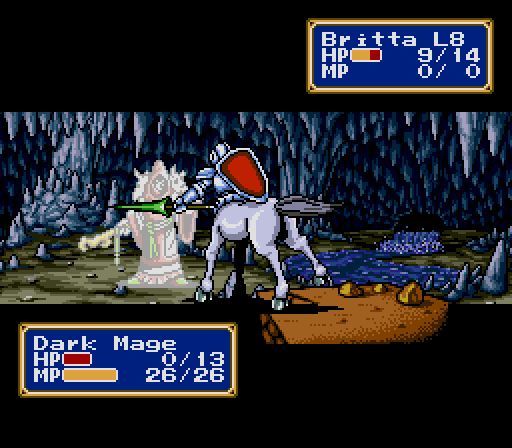
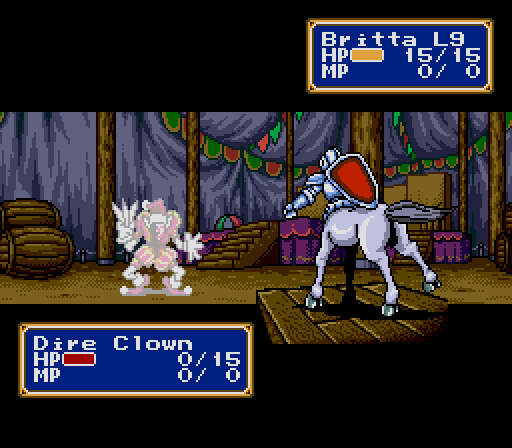
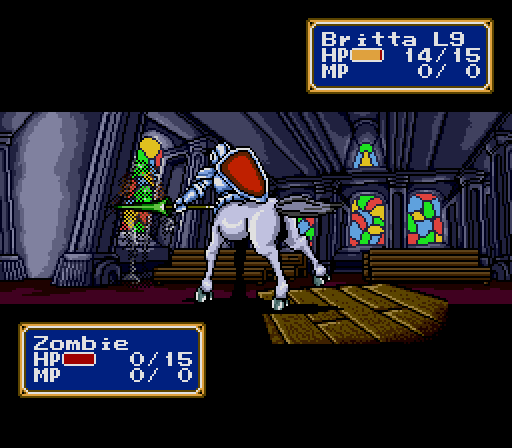
Finally Britta snaps out of it, lances the Dwarf, and spears the last Bat.
For the next part of the fight, Britta and Shirley head through the middle to the next set of enemies, while Jeffrey wheels around to the left. He won't be needed.
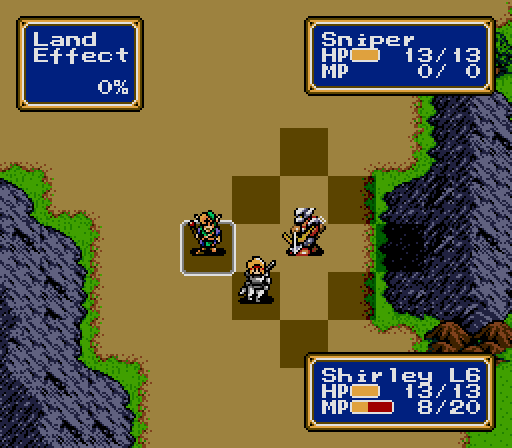
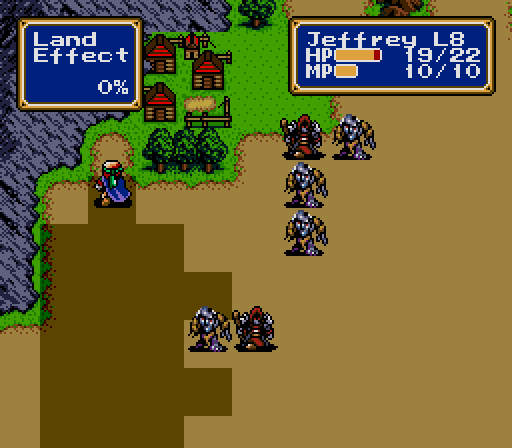
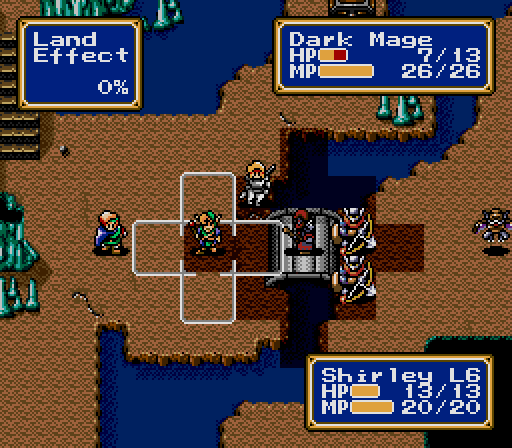
See, the enemies in the desert have limited movement, too, but both the Snipers and the Mages have a four-square danger zone -- if we stop four squares away, they'll move two squares toward us, then attack with a bow or a spell, both of which can reach two more squares.
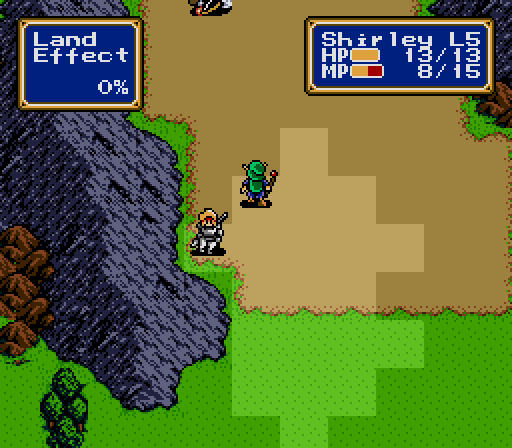
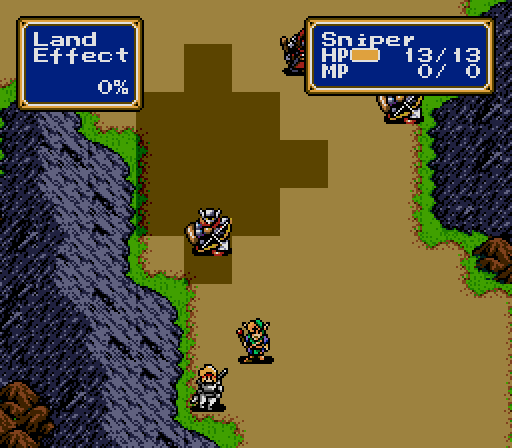
If we stop five squares away, though, they'll move two squares toward us and stop, powerless.
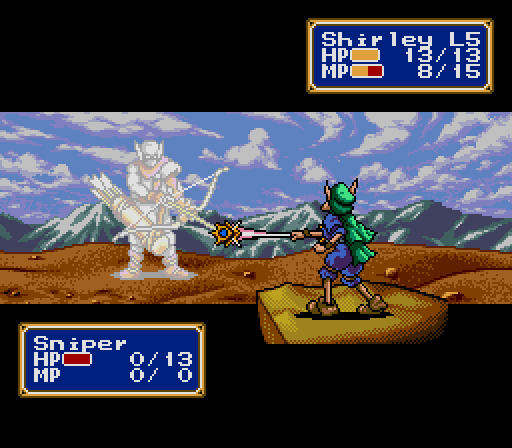
Then on our turn, we move up another two and end them. That's how you outmaneuver in the desert.

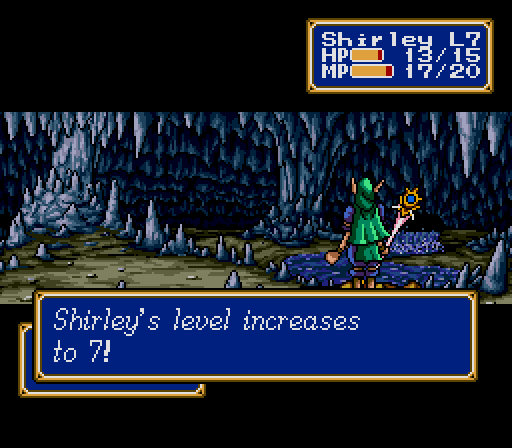
(Shirley gains 1 ATK, 1 SPD, 5 MP)
The Mage falls the same way.
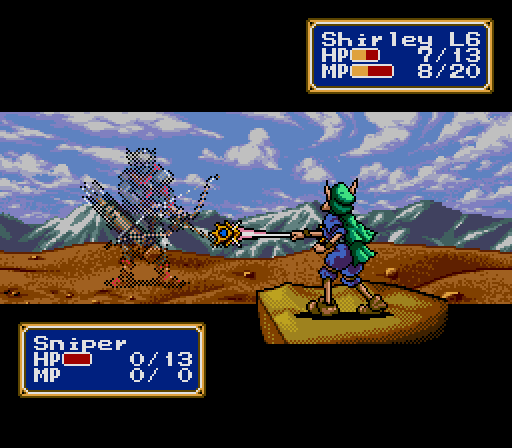
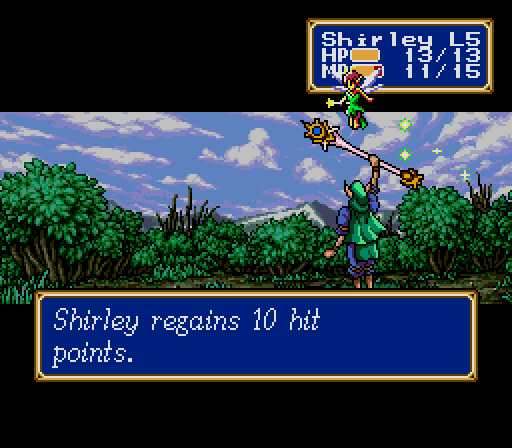
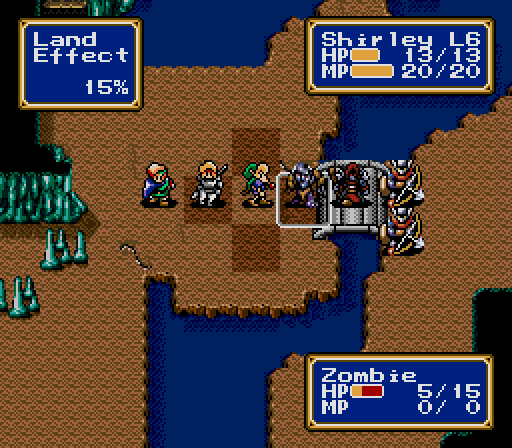
The last Sniper was a little too close to the Mage for this to work, but Shirley takes the hit and one-shots the Sniper anyway. Don't get used to it, it's not going to last. Shirley and Britta are done for now, and Shirley will spend the remainder of the battle healing the two of them for a few extra experience points.
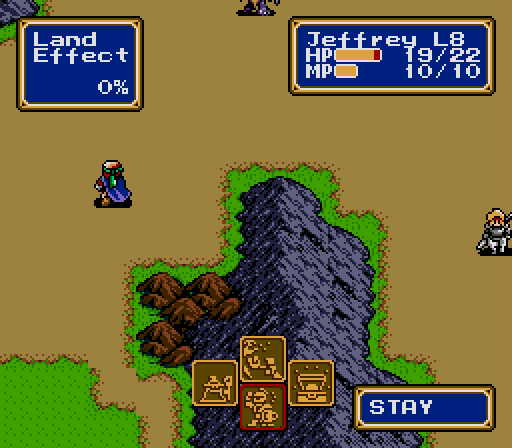
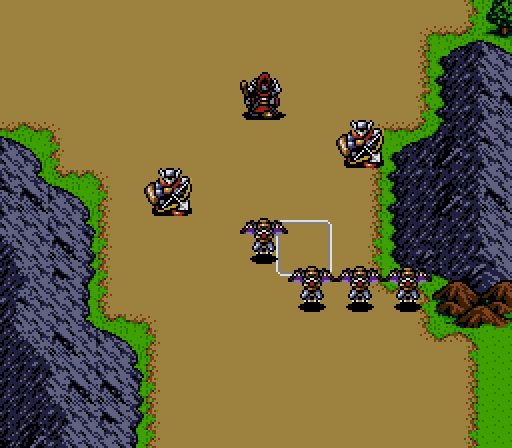
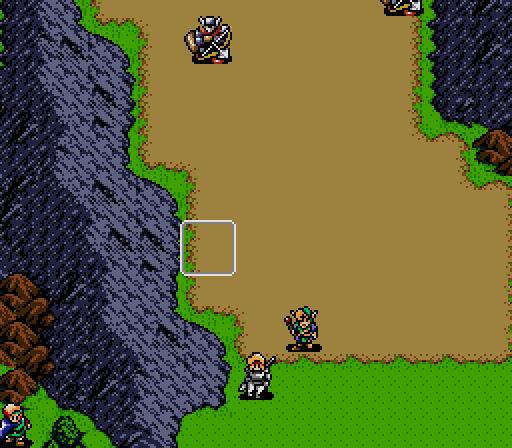
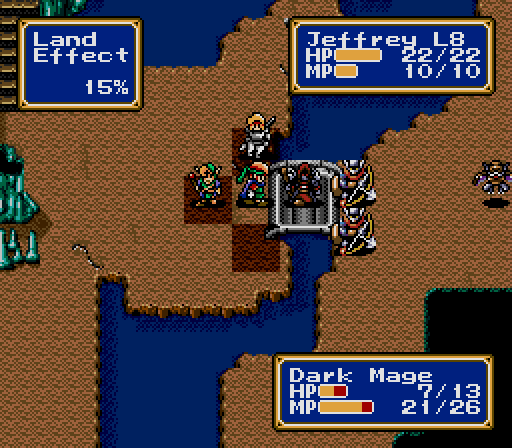
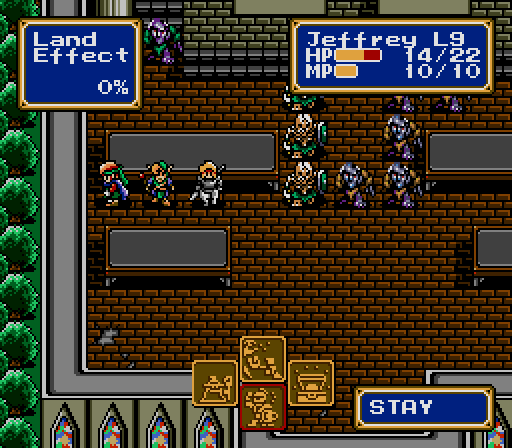
Meanwhile, Jeffrey approaches the last group, which has clustered together in anticipation of the Force's attack. The guide for this challenge on GameFAQs advises attacking from the east, but there's not much in the way of a good angle, and I don't want to deal with Zombies anyway. Instead, Jeffrey stops on this tile.
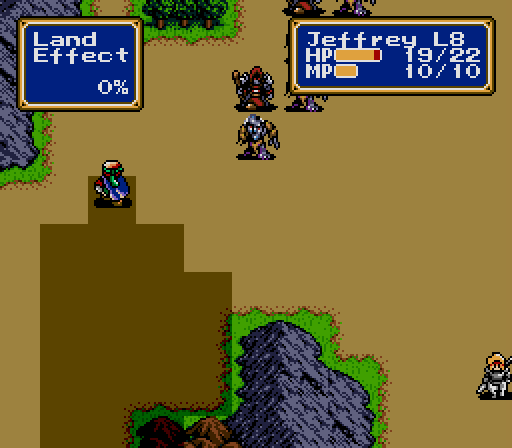
Next turn, Jeffrey moves north three squares (fortunately he can move that fast in the desert, unlike some people). This is five squares away from the lower Mage, and draws it and a Zombie out of position. However, the game's AI will usually attempt to move up-down before it moves left-right, so the Mage approaches by walking two squares south.
Next turn, Jeffrey moves north three squares again. He's outrunning the Zombies, and got far enough away from the Mage that it lost interest.
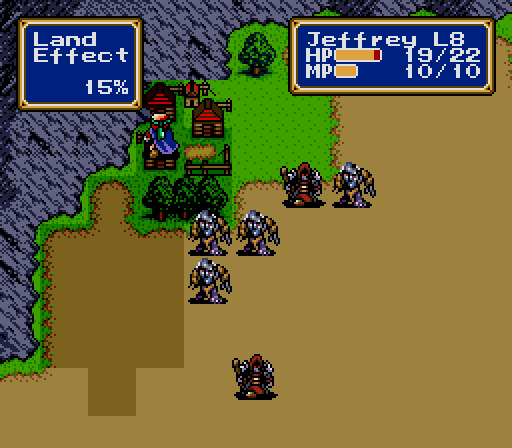
Next turn we can make it into town, and leave those Zombies behind.
Ehhh... Moral Victory.
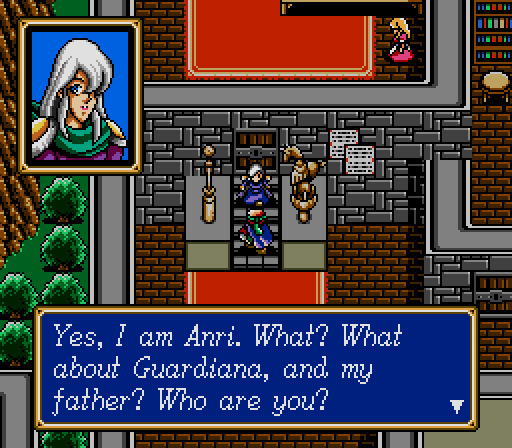
Now we're in Marinara, home of wizards and shit. The Princess is conveniently right by the entrance, but won't believe this guy she's never heard of.
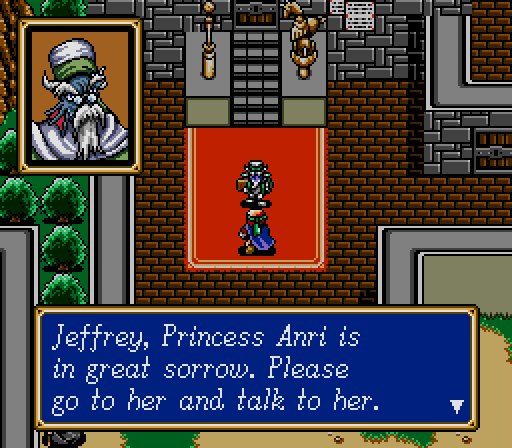
She believes our adviser, though, and runs away crying.
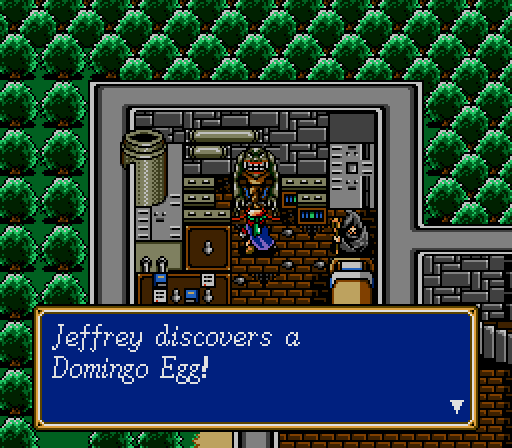
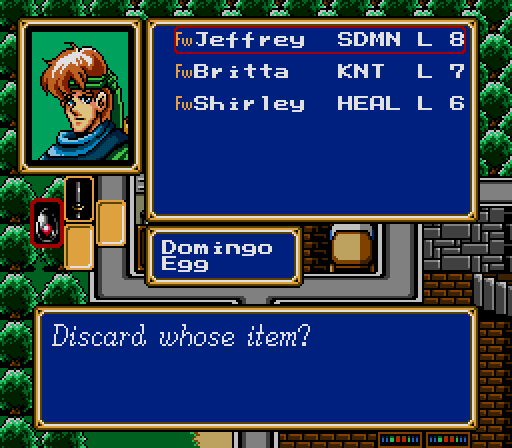
Wandering around, the only thing we find is this weird egg. It doesn't seem to do anything, and we don't have the inventory space for joke items, so we drop it.
We also find the Princess again, but Jeffrey's probably the last person she wants to hear from, so we leave her be. There's also a pretty weak looking centaur doing laundry. Thankfully he doesn't offer to join.

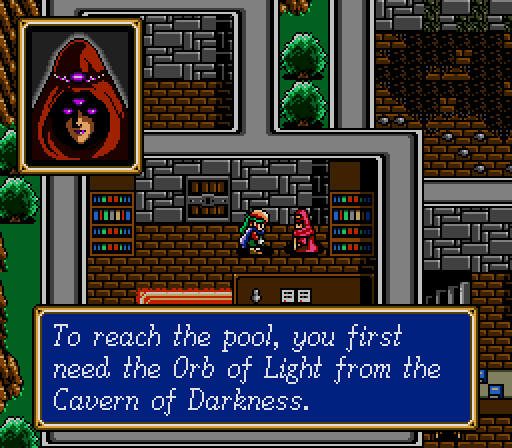
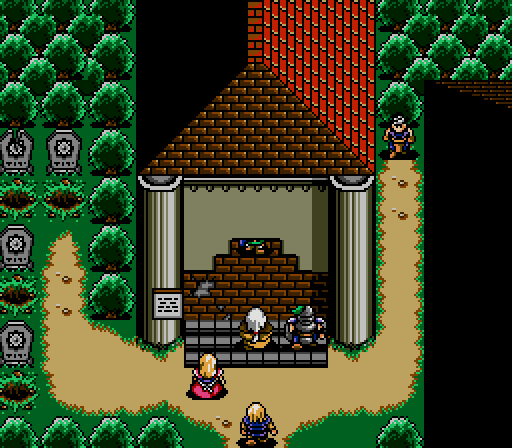
We also meet a three-eyed woman who tells us about some doors, keys, pools, and orbs that are probably going to be important, and a cave in her basement.
I guess that's our next stop.
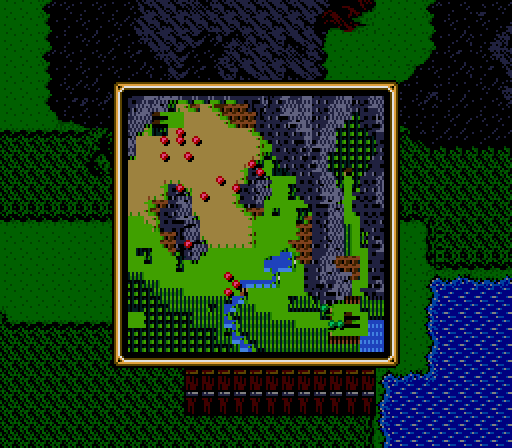
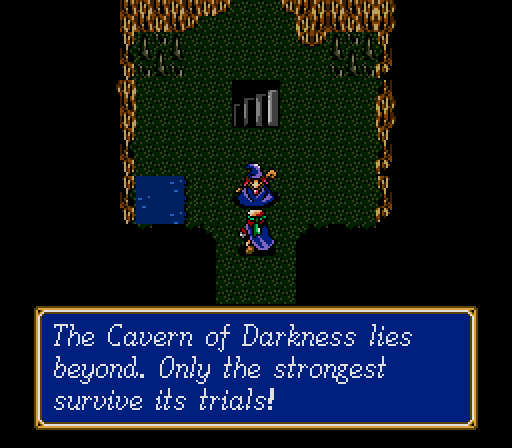
Battle 6
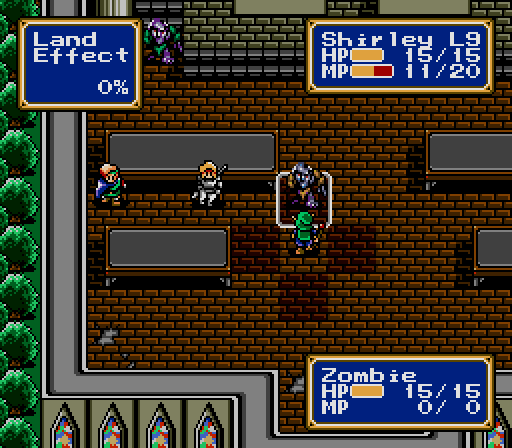
The Cake of Daveness is pretty small. We start out in front of a chokepoint guarded by two Zombies. There's no way to melee one of them without taking hits from both. Zombies hit like a truck, take hits like a truck, dodge like a... very fast truck, and sometimes poison you... like a food truck with a broken AC unit? Anyway, the point is I don't want to melee them.
See, this fight is secretly a tutorial fight. You're supposed to learn that the undead are weak against fire magic. That's great, but we don't have fire magic, and won't for most of the game. However, since it's a tutorial fight, the Zombies won't actually advance on us.
This might take a while.
Cut to twenty-odd turns later, I get bored and let the other two try to finish off the wounded Zombie before it can attack. Jeffrey gets greedy, though, and double-attacks, stealing sweet experience from Shirley.
More of the same with the last Zombie.
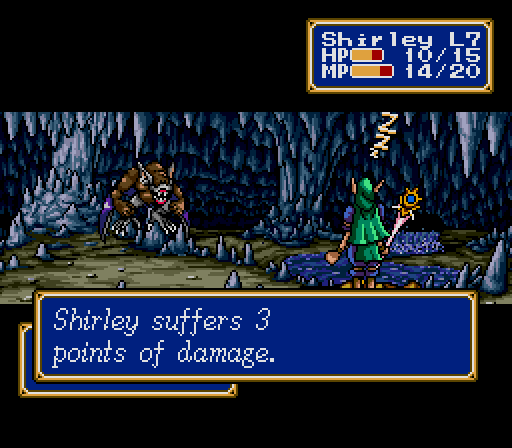
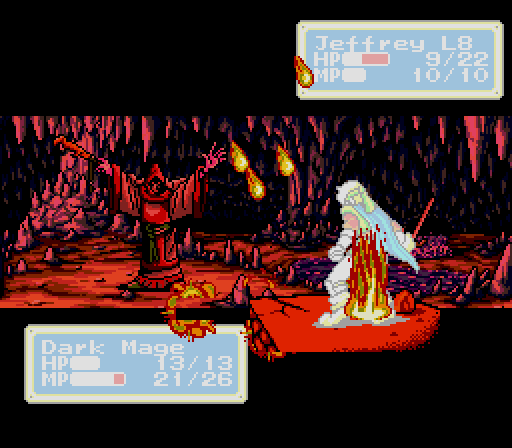
As we start work on the Mage, we stand in a diagonal pattern -- partly to stay out of range of the Sniper behind it, and partly to minimize the danger of its magic. Blaze 2, which it casts, can target a cross-shaped five-square area, but there has to be a valid target in the center of it (no targeting a tile like in Final Fantasy Tactics) so standing apart like that means it can only hit one of us at a time.
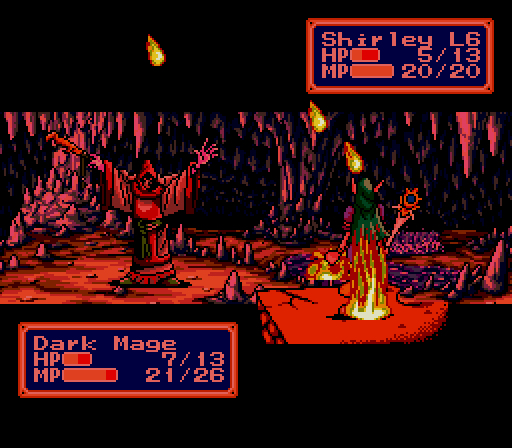
Still hurts though.
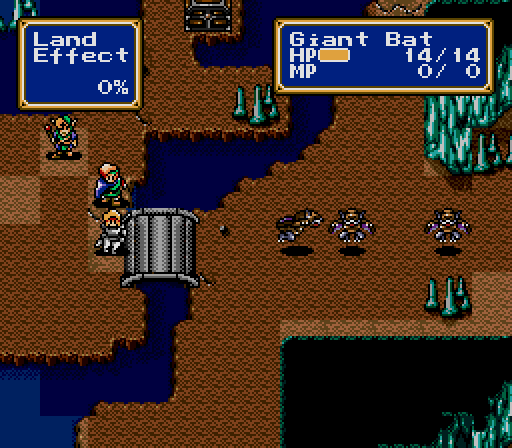
There are five Giant Bats off to the east a little, but they won't come after us as long as we don't cross the bridge.
(Shirley gains 1 SPD, 2 HP)
So we can clear out everybody else before dealing with them...
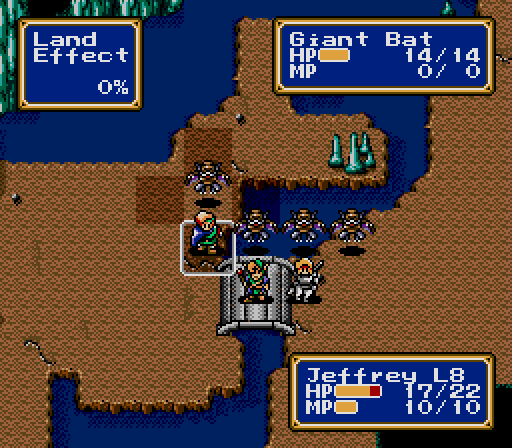
...and exploit some bad pathfinding to limit how many attacks we take. They're still more trouble than they should be.
We can actually retreat back over the bridge and make the Bats retreat too. Some enemies that charge when you cross a certain threshold will behave this way, which can be fun to manipulate and give you breathing room when you need it. I wait until Jeffrey is awake to cross again.
(Britta gains 1 DEF, 1 SPD)
You know how Bat fights go by now.
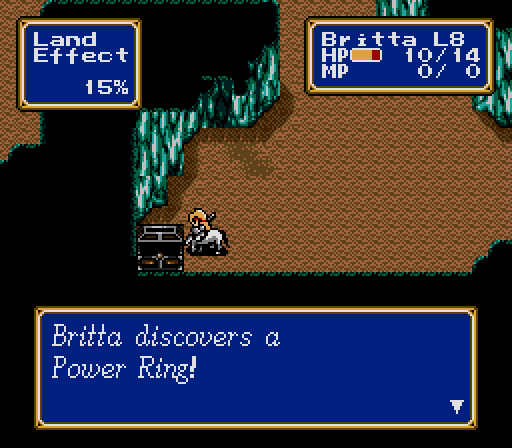
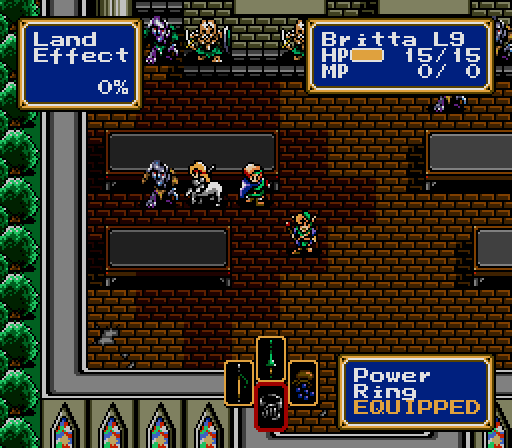
Once the Bats are gone, Britta goes exploring. There's some treasure on the battlefield, but only one thing worth taking before the fight's over. The Power Ring adds 4 to Attack while equipped, and it's got another use we'll see soon enough.
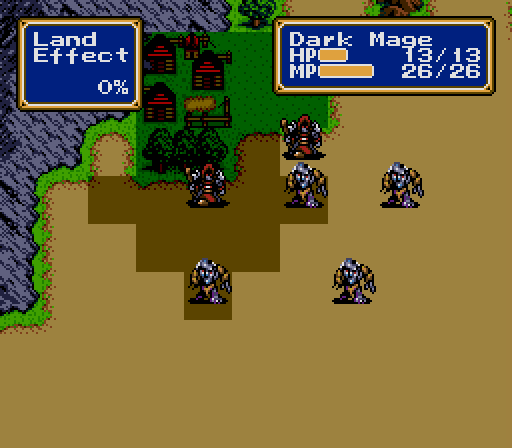
At the end of the fight are three more Mages, arranged densely enough that you can't melee one without getting in spell range of another.
Again, we stagger our formation to minimize the risk. Only Jeffrey can survive two spells in a row, so I try to have him in range just to take the damage instead of Britta. Shirley hangs back; with Heal 2, she can undo any damage taken from a safe distance.
Sometimes, though, Mages just decide that spellcasting is beneath them. The lower Mage doesn't cast a spell this turn, even with Jeffrey as a tempting target.
Everyone moves up to take out that next Mage, and it manages to survive long enough to act again, but again chooses not to cast anything, instead smacking Britta for one damage. This part of the battle is kind of luck-based, although a careful approach and plenty of leftover healing helps a lot.
Finally one of them decides to do something smart.
Too late to make a difference, though.
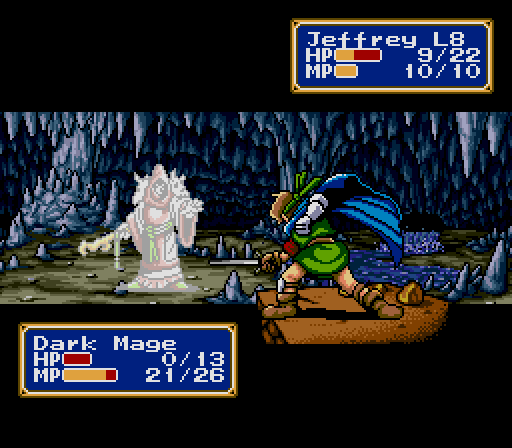
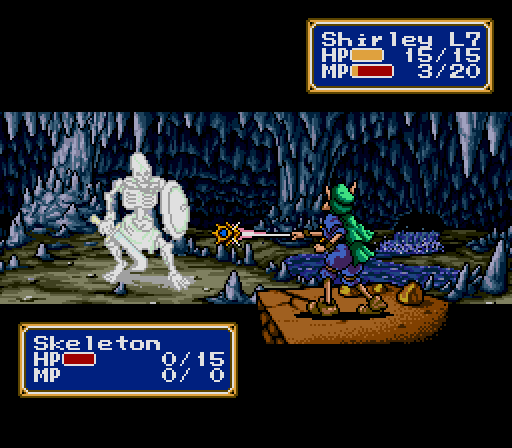
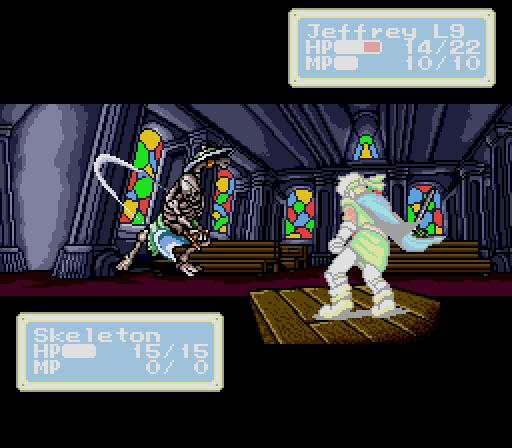
This new enemy, the Skeleton, is even stronger than the Zombie, although it lacks the evasion and poison. It won't move from in front of that chest, though.

(Shirley gains 1 ATK, and SLOW)
I let Britta wear it down for Shirley to finish off.
Victory!
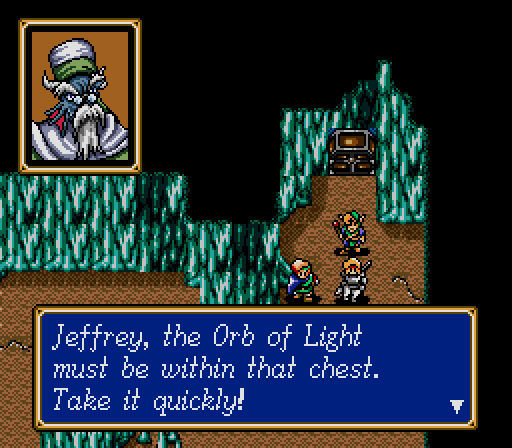
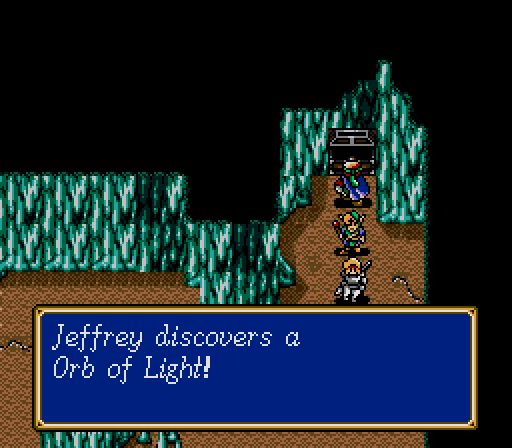
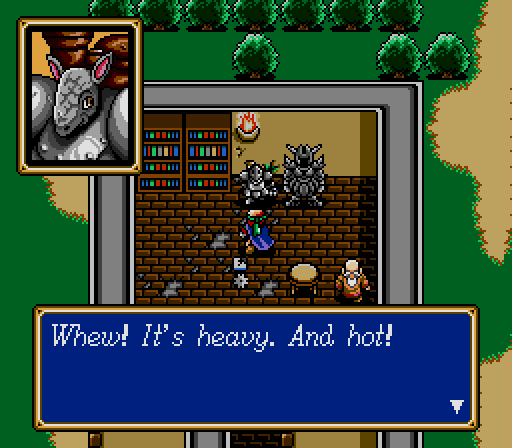
Hey, what do you know. It's a plot item that will be clogging up my inventory for the rest of the game. I wouldn't mind if it, you know, actually did anything. Come on, just let me equip it for like +2 Defense, just for the novelty of it. Also for the taking; a Wooden Staff, a Power Staff, and a Medical Herb. All of it goes away at the earliest opportunity.

So we take it to this pool behind the Cavern, and use it...
We already knew that!
We already knew that too! What was the point of this side trip anyway?
Back to town, where the circus has apparently set up in our absence.
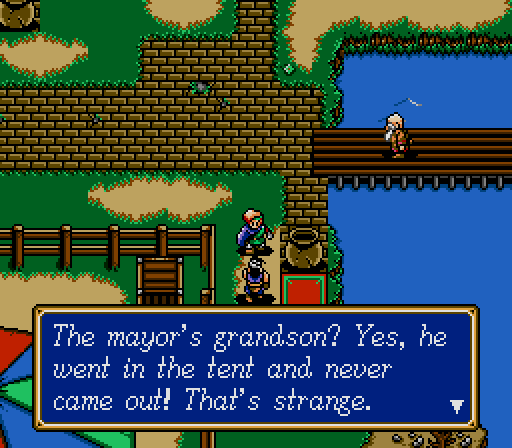
And where we learn that nobody in town knows how to look after children. And that the going rate for good samaritanism is apparently one boat.


Surprise! The circus is evil, and so is that fortune teller.
Battle 7

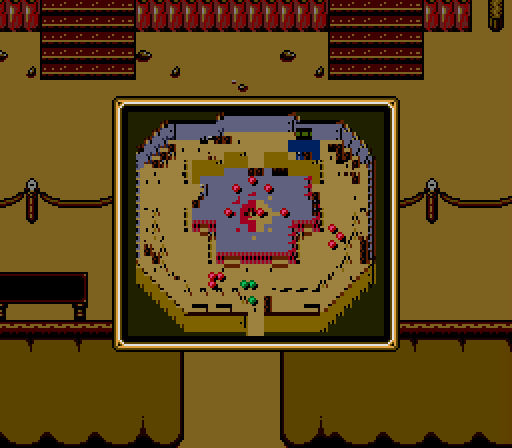
There's not much to this battlefield. Most of the enemies won't approach if we're not close, and we can take our time getting on stage.
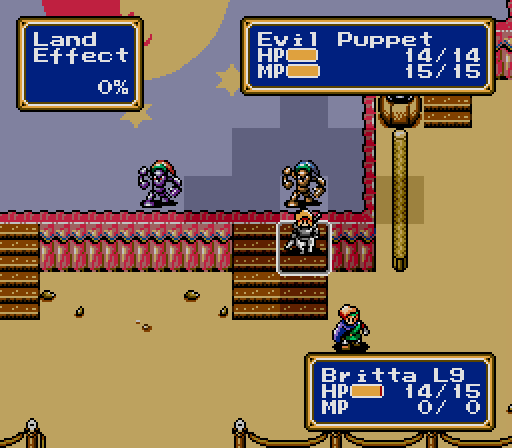
First things first; taking out this group of enemies. They're close enough to charge immediately, and I don't want to get flanked.
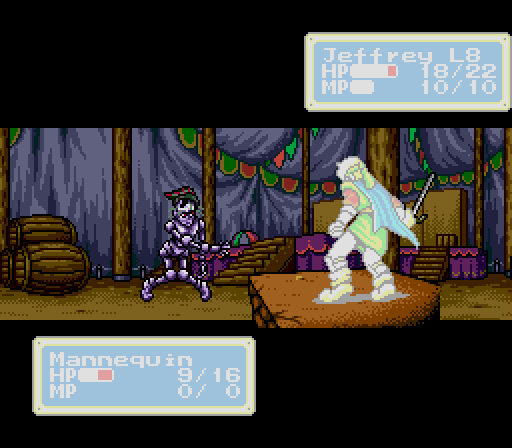
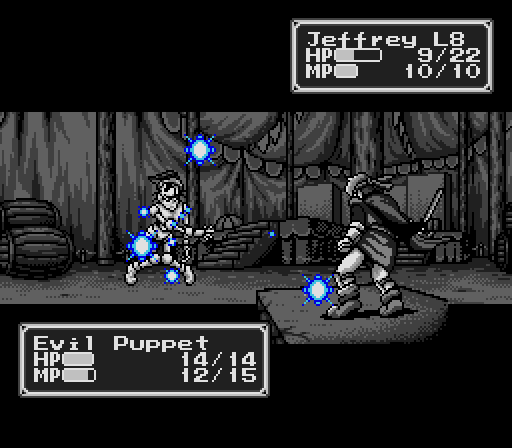
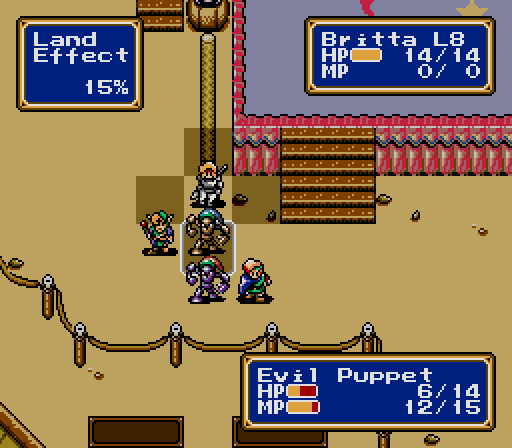
The Mannequins aren't too bad, but the Evil Puppets cast magic, which, as always, wrecks our shit.
(Jeffrey gains 1 DEF, 2 SPD)
Two turns is enough to wrap them up.
We heal up and head right to take out three Giant Bats. This is the last we'll see of those assholes, thankfully.
(Britta gains 1 ATK, 1 SPD, 1 HP)
Good riddance.

Stepping on the ramps draws out some more dolls. As long as we're not in range of two Evil Puppets at once, we'll be fine.
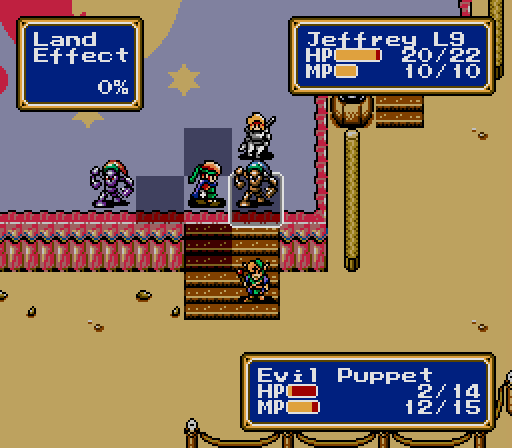
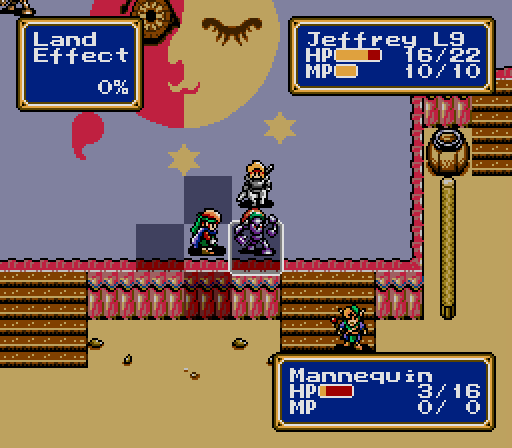
We work our way across the stage, healing as necessary.
Two Dire Clowns protect the boss, but not very well, because they don't move at all. Skipping ahead four turns...
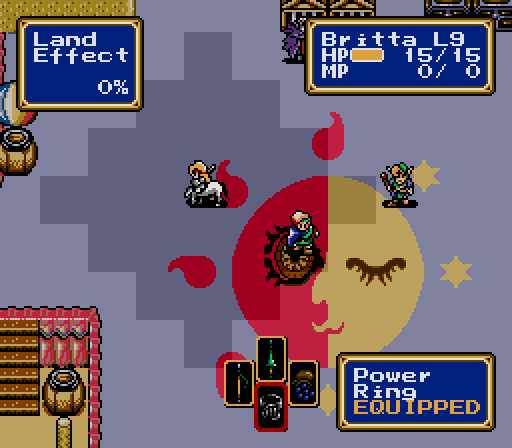
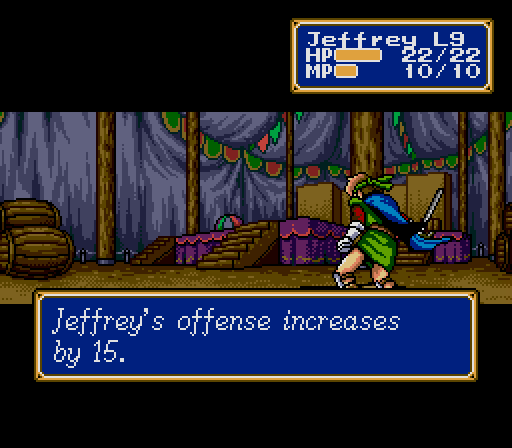
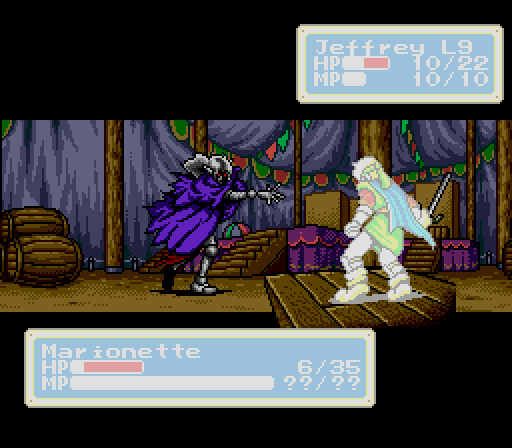
The boss won't move just like its bodyguards, but it has a powerful ranged attack in Freeze 3, so playing it cheap is out. The only option is an all-out attack. We start with the other function of the Power Ring; when used as an item, it casts Boost, raising Attack by 15 for 2-3 turns. It has a chance of being damaged when you do that, though, so I try not to use it more than once a fight. As we'll see later, that's not as restrictive as it sounds.
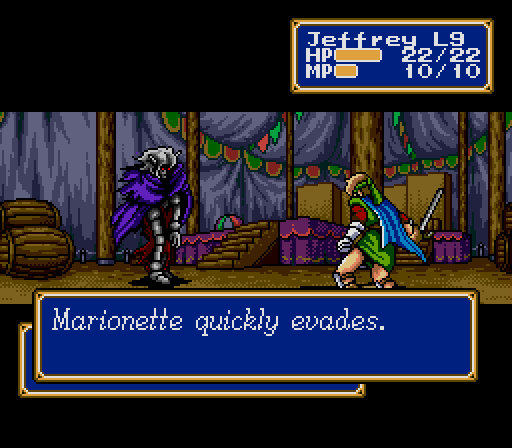
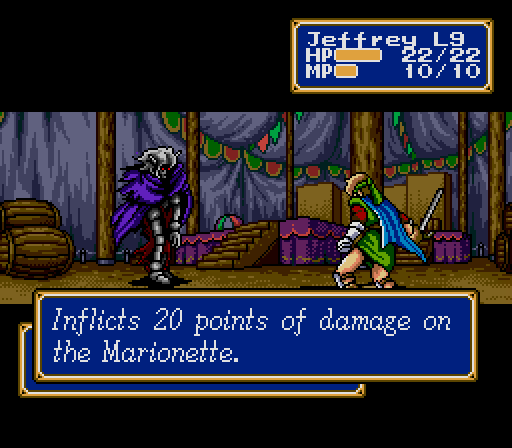
I used the Power Ring on Jeffrey because he's got the highest Crit value, but he whiffs his first attack.
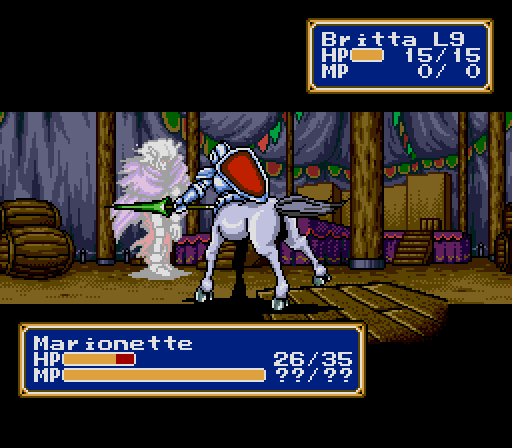
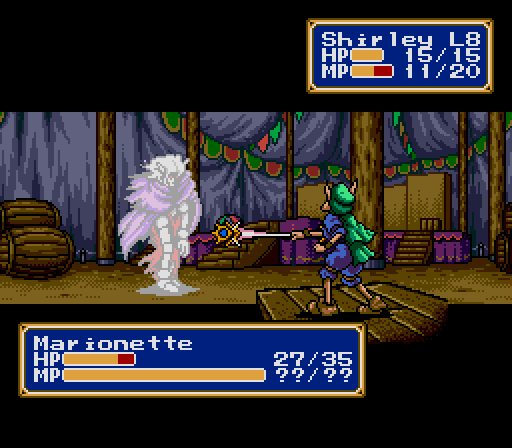
The Marionette is the first enemy that automatically heals every round. As you can see, Shirley's work was undone before Britta could attack. This is the other reason we can't cheese the fight; there's no winning a battle of attrition against infinite healing resources.
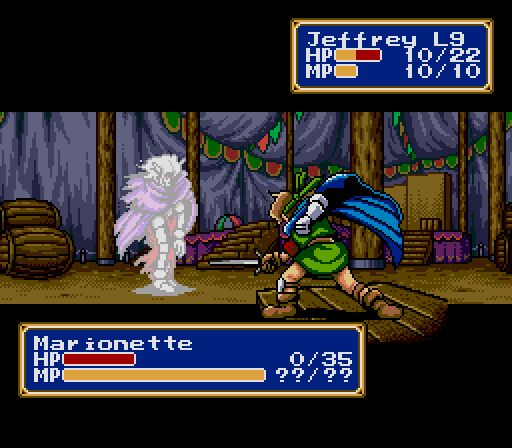
The boss takes a chunk out of Jeffrey, but we can't stop to heal. Fortunately the Boost spell lasted until the end of the battle.
It monologues at us and explodes.
Victory!
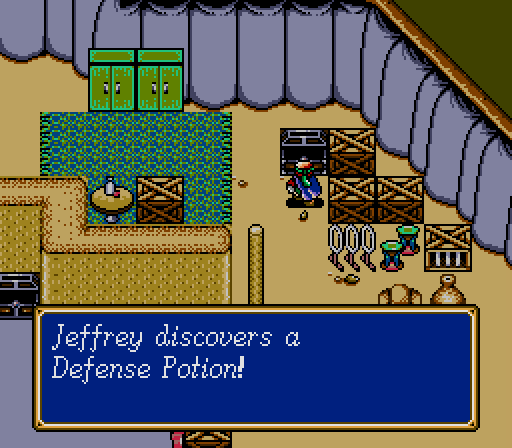
We find the missing kid behind some boxes, as well as a Defense Potion, a Steel Arrow, and 50 coins. Everything's getting sold (expect the money, that would be redundant).
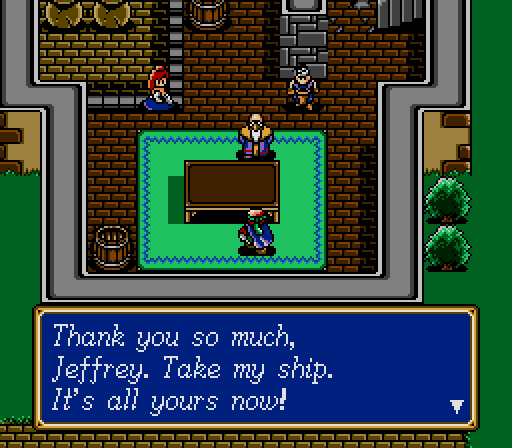
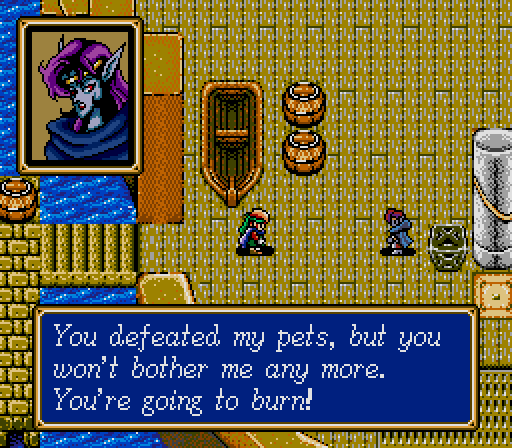
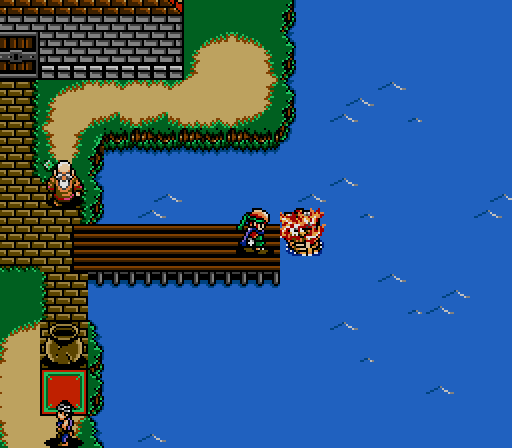
No sooner do we turn in this sidequest and claim our new ship than the fortune teller teleports back, sees that leaving us to a deathtrap didn't work, and tries it again.
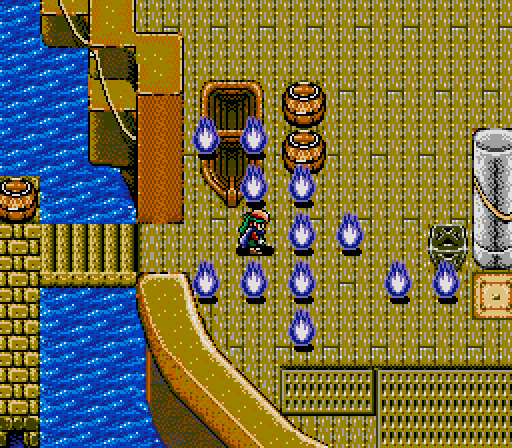
This time, she sets the boat on fire. Thankfully nothing stops us from just walking off of it again.
So now we have to head northeast looking for another port town. Before we leave, we hit the shops, selling useless things and buying some Antidotes. Normally they're not worth the inventory slot, but we'll need them for this next bit.
The fence is now conveniently open to the north, and we make it to Creepy Town.
To proceed, we have to talk to creepy people, who then start to follow us and block our path.
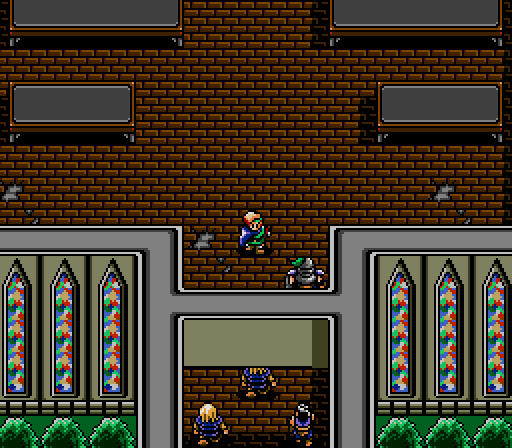
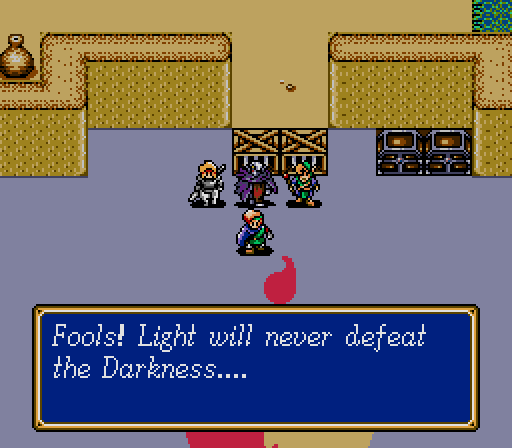
Once there's enough of them, we can enter the Chapel. But we can't leave...
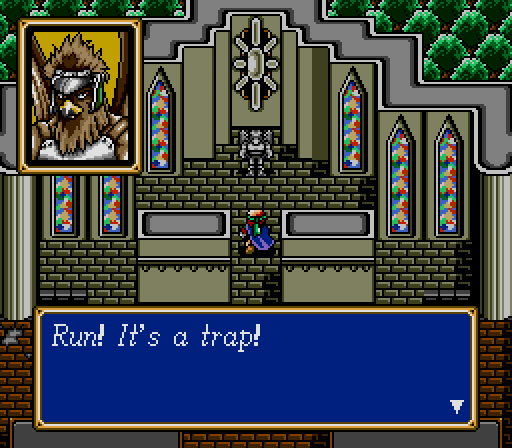
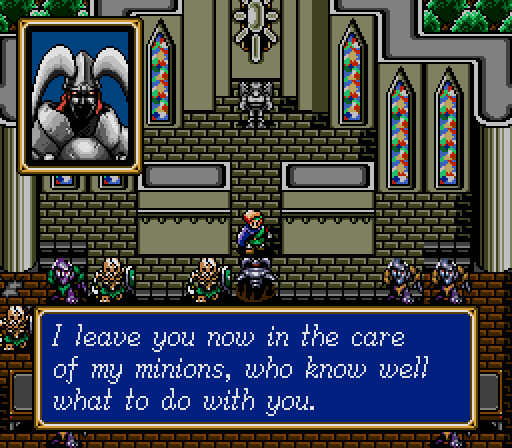
I am very surprised. Also, would it kill these villains to actually stick around and make sure their evil plans work? I'm just saying, pattern recognition.
Battle 8
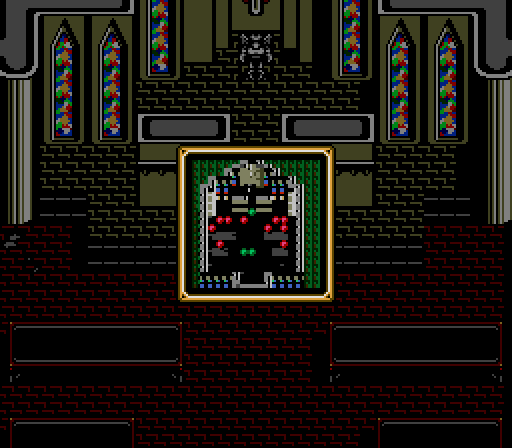
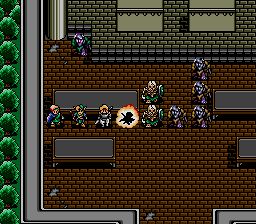
This fight is an ambush. There's a lot of Zombies and Skeletons, and, even though the battlefield is small, Jeffrey starts out pretty far away from the rest of the Force. Ordinarily what you'd do is move him south, then fan out the Force to protect him, but we don't have the manpower for that. So here's what we do.
First turn, Jeffrey retreats around this pew, while Britta uses the Power Ring on herself.
One monster hits Jeffrey, and the others line up waiting for their turn. Even if we exploited the AI pathfinding to keep this formation stable, Jeffrey doesn't have the Defense to take one hit every turn in this fight, not with our meager healing resources.
Next turn, Britta takes out the Zombie to the rear.

Then Shirley gets behind her and Jeffrey gets behind both of them.

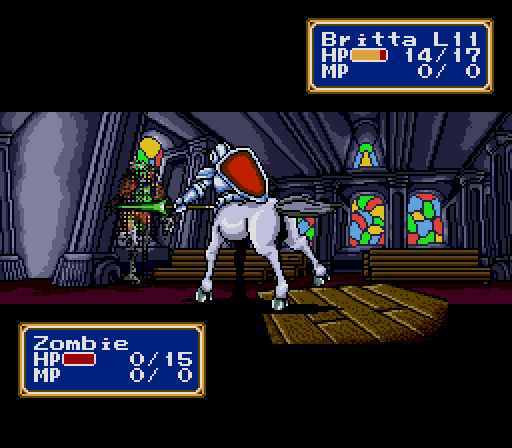
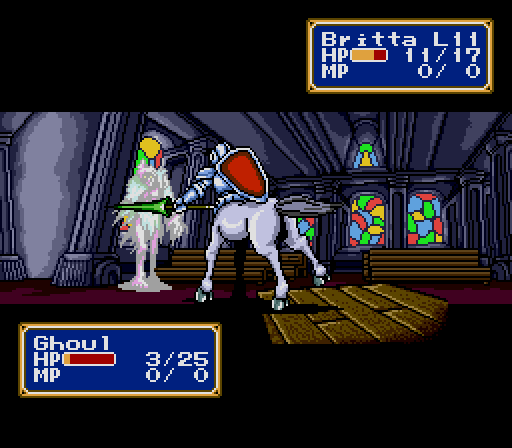
Ladies and Gentlemen, the magnificent horse-turtle. Unlike Jeffrey, Britta has the Defense to win a battle of attrition against these very strong enemies.

(Britta gains 1 ATK, 1 DEF, 1 SPD)
This takes a while.
(Britta gains 1 SPD, 2 HP)
But it works.
Meanwhile, Shirley heals Britta when she's down below 5 HP...
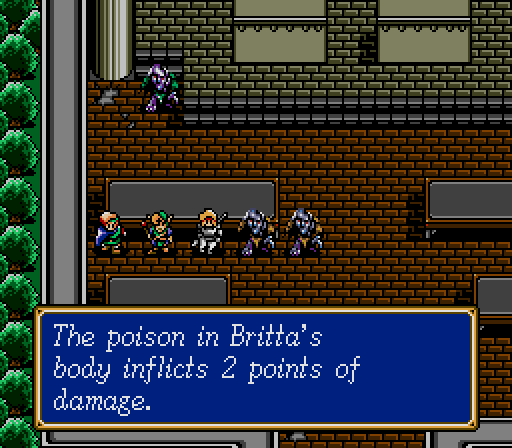
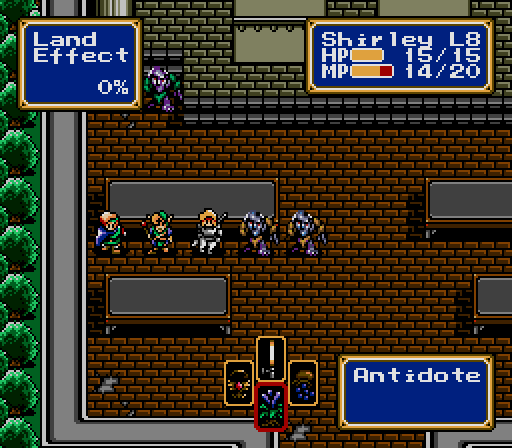
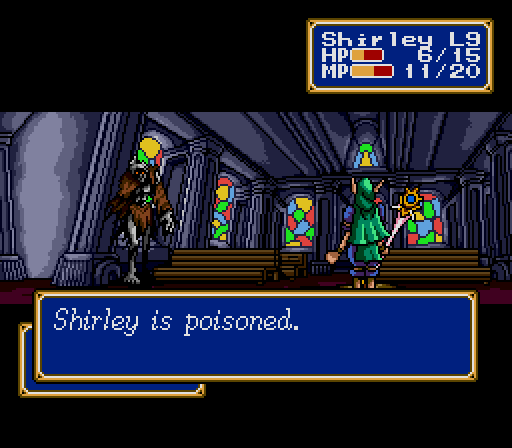
...and uses the Antidotes to cure poison. Poison is pretty dangerous to Britta because it bypasses Defense, but we got lucky and avoided it for most of the fight.
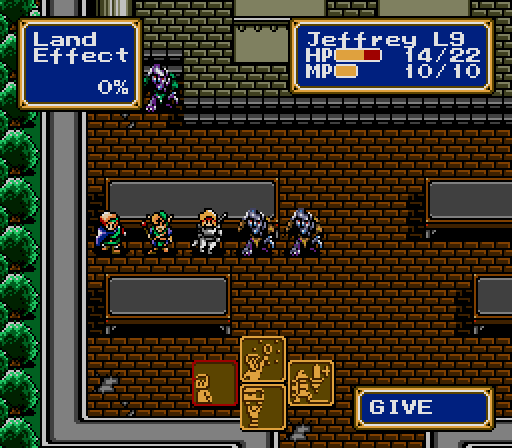
Jeffrey holds onto spare Antidotes, and passes them forward as needed.
I should have let Britta take out the last couple of Zombies, but I got bored near the end and paid for it here. Now two characters are poisoned and I only have one Antidote left.
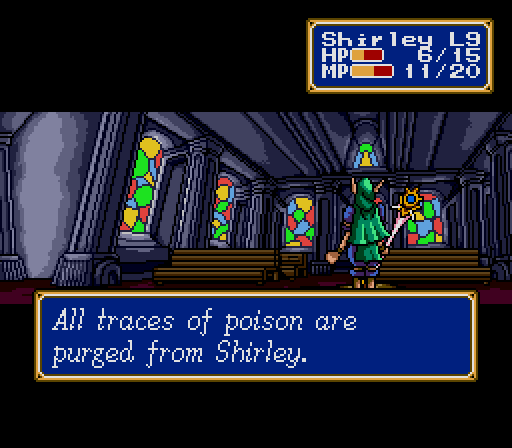
I decide to cure Shirley so that she can concentrate on healing the other two.
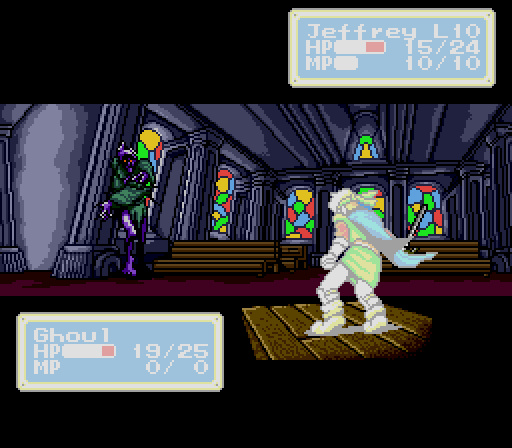
However, this forces me to charge the Ghoul rather than cheese it, since I can't wait around for Britta to kill it with a spear.

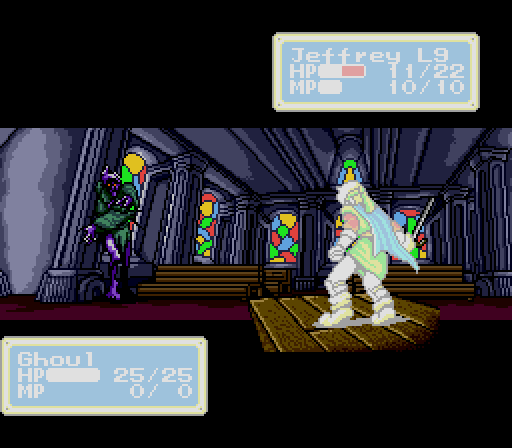
Ghouls are even worse than Zombies, and wacky hijinks ensue as I try to actually hit it.
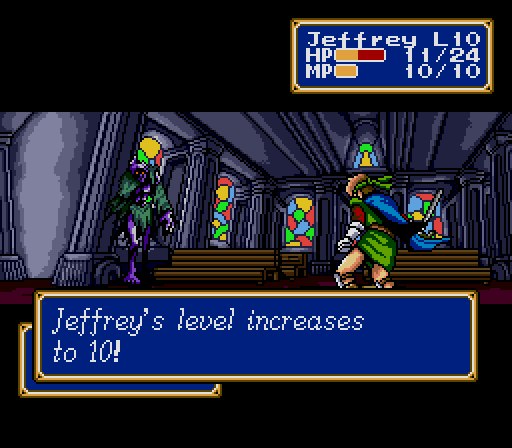
(Jeffrey gains 1 ATK, 1 DEF, 2 HP)
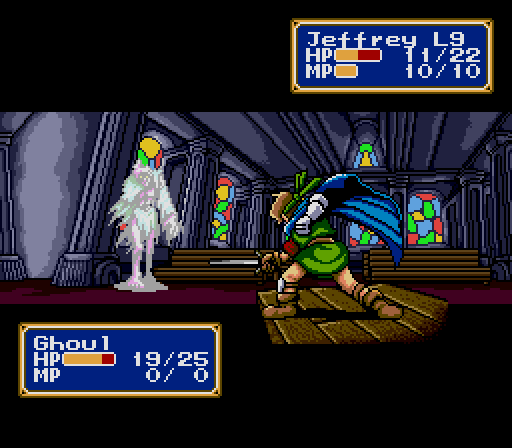
We trade blows (and dodges) for a while...
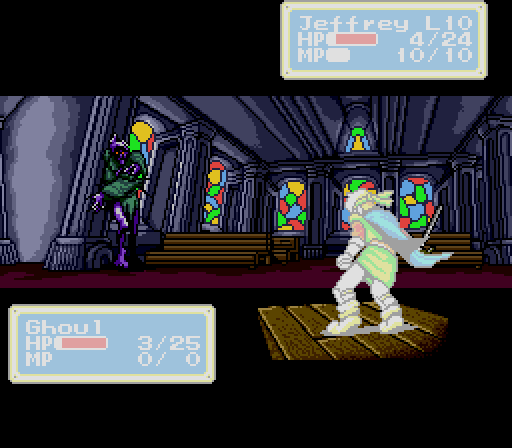
...and it gets a little tight...
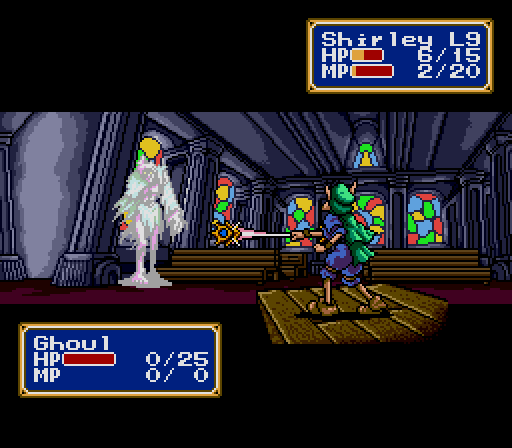
(Shirley gains 2 DEF, 1 SPD, 2 HP)
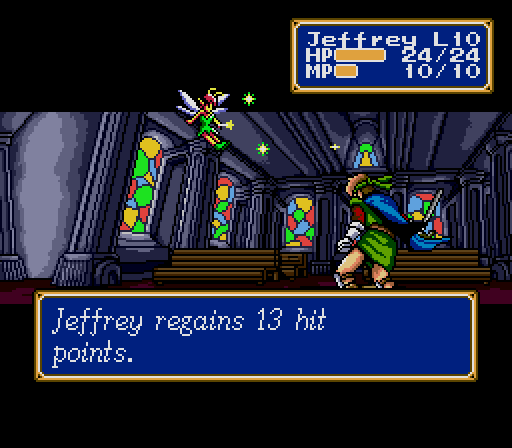
...but we pull through.
Victory!
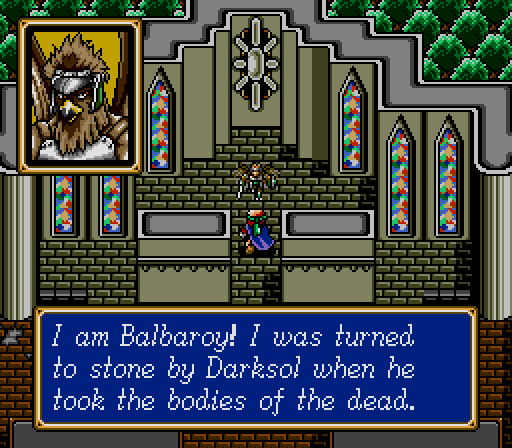
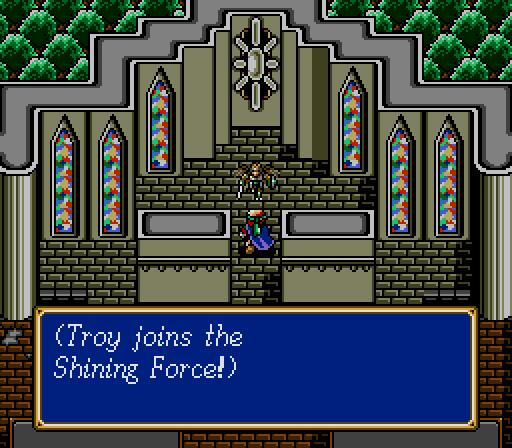
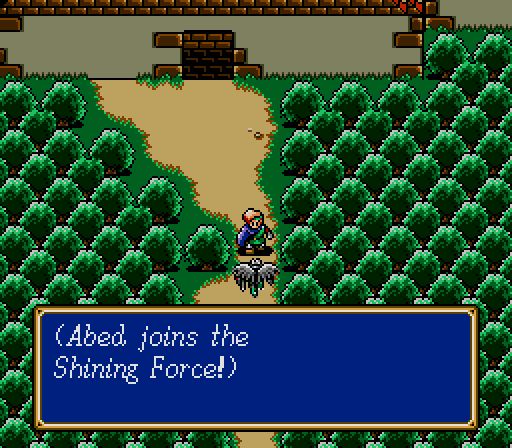
The birdman statue that warned us turns out to be an actual birdman, who joins the Force. Weird that he gets his own name wrong though.
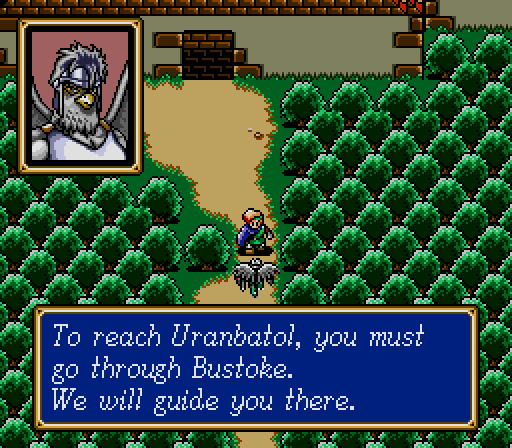
And another one joins at the exit of town, promising to help guide us to our destination.

I'm pretty sure we just solved that mystery, but whatever. On to the next chapter.
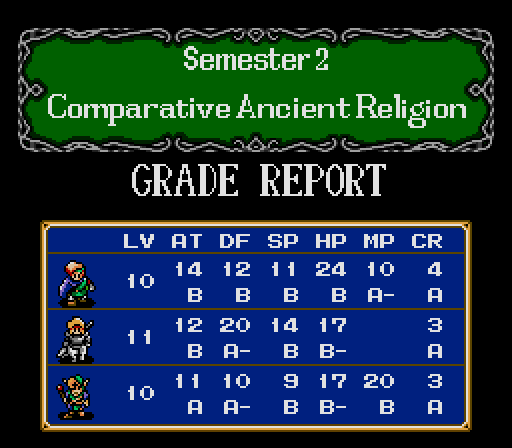
Getting everybody up to about the same level in this battle was a good thing, because we'll soon have to start training up the new additions to the Force. Britta's doing particularly well in Defense, and she'll see a lot more use as a tank in the near future. Shirley's doing about as well as we could expect, but her time in melee is quickly coming to a close with our new friends around.
See you next time for Semester 3: Archeological Engineering!