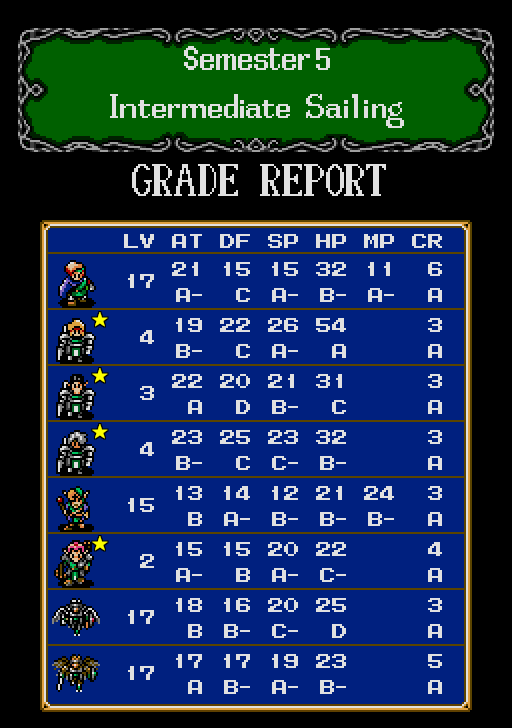
Part 5: Semester 5 - Intermediate Sailing
Last time on Shining Force Bare Minimum, we scoured the continent of Runefaust's military and stole their boat. Now we're headed for the Gate of the Ancients on the opposite side of the ocean, but fate may just intervene along the way...

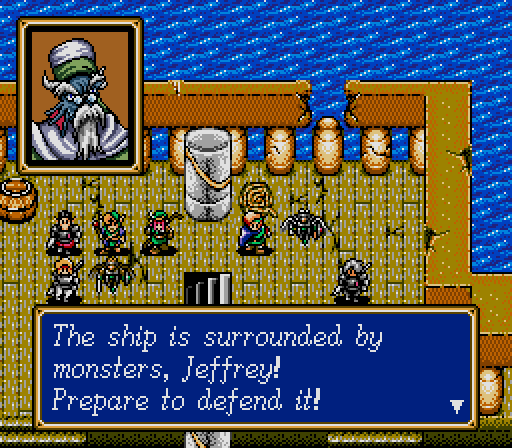
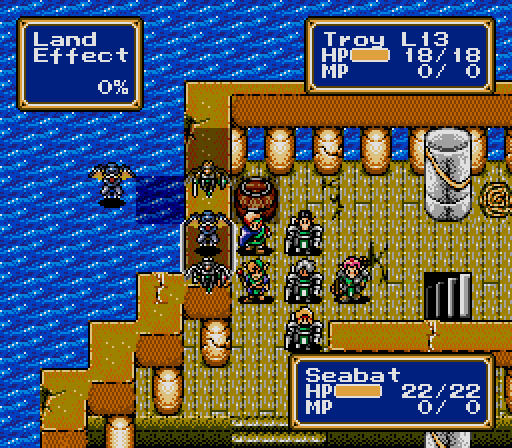
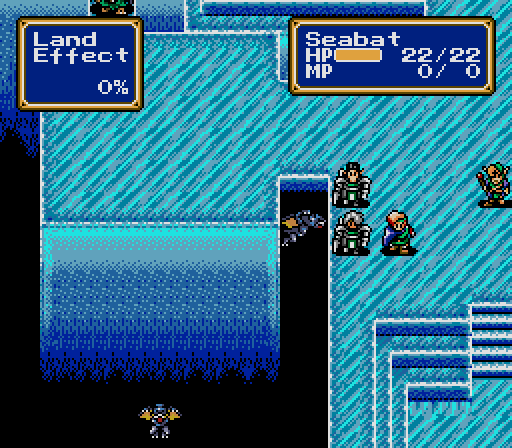
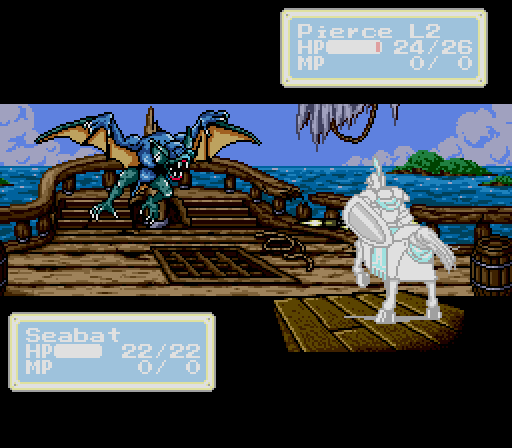
We get thrown into battle immediately after the chapter title screen. The ship is under attack by flying and aquatic enemies, which is nice and reasonable.

But we have business to attend to first.
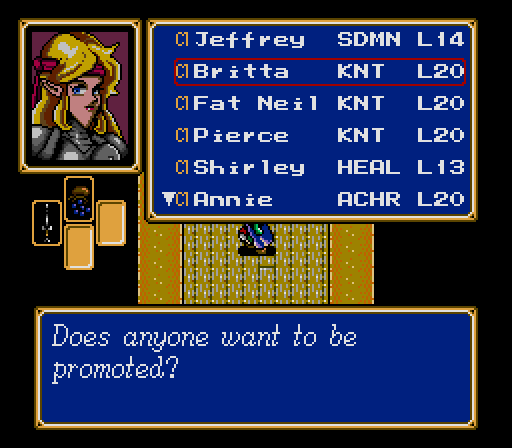
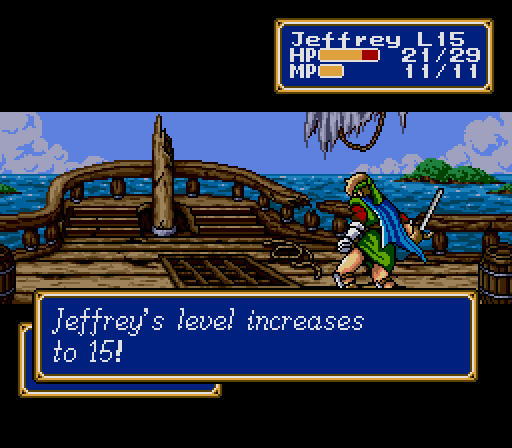
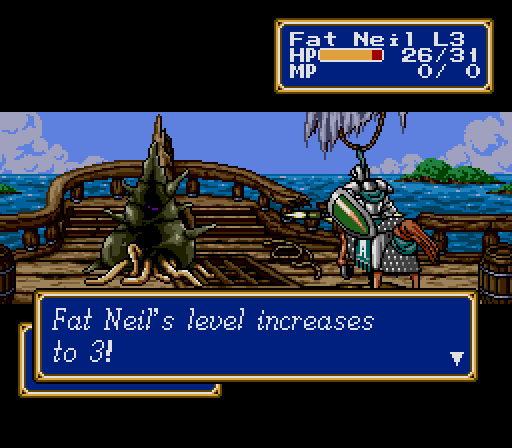
As you may remember, in the previous battle, we abused an enemy general's mystical regeneration to raise half the Force up to Level 20. Characters stop gaining levels at this point, so it's time to promote them.
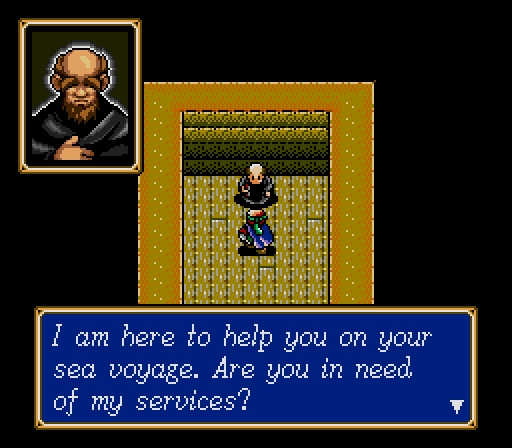
Study Guide - Promotion Mechanics
Every playable character in the game starts with a certain job, but most can be promoted into another job by a priest once they reach Level 10. The new job provides new character graphics, expanded equipment options, and, most importantly, improved stat increases. I've been saying this whole time that our actual stat increases don't matter as much as one might think, and here's the biggest reason why; post-promotion stats are determined solely using those hard-coded stat averages discussed in the first update. Each promoted character starts Level 1 with 85% of the average stats for the level at which you promote them, no matter how good or bad your rolls were. It also doesn't matter how many stat-boosting items you've used, which is another reason we've been selling them.
By the way, typically this formula causes a character's stats to decrease during promotion, but there is one rare case for which promotion can actually increase a stat. If you promote a character when their average for a given stat is 20, and they've been unlucky enough to keep that stat down at the -4 end of the random variation range (for an actual stat of 16) promotion will raise that stat to 17. Not really useful, but neat anyway. Also note that, despite never learning any spells besides Egress, Jeffrey gains maximum MP just fast enough to reach an average of 10 by Level 10 -- this way he will always have the 8 MP necessary to cast Egress, regardless of when he is promoted.
The question of when to promote a character is not necessarily a simple one. Magic users get the most out of promoting at Level 20, as it gives them more MP and helps them fill out their spell lists. Other characters should be considered on a case-by-case basis, taking into account what late-level boosts they might be missing out on if they promote early, the difficulty of gaining experience at their current level, and whether you've found any late-game equipment that requires promotion to use. I, without the luxury of selecting whatever party I'd like, will be promoting everyone at Level 20. That might sound onerous, but, because of our small Force and where I've chosen my grinding spots, it's not so bad.


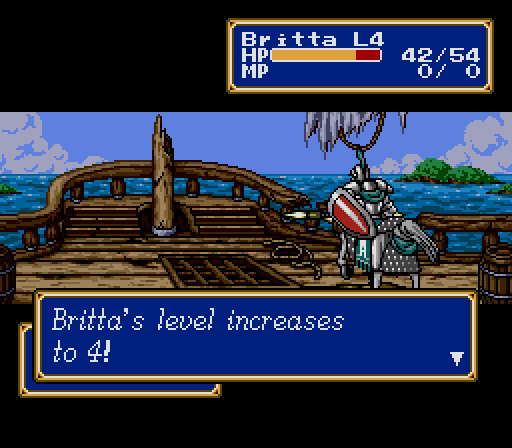
Britta, Fat Neil, and Pierce all get promoted from Knights to Paladins, and Annie is upgraded from an Archer to a Bowmaster. Or Bowmistress. Whatever. On to the fight.
Battle 15
This battle is kind of a joke, even if we hadn't just powerleveled half the Force. The enemies are scattered and approach in small groups, and nothing south of us will approach as long as we stay near the helm of the ship.
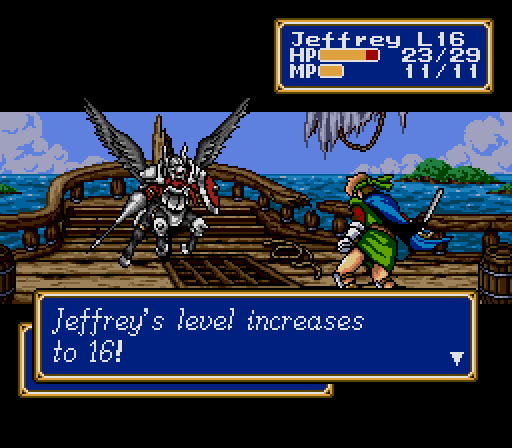
(Jeffrey gains 2 DEF)
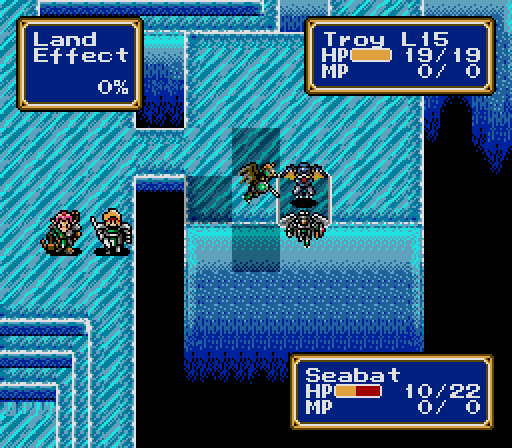
The most dangerous wave is three Seabats that approach from the left, and they are quickly neutralized with the popular kill-zone strategy. Now that Shirley knows Quick, this is a much less dangerous gambit.


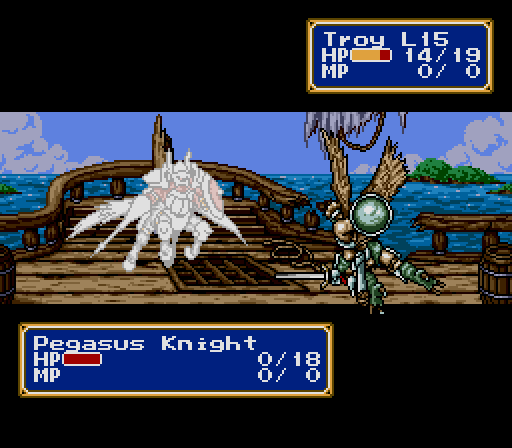
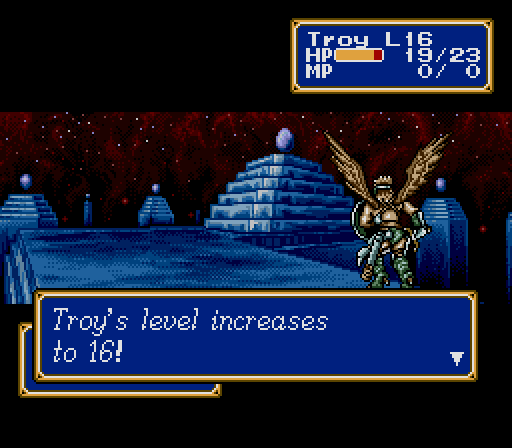
(Troy gains 1 HP)
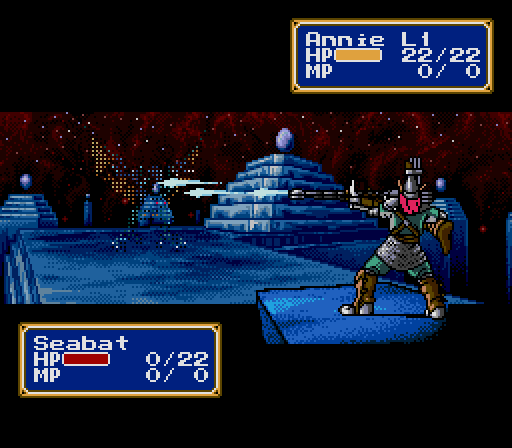
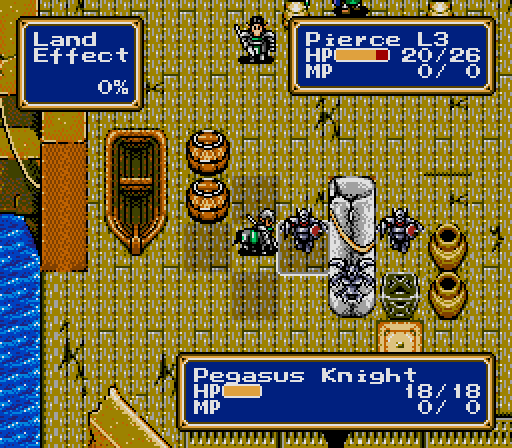
A single Pegasus Knight wanders over at some point, but they're two chapters obsolete by now, and nothing to worry about. In fact, the rest of the battle is easy enough that I decide the Paladins and Annie will basically sit out this fight, so the rest of the team can catch up. They can still absorb hits for Jeffrey, though. I don't mind that.

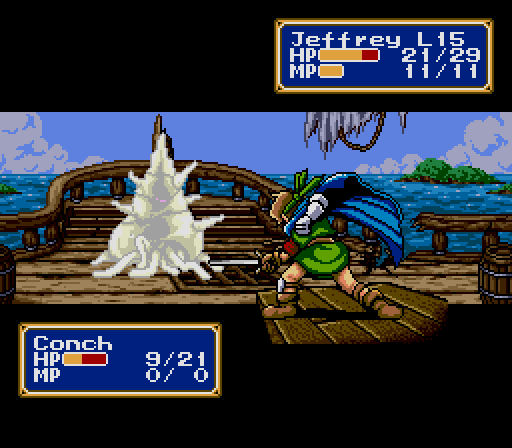
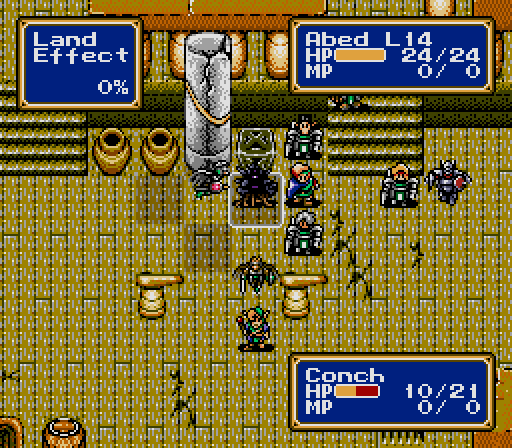
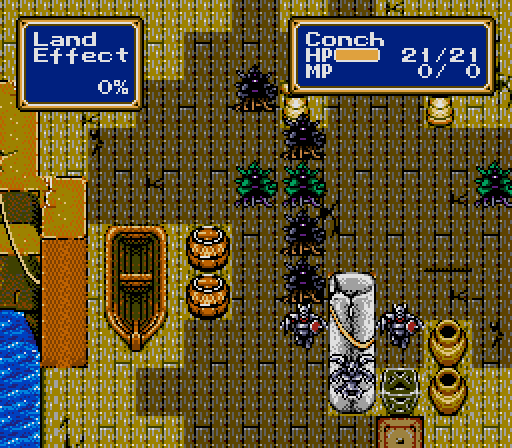
After clearing out one more stray Seabat (not pictured, you know the drill) we move onto the deck and get a look at the new enemy type.
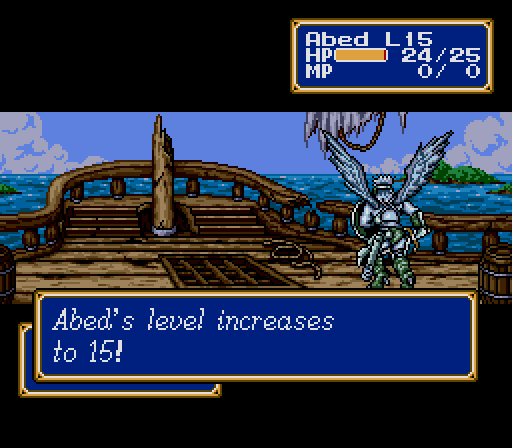
(Abed gains 1 ATK)
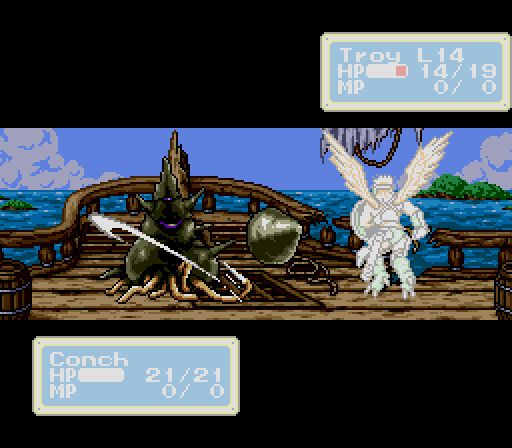
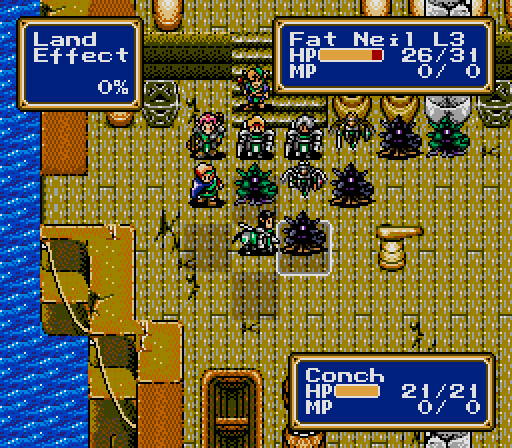
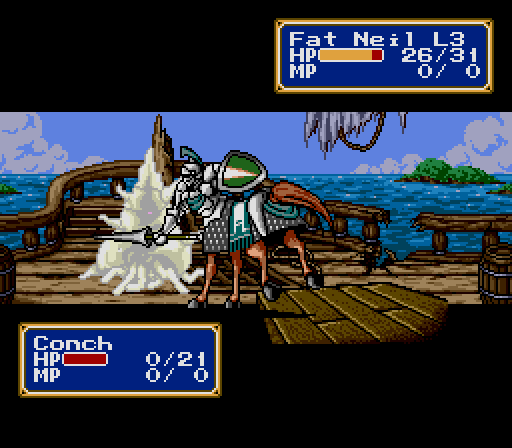
Conches and Shellfish are mostly uninteresting enemies, but they can inflict poison with their attacks.


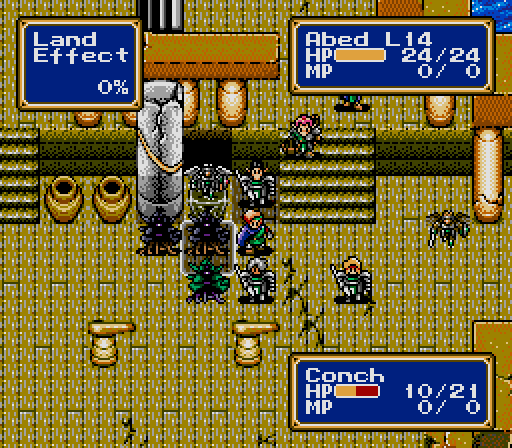
As the sea monsters swarm in, I build a little wall of horse meat to give the unpromoted characters plenty of time to work. A Pegasus gets drawn in too, but we'll unfortunately have to go even further south to lure the other one out.
(Troy gains nothing)
Again, a nice kill-zone gets the job done.

Here's another example of how the AI likes to approach from the sides. Jeffrey's flank is completely reachable by this Pegasus, but it decides to try to smash through Britta rather than fly around.
(Abed gains 3 DEF, 2 SPD, 1 HP)
Abed finishes off the last of the anemone forces. With fronds like these...
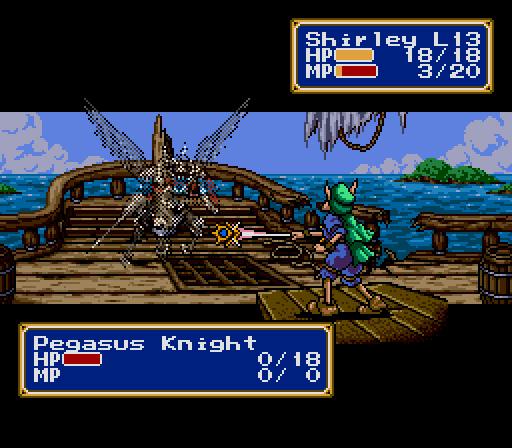
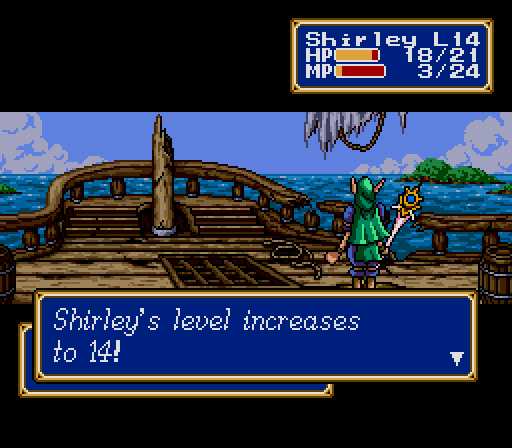
(Shirley gains 2 DEF, 3 HP, 4 MP)
Feeding a Pegasus to Shirley earns her some much-needed MP.
(Jeffrey gains 1 ATK, 1 DEF, 1 SPD)
And the last one is no threat alone.
Victory!
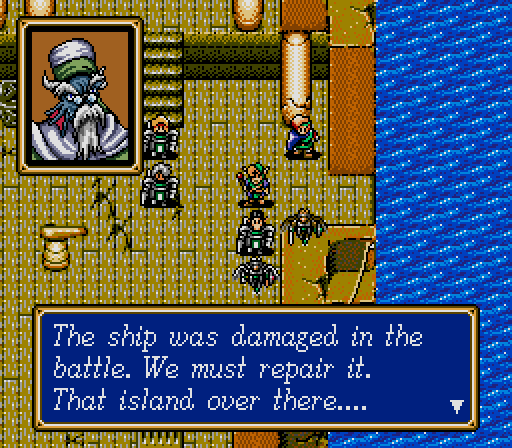
It never fails, right? We just got this thing.
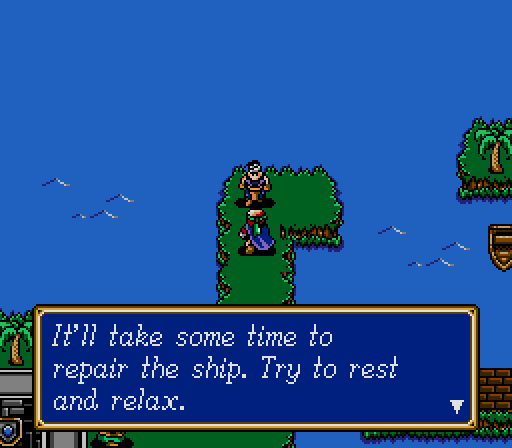
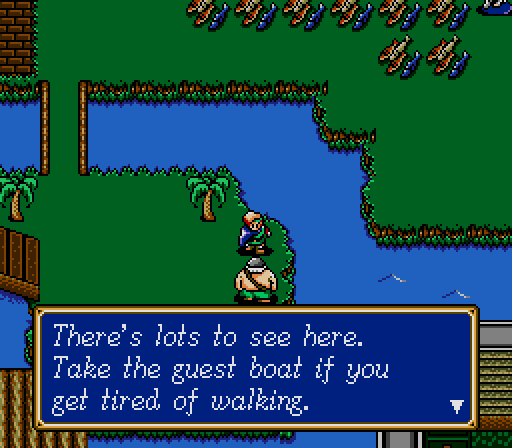
Thankfully we got attacked near a mermaid island with some decent shipwrights.
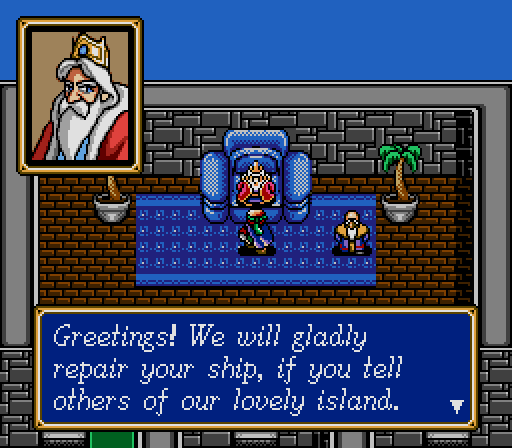
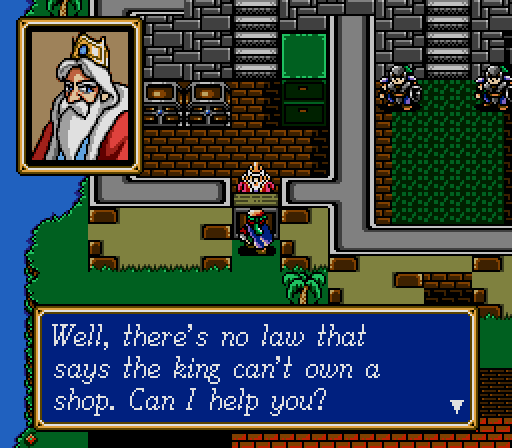
The King here runs both the weapon and item shops, which means that there's an annoying delay every time you want to shop while he runs up to the counter. He didn't quote us a price on the ship repairs, but I'm sure it won't be an issue.
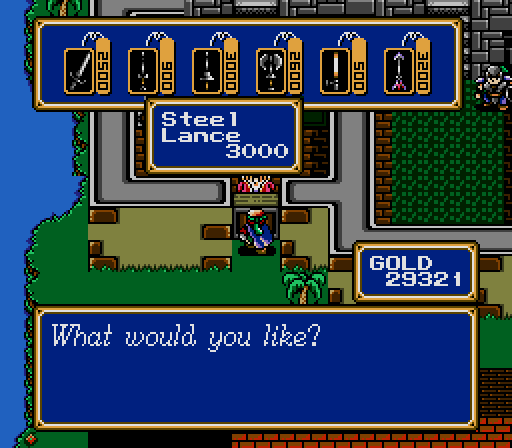
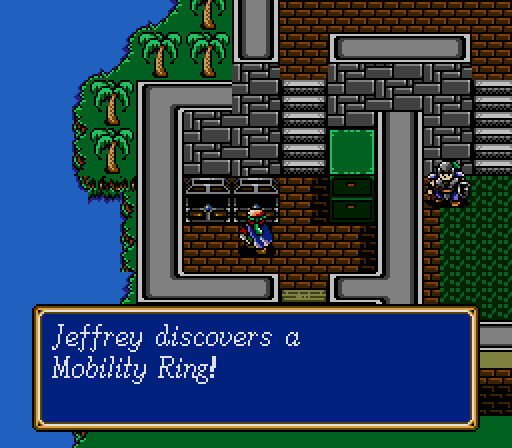
The weapon shop sells Steel Lances, the first weapon that Paladins can use and Knights can't. They're slightly stronger than Power Spears, so everybody gets one, but they're not so much stronger that I'll always remember to swap weapons when I'm in melee range. We can also loot the chests in the shops for a Mobility Ring, a Shower of Cure, a Bread of Life, a Defense Potion, and a Medical Herb.
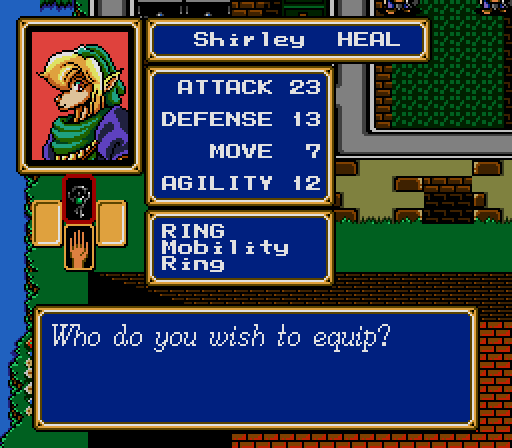
Shirley gets the Mobility Ring to increase her movement range to 7, since helping the healer keep up with the front lines is never a bad idea. Her Speed Ring goes to Annie just 'cuz. The rest of the loot gets sold, except for the Shower of Cure, which is a rare one-use full-party healing item that I keep on hand for emergencies.
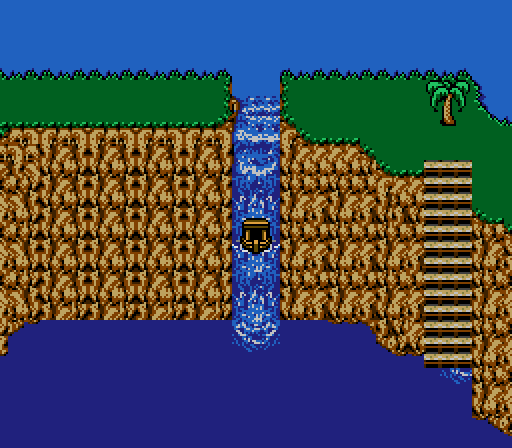
With nothing else to do in town, we borrow somebody's canoe and immediately sail it over a waterfall.
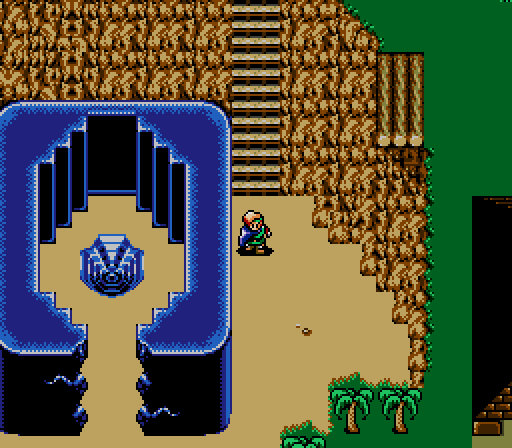

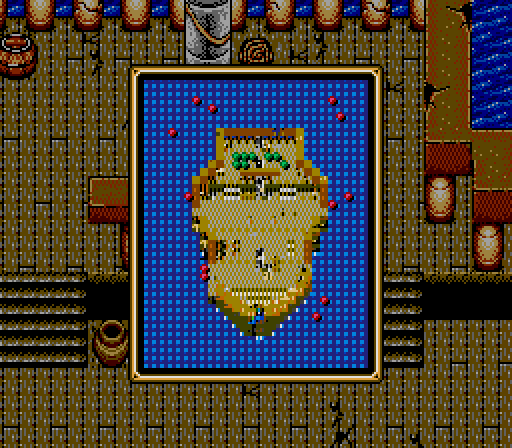
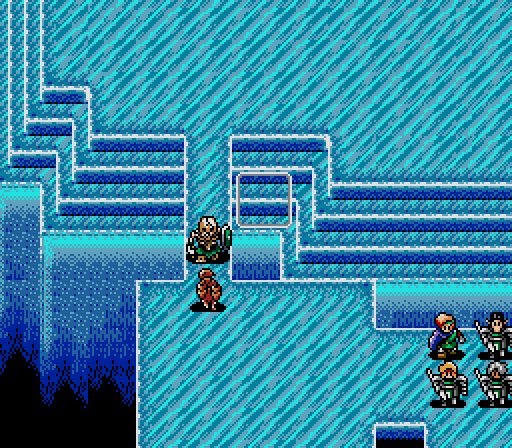
Somehow this reveals a mysterious structure that teleports the Force to another realm.
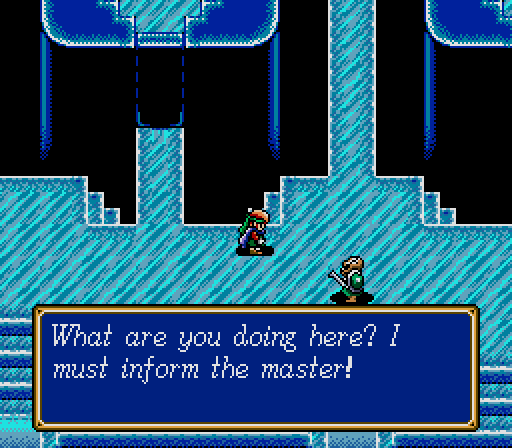
The transition doesn't make a lot of sense, but at least we know what to do with monsters.
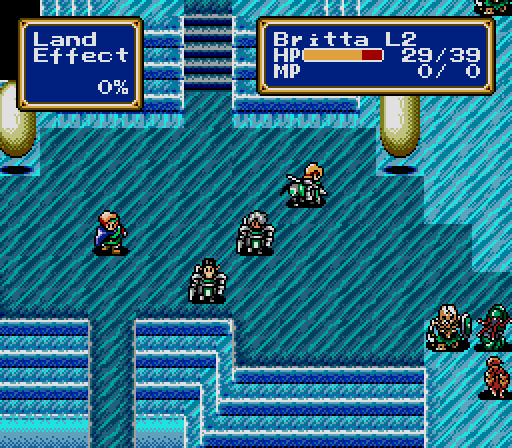
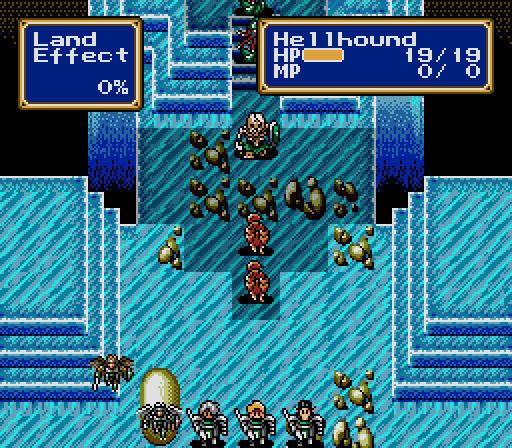
Battle 16
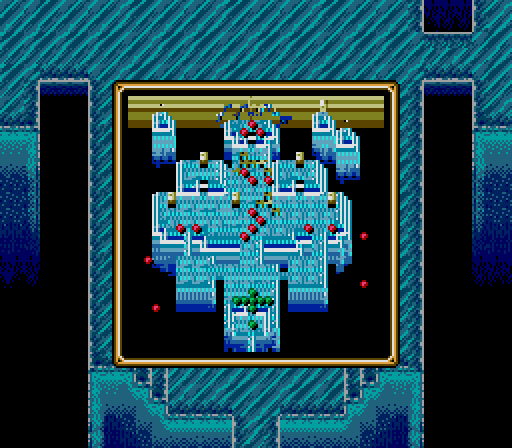
This is a decent-sized battlefield with multiple routes that's made a bit more complicated by how the enemies play defensively. Each path starts out blocked, but assaulting any of them causes the enemy to retreat and shore up in the crossroads at the center.
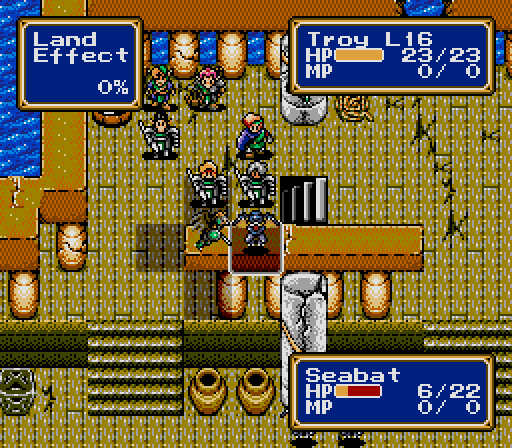
We start by letting the four Seabats near the entrance approach and eliminating them. I'm really surprised we haven't been put to sleep by one yet.
(Troy gains 2 ATK, 2 DEF, 4 HP)
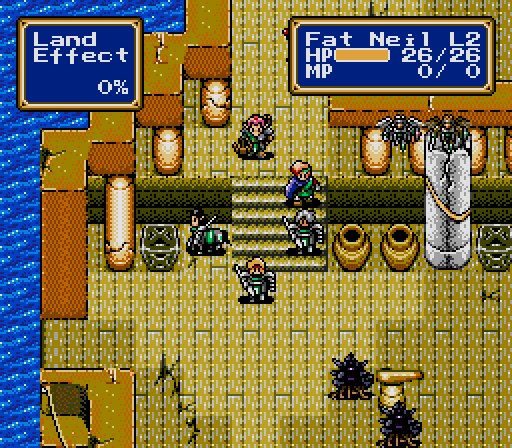
Everybody gets to play this time around. And look at the cool new graphics! Annie has an autocrossbow as big as she is!
I could decide to plow straight up the middle, but instead I split the party and try a pincer attack.
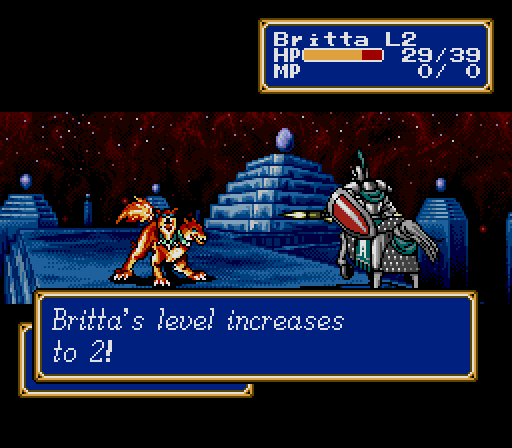
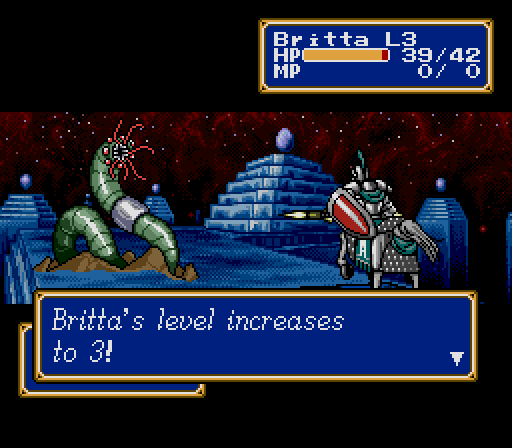
(Britta gains 1 ATK, 3 DEF, 2 SPD, 10 HP)
I think the rationale for Britta gaining so much HP early as a Paladin is to compensate for players who promote her early and miss out on the 15-20 unpromoted HP growth, but the combination of the two is about to get ridiculous.
One reason for the pincer attack is to take advantage of the enemy's scripted retreat to avoid counterattacks. If we really wanted, we could manipulate the AI triggers like we did before to completely eliminate these flanking forces safely, but that takes more time than it's worth.
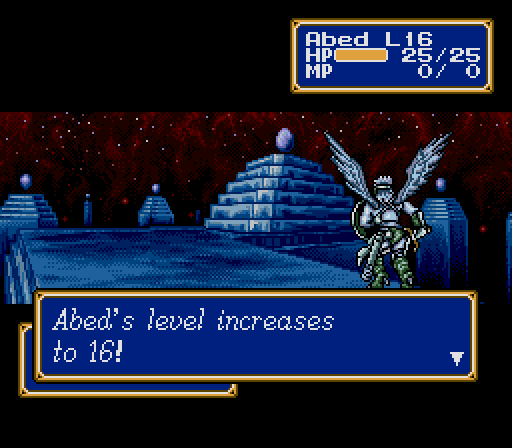
(Abed gains 2 ATK)
And we end up destroying them as they retreat anyway.

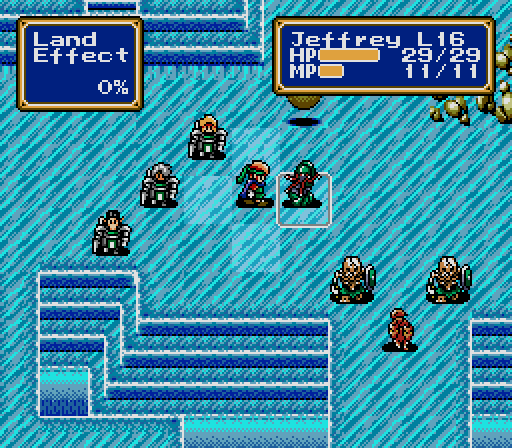
Now, you may have noticed that I split the Force to send Jeffrey one way, and the healer the other way.
This turns out to be a tactical error, because the enemies we're attempting to surround immediately come after Jeffrey, and the right side of my forces have to scramble to catch up.
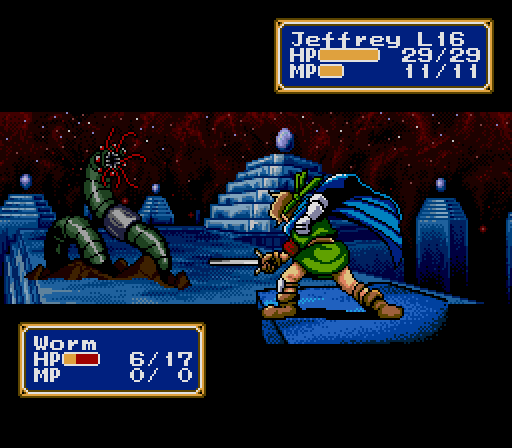
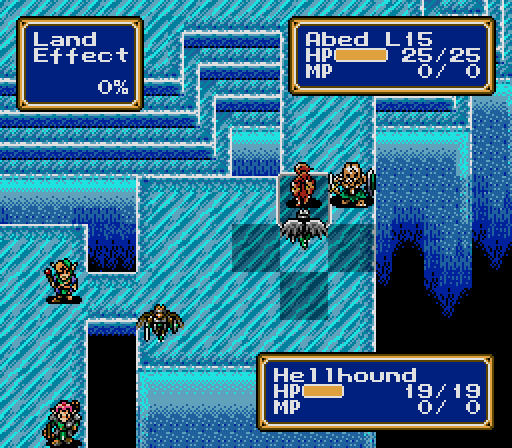
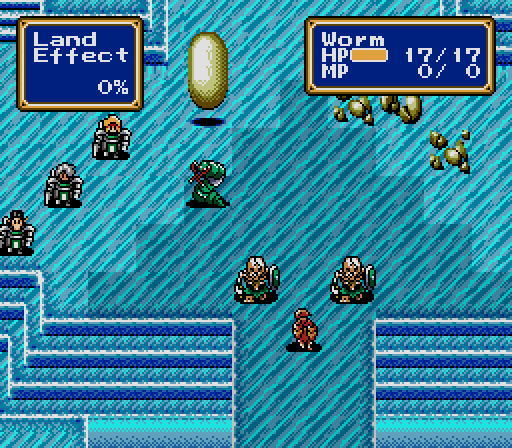
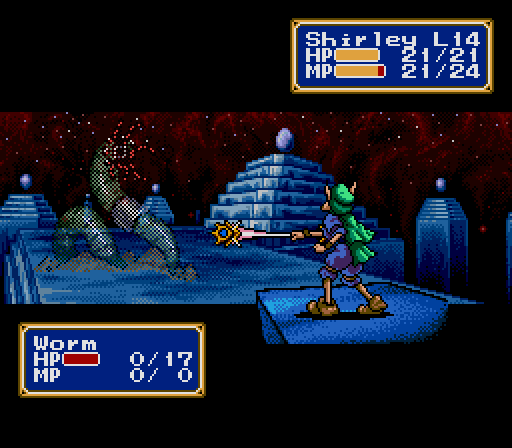
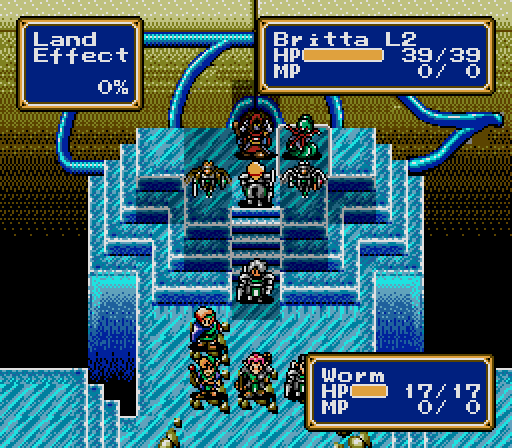
Worms are new this battle, but nothing to write home about. If we had ice magic, we could exploit some weaknesses, but we don't.
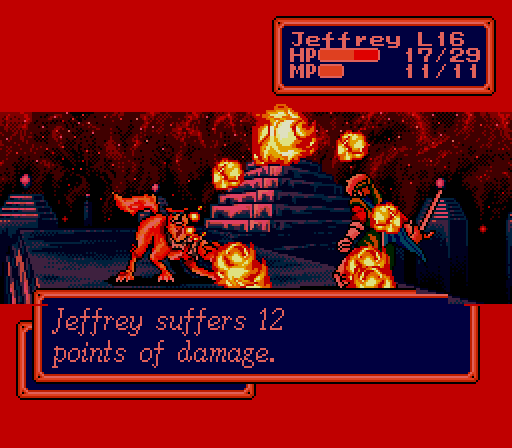
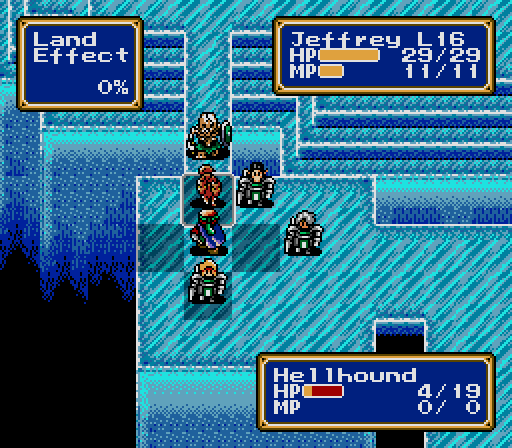
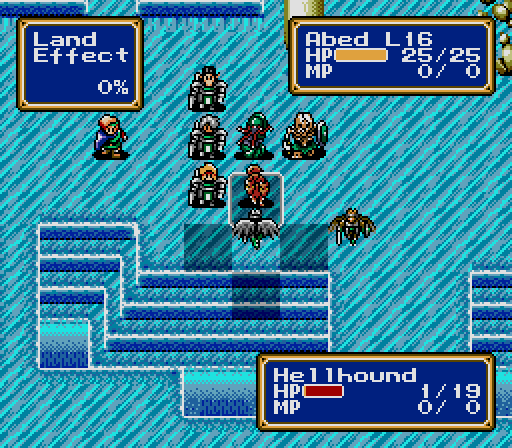
Moving Jeffrey in front of his meat shields compounds my tactical error. The Hellhound gets off an unfortunate fire breath, and Jeffrey is almost surrounded.

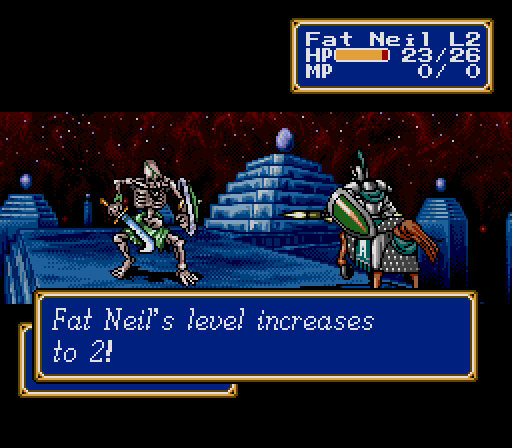
(Fat Neil gains 1 ATK, 1 DEF, 1 SPD, 3 HP)
I really don't want to be in this situation.
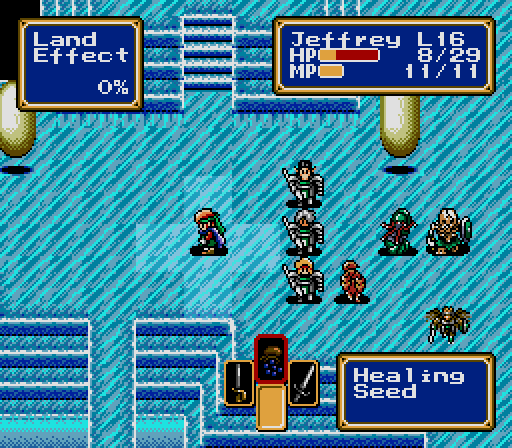
Fortunately I have healing items around from back when they were necessary. I'm less paranoid about the rest of the force, but Jeffrey will have a Healing Seed in his pocket until the end of the game.
Finally the rest of the Force catches up and our plan actually starts working to our advantage.
I should really stop sending Shirley into melee, but most enemies are a two-hit kill even for our heavy hitters right now, and opportunities keep presenting themselves.
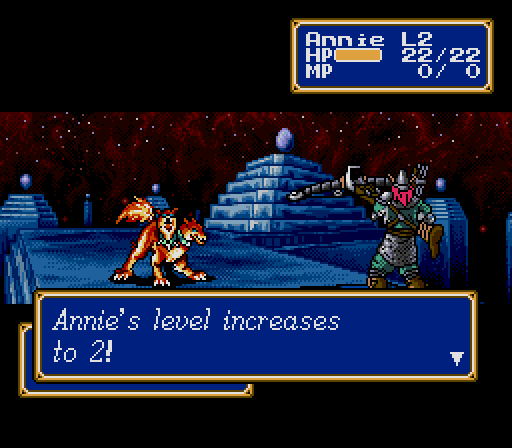
(Annie gains 1 ATK, 1 DEF, 4 SPD)
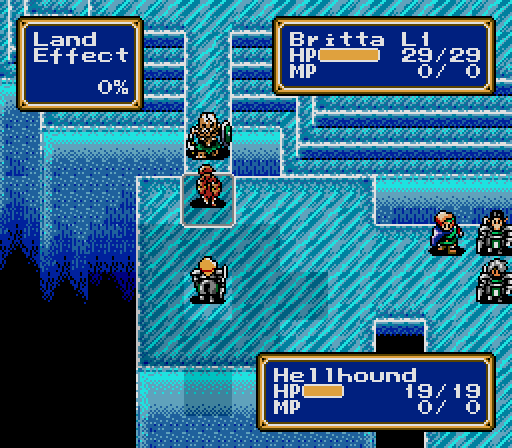
As we redeploy and heal to prepare for the end of the fight, two more Hellhounds will come down to meet us. They could be a little bit of trouble if they gang up on a target and both breathe fire.
The one thing I don't like about promoting Knights is that they all end up looking nearly identical in combat. They have different-colored legs, tails, and shields, but still the majority of their sprites are exactly the same.

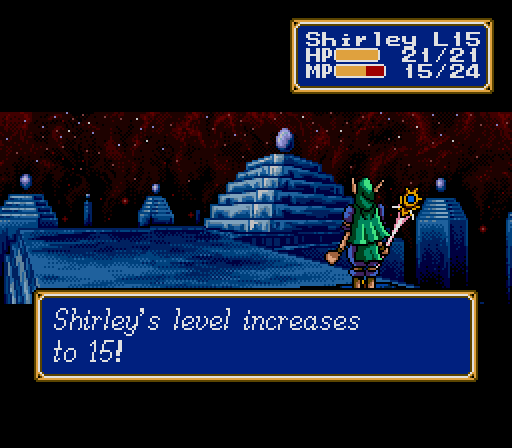
(Shirley gains 2 ATK, 1 DEF)

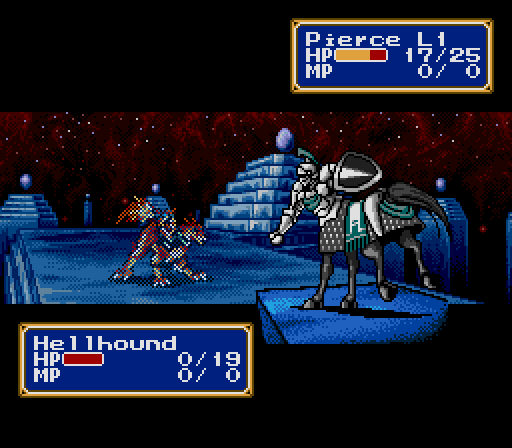
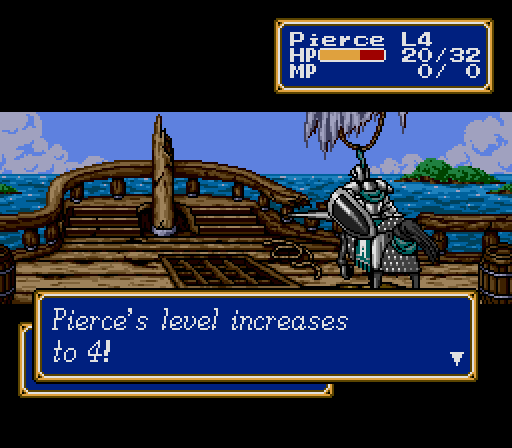
(Pierce gains 4 ATK, 2 DEF, 2 SPD, 1 HP)
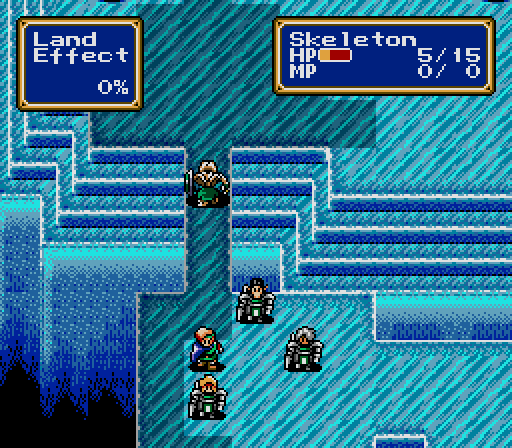
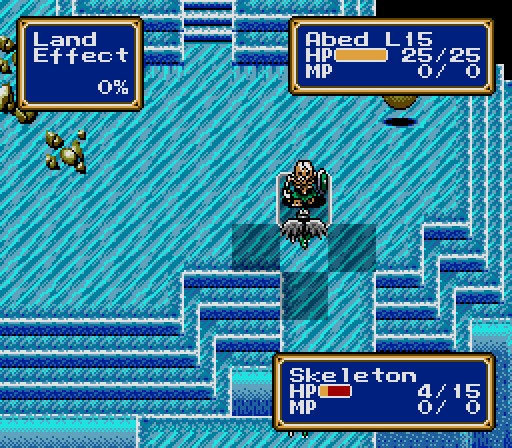
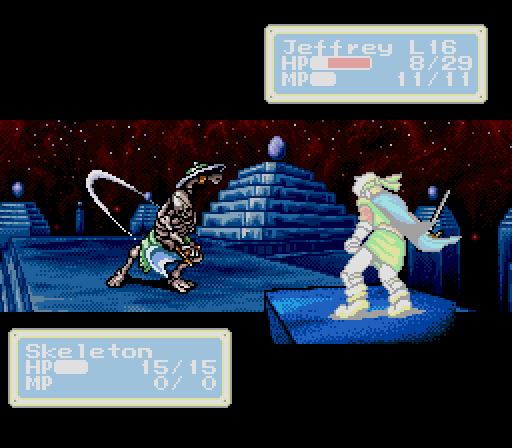
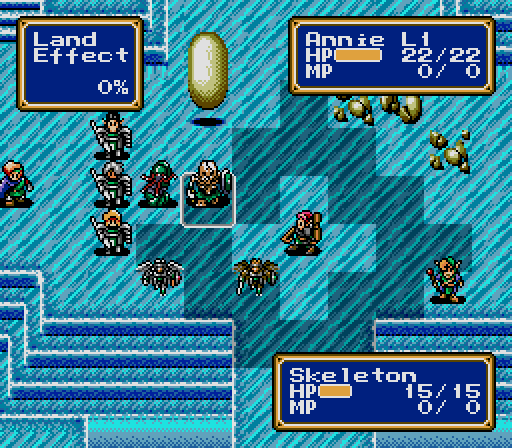
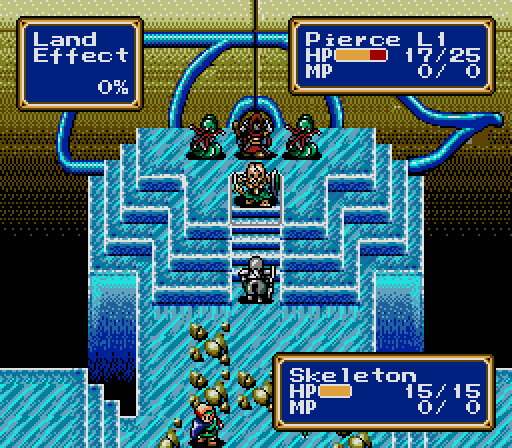
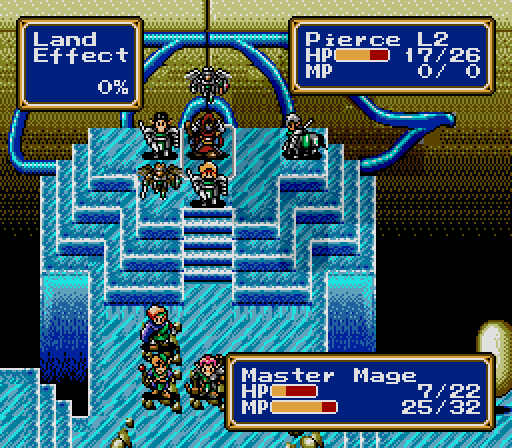
The boss here is another Master Mage, but we can cheese the Skeleton with a ranged attacker.

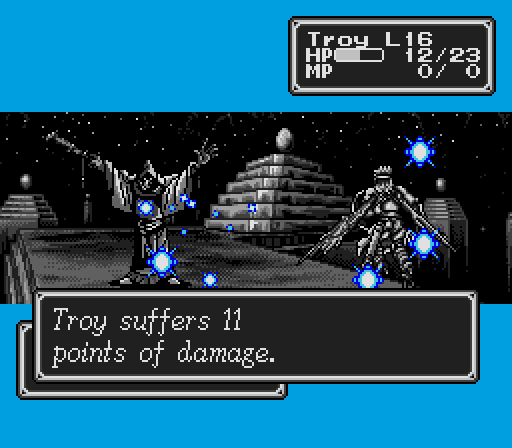
On top of that, sending melee troops into spell range isn't quite so dangerous any more. Even the birdmen can survive two spells each and have the mobility to retreat if they need to. Spells still have a crit chance, though, so we can still be punished for carelessness.
(Britta gains 3 HP)
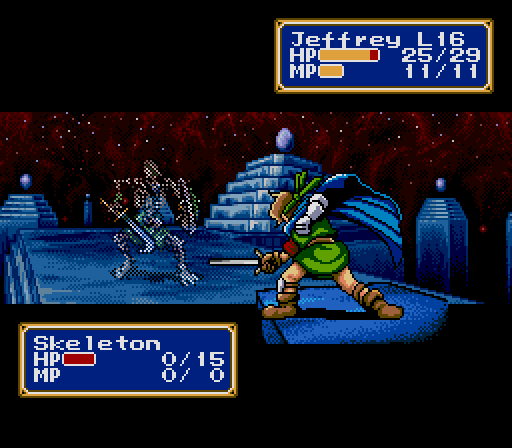
Everyone piles in just after the Mage goes, hoping to finish the battle before its turn comes around again.
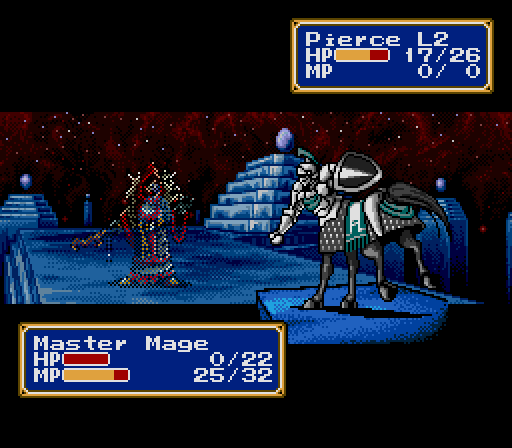
Boss or no boss, no primary spellcaster can survive a five-on-one melee.
Victory!


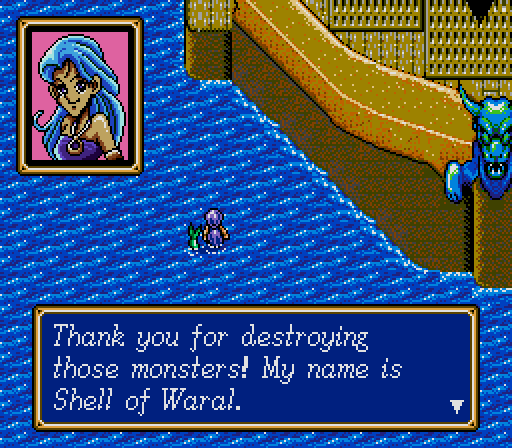
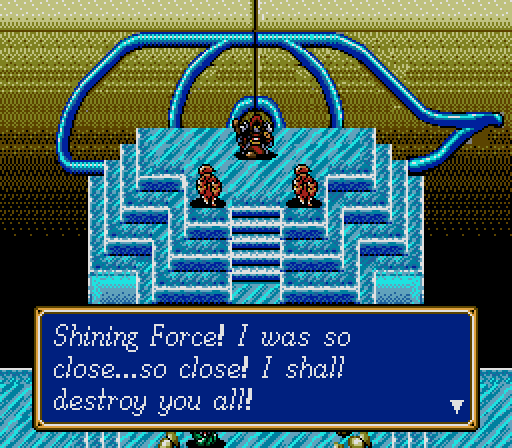
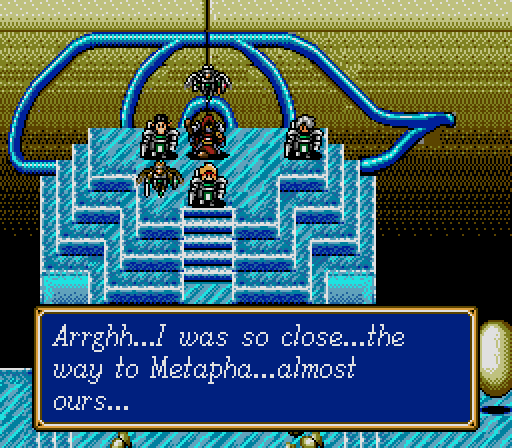
After the battle, that lady from the spirit pool starts talking to us again. Hey, did she also use those monsters to break our new ship so we'd be forced to stop? 'Cause that's a dick move, Spirit Pool Lady.
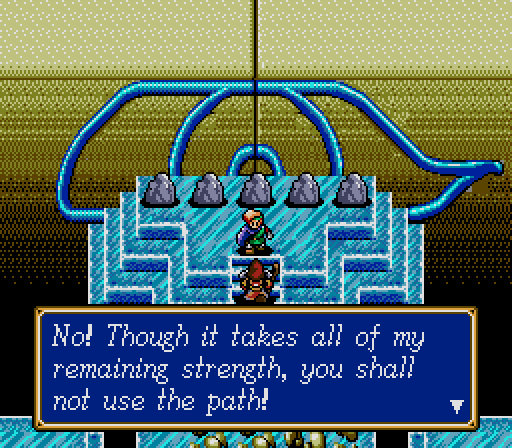
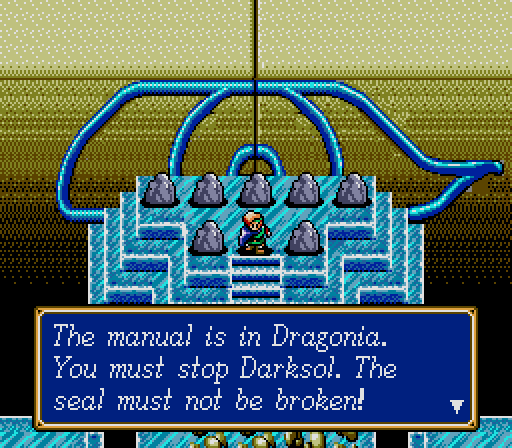
We're about to head through the magic door to get a MacGuffin when the boss blocks the way with a rather anemic cave-in. Instead, Spirit Pool Lady directs us to Dragonia to get a different, but equally important, MacGuffin.

I guess the magic teleporter had me convinced that the magic crystal room we were just in wasn't actually supposed to be there under the reef? It seems less impressive somehow now.
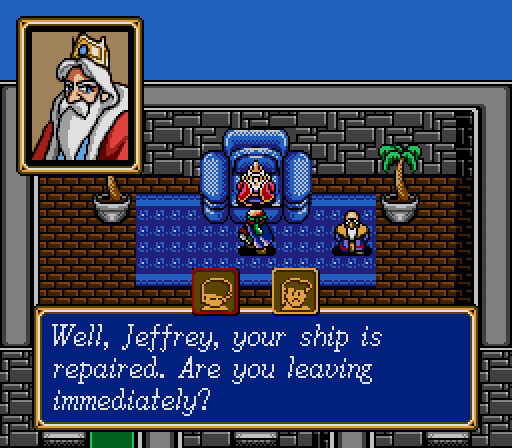
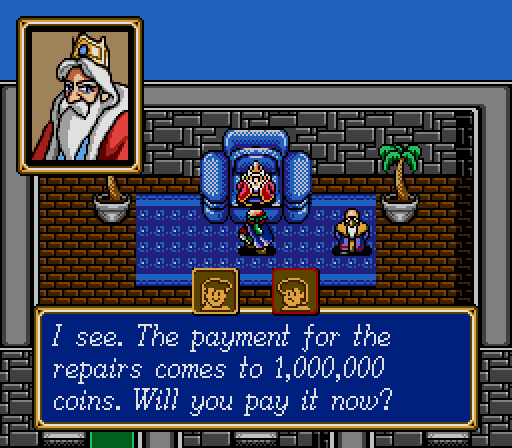
The ship is now ready for the next leg of our comedy of errors, but the King of Capitalism is taking advantage of our inelastic demand to gouge us for his services.
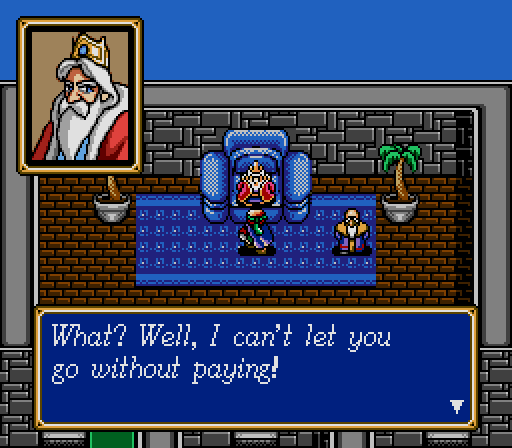

So we stiff him and leg it. We're the heroes, it's justified.
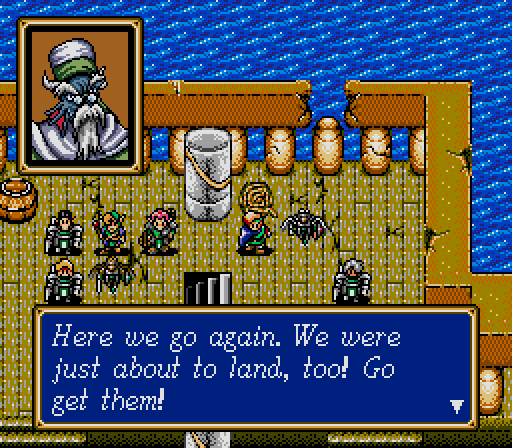
Of course, there is always exactly one random battle between wherever we are and wherever we're trying to get.
Battle 17

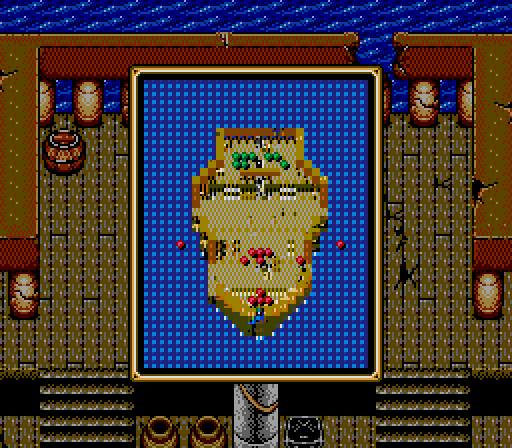
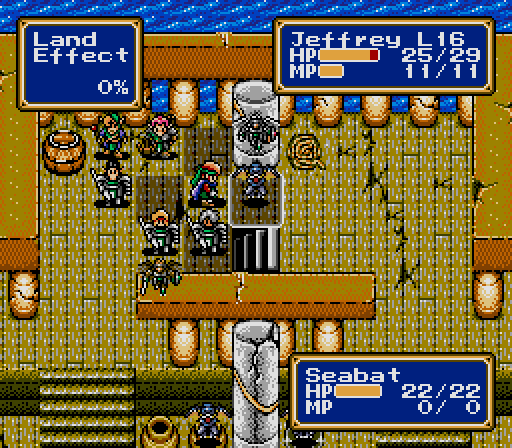
The map's a bit deceptive; it starts out looking like a nearly even fight, but, after the first turn, two additional Seabats and four Shellfish teleport into the middle of the boat.

As is becoming common for this enemy, the best way to deal with the Seabats is to wait for them to separate themselves from the pack and let them bang their heads on a horse.

(Troy gains 2 ATK, 3 SPD)
Then, take them out as they come.
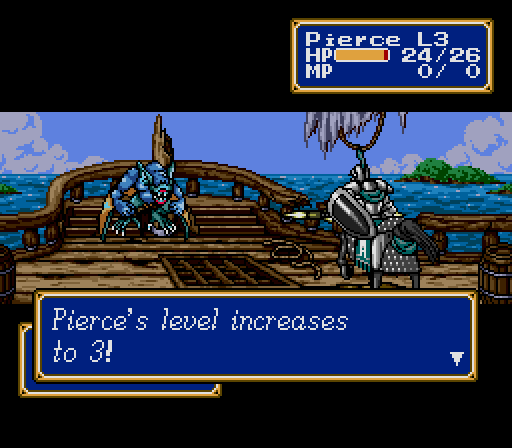
(Pierce gains 3 DEF, 2 SPD)
With the initial distribution of bats, their staggered appearance, and how quickly we can kill them, we're never faced with more than two at a time.


(Abed gains nothing)
I'll let your imaginations fill in the rest.
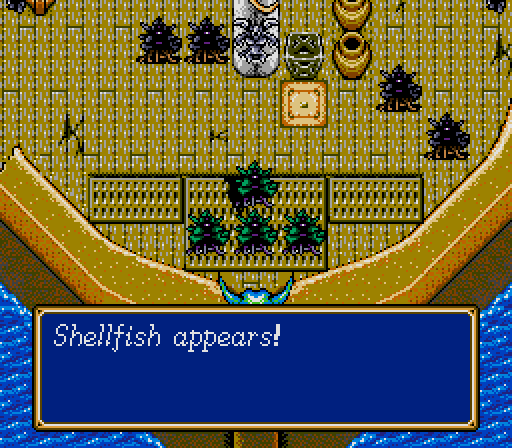
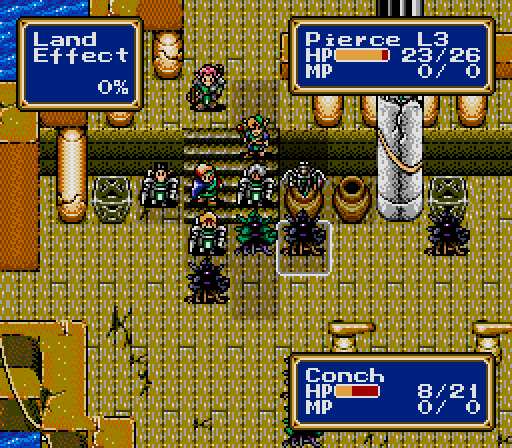
The sea monsters will wander in circles around the deck until somebody steps off the stairs, at which point they'll all charge at once. The strategy is to wait and trigger their advance when they're spread out, then try to manipulate them into lining up rather than swarming all over us.
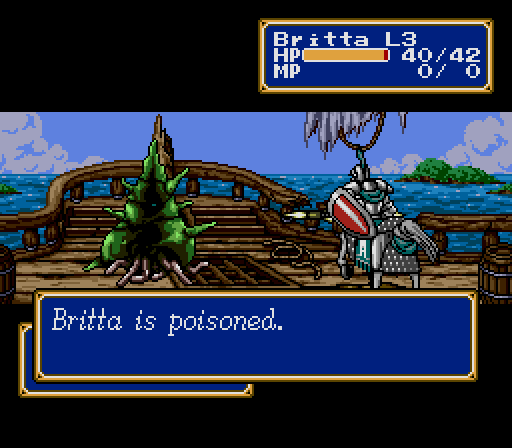
Britta gets poisoned as I'm setting up the centaur meat wall, which I actually wanted to have happen, for reasons I'll explain later. For now, the important thing is that Britta has more HP than anyone on the Force, making her the safest candidate for poisoning.

(Fat Neil gains 5 ATK, 1 SPD, 5 HP)
As a couple of the enemies go down, I start trying to swing the front line around underneath them. It's almost always better to wrap around the enemy than vice versa.


(Jeffrey gains 4 ATK, 2 SPD, 3 HP)
This is easily accomplished, but unfortunately, in my zeal to kill things, I've inadvertently created a secondary front of birdmen that is quickly being surrounded. They're not in immediate danger, but I need to pull them back so they can get behind the enemy.
Actually, by the time that's sorted out, there's not many enemies left to get behind.

(Britta gains 1 ATK, 2 DEF, 7 SPD, 12 HP)
Britta continues to gain HP at an incredible rate. Seriously, that's crazy.
(Pierce gains 3 ATK, 5 DEF, 1 SPD, 6 HP)
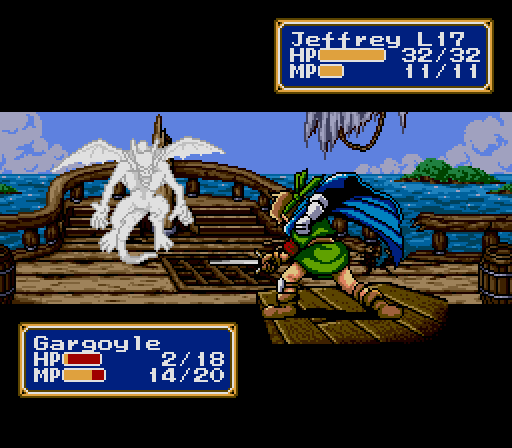
The enemies in the center of the boat are two Pegasi and a new enemy, the Gargoyle. Despite being obsolete, Pegasi are back to being high-value targets for our promoted characters, who are earning experience like they were Level 13 again.
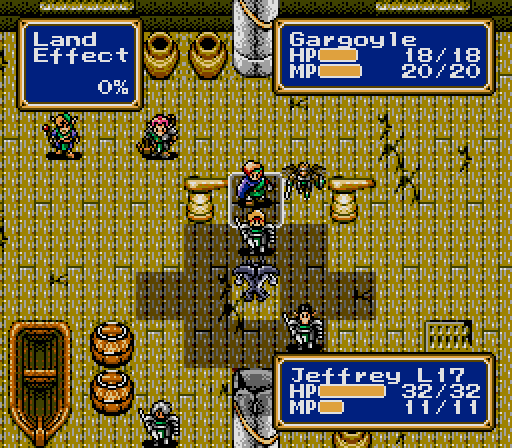
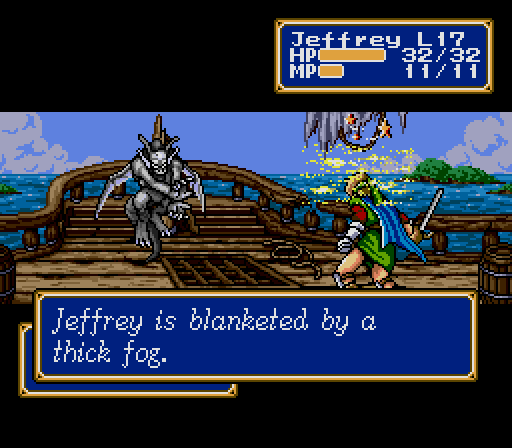
The Gargoyle isn't too dangerous. Their attacks can be strong, but often they'll choose to cast the Muddle spell instead.
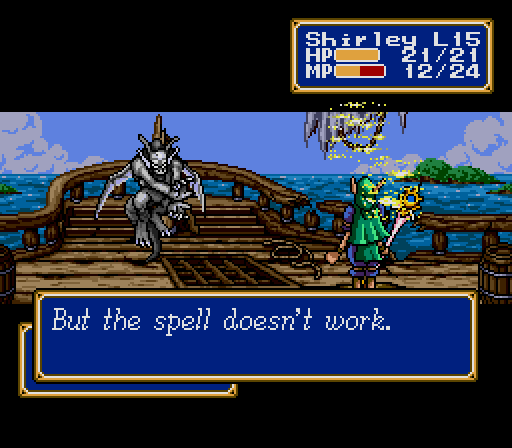
Muddle is supposed to lower the target's accuracy, but it doesn't seem to have an impact most of the time, and the spell itself usually misses anyway. This means that the Gargoyle is only about half as dangerous as it should be.
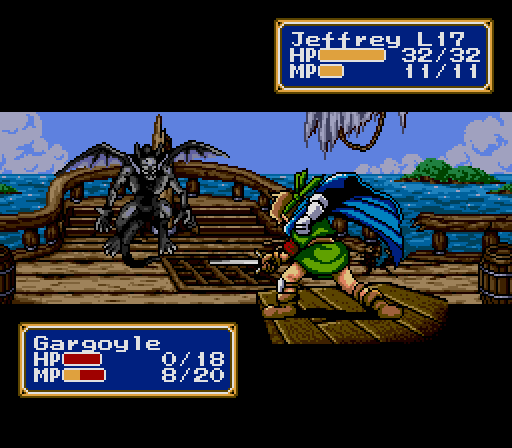
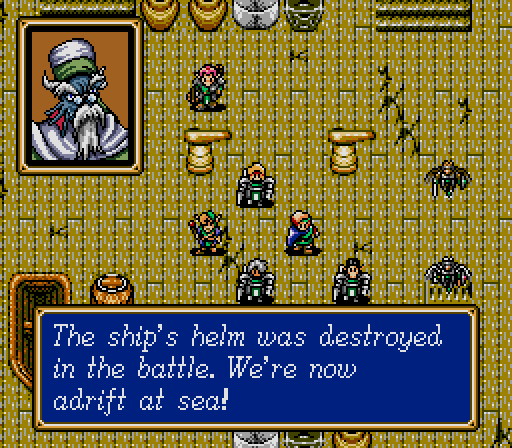
We finish off the last monster, but the damage to the ship is already done. Again.
Pyrrhic Victory...
Wait, I thought we were about to land. Doesn't that mean we should be in range of a port city that could see us and send help? Can't we pile into that lifeboat conspicuously placed on the deck and row for shore? Or are we supposed to accept that Spirit Pool Lady is messing with us again?
I'm pretty disappointed by the mediocre Defense growths from the front line, particularly Jeffrey's Defense, what with how much we're using him as bait. Abed's HP is pretty low too. But I'm quite happy with our offensive output at the moment, and, as long as everything remains a two-hit kill, survivability won't be an issue. We'll be promoting the other half of the Force soon, and adding a special new member as well. I bet you can't guess who that might be (hint: our destination is named "Dragonia").
See you next time in Semester 6: Exothermic Macrobiology!