Part 17: Why did I do this?
Part 11: Why did I do this?The whole point of romhack LPs is for the audience to delight in the LPer's suffering, right?
Right.
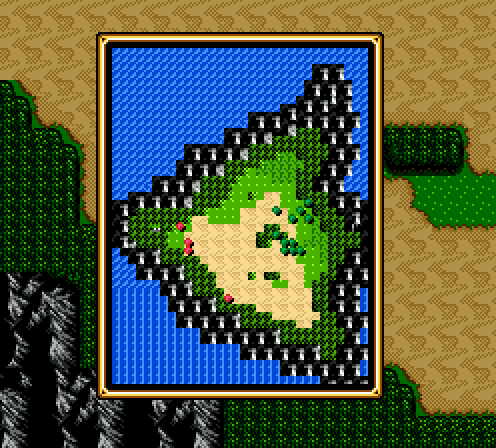
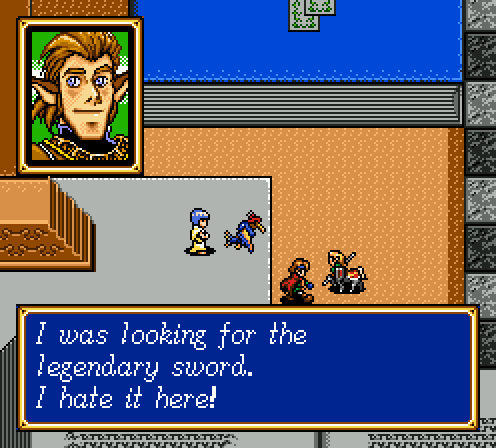
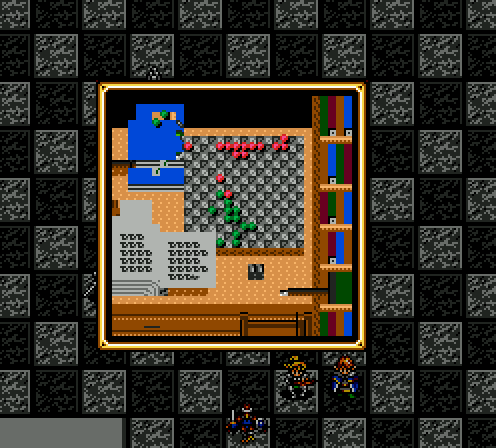
I have been regretting this decision for the past week. Yes, that means I have been working on this update all week. Anyways, last we left off, a silly elf opened up a mountain for us to explore.

There's not much to the cave, but there's some secret passages to it.
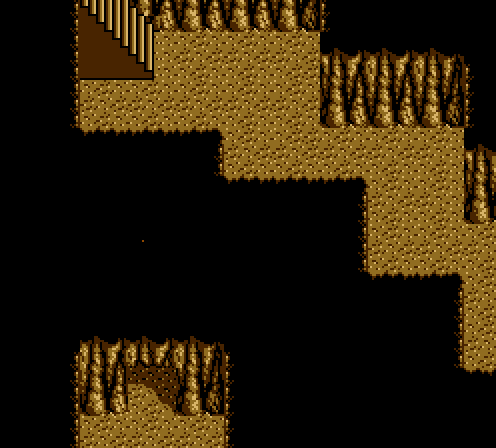
They're not too subtle about the first one.

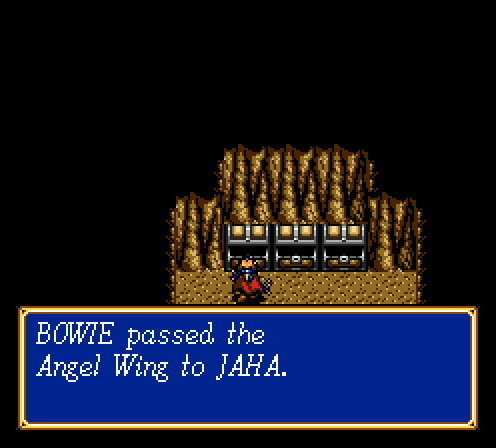
I don't remember what's in the other chest, but it's not nearly as important as these two goodies. The Brave Apple gives you an instant level up, and it's going to Elric because I'm stupid.
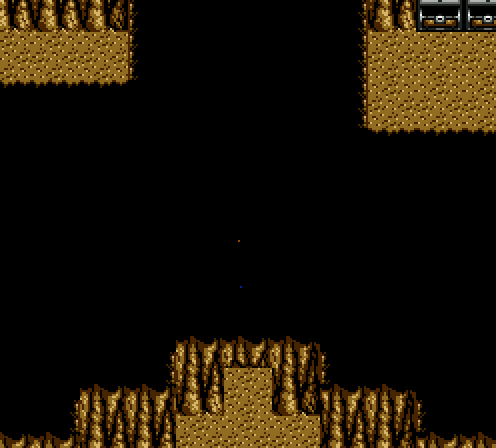
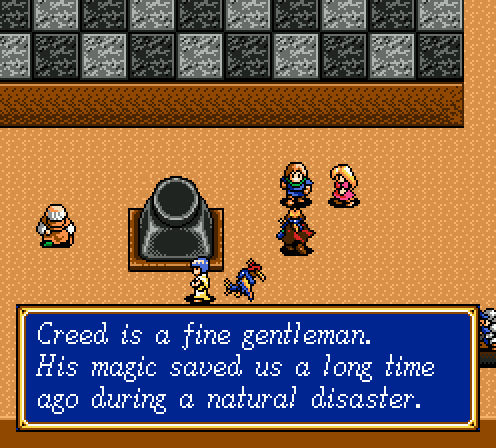
A secret passage within a secret passage. There's an internet meme joke in here somewhere. It just leads to another mithril, if you're curious. Once we get out of the cave (which is just one corridor if you ignore the secret passages), we get Creed's greeting party.

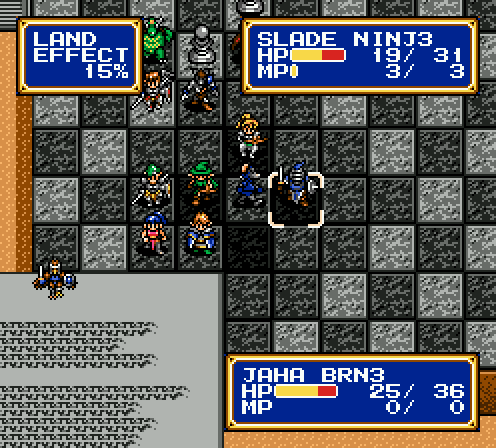
Somehow, the skeleton's olfactory glands still work. Also, he's not very friendly.
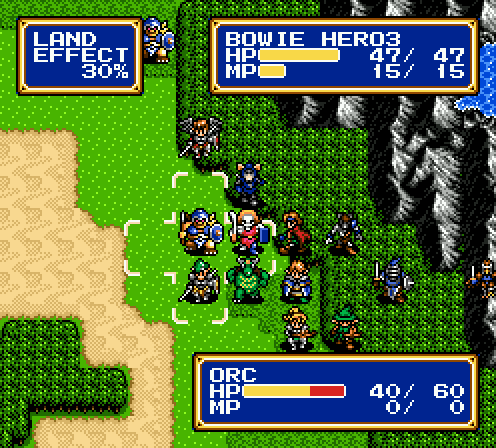
Not a difficult fight, since the enemies are very spread out. There's still one arrow launcher from the days of yore, along with orcs, dark clerics, and dark madams. We're also treated to a new enemy:
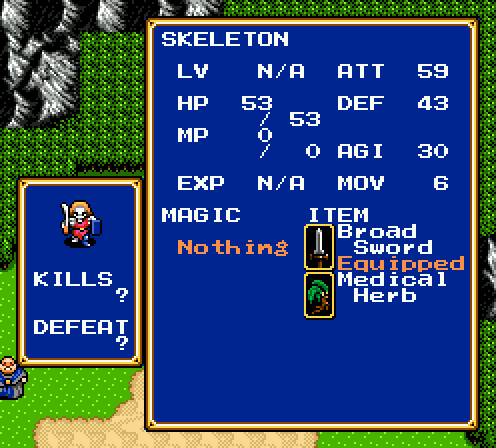
For some reason, it's Shining Force tradition for skeletons to carry medical herbs. Also, the dark madam in the very back is carrying a protect ring. Sadly, the protect ring is not nearly as broken as it previously was, but more on that later.
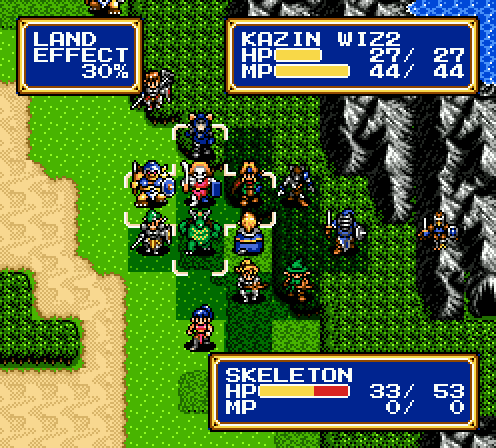
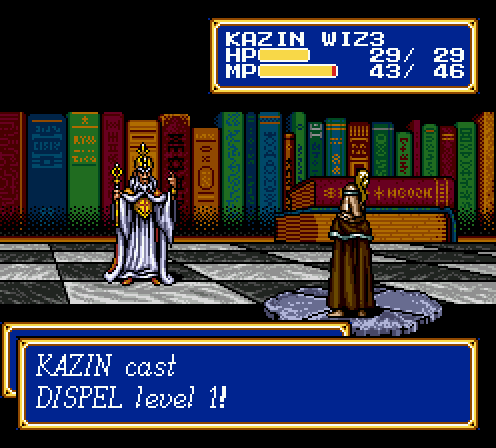
Skeletons may have high defense, but they're also undead. This renders them vulnerable to fire magic, and remember what spell Kazin learned recently?
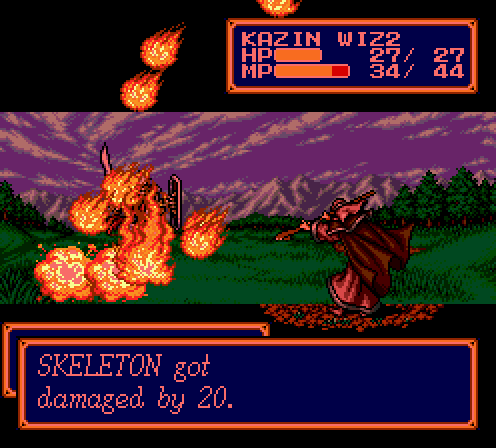

Bolt 1 also has a range like Blaze 2 and 3. At the cost of 8 MP, it does 13 – 15 damage. If I weren't lazy, I could run some numbers on the cost efficiency of Bolt compared to the other spells. The problem is that the only character other than Bowie who learns Bolt is terrible, so screw it.
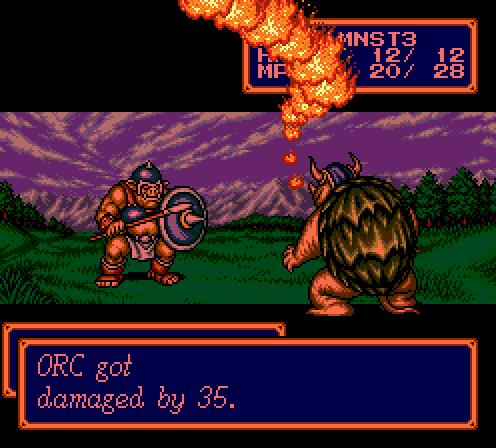
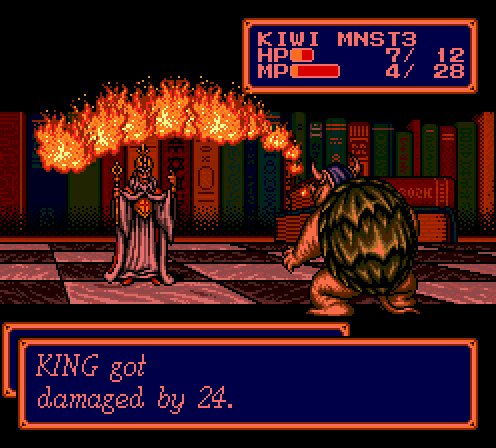
I don't think I spent enough time gushing over how awesome it is to be able to use Kiwi's flame breath on command.
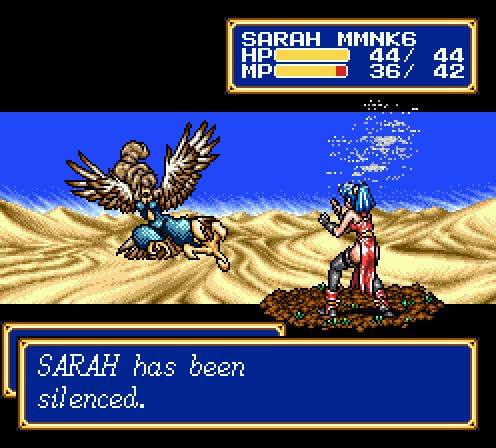
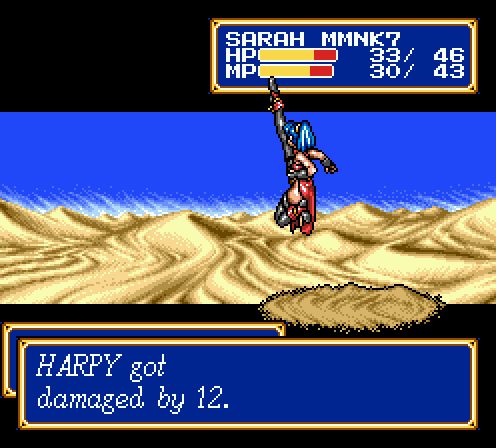
I don't know if I mentioned that harpies can do this, but it's a real dick move when it hits Sarah. But hey, this is why I promoted to master monk, right?
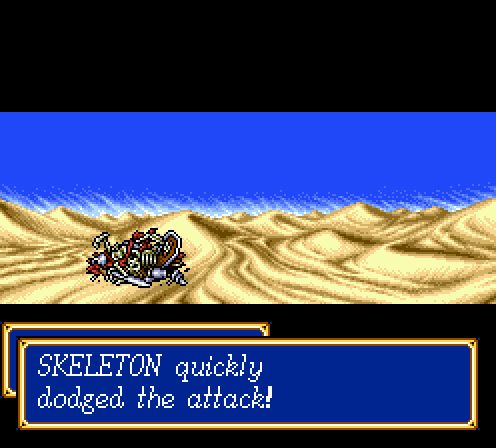
Skeletons look stupid when they dodge an attack.
The fight situation after seven or so turns. I'm beginning to notice a pattern where the difficulty of a fight is correlated to how tight the enemy formation is. Either way, I get the protect ring without a problem and finish the fight with only one or two dead guys.
Battle Report!
 Level 4 2 HP/1 ATT/2 DEF/1 AGI
 Level 7 1 HP/1 MP/1 ATT/1 DEF/1 AGI
 Level 3 2 HP/1 ATT/3 DEF/2 AGI
 Level 3 2 HP/2 MP/1 ATT/1 DEF/3 AGI
 Level 3 2 HP/1 MP/1 ATT/2 DEF/1 AGI
 Level 3 1 HP/1 ATT/1 DEF/1 AGI
 Level 3 2 HP/2 MP/1 ATT/1 DEF/1 AGI
 Level 3 2 HP/2 ATT/2 DEF/2 AGI
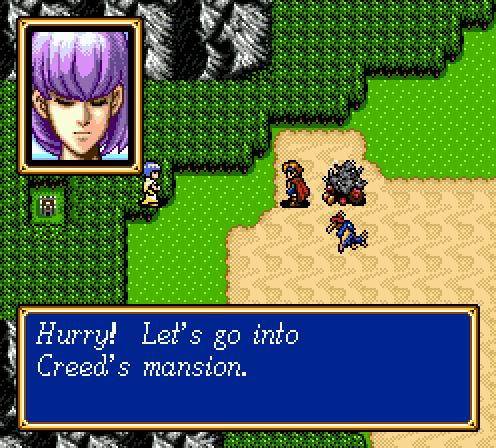
Hey, let's not. No really, I'd just like to avoid what's coming next if I can.
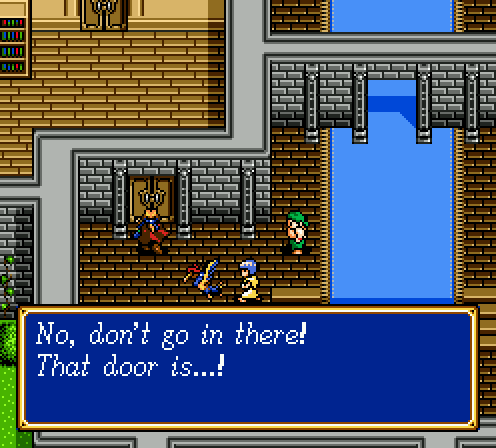
Welp.
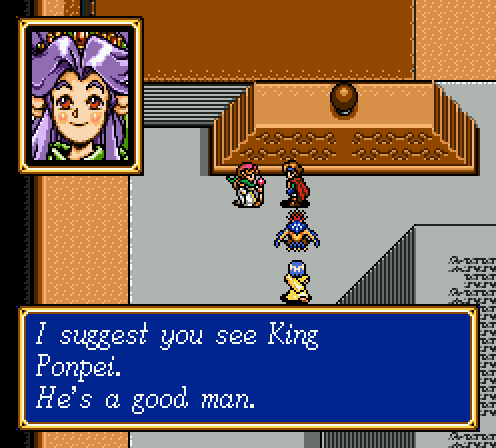
Thanks, character who would save my ass in the upcoming fight.
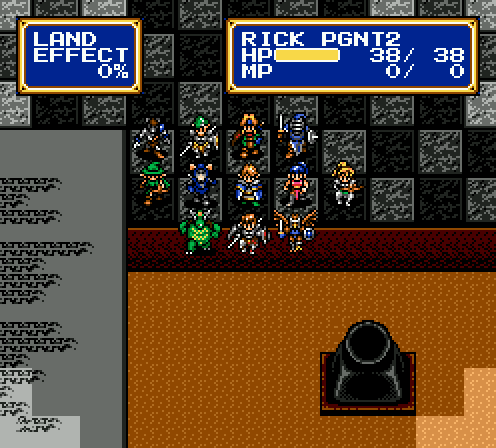
This is a reference to one of the Shining Force Gaiden games, but fuck me if I can remember which one.
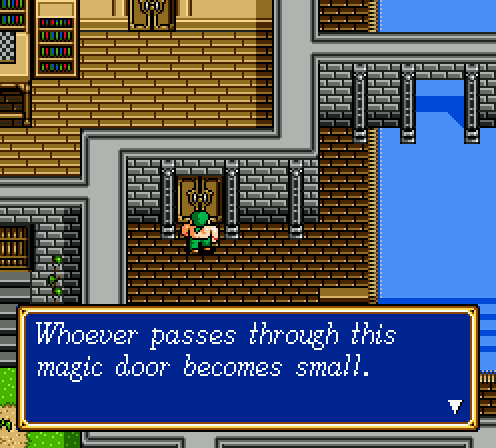
I'm not sure being shrunk to the size of a chess piece and being kept on a demon's desk for all of eternity is something you should really be grateful about.
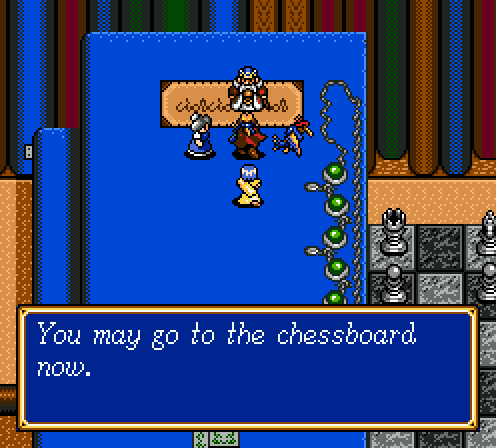
But I don't wanna.

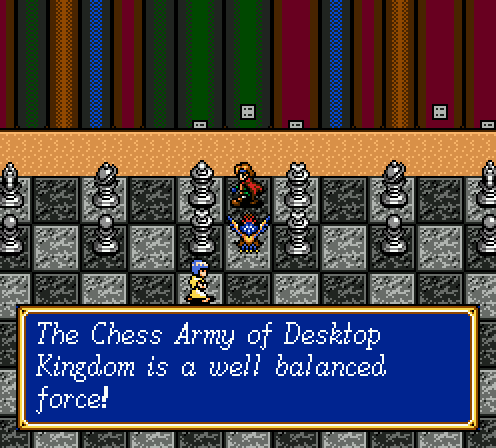
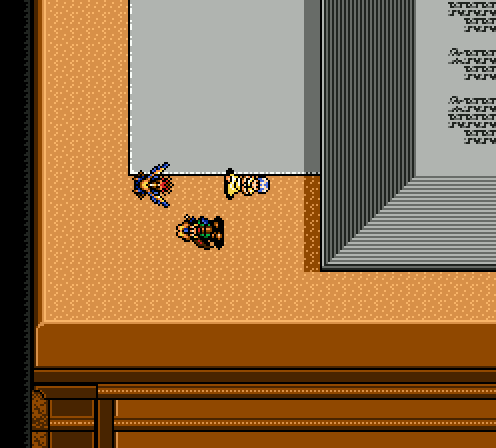
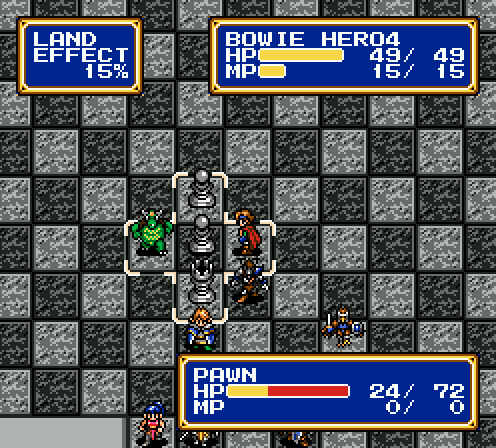
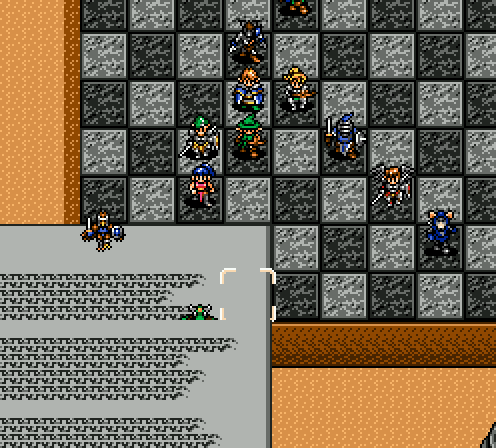
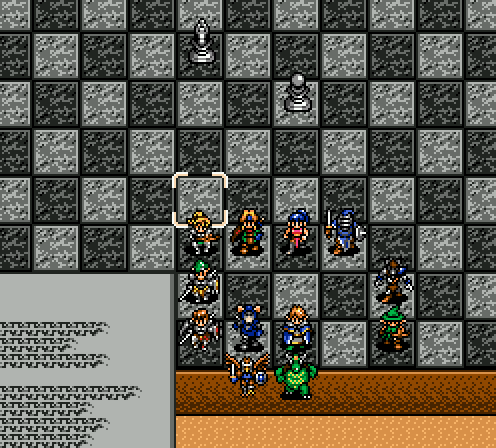
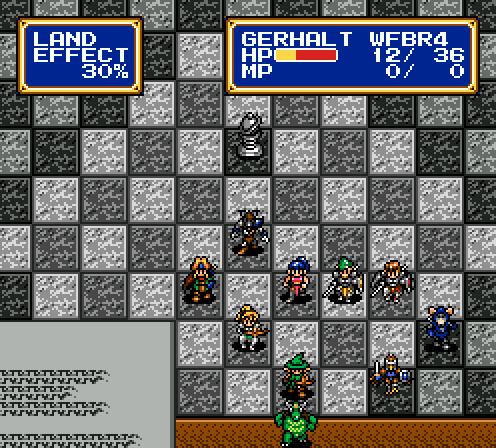
And then we get into a fight. Who knew?
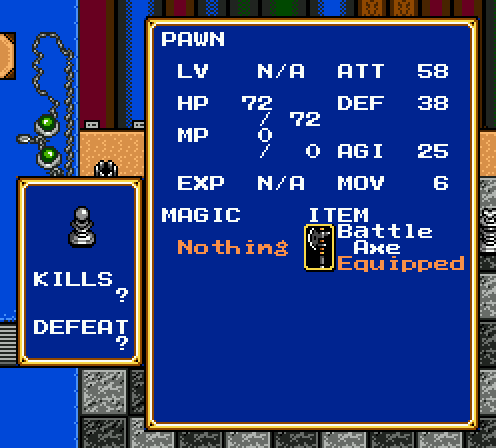
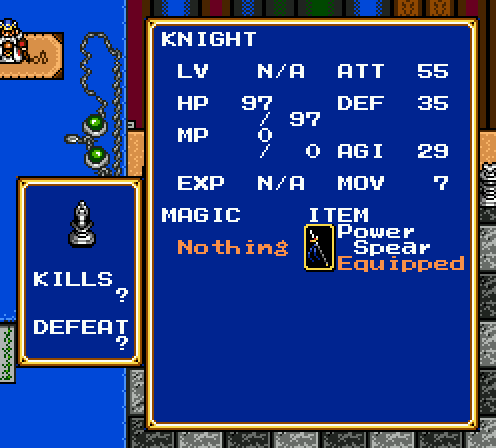
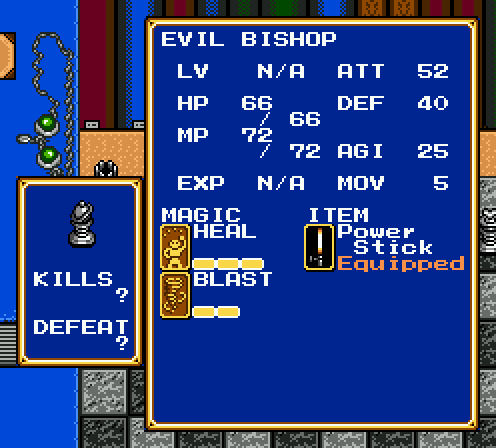
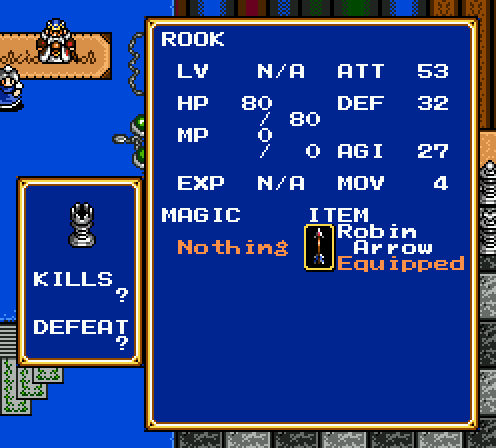
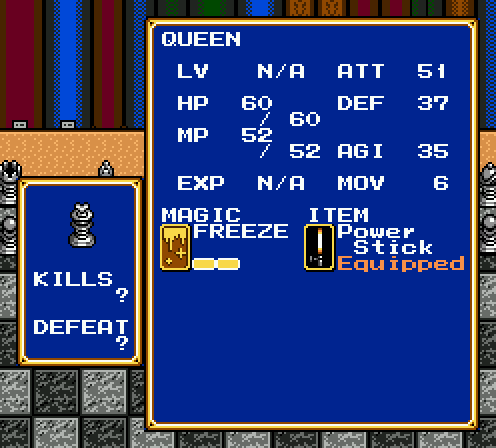
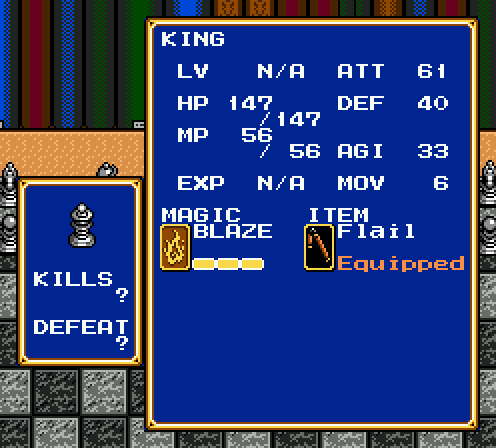
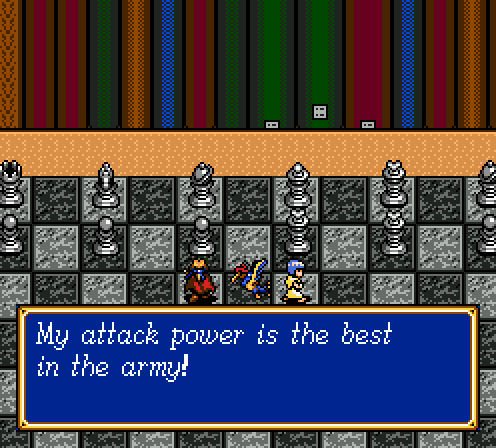
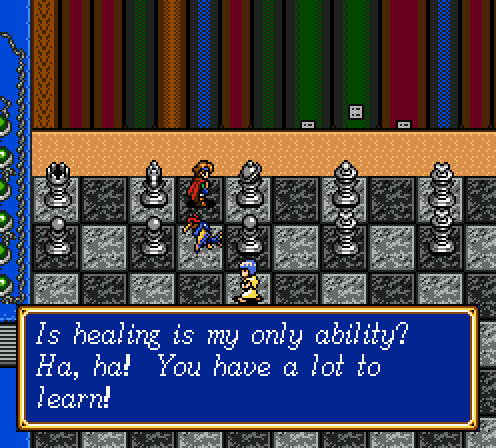
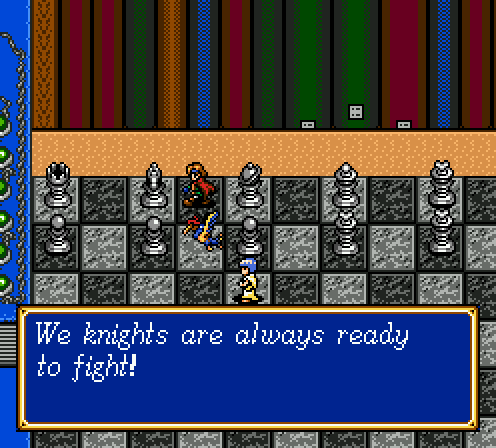
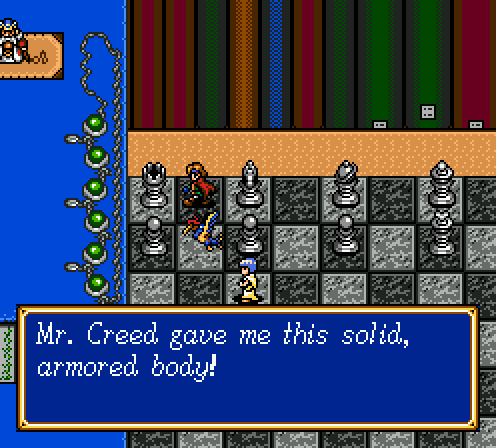
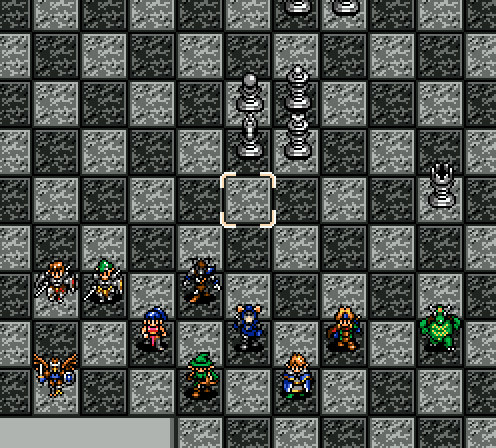
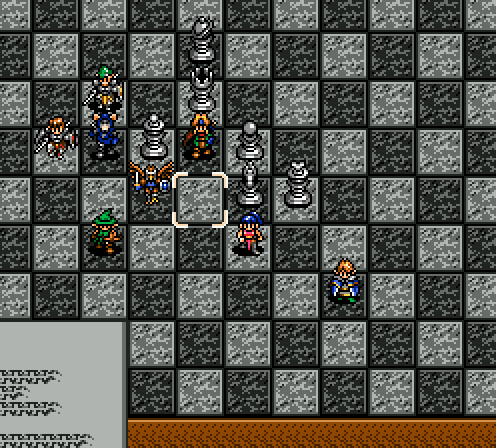
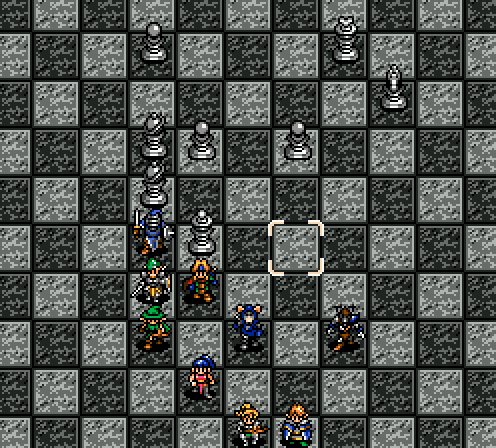
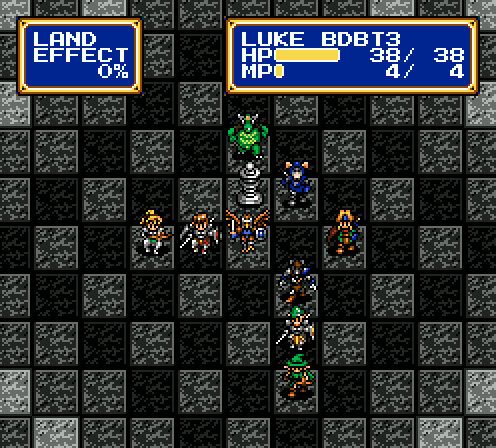
Few things to note: Pawns do not have the highest attack; that actually belongs to the king. Bishops theoretically can do things other than healing, but their ability to heal is their only tactically relevant ability. The “armored body” the rooks have gives them the lowest defense on the chessboard army. Just thought I'd point these things out.
Also, we're not exactly playing a regulation chess game. The board is 15x15, and the middle of the front row actually sports a pair of queens. Yes, the army has three queens, but luckily they're the least threatening unit in the fight. If those queens were replaced by another pair of pawns, this fight would be a lot harder.
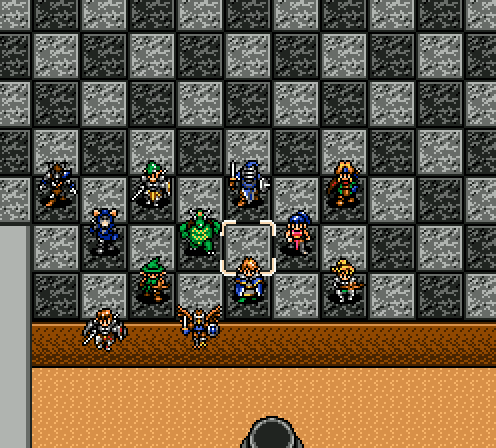
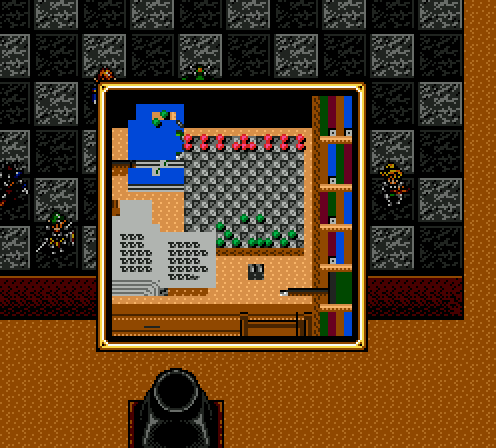
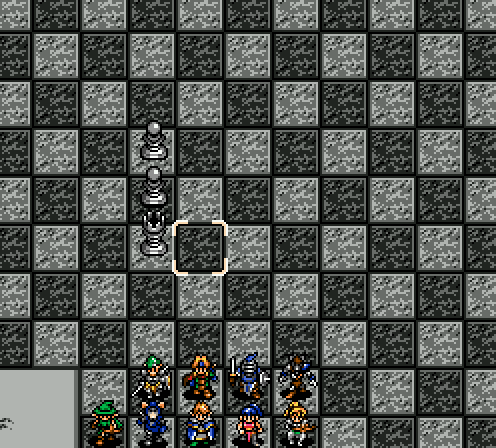
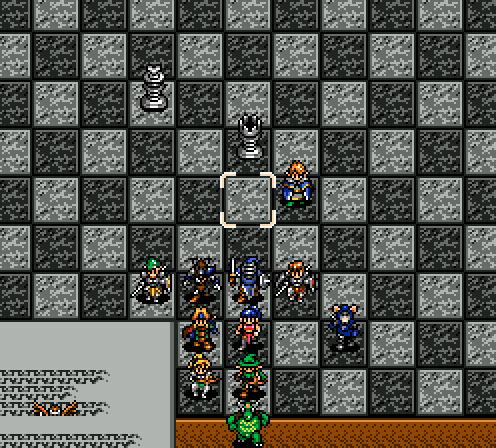
This is going to be my strategy for the entire fight. I am going to sit in the back rows and wait for the enemy to slowly crawl to me, two or three at a time. It's slow, drawn out, and boring as hell, but it's also the safest way to beat this fight.
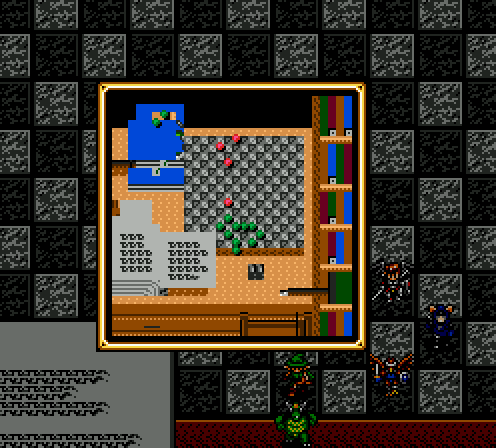
You see, the real challenge of this boss isn't like the previous two where there are crippling limitations on your army. The challenge is that, for the first time in the game, the entire enemy army is actually clustered very well together. An offensive charge will draw half the enemy army to you. While it's possible to bumrush the king in the original game, it's obviously unfeasible in Challenge Mode. Even trying to tackle five enemies at once is too much. So the easiest way to deal with this is to just sit in the back and let the pieces come to you. And it takes forever.
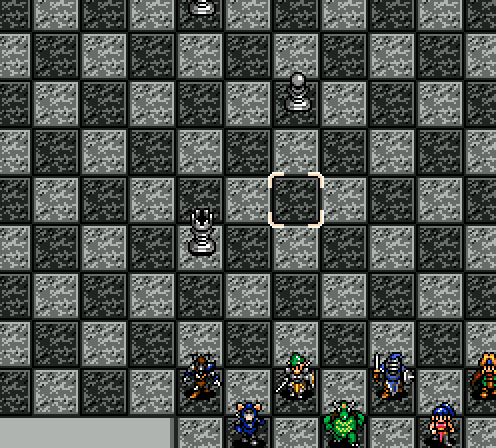
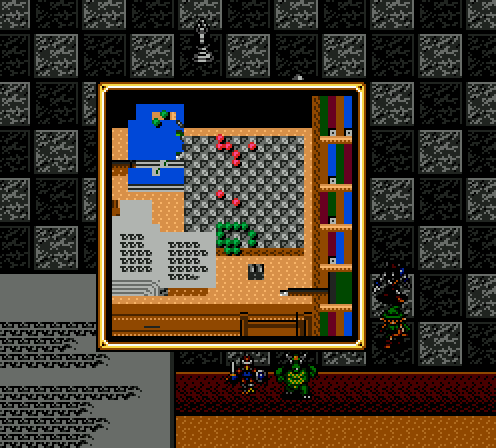
The first two pieces to approach will be the left rook and one of the left side pawns. This is about six turns after I set formation, by the way.
Honestly, if the most populous enemy unit didn't hit so damn hard, this fight would be a lot easier. But no, pawns hit the hardest apart from the king, are the most durable, and have MOV 6 on a map with no terrain penalties. Trying for an open fight is suicide.
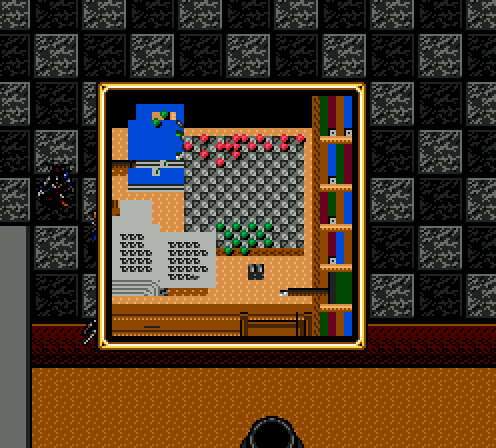
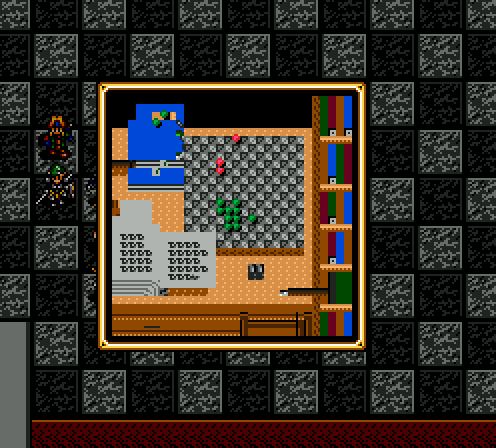
Something to take note of here: Pawns are the only unit on the board who must be in melee range to deal damage. Every other unit has a ranged attack of some sort. The reason why this is relevant is because the enemy AI has a habit of attacking from its maximum range whenever possible. In the case of rooks who can shoot from three squares away, if you close in on it too soon, you will end up too close to the bulk of the chess army and get dogpiled. I made this mistake several times, as you will soon see.
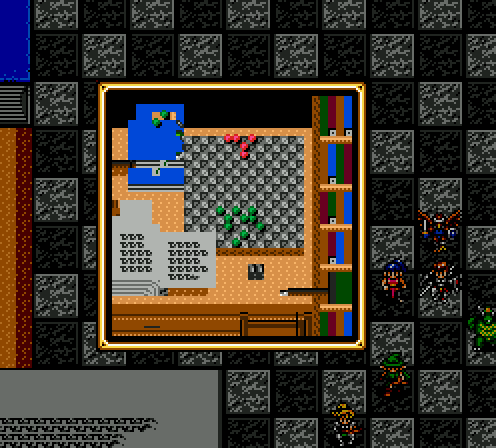
The turn after the previous screenshot. Rooks are the most fragile unit in addition to being the weakest attackers, so they're easy to clean out in one turn. The left knight ends up diving in.
See how close it is to its allies? What happens if I actually move up to meet it?

Well this is a problem. Once the king triggers aggression on you, most of the pieces spring to life.
Like so. This is just another turn later, three turns after I've killed the rook. I already lost Jaha in no time and things are about to get uglier still.
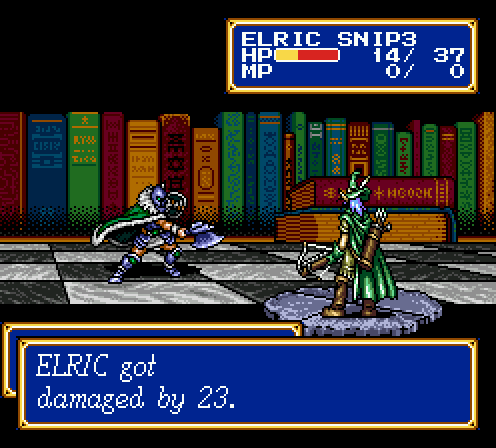
Activate desperation move: Kill the king.
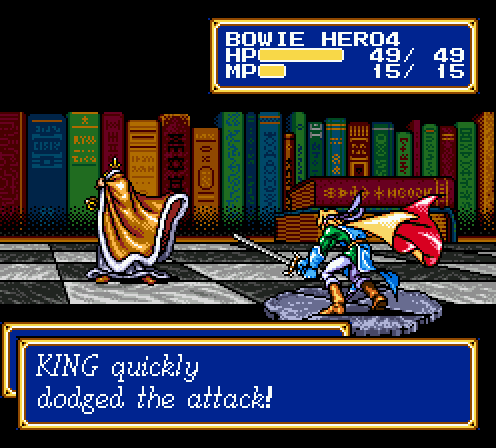
These dodge animations are really silly.
I don't really need to tell you how this is going to end, do I?

This is the part where I suddenly remember that every enemy in this fight is immune to all status effects, including silence and slow. Either one of those would help immensely – either it would be a lot easier to kill selected enemies or I could prevent the bishops from healing. But no, I have to stick it out.
This is my signal to just hit the rest button. So I do.
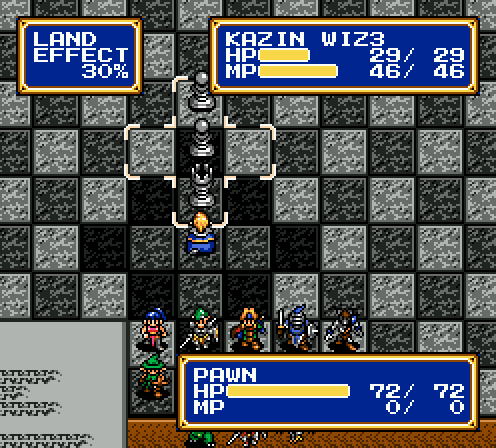
I'm going to be even more conservative this time and stick to the back two rows. This time around, I realized that only the queens and king have area spells, and those units don't trigger until late into the fight. Therefore, there's no reason for me to actually checker my formation.
Now this is what I'm talking about.
I never, ever miss a chance to milk area magic for all it's worth.
The rook and two pawns are dispatched in two turns. Though I'm creeping up close to the enemy, I get lucky and none of them get aggressive on me until I have time to retreat to the back rows again.
The next set of enemies. Don't be fooled, the bishop doesn't come in just yet. They're programmed to stick to the king until he activates, so they're nothing to worry about for now. A pawn, knight, and rook together can be troublesome since they have a lot of ability to bypass tanky character and focus on squishies, but I managed.

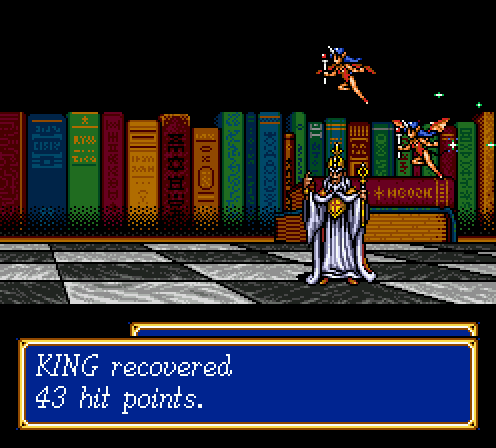
This certainly helped a lot too. Would have been more effective on Peter if he were in the fight.
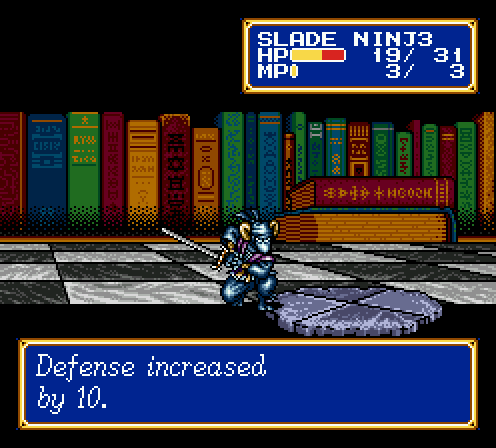
Oh, the asshole move about the protect ring? Turns out Boost was significantly nerfed. While it still boosts agility and defense, Boost 1 is a single target spell, and Boost 2 only hits 5 allies. In the original, Boost 1 hit 5 and Boost 2 hit 13 – yes, Boost 2 could hit your entire army at once. Since the protect ring casts Boost 1, it was the easy candidate for power leveling through using an item. Not the case anymore.
Why Boost got nerfed so badly is beyond me.
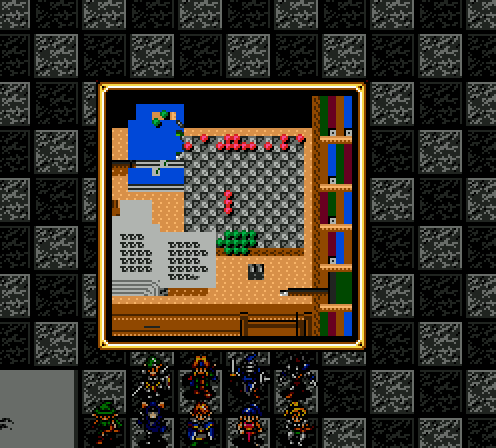
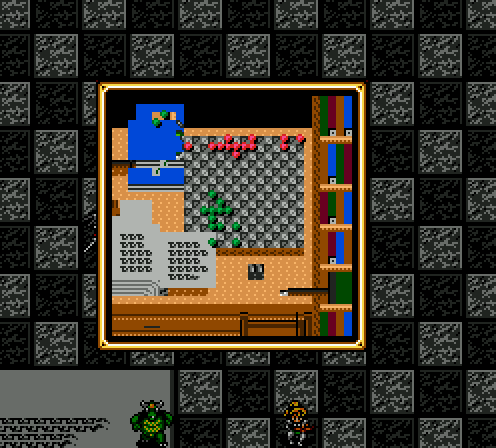
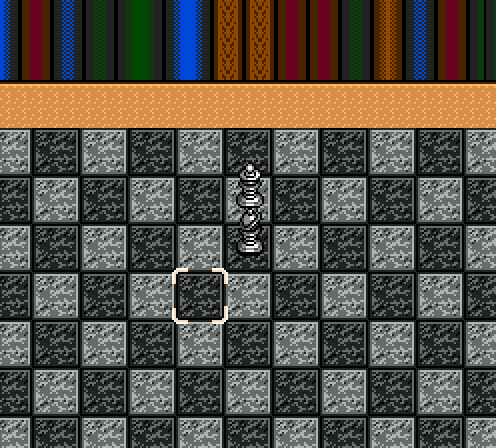
Sprites interact weirdly with the book terrain. Just wanted to point that out.
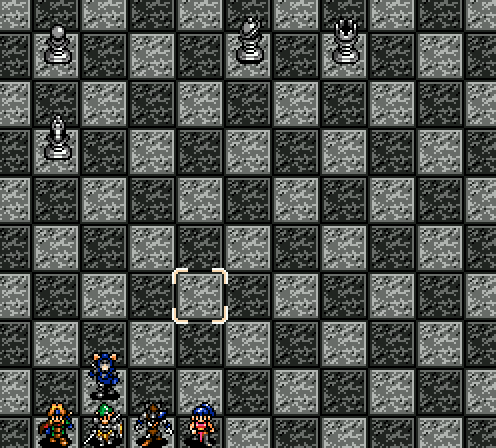
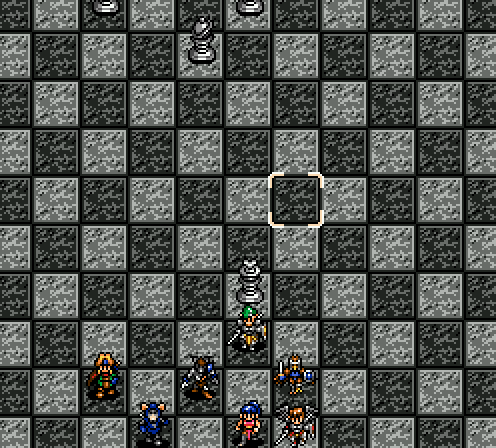
Because rooks have such long range, sometimes I have to let them hit me as I retreat. I want to say the eighth or ninth row is where the king gets aggressive, but I forgot to actually check. The rook is currently on the sixth, where my units are 100% safe.
The problem was that after killing the rook, I engaged the queen near it. That quickly lead to this:
And just in case you didn't believe me that rushing down the king doesn't work, I actually managed to knock him down to about 40 HP in two rounds. But then this happened:

Luckily I save stated right at the most recent rook screenshot. By taking an alternate course of action where I dragged the queen to the back rows, I got this situation a few turns later:
Much better! Those two punks only take two turns to kill.
I almost feel confident about this. It's only two queens, two bishops, and the king left at this point. While the queens don't hit very hard, we still need to remember that the king is a boss. Therefore, he gets to move twice. Coupled with casting Blaze 3 and having attack in the 60s, we're only fighting the king solo.
Just lure them away, one by one. I figure I should mention that between repeated failures and reloading states, this fight took me over ninety minutes to complete. Well, the run where I was successful. I had many attempts throughout the past two weeks that just ended tears.
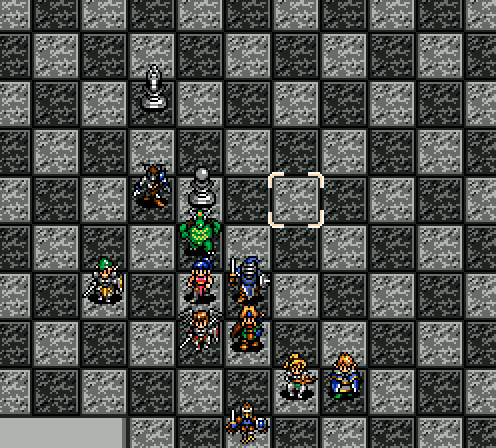
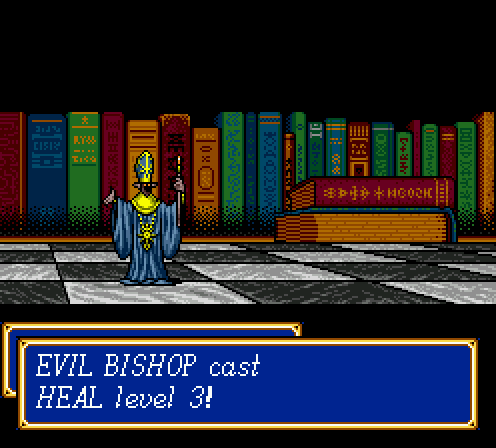
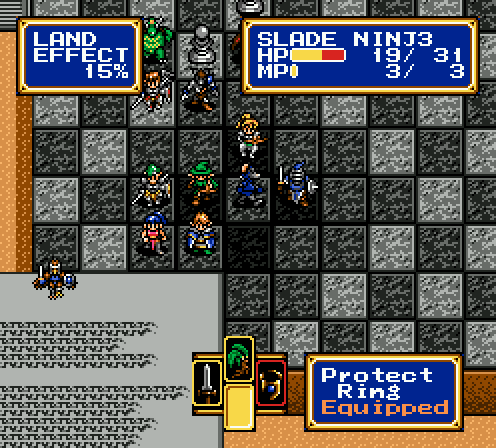
This doesn't look like much, but I'm still not confident. Remember that bosses can kill just about anyone in one turn, and every dead unit is less firepower I get every turn. Also, the bishop can cast Heal 3, as I've previously demonstrated. I have to get the king leashed onto somebody either durable or expendable, and then kill the bishop separately.
In that hole next to Bowie lays a dead bishop. Despite how good this situation looks, I still lose two more characters before I take down the king. Playing it safe, I still lost five out of twelve characters in this fight.
Thank god it's over. This is the last truly difficult fight in a long time. Just like how the Kraken and Taros were different, the chess battle poses a completely different aspect of difficulty and forces you to employ different strategies to win. I'm sure there's some way to win this fight without being quite so lame, but it probably involves having a Kiwi that doesn't die in two hits to everything.
All that said, I was going to include the next fight in this update, but the chess fight really did take everything out of me.
Battle Report!
Who fucking knows! Just like the kraken, I had to reset and load state so many times, I'm not sure what's what anymore.
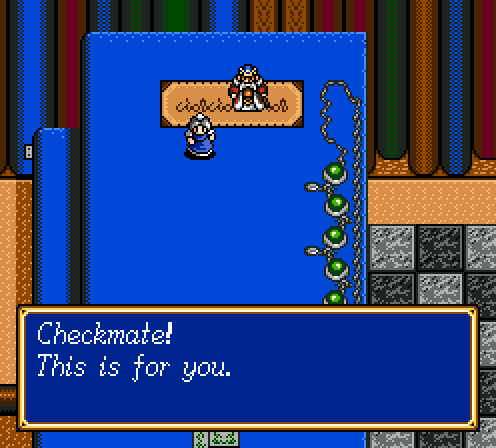
Quite the prize. Thanks, king.
NEXT TIME: A reasonable boss fight!