Part 6: Part 06
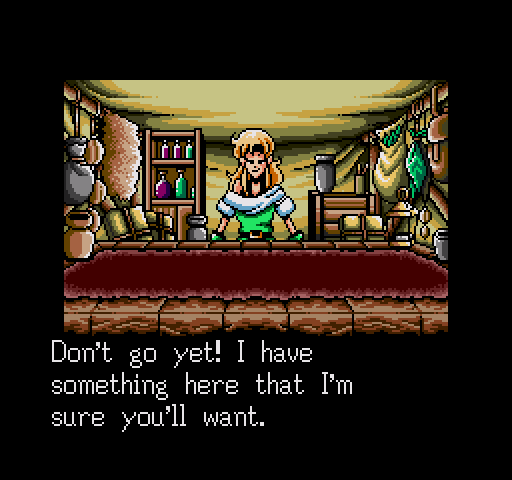
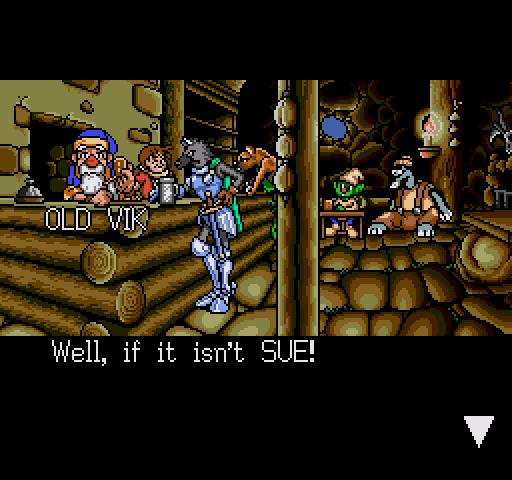
As I head into the Labyrinth once more, I stop by the Alkemist to get an Angel Feather, and she decides to show me a rare deal:
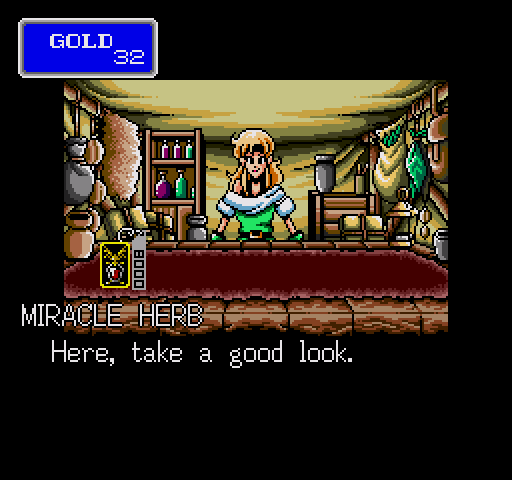
Miracle Herb.
It's a revive.
It costs 8000 GP.
I think not.
So,

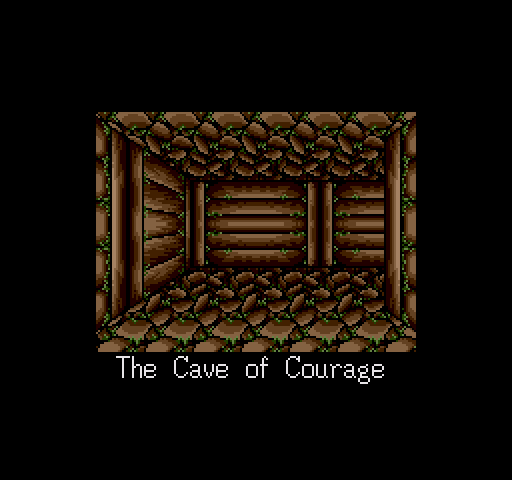
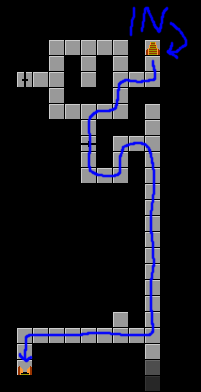
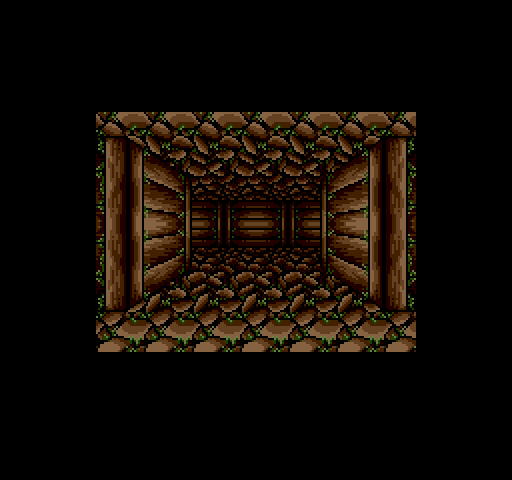
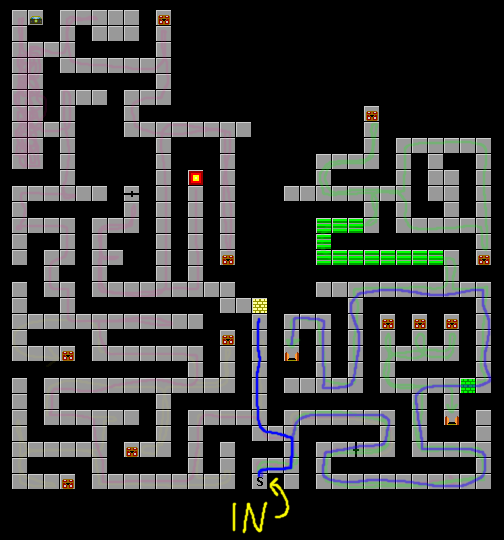
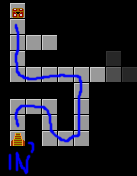
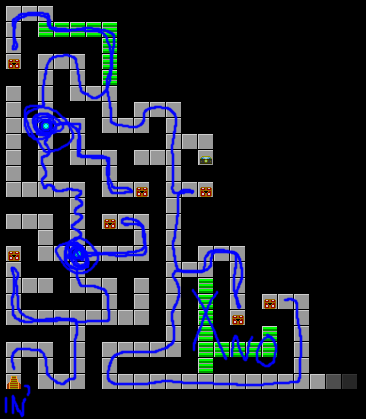
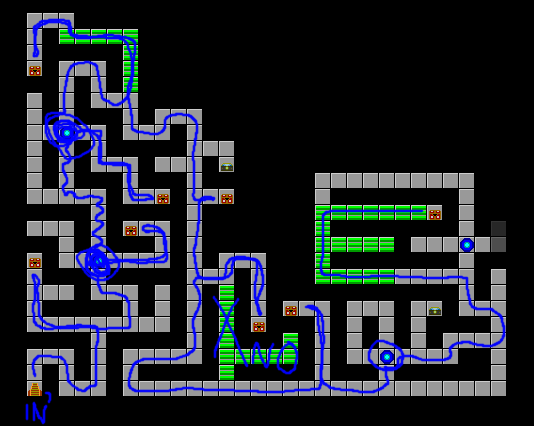
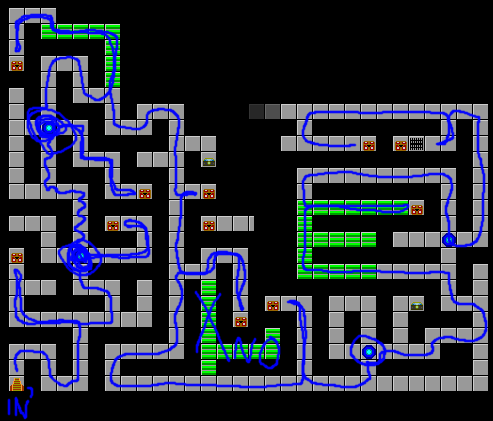
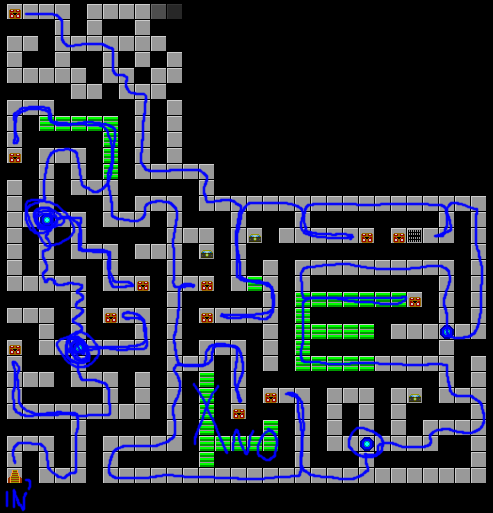
Cave of Courage, then.
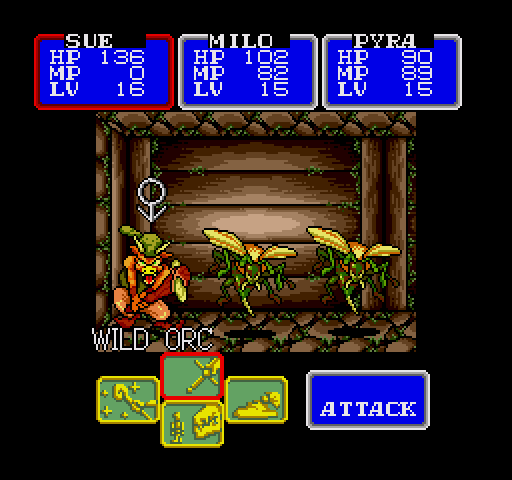
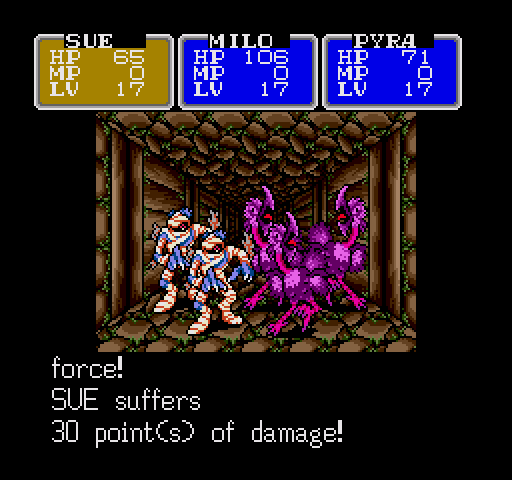
Wild Orcs are nothing special. A little stronger than previous generic enemies, but not strong enough to survive hit from Sue. Or Milo.
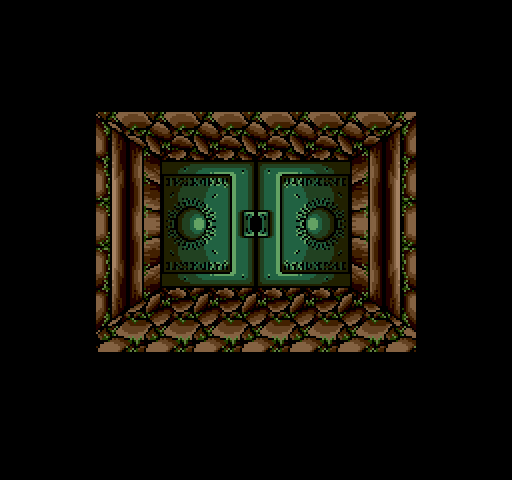
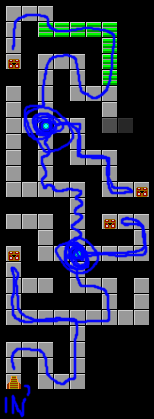
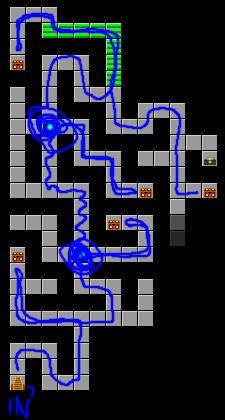
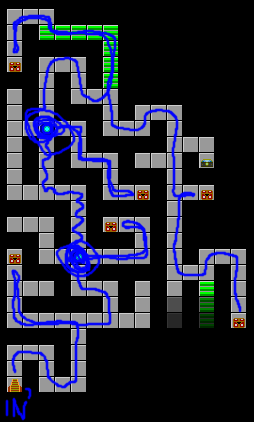
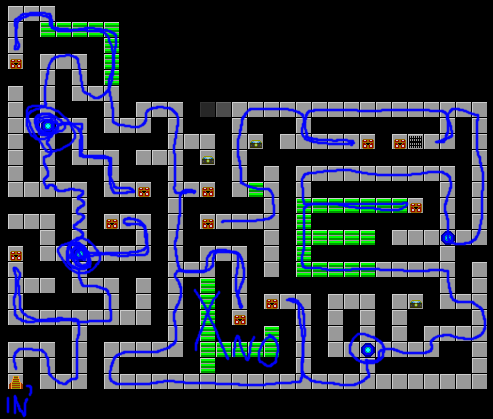
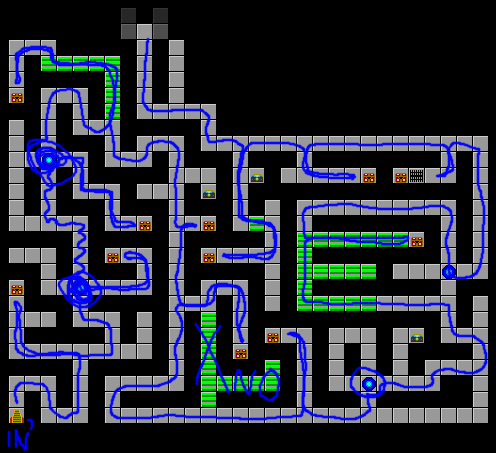
There's a couple of bronze doors down here for whatever reason. Mostly just to force you to keep the dwarf's key in your inventory, taking up valuable space.

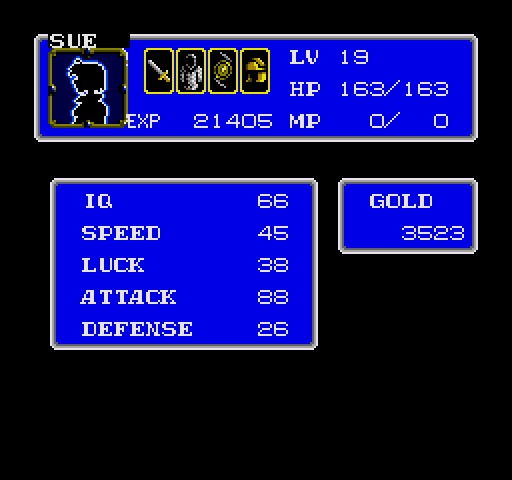
Each character has eight inventory slots. Out of those, four are permanently occupied by their actual equipment.
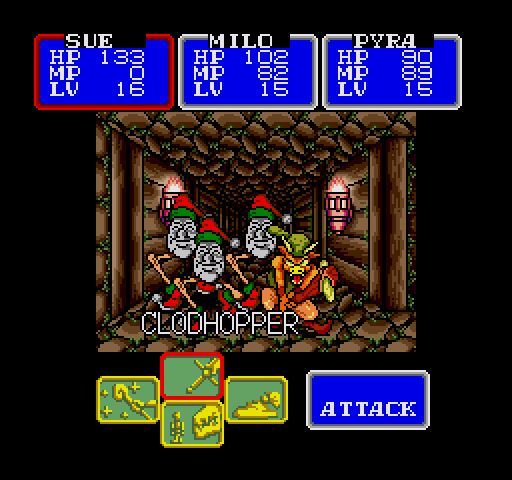
Clodhoppers are glass cannons. Only Pyra is faster than them, and they hit hard. However, both Milo and Sue take them down in one hit.
Here's a set of stairs!
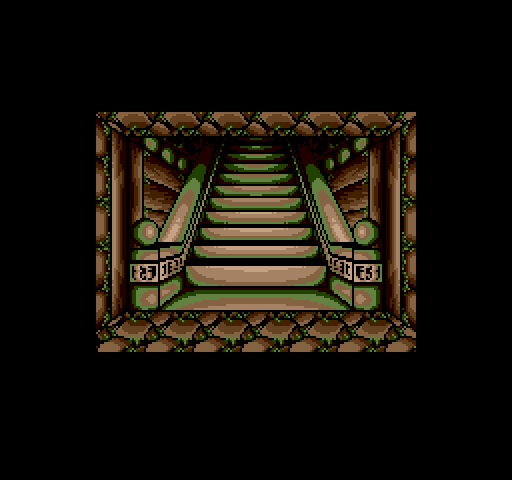
Here's another set of stairs!
...yeah, that part was pretty pointless.
But here's something weird.
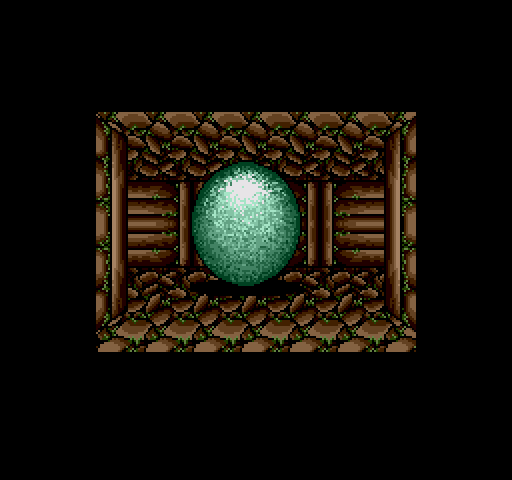
*roll roll roll*

Following it...
what

WHAT.
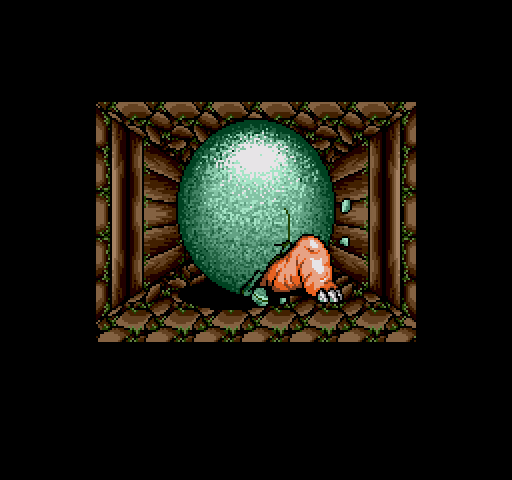
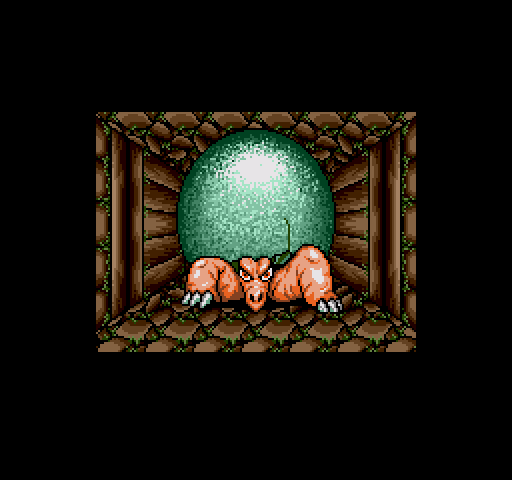
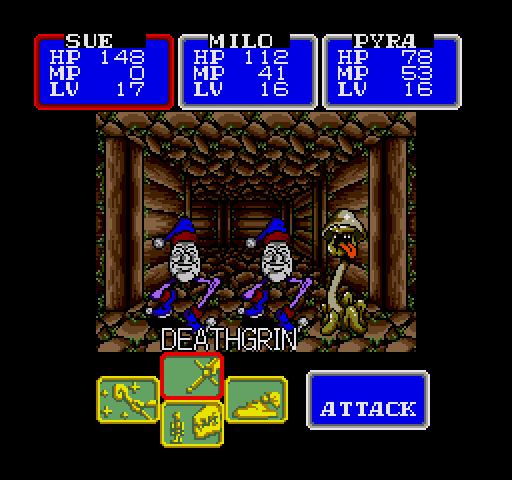
Video: Tortolyde. (Also shows off Pyra's spells in animated form, because hey, why not?)
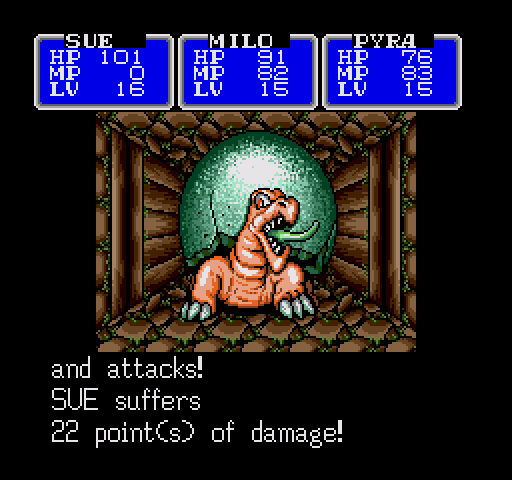
The Tortollylydylyly hits hard and Slow doesn't seem to catch on it. Worse yet, it can actually Quick itself.
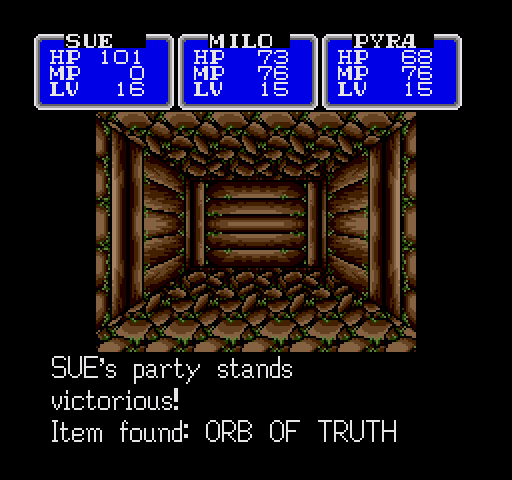
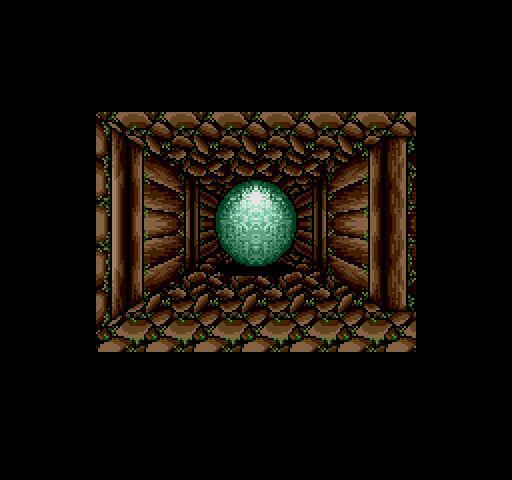
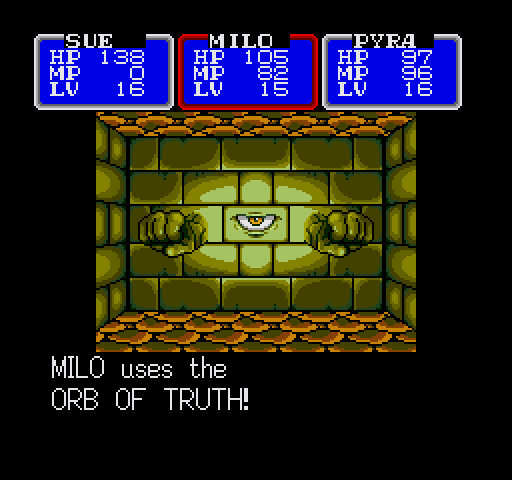
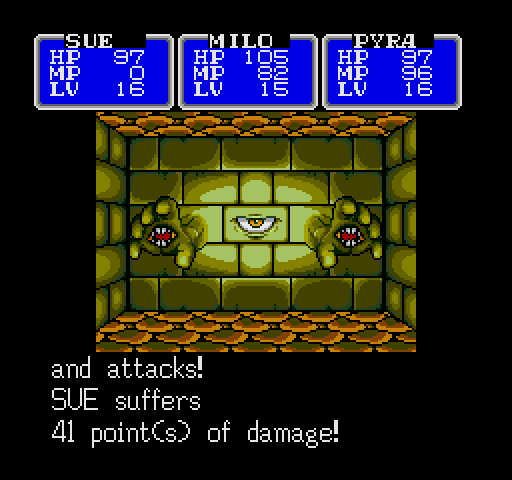
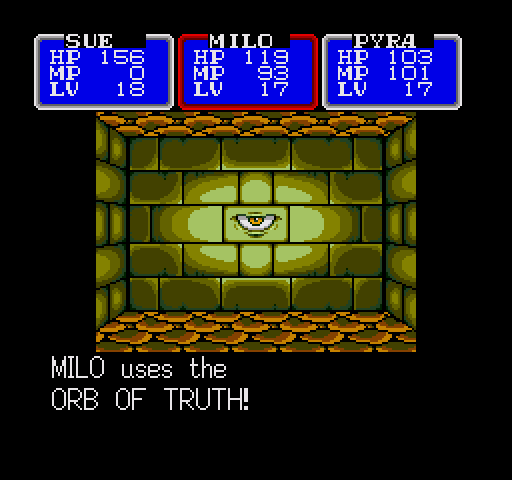
Nevertheless, it goes down and we obtain the ORB OF TRUTH.
We now have what we need to complete the Trial of Courage.
...among other things.
And isn't it always much more fun to do things out of order?

I've heard rumors of it, but I never thought I'd see it with my own eyes.
I've also heard that the ORB can reveal a demon sealed within a wall.
Such demon walls are said to hide treasures and secret corridors.
GATT: Were you just talkin' 'bout treasure? No?
Yes, we were.
No, you can't have any.
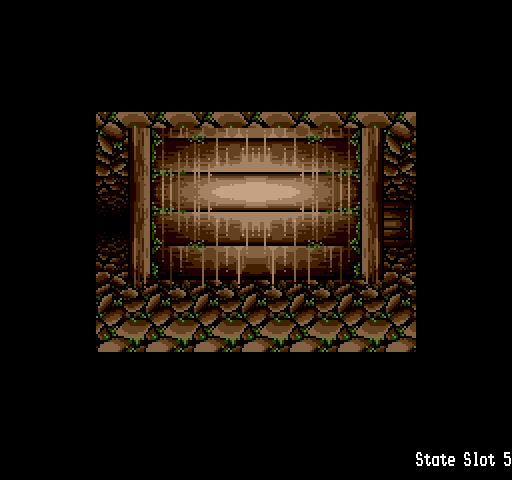
Remember this place?
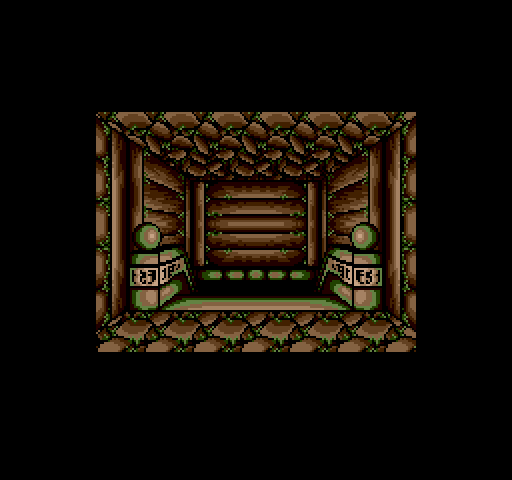
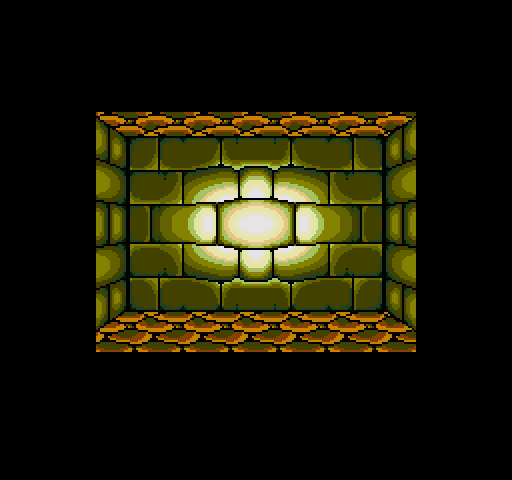
Of course, it wasn't glowing at the time. That's only one of the useful services provided by the ORB OF TRUTH.
The strange glow is a sure sign that this is no ordinary wall.
Video: Grimwall.
The Grimwall can dish it out, but he can't take it. When he dies, the path ahead lies open...
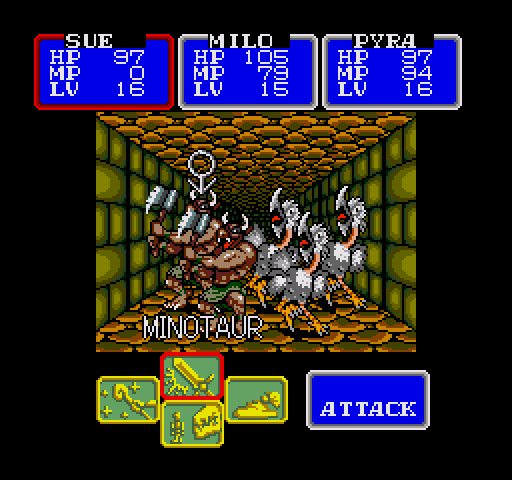
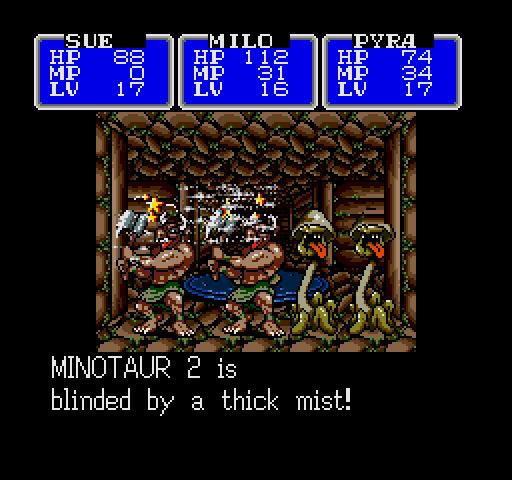
These monsters are the same ones we'd be facing in the Cave of Courage, but probably a little deeper in. Minotaurs can cast Quick 1, hit hard and can take a lot of damage... just not as much as Sue can dish out. Grimfowl are much the same, but lose Quick in exchange for the ability to cause paralysis.
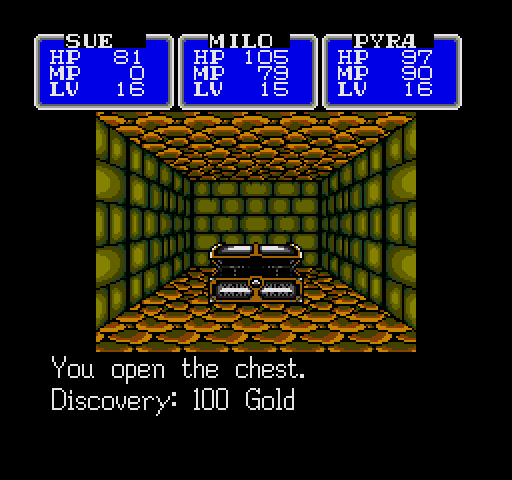
...it's nice to see the trend of fucking worthless treasure continues.
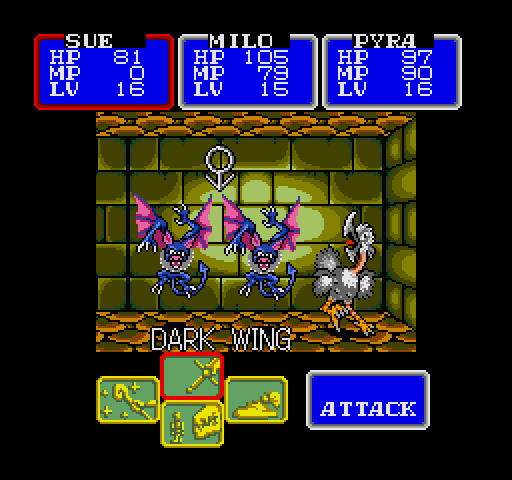
Dark Wings can poison you, but lose the paralysis attack of their lesser cousin, the Vampyre, which actually makes them less of a threat.
...oh, you son of a fuck.
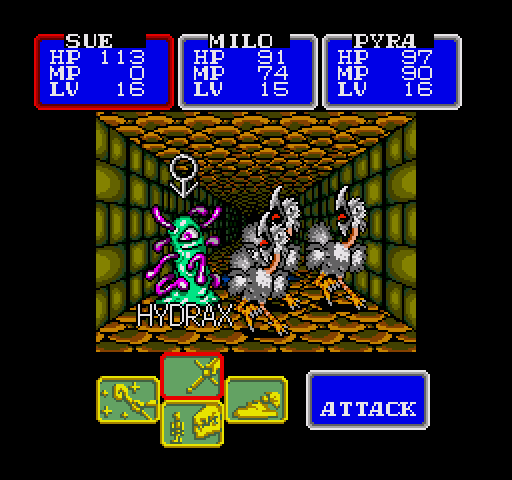
Hydrax looks very... hydraxy. It has a group paralysis attack. Murder ASAP.
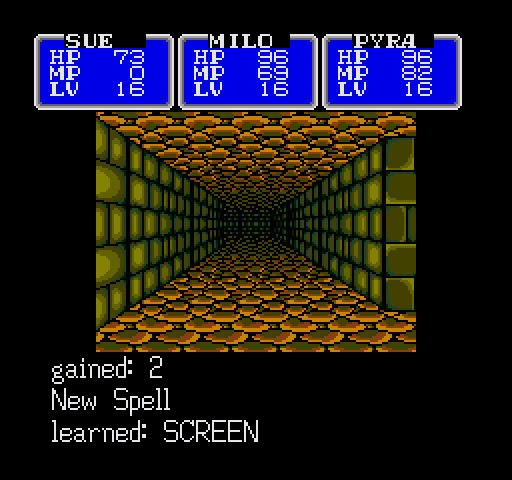
Milo learns Screen. It seals enemies' magic. I don't remember ever using this.
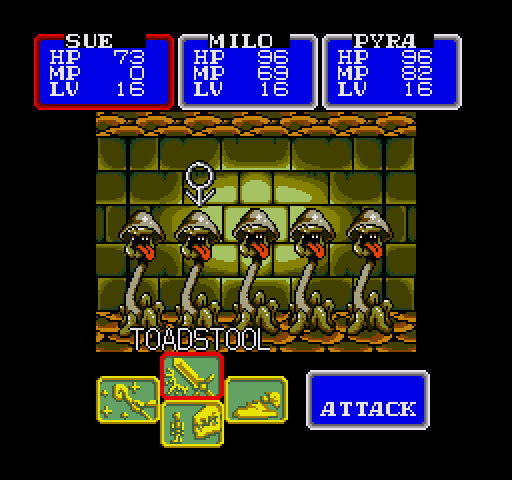
Toadstools are an odd bunch, and I don't just mean the expression. They can appear in pretty large groups, are resistant to magic, and can sprinkle sleeping powder. They also have a defend move where it's "flexing its muscles", which is at least better than hitting you or making you fall asleep.

So what's this, then?
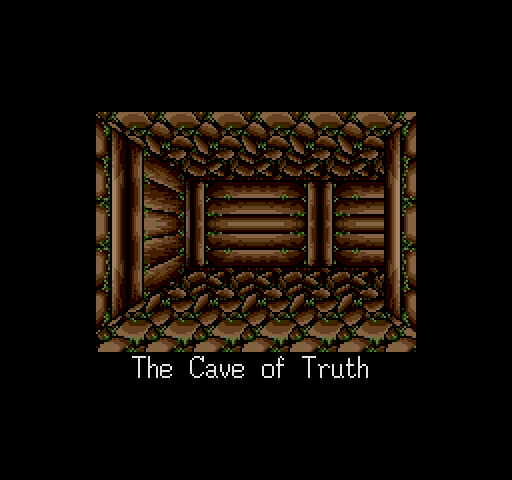
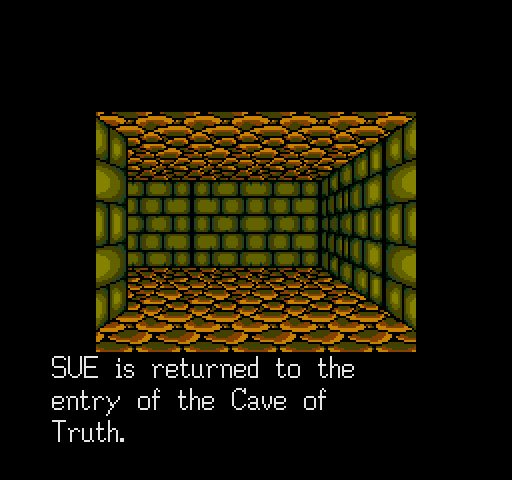
Why, the Cave of Truth, of course!
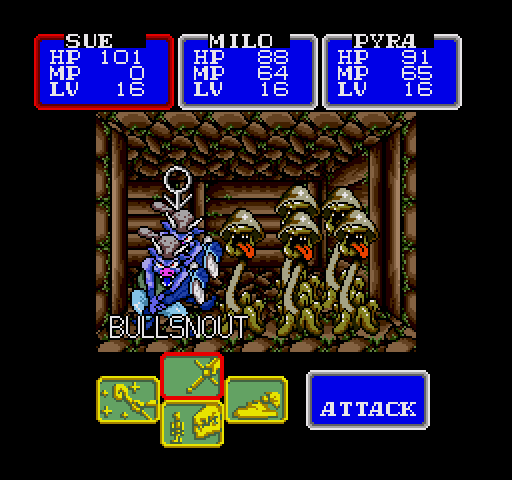
The Cave of Truth is full of icky critters. Bullsnouts know Heal 2. Any time they use it, it's a turn they're not hitting you. Sue one-shots them. Next!
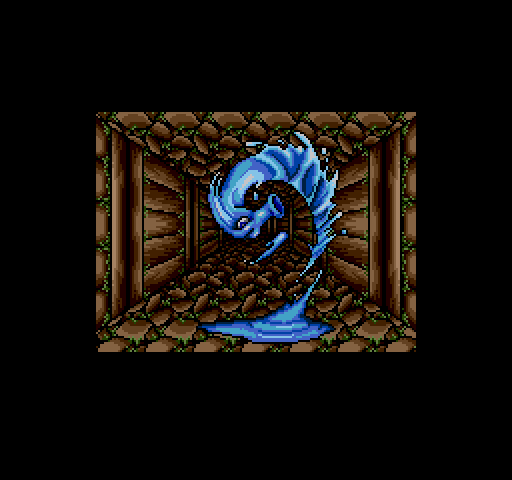
Oh, and here we go.
The thing I've been dreading.
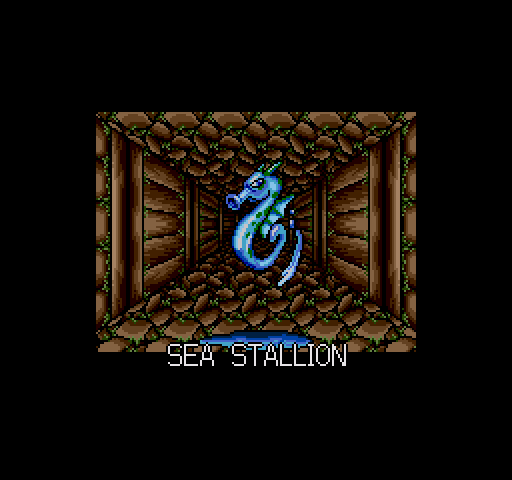
Sea stallions are full of fuck. They have an AoE ice attack that hurts a lot, they can attack twice per round, they're fast, and they have around 100 HP.
We may be at the proper level to tackle this place, but again, we're one dungeon behind on equipment. Sue still has his starting armour. Ow.
We get 250 EXP and 120 gold for killing it. It's nowhere near enough.
This... is a Wisdom Seed.
...let's move on.
Clodhopper 2.0 is faster and stronger than its weaker cousin, and it hates you. Beware these fuckers.

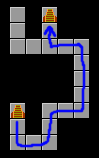
This is a... spinning... thing. Step on it, and it'll turn you to the right three times. In other words, stepping on it sends you off into the corridor on your left.
50 gold.
...it's still better than a wisdom seed. God fucking damn it.
This, however, is starting to look like actual treasure.
Motherfuckers.
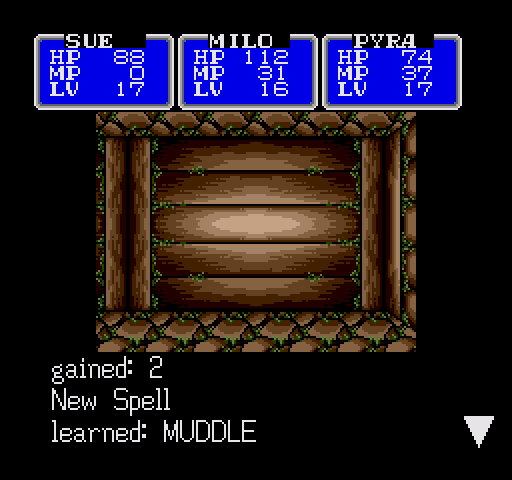
Pyra learns Muddle 1.
I guess it... makes them miss a little more often or something?
(They still manage to hit me quite well, though.)
Right, a corridor full of MP-draining moss. Must be something useful on the other side-
...ffFFFUUUUCK!
...and this is a depoison. TRIALS!
Well, surely the next one will be-


Fuck!
...you thought chestbeaks were bad? These may be even more dangerous than the water elemental in the beginning, for reasons we'll see later.
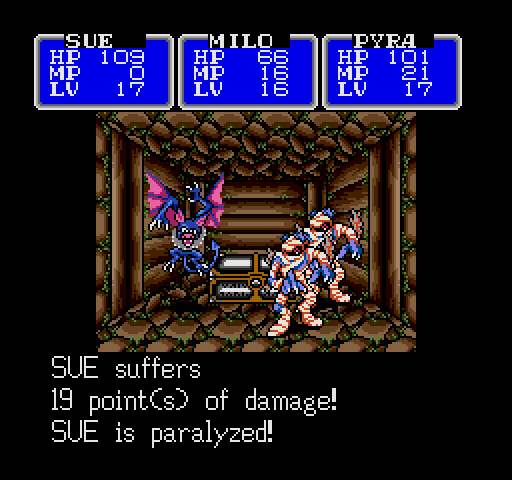
Tombwalkers are a huge pain. This screenshot demonstrates one of the reasons. They're also just tough enough to survive a hit from Milo and have a "paralysis powder" move.
Fuck these guys so very much.
...and the chest behind them? An Angel Feather.
Milo learns Blast 2 after this, though, so it's not a complete loss.
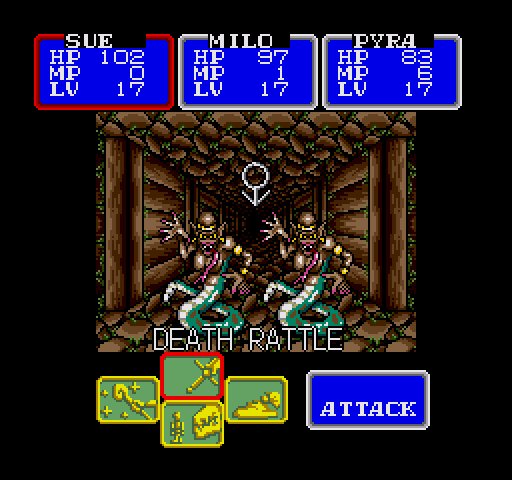
Death Rattles are... actually not that much of a bother. They hit rather hard, like everything down here, but they don't have any status bullshit or special moves. All in all, a pretty nice encounter.
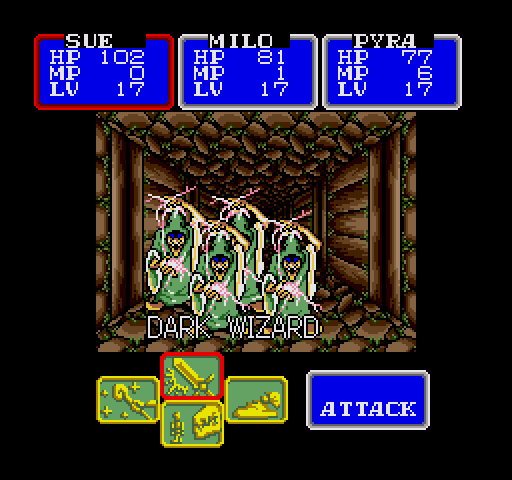
These... not so much. Fast, and capable of casting Blast 1 and Screen. Fortunately, Blast doesn't hit that hard, and they can't take too much damage.
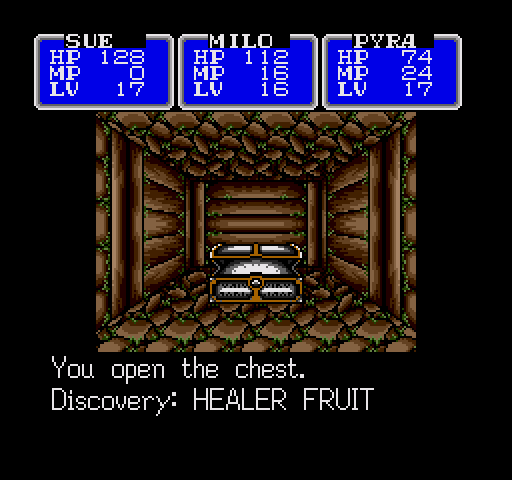
All that moss killed Milo and Pyra's MP completely. However, the chest holds...
...something we're going to need later on.
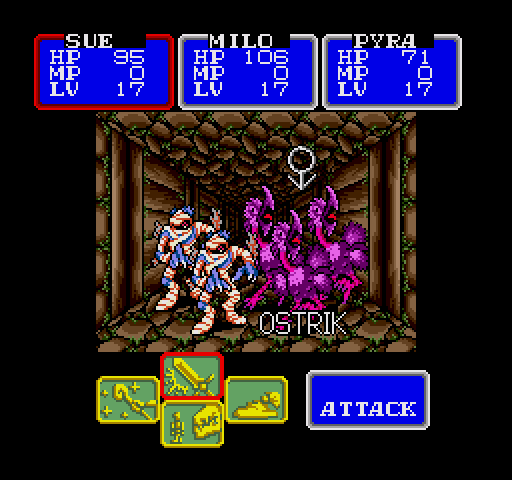
Ostriks wouldn't be a problem alone, but...
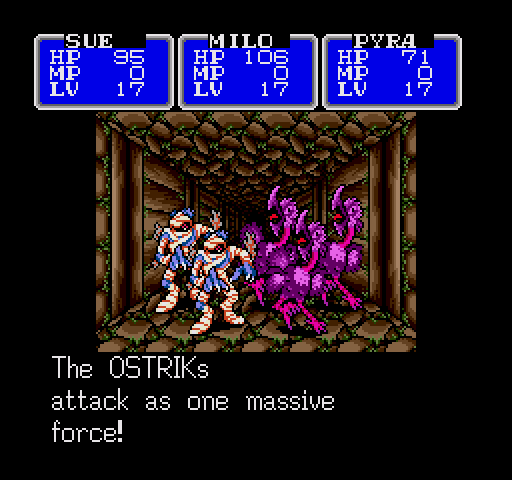
...this move deals 10 points per ostrik to a single character. That hurts. A lot.
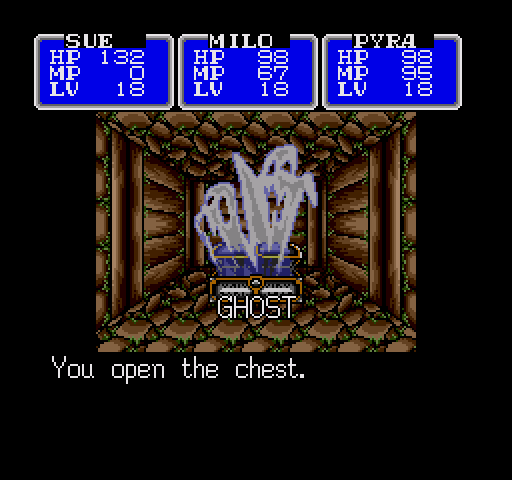
One chest behind bars, and one...
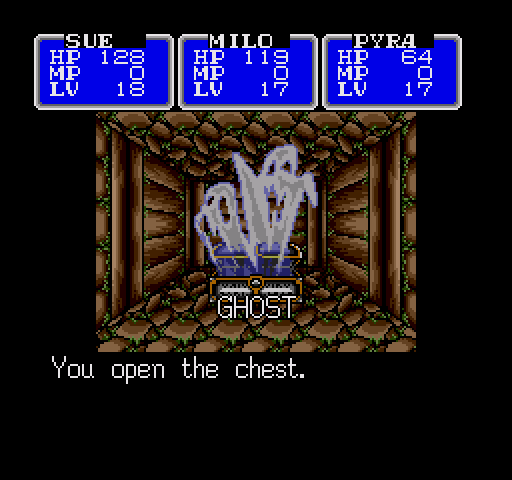
...with a ghost.
Lovely.
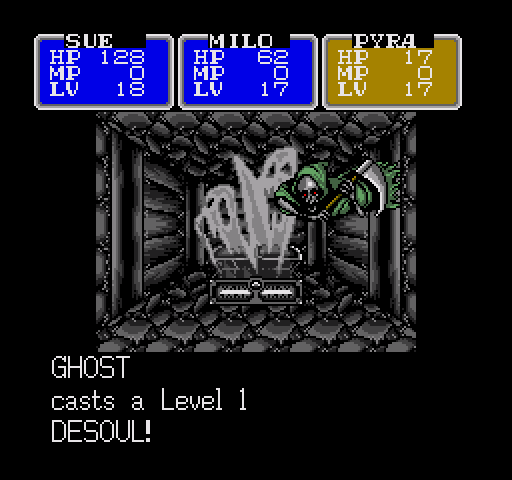
This is why ghosts are to be feared.
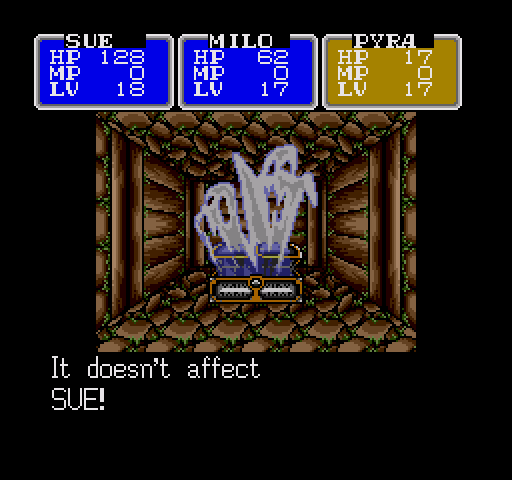
"Desoul" is a pretty metal name for a death spell. I'm lucky this time, but at this stage, one hit from that means a trip back to town for resurrection, and quite possibly a total party wipe since Milo and Pyra probably aren't tough enough to take it down without Sue.
Ghosts suck.
I don't even care about the moss any more; no MP left to steal. This holds Smelling Salts. I fucking hate these trials.
This looks like a nice large, open room, but...
...walls will drop down from the ceiling to impede your progress, and you'll have to work your way around them.
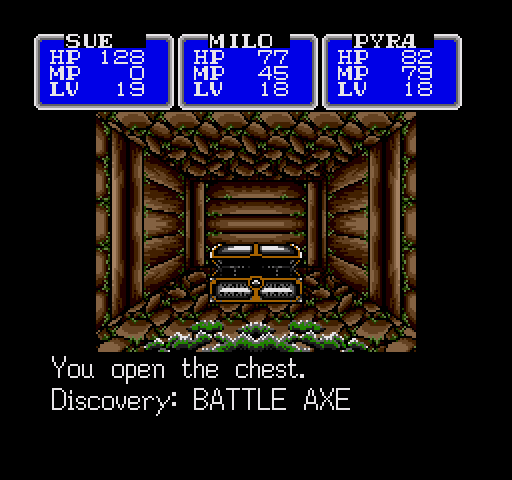
Finally, we reach a box that isn't shit.

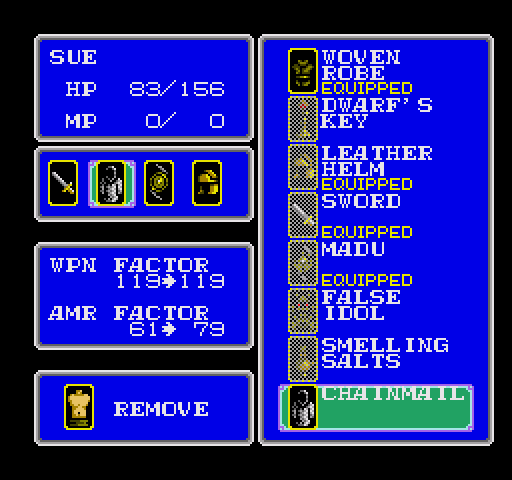
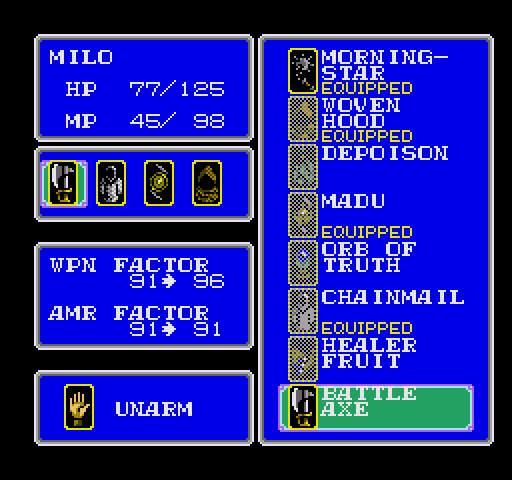
Chain mail is a pretty big upgrade over Sue's starting armour, and the third best armour we can have at this point (one of which is a rare deal).
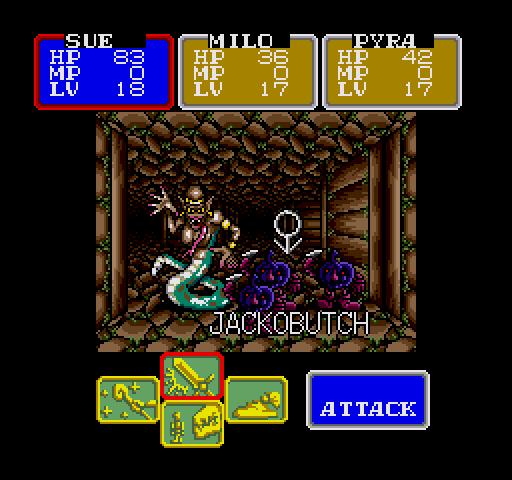
It makes these guys slightly less scary. Jackobutches are very similar to pumpkinheads, the previous version of walking veggie. They're not a huge threat, but...
...I've exhausted both my MP and my healing items in here, so it's time to pop one of those feathers and return to town.
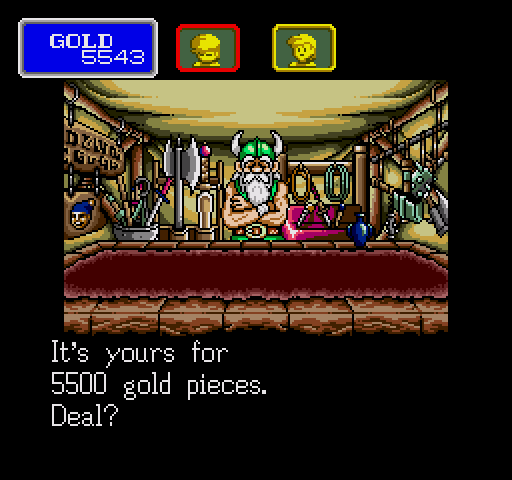
Remember how I said I wasn't going to buy the Thornwhip? That was before I remembered how much money these caves shit out.
You may not think a +5 to Pyra's attack is worth 5500 bucks, but the Thornwhip has a terrible secret:
It attacks an entire group of enemies at once.
Typically, she's now capable of wiping out a group on her own in two turns. Or, if she and Milo are attacking the same group, they're now all but guaranteed to hit the same enemy (that is, unless one of them misses entirely), which is enough to down any normal foe at this point.
Needless to say, this is really nice.
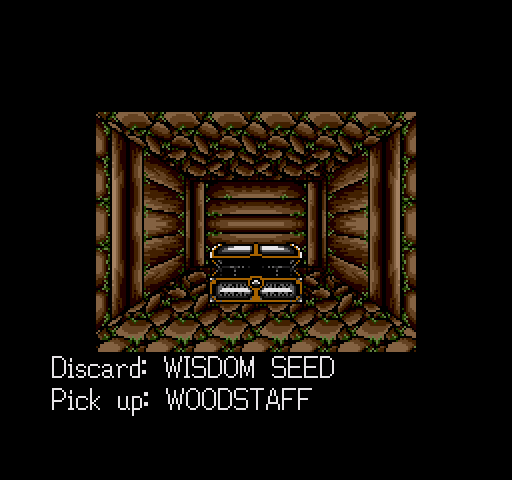
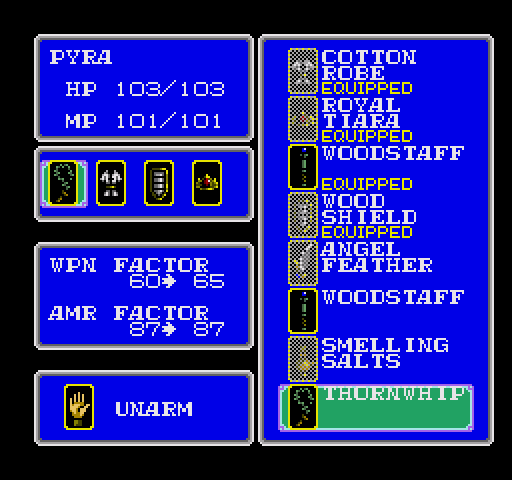
...selling the woodstaves gets me enough money to buy a suit of chainmail for Milo as well. Another couple of encounters, and I buy a hemp robe for Pyra. The only upgrade that's left for her now is the magic hood, and it's way too costly for +2 AF. I might buy it for Milo later if I'm swimming in cash, though...
The wall returns every time you leave the labyrinth. It doesn't get any tougher as our levels go up.
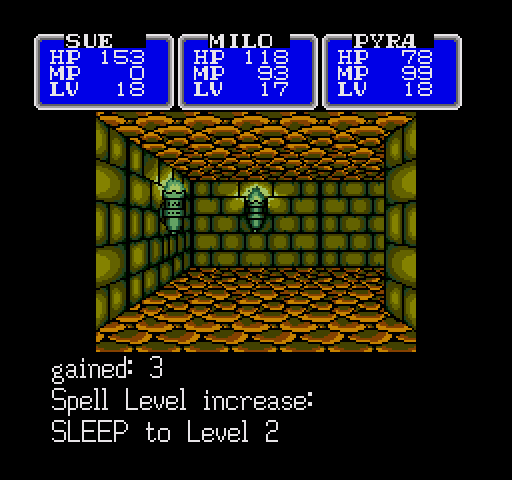
Pyra upgrades Sleep. At 6 MP, it now targets all foes. Very nice indeed.
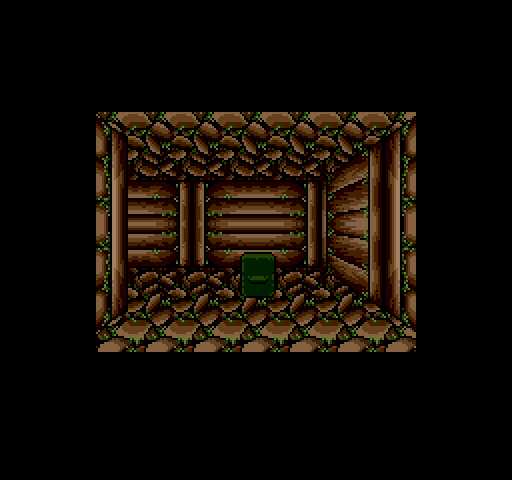
Back in the cave, we find a strange bouncing block.
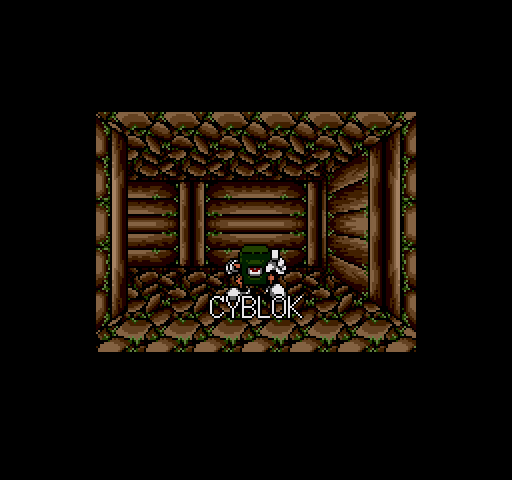
Some rare monsters get a special introduction. Unlike chest creatures and water elementals, this guy isn't a huge threat.
It pisses me off somewhat that I had to egress this close to the end of the cave, but I simply couldn't have handled this in my critical HP, no MP, no healing items state. And hey, we need to open all the chests, right? There is no alternative.
None at all.
Video: Truth
And sure enough, the end is near!
...or so I'd say, except this is just a red wall that disappears when we use the Orb of Truth. Poo.
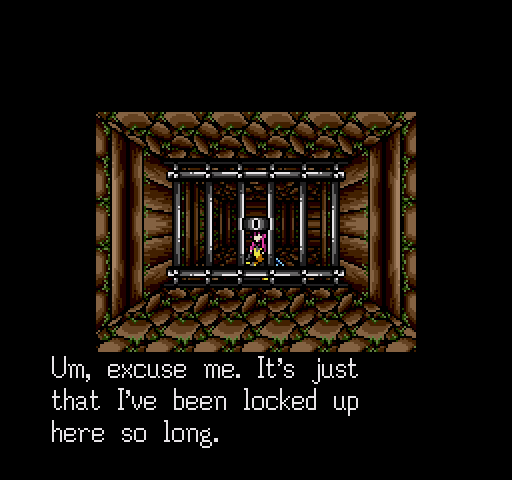
Continuing on, suddenly there's a voice from somewhere...
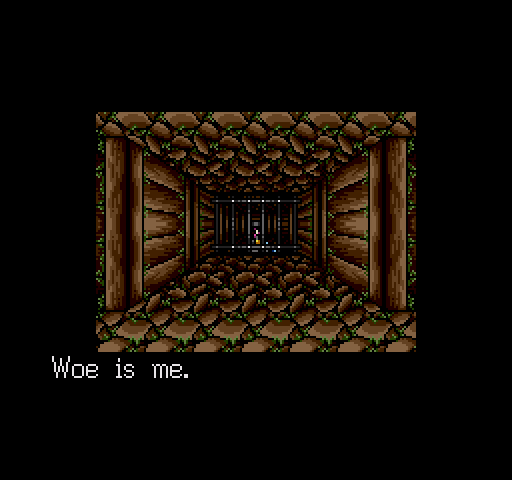
Is that...?
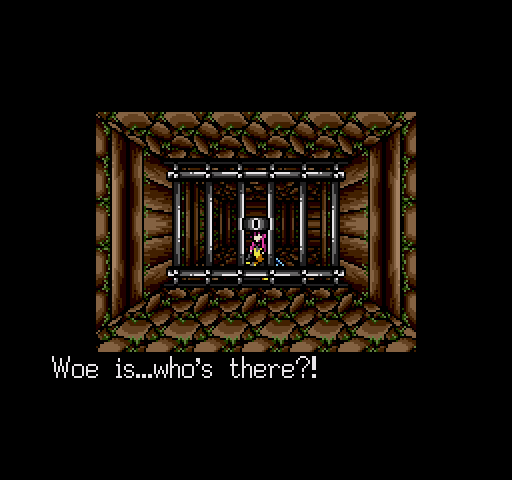
Praise the Ancients! I just knew somebody would come to help me!
It's the princess! Holy crap, I told you Gila wasn't thinking far enough.
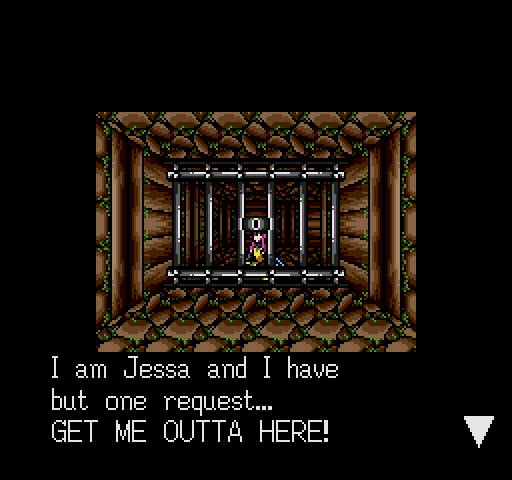
Yes, this is where the thread title comes from. What of it <
 >
>
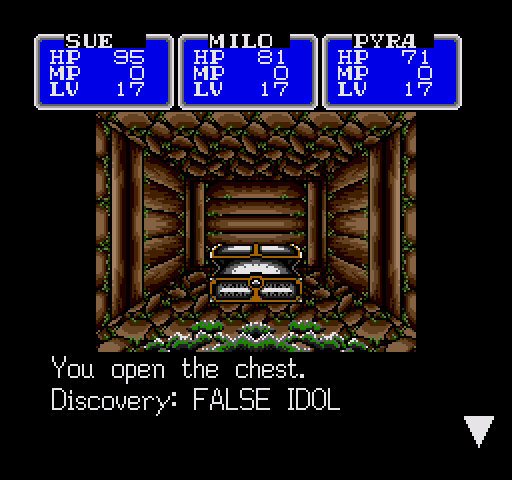
There's an empty niche up ahead of here. Just fill it with the FALSE IDOL.
Once that's done, I'll be free! Find the idol! It's somewhere in this cave.
Remember that thing we picked up?
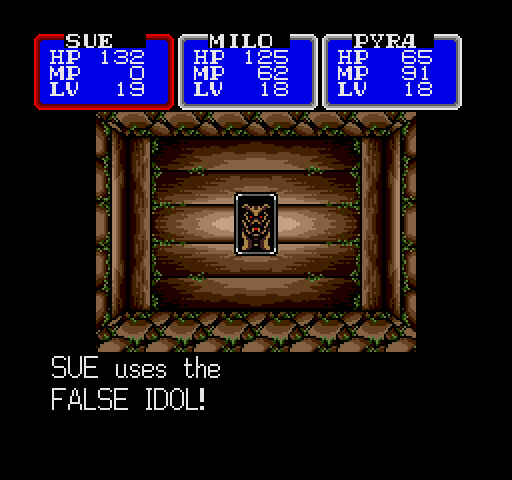
It may be ugly, but it does the trick.
Video: False Idol
...but where did she go?

Ack!
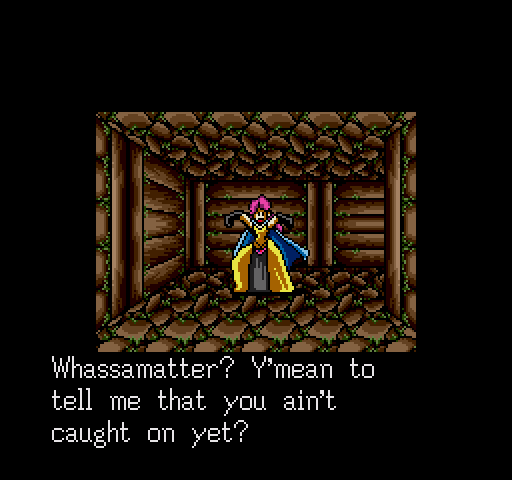
Here. Take a good look!
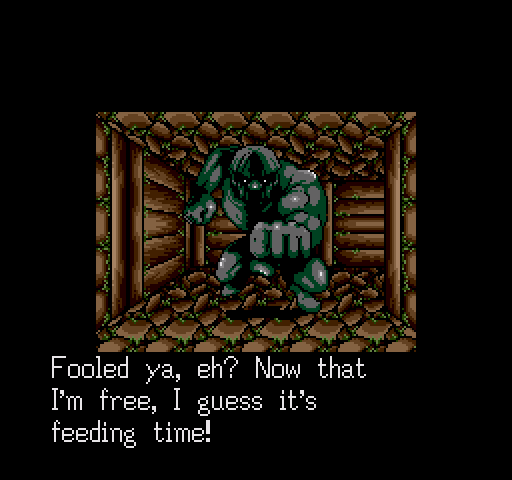
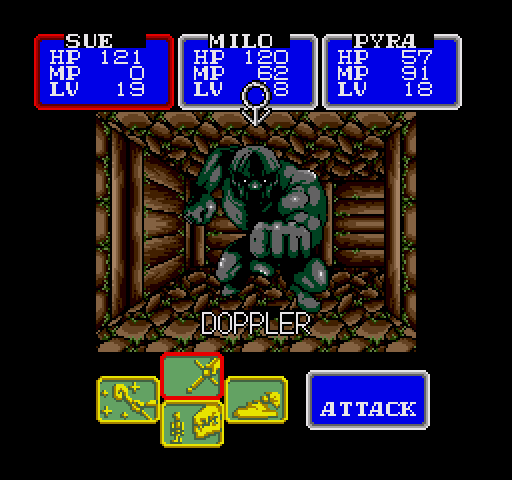
Ah, yes. Doppler.
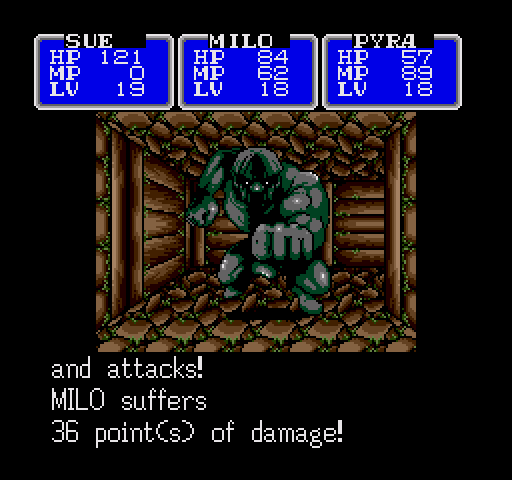
...I've been hit harder by ghosts, and this guy doesn't have Desoul.
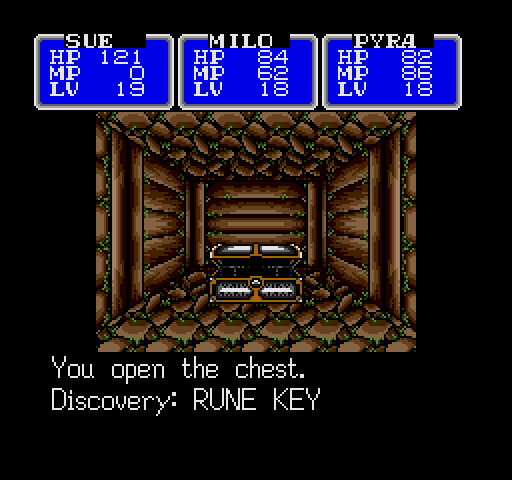
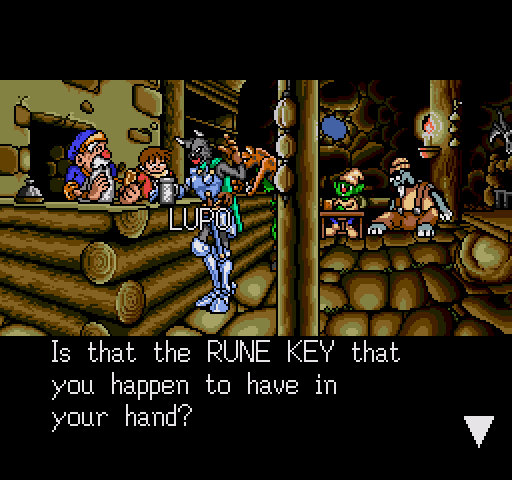
There's a Rune Key in the chest behind him. Now, if I really wanted to, I could skip the ending of this Trial and head on to the next, but... once is good enough, wouldn't you agree?

Here's the last chest for the dungeon, and it, too, has something nice in it.
It's not that much of an upgrade over the morningstar, but every little bit helps, I suppose.
And finally...
Video: Truth - for real this time.
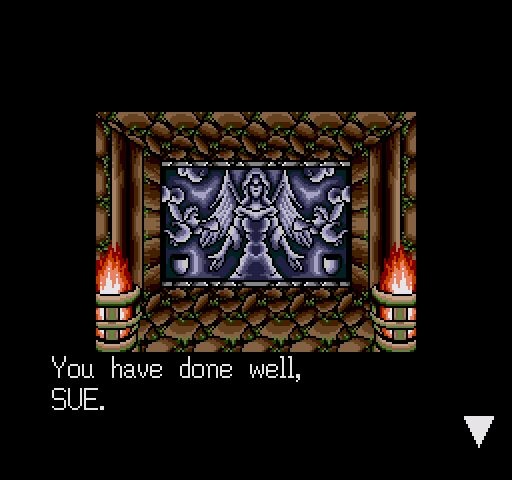
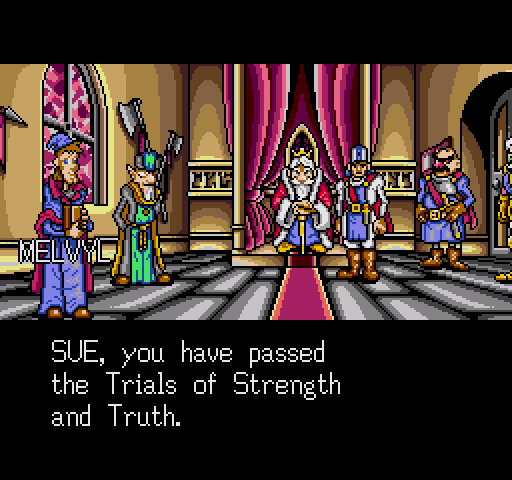
You have passed the Trial of Truth.
If it be Truth you seek, then step forward.
Trial Passed: Truth
I bet the people at the palace will be so proud of us!
...

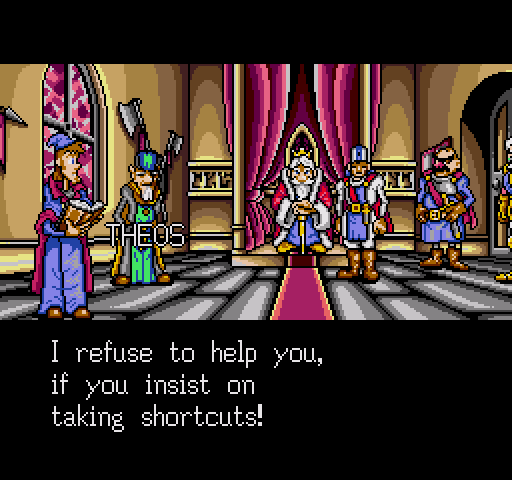
Now, there are but two Trials to face.
Melvyl is still the Master of the Obvious, and none of the others have anything new to say.
Didja know that most of Vyrun's men have deserted the Trials?
If they made it out in one piece, they're tougher than I give them credit for.
If I remember correctly, that key opens the stone door in the Labyrinth.
And so it does!
...but that's for another day.
Now, we're getting some well deserved rest.
Sword (WF 20), Chainmail (AF 26),
 MADU (AF 20 and WF 15), Leather Helm (AF 8)
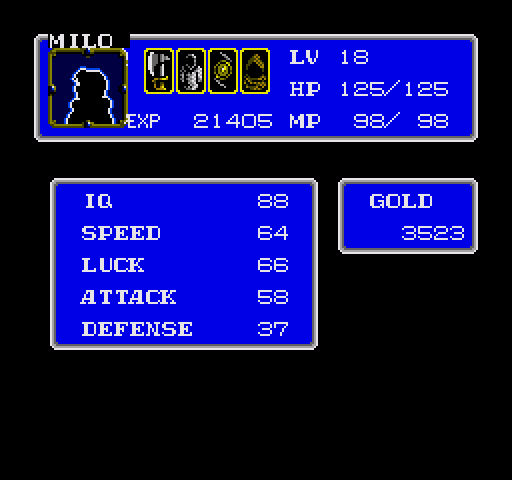
Battle Axe (WF 23), Chainmail (AF 26),
MADU (AF 20 and WF 15), Woven Hood (AF 8)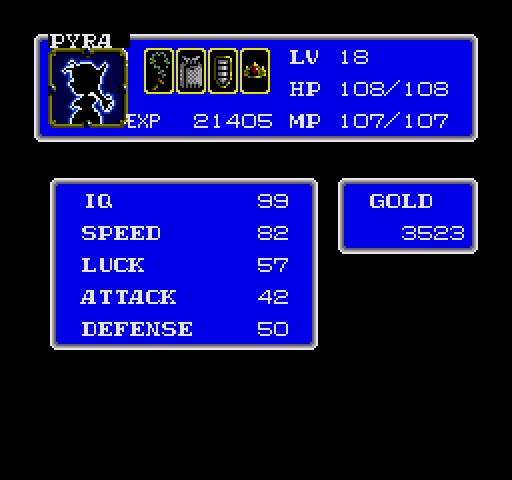
Thornwhip (WF 25, GROUP), Hemp Robe (AF 14), Wood Shield (AF 20), Royal Tiara (AF 16)
Next up is...
...uh...
...well, I guess we'll see when we get there.