Part 9: Part 09
We have finally come to the absolute end of the first level.
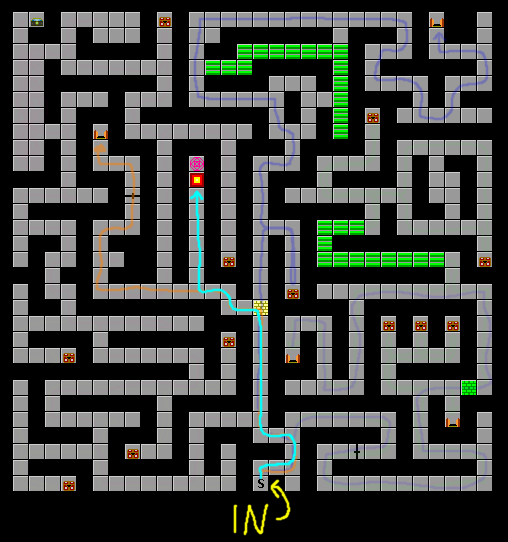
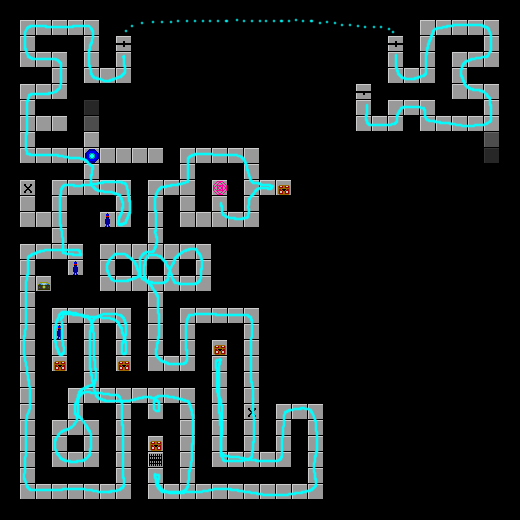
This map has been with us for a long time, but this will be the last time we see it. The marks from our first trips have all but faded entirely; if you look really closely, you can still see traces of the magenta from the second one, but there's basically no trace of the yellow from the first.
Also, because I can, here's a gif showing our progress through this floor.
(Click for full size.)
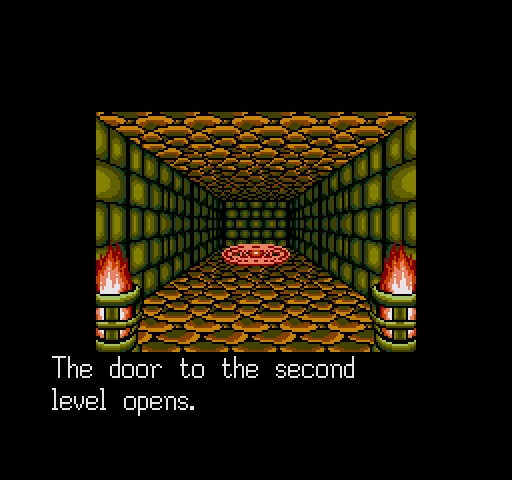
The red wall in the corridor where we found our first Kaiserkrab blocked the path to the Labyrinth Proper. This time, it changes form as we approach and parts, just as the ones in the Trials did, and we gain access...
Video: Second Floor (also, the music in the second floor is different, and about time, too!)
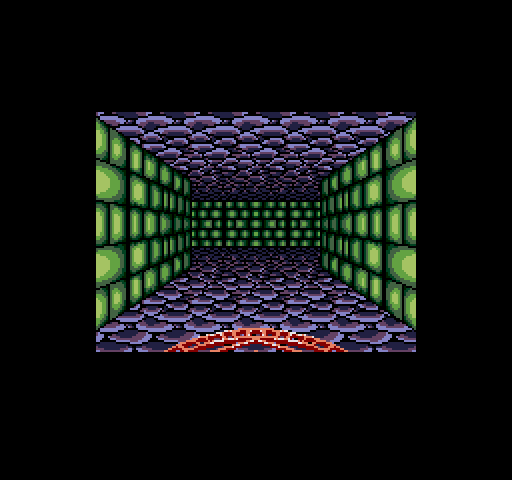
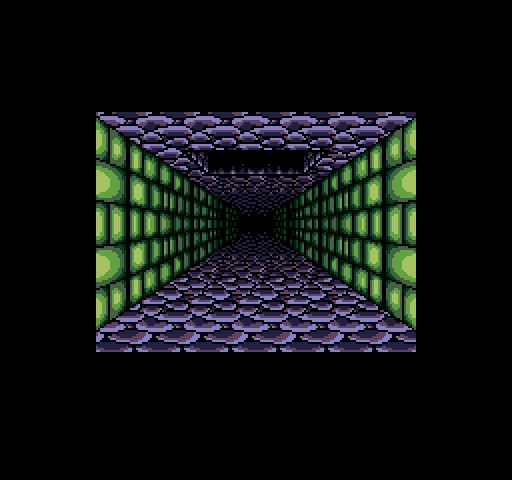
...to the second floor of the Labyrinth.
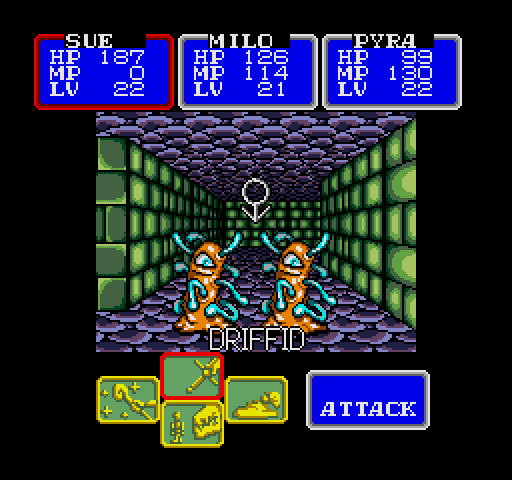
Some of the enemies here are old friends, like the Driffids.

These guys aren't any more challenging than in the Trials, but...

...these ones are.
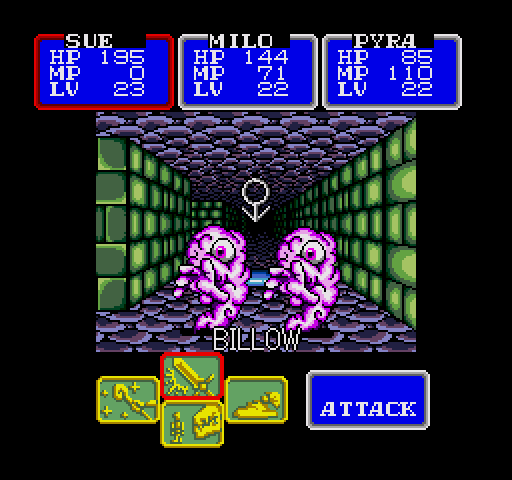
Reapers, fittingly enough, can cast Desoul 1. As always, that is a huge pain in the ass and a guaranteed trip back to town if it hits Milo. Sleep works wonders, however, and these five were kind enough to appear as a single group, meaning Pyra could nail the lot of them with the first-level spell.
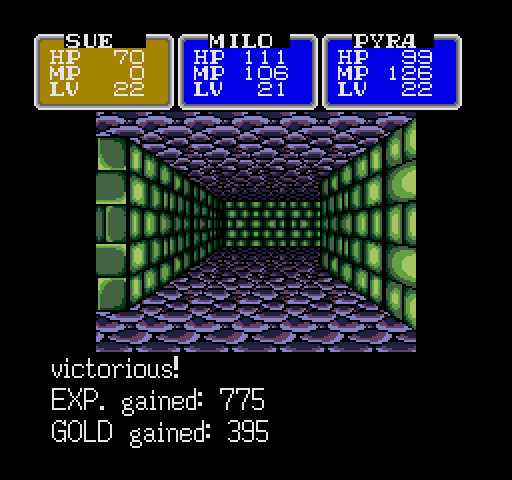
That's very nice, because as enemies become stronger, we'll be burning MP at a much higher rate. Of course, the rewards also go up accordingly...

Another chunk of mithril awaits just outside the entrance. We're seeing more of these than we have money to deal with, but as problems go, that's probably one of the more pleasant ones.
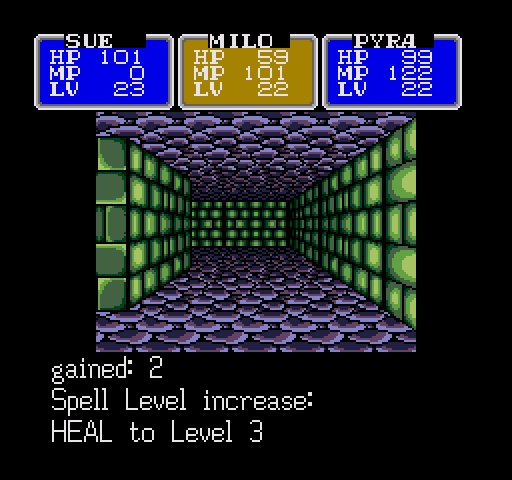
Milo levels up Heal.
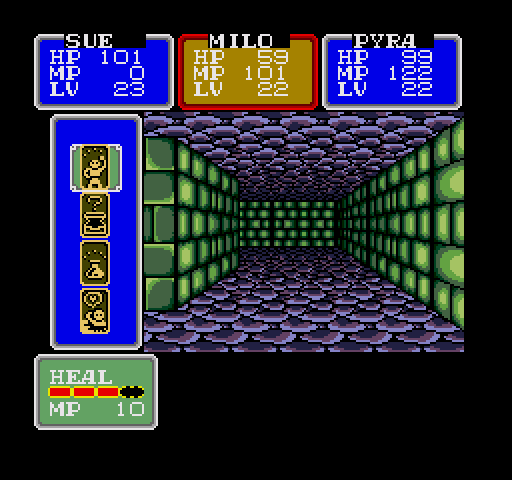
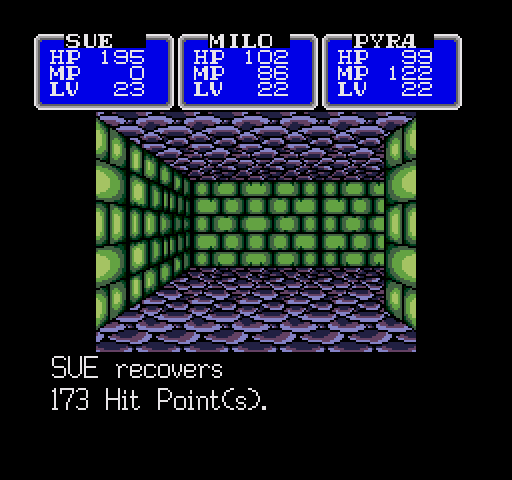
At 10 MP, it's still not worth it outside really tough fights; Heal 2 recovers upwards 80 HP, so most of the time that's quite sufficient. Heal 3 will see more use as our max HP gets higher, however.
(But it may be worth it to look at those nice, high numbers if you're into that sort of thing.)
Level 2 also has torches, but they're not quite as nice as the ones in the Trials.
I think that shroom is laughing at her.
Sue fillets it for its trouble.

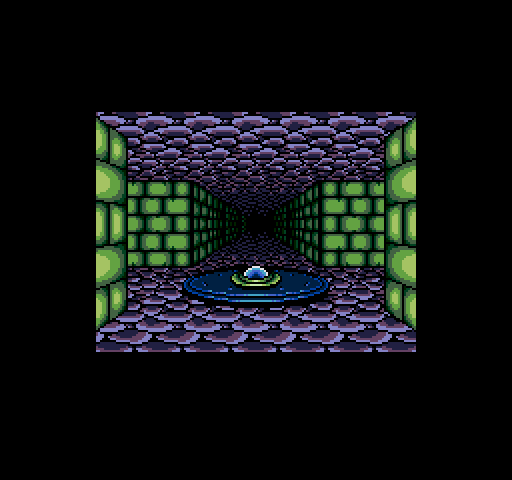
Here's a thing! These may become kind of scary later on... but for now, it's just a hole.
(...uh, I think I neglected to point this out before, but the X marks on the map are where you land if you fall through a trap door.)

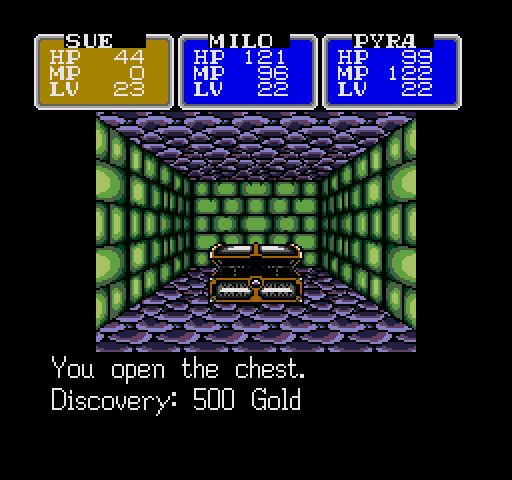
I think if you multiplied the money in chests by about ten, it would actually be worth calling "treasure". 5000 gold would be pretty nice at this point, but when enemies are dropping 2-300 bucks per battle, this isn't really worth going out of your way to obtain.
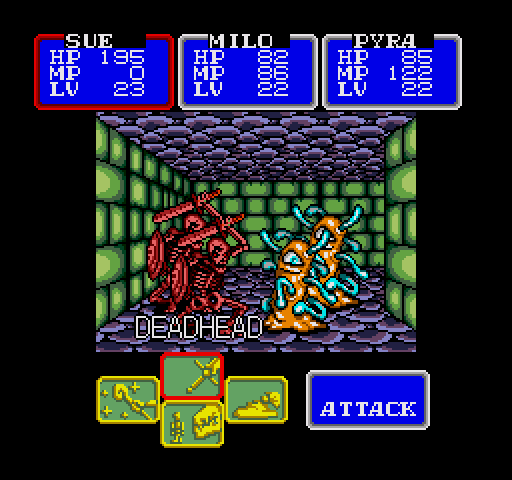
Here's something new, but not. Deadheads are just tougher, harder-hitting versions of their white cousins on lower levels, and I don't think they have any status attacks. Kill, loot, move on.
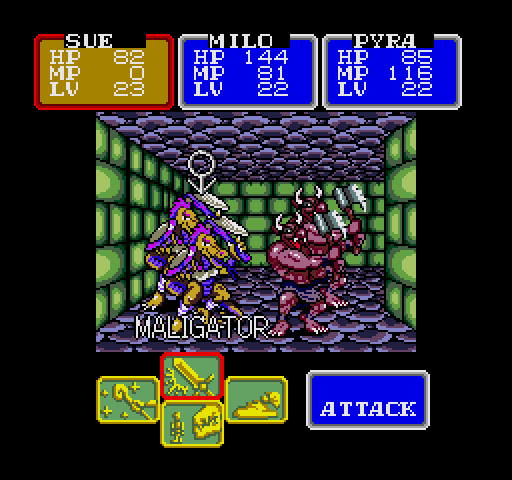
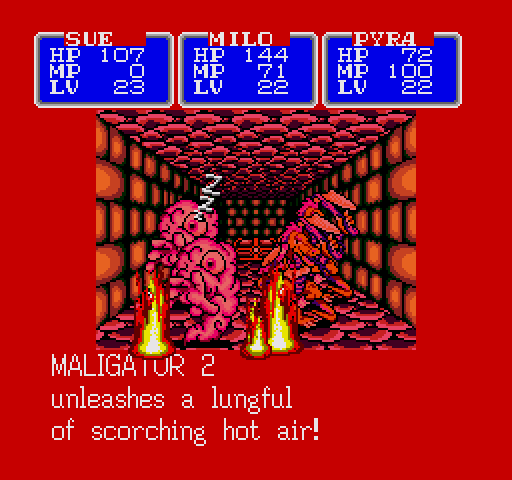
Maligators are somewhat threatening. They can "unleash a lungful of scorching hot air", which hits the entire party for ~25 points. They should take priority over the Mantoros (...yeah, that's what they're called), which can only hit you with their axes and are thus a lesser threat.

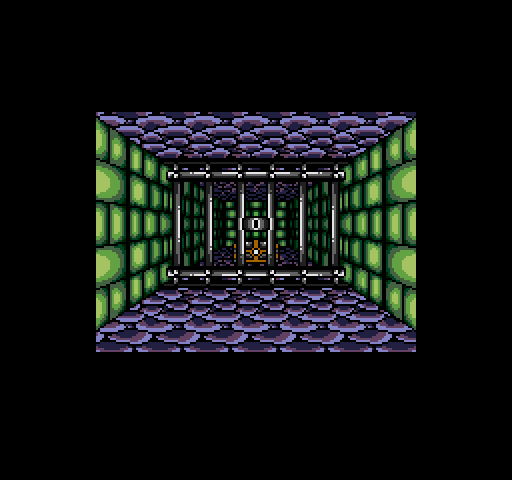
Here's another locked cell. Really starting to become a pain.
I could have sworn that Billows had some kind of fire or ice-based attack. Turns out, all they ever do is attack physically. Oh, it hurts when they do it, and they're pretty fast, but other than that they're just Generic McEnemy.
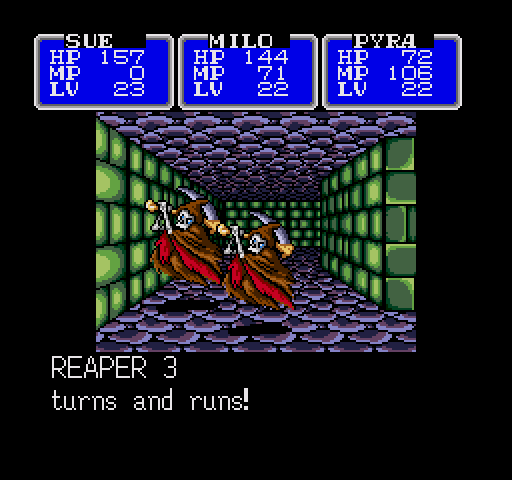
...that's right. I don't fear the Reaper, the Reaper fears me.

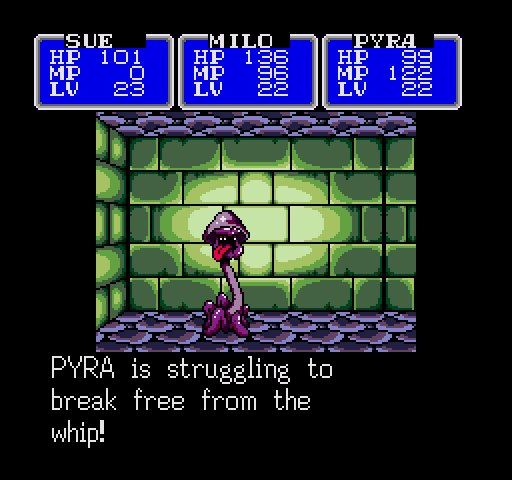
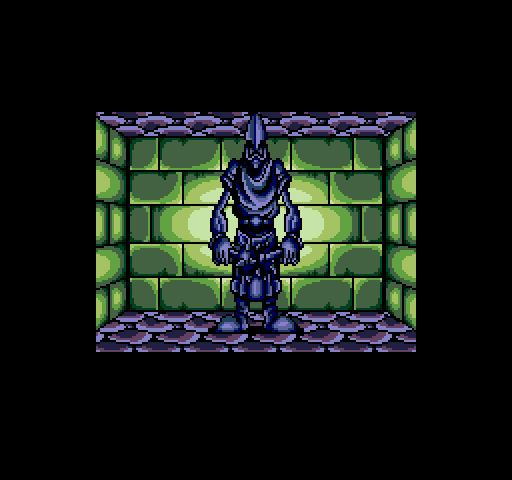
These fuckers are a different matter entirely.
(...and the chest behind them?
GOD DAMN.

Hey, remember these things? We found one on the first floor. Completely harmless, right?
WRONG.

So very, very wrong.
Oh, and did I mention? They can attack twice per round.
In the end, I give it a taste of its own medicine.
The chest it was guarding holds a Great Axe.
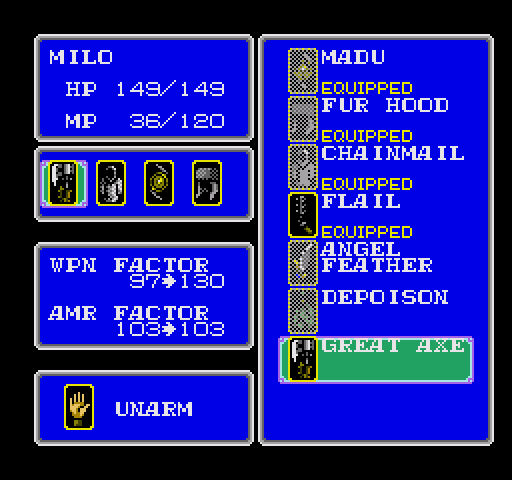
It is in fact pretty great, but 2x 97 is still more than 130; the flail holds out for the time being. The axe is a great weapon against anything with a higher defence, however - I'll be equipping it before taking on any more Sentinels.
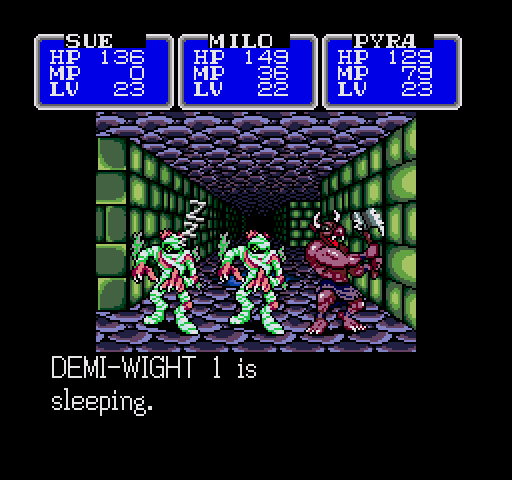
The Demi-wight has lost the paralysis attacks of its lesser brethren and gained Burst 2 and Blast 2, which target the entire party. It's still not quite as bad as the Maligators, but bad enough to put the bull on hold until they've been dealt with.
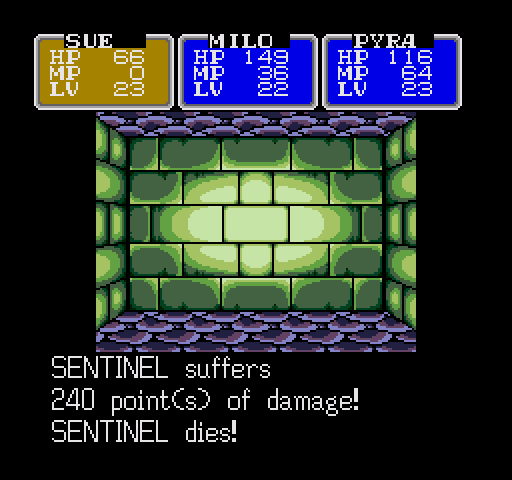
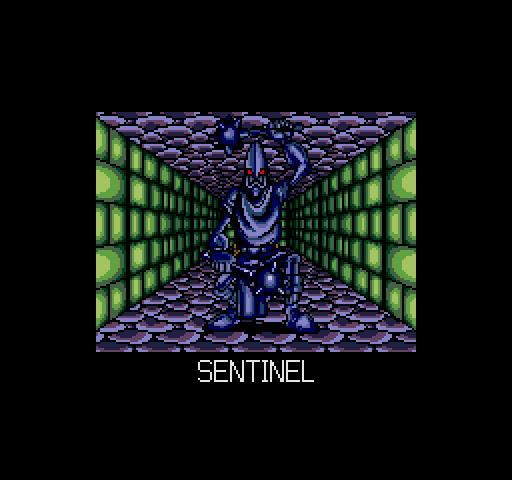
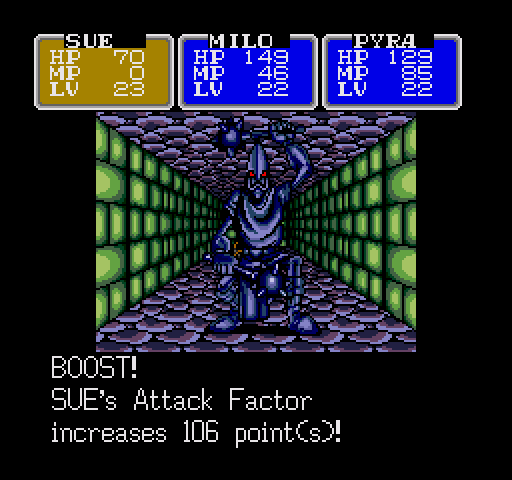
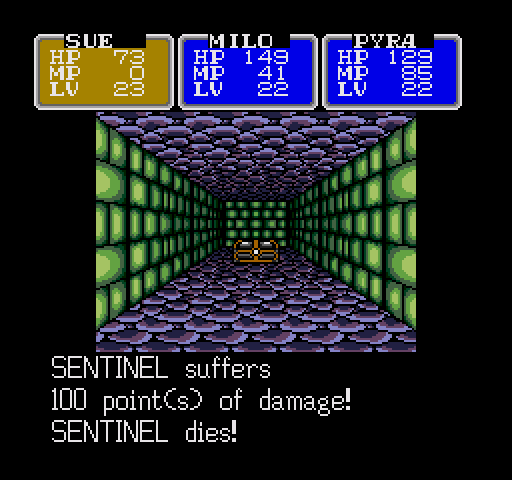
There are more Sentinels here...

...and here.
Casting Boost on Sue really helps in taking them down. They're actually bigger threats than any of the minibosses so far, despite the fact that they're not unique encounters.
Next to the second Sentinel there's another one of these. Stepping on it sends me in just the direction I wanted, so I have no complaints.

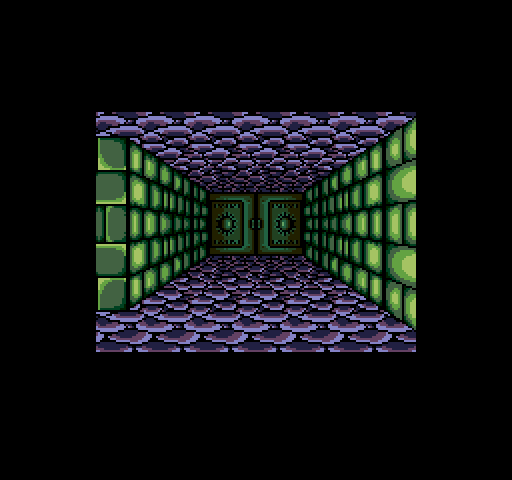
At the end of this path, there's another door. Fortunately, this one opens without a key.
Video: Balcony (short, but pretty)
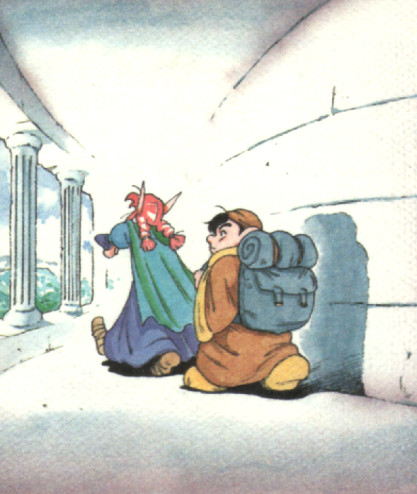
Passing through shows a short cinematic of the party walking around the outside of the building.
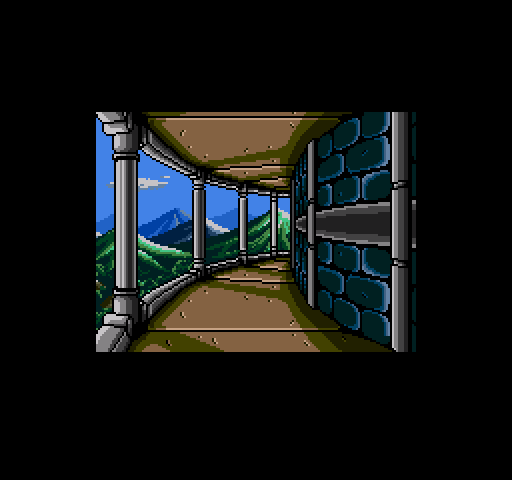
We're pretty high up for a second floor - I guess that explains why no one decided to just use a ladder to get up here and loot the place.
(Well, that and the monsters, I guess.)
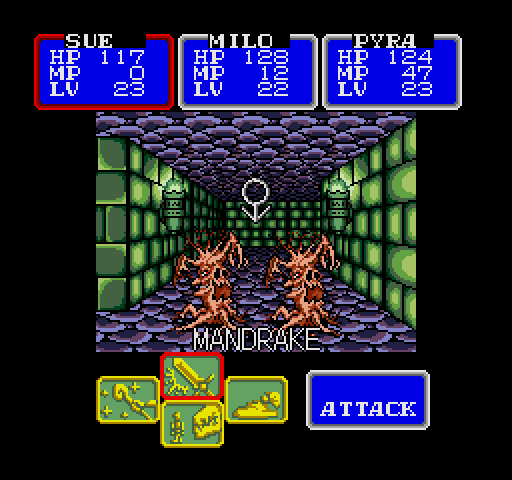
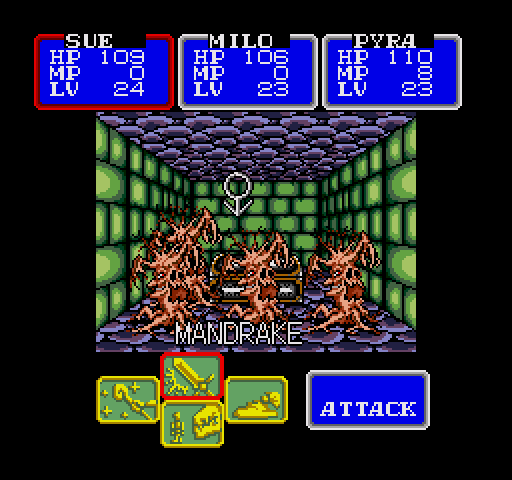
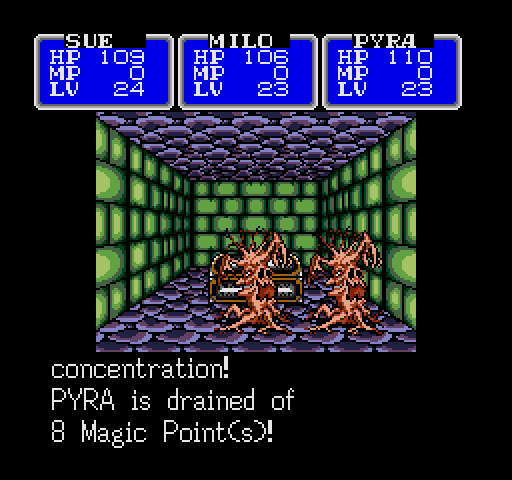
Mandrakes are rather annoying. First, they can cast Heal 1, which isn't a huge bother, but they can also "furrow their brows in concentration", which drains MP. Needless to say, that should not be allowed to happen if you can help it. Murder, and quickly.
To the right of the entrance from the balcony, there's another door. This, too, opens automatically. The map claims it's a one-way thing, but at least it doesn't close when I pass it.
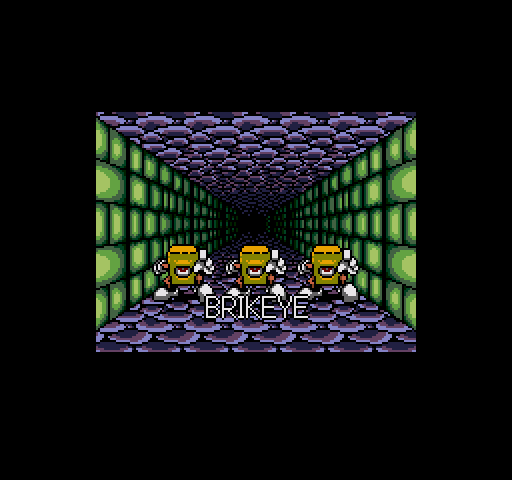
Brikeyes are the upgraded forms of Cybloks, and aptly named. They're bricks... with eyes! Astounding.
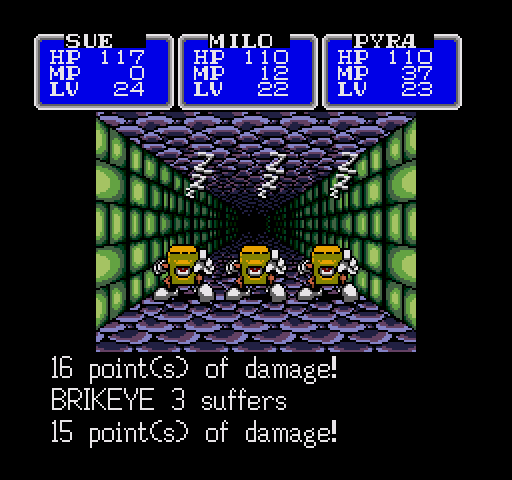
They can be put to sleep with a fairly good rate of success; do so, then maybe follow up with Slow in the next round. They die pretty quickly that way, but if left awake, they can cast Heal 2, which will complicate the battle.
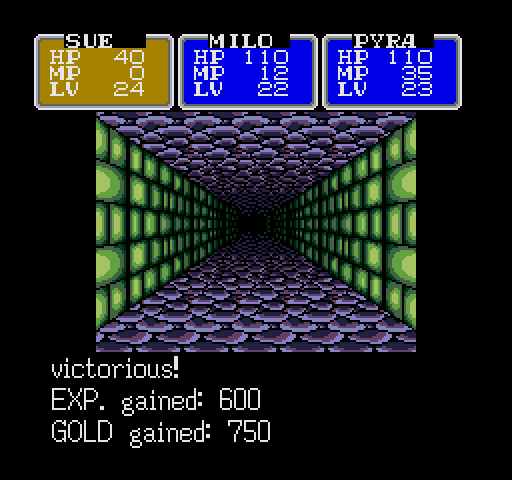
The reward is worth it, though! (See what I mean about 500 GP chests being shitty rewards?)
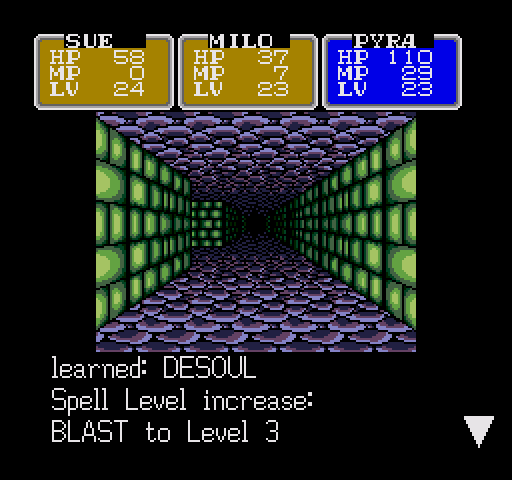
Milo learns to destroy souls. Okay then!
He also learns how to shred things harder. Way to go, Milo.
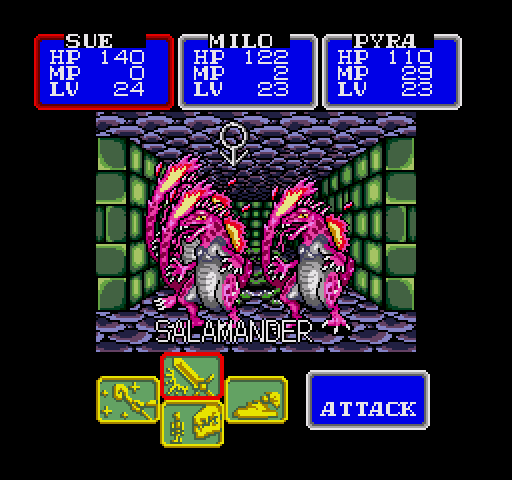
Oh, no, not this shit again.
I'm talking about the goddamn MP moss in the background. The salamanders are just the icing on the fuck-you-cake. They're pretty strong, and have an AoE fire attack that hurts like a motherfucker. Going to show that off if I'm ever unlucky enough to eat one...
FULL OF FUCK
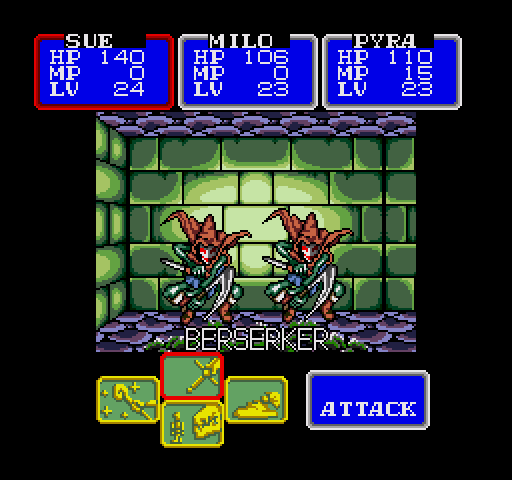
Berserkers crit a lot, but that isn't really enough to make them stand out among the more dangerous critters in here.
...oh, for fuck's...
...sake.
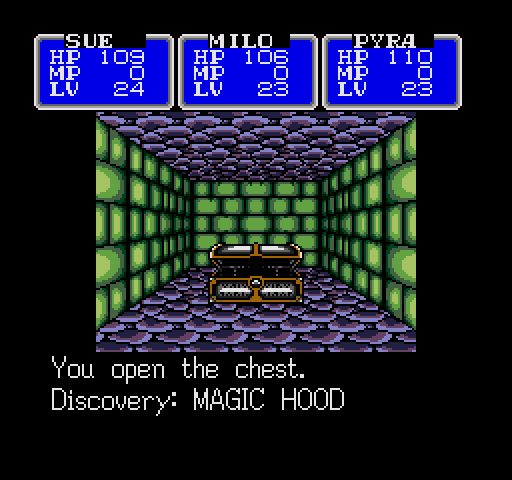
The hood is nice, though. Remember seeing this for 5000+ bucks back in town? Turns out it was a good thing I didn't buy it.
It's an upgrade for Milo, though not a huge one; for Pyra, it's only two points stronger than the Tiara, and not worth the trouble.
And here, well...
...aw, fuck it.
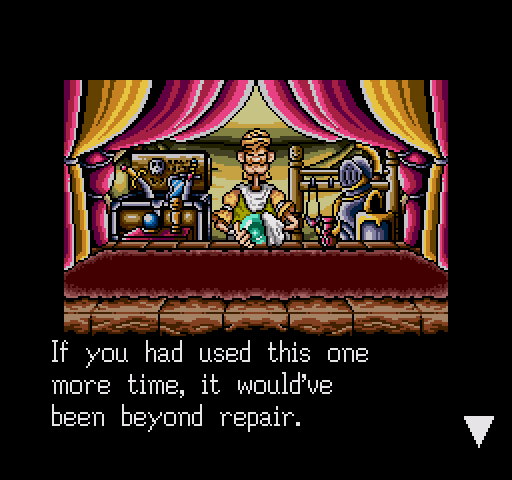
I didn't manage to catch the message, but somewhere in there I used the Firesword a little too much, and it cracked.


But just a couple of thousand bucks and a trip out of the village later, it's as good as new. Thanks, Trader guy!
But wait, I'm not done with you yet. Remember that Mithril Ore we picked up?
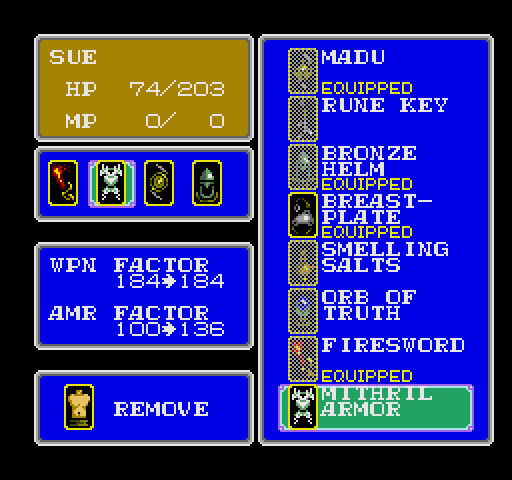
Sue has been taking a lot of damage from physical attacks lately, and this will put a stop to that. Somewhat, at least.
"But wait," you might say, "isn't it a waste of money and resources to make armour for Sue when he's going to find his awesome plot related gear later?"
Never fear, because:
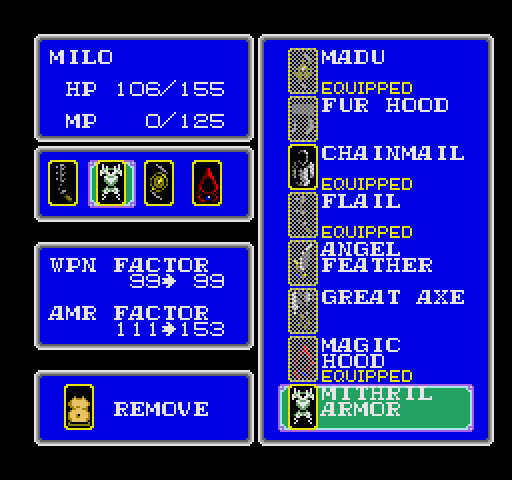
Milo can use the Mithril Armor too!
To go into deeper detail here, these are the items the trader can craft from Mithril.
Weapon:
Sue - Mithril Sword, 125 WF.
Milo - Mithril Axe, 120 WF.
Pyra - Mithril Rod, 100 WF.
Shield:
All three characters - Mithril Shield, 40 AF, increases magic defence.
Armour:
Sue - Mithril Armor, 68 AF. (Can also be equipped by Milo)
Milo and Pyra - Light Robe, 44 AF, increases magic defence.
Headgear:
Sue - Mithril Helm, 32 AF. (Can also be equipped by Milo)
Milo and Pyra - Mithril Hood, 26 AF, reduces wind damage.
Supposedly "increased magic defence" also helps resist things like Desoul. Thing is, Desoul is pretty rare, and big, beefy monsters trying to smash Milo's face in are very, very common. Opinions on this may differ, but personally, I like to craft head and body gear for Sue, then pass them on to Milo for the increased AF.
For now, though, the Mithril Armor goes on Sue. Although he has a lot of HP and great equipment options, his natural defence is actually the lowest of the group.
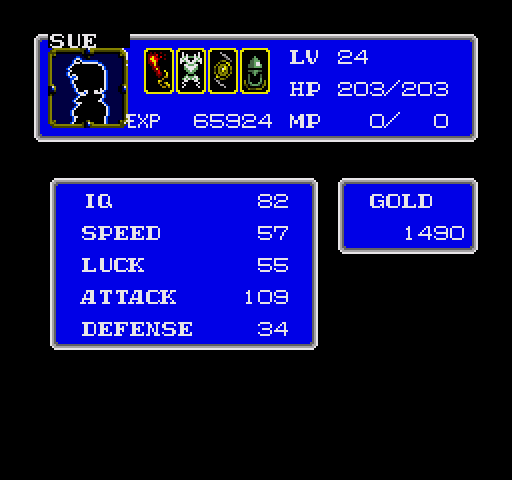
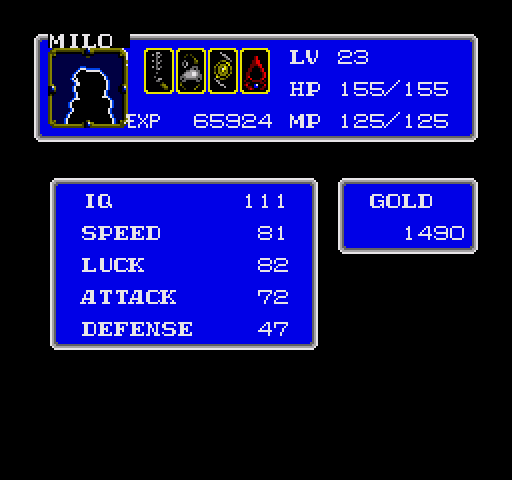

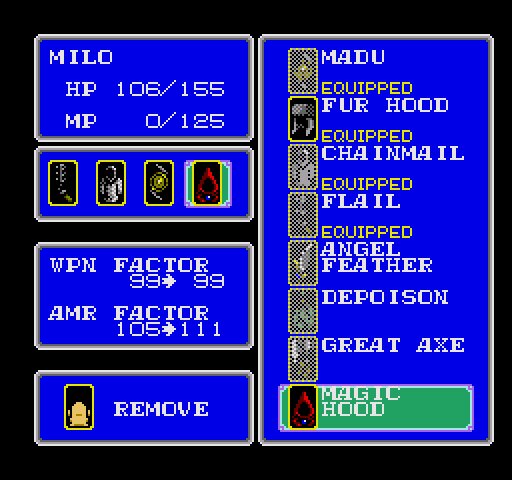
Compare these stats with the equipped WPN and AMR FACTOR scores below (which are the natural attack and defence stats plus equipment) and Milo isn't that far behind Sue despite his much weaker, inherited breastplate, and Pyra is actually better off than him, even though her body and head gear are weaker. (Also pictured, I bought her a leather robe. It goes well with the whip.)
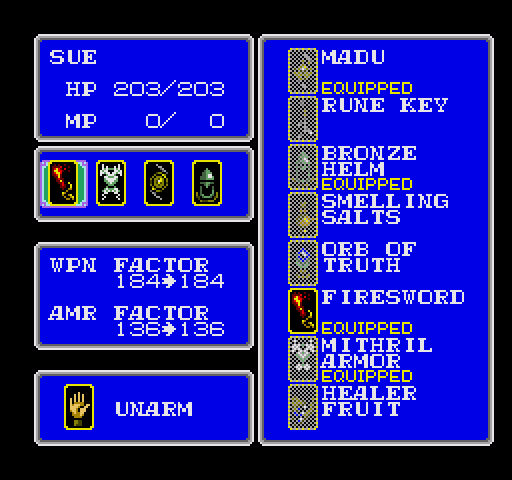
Firesword (60 WF), Mithril Armor (68 AF),
 MADU (20 AF and 15 WF), Bronze Helm (14 WF)
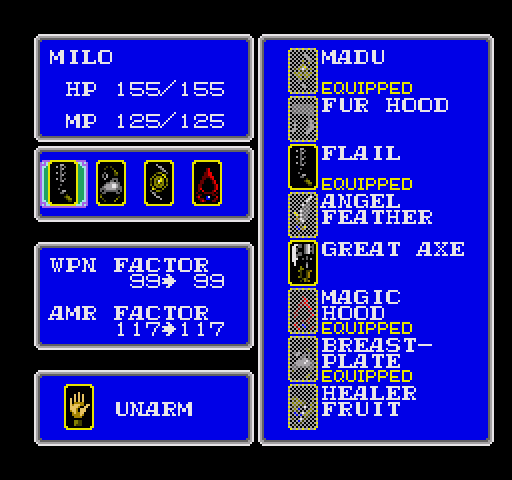
Flail (WF 12, TWO HITS) or Great Axe (45 WF), Breastplate (AF 32),
MADU (AF 20 and WF 15), Magic Hood (AF 18)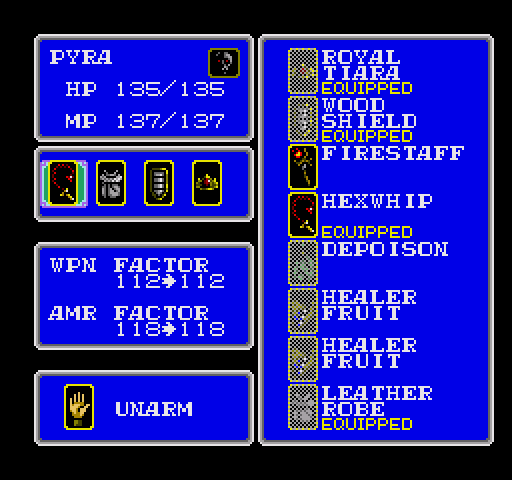
Hexwhip (WF 60, GROUP, CURSED), Leather Robe (AF 20), Wood Shield (WF 20), Royal Tiara (AF 16)
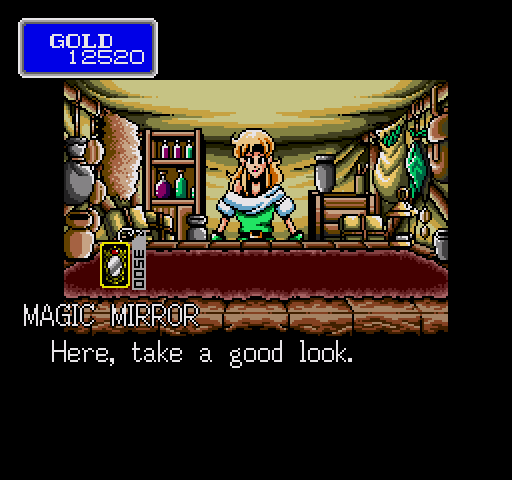
(Oh yeah, and the Alkemist offered me a mirror. This can be used to reflect magic, but it breaks very easily - which shouldn't come as a surprise, being a mirror and all. It's a nice item, but not really useful enough to waste a slot on.)
...let's see if I can actually get through the second level the next time.