Part 11: Update 10 part 1 – Dungeon of Searing Heat
Wow, it's been a while. Sorry about that, thread. Fortunately, Bellena is still patiently waiting for us down by the docks.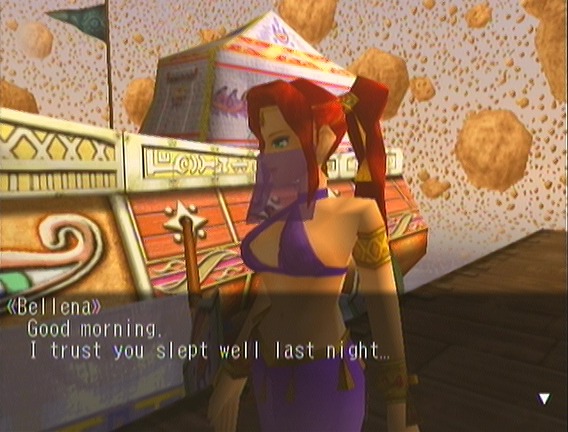
Click for video!
 It was the best night's sleep I've had in a long time. So, I guess we should get ready and start exploring the desert?
 "Only those who have walked through the desert can truly know its size." Is a saying we have here in Nasr. It's too difficult to cross the desert on foot because of the heat. A mere half day's walk can be deadly... You'll need a ship to cross it. A ship, huh? Is this one yours?
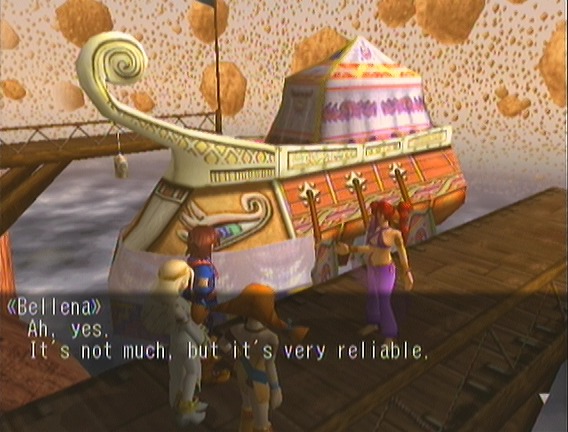
One of the many great details about this game is that not only does each civilisation have its own distinct style, there are individual variations on each style, like Bellena's little Nasrean affair here looks totally different to the Nasr military ships we saw earlier.
Ah, yes. It's not much, but it's very reliable.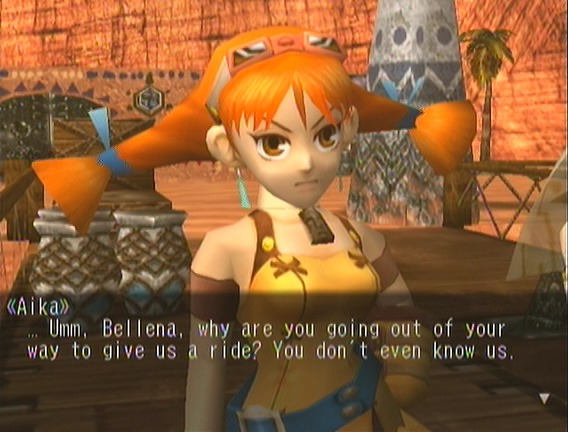 You aren't very grateful are you? If you were dying of thirst, and someone offered you water, you would probably ask where it came from first.
 ... Alright. If you must know, then I'll tell you. My father was a soldier. He was a poor man and sometimes a little short-tempered, but he was a good man... and a good father. We struggle to get by, and my father was barely able to support us. We had nothing to rely on but each other... But we were happy...
 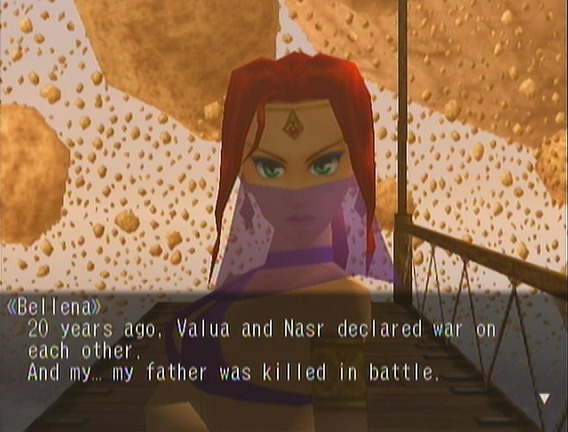 When he died, we had nothing... no food... nobody to support us... nobody to raise us... We had to live on the streets. Some say that you can't die from a broken heart, but they're wrong. My mother died shortly after my father... She was so sad... I was alone... and scared. I had to fend for myself on the streets. And that is how I ended up living like... this.
 Oh... Bellena... We're so sorry... We had no idea...
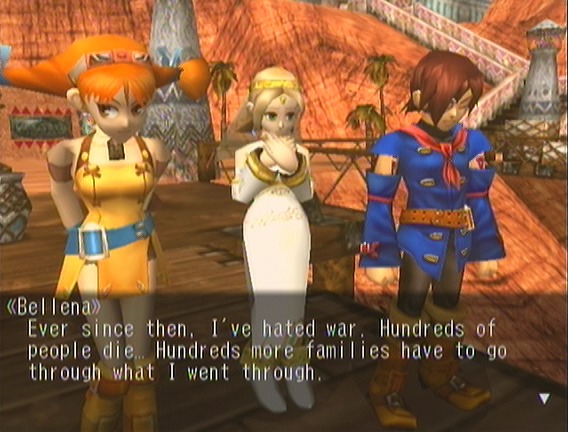 And that is why I'm letting you... No, I want you to use my ship. Please...
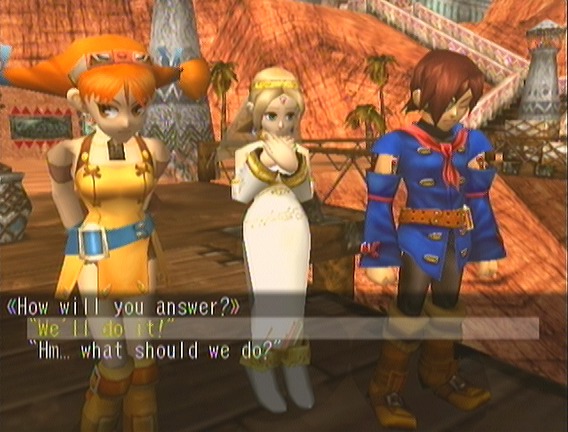
Easy choice here. Naturally, even if you choose wrongly Aika will steer you back onto the rails.
We'll do it! ... Thank you, oh so much...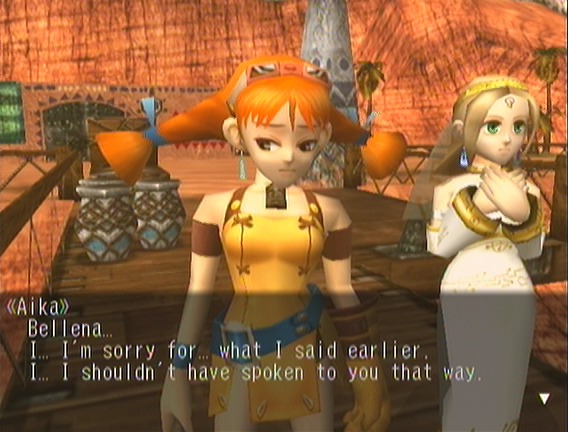
 I lost my parents when I was young, too. I know what you went through... Heh heh... that's quite alright. As long as you understand and don't take my generosity for granted. Alright everyone, get on board. The Temple of Pyrynn lies far to the east, in the middle of the desert. Let's go!
Just as she says, the Temple of Pyrynn is off to the East in the desert. It's easily seen from miles away, and trying to land at will net you a discovery. Watch the video if you want to hear the discovery fanfare by the way, because this will probably be the only one I find in a video.

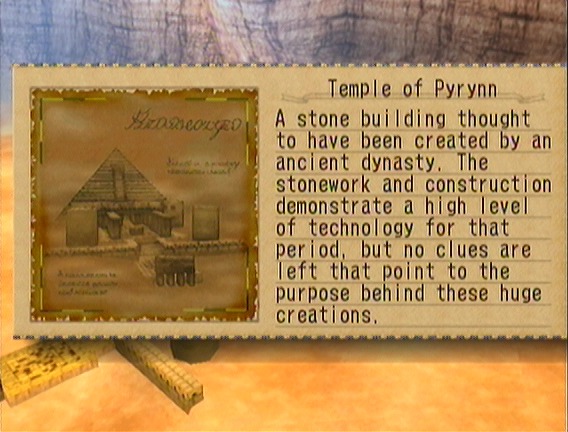
You can come here in the Little Jack before landing in Maramba but the game won't let you actually discover the gigantic temple sitting in plain sight. It's pretty infuriating.
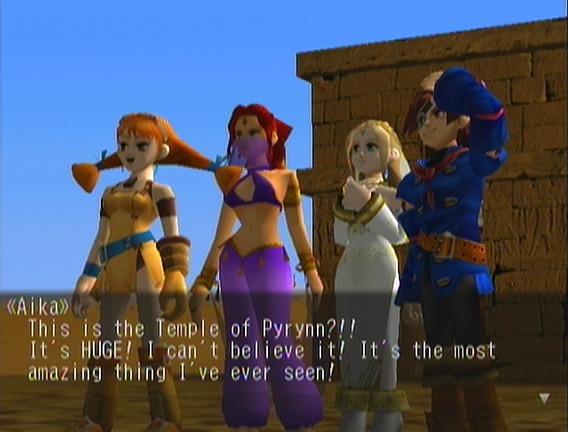 The people of the Old World were able to build this thing in this heat?! And it's built on sand, too!!! It's incredible! Deep within this temple lies the Red Crystal. Be careful, though... According to Silvite lore, It is guarded by hordes of creatures. Well then, let's get going! Oh, Bellena? What are you going to do? I'll be waiting out here. And besides... I won't be able to help you fight off monsters in this outfit. Well, it might be a little rough in there for a beautiful woman like yourself... Oh, really... what about me and Fina?! We're women too, you know! Just what are you trying to say? Come on, Fina. Let's leave macho man behind and get the Crystal ourselves.
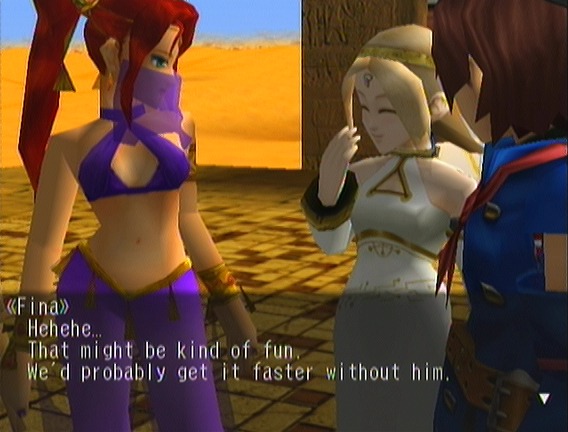 H... hey! Wait a minute! I didn't mean... Hehehe... watching the three of you really cheers me up. You're all such good friends and Vyse is so funny. Well... I'm sure a beautiful woman like yourself has got herself a much, Much, MUCH, better guy than... Mr. Foot in His Mouth... Hahaha! Sorry... there's no one special in my life right now... Well, there is someone that I'm in love with... But he would never even give me a second look... But I don't want to talk about it right now. You should probably get going. I'll be waiting here. Be careful in there, okay? Don't worry. We'll be back before you even notice that we were gone.
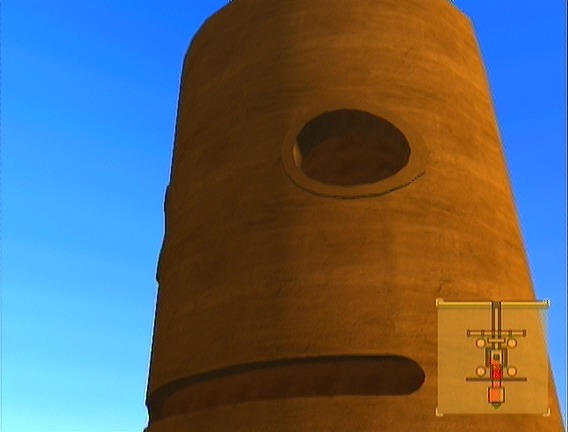
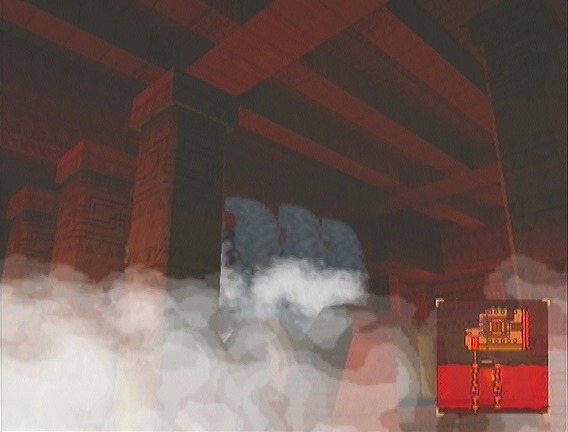
 You know, I'd feel more sorry for Vyse about being ganged up on like that, but he really did walk into that one. Anyway, let's talk about the Temple of Pyrynn. The outside is dominated by these four gigantic Tiki-head type things
Click for video!
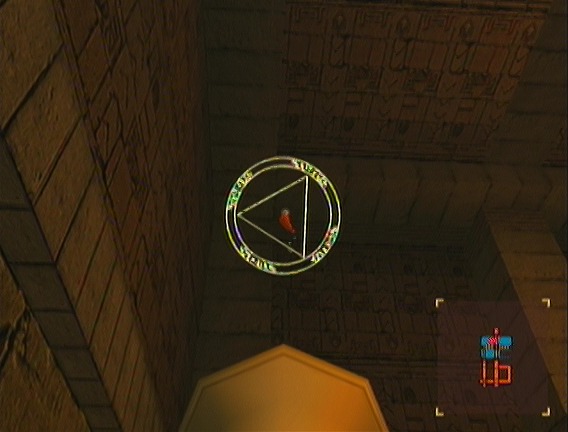
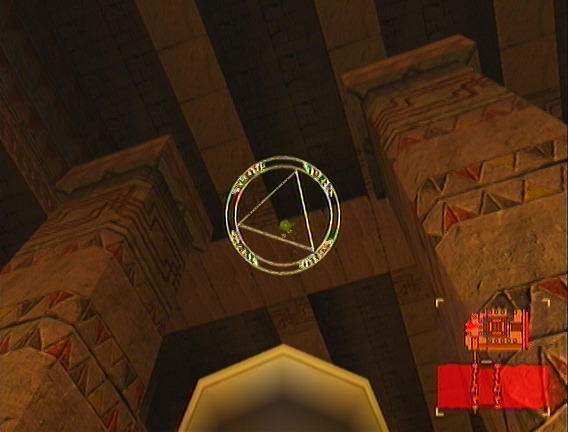
Why are there four of them? Well see, each moon has a specific number associated with it, which is the number of circles in the crest that appears when you cast that flavour of magic. The four-circled crest of the Red Moon also appears over the doorway of the temple, as well as dotted around the temple itself.

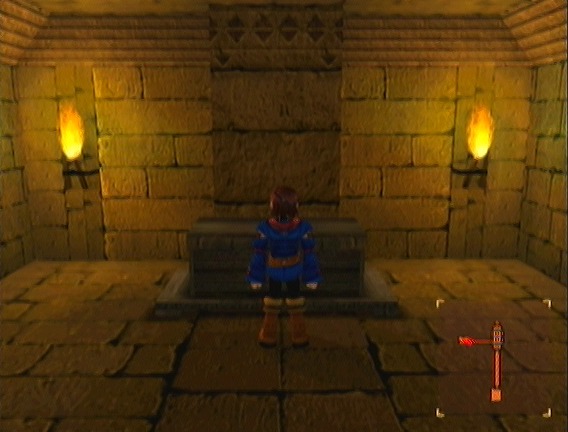
There's also this pedestal in the entrance. I wonder what it could be for?


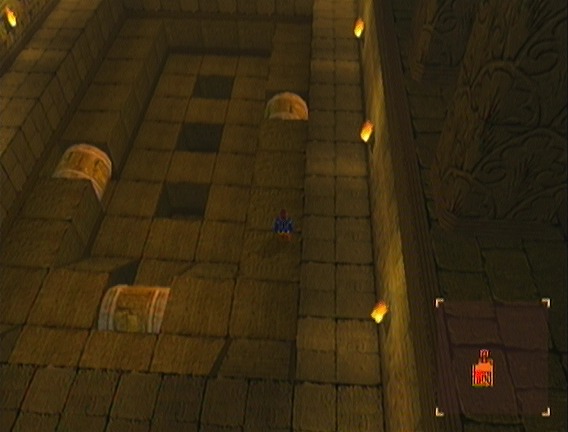
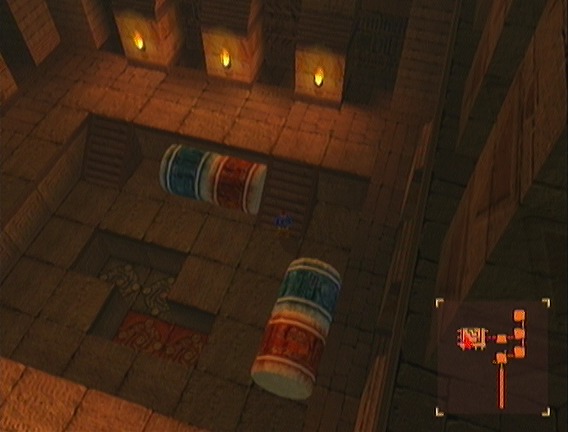
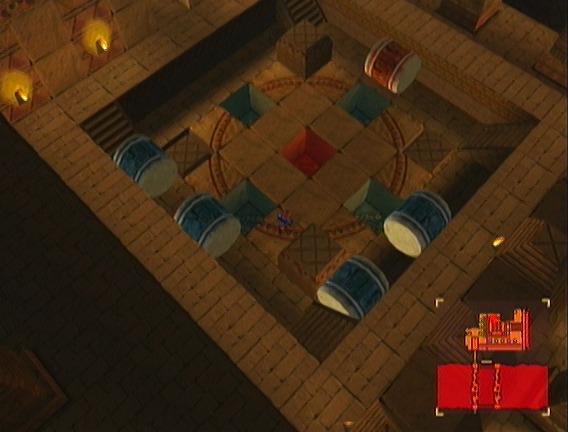
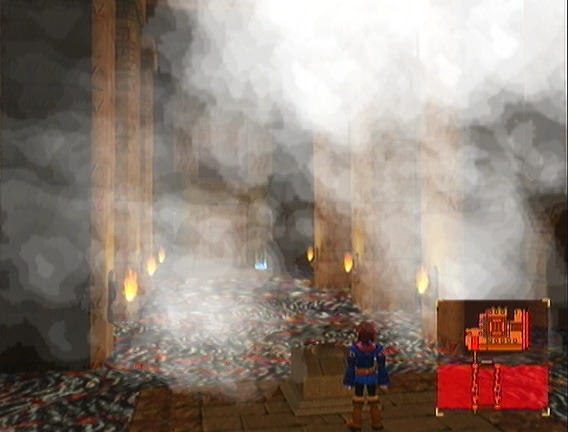
The dungeon itself is much, much bigger and more complicated than any previous dungeon, and in a way marks the start of the “real” game, kinda like the Forest Temple in OoT. The main puzzles involve rolling these barrels into holes, although this particular one is just to introduce the mechanic. It's a neat variation on the usual block pushing puzzle.
Don't forget to go back on the second barrel for the hidden chest, though! Normally I wouldn't show off a boring chest like this one, but the chests in this dungeon are a bit unusual. Firstly, they're giant stone coffers, because each area has its own style of chest. Secondly, when you try to open it...
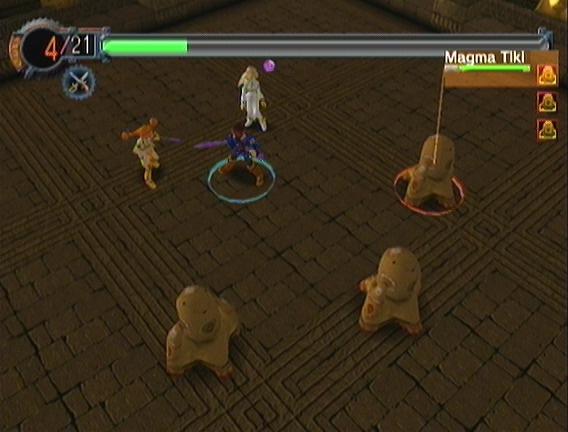
Bam, Tiki head ambush! These are the Magma Tikis and they'll be waiting to strike in every chest in the Temple of Pyrynn bar one. They may look fragile and useless, but they're a tad more threatening than they seem.
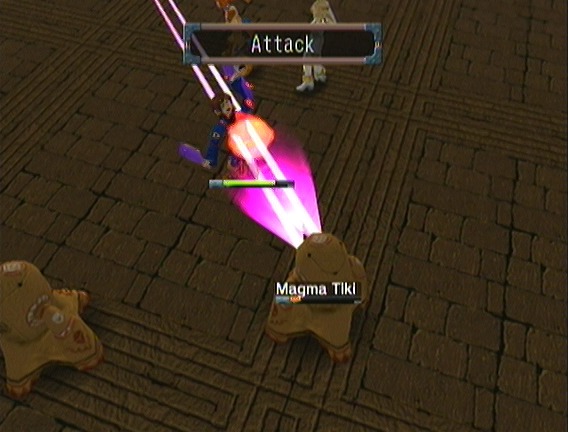
For a start, they have fucking laser eyes.
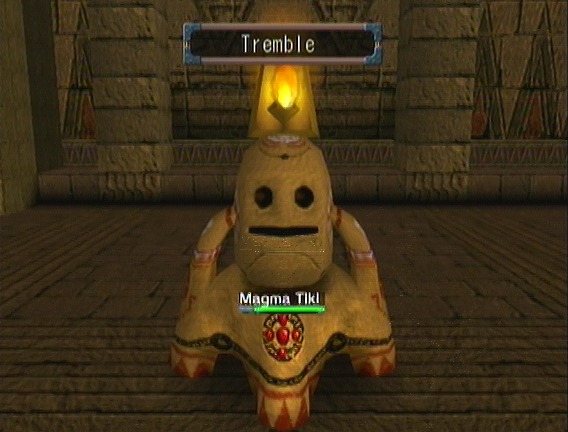
They also have this. Tremble by itself does nothing but zoom in and make a little tinkling noise, like a sort of terracotta windchime.
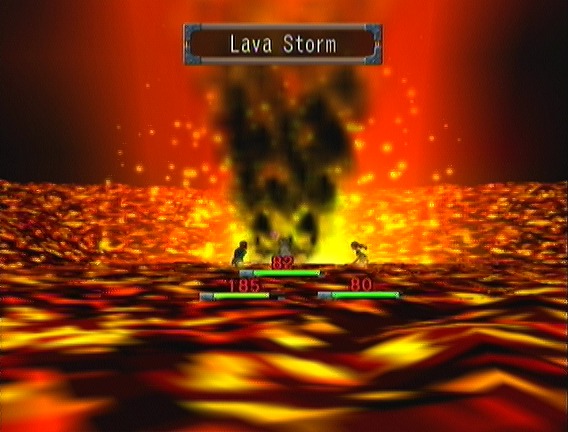
And then on the turn after, this happens. Magma Storm hits the entire party pretty damn hard, although the damage on my party is laughable because of guard and red-resistant armour. It's usually no problem to kill them all before they get a chance to use it, but I let them show it off this once.
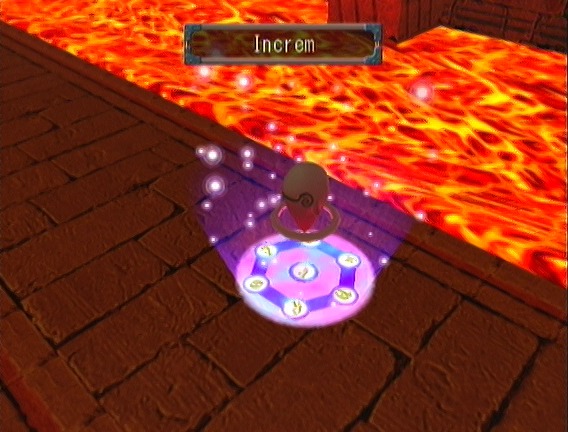
Oh yeah, fuck Loopers. Each area has its own colour variant with its own spells, and the red (pink) Goloopers in here cast Increm. As I think I mentioned in the thread, Increm causes me some bizarre capture errors that result in me having to painstakingly go through all my footage and edit out some horribly corrupted frames every time it gets cast.
Fuck Loopers.

Fuck this Moonfish too. I love this game too much to go all Anger Impact on it, but I promise you every single person who played this game spent ten minutes exploring every nook and cranny of this room looking for the one magic spot where you can reach it from.
Nope, there isn't one. After all the conditioning the game gives you to collect absolutely everything Now NOW NOW, this one you have to ignore and get later.
So, ignoring that for now and moving on, here's the first of the rolling barrel puzzles. Frankly, it would be insulting to tell you the solution to this one.
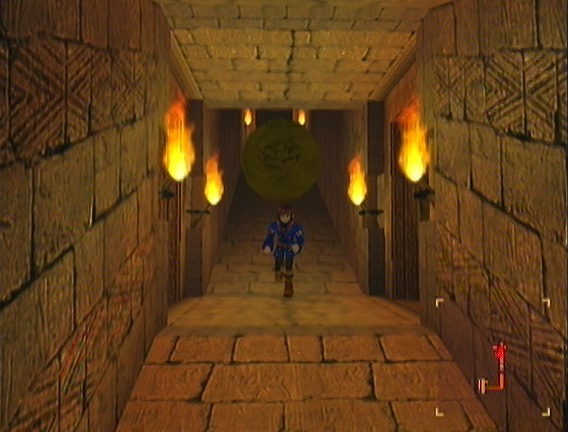
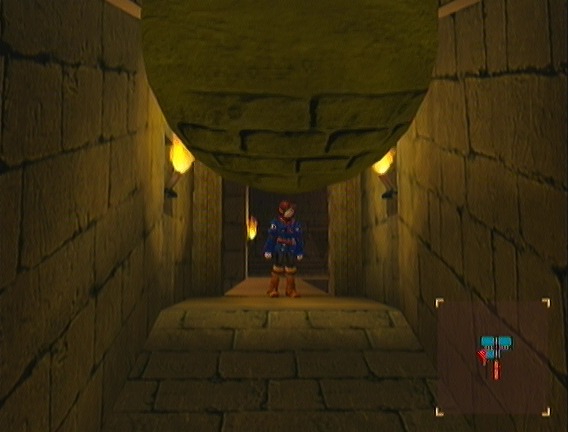
Of course, no dungeon would be complete without an Indiana Jones ball chase. There's a pair of alcoves to duck into to avoid the ball, but one of them conceals a secret.
A secret passage back to the previous room, where we can finally grab that taunting Moonfish.
Through the end of the boulder chase lies the second of the barrel puzzles. It's tougher than the first one, but still easy if you take a second to look at it before rolling. I didn't and almost messed it up. I actually have no idea what happens if you get it wrong because I've never done it, although this time I came very close. I also got totally lost on the way to the puzzle itself, so go me. After solving the puzzle the entire room sinks down a level. This entire dungeon is all about going further and further down into the ground.
If one ball chase is good, two must be even better! Once again, the alcoves hold hidden goodies.
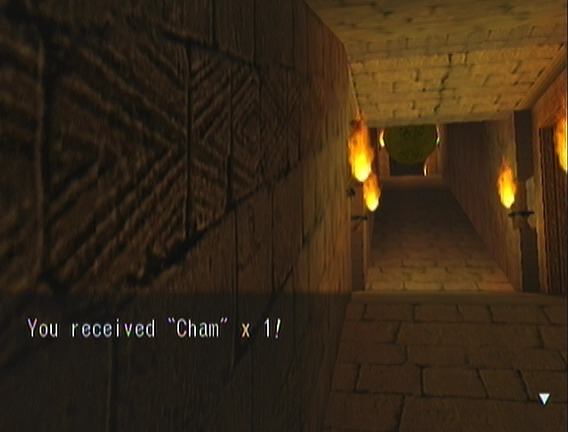
Specifically, the left alcove holds a Cham.
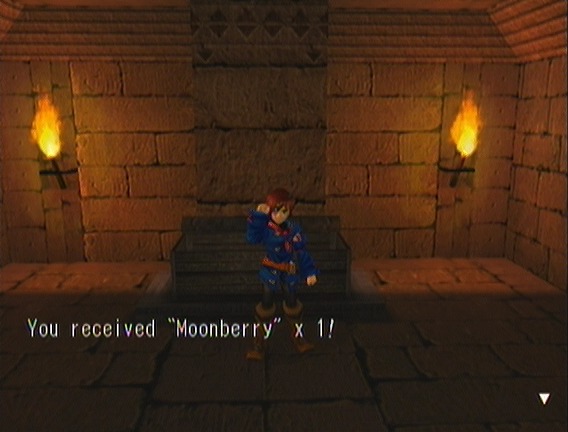
And the right one a Moonberry. Sadly, neither is enough to get us anything new, but by happy coincidence this happened a few minutes later.
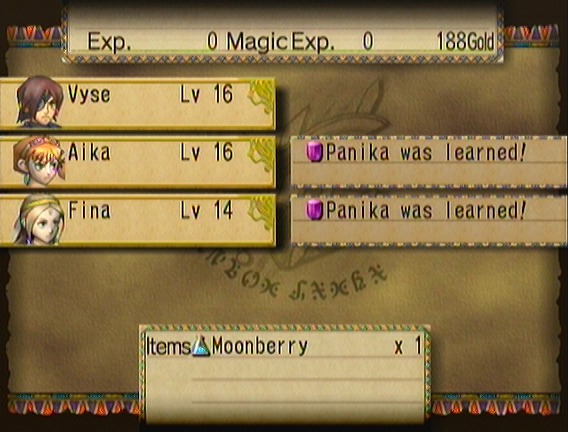
I mentioned before that all random encounters have a minute chance to drop a Moonberry, but this is the first time it's happened on camera. Normally I would chuck this to Fina or Aika, both of whom have fantastic Super Moves waiting, but since I'm doing them in order for the LP this one goes to Vyse.

Rain of Swords is a mixed bag. The move itself is incredible, dealing a gigantic amount of damage to everything on field. It can end any random encounter in an instant, but at a whopping 14SP it's not exactly practical yet. Believe me, I am salivating in anticipation of the day when the party has enough SP to use it on the first turn.

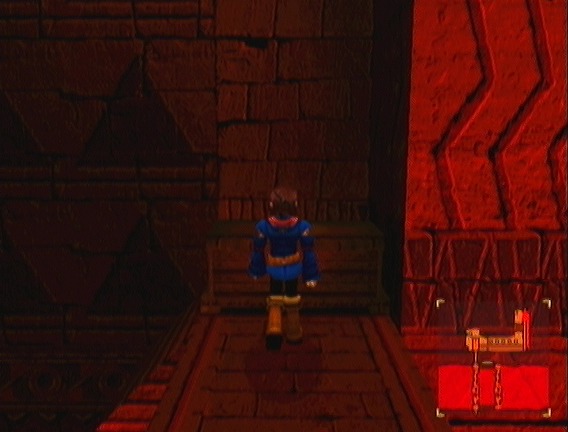
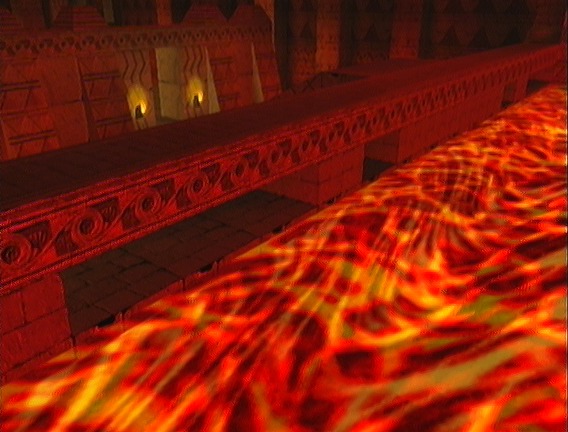
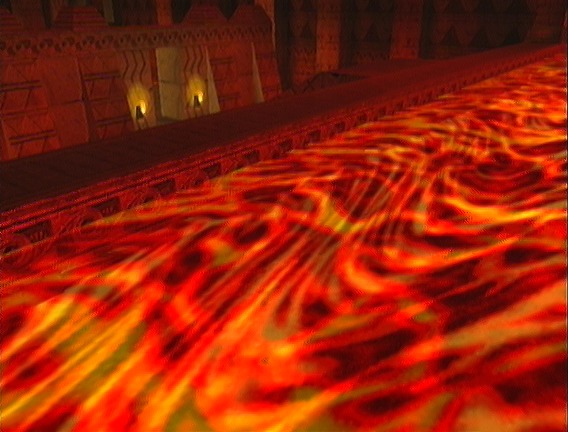
The final leg of the dungeon is a change of pace and scenery. The Ancient Egyptian-style décor is replaced by a more traditional fire dungeon theme. I'd say the party has descended into the molten bowels of the planet, but I can't even begin to fathom how that would work in a world made of floating sky islands. From here on the puzzles are mostly done and it's almost entirely combat, featuring tougher enemies than the first half, plus the music is replaced by a constant background noise of bubbling magma.

This switch is at the bottom, before a huge and impassable pit.
Pressing the switch floods the pit with water, but apparently accomplishes nothing. Strange.
There's nothing we can do with the switch just yet, but off to the side is this, the final chest of the dungeon. This chest is unique because it's the only chest in the dungeon that doesn't contain the Tikis.
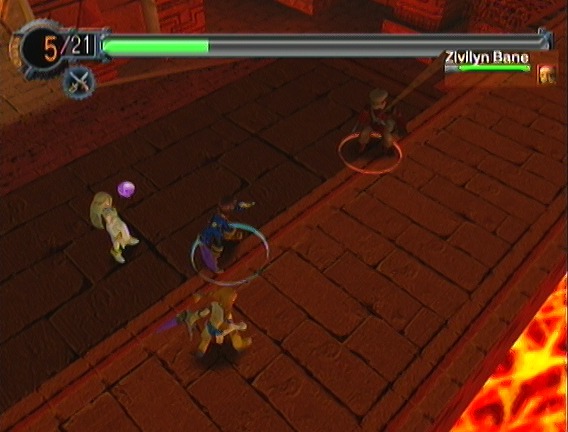
Instead it contains Zivilyn Bane here, one of a group of notorious gang of thieves and plunderers. The Banes will be a constant theme throughout the game, and they can actually be pretty nasty. They may only get the regular non-boss battle music, but their special Burst attack can easily one-shot a character.

Therefore, I nuke him to bits with Crystales Boxes before he gets a chance to use it. Fear not, I'll show off the rather neat animation in one of the later encounters.
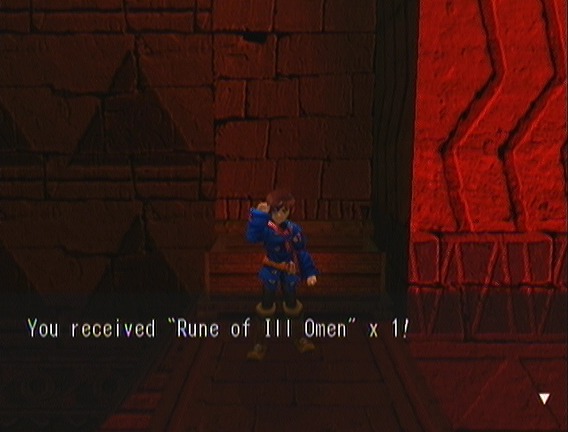
The Zivilyn Bane chests all hold a rare artifact like this one. In the Dreamcast version they were used for Pinta's Quest, but in this version they serve no purpose but to be sold for a quick buck. Poor Pinta.
Finally, after the chest is this, the last and toughest of the barrel puzzles. It's still not really that tough. The hardest thing about it is that the entire time you're in the room an inaccessible Moonfish is taunting you with its clicking and ringing. I think this and the one earlier are the only two Moonfish that can't be grabbed immediately in the entire game.
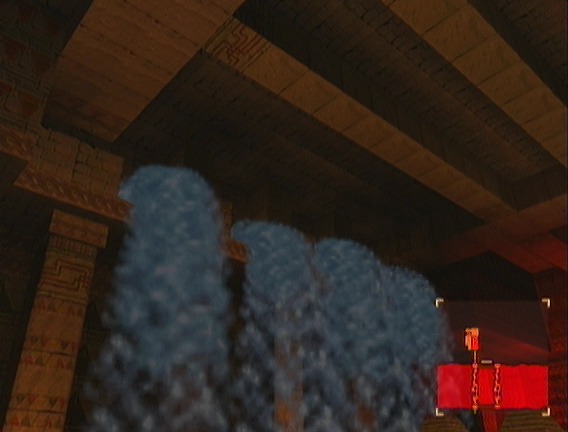
Solving the puzzle raises the magma level and floods the area with it. After a quick trek back to the switch...
The problem of the impassable pit is solved.
As is the problem of the inaccessible Moonfish.
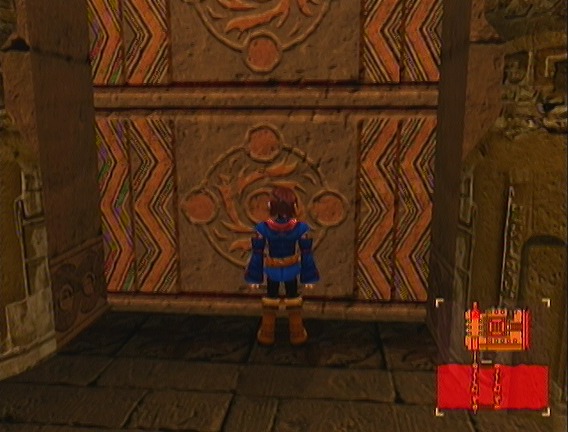
Finally, a giant door marked with the Red crest, which of course can only mean one thing.
Click for video!
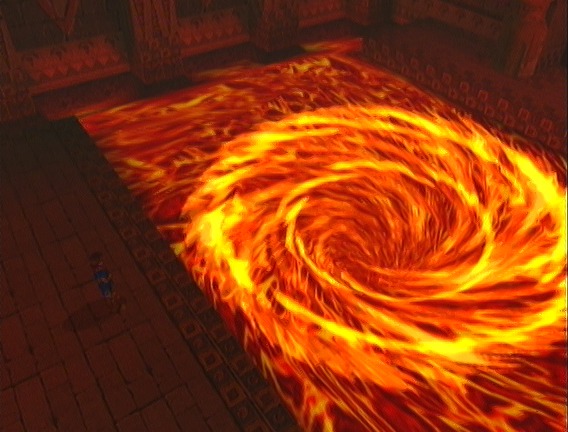
Behind the door is a huge whirlpool of swirling magma, blocking off the only way through.
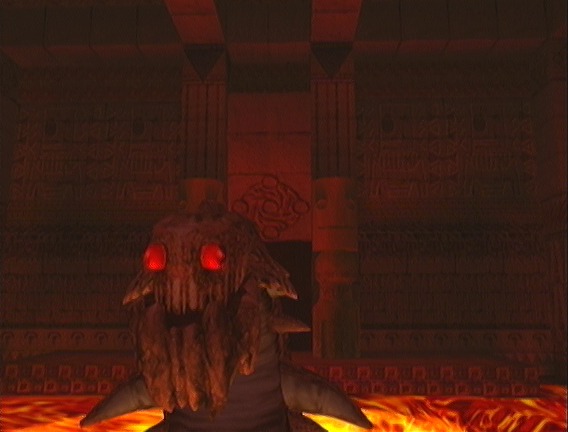
And out of the magma rises the derpiest looking creature ever to rise to bossdom.
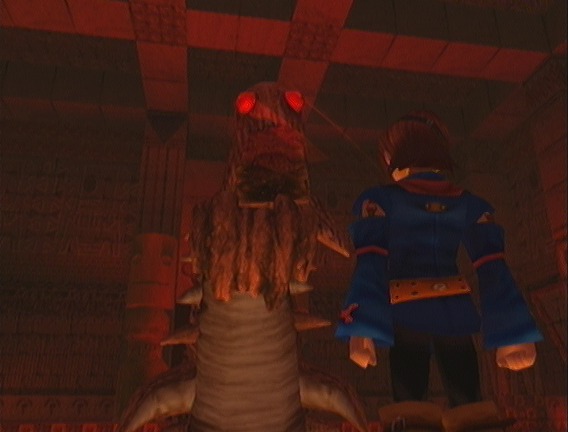
No, there is not a single angle where this thing looks anything less than ridiculous.
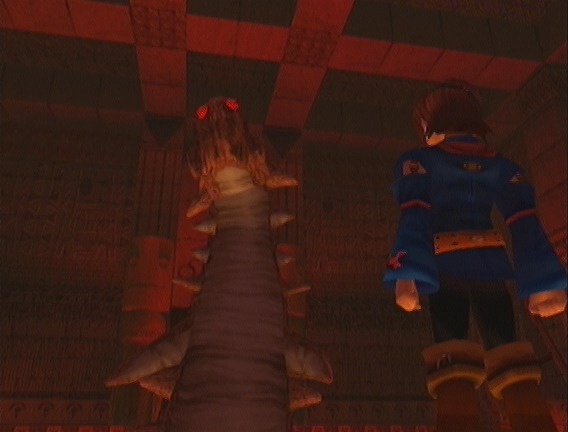
This little head-flick you really have to see in motion, it's hilarious.
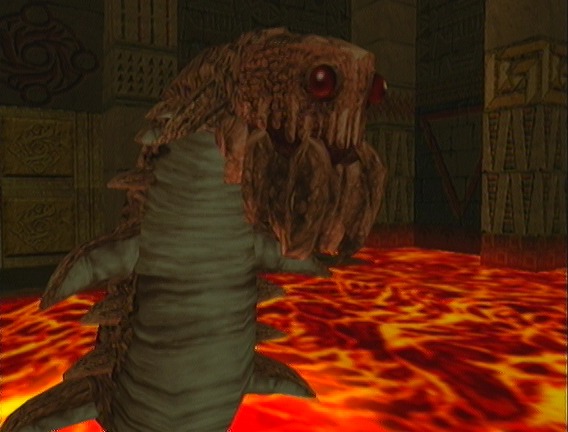

So anyway, this is Rokwyrm. Despite his looks, he can be pretty mean to an unsuspecting player.
I am not an unsuspecting player, and therefore this is going to be a showcase on how broken items are.
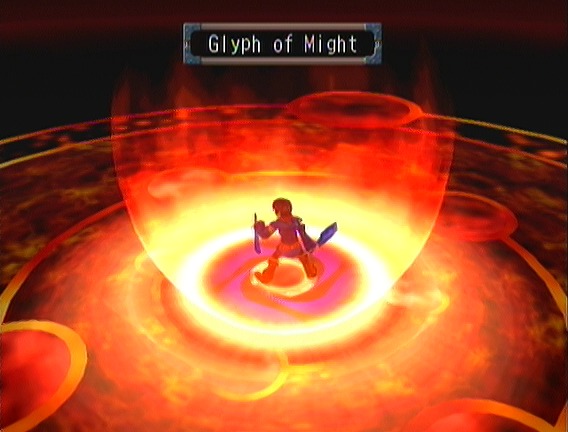
The first round Increm is replaced by a Glyph of Might, which costs no SP and means a full load of SP next turn.
Crystales Boxes are also free, and Rokwyrm really hates ice. Even with both the girls furiously boxing rather than Focusing, the lack of any SP actually being used means I'll have plenty of SP for Cutlass Fury next turn.
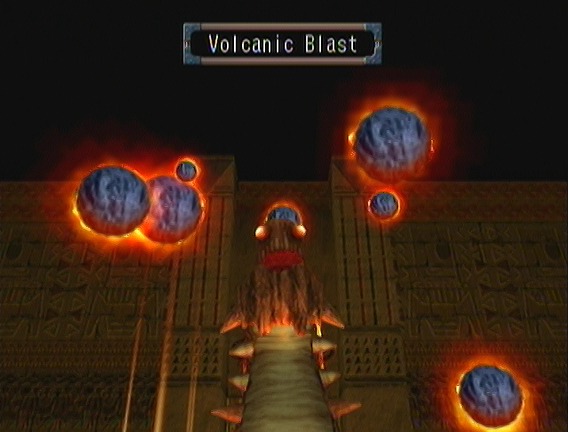
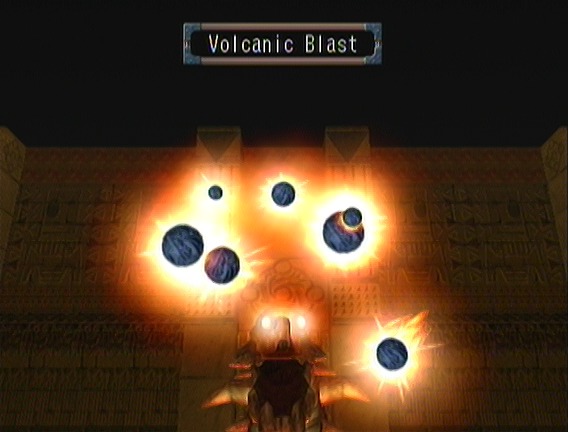
This is Rokwyrm's most dangerous attack, damage-wise. It also looks pretty nifty.
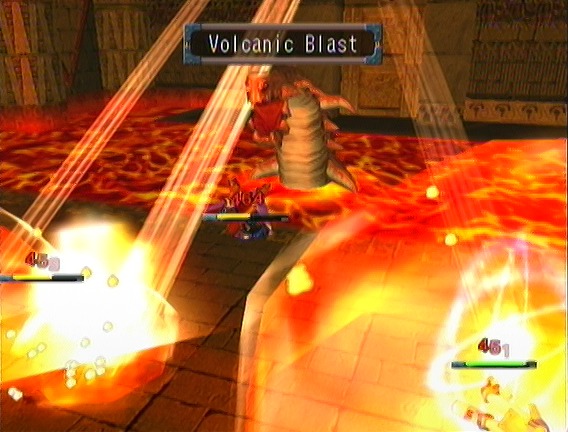
It does respectable damage even through my Red-resistant armour, but not enough to be really dangerous. His only other attack is a single target Petrify, which can be pretty threatening as getting all three characters petrified means instant loss. Fortunately, Gems of Fluidity prevent petrification. I'm not wearing any because I totally forgot to put them on, but it really isn't going to matter.

This is because splattering the boss all over the walls before he gets to use it also prevents petrification.

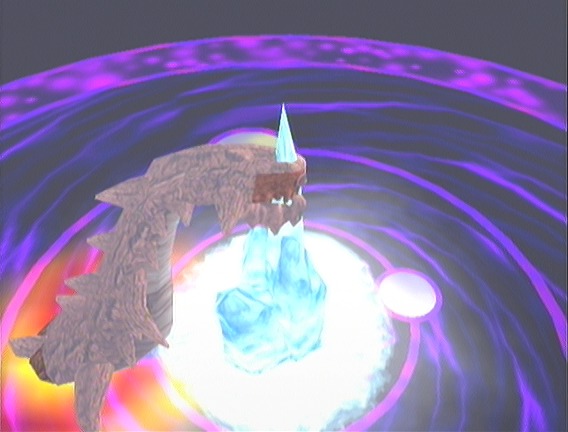
In death, he forms a great bridge of derpiness across the magma to the room beyond.
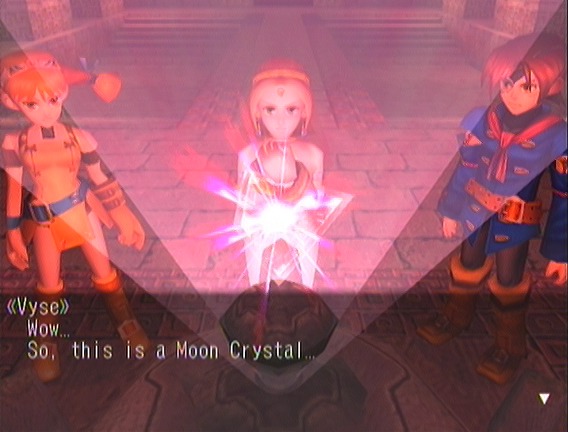

A room containing the Red Moon Crystal.
It's beautiful... I'm getting weak in the knees just looking at it. A Moon Crystal is the most concentrated source of energy that you will ever see. It was created by distilling a Moon Stone into it's purest form. Moon Crystals are pure energy. This crystal alone has the power of thousands... no... tens of thousands of Moon Stones... So,this Crystal is powerful enough to control one of the Gigas?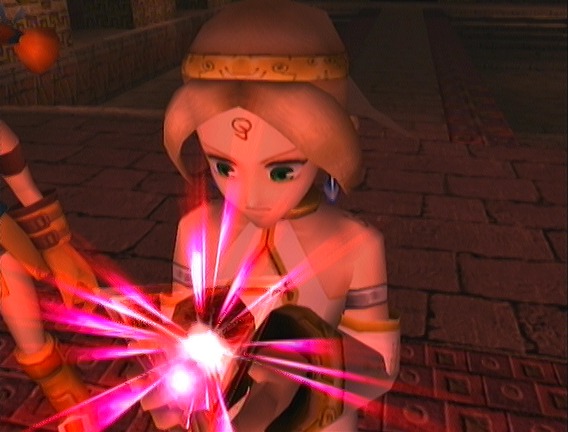 Look at the light radiating from the Crystal. Even though thousands of years have passed since the destruction of the Old World, the Crystal still shines as bright as ever. Between the power of these Crystals, and the destructive forces of the Gigas, it's easy to see how so much of the world was destroyed. It's sad... The people of the Old World had so much power, but they used it to make weapons instead of helping each other. There's no way we can let Valua get their hands on one of these! Fina, leave it up to us. We'll keep it safe. The Valuans are going to have to take it off of my dead body before I hand it over to them. There's so much of the world that I still have to see... I'm not going to let them wake some ancient guardian to destroy half of it now... Thank you, Vyse! I know you will do your best to keep it safe.
And there you have it, the end of the first real plot dungeon. Far from the end of the update though, I couldn't just leave it here knowing what comes next.