Part 8: Acceptable Casualties
Part 8: Acceptable CasualtiesLast time, we went in a big loop, and we basically ended up going nowhere.
Cobalt Quadrant
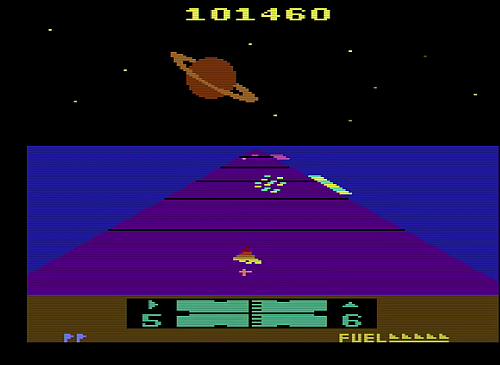
The Federation world here is still threatened. I back off a bit, hoping for them to attack the Federation world and then be easy pickings. So of course they decide to stay put, because the game is in maximum trollery mode. I'll just have to bite the bullet and take the fight to them.
Fortunately, it's not a literal biting of any bullets. I make it out of the fight undamaged.
I'm not so lucky in the Corridor, though. Corridors at this point start becoming nerve-wracking endurance fests, with four or five force fields per run.
Periwinkle Quadrant
No. Periwinkle Quadrant is dead to us. We're turning this ship right around, going back to Cobalt, and taking out that Cobra Fleet.
Cobalt Quadrant Again
Last time we ended up going in a giant loop. But remember Brown Sector back in the first half of the game? Going west took us to Home Quadrant, but going east right afterwards took us to Red Quadrant.
We're going to take the loop backwards and see if the path diverges.
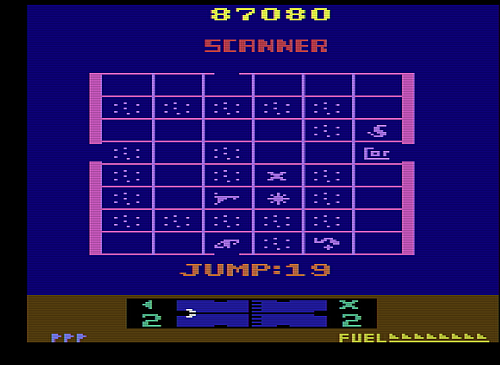
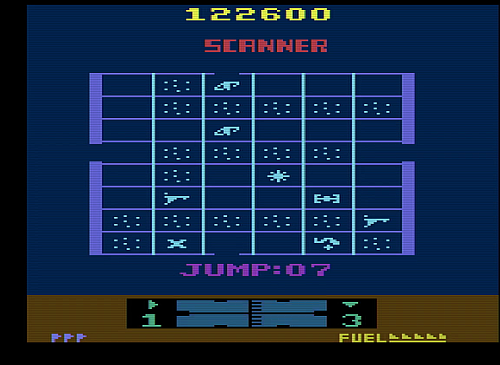
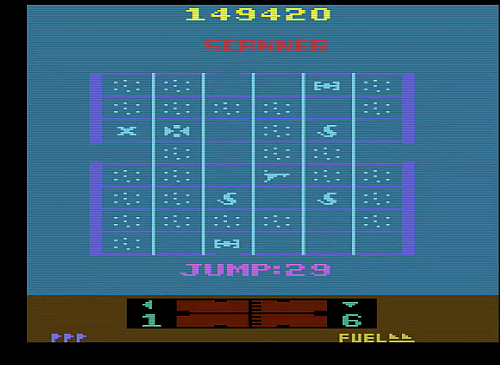
Omega Quadrant
North from Cobalt takes us to Omega Quadrant, which is expected...
...and the foes in this part of the quadrant yield to our might...
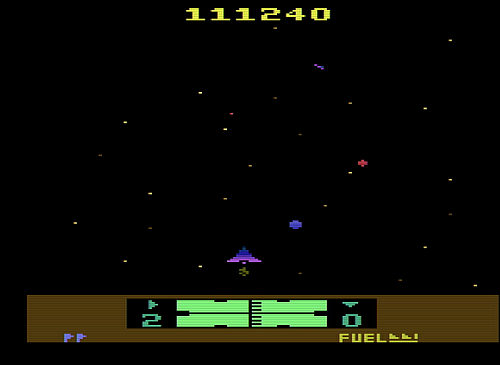
... but man, that's less fuel than I'd like. Westward ho! ... to Cyan quadrant, according to our map, which has tons of enemies and is a Red Zone. We won't find any fuel in Cyan.
But this is where the paths diverge.
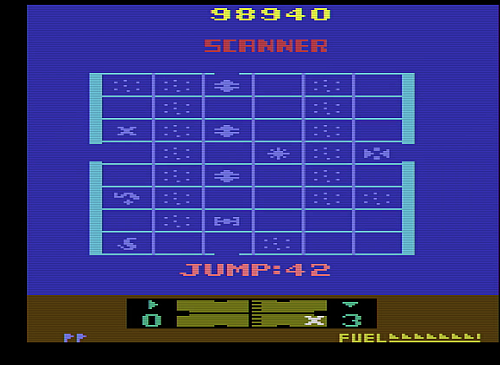
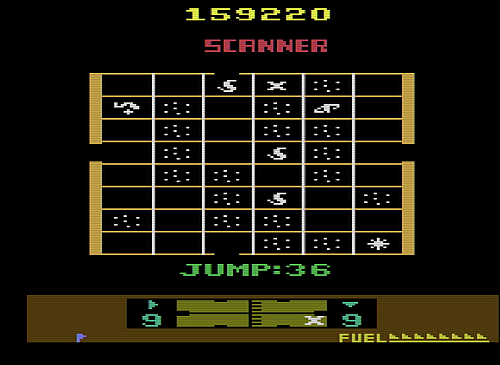
Green Quadrant
Unlike Cyan to Omega, the Green-Omega hyperspace route is two-way; east from here takes us back to Omega Quadrant.
That means we can route the rest of the glitchrun: from Cobalt, go east to Periwinkle, east again to green, tunnel through the wormhole, then east to Omega, then tunnel through that wormhole and thence to Solaris. (We can't just go north from Cobalt and then straight to Solaris; the Corridor and the Star Pirates both block our passage in a way that won't let us do the tunneling glitch from that direction. We have to enter on the western side.)
But that's a glitchrun and thus not relevant to us. We're here about to run out of fuel and that attack fleet is going to try to cut us off on the way to the Federation world. The Flagship group is eyeing that Federation world hungrily too.
We need fuel, and we've got Zylons trying to intercept us and trying to destroy our fuel dump. Seconds count.
Let's go raid the Zylon world.

Our fuel alarm goes off partway through the raid, but we finish it before the Attack group can cut us off...
... and actually manage to pull into the hangar with a reasonable-ish margin of safety.
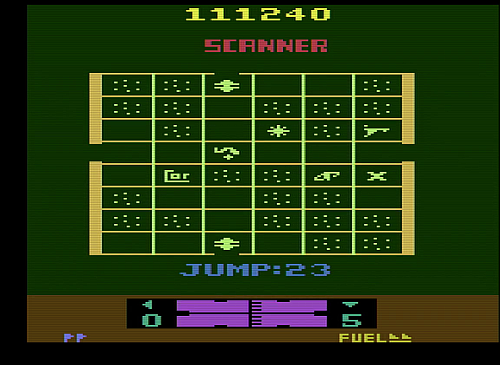
We now have a new problem. Look at that map again. The wormhole and the Federation world are, together, blocking our path north. We're kind of stuck again.
We could let the Flagship group attack and use the Savior's Passkey, but that's a glitch.
We could let the Flagship group attack and then sit around with our thumbs up our butts. After awhile they'd blow the planet up and then we'd be able to fly through.
But we're impatient. We'll have to take matters into our own hands.
There's one final mechanic I haven't fully explained. Blowing up your refueling hangar doesn't merely remove your ability to get refueled or repaired. It also blows up the entire planet.
You might think that this is an unforgivable crime on our part, but we have an important mission, and they were in our way.
You've got to understand. There are a handful of Atarian pioneers stranded on a failed colony on the Lost Planet of Solaris. Rescuing them clearly justifies dooming the millions of personnel on a fully-established Federation military world. The needs of the many are outweighed by the needs of the few. It's just logic.
... actually, you know what, if anyone asks, the Zylons did this.
And before you ask, yes, it is impossible to win glitchless without the Green sector Federation world being destroyed. We have exhausted literally every other path reachable from this side of it without glitching.
Speaking of glitching, blowing up a Federation world does not count as a successful sortie for the purposes of blockading, and thus for the purposes of the Tunneling or Quadrant Control tricks. This is kind of hilarious, because it means that it keeps blockading you after its destruction (at least until you back out and re-enter the now-empty sector), but it's mostly sad, because it means that you can't use the Quadrant Control trick to rocket around the Galaxy completely unopposed, blowing up friendly worlds like some kind of demented Orion drive.
Anyway. Let us not dwell on the past. What is done is done. Onward, to a glorious future!
Aqua Quadrant
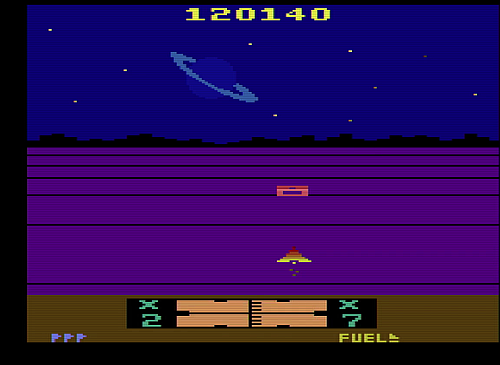
Hot on the heels of a major dick move, Solaris now pulls another major dick move. See that wormhole there on our side of the asteroids? It wobbles back and forth. That's not really a dick move on its own, and it isn't unprecedented. We saw that in Brown Quadrant.
What is unprecedented is that the endpoint of the wormhole here also wobbles. The location in this screenshot? That's where you want it. That warps you up to the northern part of the map and lets you continue to uncharted territory. If it's a sector to the west, it warps you into the middle region, and thus into the loop that leads us nowhere good.
But we luck out, though that jump timer is awful low. We have to act fast to make it in time.
But we do, and that Zylon planet guarding the exit will let us max our lives count on the way north. Handy!
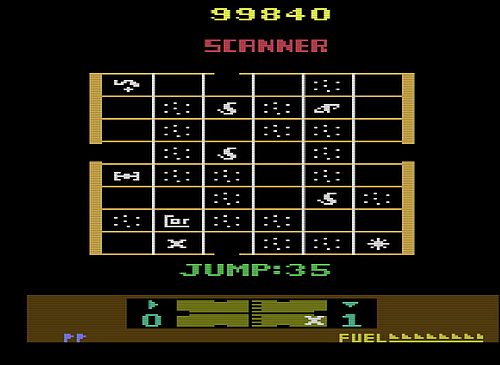
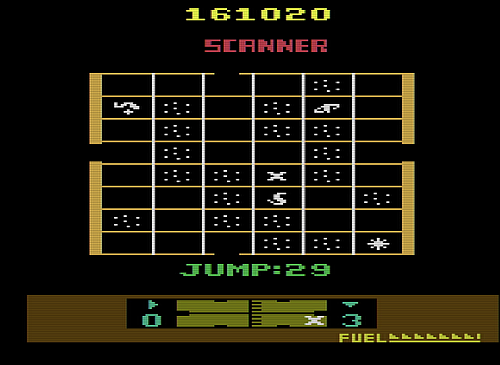
Ochre Quadrant
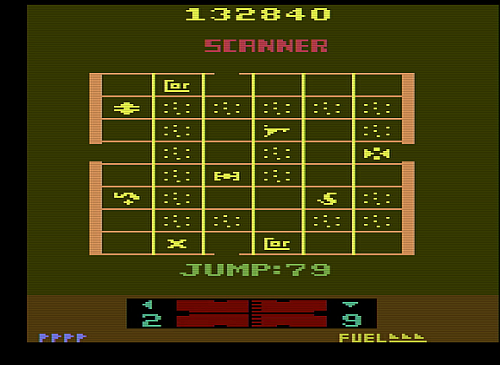
Our fuel is looking not great. Worse, we've got a lot of fights left, and based on which exits are unaccounted for, it looks like we won't be encountering any further Federation worlds. We can't refuel except by dying, but that's a temporary solution too: there aren't any Zylon raids from here on out either, so our current life stock is our entire fuel supply now. We're going to have to fly carefully. This stretch, from the Aqua Quadrant warp on, is the reason Solaris is a real challenge to beat even with savestates.
Fighting my way to the east exit, I mess up a force field in the Corridor and lose a ship. But fuel is under 2 units at that point so I figure it's no real loss.
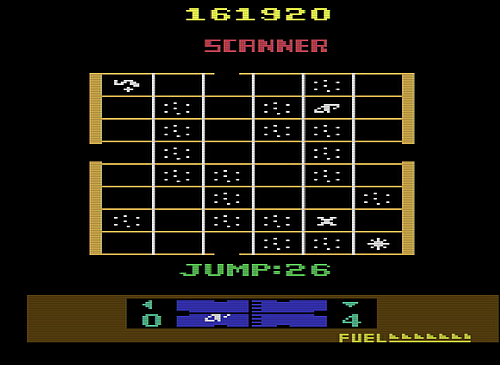
Cyan Quadrant
The only place left for that south exit to go is the north entrance to Omega Quadrant. It better go there or the glitchless run really is impossible.
The less said about Cyan Quadrant the better. I grind through four battles with reversed controls (since, as you may recall from last time, Cyan starts out as a Red Zone), and die twice along the way. Both times, it is because my fuel tank has dropped to zero.
Enough of Cyan Quadrant. On to, hopefully, Omega.
Omega Quadrant
Omega indeed! Victory is in sight. It's winnable glitchless after all.

All we have to do is clear three fights against the most vicious enemies in the game one two lives with no refuel or repair.

For added entertainment, the first Cobra Fleet fight kicks us back to the hated Cyan sector.
But that's just a distraction. We've got savestates here. It is now...
... simply a matter...
... of persistence.
We key in one last hyperwarp.


We've done it. We've beaten Solaris. We've shown that it's possible to beat it glitchless. We've also shown that you probably shouldn't.
VIDEO
The rest of the playthrough is now on YouTube, should you have more time than you know what to do with and hope to fill it with 8-bit pew-pew-boom sounds.
FINAL MAP
This table gives the map interconnections. Each exit leads to the opposite entrance (so going east always puts you by the west exit of the destination quadrant), but not all exits are reachable from all entrances. Which exits are reachable from which entrances may vary based on glitches.
One-way warps are marked with an asterisk.
pre:
Quadrant       North          South          East           West
-------------- -------------- -------------- -------------- --------------
Home           Crimson        Teal           Red            Red
Teal           Home           Grey           Grey           Crimson
Red            Lime           Lime           Home           Home
Crimson        Brown          Home           Teal           Grey
Brown          Purple         Crimson        Lime           Home*
Grey           Teal           Purple         Crimson        Teal
Lime           Red            Red            Purple         Brown
Purple         Grey           Crimson        Cobalt*        Lime
Cobalt         Omega          Ochre          Periwinkle     [no exit]
Periwinkle     Green          Magenta        Green          Cobalt
Green          Aqua           Periwinkle     Omega          Periwinkle
Magenta        Periwinkle     Cyan           Aqua           Omega
Aqua           Ochre          Green          Ochre          Magenta
Cyan           Magenta        Omega          Omega*         Ochre
Ochre          Cobalt         Aqua           Cyan           Aqua
Omega          Cyan           Cobalt         Magenta        Green
I played a lot of adventure games as a kid, and one of the things that always jumped out at me was that the adventure wouldn't always know the solutions to its puzzles. For things like PUT HAT ON STATUE, it clearly did, but then you would also have the occasional complicated machine where the game knew what knobs did and what state it wanted the machine in but had no idea how to get from point A to point B.
Solaris ultimately splits the difference. It actually gets a fairly complicated maze out of a set of sixteen rooms, and it does it with only three one-way transitions. It "knows" about the puzzle behind moving from Aqua Quadrant South to the north exit, in the sense that that wormhole clearly had special programming. But the fact that the Green Quadrant Federation world needs to be destroyed to traverse the maze without glitching is a property of the map, not of any explicitly coded scenario.
The design and the mechanics are fairly clever about misleading the player, as well. Everything about the base game tells you to not spend too much time on the map screen, but if you just rocket from battle to battle you won't notice that the Brown Quadrant wormhole will move out of your way. Much more cunning—and trollish—is the way the second half of the game puts enemies in places where they are guaranteed to block you, but also where engaging them will send you barreling through the Galaxy in the wrong direction, through a series of obvious exploration possibilities that often cut off your ability to backtrack.
That said, I really can't say that Solaris is a game worth beating. We exhausted the moment-to-moment mechanics of the game just within Home Quadrant and its neighbors, and the final third of the game is a terrifying slog where the primary question is whether bullets or fuel loss will be what kills you. You're honestly better off, both from a having fun standpoint and from a high-score standpoint, just ignoring Solaris entirely and tooling around murdering Zylons.
But then, those were our real orders, weren't they? The whole Lost Planet of Solaris thing was just a pretext. I can't say I wasn't warned, going in.
But pretext or no, it's possible, and it's possible without cheating.
It is done.