Part 9: Market Day - Part 2
Market DayLast time, our crew busted a slave market and got information about where they can find the boss of the Slinger gang.
So let's go on a hunt, and make our own shortcut into the city.
You always have to bust down gates or fences, since they are not programmed to open.
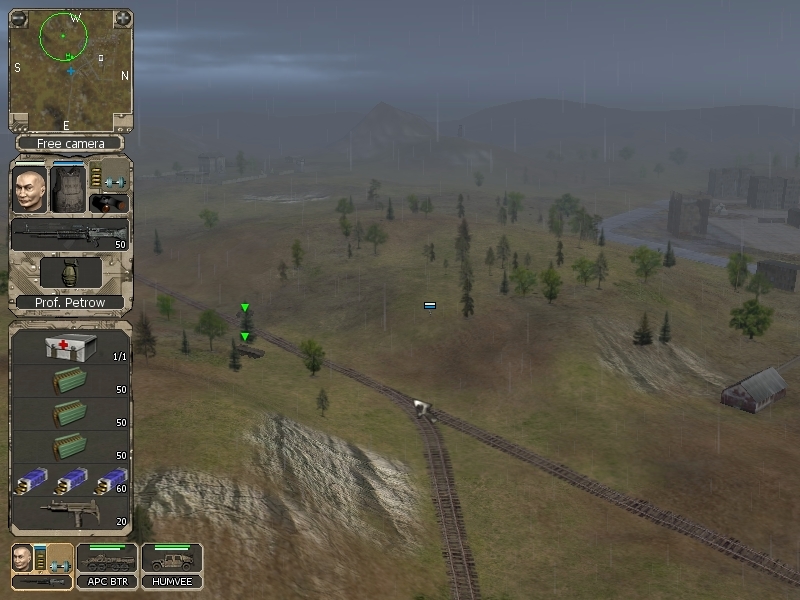
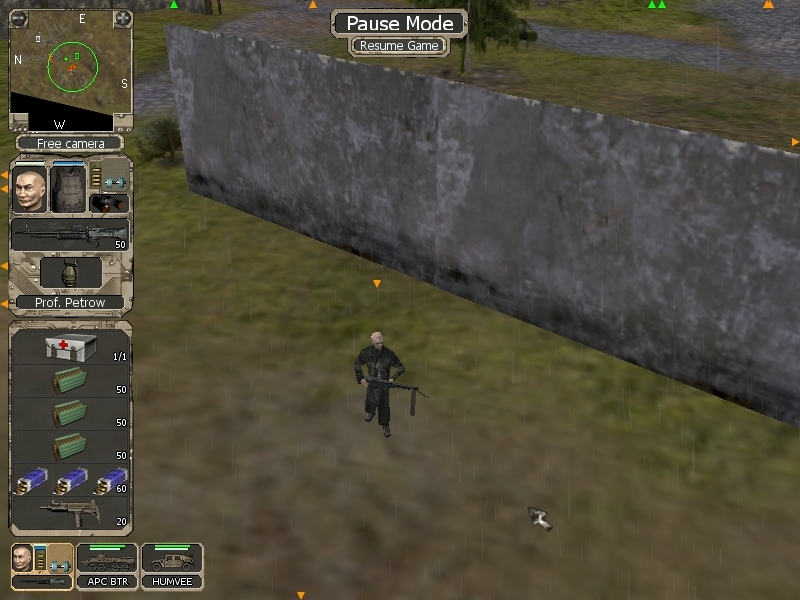
Before we drive into town, Prof does his thing..

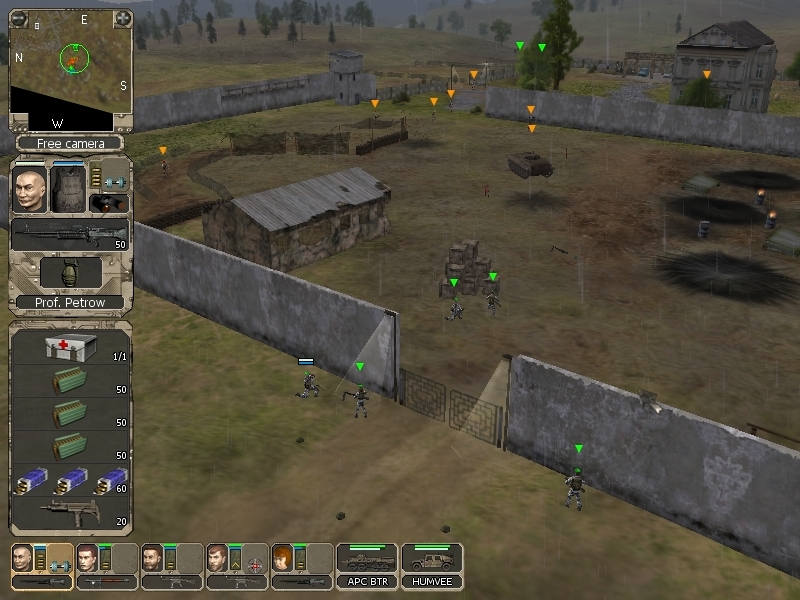
..and discovers a bunch of Blips.
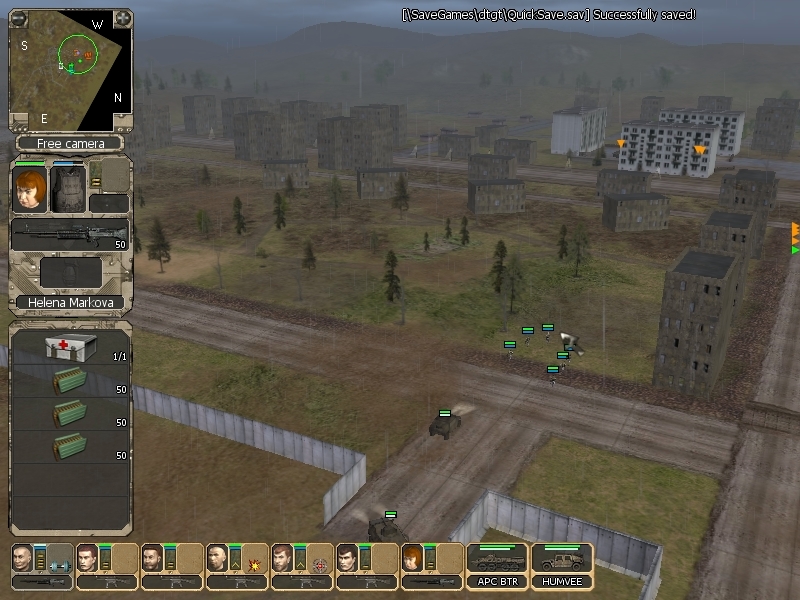
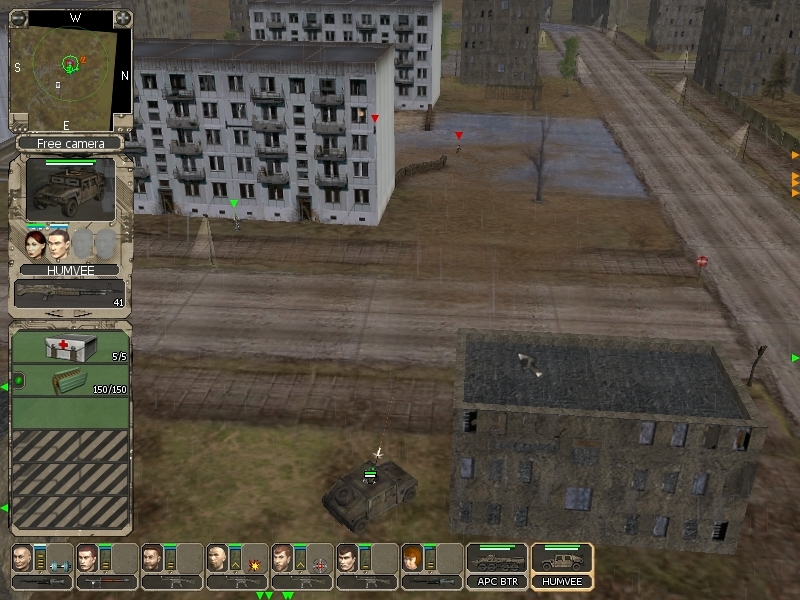
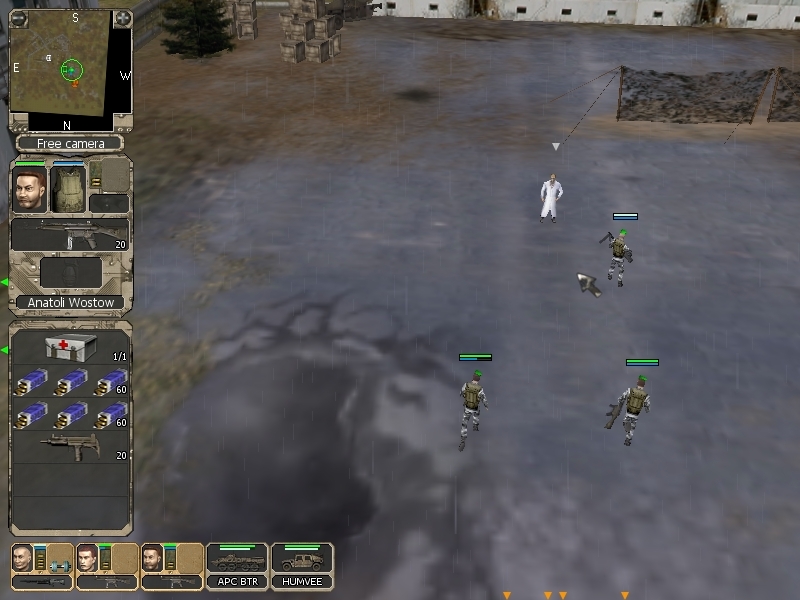
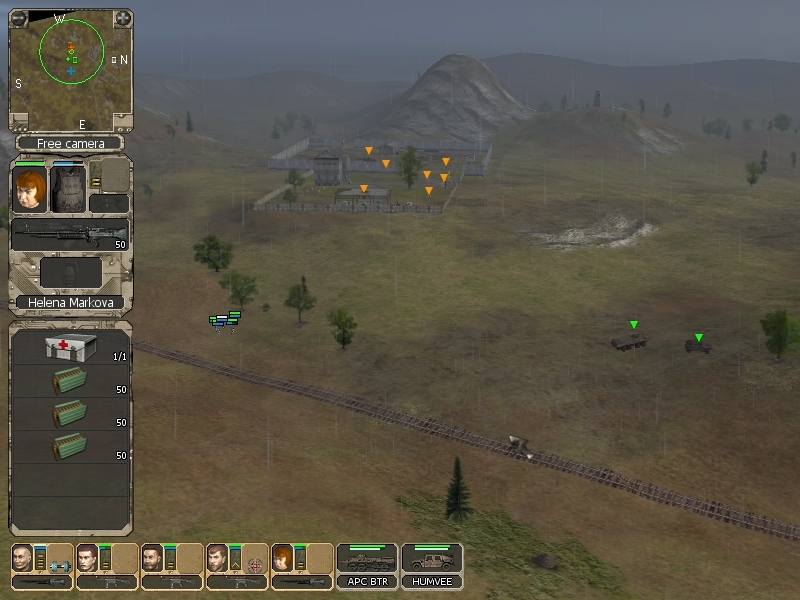
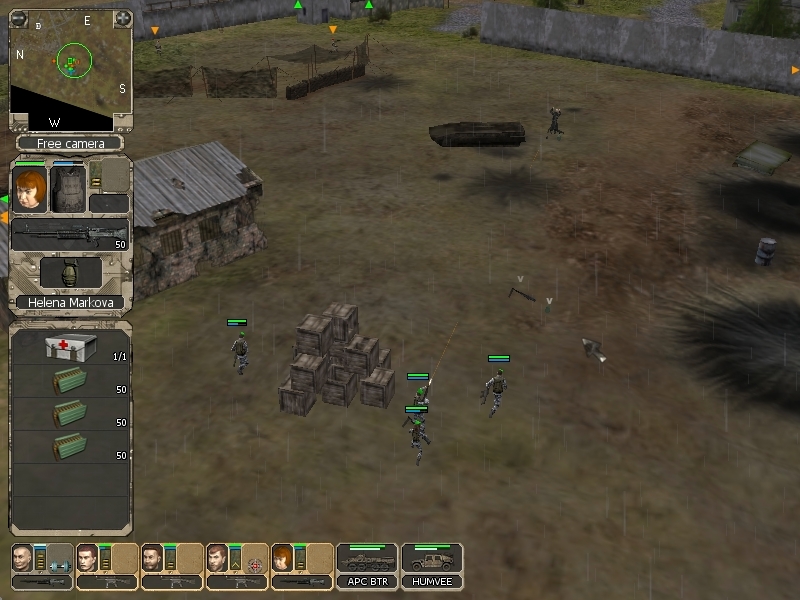
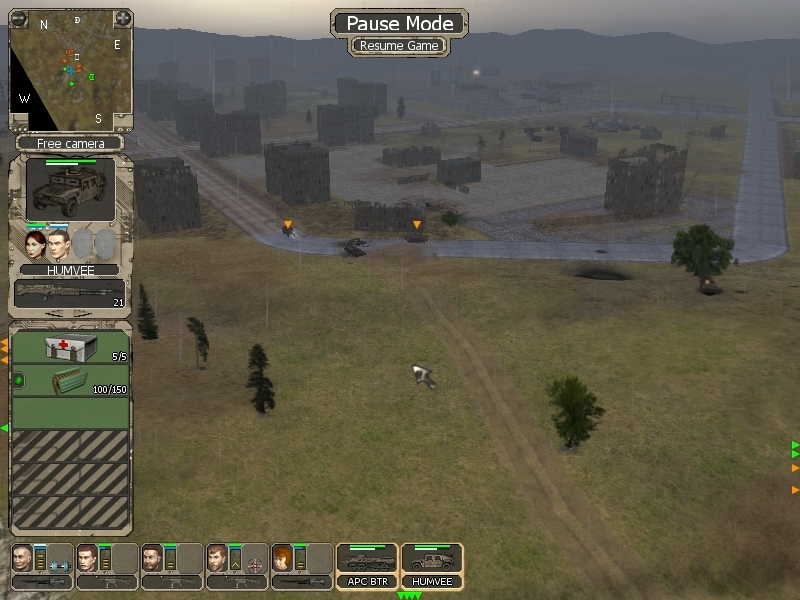
Let's check out the area where our marker points to first.
Well, that guy doesn't look like a gang leader at all. He looks more like a scientist

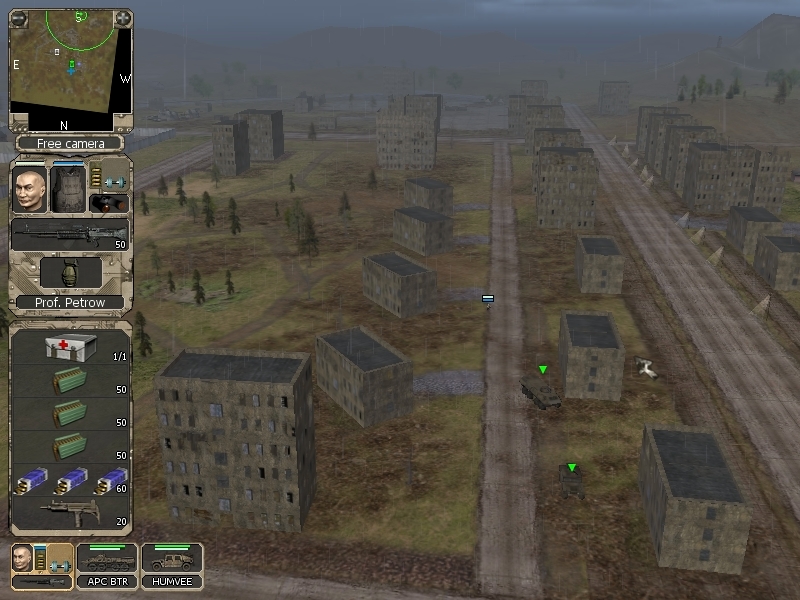
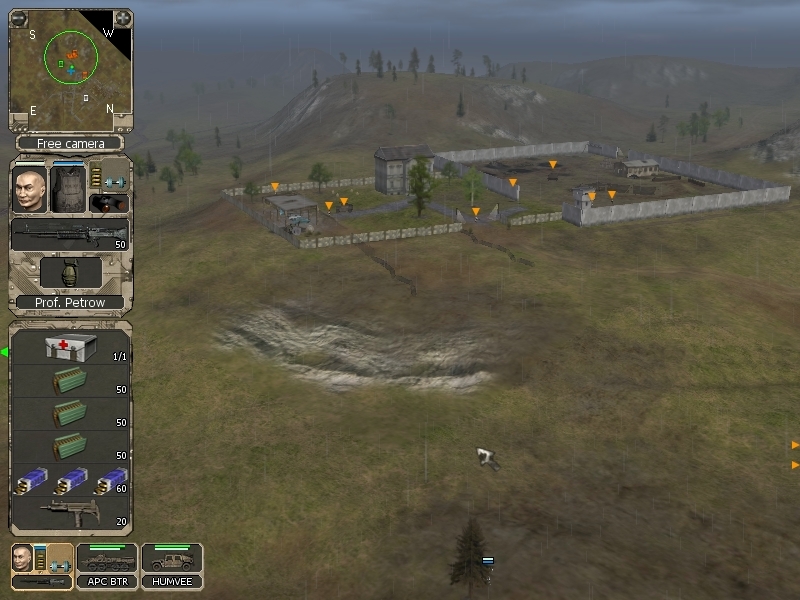
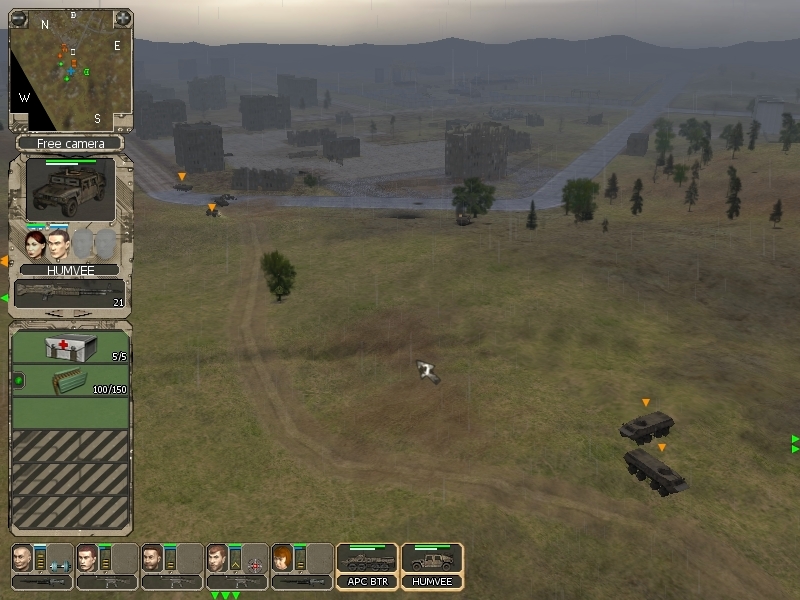
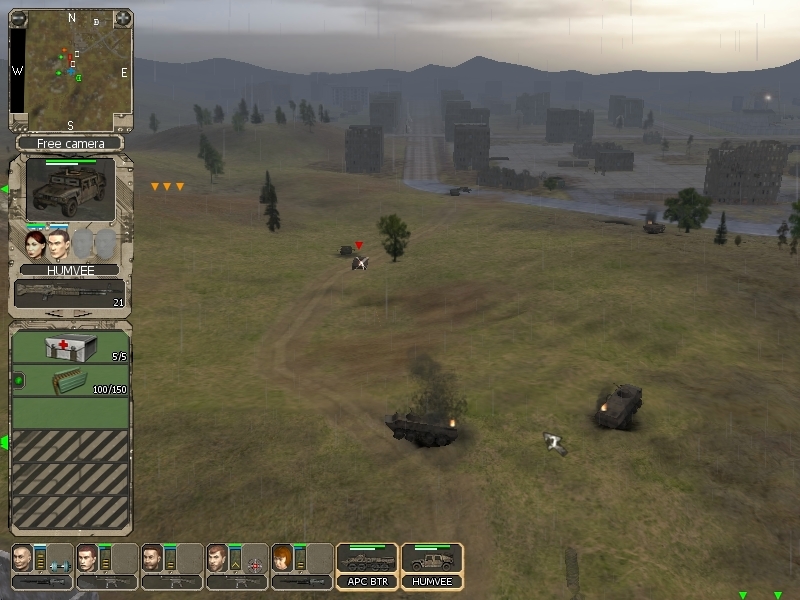
But there was also another group in the area...

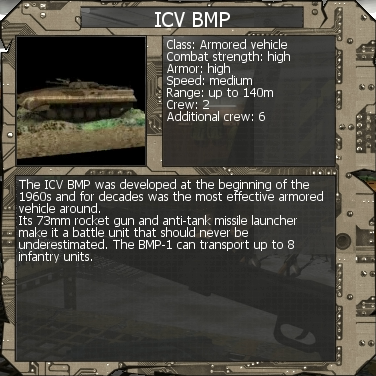
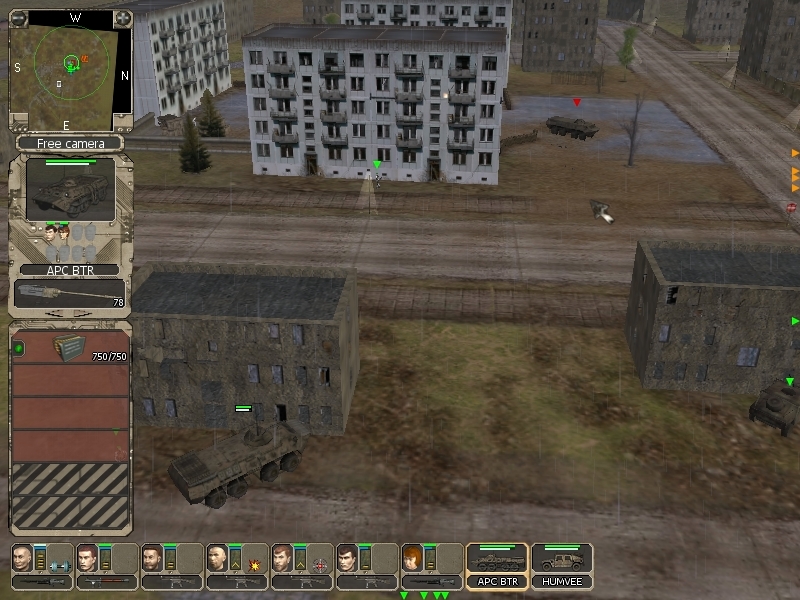
Say hello to the first real tank, the BMP. It's technically an APC, but the strength of its armor makes it more like a tank for this game. It is armed with a 73mm cannon, an anti-tank rocket launcher and has a 7,62 machine gun. This baby can do a lot of damage, and isn't easy to take down either. I'm going to talk about it a bit more during the next base update, so let's leave it at that.
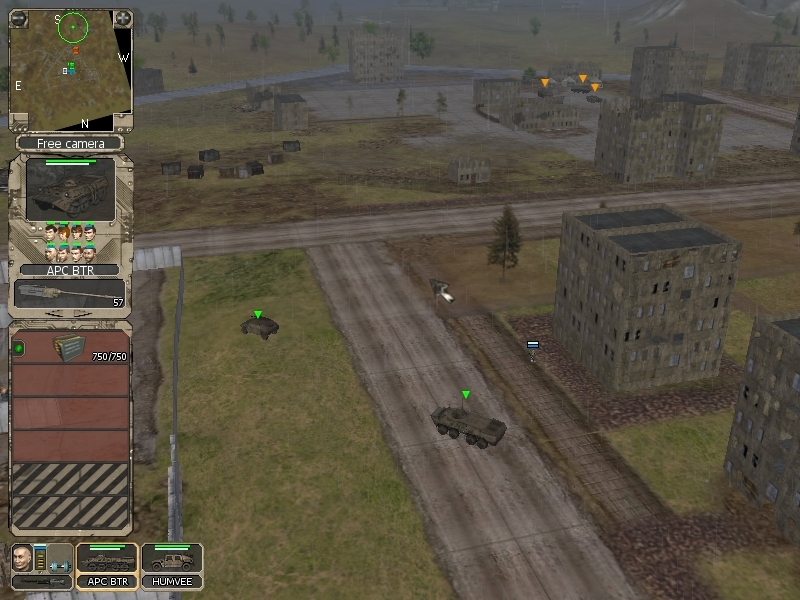
Now, let me be clear and say that I have zero chances to fight this group. Two BMPs will just stomp over me, no matter what plan I can come up with. But luckily, I'm not forced to! Remember what the briefing said about other gangs in the city? Yeah, that's one of them. They belong to the TFR, which is a very militarized and organized gang. The Claws are more ragged and closer to regular criminals, but I'll show them later. If you don't go near this group, it won't budge. So I'll do my best to just evade them, which isn't hard.
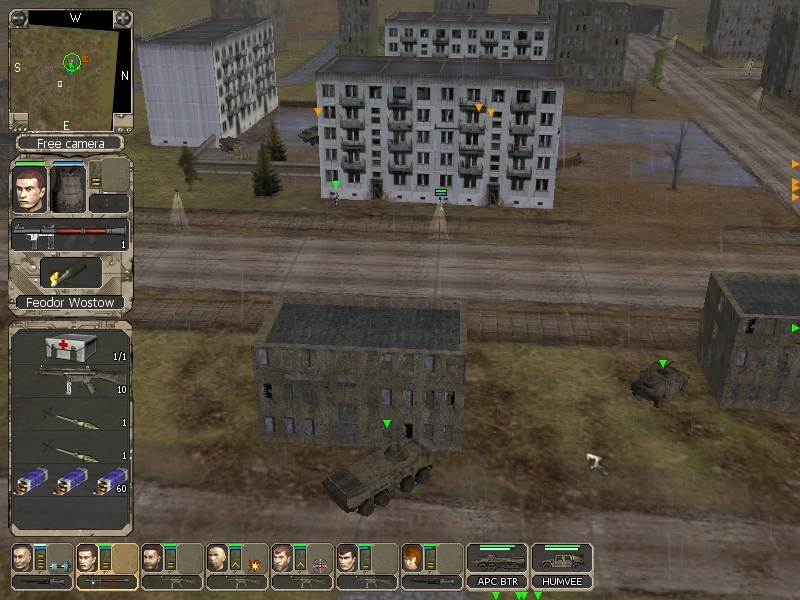
Off to our marker we go...
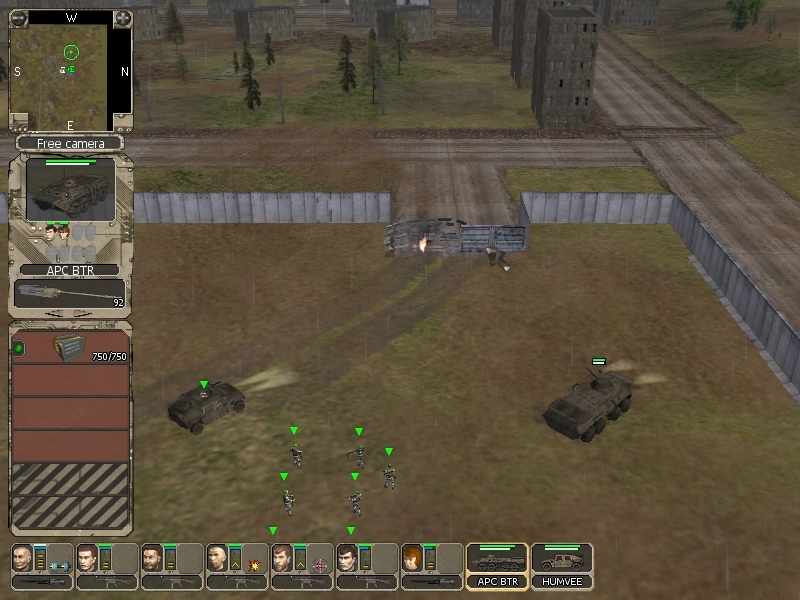
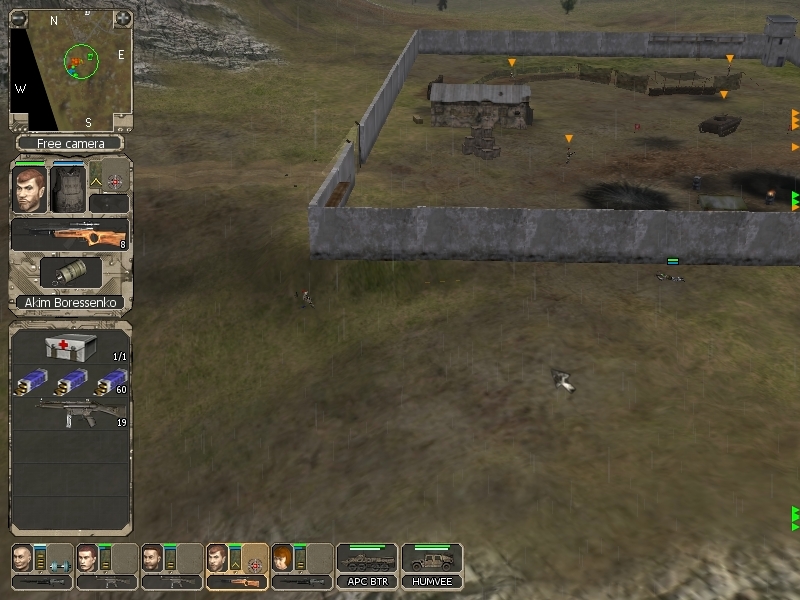
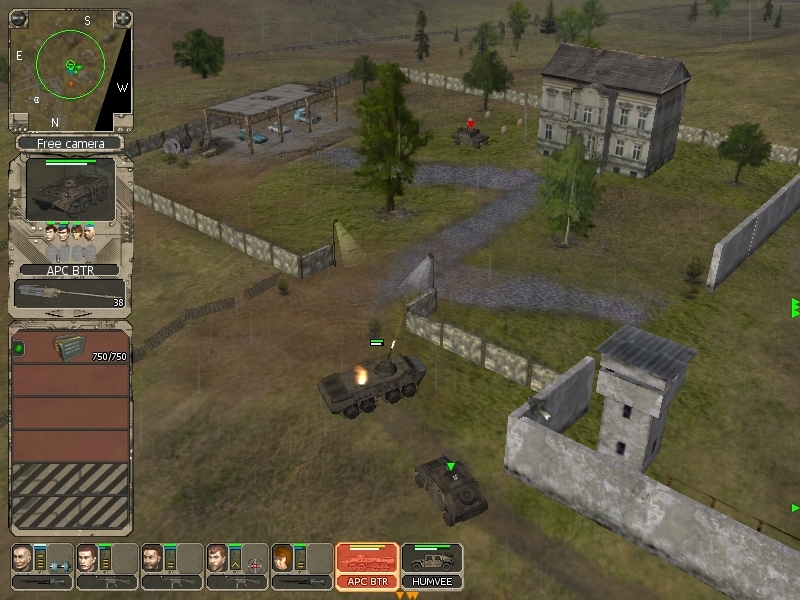
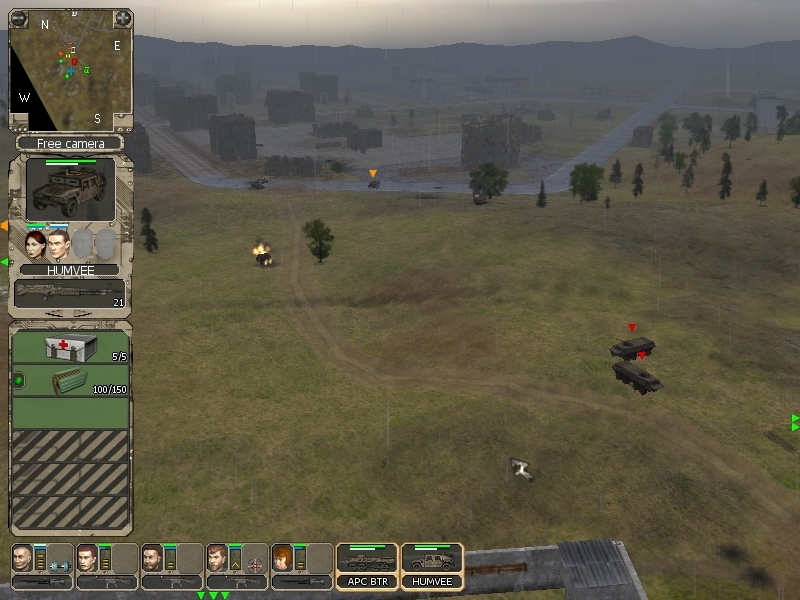
Okay, the BTR is the only real problem here, and I'm going to exploit a quirk in the enemy AI to take him down without much hassle.
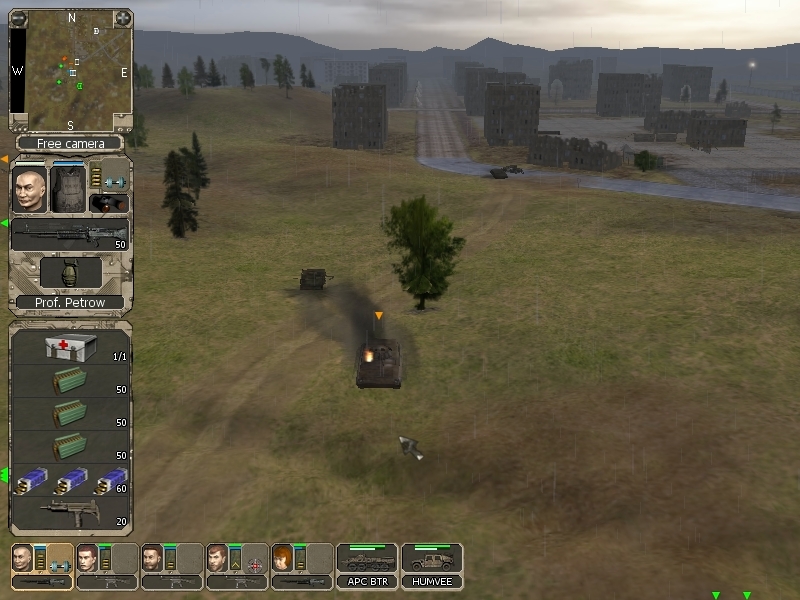
Prof throws a grenade over the wall...
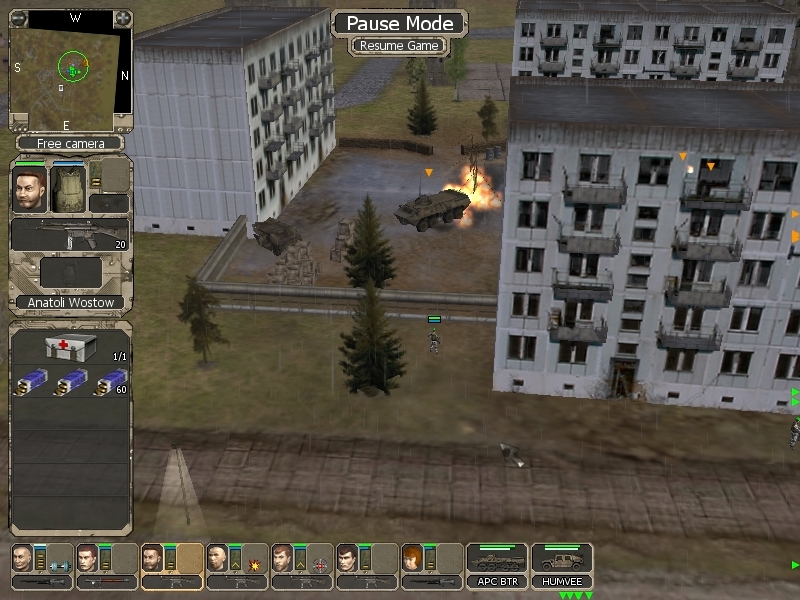
This prompts the BTR to drive up to the wall, while trying to reach Prof. It'll take a second before the BTR realizes that this is futile, and drives out of the compound.
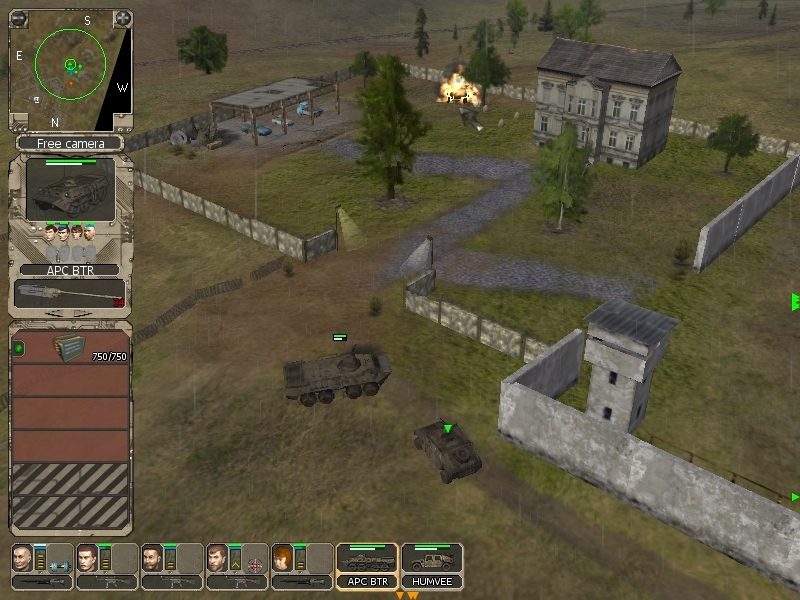
The infantry however, is smarter and runs out immediately.
Right into my waiting Humvee

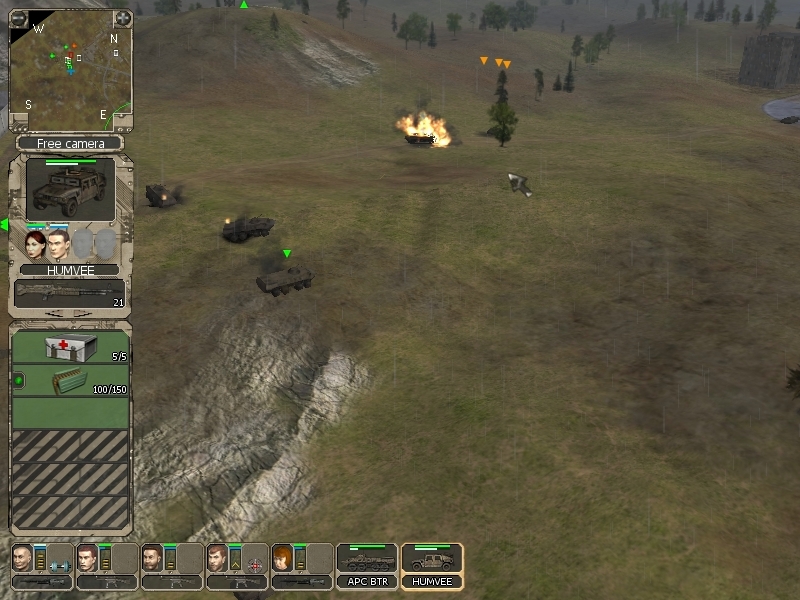
When the BTR comes out, everyone is hidden. See the one guy behind the building? That's Feodor with his trusty RPG.
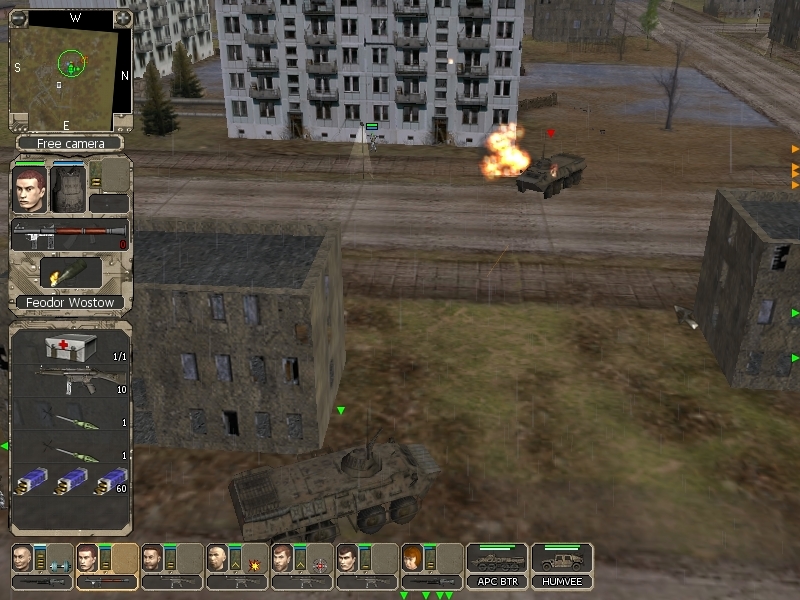
I love crossfire

Feodor lost half of his vest to the BTR(even if the inventory display hasn't updated yet), but that's an okay trade.
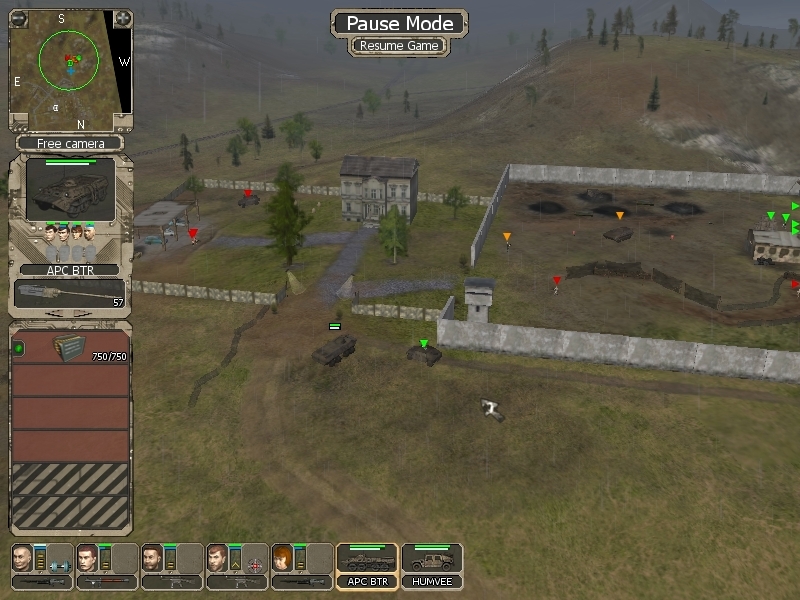
Let's check out the marker..
Well, now things have gotten interesting indeed. Apparently, NOAH is a scientific organization that researches the cause of the disaster, while also trying to improve the current situation. Those guys are exactly what we have been looking for! They are secretive, but since we have a buddy in the Seeker guild, that shouldn't be too much of a problem. We've also learned where the boss of the Slingers hangs out for real.
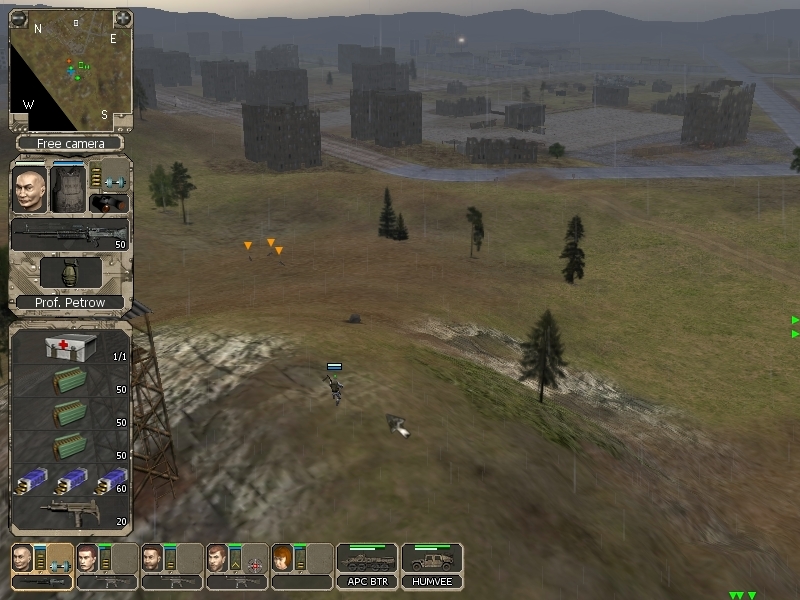
The new marker is actually past the other edge of the city.
On the way, I discover where the Claw gang is hanging out.
This group is a bit weaker, but there is really no reason to engage them. And in fact, both gangs will come into play later, so let's ignore them for now.
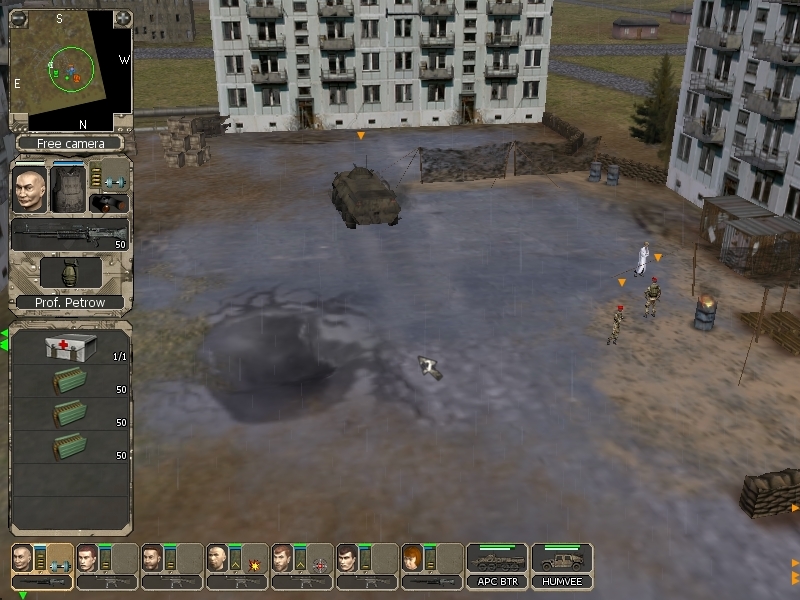
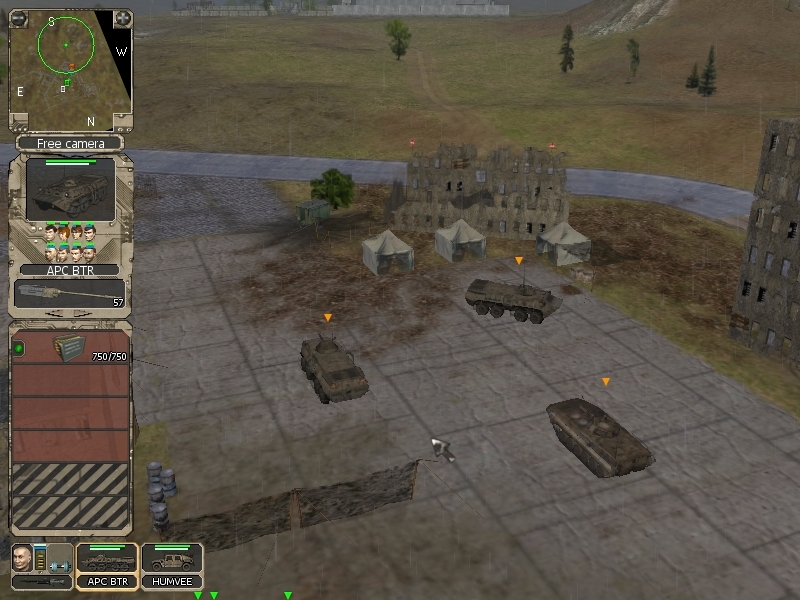
Vigo's villa is located on a small hill past the city. I decide to take the long way around, and scout the place.
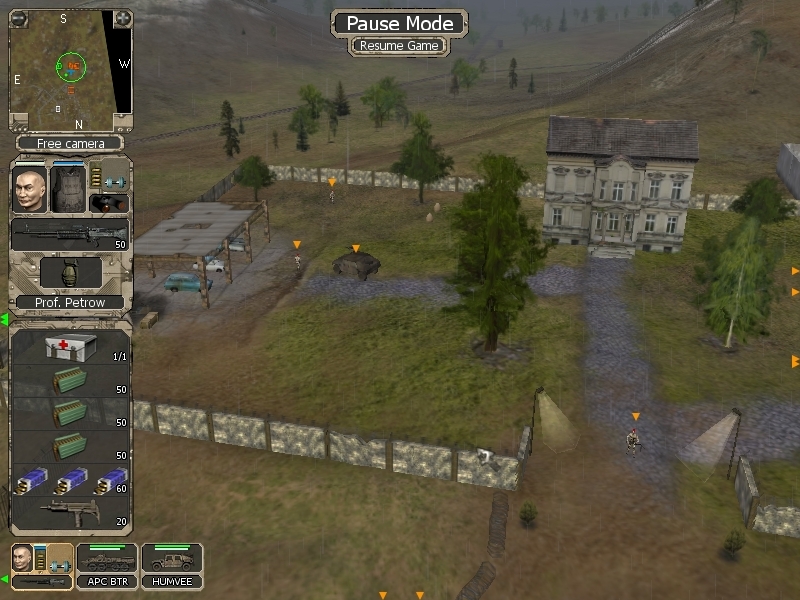
Some soldiers and a Humvee is no problem.
Ah, damn. There is a BMP in here, and I'll have to fight it.
And this is Vigo. A snappy dresser with a M60

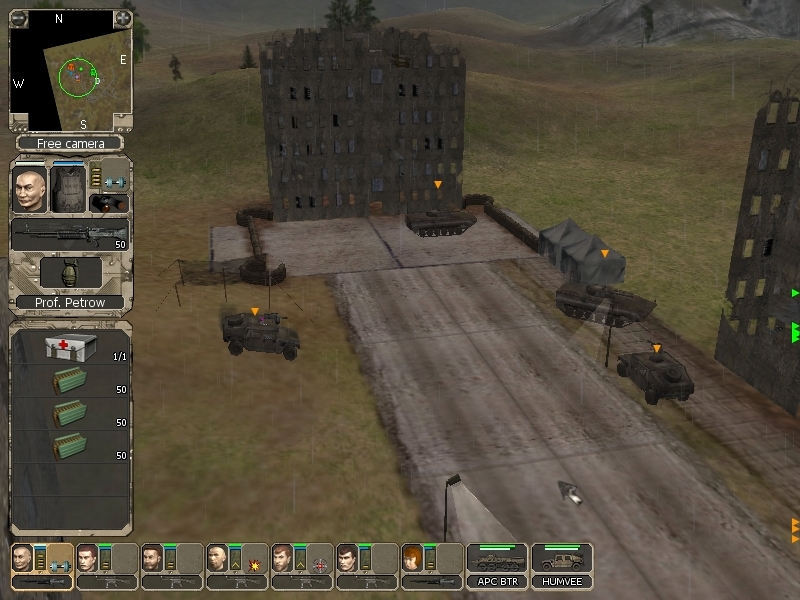
Okay, the prospect of dealing with a BMP can be a bit intimidating at first. But as always, there is a way to do it.
I split my unit into a boot and wheel group. My boots will sneak around the backside of the compound, while the wheels will go in from the front.
There is a single patrol behind the base, which is no trouble for Akim.
He also plugs a lone guard inside of the compound, when nobody is looking.
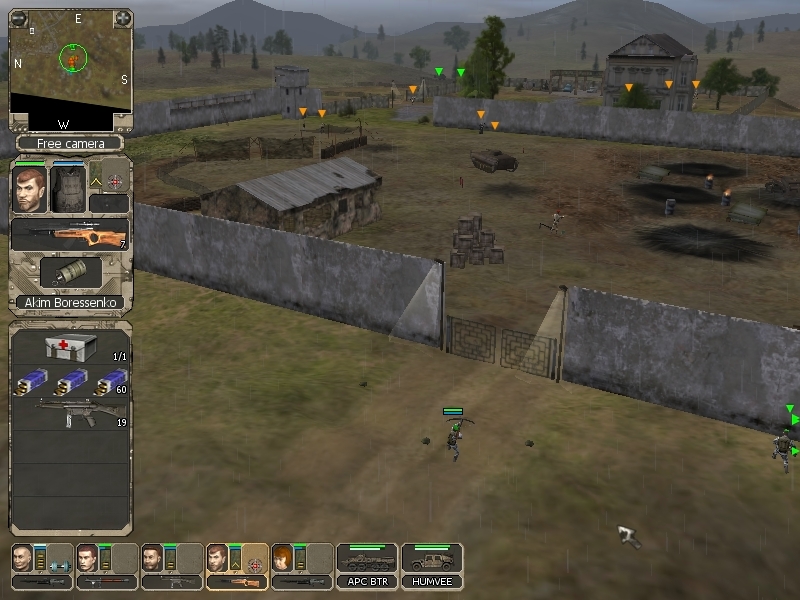
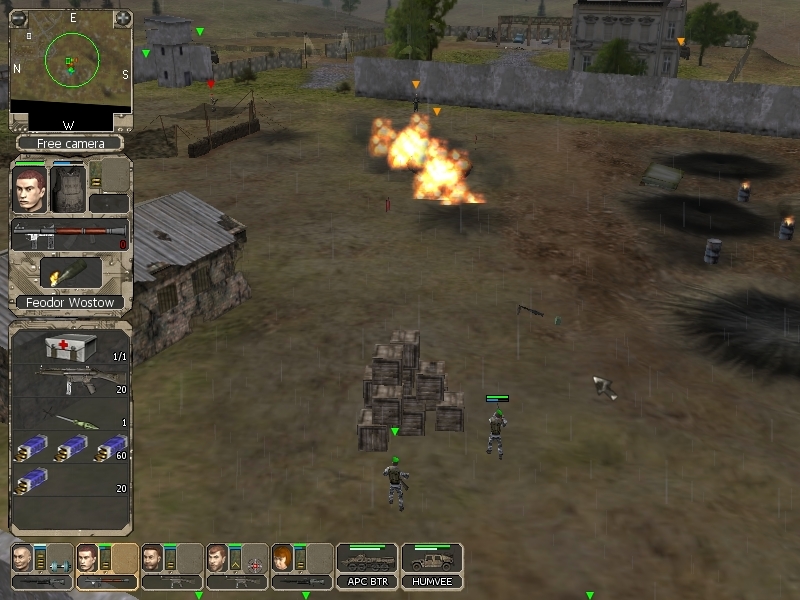
You can hop over the gate here, and sneak inside. I'm going to hide some soldiers behind the crates, who will ambush the BMP with rockets and grenades. If you're out of RPG rounds at this point, you can also find another type of rocket launcher near this gate. I also want to point out that there are mines here, and in fact, there are a few more clusters inside of the base. This is a nasty surprise for a player that decides to bust through the walls and just rolls in.
Feodor and his dad sit behind the crates, and the rest of the group will jump in when the party starts.
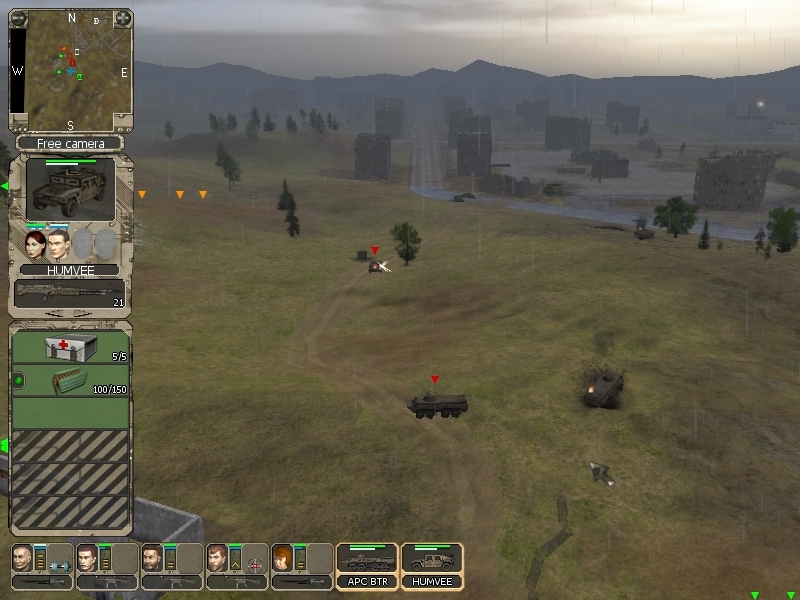
For maximum diversion, I decide to attack the front gate first, and discover a little problem.

The terrain in front of the base is broken. See how close my vehicles are? Yeah, they don't have a line of sight on the soldier right in front of them. Probably an invisible wall or some other type of mapping error. Luckily, this is the only error like this in the whole game. At least to my knowledge.
My vehicles awkwardly wiggle around the error, and shit is going down.


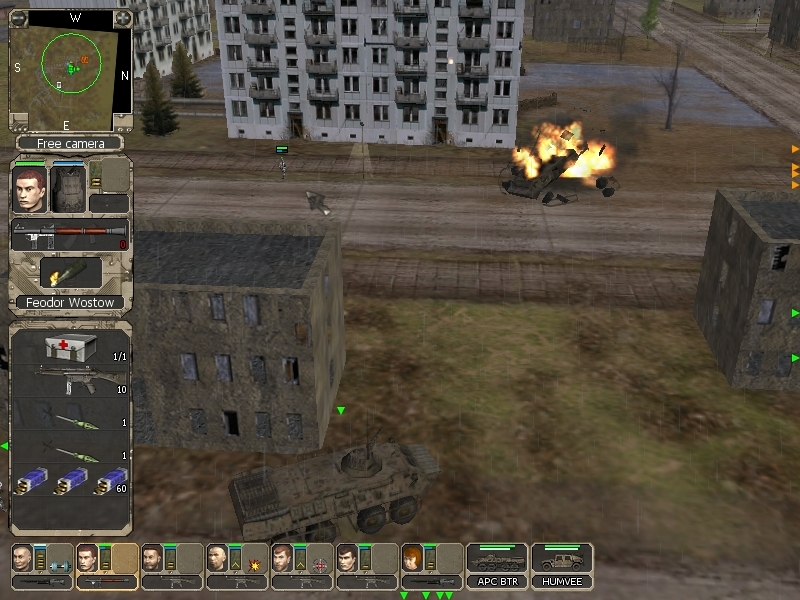
Haha, you say that...
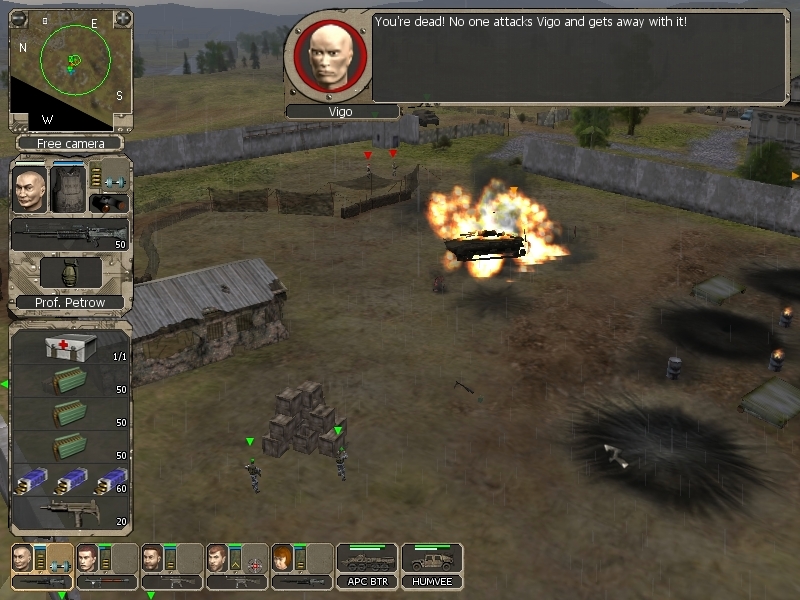

Vigo is scripted to jump into the BMP when you aggro him. He didn't make it this time, and also survived the splash of the explosion.
Welp
My units clear out any surviving Slingers around...
..while their Humvee still manages to land a fire grenade on my BTR.

Oh well.
 "We've taken out the boss! But it's getting a little too hot around here for my liking.. All this shooting has woken up the other gangs."
  "Ok, mission accomplished! Get out of there!"
 And now the other gangs come into play.
Since you took out the Slingers, both want to make a grab for control of the area. You have a very small window to loot what you can, and get the hell out. As said, you can't fight these groups. But, there is also another option here. Granted, you can't really know about this in advance, but figuring it out isn't too far fetched either. See, both gangs aren't friendly to each other, and their scripting reflects this. Both will drive to the villa, and aggro on your units if they spot them. But, and this is important, if one of the groups reaches the villa without seeing any of your units, they will chill for a moment, and then aggro on the other group if sighted. Can you see where this leads? I'm going to mop up whatever survives and then loot the area in peace. And most importantly, this battle has a good chance to leave some salvage for me.
So, while the majority of my units fuck off, Prof climbs a small hill next to the villa and provides me with eyes on the area.
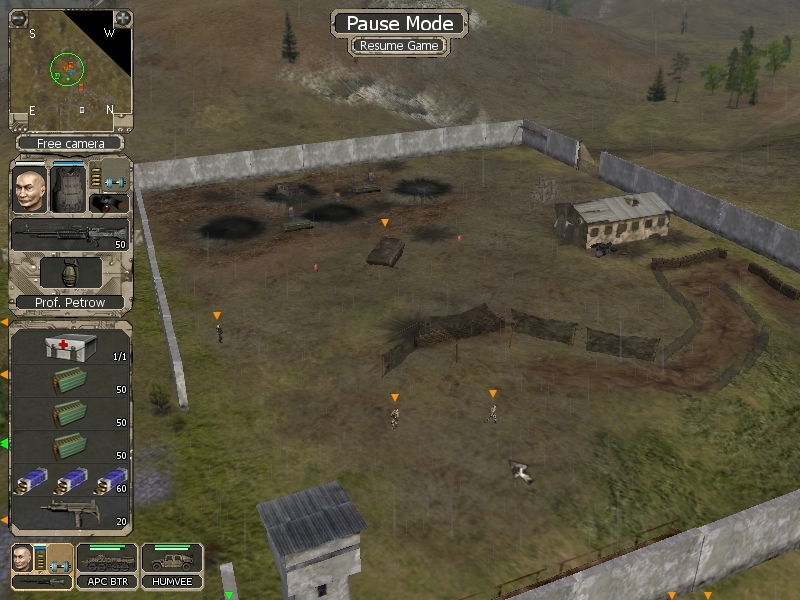
Two Claw BTRs reach the villa first, and then I can hear a bunch of action inside the city. Sadly, Prof was a bit too far to see it, since I wasn't sure where I could place him without being spotted.
It's a bit hard to see, but the TFR lost a BMP and a Humvee, while only taking out the BMP of the Claws.
This is a roughly even fight.
Except that the AI as no concept of keeping vehicles together. Poor Humvee
")
The BMP comes out swinging, disables one target and gives me possible salvage.
Make that two!
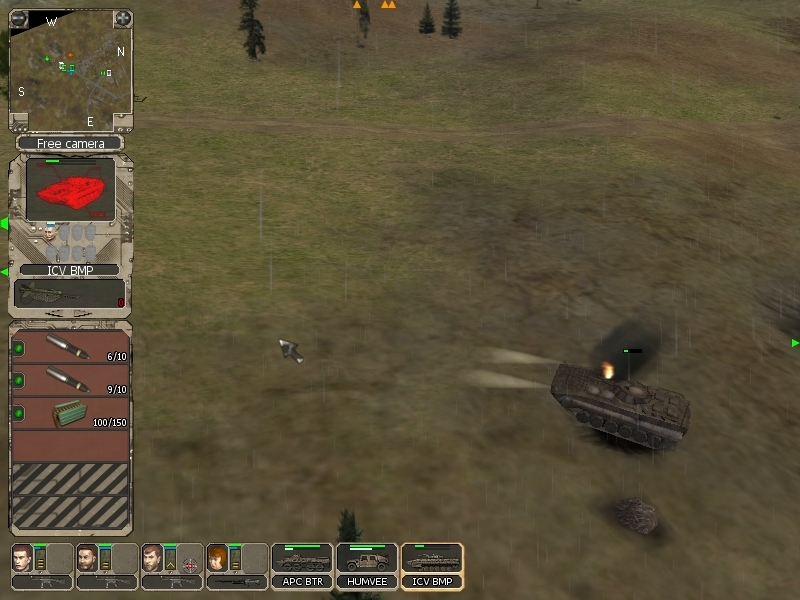
Now, that BMP is all fucked up, but it can still dish out a nasty hit. The 73mm cannon is no joke for my squishy vehicles. Still, I have to finish what I started and send out my BTR since it has the longest range..

You probably can't really see it, but there is a black cloud right next to my BTR. And look at its armor bar. The splash from the shell still ate a big chunk of the upgraded armor. Yeah, fuck getting hit by shells in this game!
But hey, all ends well and I can go on a looting spree.


The BTRs are vendor trash, but they are free and still have ammo.
And then I discover something really, REALLY awesome!


One of the BMPs in the city was still going! This a huge fucking deal, since it also comes with 15 AP shells. That stuff would have been very expensive to buy! And Wlad probably won't even stock such numbers, in one go, on my difficulty level. Also, having a BMP ahead of the curve, will make the next mission much more painless. So you can bet that I'm going to fix this one. Truth be told, I kinda hoped that this would happen. You really can't influence it, but there is a realistic chance that one of the BMPs will survive. On that note, I'm also going to talk a bit about the finer points of vehicle combat soon, since it'll become relevant with the next mission.
Well, there is still some loot in the villa, but it pales in comparison to my sweet BMP. (I'm really happy about it, in case you couldn't tell)
- Four grenades
- SA7 Grail rocket launcher
- Uzi with a stash of ammo
- Ak-74 with a small stash of ammo
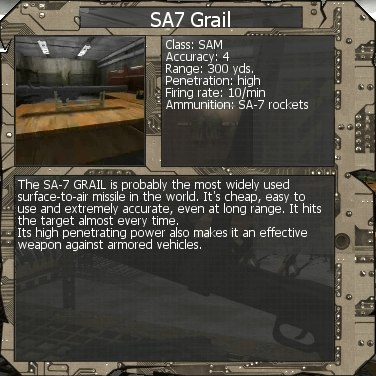
By design, the Grail is an anti-aircraft weapon. It's really good against choppers, killing the weak ones in a single hit. But you can also use it against ground targets. It's stronger than the RPG, and I think you don't need the heavy weapon skill as much, since the missile is guided. Sweet thing, but I'm going to stash it till later in the game.
Well, now we are done with the mission. We actually have to drive back to the starting point this time, to trigger the ending screen. But there is still one sneaky secret to find. This map is pretty much the king of sneaky secrets.

Remember the train tracks next to Vigo's villa? They actually lead all the way to the edge of the map. And if you follow them...
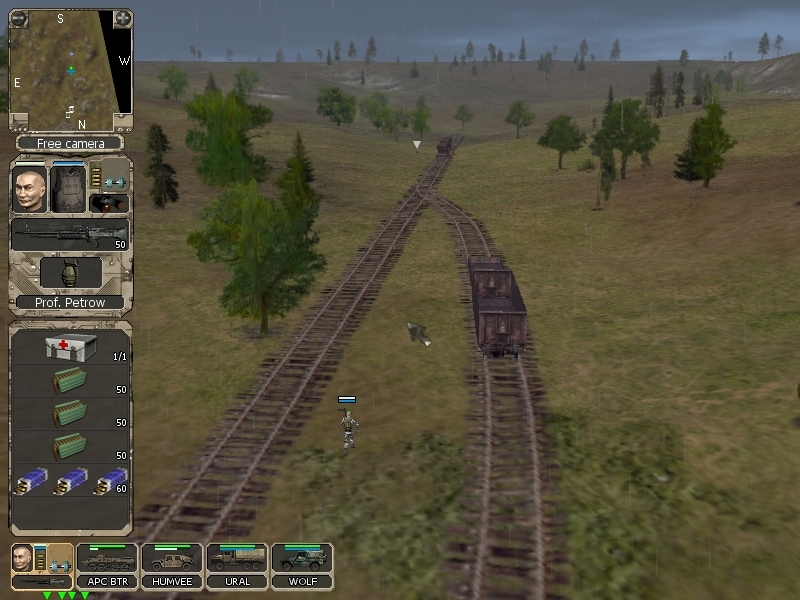
...you will find a conversation.

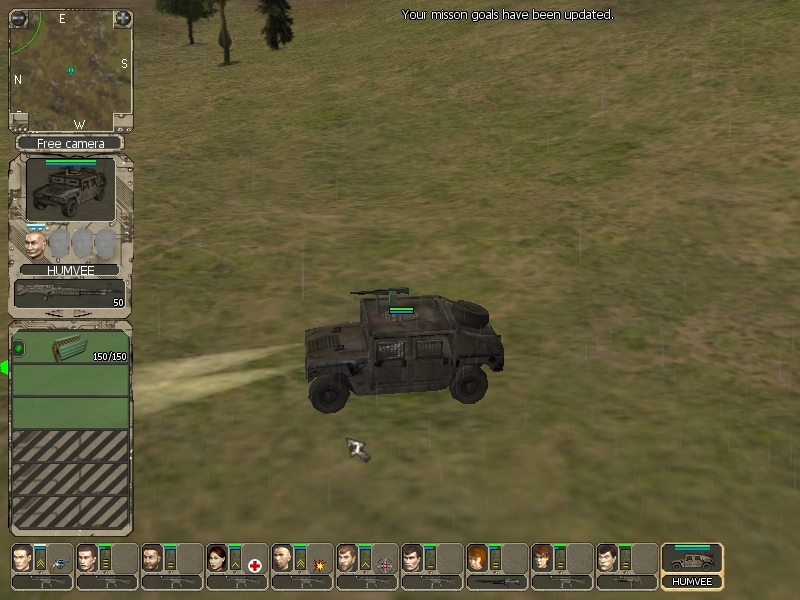
Well, Humvees are close to becoming trash at this point. But I won't complain about a free one
Time to bounce.

I'm just including this screen to illustrate that you don't need to actually drive off with your salvaged vehicles. If you entered them once, they will show on the ending screen.
Like so.