Part 14: Heroes Die Young - Part 1
Heroes Die YoungOur objectives are very straight forward this time, just follow the road towards NOAH and kill some Claws that are in the way. Since we can also help out some civilians by doing this, it's a win for everybody. Except for the Claws, of course.


Since we have a pretty solid core, this mission won't be that difficult. I also want to say that it's kind of a filler-mission. It's not bad, mind you. But the design is pretty lacking in comparison to all the other missions in the game.
Okay, there are a few things to talk about here. First, our mission just got a bit more complicated, because Mc Nowel blew up the bridge to stop the Claws from chasing him. Now we have to take the long way around, and punch through their camp before cleaning the city. Luckily, Mc Nowel also came up with a plan that'll make our assault on the camp a bit easier. And lastly, his friend Beck is currently being tortured by the Claws, so we probably should help him out too.
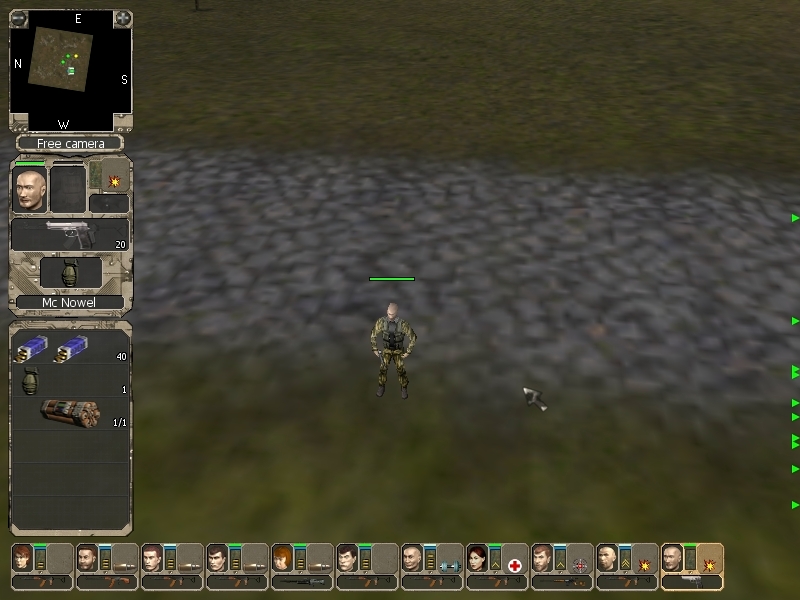
Mc Nowel also joins our squad, but since he is pretty much a replacement for Boris, I'll probably bench him after this mission.
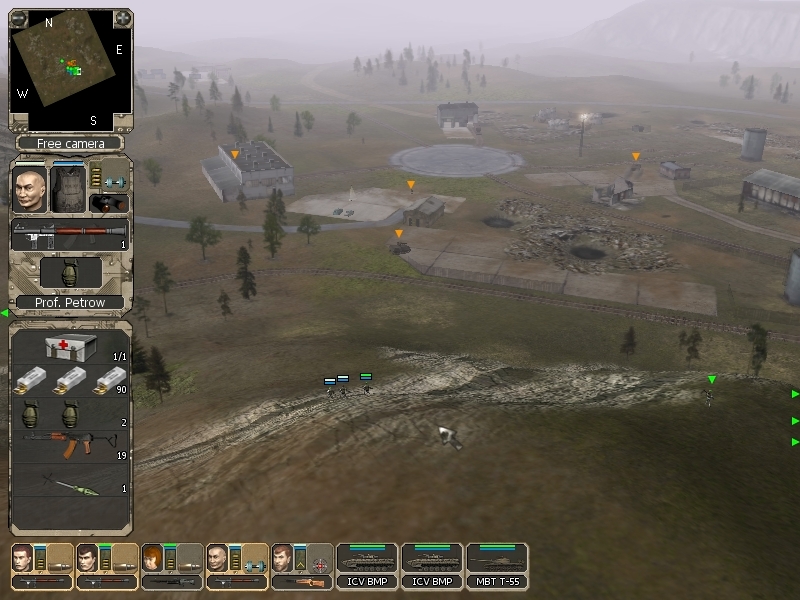
Okay, let's get our bearings.
The city is really close to our starting point, but Mc Nowel had to ruin our way there.

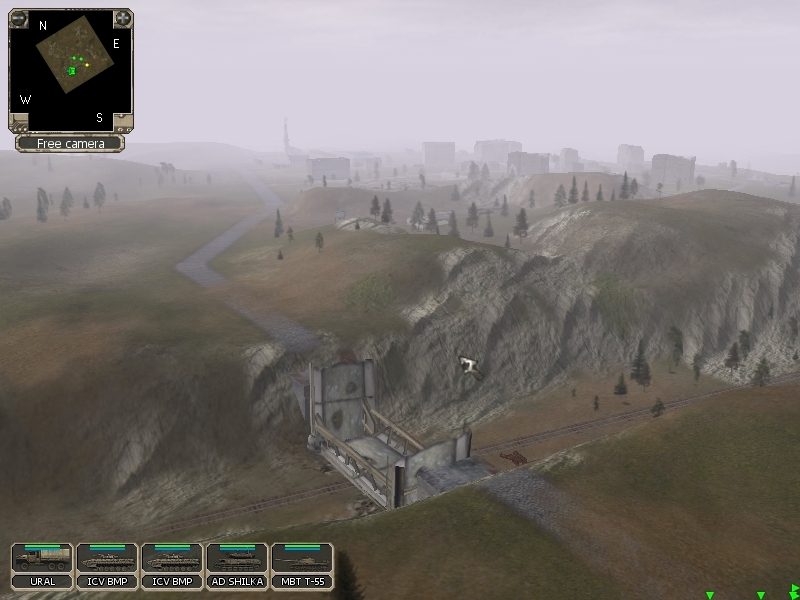
Following the road into the other direction...
...leads to the fuel depot near the Claw camp. This is what we need to blow up, so that the Claws will come looking.
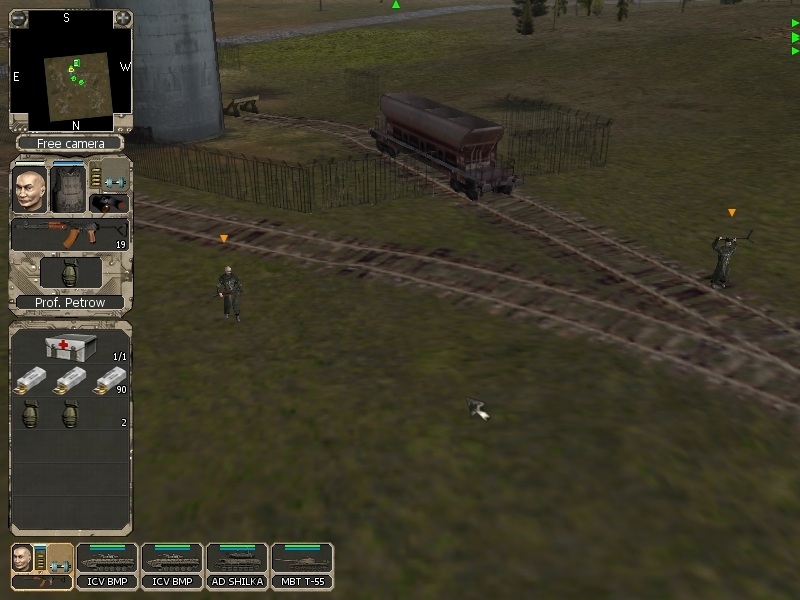
It's guarded by two soldiers, and one carries an RPG.


Before we get on with that whole diversion thing, let's see why we actually do this.
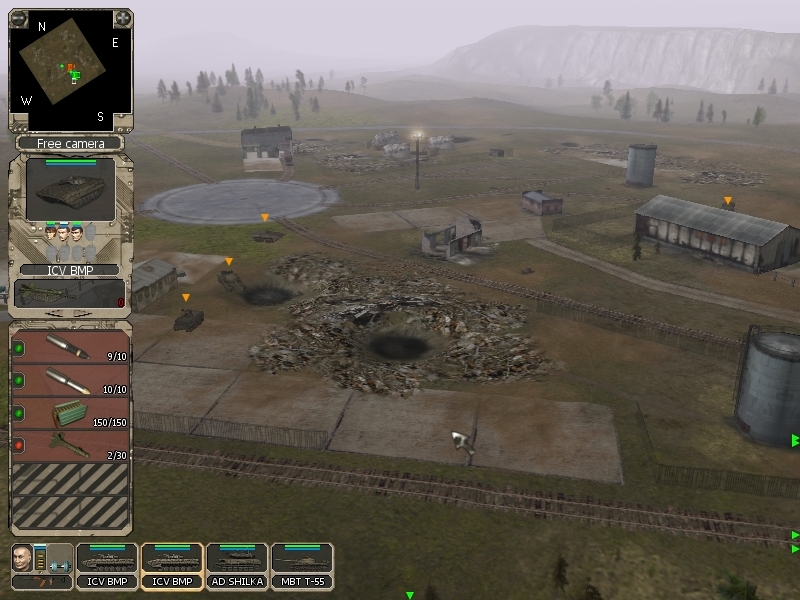
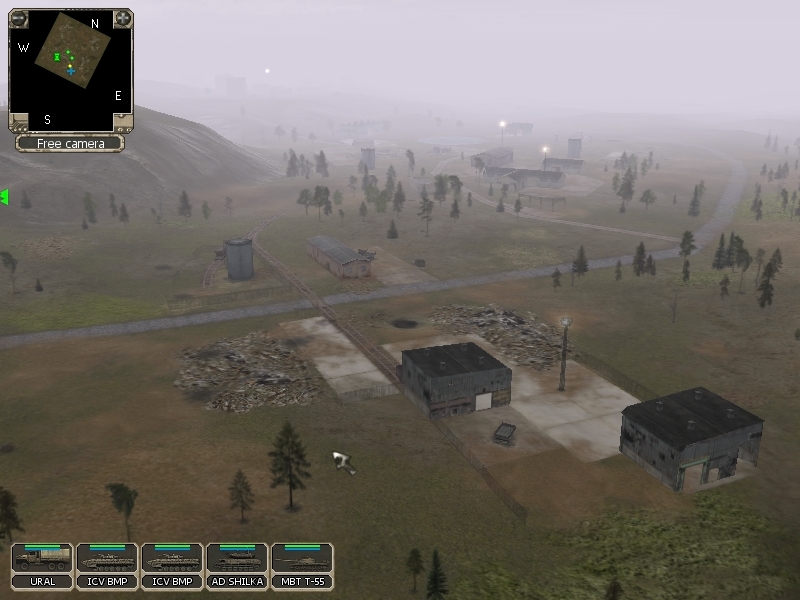
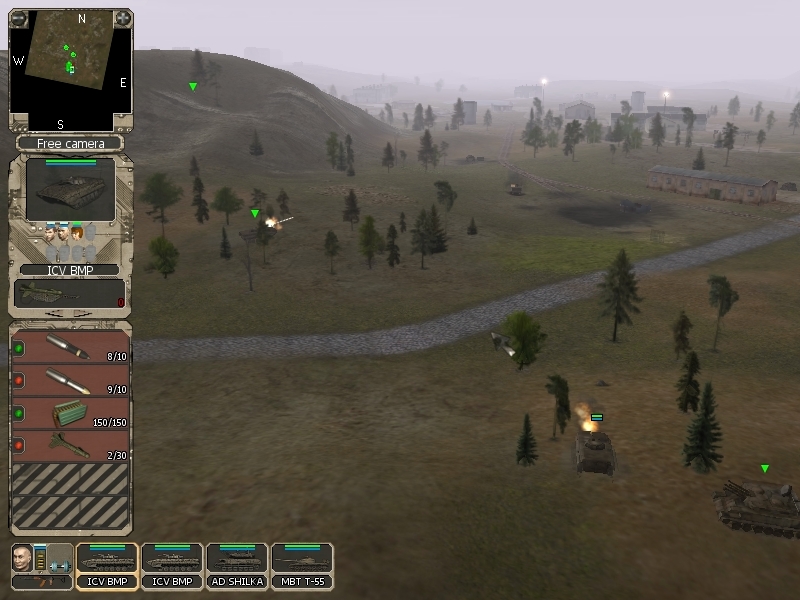
The Claws have parked the majority of their forces in this large rail yard. It's a neat touch that it actually has a platform for switching tracks in the middle. Right now, we can see four vehicles. But there are actually like six around, including two T-55s, and a squad of infantry. If you're balsy, you can just engage them, but it'll quickly turn into a messy battle that you can hardly control. So let's divide and conquer those assholes.
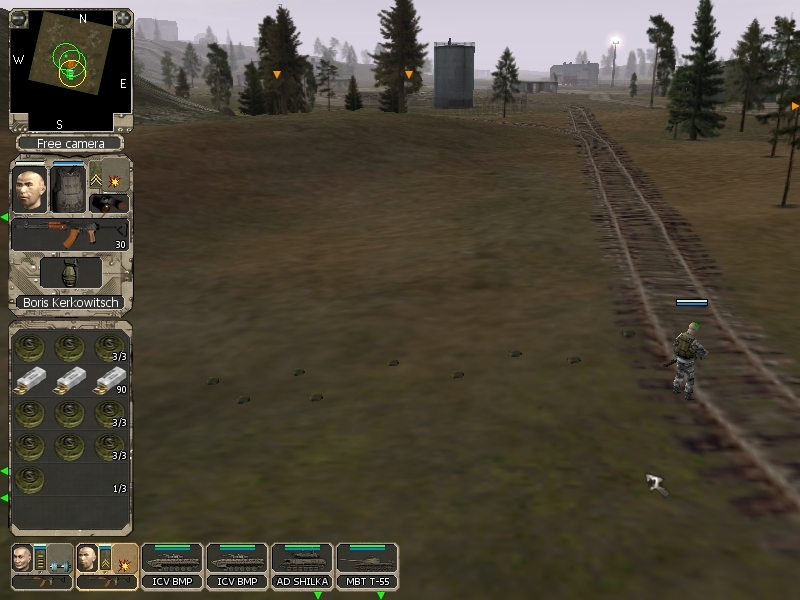
First up, I place some mines between the fuel depot and the camp. I just want to thin out the response force a bit.
Then I set up my troops.
My tanks will fire from the forests, while Prof provides eyes on the situation. And Boris is on his way to place the explosives.
Here we go...
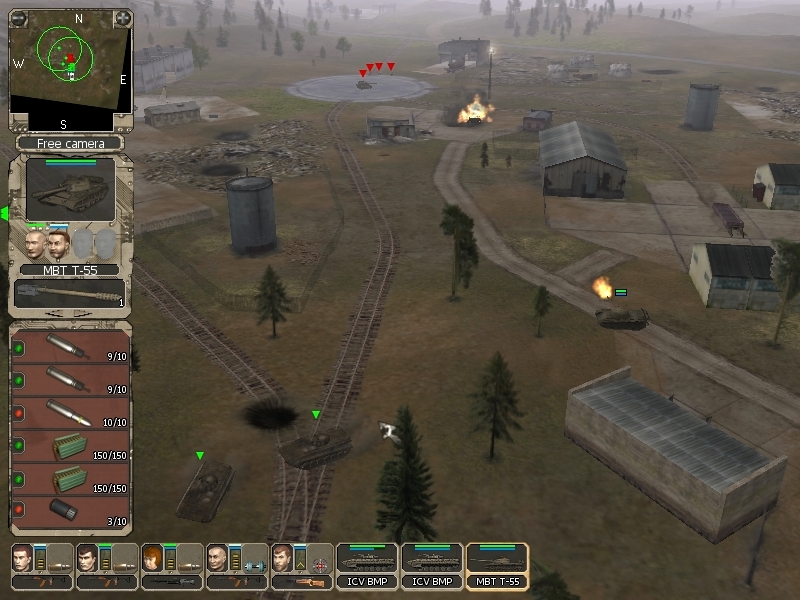
The first responder is a Humvee...
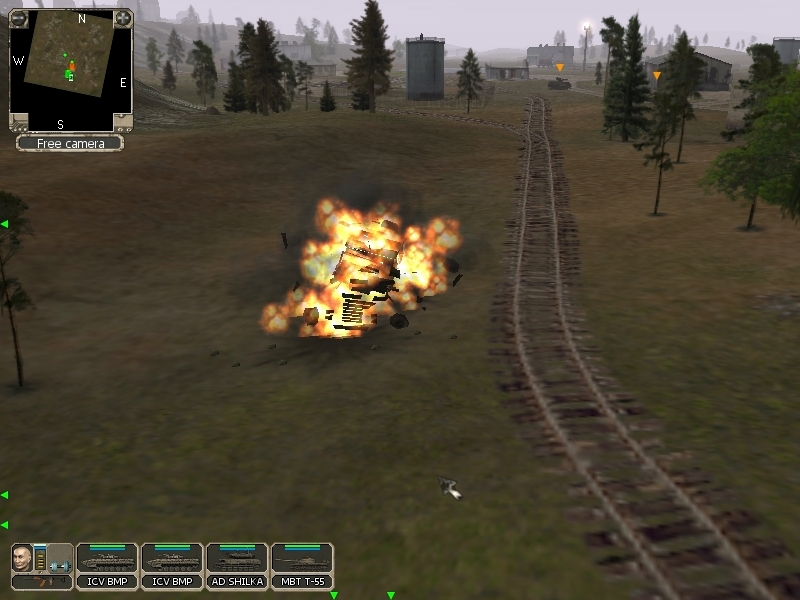
And he's followed by a T-55 and a M163.
I honestly didn't expect that my mines would to be so effective! I really planned on ambushing the tank from my sneaky position in the woods, but this group of vehicles just insisted on following the same path.
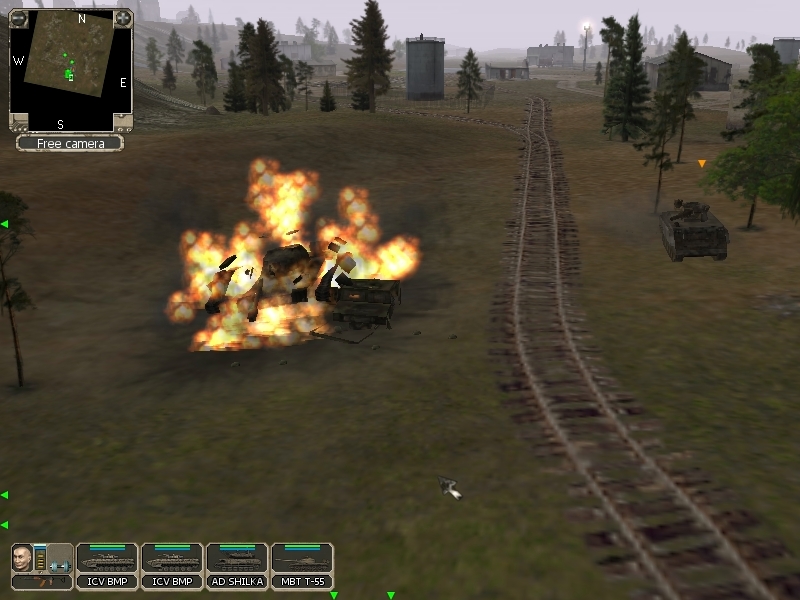
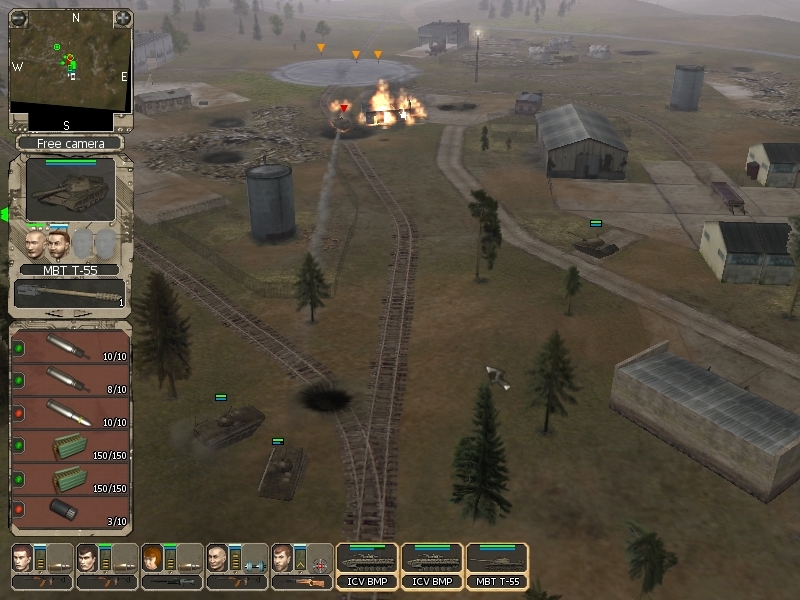
Yeah, like that.

I didn't want this to be so cheesy, but here we are. At least the M163 survived and drove into my ambush.
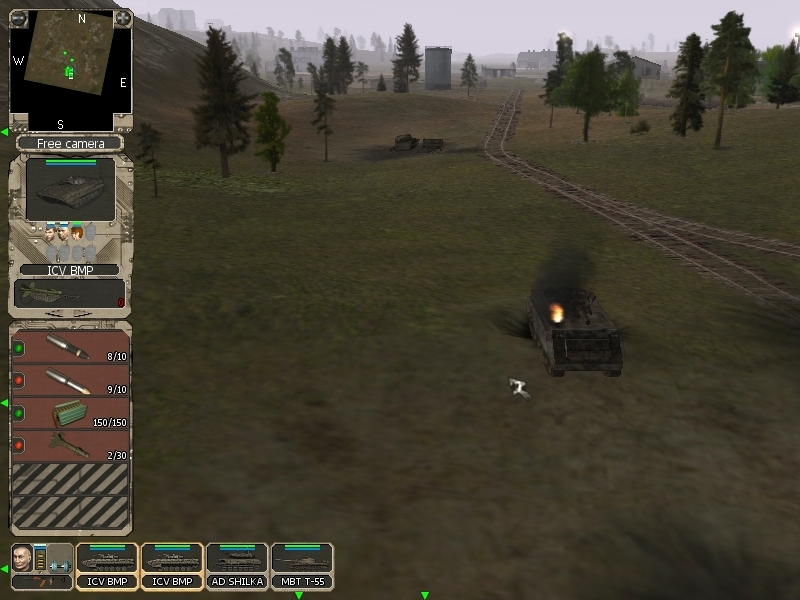
I'll take that salvage, thank you.
")
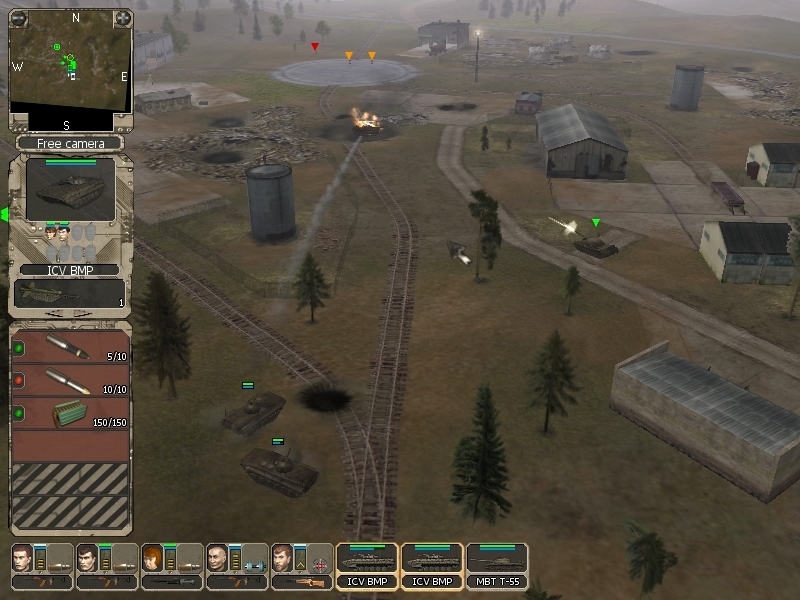
Okay, with that part out of the way, let's take a look at what's left in the train yard.
It's hard to see, but there is a BMP and a M163 in view, supported by a few soldiers. The area also hides another T-55 and more troops, so let's take them apart surgically.

You'd expect that to alert somebody, but nope. The M163 was out of sight, and just far away enough to not be heard. At the beginning of the LP, I mentioned that the stealth mechanics are kinda arbitrary overall. And this is pretty much the best example.
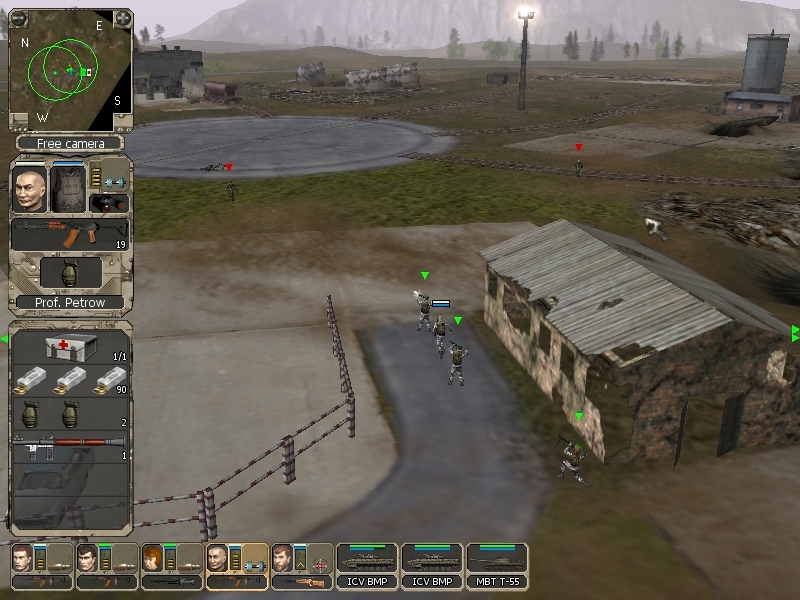
After that, Akim slips into the camp because I want him to assassinate somebody.

See that guy behind the warehouse? He carries a Dragunov and I want all of his bullets. He will happily waste them on your vehicles, even if he can't really hurt them. And as said, Dragunov ammo is the rarest personal ammo in the game.
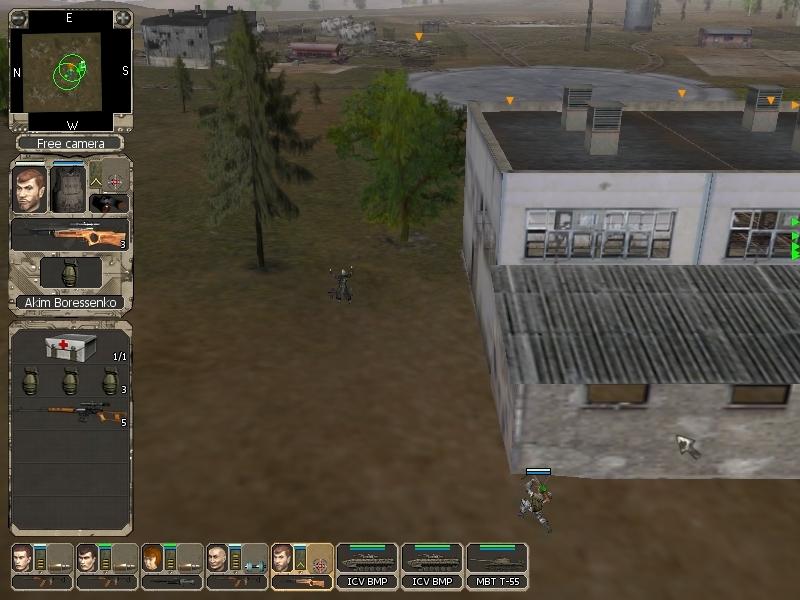
Nice and clean. Though, I'm worried by only having three bolts left. Wlad just doesn't want to stock any

Well, that was enough commando stuff for now. It's time for some hard action!
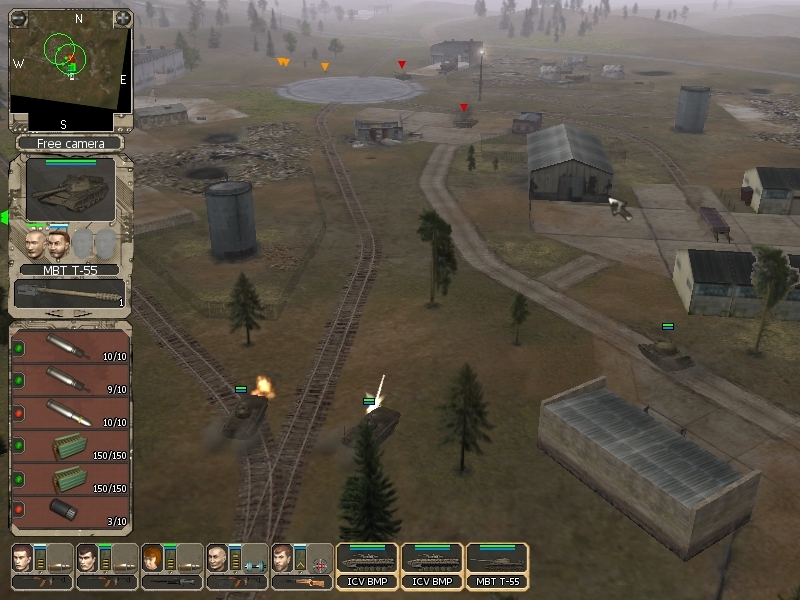
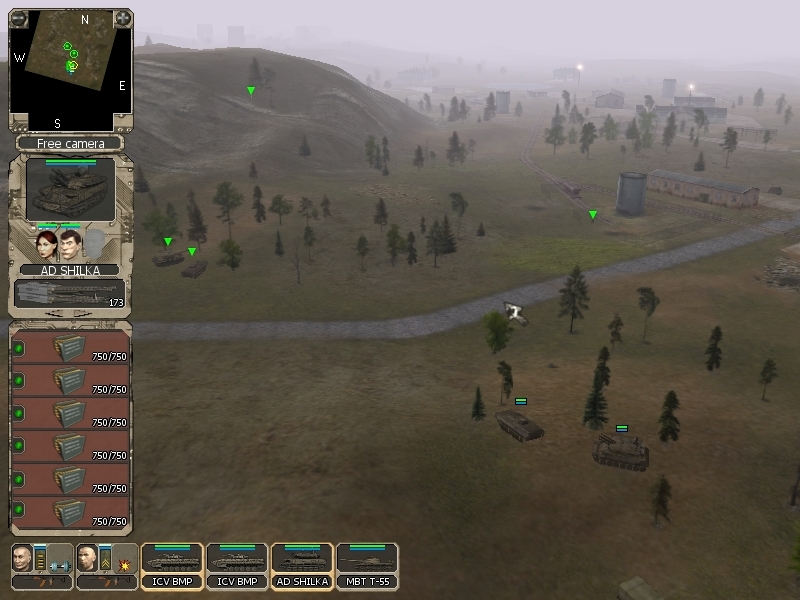
My tanks assault an enemy BMP, and alert the rest of the forces. Since there is a T-55 in the area, I'm a bit careful and keep my distance.
The hostile BMP returns fire..
And does almost no damage, despite landing a direct hit! I really have no idea what happened here, probably some kind of RNG luck
On the other hand, the hostile BMP is also surprisingly resilient.
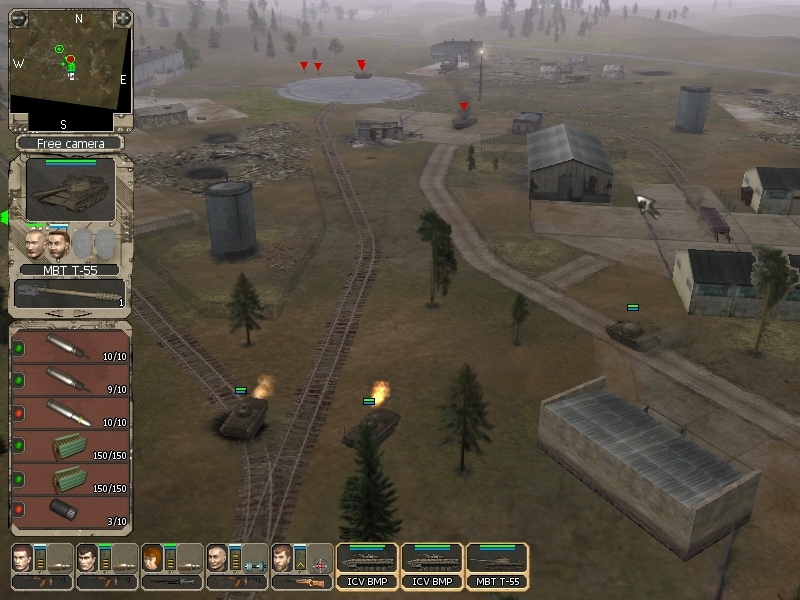
Until my T-55 gets in on the action..

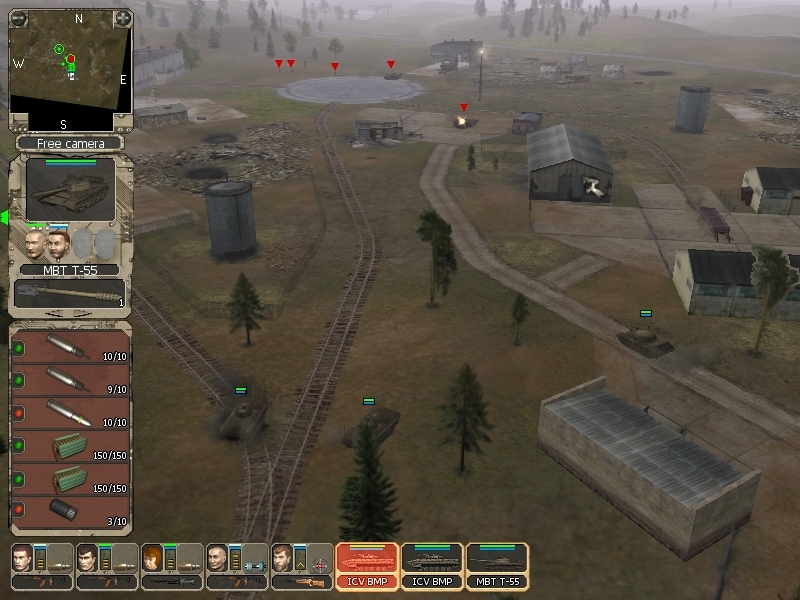
As you can see, my BMPs are moving back a bit. I really don't want them to get targeted by the hostile T-55, so I offer my own tank as bait.
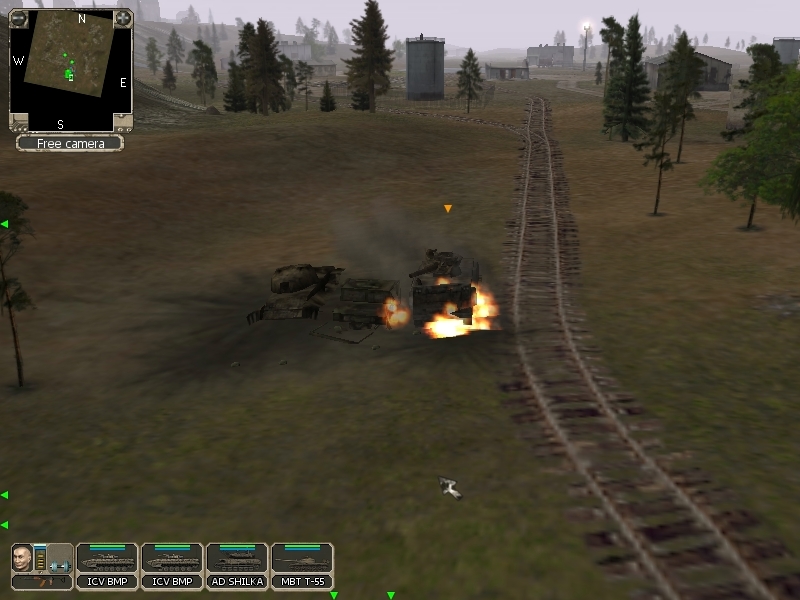
As soon as the hostile tank drives up, I greet him with AT rockets and shells. This also destroys the ruined building next to him, in one large explosion. The tank survives, but I still get a sweet advantage here. See, most explosive weapons will leave actual craters on the map, and bigger impacts also leave deeper craters. The T-55 is now stuck in a crater for a moment, and has to wiggle out of it before he can fire at me.
But I won't even give him the chance.
Then my soldiers rush into the base, and clear out any remaining Claws.
Job done!

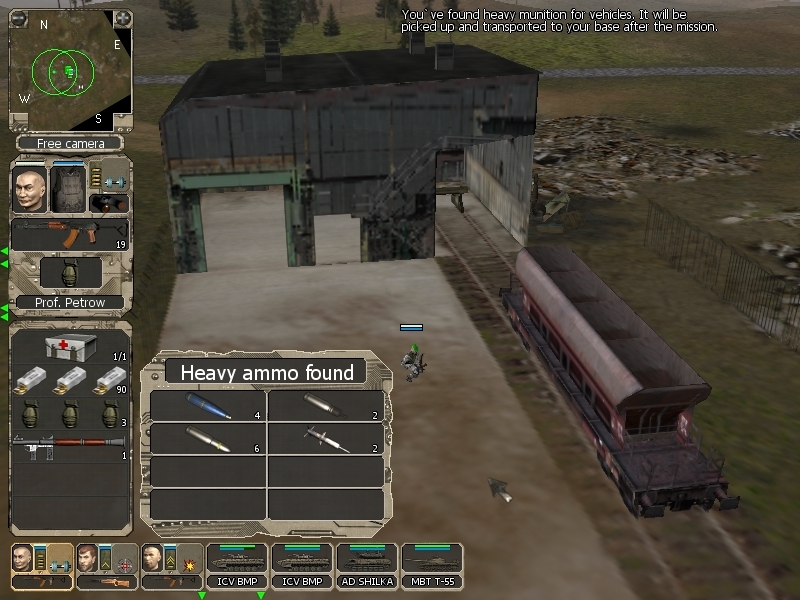
There are two heavy boxes in the area, but I'm not going to list the exact contents as you can see that in the ending screen for each mission. I'll only mention new stuff from here on out. If you really want me to be thorough, please speak up. But I don't think you'll lose much by me glossing over this. Anyway, this box does have something new. The blue shells are 152mm, which is bigger than what our T-55 shoots. What type of vehicle uses this? Well, it'll be a while before we'll see it, so I'm going to keep it a secret for now. But rest assured, it's kick-ass!
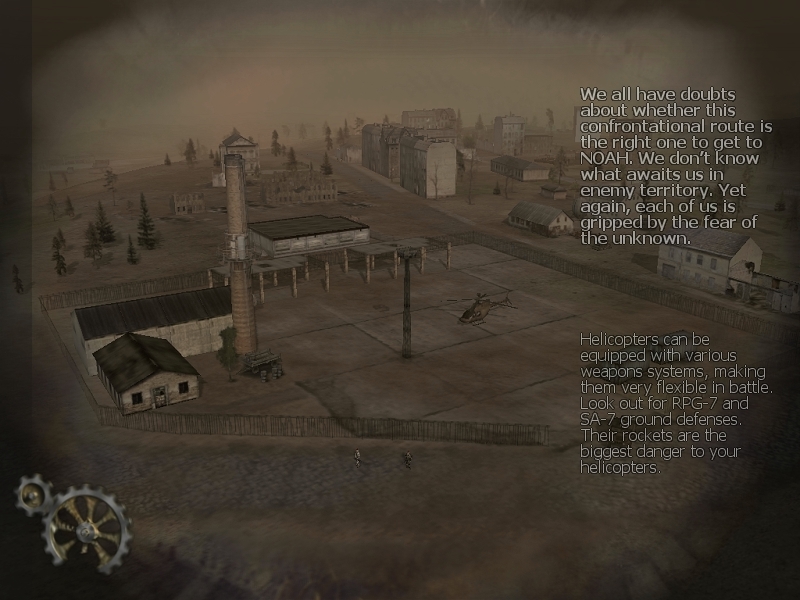
I'm going to cut the update a bit short today. The rest of this mission happens in the city, so there really is no other point to break this up. I'll post the rest in a few days though, and let me give you a little spoiler - We are going to get our first air unit.
