Part 19: 19 - Birds With Elevators
19 - Birds With Elevators
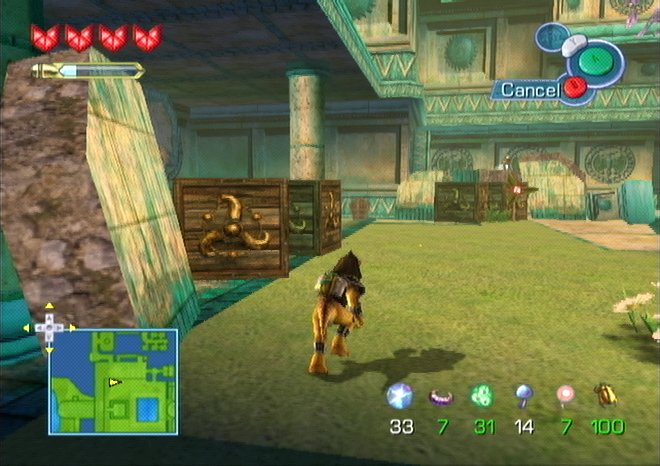
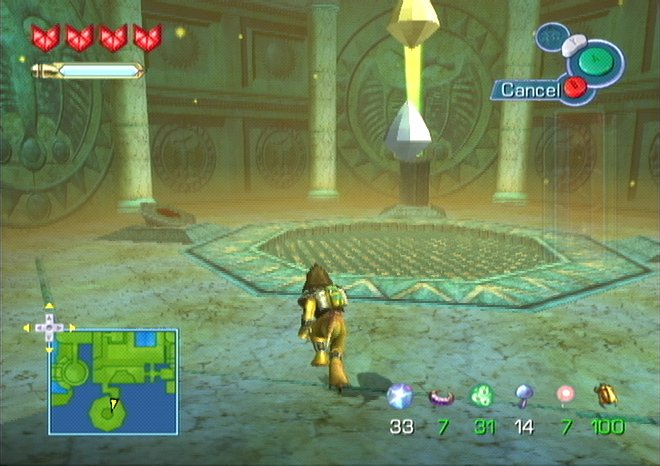
[This courtyard is the next puzzle-sector. We have a few things to do in here, but first...]
[Let's hit this 'hidden' switch.]
[Which drops this ladder.]
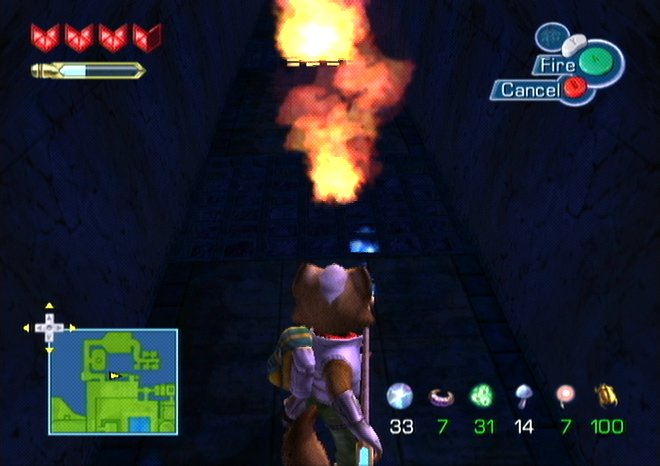
[Which leads to some fires that we can put out.]
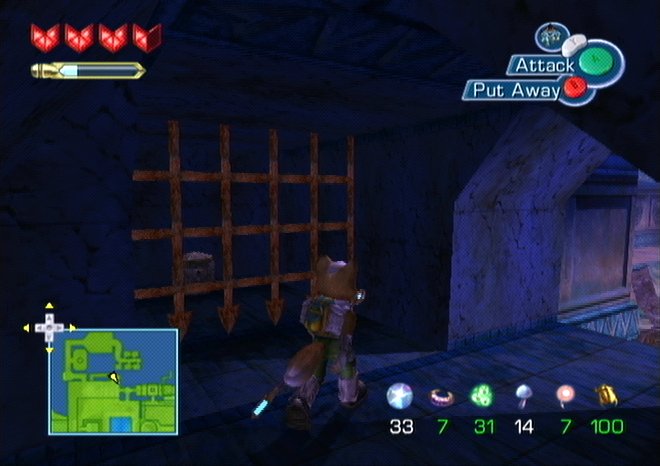
[But we get cockblocked by a gate. Still, fires don't spring back to life so this is good in the long run.]
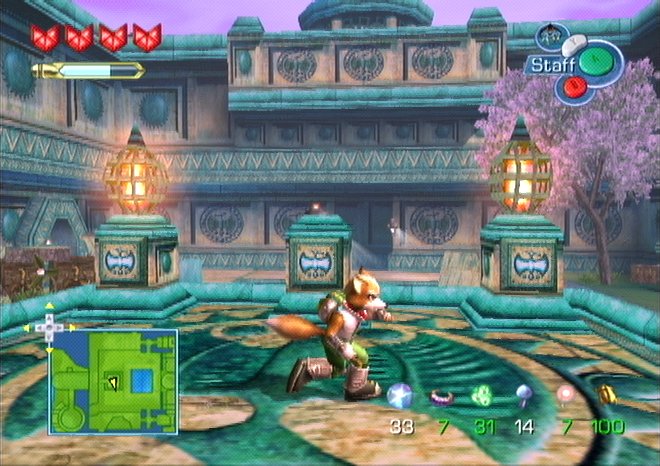
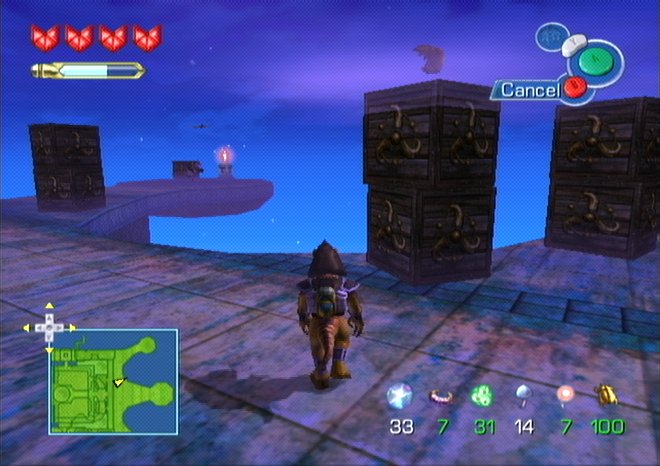
[We continue to explore the courtyard (avoiding ShockBots by using the disguise any time we don't need to freeze stuff) and discover more fires to douse. You can also dodge the ShockBots (or eat the damage) if you'd rather not waste time collecting energy gems.]
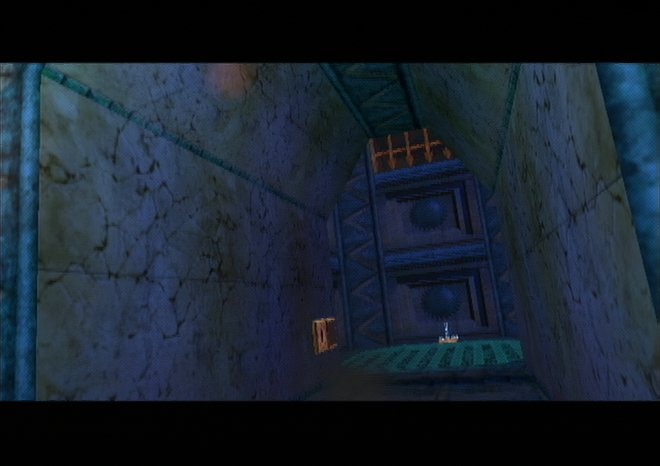
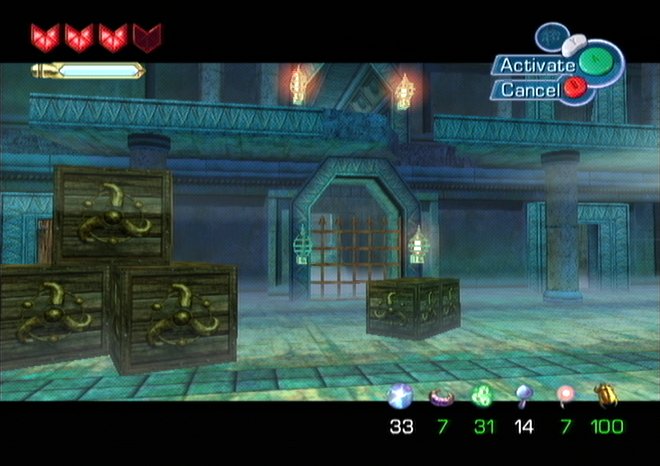
[At the south-eastern end of the courtyard we find the Wind Lift Power Room.]
 Fetch quest!
Aw yeah, bro.
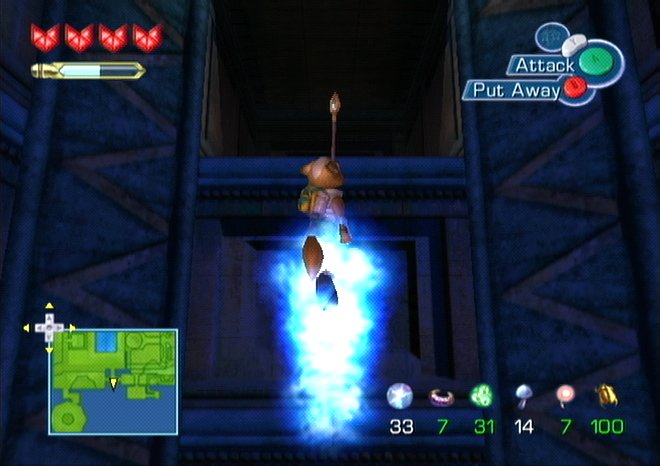
[You also choke to death inside the room, which is pretty awesome.]
[In addition, when you put the disguise on the breath meter disappears. You can still choke to death, you just won't be able to tell when!]
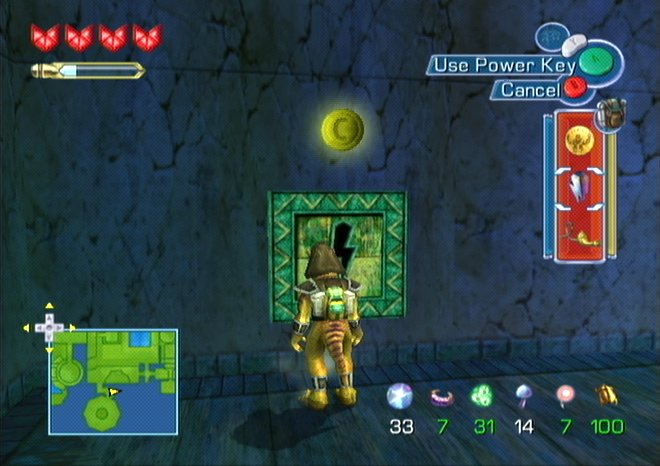
[These buttons each open a gate spread around the area.]
[The left button opens the grate in the tunnel with the fires.]
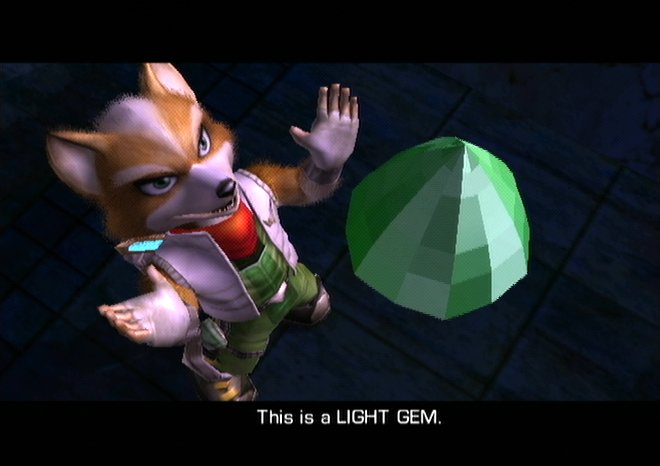
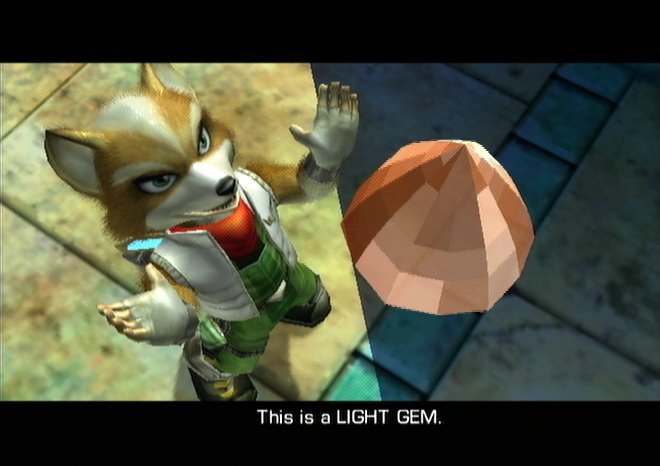
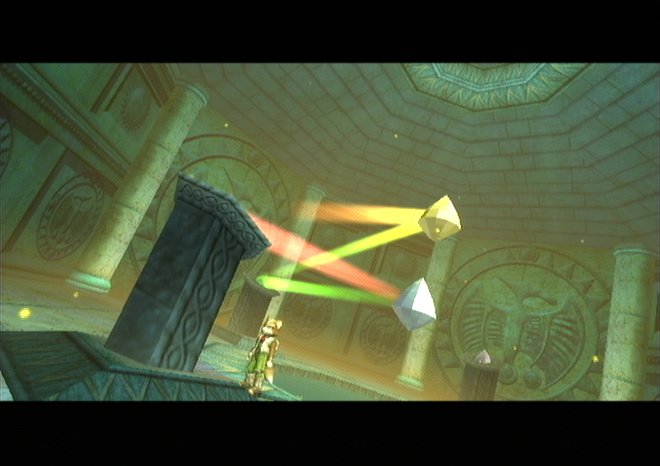
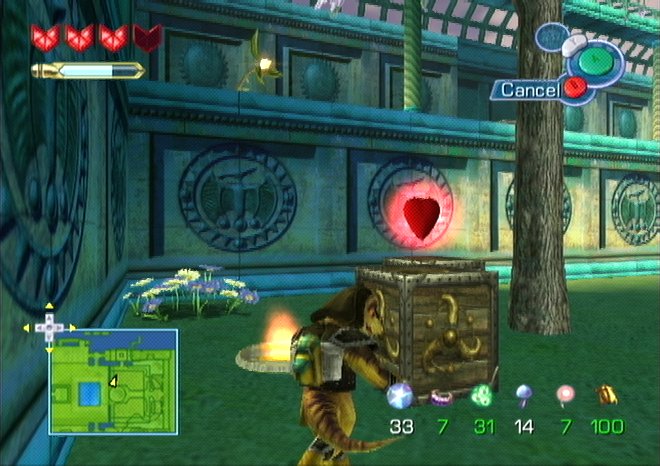
[The first Light Gem is our reward.]
[Back at the central platform we push the right button to open the gate that was past the second fire.]
[Passing where the fire was gets us to a Boost Pad.]

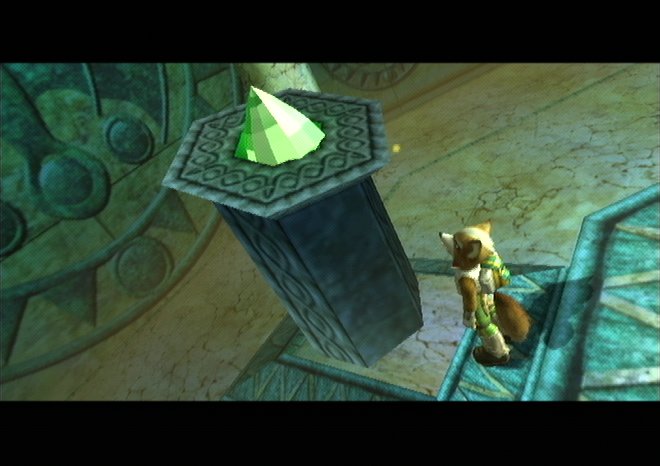
[The second gem, the blue one, is ours.]
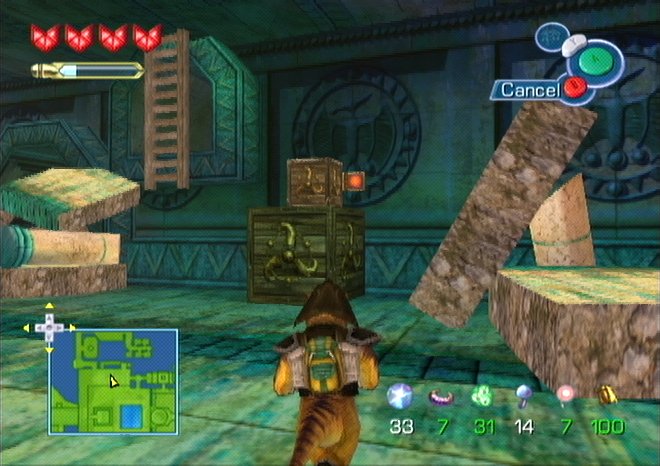
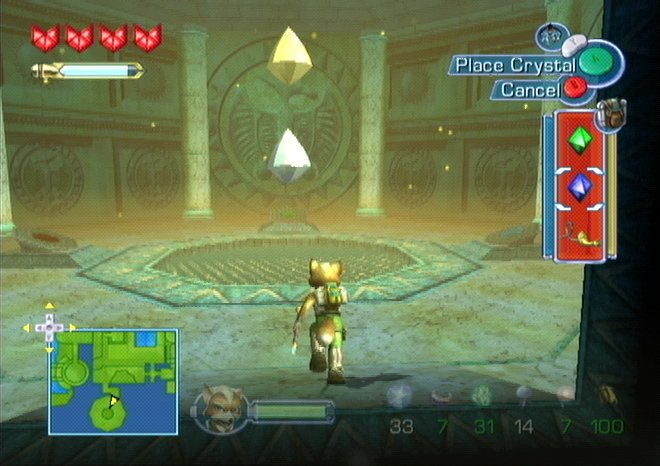
[The final button, the centre one, causes the camera to pan up and to the left revealing the location of the final chest. The way to reach this chest is a bit vague. It's right next to a wind lift, but all the wind lifts are deactivated.]
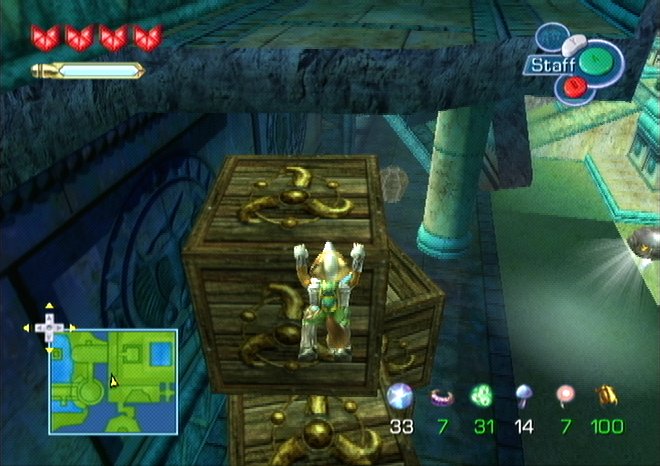
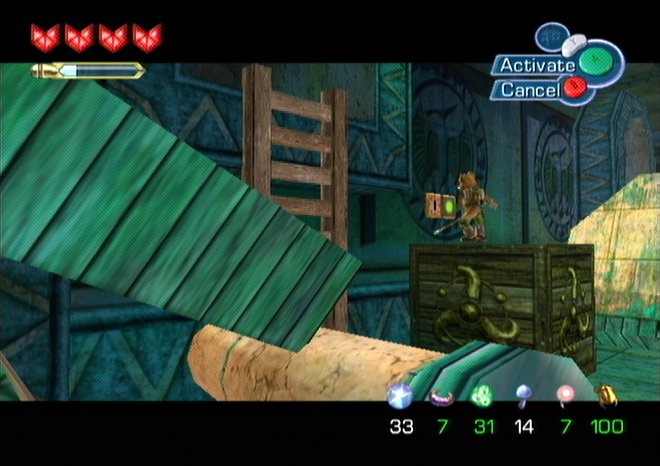
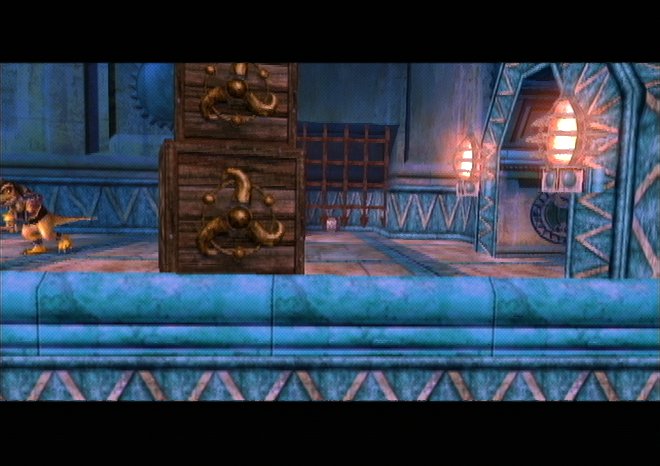
[The actual path is to clamber up a stack of crates that you pass by on the way to the central platform. It's possible to miss them since the whole area is littered with crates, but the minimap reveals a break in the ledge. Up top deal with the SharpClaws by freezing, beating, tricking, or just running.]
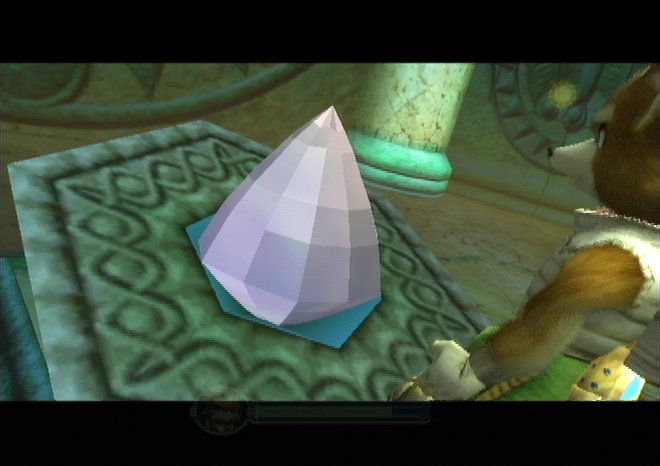
[Our reward is the final Light Gem colour, red.]
God, that was like attaching a car battery to my balls.[I actually recorded this whole section completely out of sync with the order that I presented the screenshots in. See if you can spot the continuity error!]
Funny you should mention that.
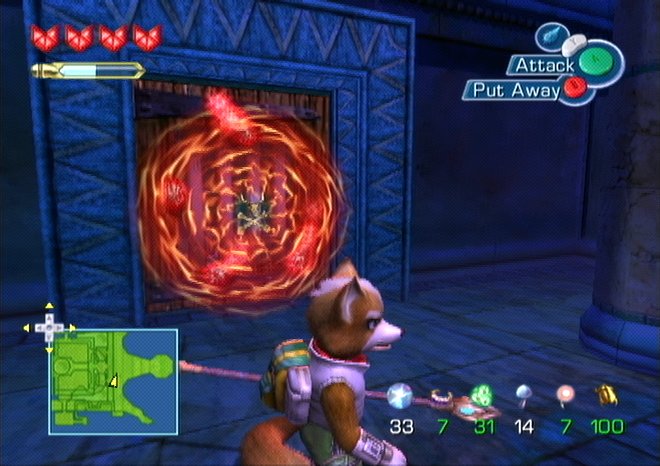
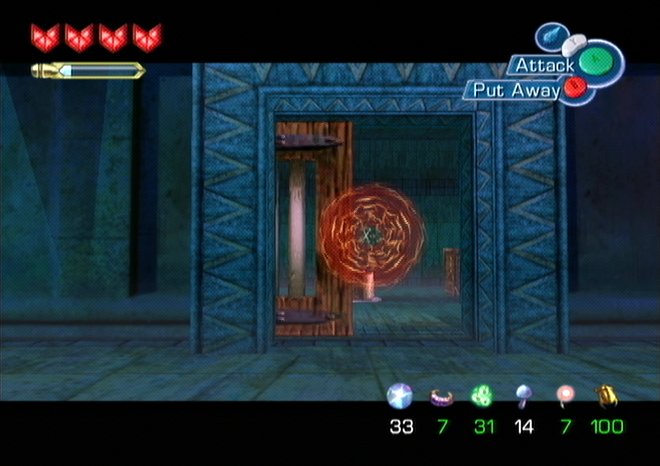
[It's like a .gif, only with more lazy-ers! (No, I don't know why the lasers from the blue gem disappeared.)]
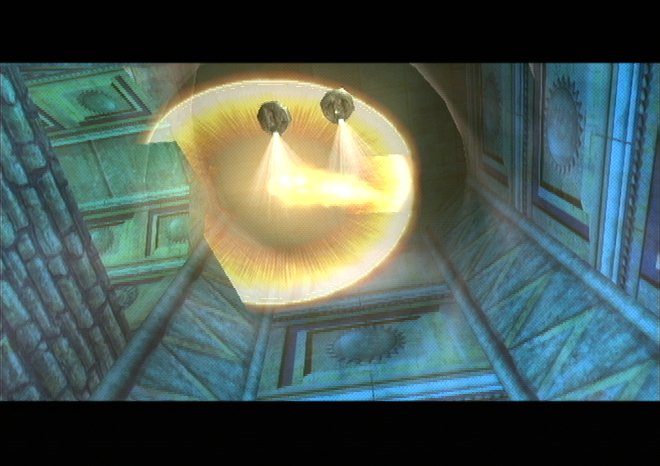
[The wind lifts activate and transform ShockBots into BoomBots.]
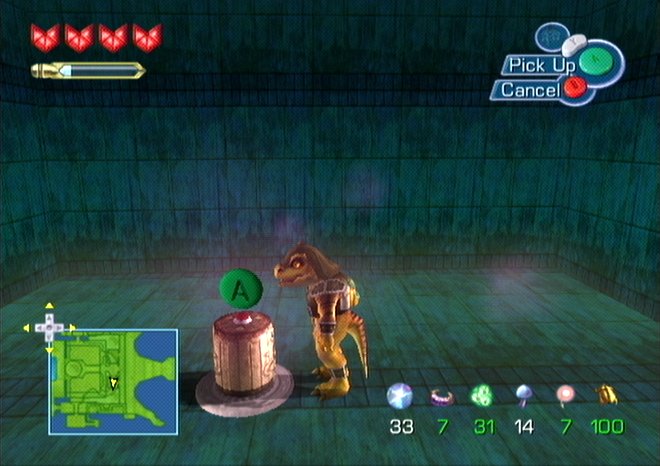
[The pachycephalosaur can finally get out, but why do we care?]
We don't?I don't. Do you?
Guess not.
[The wind lifts are now on, and can be changed to blow you up or allow you to drift down by flipping switches that are usually on both ends. Of course, only the lift that was close to the third Light Gem is worth visiting.]
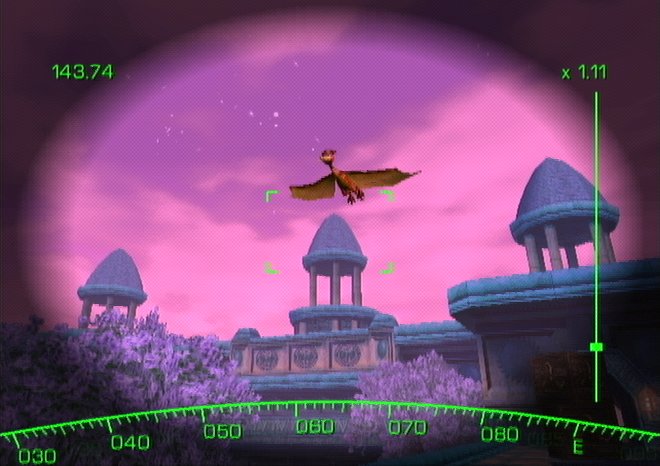
[The one that had the Boost Pad in it doesn't lead to anything, just some idiot flying around.]
[Of course, the guys on the other side aren't too bright either.]
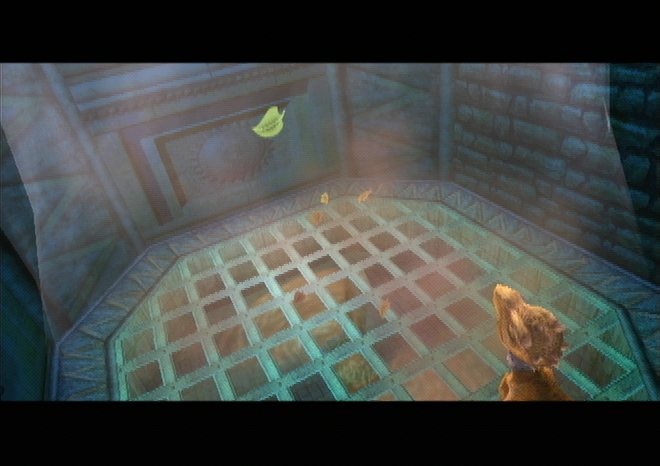
[This hallway also contains the last use of the disguise. These floor plates require the SharpClaw Disguise to activate. Remember the third grate back on the way to Volcano Force Point Temple? That gate was locked with this kind of plate. It also leads to the next Force Point Temple, amazingly enough. ]
[This area is some kind of landing platform. No idea why Fox couldn't just fly up here in the first place, but oh well. Video game logic!]
[Bafomdad Count: 13]
[I'm convinced the only reason Life Force Doors exist is because Rare had realized they had given players a get out of jail free card, so they retroactively added them as a mechanic.]
[See? There was a door there anyway, why do we need both other than as a giant 'FIGHT SOME DUDES' placard.]
[This is the other variety of object that can only be picked up while disguised. I cannot fathom any legitimate reason to need this given that I just killed all the SharpClaw in this area anyway.]
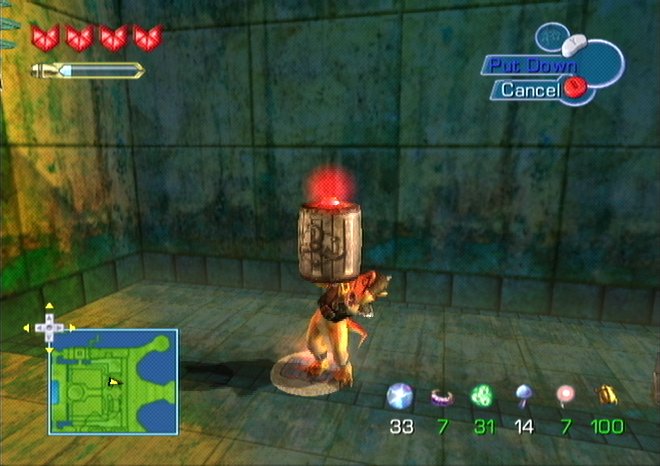
[The bomb is timed, but the timer is incredibly long, so you're never really in danger. Just like at the Evil Ramp area you put the bomb down on this spot, climb up and...]
[Another bomb grabbing robot springs to life.]
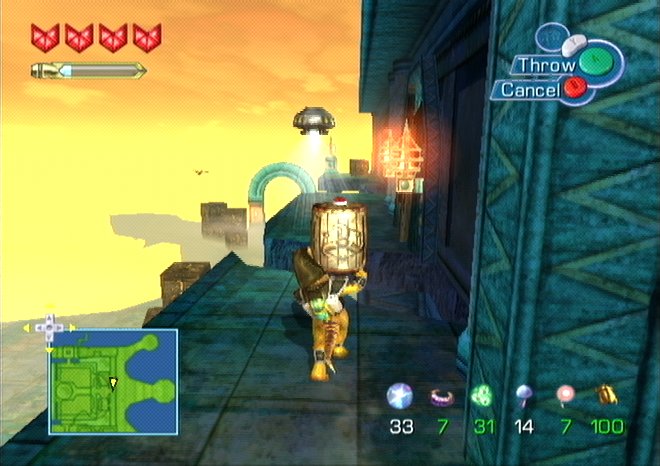
[Now, in truth, the ShockBot would zap you if you weren't disguised (thus dropping the bomb), but since it paths quite a long ways away (all the way to the crates at the far end) and you automatically drop the bomb when you jump across the gap, it would only be mildly inconvenient to have a normal bomb here.]
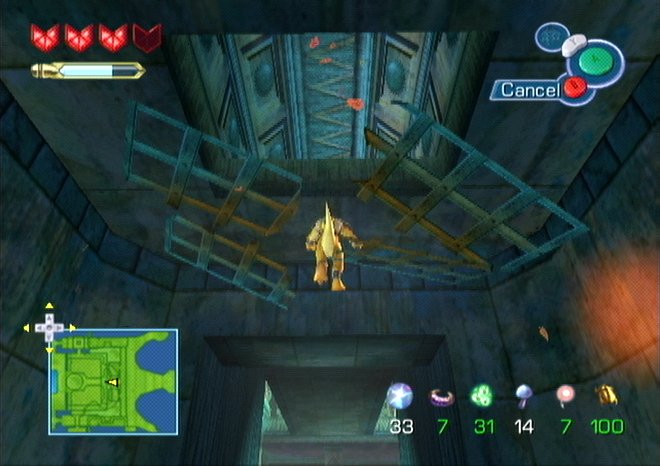
[And, of course, all that work is mocked by making the floor fall in. The main gate is still locked, but those Rare guys are still a bunch jerks.]

[There's no Life Force Door here, so why do they even bother to port them in?]
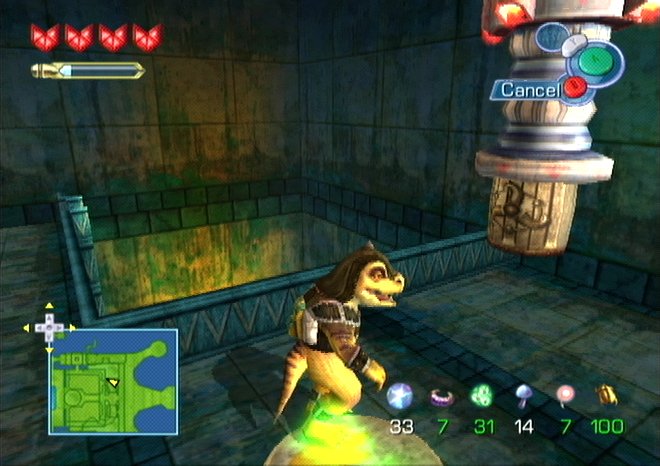
[More standing on things! The irony is that this plate drops ladders up to the upper ledge. Why bother? It isn't even really a timesink since you were probably in the disguise to begin with, so why would you switch out as soon as you were done with the bomb?]
[At both ends of the upper ledge there are switches that open the main gate. We have more important stuff to do in this area, though.]
 So you want me to...blow you up?
 Essentially, yes.
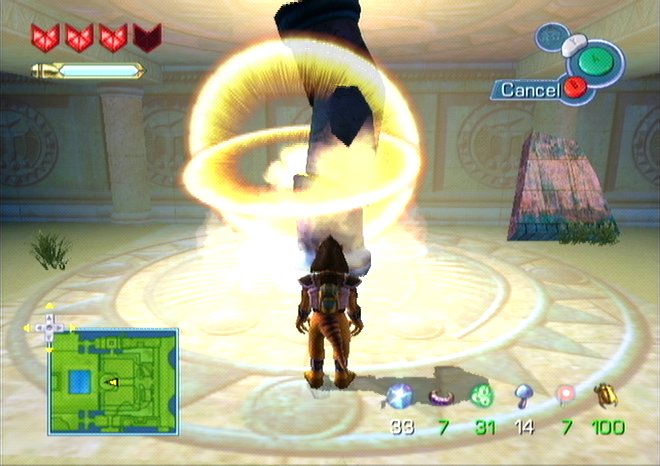
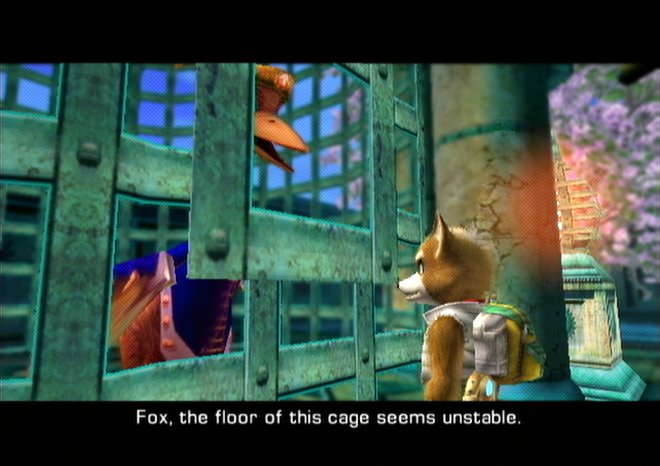
[This is what she's talking about.
 ] This is one of the dumbest ways to set up a jailbreak ever.
These dinosaurs seem to love being hit by high-explosives, I doubt she's an exception.
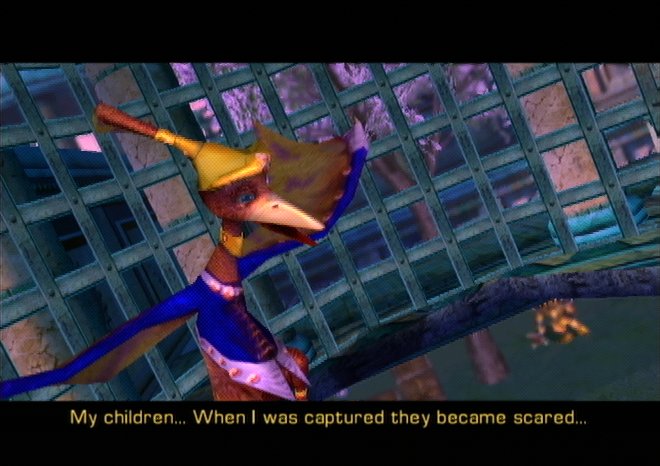 ...and are now hiding around the fortress.
 Please take this. Use it when you hear them. Its call will guide them back to me. If the SharpClaw find them I fear they will leave the fortress forever. Did you just...spit that thing up?
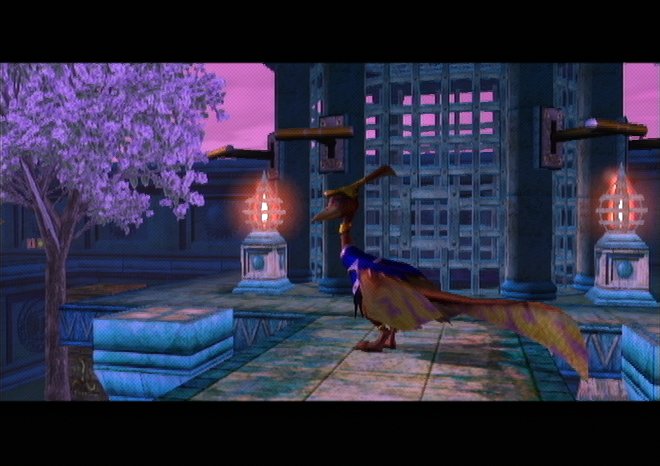 Wait, you're just going to stay there?! SharpClaws patrol this area and they can climb ladders!
Video game logic!
 On the upside, my mastery over these pitiful creatures grows!