Part 1: Introduction match - West Germany v. East Germany
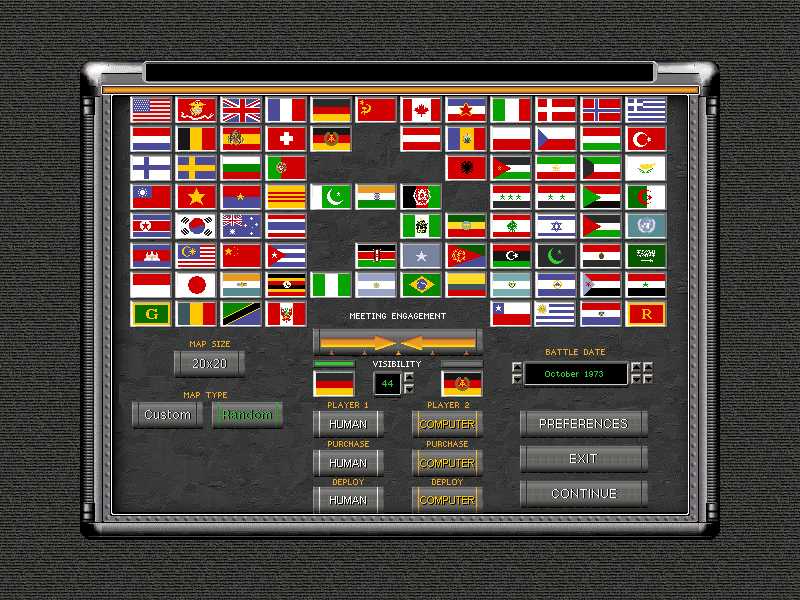
This match will be a small (250 point) match between West Germany and East Germany in the year 1973.
This game uses a point buy system, but the amount of points used in a battle isn't exactly proportionate to the size of the battle.
For example; in the year 1950, a US Infantry Company with a Tank Platoon and some various support units (such as artillery) will cost around 900 points.
In the year 2000, just a US infantry Company alone will cost around 1500 points (This doesn't even include one M1 Abrams tank, which will cost at least 400 points).
As you can see, this makes the concept of a '1000 point battle' very subjective based on the time of the battle.
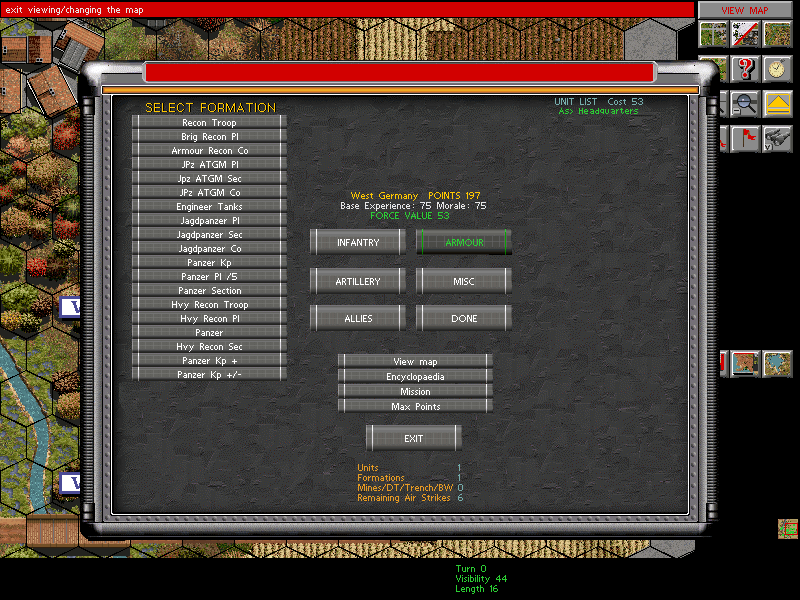
This is the purchase screen. When playing battle mode, you will be able to view the map, and purchase your unit formations here.
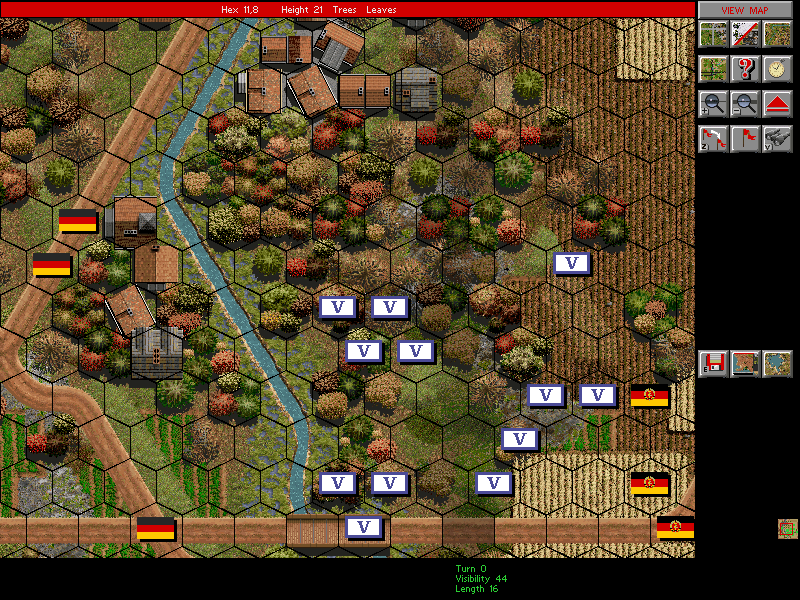
The map will be visible as soon as it is generated by the computer. It is vital to view the map before selecting your units, because the type of terrain and level of cover/concealment on the map will be an influencing factor on the value of certain types of units. In this case, there is a lot of cover in the middle of the map with an open field to the east. I decide to deploy an infantry platoon and a tank.
You can also see the white flags with the 'V' on them. They are victory flags that must be captured in order to win a battle.
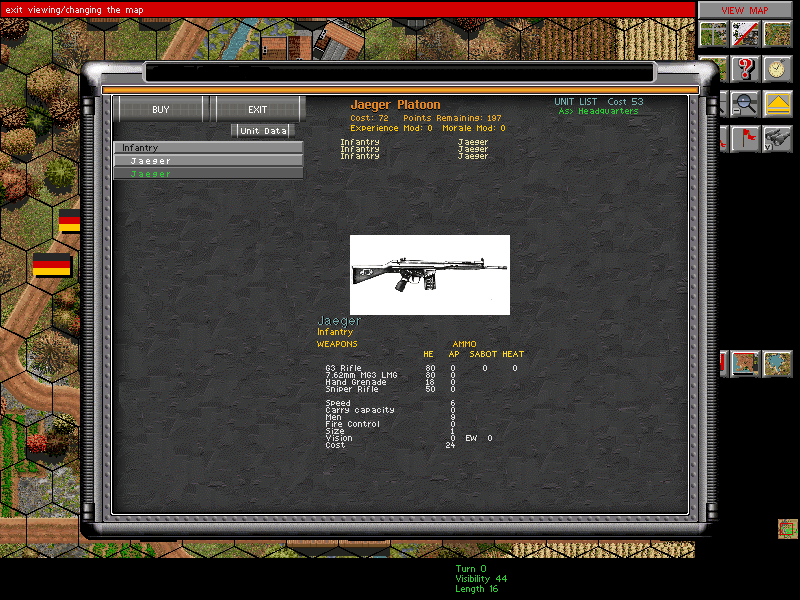
Rather than purchasing teams of infantry and vehicles separately, in Steel Panthers, units are bought in formations. I this case, a Jaeger Platoon consists of three Squads of Jaeger infantry (indicated by the list at the top of the screen).
To the top-left of the screen, you can see two tabs that say Jaeger; this means that there are two different types of Jaeger Squads that can compose the Platoon. One of them is armed with a Sniper Rifle, and one of them is armed with a Panzerfaust 44 Anti-Tank weapon. Since I highly doubt the enemy will deploy a vehicle in a 250-point battle, I purchase a Platoon of the sniper variety Squads.
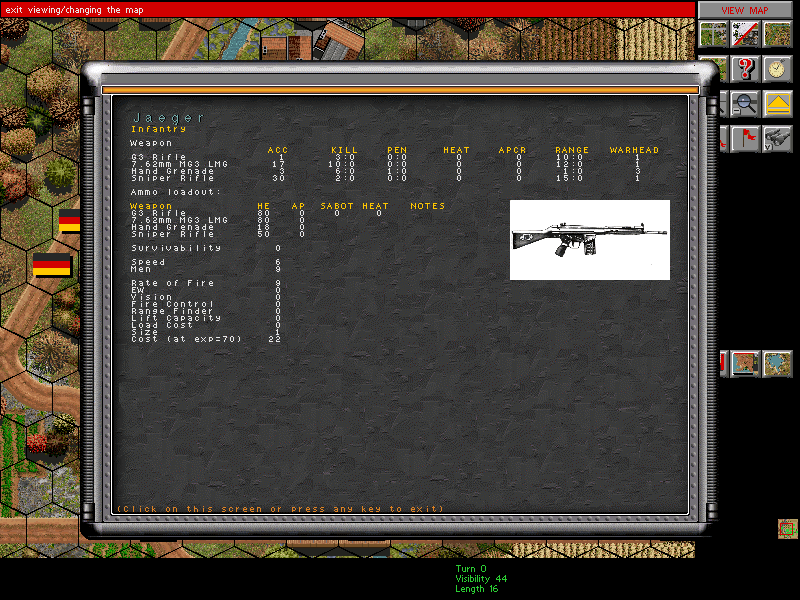
Here is the statistics block for the Jaeger Squad. You can see that it is a nine man unit armed with G3 Rifles, MG3 Light Machineguns, Hand Grenades and Sniper Rifle(s).
The statistic called 'PEN' denotes a weapons ability to penetrate armour. Since none of the weapons have a penetration score higher than one, the Jaegers will be doomed if they run into an enemy armoured vehicle.
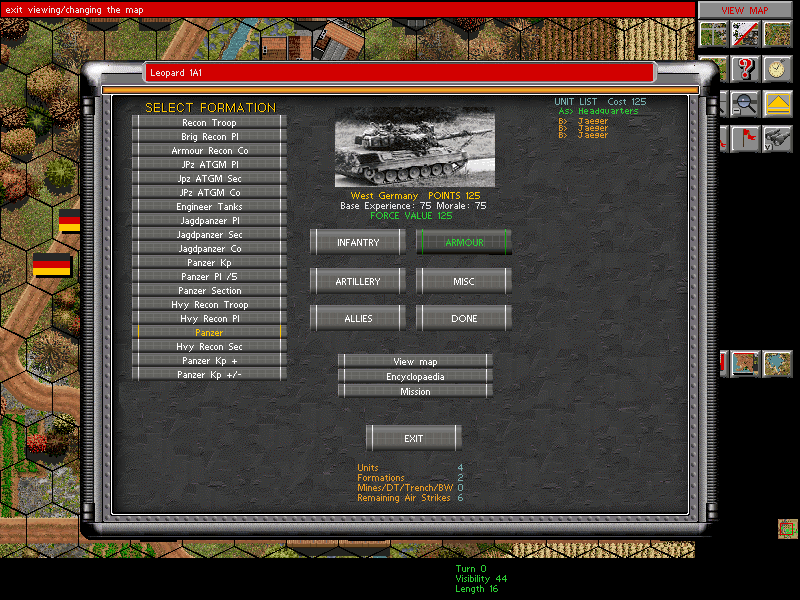
Here is one of the formation tabs (the ARMOUR tab). There are plenty of options here, but in a 250-point match, we can't really afford most of them.
Note that it is possible to buy a formation that costs more points than you have left, but it will be deployed under strength with some of it's units left out.
I select the Panzer formation, which consists of only a single tank.
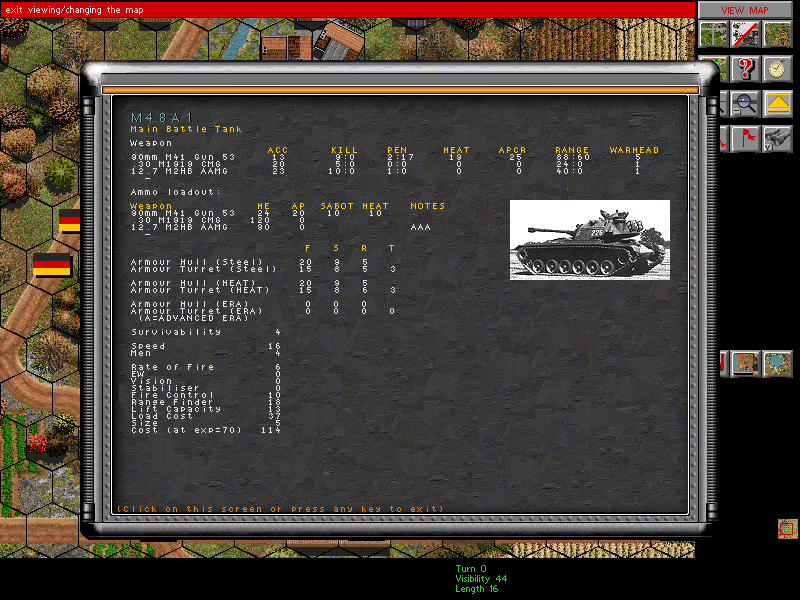
This is the statistics block for an M48A1 Patton. It isn't the best tank we can afford, but we will still be deploying with it - here's why.
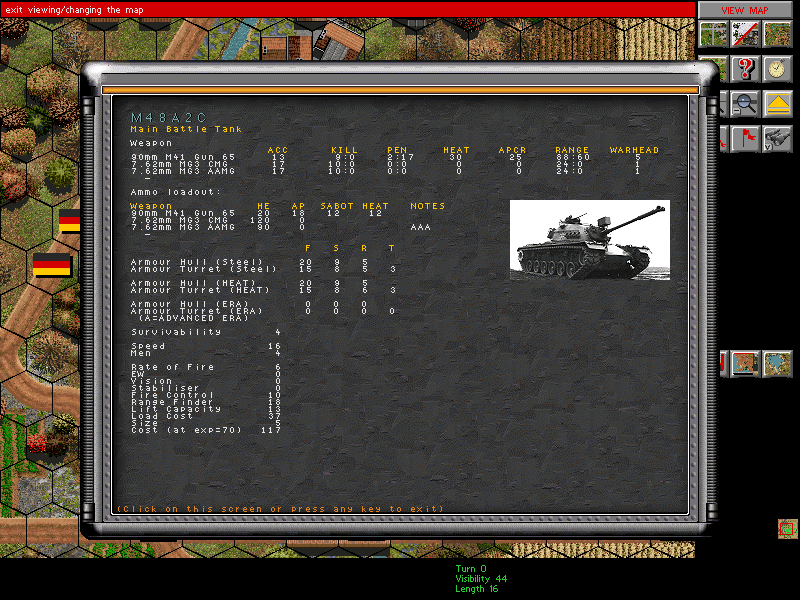
The M48A2C Patton has worse Machineguns. It does have much better ammunition for it's main gun (the 30 under 'HEAT' means it fires HEAT rounds that can penetrate through 300mm of steel armour), but the odds of us encountering an enemy vehicle powerful enough to merit that sort of power are remote.
Therefore, the M48A1 is selected.
Oh, and just so you know, these are what all of the weaponry statistics correspond to.
ACC (Accuracy, the odds of a weapon hitting it's target)
KILL (The capacity of a weapon to kill infantry)
PEN (Penetration, the capacity of a weapon to penetrate vehicular armour)
HEAT (The penetration power of HEAT ammunition)
APCR (The penetration power of SABOT ammunition)
RANGE (The range of a weapon)
WARHEAD (The weight of a weapon's ammunition; this causes a weapon to lose power at longer ranges)
The table below this information is the Ammo Loadout Table. It specifies the amount of ammunition a weapon has of all four varieties. It is important to check this table, especially when using vehicles with more advanced weapons. It is quite possible to buy a unit because it has a weapon that fires very powerful HEAT or SABOT ammunition only to find that the unit in question does not carry that type of ammunition or only carries a few rounds.
It's also important to note that 20 or more ammunition points may seem like quite a bit, but it isn't. Some units will fire all of their weapons over 5 or more times a turn.
Assuming the unit being examined is a vehicle, underneath the ammunition table will be the Armour Table. The letters F, S, R, T correspond to the front, side, rear and top armour respectively. Each number corresponds to a level of armour equivalent to steel in 10mm increments. From this, we know that the M48A2C Patton has 200mm of steel armour in the frontal turret, and 150mm in the frontal hull, etc.
There are also 2 other types of armour that aren't used as frequently. Under the Steel armour chart is the HEAT armour chart, which indicates special armour values that are used if the vehicle in question is being attacked by HEAT ammunition (This becomes more important in later decades).
The 3rd type of armour is ERA or Explosive Reactive Armour. This type of armour adds even more strength to the armour of a vehicle, but only works once because this armour needs to explode to work.
The remaining stats on this screen are as follows (Taken from the manual):
Survivability A unit's (likely a vehicle's) ability to survive successful attacks.
Speed This is the unit's basic road speed in hexes, with any swim capacity shown as the second figure.
Men Current crew size (after damage) or squad members left.
Radio 1 if you have one, 0 if not.
Fire Control How good your optics etc. are, bigger is better. Values of 100 plus represent AA radars on AA type units, allowing engagement beyond visibility range at night or in smoke etc.
Size Larger is easier to hit and to spot.
Cost The value of this unit in game terms (buy and victory points)
Vision If non-zero, the amount of hexes you can see in poor visibility. Values of 40 plus represent a thermal imager or a ground surveillance radar, these can see through smoke.
Range Finder This improves the units' chance to hit, bigger is better, but it is far more effective at the halt, i.e. you did not move in this turn or the last one. A value of 14 or more is a laser range finder.
Stabiliser The ability of a unit to fire accurately on the move.
Carry Cost An indication how heavy this thing is, how difficult to transport.
Carry Capacity An indication of how much this unit can carry. 1XX means it can carry a small crewed weapon, 2XX a larger weapon.
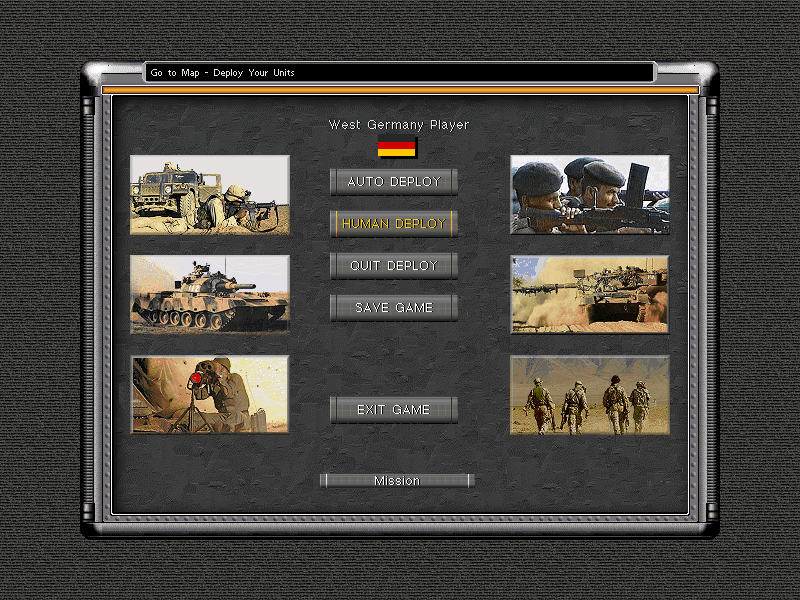
After purchasing units, the game goes to the deployment screen. This allows you to deploy your units.
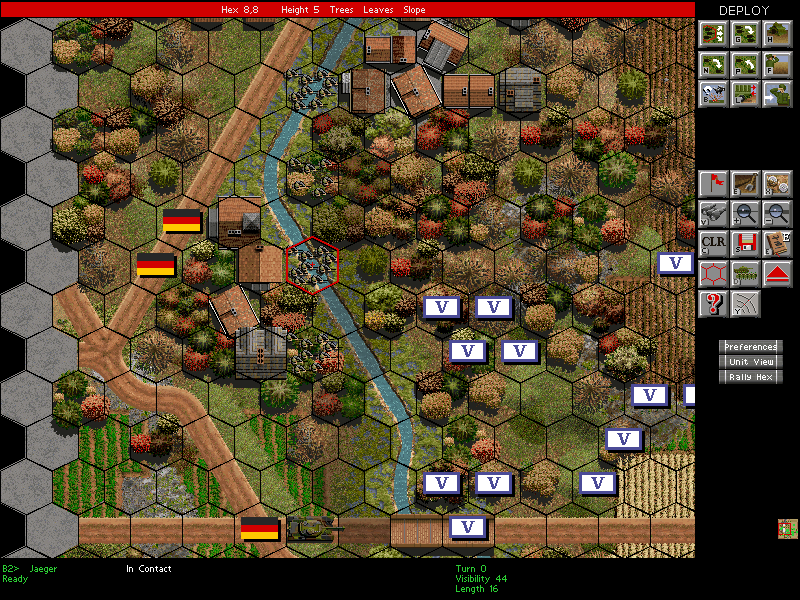
I place the Jaeger Platoon and the HQ team (every army comes with a six-person headquarters team) along the treeline where infantry are more useful, and the M48A1 Patton at the southern part of the map where there is more open terrain.

Once you are in the deployment phase, you get a different statistics screen telling you information pertaining to that specific squad. The HQ Team is led by an Oberstlautnant (Lieutenant Colonel), is unsuppressed, and it's chain of command is unbroken (The HQ Team is the chain of command, so this makes sense).
Units have other statistics in this window such as morale, experience and their ability to rally.
Along the open terrain, the tank gets a much better arc of vision. A unit's line of sight is represented by illuminated hexes when it is selected (They may be a bit difficult to see).
If the tank was in the forest, it would only be able to see one or two hexes in front of itself.
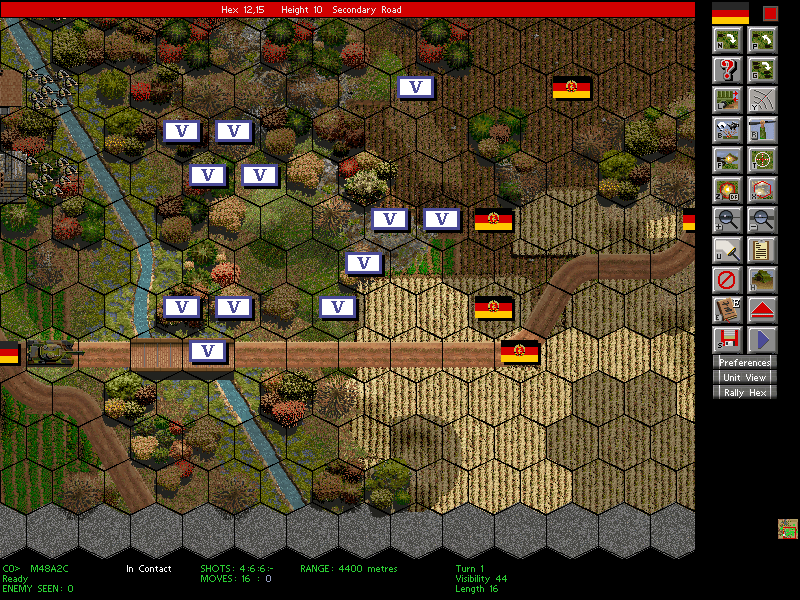
On the first turn, all of the units move a bit in front of them. If a unit steps on a capturable zone (denoted by a 'V' flag or the flag of a nation), that zone will turn to the flag of your country. If all of the flags are captured by the same side, the match will end.
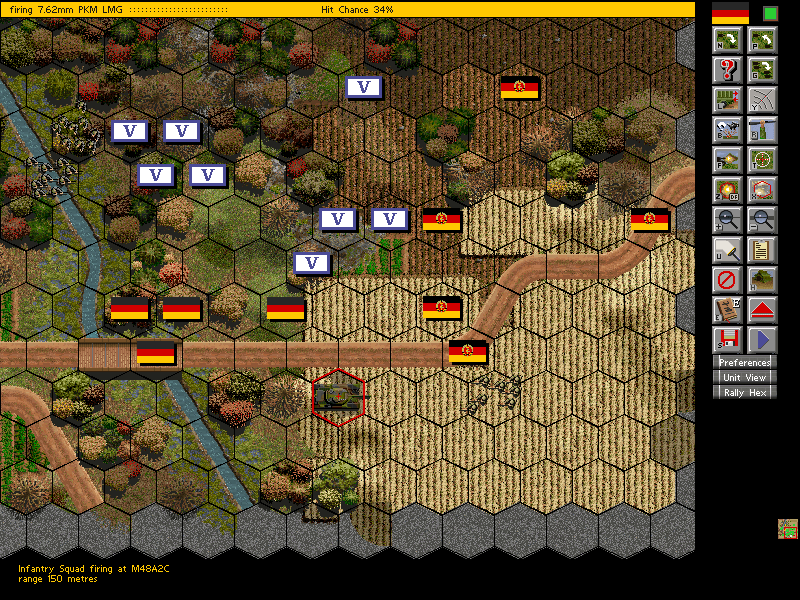
An East German Infantry Squad fires upon the M48 Patton. There are countless factors that determine that hit percentage of an attack. Several that come to mind are.
- the accuracy of the weapon in question
- the range of the weapon in question
- the size stat of the enemy unit
- the distance of the attack
- whether or not the firer is being pinned
I will not be posting all of my screencaps because I need to fit a whole battle into a single post. Long story short: The squad gets decimated for taking on a tank in the open.
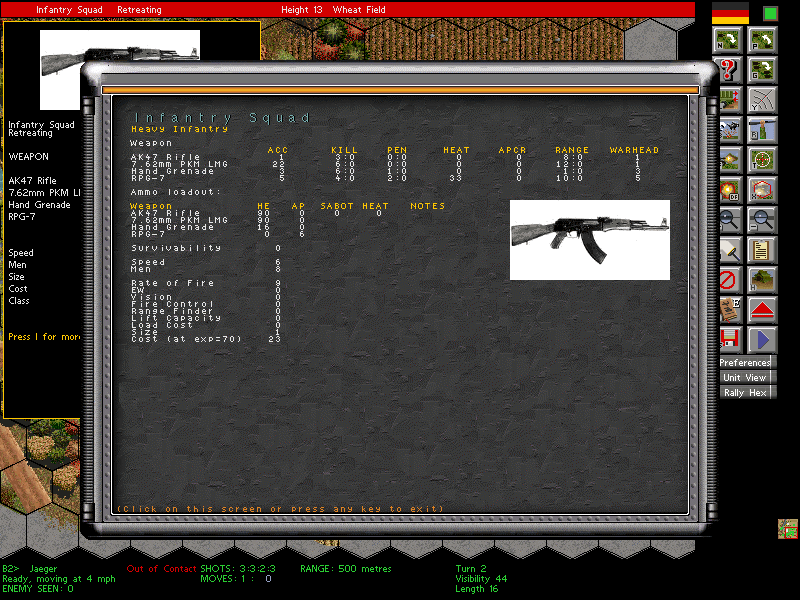
When an enemy unit is in vision, you can look at the stats of that unit. The East German Infantry Squad is equipped with an RPG-7 instead of a Sniper Rifle, and consists of only eight men, which means our Jaeger Squads could probably take one out in a head to head fight. the RPG-7 could be a threat to our tank if we aren't careful though (If you look back at the stats for an M48A1, it does not have any armour value above 33).
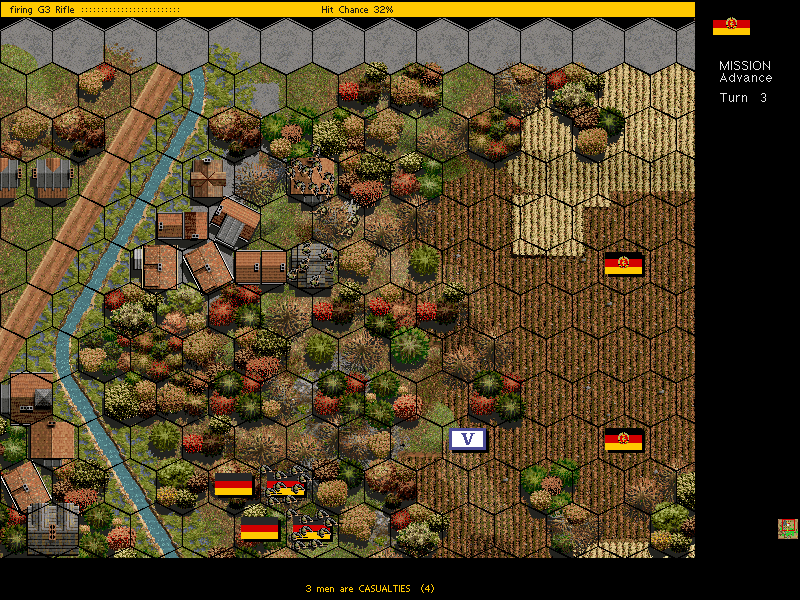
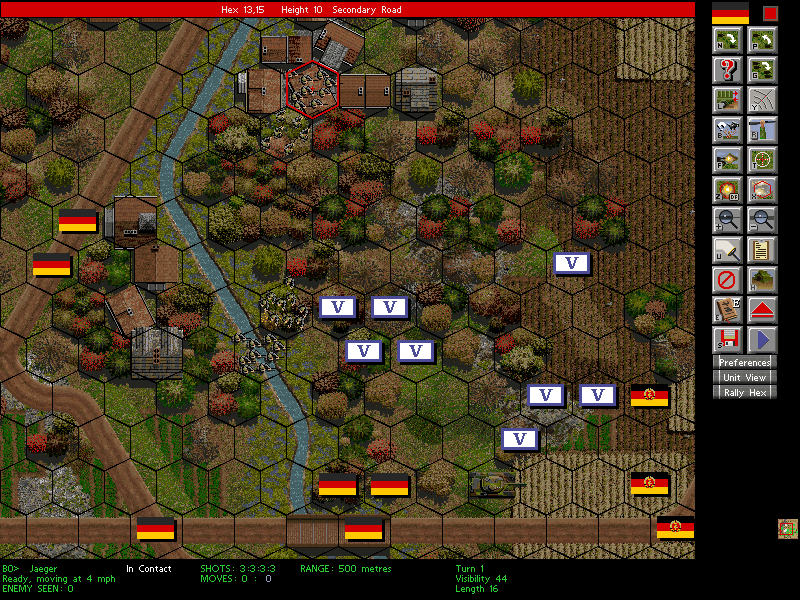
An enemy unit wanders into the line of sight of our Jaeger Squad and HQ unit and gets ambushed. Relatively few of your attacks will be specifically ordered on your own turn. Most attacks will be triggered by enemy units moving into/through your line of sight, or firing when they are in range of your units.
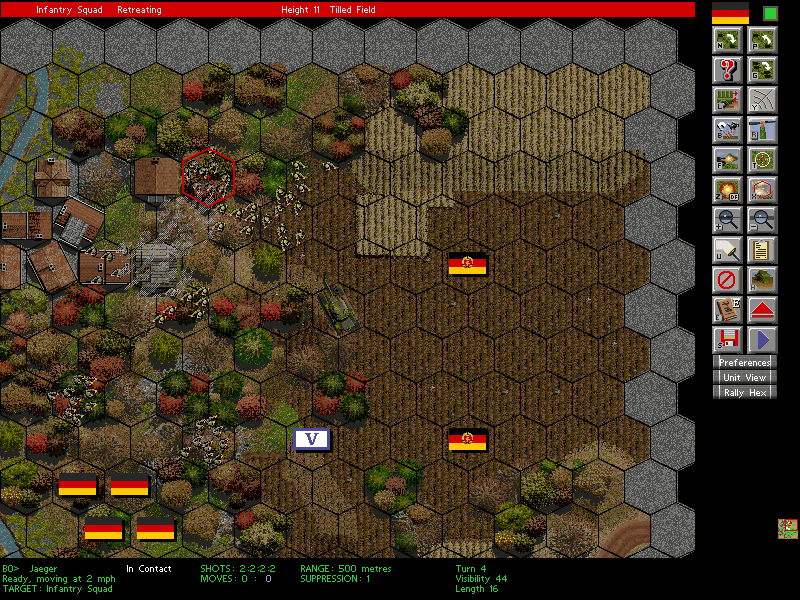
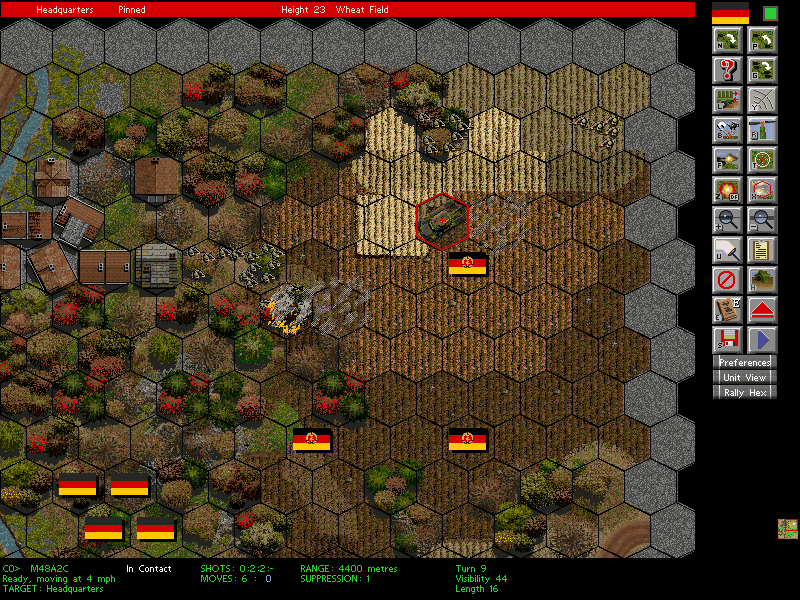
The enemy seems to be pressuring the northern part of the map, so the M48A1 is ordered to swing up and flank the enemy attack. This tactic is hugely successful.
If a unit with sufficiently low morale takes enough fire and/or loses enough men, it will begin retreating.
Retreating units have the potential to rally and return to the battle, but if a unit takes enough of a blow to morale, it will begin routing.
Routing units will keep running until they have exited the map.
If a unit loses enough men, it may disperse, which means it effectively stops existing.
After annihilating the enemy attack, the East German HQ team is attacked and routed. Lack of an HQ unit means a lot of their units will be out of command and unable to recieve orders.
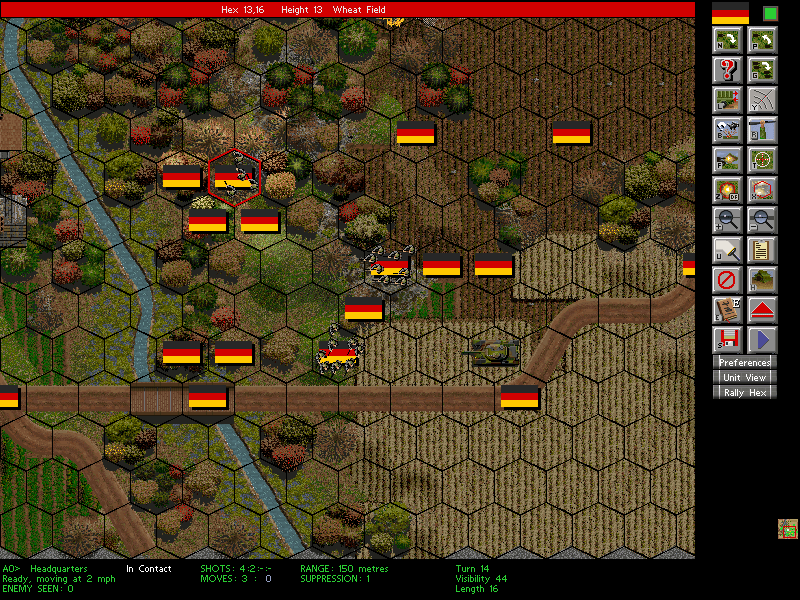
However, the East Germans have a distinct lack of units, and the map is soon saturated in Western flags. The match ends in victory.
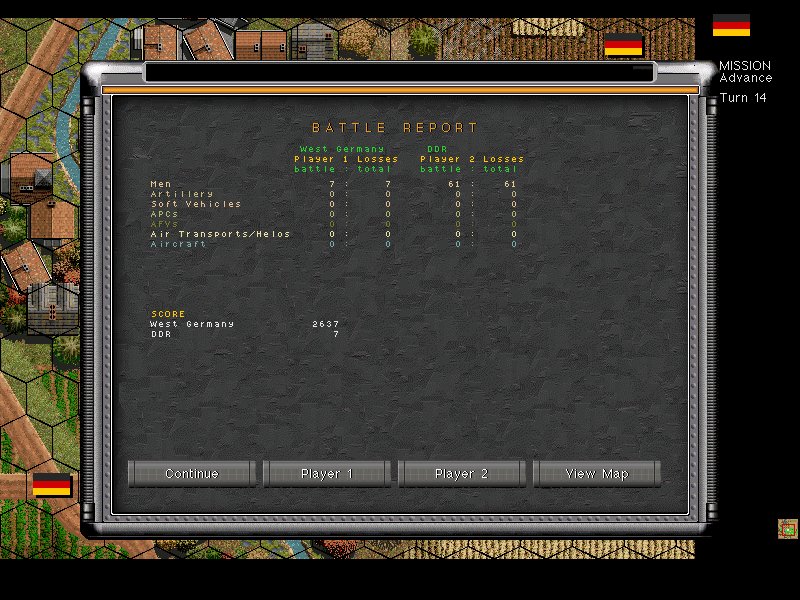
This match was essentially doomed to be one-sided from the beginning. Either the M48A1 Patton stays alive and the West Germans win, or it falls to an RPG and the West Germans lose horribly. Fortunately, it was the former outcome.
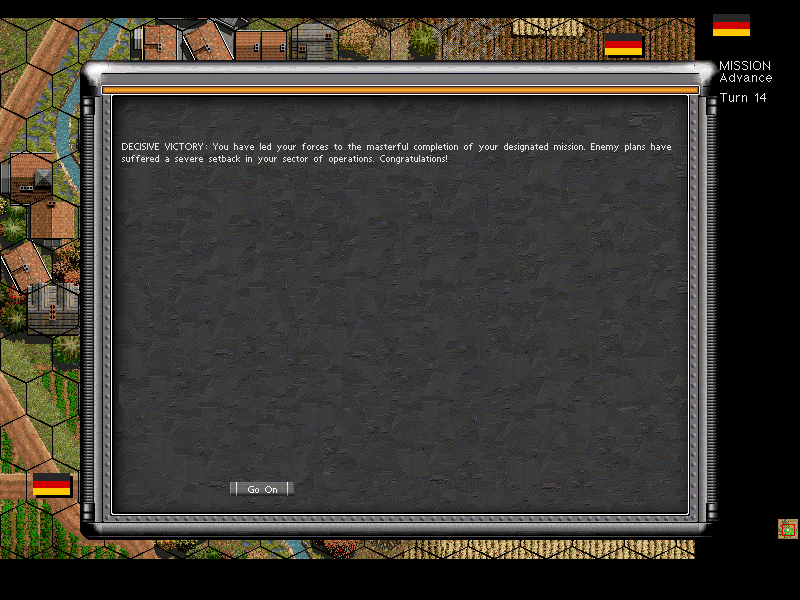
You also get awarded with a level of victory (or defeat) after a battle. This matters in campaign mode, but in battle mode, it's just an indicator of how well you did.
Now that you've seen a battle, start voting and please ask questions. This game is extremely complicated and has several intricate mechanics.