Part 121: Operation Mange Poutine: Turkish Turn 7
Turk Turn 7I've already posted my first thoughts on opening the turn, so we'll get straight into it:

Click for Big
The most obvious move to begin with was to check if my Airmobile squad right in the path of the Chinese Mech advance had LOS on the lead BMP knock-off. The smoke the BMP popped when the Airmobile attempted to engage it during their turn wasn't letting my guy get eyes and LAW on the IFV. With nothing to do immediately, I moved him to the other side of the road in a depressed position to ambush them again next turn from a new position.

Click for Big
Going through all my units to check suppression and vision, when I got to Crescent Hill I noticed that the Milan team, last one with any missiles (2), had vision on a few things. Turns out he could see two of the charging Chinese IFVs. On one he had a 99% hit estimation; took it and slagged one. On the other he had only a 36%; didn't feel that was enough for my last Milan. If the IFV moves next turn, it will be from a standing position and the hit chance will be much higher with an overwatch shot.
Click for Big
Next on the itinerary was to make all the infantry movements behind the front that I planned. My platoon on Crescent Ridge moves forward deeper into Crescent Ridge. Most likely I'll send choppers to get them before they make it anywhere, but they're firming my belief that there's nothing of substance in Crescent Ridge.

Click for Big
My cavalry continues to make their way forward. At this point I could gain some speed by coming out of the woods, but I'm set in my ways and thinking of having them go behind Crescent Ridge.
Click for Big
The units, for lack of a better term, abandoned on Sand Hill (major fire magnet) unsuppressed themselves and did what each could to get off the fire trap on foot. The Milan team shelters in a cut.
The Stinger team runs as far down the hill as they can; doing so he gets eyes on the one mobile Challenger in the south. Looks like he didn't move far, the artillery lined up on his buddy might still catch him.
Click for Big
The LMG squad takes it upon itself to head back over the hilltop into the maw of where the artillery was landing to finish off the last member of a British Scout Team.

Click for Big
Green Ridge airmobiles continue to load back up. The motor scouts continue to take over the position from the airmobile.

Click for Big
Moving on, it's time to finagle things in view of the enemy. To begin, my lone, last AB-206 recce helo tried to move south from his his hiding place to try and get eyes on the ground behind Red Ridge. However, he's spotted by some ZTZ-99A2s that start taking potshots with their AAMGs. Not wanting to push it too far with no good hiding places in range heading south, he pulls back and heads east instead. Along the edge of the map are some clumps of trees that he'll be able to use for concealment for more attempts to get some idea of what they have in their backfield. The move does net him vision on the whole platoon of Chinese Tanks. They're taking the road that leads to Red Ridge. Chinese might be trying to strengthen their positions there. This brings our Chinese tanks spotting all the way up to three platoons or one company.
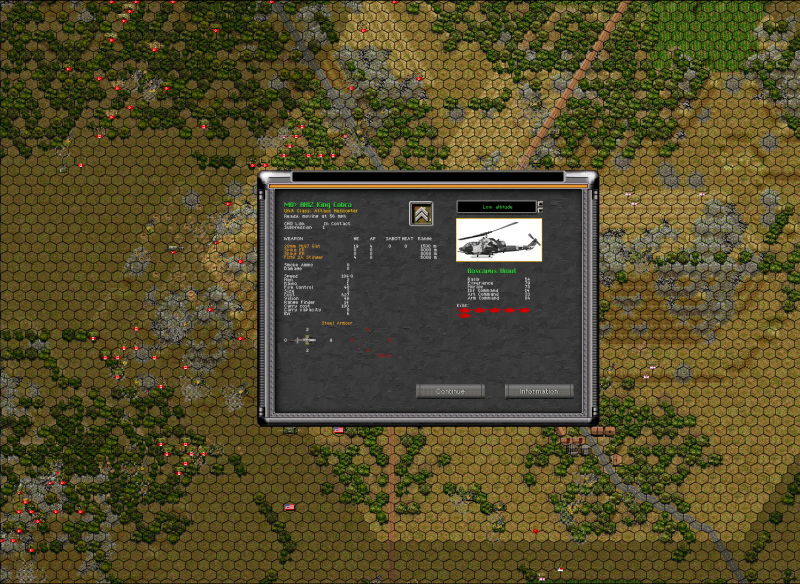
My Cobras are next. Lacking any ATGMs, I'm sending them hunting for targets their 20mm can wound. Those Chinese BMPs have only 20mm of armor on their sides and rear; 20mm gat can penetrate up to 40mm. I don't have any missiles to tackle the Chinese mechanized gambit, but I have three birds with two turns of 20mm. Light-bulb. Flank this column with Cobras and we might do some damage.

Click for Big
To begin, I had one of my two Cobras in Crescent Ridge to hunt across the top of the hill that the Chinese ZSL-92A and British Javelins inhabited. And I found exactly what I hoped to find, a Chinese forward observer. He's the really nasty kind too; loaded to the gills with optics, laser-range finders, and GPS. No wonder we've been feeling the sting of artillery. Some gat from point-blank ends that threat.
quote:
What do Chinese Artillery Talkers call their discipline?
Kung FOO !

Click for Big
Moving on to where I plan for the Cobras to flank the Chinese column, he takes a little fire from the Stinger team that was behind that same hill. Fortunately it was only rifle fire and missed, but annoying nonetheless. Of note is that the last, empty Javelin teams on the hill are not to be found. Trucks are observed hightailing it from the hill. Beauty of a target, but dealing with the Chinese is a more pressing concern.
Click for Big
First Cobra takes some shots at the Chinese IFVs and lands a damaging hit. Unclear what if anything we gained from the hit, but it looked solid. Mayhap a weapon was damaged or a crewman killed lowering the effective fighting power of the vehicle.

Click for Big
I move up the second Cobra directly without any of the detours. He gets to lather 5 shots on a Chinese IFV and manages to bust it up. The evicted infantry were observed as coming up four short for a full squad. A solid hit.
Click for Big
The third bird is the one I left for this maneuver that had been landed, blatantly, in the middle of the valley last turn. He takes off and choppers to the south side of the Chinese column.

Click for Big
On the way he was shot at by the Chinese MBTs on Grey Ridge. Looking back the Cobra got eyes on a second visible of three present.
His first shot lands a damaging hit. Number of asterisks tells you how much but never exactly what you got. With three asterisks a good hit was land. Good chance this hit knocked off the 25mm autocannon. Even only landing two damaging hits to one kill, if we turn the whole group from IFVs to APCs I'll still be happy.

Click for Big
Though, killing them works good too. Shifting targets to an unharmed IFV, his next shots land home and burst through the armor. Not only does the Cobra manage to knock out the IFV but he eliminates the infantry squad that was being transported.
Click for Big
Not finished, the cobra goes for gold and throws some damage upon another IFV. Brings the total up to two damaged and two killed by Cobras with one killed by Milan. Their a platoon down with half the remaining damaged to some degree. Of note is the comprehensive vision we have over the column and only two platoons(-), 7 IFVs, are spotted. Seems the attack is half company sized. I'll discuss the implications in the wrap-up, but for now the attacks looking pretty thin already.
Click for Big
The Cobra south of the column is out of moves and has to remain in the open.
Click for Big
The other two set up overwatch on the column to try and get as many guns on it. With one Milan and three 20mms we might be able to annihilate the Chinese if they make any moves. Forward or back. They are exposed and there is significant chance they might be shot down next turn. I had them move in place to rack up as much movement as possible to make them more difficult to hit, but I'd say, if attacked, they have a 1/3 chance of dying. I deem this acceptable because they've expended all their missiles and almost all of their guns. They've still got all their Stingers, but we've seen little use for them yet. Much better to threaten their column, in my mind.
Click for Big
Still, it would make me sad to lose them. I'm more than happy with them; they've racked up quite the kill count.
With the Cobras finished, the turn moves on to my lighter helicopters. They're transports, but they have a pair of .50cal door guns. They're speed and armament, if lacking in ammo, makes them excellent cavalry to run down fleeing troops. The retreating British trucks would be a fine example.

Click for Big
One AB-205 catches the three trucks and slaughters them and a Javelin team they were carrying.
Click for Big
However, the last truck included a Javelin team as well who, unfortunately, did not "go down with the ship". Out of shots for the turn another chopper will be needed to finish the ATGM team off.
Click for Big
North of all this is a Huey that I had circling through Crescent Ridge trying to find, well, anything. He completes his task of probing the interior of Crescent Ridge as he moves to join his brother.

Click for Big
He's happy to finish off the Javelin team.
Click for Big

Click for Big
And then off he goes to look behind easternmost hill of Crescent Ridge. Plus he gets a peek into the area east of Crescent Hamlet. Nothing is seen. The British Apache is running out of places to hide. Did it run all the way down south? or did we manage to get it without noticing?

Click for Big
With Crescent looking empty, the southernmost hill looks like a fine place to air assault a few troops. The two helos carrying the infantry from Sand Hill, two airmoblie squads and a scout section, land and dismount just behind the crest.

Click for Big
On the way, they were shot at by the one remaining British scout team hiding next to Sand Hill. The opportunity is taken to throw some .50cal at them when we have someone who can see them directly (the damn scouts have a smoke screen that keeps them concealed to everybody on the ground. You'd have to move directly next to them to see the Scouts where they'd get a surely almost 100% chance to whack you with an MBT LAW. I don't like them; they're a thorn, largely insignificant, but a thorn.) No damage is confirmed, but some bullets hitting the same hex as them should encourage the scouts to keep their head down.

Click for Big
Encouraged by the some direct fire on the scouts, the Ma Deuces I had nearby lather the hex with unaimed fire. A few bullets find their way into the Scouts hex. With the Scouts having expended one of their shooting attacks against my choppers and about seven hits-to-the-hex adding some suppression, I feel that the Scouts might be suppressed enough to move somebody up to finish them. One of the HMG's Akrept armored jeeps will attempt it.

Click for Big
And succeeds! The scouts did throw up some rifle fire and bounced a rifle grenade off the jeeps armor, but the Akrept came through it fine and lathered .50cal from point-blank until the Scouts were no more. Last of the British Scout teams have been eliminated. The British light infantry incursions into our lines have been dealt with completely. The British attack into our lines is over.
Except for a little twiddling of some units and lifting some more suppression, nothing interesting happened. I did update our bombardments for the turn.
Okay, I lied. Thinking about perchance bypassing some Chinese, I also moved my fourth and final Cobra to a position more suitable to covering a move deep into Crescent Ridge. Along the way he stopped to add his 20mm gat to the Chinese destruction.
Click for Big
Starts with a nice 73% hit estimation and delivers the fourth Type 89-I IFV.
Shifting targets to the accompanying infantry, he has good tone as well. (33% is phenomenal good hit chance when you're dealing with infantry. Most often you're more around the <15% range.)
Click for Big
Nabs one infantryman and a second. The damage will give my airmobile squad, who is blocking the road all by his lonesome, a better chance against the one Chinese squad already present.
Wrap Up:
That was good. I'm happy with it. I've got a lot of things far flung and exposed, but I think I delivered a serious enough punch to warrant it.
The big surprise is the Chinese; everything about the charge. That they did it, that it's smaller than expected, and that we've done as much damage to it already.
I have no idea what they're trying to accomplish with it. Except be relevant, maybe? Chinese Mech infantry have limited reach with their LMGs and LAWs. They have to get in close or draw their opponent in. Neither of which they can do from Crescent Hamlet unless they garrison it with something more deadly as well.
That only two platoons are attacking caught me off guard. It's true we haven't seen more than that when they were in Crescent Hamlet, but they might have left one platoon in Crescent Hamlet to fortify it with some infantry. Whether they split up or it is as small as seen brings us to a thought I have been considering since the Chinese mech forces were first seen entering Crescent Hamlet: maybe we should bypass them.
The wonderful thing, for us, about your bog standard Chinese Mechanized or Motorized companies is they rely entirely on their SP-ATGM vehicles to provide long-range AT power and their vehicles for heavy machine gun support. While every one of the 13 squads in the company have good LAWs and light machine guns, they have short range. Without their vehicles they have a very small footprint for area denial. Give them a wide berth and they'll never be able to bother you directly. If they want to put a platoon in Crescent Hamlet or the forest between Crescent and Sand Hill, I say let them! There's no reason to fight them in either. It'd slow us down and use up resources we could use to pressure Red Ridge and further. Within this and the next turn I will and we can be far gone from the forest between Crescent and Sand Hill. As for Crescent Hamlet? It has no real worth; there aren't any objective locations inside it and it's too far away from Red Ridge to pressure it. It's important to holding Crescent Ridge, but we're almost past the need to control Crescent Ridge. It's time to start seriously thinking and maneuvering on Red Ridge. If we blow up their vehicles and move on the only con will be that they have some eyes in our backfield; a true con, but just one against all we stand to gain.
We're running roughshod over Crescent Ridge already. There's nothing obstructing us and we can nip behind their lines easy-like. Let's have the Canadian Bison Motor Company head due east over Crescent's hills. They can circle around through the hills and bypass Crescent Hamlet through the empty east. My forces and the artillery will mop up the last vehicles in Crescent-Red Valley and we can move on straight to taking ground next to Red Ridge.
The Bison Company between Sand Hill and Green Ridge should pull back a little. The Chinese rocket artillery has the bracketed and will try another strike this turn. Also, the Chinese tanks on Grey Ridge might find a way to infiltrate forward and blast a few transports. For the moment, they're outgunned and should pull back, but they did wonderfully forcing our opponents to redeploy. We'll hit the hard next turn, and move the company back up after.
Also, our Leopard 2s on Grey Ridge have assuredly attracted all the ire of our opponents. Likely artillery has been called and stronger AT will be brought up. They've done great and should get out of dodge. Pull back, push forward down Grey, anything you wish. Maybe move along Grey's north side to hit the Chinese tanks in the flank? Just as long as they get out of there. I'm sure the Chinese tank platoon coming up from reserve is directly because of our Leopards, and they're probably not all that's being leveraged upon them.
Maps!
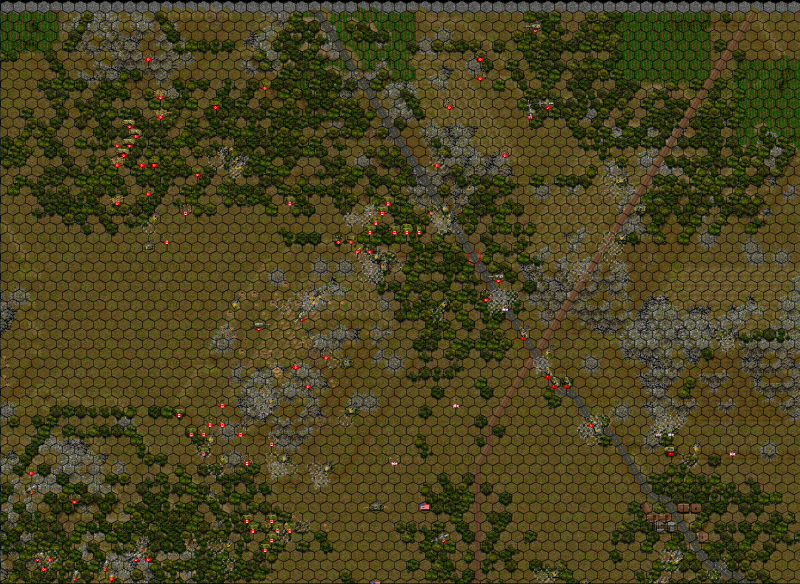
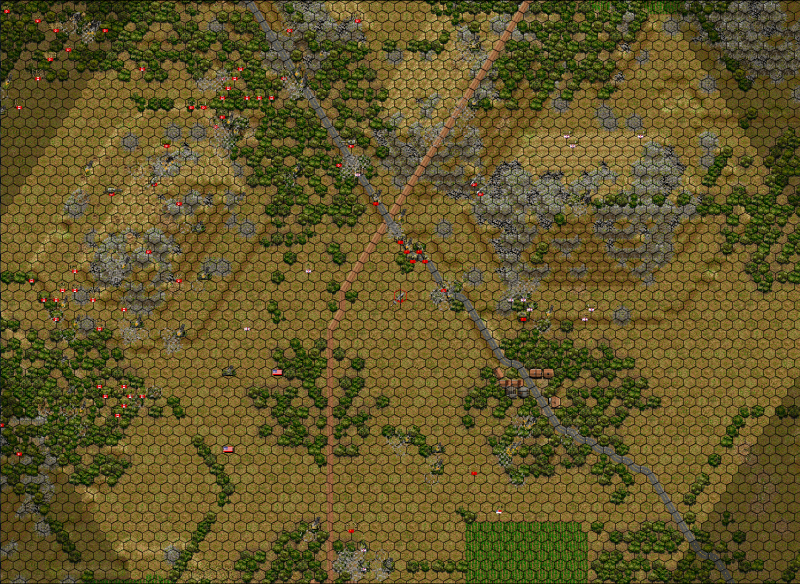
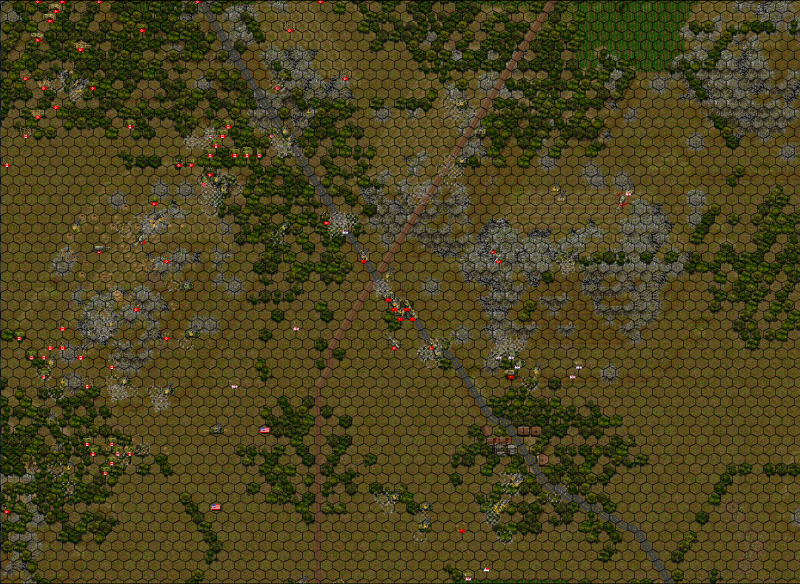
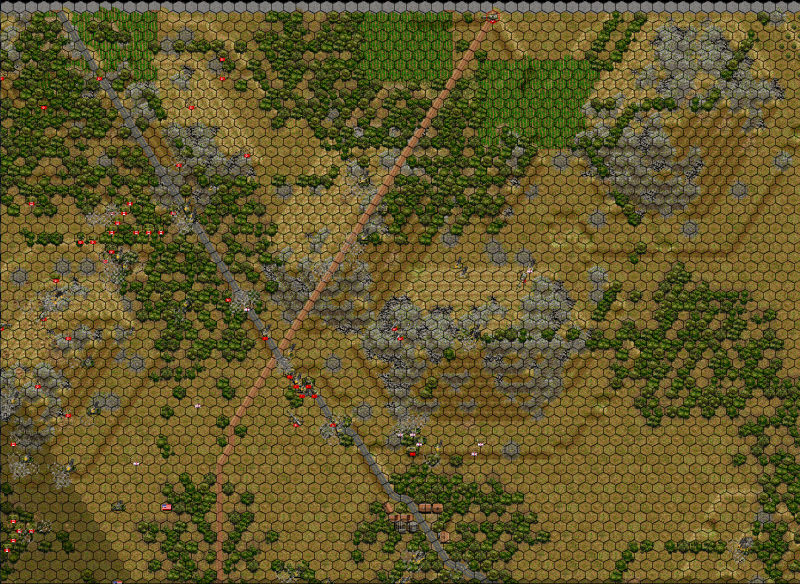
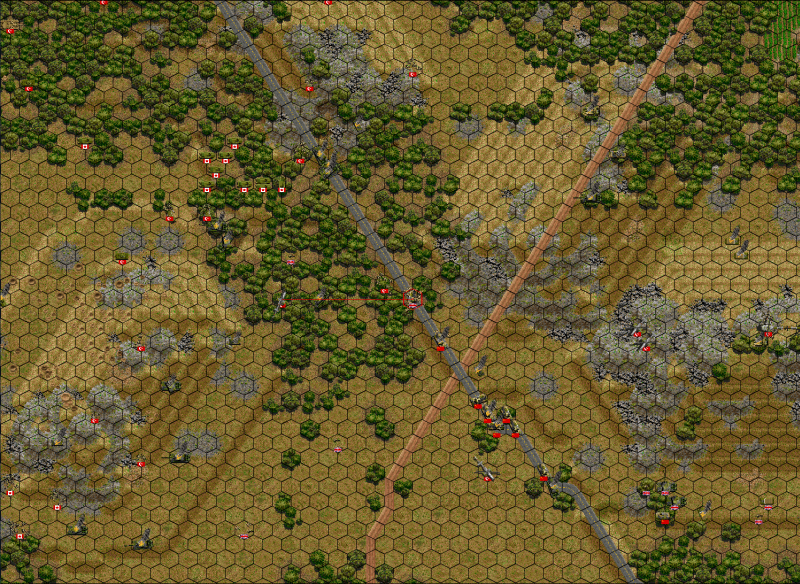
Clean Overview:

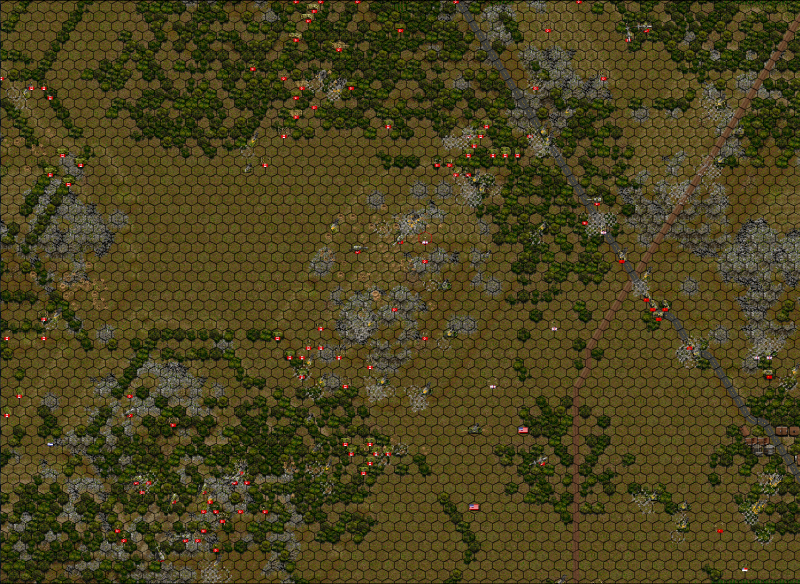
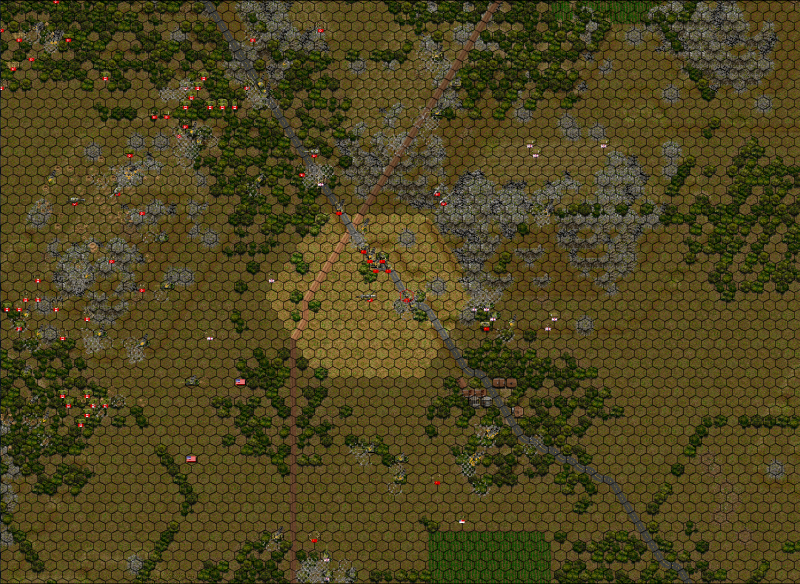
Annotated with my basic moves, attacks, and artillery planning:

Red's an attack.
Blue's an airmobile/helo move
Green's the Cavalry move
Yellow is targetted artillery
White is targetted smoke
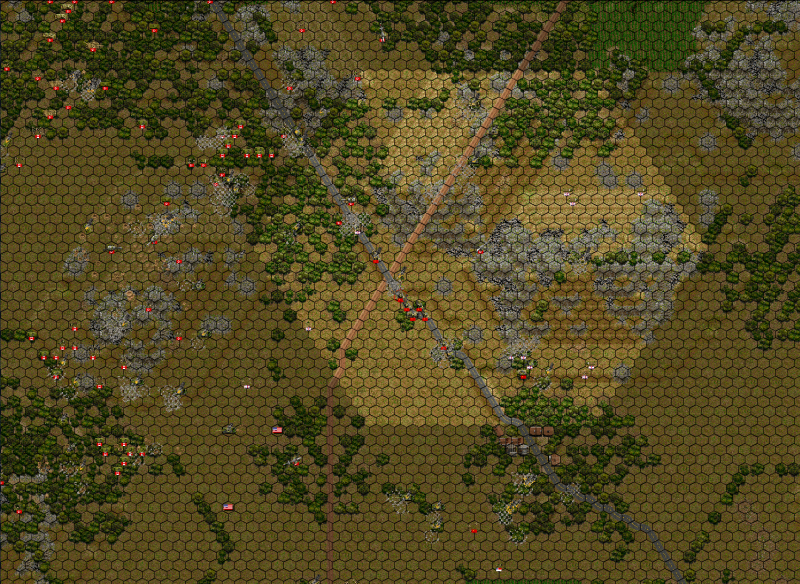
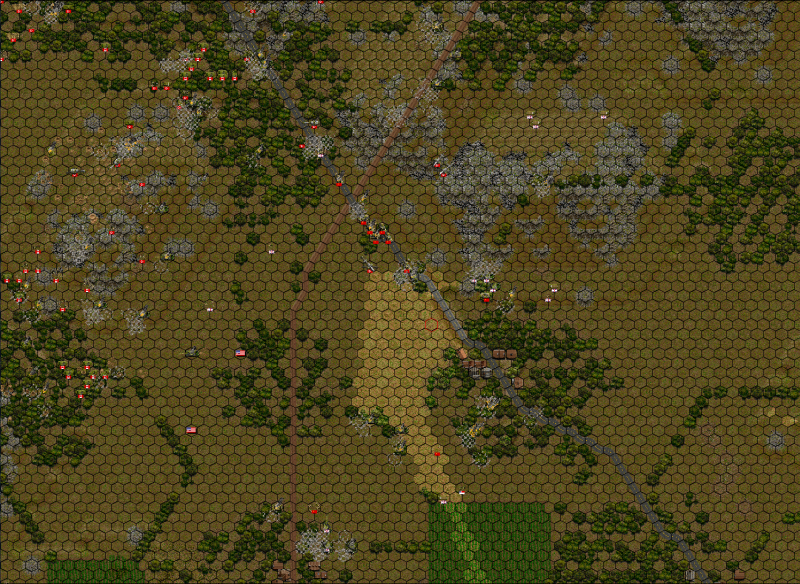
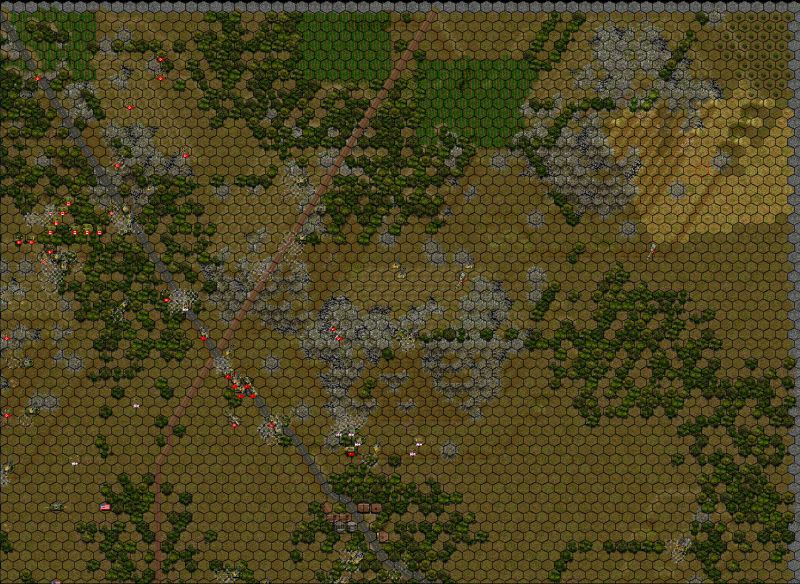
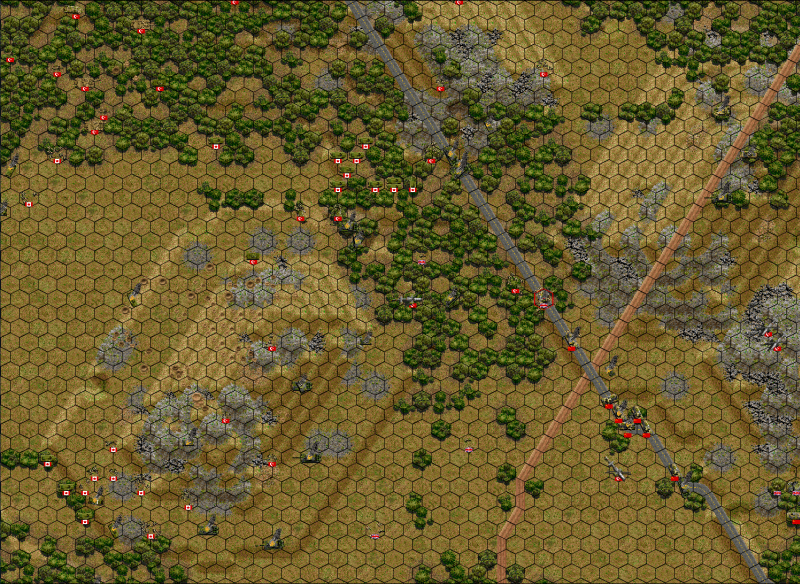
Annotated with my basic thoughts for bypassing in the North:

Blue's Bison company moves
Yellow is Leopard (Grey Ridge) move
White Box is DON"T BE HERE
Yellow also is where my Airmobiles will be regrouping
Green is Cavalry move
Pink is northern Leopards (Maple)
Purple is bypassed Hamlet
That's my suggestion, thinking, and turn. Thoughts?
I'll be back in a sec with the updated Kill Board. I'm going for the rare Triple Whammy Hat-trick Three Post.