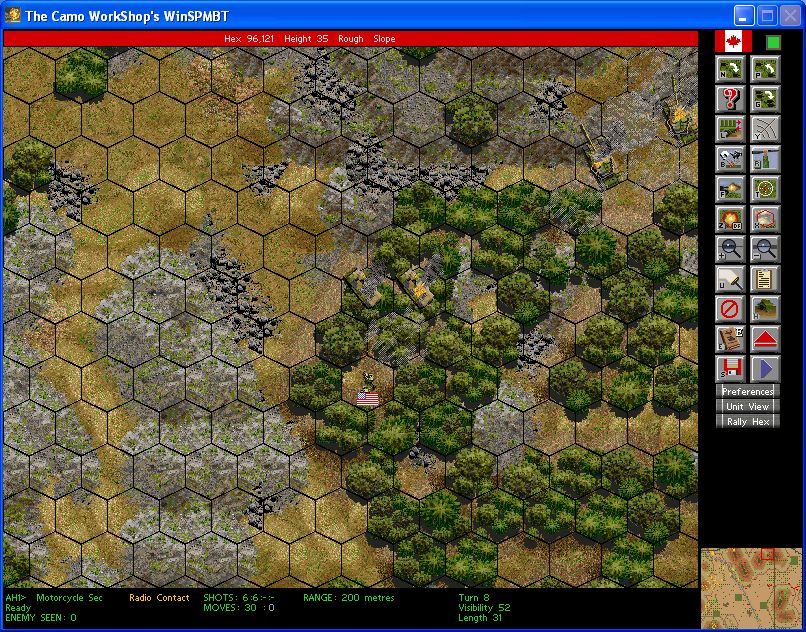
Part 124: Operation Mange Poutine: Opposition Turn7
Opposition Turn: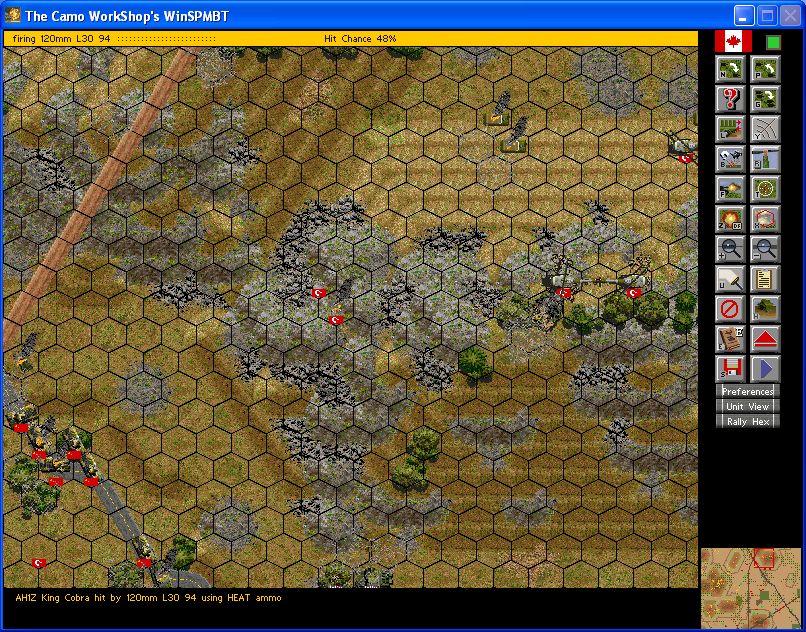
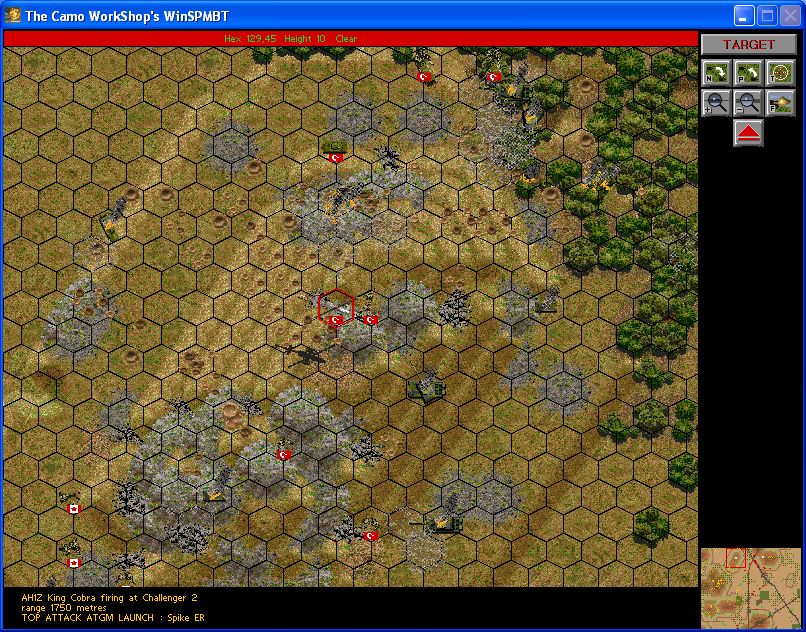
The enemy turn opened with a Challenger lobbing 120mm shells at one of my Cobras. One of the shots connected.

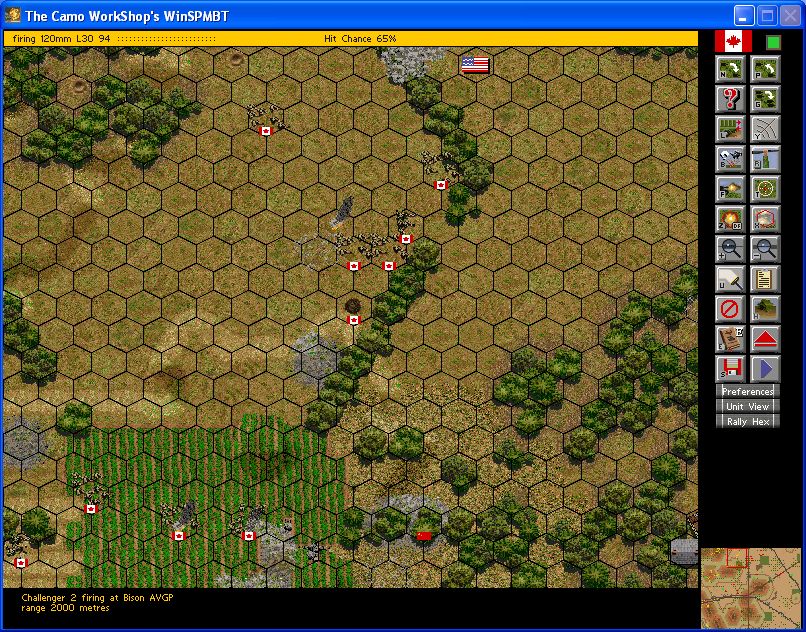
The Challengers followed this up by beginning the rape of the Bisons in the open before Green Hill. 2 killed.
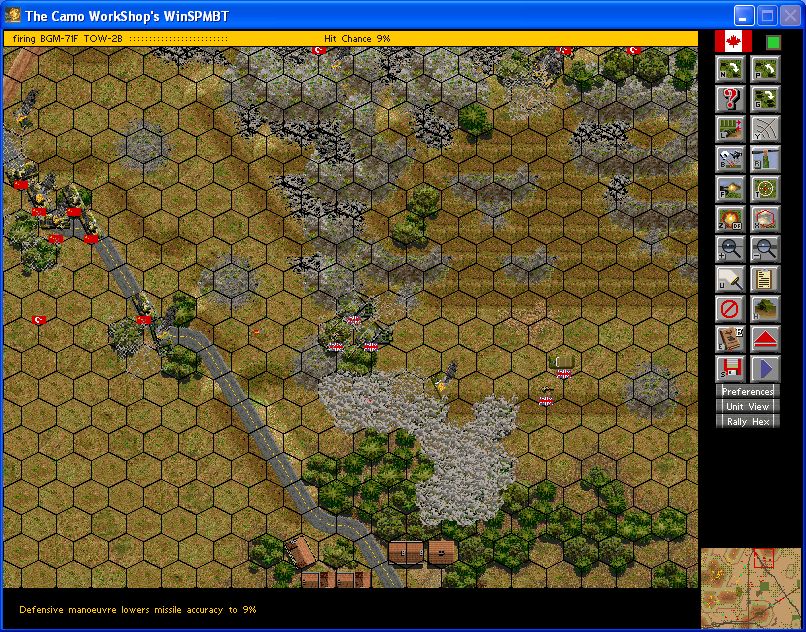
My TOWs attempts to fend off the Challenger missed. (lucky bastard)
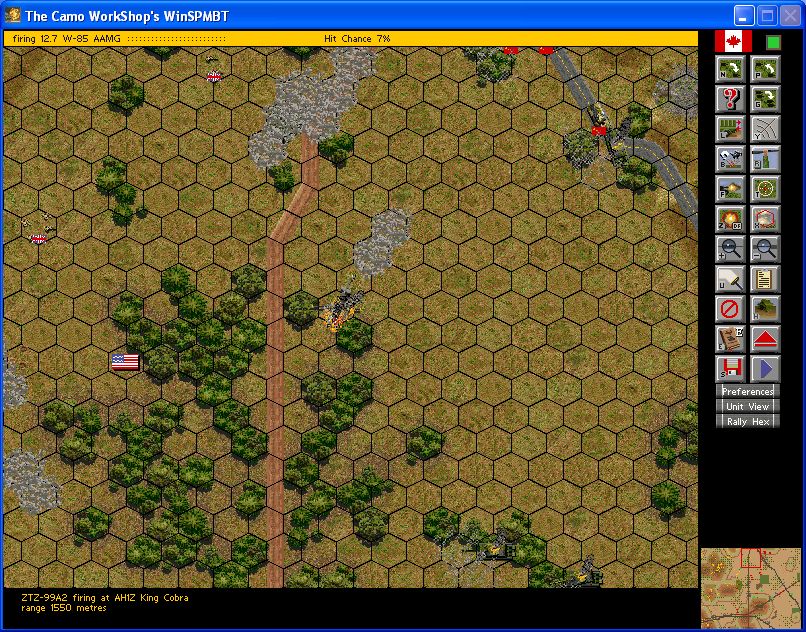
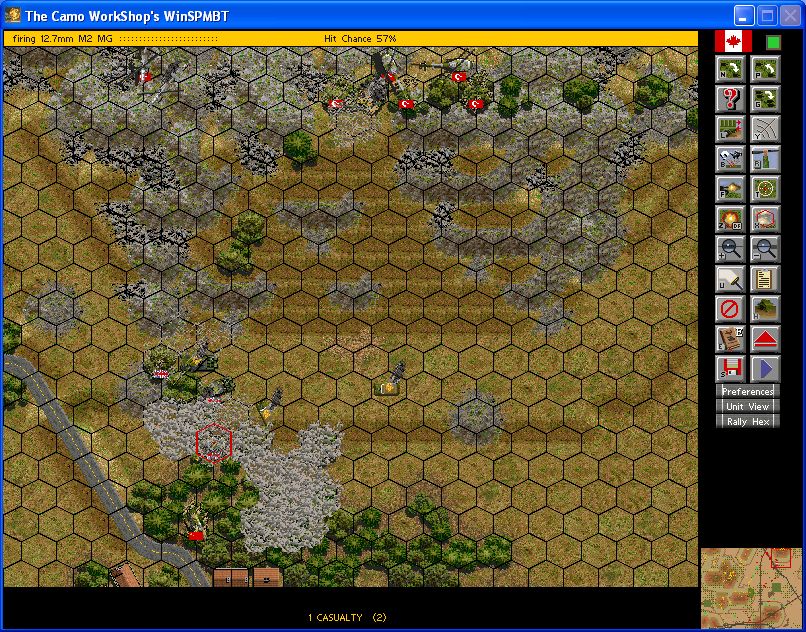
Next the Chinese tanks snuck forwards and machine-gunned a second Cobra gunship.
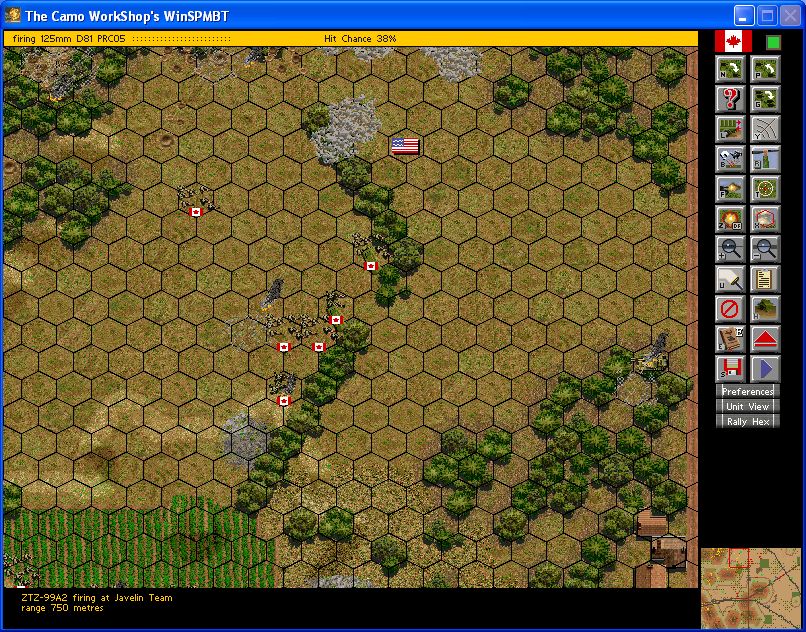
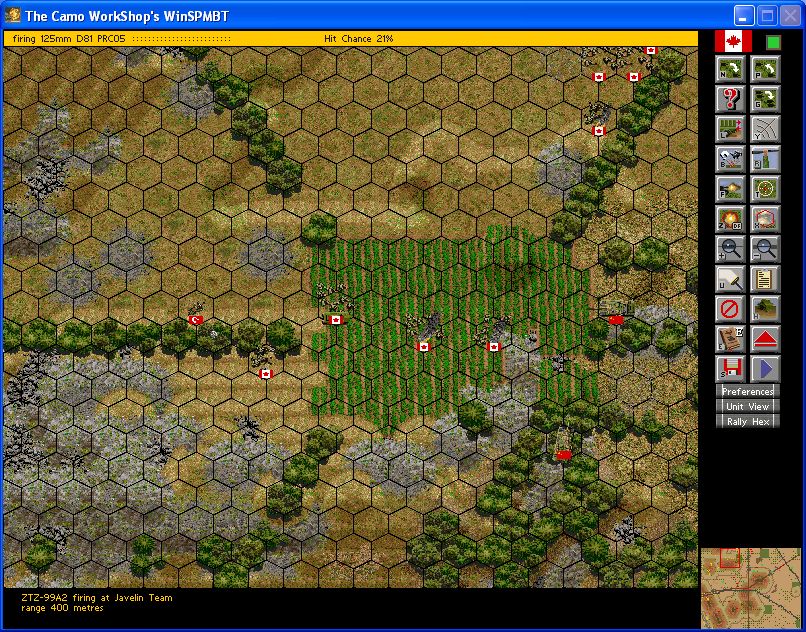
Adding to their success they popped two more Bisons. And then they proceeded to surgically remove the Javelin teams from the two ravaged platoons. It should be said that, save their ATGM elements, the two platoons' manpower is largely untouched and are still a viable force.
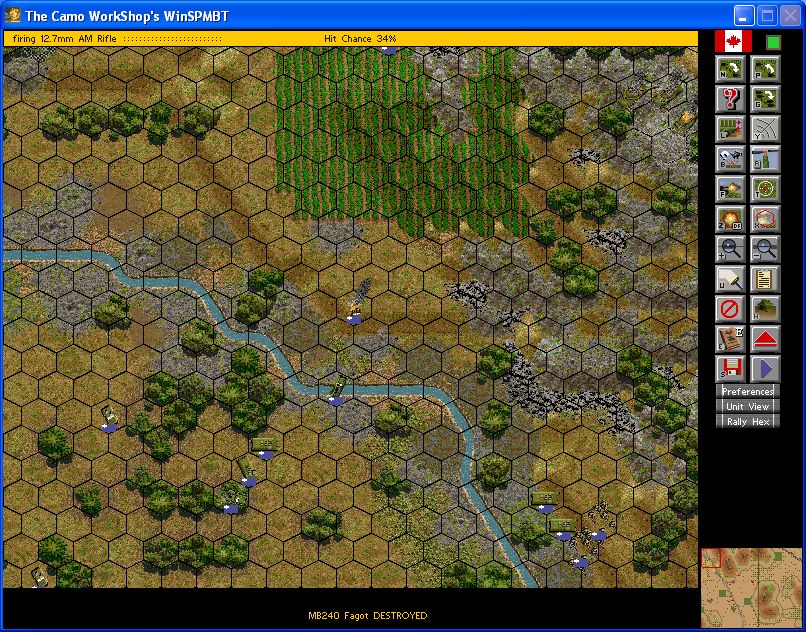
The snipers on Blue Ridge kept up their harrasment by pegging one of the Greek Jeep mounted Fagots.

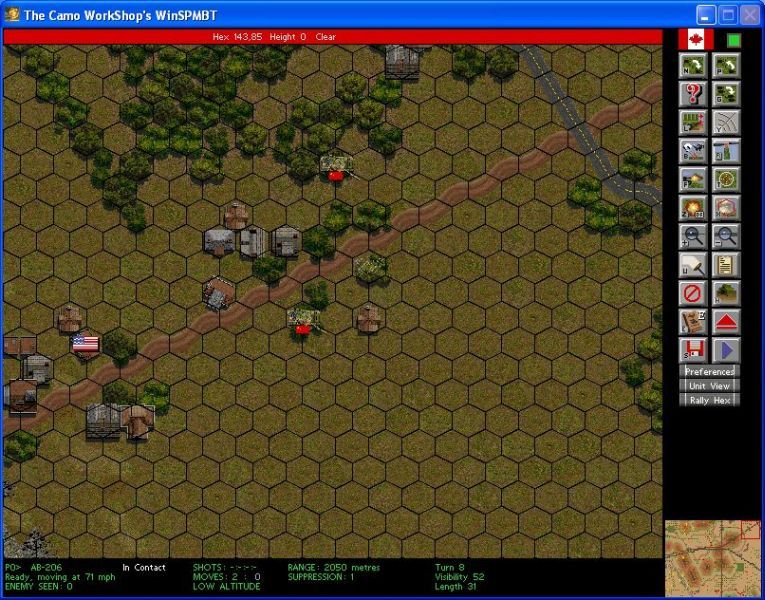
In the north, the attacking Chinese mech company(-) retreated underfire, dodging ATGMs. Three APCs escaped with their troops (one platoon) to form a block on the road entering Crescent Hamlet.
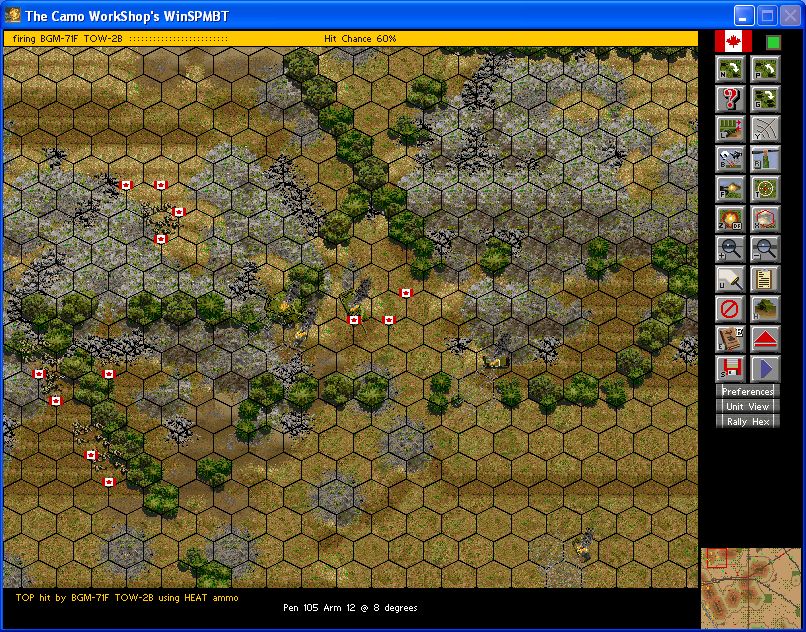
Finally, the Americans made their presence known by lobbing two TOW-2bs from Red Ridge into the Canadian Leopard Platoon on Grey Ridge slaughtering half the platoon. (The remaining two should definitely run. I've included a diagram of how they can, the only safe route, at the end of the update.)
Total damage dealt: 2 Leopard 2A6s (goddamn), 2 Javelin Teams, 2 Cobra gunships (they were out of ammo), and four Bison APCs.

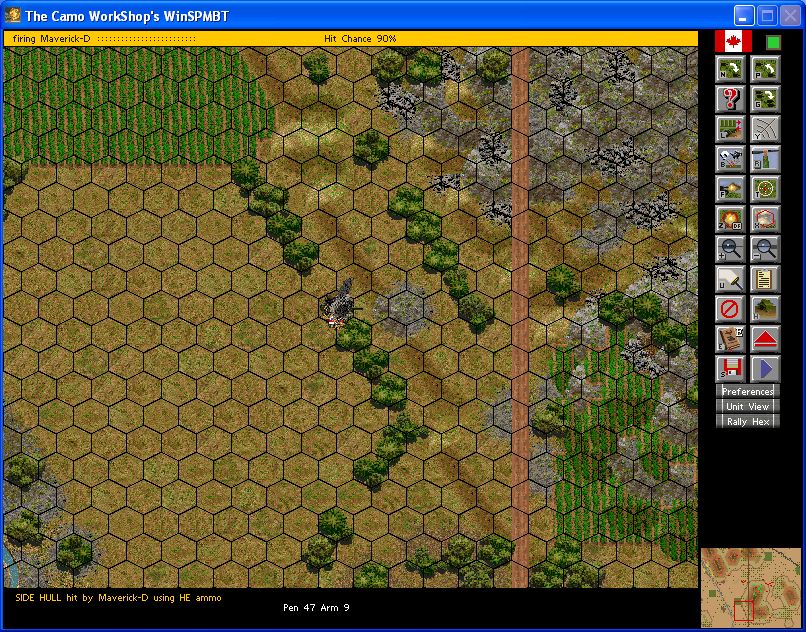
Following the harsh enemy's actions Turkish SEADs came first and soaked up all the AA-fire paving the way for the CF-18s to attack unmolested. Unfortunately, the first CF-18's Mavericks made us look like chumps by failing to penetrate the top armor of an Abrams with two attempts.
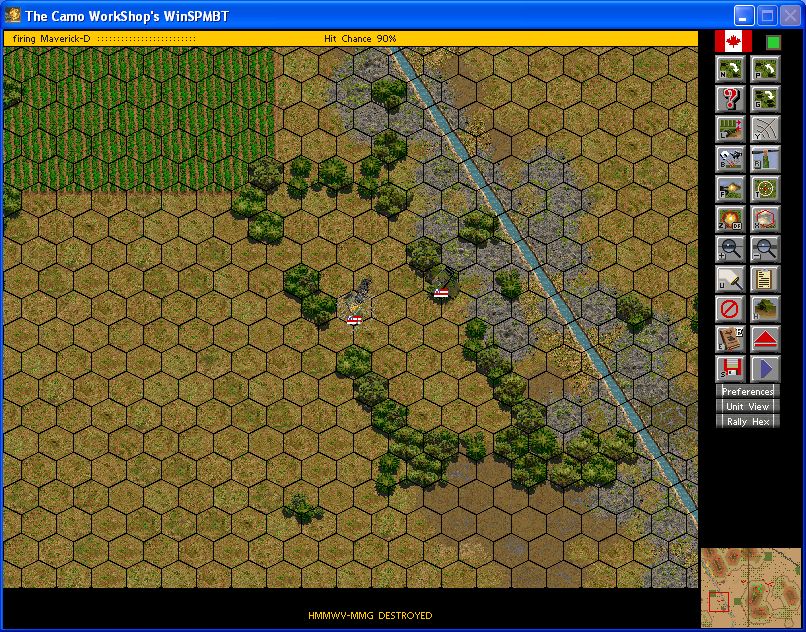
Fast on the failures attack was a Maverick that slagged a poor little Hummer.
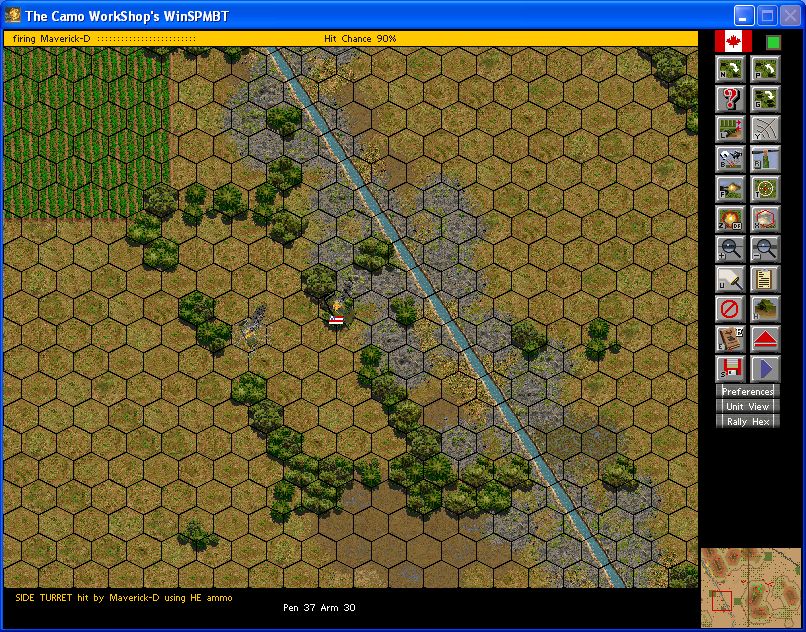
The fourth Maverick tried to make up for the first two by killing an M1 AIM. First kill of an American tank! 12 more to go.
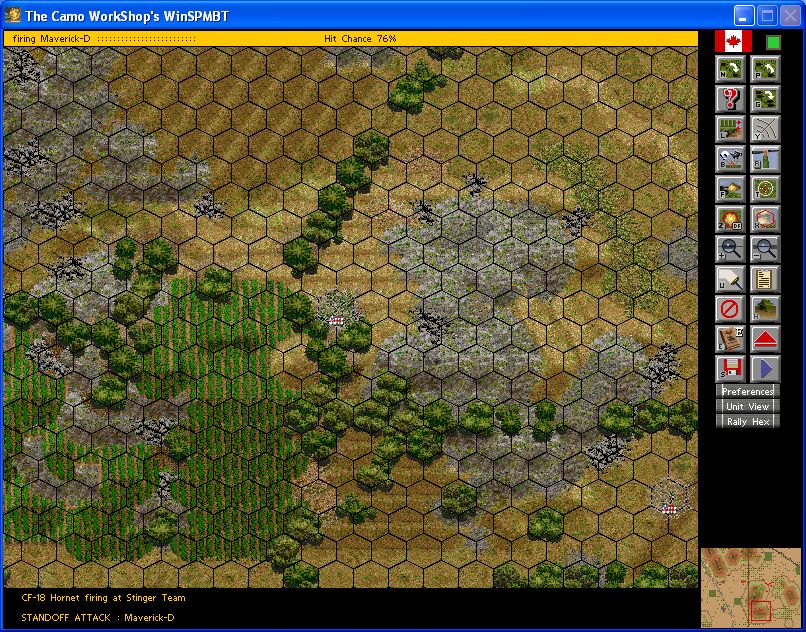
A fifth Maverick disregarded the tanks in the open and rode a IR beam into a foxhole containing one of the American Stinger teams. Impressive kill, if a tad unneccessary.
The sixth and final Maverick popped a National Guard reserve tank, Patton.

On the tail of the airstrikes, our artillery sliced in. The two immobile Challengers that were targetted were blown apart and all the identified Javelin positions were smoked.
Total damage dealt: 1 M1 AIM, 2 Challengers, 1 M48, 1 HMMWV MMG, and 1 Stinger Team.
Turk Turn:

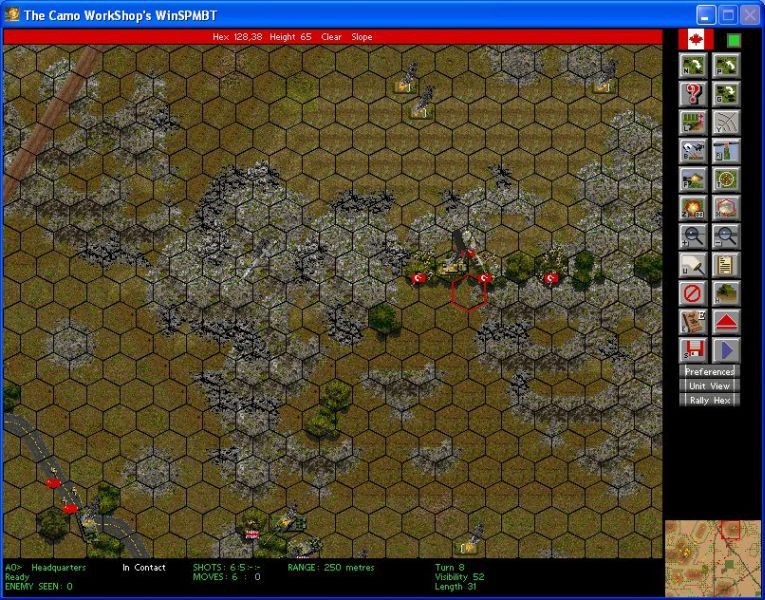
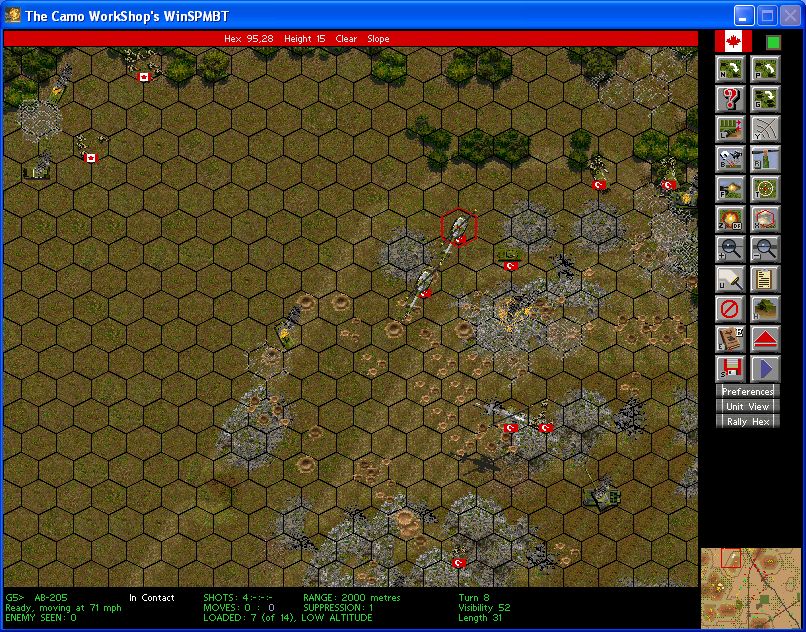
My turn opened with my recce bird probing the Chinese backfield some more. With a good look at the back of Red Ridge nothing new was spotted. Doesn't mean nothings there, but they ain't moving. My recce bird will remain and keep eyes for any movement.
He did maintain contact on the Chinese tank reserve platoon.
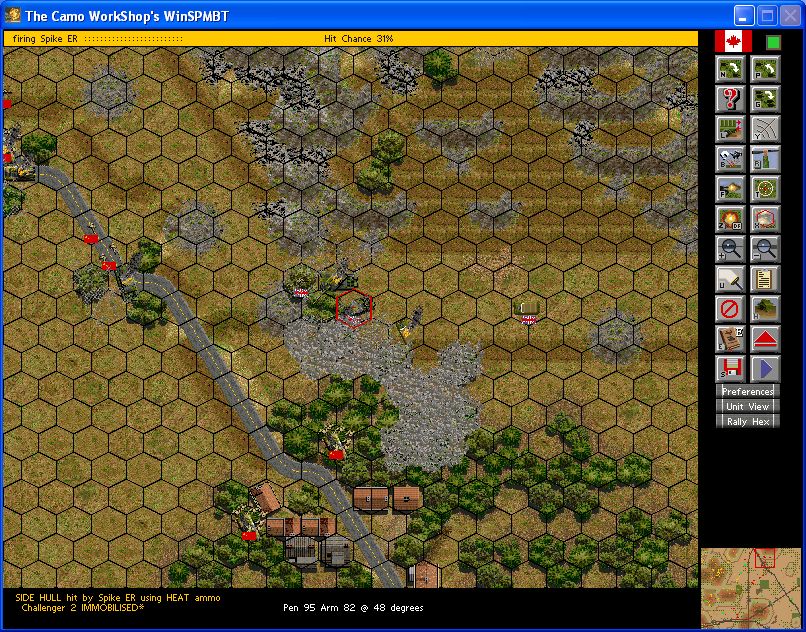
To begin my combat actions, my one Cobra with missiles leapt forward and took a measure of revenge for his two companions lost. His last ATGMs immobilized and pinned one the Challenger below Crescent Ridge right in the middle of the DPICM artillery still falling. He's harmless in his current position, scared shitless, and should be dead dead by our next turn.
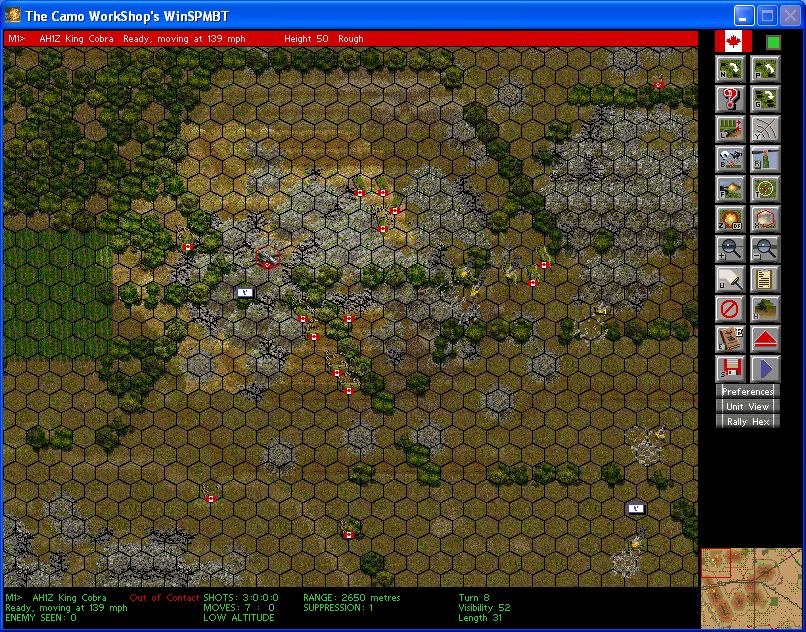
With his missiles expended, I sent the Cobra to Grey Ridge to lend his cannon to the center of the battlefield. I'll try to use him to clear out some of the Chinese infantry in the central Blue-Red Valley.
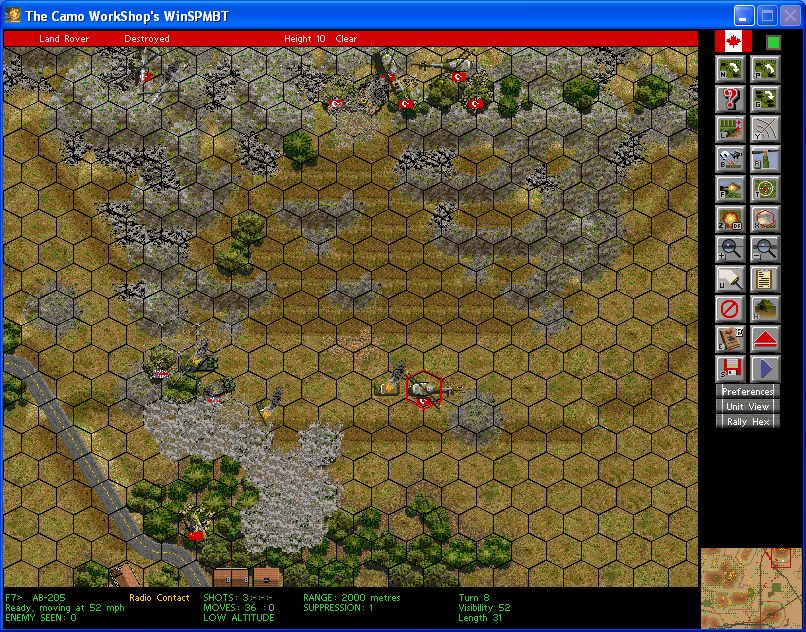
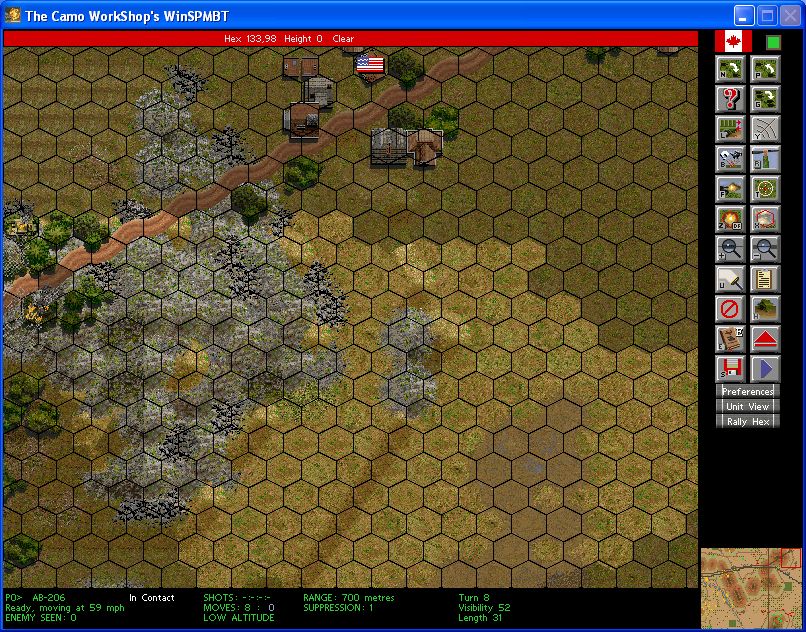
One of my transport helos then probed toward Crescent Hamlet and found a Land Rover and a Javelin Team to feast upon. Both were killed.
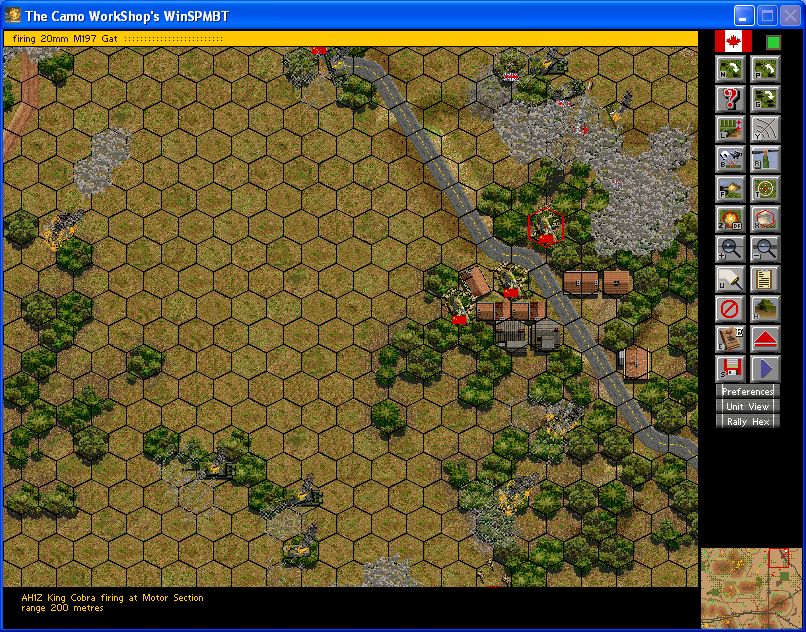
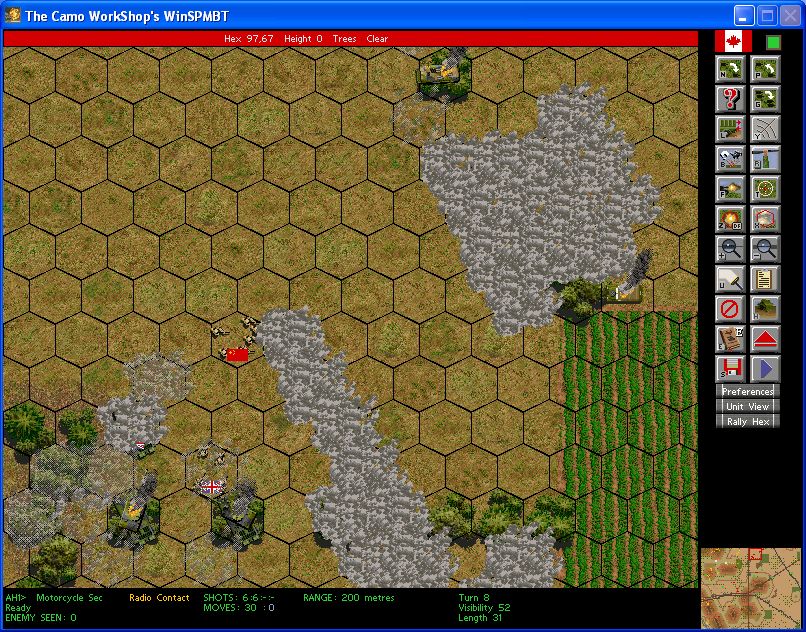
The second Cobra gunship then choppered forward and killed a few Chinese soldiers in the mech platoon that retreated to Crescent Hamlet.

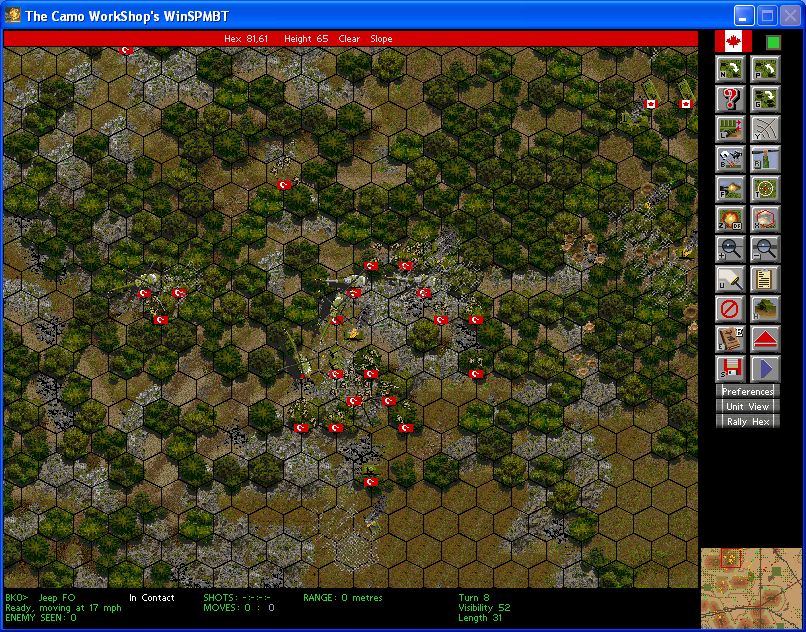
With their load disgorged on Crescent Ridge, two transport helos started a return trip to bring up more of my airmobiles. On the way they machine-gunned the scattered remnants of the failed Chinese charge eliminating one squad and all but two soldiers of a second.
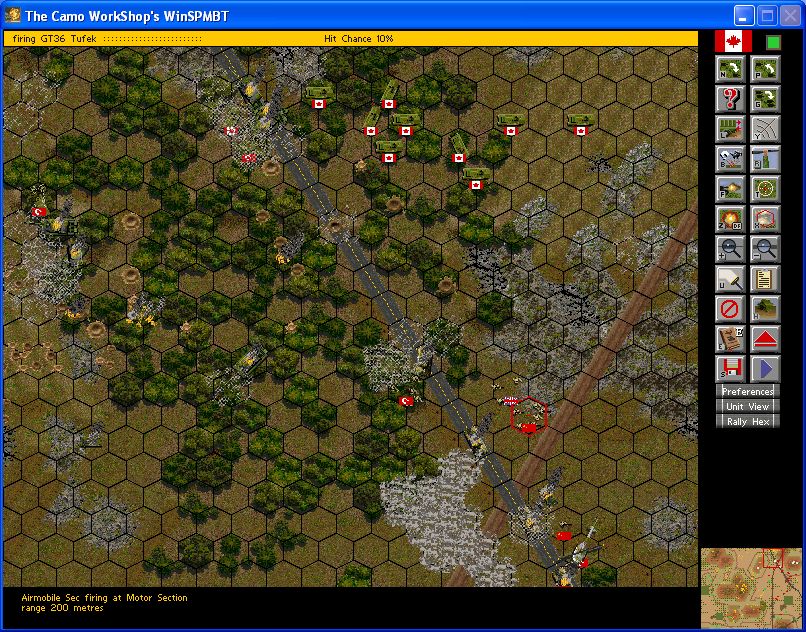
The lone airmobile squad that was lain in waiting for that Chinese charge dashed forward to add their rifles to the clean up and killing a few more Chinese mech infantry.
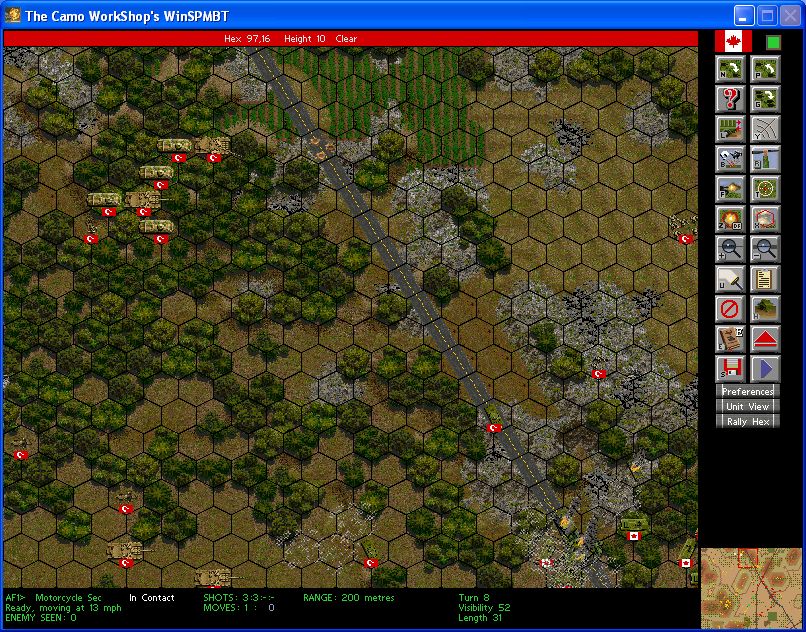
Nothing else was in the fight or could move to engage, so the rest of my turn was just maneuvers. More of my airmobile units are reforming and reembarking their helos to form a floating reserve. My cavalry units continued along their planned routes.
Total damage dealt: 1 Challenger mission-killed, 1 Javelin Team killed, 1 Chinese Motor Infantry Squad killed, 1 Land Rover killed.
Not as auspicious as some turns, but I'm keeping the pressure on. I expect that within four turns, the north half of the map will be ours.
Some key notes:
1. The Canadian Leopard 2s MUST retreat. Please, please, please, please drive to the indicated route:
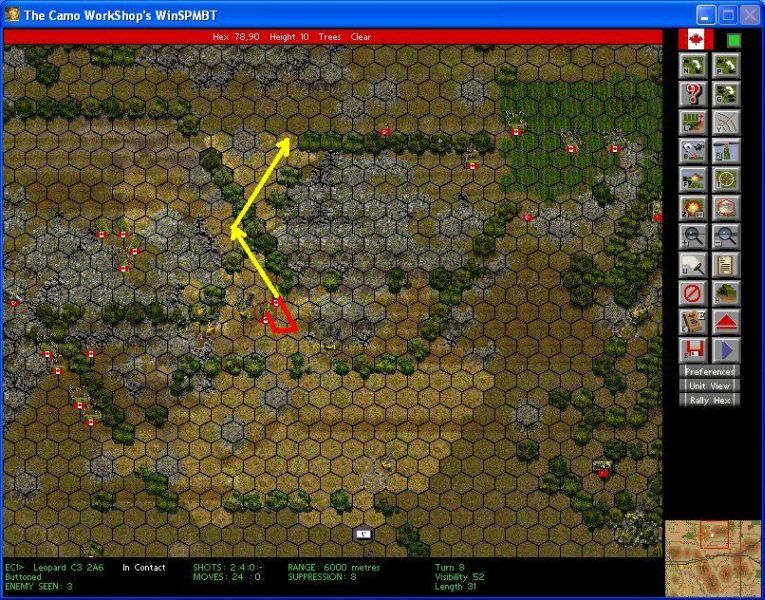
This is the only way to extract them. They will lose against the TOWs in a shoot-out or if the Leopards move up. We need something to deal with the Chinese tanks on Grey Ridge and these Leopards are the nearest asset.
2. We took too long setting up Blue Ridge. There are a few heavy enemy elements moving to approach up the southeast slope, notable an Abrams. DON'T abandon Blue Ridge. Swamp it with our resources on hand. It's going to be messy, but WE CANNOT AFFORD TO LOSE BLUE RIDGE. We dilly-dallied and now we have to fight for it.
We're still in terrific position and doing fine, but we gave our opponents an opportunity and they're taking advantage of it. We gotta work a little extra to make up for it these next few turns.
When I get my computer back I'll make up a nice full map and post the kill board. Should be tomorrow.