Part 92: S15E03: 1979.09.22-23 (Bloody Miracles)
S15E03: 1979.09.22-23 (Bloody Miracles)1979.09.22
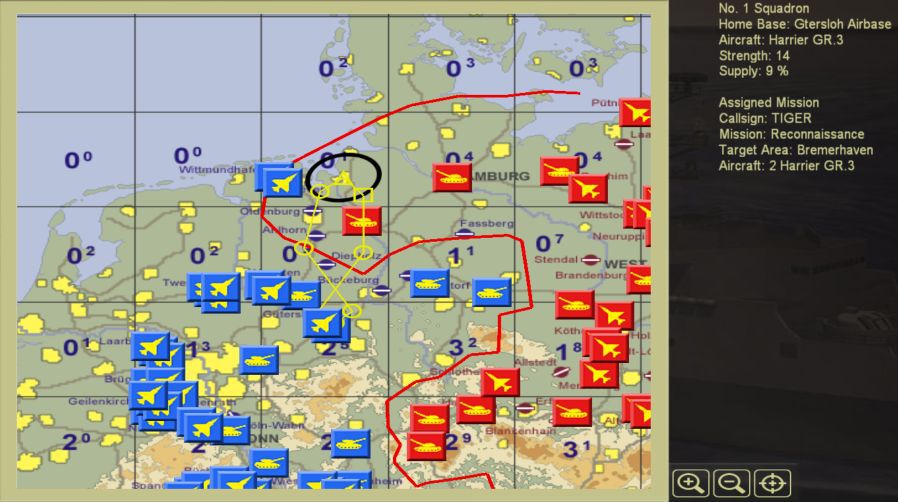
While I wasn't looking the Soviets managed breakthroughs in three points of the map. I've never seen that in the debriefs.
The mission video

In which they throw their best at us

But their best wasn't good enough.
1979.09.23
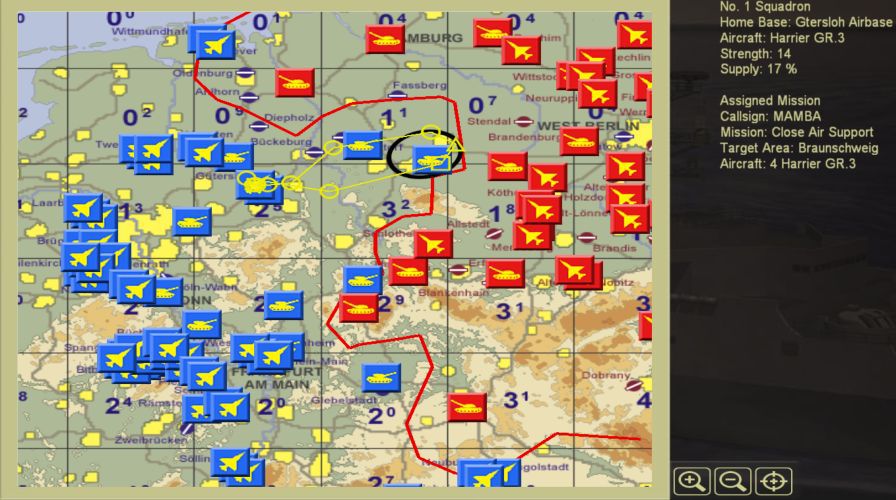
We're sticking our long nose where it doesn't belong.
The mission video

In which our thrust-to-weight ratio is awesome
Unusually painless for a mission with no cover. This doesn't go unrecognised


P.S.
Africanus being awesome about the Harrier's hovering
Africanus posted:
Hovering in early model Harriers is where most of the fatal mishaps happened for a reason.
If you remember nothing else remember this:
SIDESLIP X AOA X AIRSPEED = The Death Equation.
A combination of AOA, sideslip and airspeed will create a rolling moment about the Harrier's longitudinal axis. This becomes fatal during a hover. If the rolling moment reaches a critical strength THE RCS LACKS THE CONTROL AUTHORITY TO CORRECT AIRCRAFT ATTITUDE.
The number one easiest way to survive a hover?
POINT YOUR NOSE DIRECTLY INTO THE WIND AT ALL TIMES.
This helps zero out sideslip.
There are ways to accomplish crosswind VLs(Vertical Landings) in the Harrier. It's kind of difficult to explain, I've never done it and only understand it in theory so I don't feel comfortable trying to teach it yet.
Rule number two?
KEEP YOUR WINGS LEVEL.
This also eliminates sideslip.
To enter a hover from wingborne(like a plane) flight is called a Decelerating Transition or DECEL. Normally we accomplish this from our normal landing pattern so teaching it here is going to be a bit different. We don't fly air speeds in the Harrier, we fly a combination of nozzle angle and power that gives us 8-10 units AOA. The Harrier cockpit and HUD setup gives us this info in a fairly convenient manner, SF 2 does not.
For a straight-in approach to a hover try this:
SETUP: 1000ft altitude(all I know is Imperial, work with me). 250 Knots and 5 miles from the airfield.
1. Reduce power to decelerate below 250 Knots(gear speed).
2. Lower Gear, Extend Flaps and Speedbrake.
3. Select Nozzles at 25 Degrees.
4. Add enough power to maintain control authority (as your wings lose lift the RCS takes over...but ONLY IF THE THROTTLE IS SET HIGH ENOUGH TO SUPPLY ENOUGH DUCT PRESSURE TO GIVE YOU CONTROL AUTHORITY) while you descend to, I dunno, 500ft? (Put the velocity vector a few hundred ft past your intended point of landing).
5. Around 3500ft from your landing point (about 5 degrees down in the HUD, good luck because SF 2, set Nozzles at 80 degrees (straight down, by now you've figured out that the nozzles go past straight down into the braking stop. You will slowly decelerate and come to a hover. Use the stick and throttle to maintain level flight AOA and level out about 100ft.
6. If you miss your intended point of landing and come to hover a few hundred feet away, no big deal. With your nose pointed into the wind, dip a wing, nose or tail toward the landing point briefly, and drift on over, reversing the process to come to a stop over the landing point.
7. Reduce power very slightly, hold the brakes as you touch down and immediately select idle to prevent bouncing.
This is very basic. Sorry I haven't been around much, Harrier ground school is kicking my ass. Next time ill try to explain CCIP and how to make it work better(too late?)